At long last, we come to the final crystal temple or rather the hike up to the temple. Unlike the previous temples, the Temple of Earth sits at the top of a tall tower; guess they didn’t want to make the final temple a cakewalk like the rest…
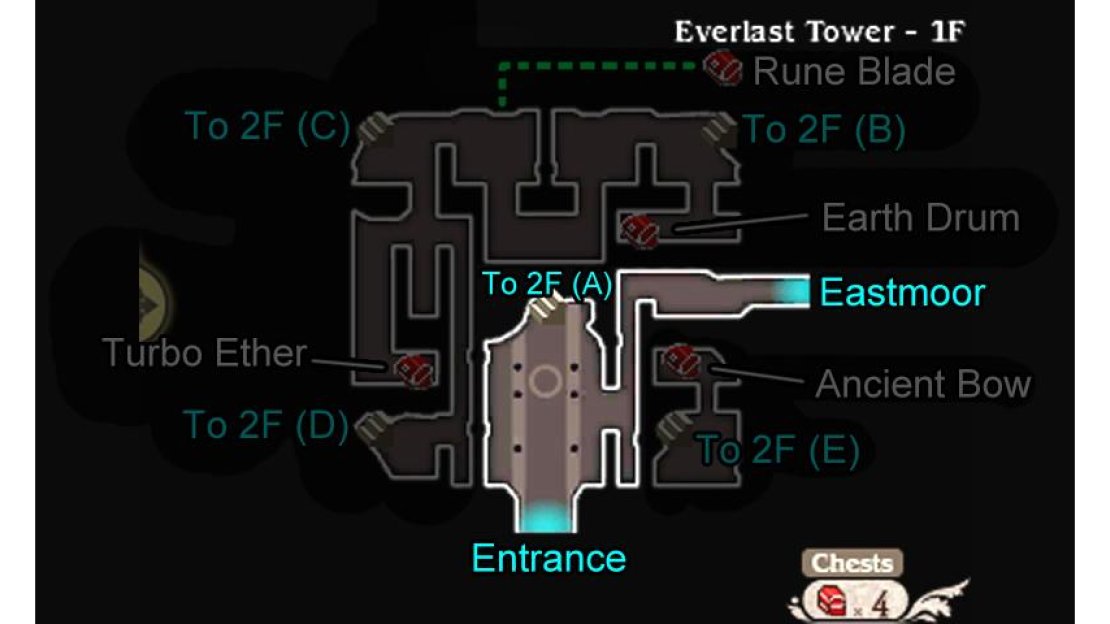
From the entrance, follow the corridor right to emerge in Eastmoor, where you can return to Grandship and take a break if required. Back at the entrance, head straight up and take the stairs leading up ahead. Upstairs on the second floor, navigation will become slightly more complicated as you must go in and out of the floors.
Floor 2 and 3; Treasure Hunting
(1 of 2)
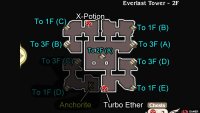
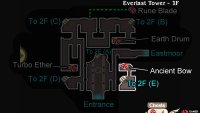
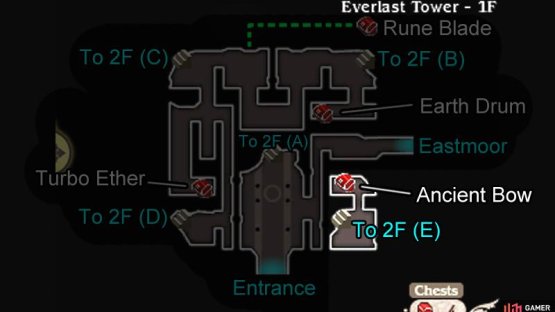
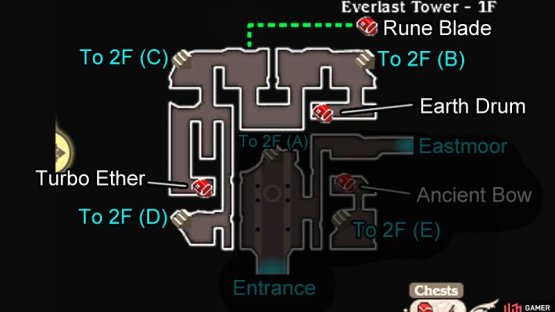
First, make for the bottom-right corner, grabbing a Turbo Ether from a chest along the way, and descend the stairs in the corner of the dusty room. Downstairs, back on the first floor, swing open the chest at the end to earn yourself a not-very-new Ancient Bow. Return upstairs and ascend the stairs in the corridor directly above.
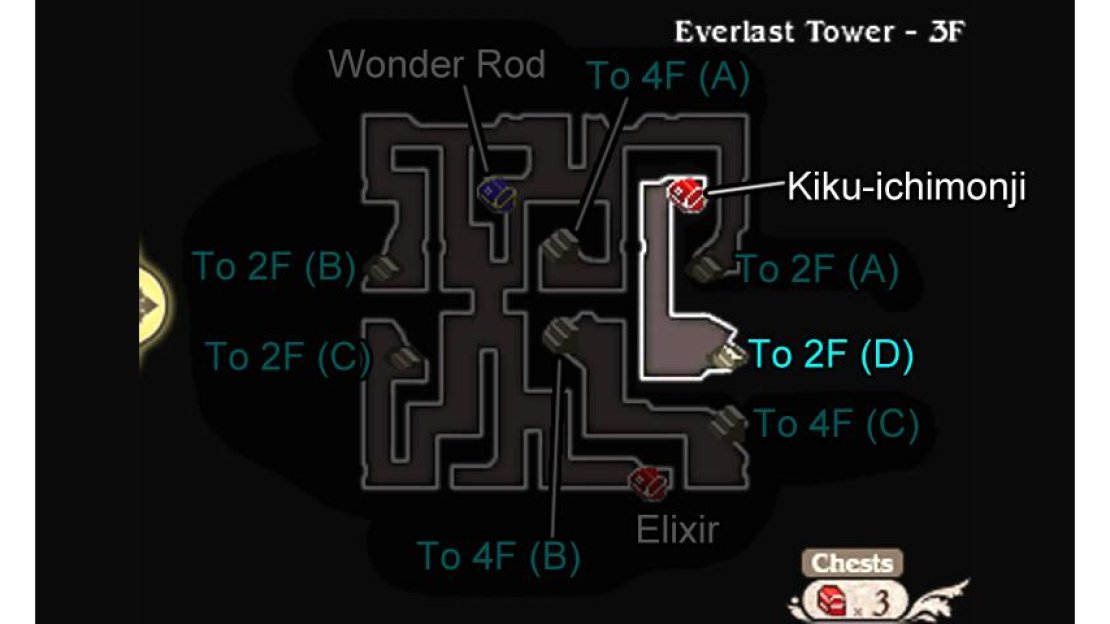
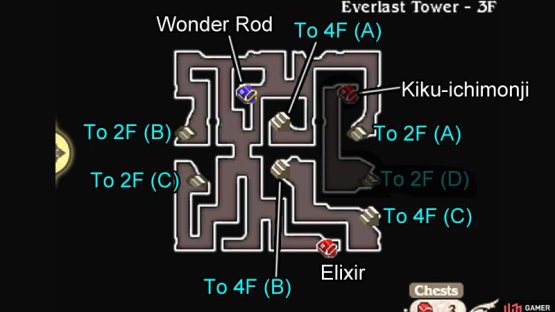
Up on the third floor, hastily head up the narrow corridor to find a chest with a prized Kiku-Ichimonji. After stashing away your loot, return to the second floor and head for the middle to grab your bearings. At this point, head in the direction of the top-left corner; pocket the X-Potion from the chest by the top and then take the stairs going down.
Floor 1 and 2; Hidden Chest and Anchorite
(1 of 2)
On your return to the visible path, carry on right, where a chest with an Earth Drum and stairs leading up are located. Ignore the stairs and return to the window hiding the secret passage; this time, head downwards, while keeping to the left to claim a Turbo Ether from a chest.
When the coast is clear, return to the crossroads just above and follow the corridor right, all the way to the bottom-left corner where there are stairs leading up. Up on the second floor, cautiously head right to find the Anchorite of Bolts, who’s eager to hand you the Deux Ex summon, but not before electrifying you with it.
Slap on Abate Lightning (Summoner) or Lightning Charms onto your party and the Raikiri (katana; negates Lightning) onto your healer before accepting the ordeal so you don’t get electrocuted to death. After weathering the summon or otherwise, go up from the Anchorite and take the stairs leading up.
Floor 3 and 4; To The Temple
(1 of 2)
On the third floor, follow the corridor around until you reach the junction. From here, make your way right to find a chest with an invaluable Elixir in the bottom-right corner. Making sure not to spill the Elixir, return to the junction and follow the path up, while keeping to the right. In an alcove by the left, there’s a blue locked chest.
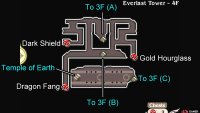
From the blue chest, head right and then south to discover a flight of stairs leading further up. On the fourth floor, follow the path left to claim an ominous Dark Shield (negate dark) from a treasure chest. Next, make your way right, while keeping to the right, to recover a Gold Hourglass from another conspicuous chest.
While fending off the tough monsters, head for the bottom-left corner, where you’ll find stairs going down near the center and a chest containing one Dragon Fang in the corner. Downstairs, on the third floor again, follow the passageway down to find stairs leading back up a short while away.
As you emerge on the fourth floor, you should notice some familiar structures lining the corridor–this means you’re very close to your destination now! Carefully go left to find stairs leading upstairs, to the final floor of Everlast Tower. Onwards and upwards, brave warriors! (But don’t hesitate to exit and rest your health, as this was certainly no easy trek.)



No Comments