
After their long sea journey, Tiz and friends land at the tranquil House by the Sea, where they are welcomed by a giant man, Datz. At this point, Zatz cuts to the chase and requests Tiz’s party to aid his faction–the Shieldbearers–in the civil war. His notion is quickly shot down, but the gang decide to visit their commander anyway to gain more information.

If you need to return to the Eschalot, you can do so by heading back to the House by the Sea.
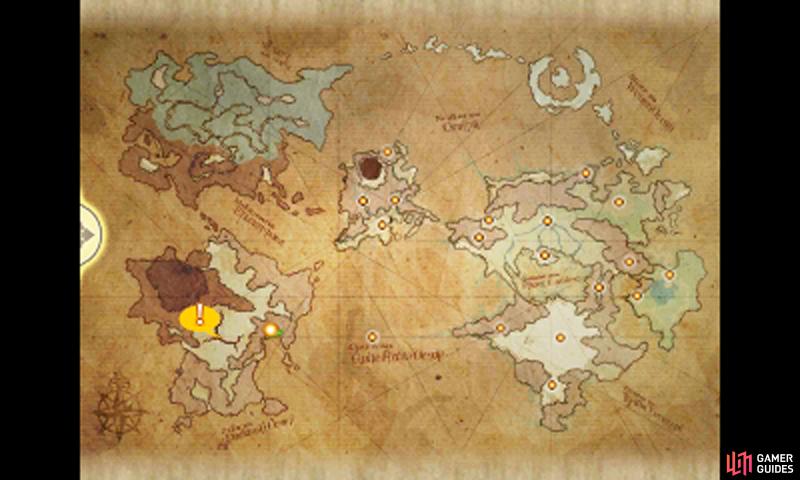
Leave the house via the door immediately to the right and you’ll step forth on a new continent. From here, you’ll need to travel in a southerly direction until you’re past the mountains, then travel in a northerly direction to reach the commander’s location. When you’re around halfway there, trouble rears its ugly face, but fortunately no damage is done.
With a crisis averted, continue onward to the Shieldbearer commander’s location, indicated by the orange exclamation mark. Upon arrival, you’ll be atop the Shieldbearer’s war platform in front of Eisen Bridge, where Commander Daniel Goodman awaits. Goodman is true to his name and gives permission to the party to rest at the Shieldbearer town of Hartschild.
Town of Shieldbearers
Upon bidding your leave, exit the war zone and head due west to find Hartschild, a city surrounded by fast-flowing lava from the volcano nearby. When you’re ready to rest, enter the commander’s residence to the far north of town. While inside town, inspect the barrels to the far left to discover a valuable Elixir.
Since you’re at a new town, ensure you check out the local armorer, trader and magic store to scout their wares. Dispel (Level 9 White Mage) will come in useful in a coming sub-scenario, while the White Robe is great for healers thanks to its massive Mind boost. There are also a variety of accessories for sale that reduce elemental damage.
Inside the residence, the group will meet Eleanor–the commander’s fair wife–who offers much hospitality despite these pressing times. The next day, Tiz and company will be ready to set forth for new adventures, but the problem is that they’ve got nowhere to go, thanks to there being no access to the Temple of Fire.
Joining The War Effort

War’s always a terrible thing, but at least you’re not involved. Hang on… why are they handing us weapons? Tiz!
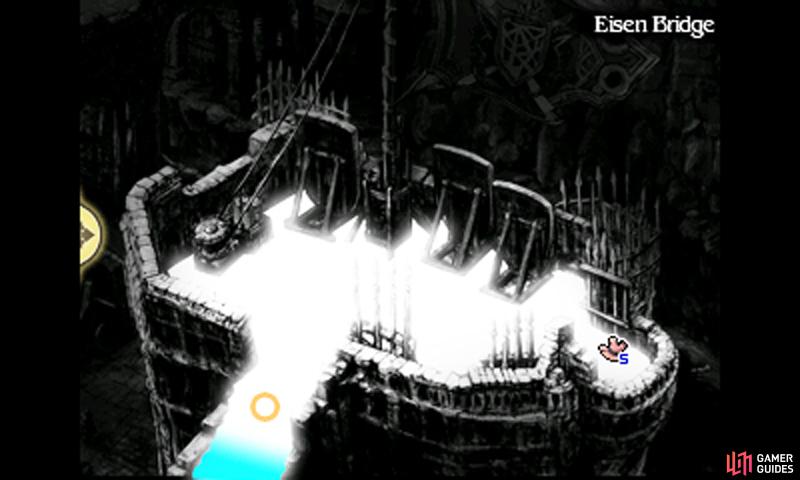
Tiz then makes the radical suggestion to aid the Shieldbearers in the war, which is instantly met with opposition. However none can deny that there aren’t many options available, so the group decide to speak to Commander Goodman again. Return to Goodman at Eisen Bridge and the party will agree to temporarily assist the Shieldbearers.
Their first order of duty is to scout an enemy stronghold known as Grapp Keep. Years ago, the rival faction–the Swordbearers–used toxic mist to decimate the East City, near Grapp Keep, and claim victory over the Shieldbearer. Goodman wants Tiz to find out anything he can about the toxic mist, in hopes that a cure can be found.
Now the gate barring access to the right of Eisen Bridge will be open for travel. Exit the war zone and pass the gate, then head in a northerly direction, towards the orange exclamation mark. For easy navigation, follow the road and keep to the right at each of the two junctions. Grapp Keep will be located in the top-right corner of the continent, surrounded by mountains.
Armory
| Item | Price | Comment |
|---|---|---|
| Defender | 5000 | Increases Physical Defense |
| Halberd | 4500 | - |
| Main-Gauche | 3500 | - |
| Large Shield | 2500 | - |
| Orichalcum Helm | 1500 | - |
| Holy Miter | 1000 | Increases Mind |
| Black Cowl | 1200 | Increases Evade |
| Orichalcum Mail | 5000 | - |
| White Robe | 4000 | Increases Mind |
| Force Armlets | 2500 | Increases Mind |
| Flame Charm | 3000 | Halves damage from Fire attacks |
| Ice Charm | 3000 | Halves damage from Water attacks |
| Thunder Charm | 3000 | Halves damage from Lightning attacks |
| Wind Charm | 3000 | Halves damage from Wind attacks |
| Earth Charm | 3000 | Halves damage from Earth attacks |
| Light Charm | 3000 | Halves damage from Light attacks |
| Dark Charm | 3000 | Halves damage from Dark attacks |
Trader
| Item | Price | Comment |
|---|---|---|
| Potion | 20 | Restores 150 HP |
| Hi-Potion | 150 | Restores 500 HP |
| Phoenix Down | 100 | Revives from K.O. |
| Ether | 1000 | Restores 40 MP |
| Antidote | 10 | Cures Poison |
| Eye Drops | 20 | Cures Blind |
| Echo Herbs | 25 | Cures Silence |
| Wakeup Bell | 50 | Cures Sleep |
| Balsam | 100 | Cures Dread |
| Remedy | 500 | Cures a variety of status ailments |
| Teleport Stone | 100 | Return to dungeon entrance |
Magics
| Item | Price | Comment |
|---|---|---|
| Reflect | 1600 | Reflect enemy magic |
| Dispel | 1600 | Removes magic and support effects |
| Aerora | 1600 | Moderate Wind damage |
| Gravity | 800 | May halve enemy’s HP |
| Veil | 800 | Increases Evade |
| Slowga | 800 | Decreases enemy party’s Speed |
No Comments