| Mission Details |
|---|
| **Rewards:** 160 XP, 28 dollars, Pistol |
It’s time to go after Deadlift, so exit Janey’s place and head east, with your destination being the southeast corner of the map. This will lead you to Regolith Range, so head there and head to the jump pad. Note that the enemies in this area are Scavs, who are similar to the bandits in the previous games.
You find out the jump pad has been deactivated, so Janey sends you to throw the breaker. Fight through the waves of Scavs, throw the switch and you’ll find the fuse has been blown. Janey has a bright idea of you acting as the fuse, so stand in the electricity until the jump pad has been activated again.
Head back to it and you’ll be launched into Deadlift’s bouncy palace, so get ready for a boss fight.
Jump pads will launch you into the air and will be scattered throughout Pandora’s moon. The one pictured will bring you to the first challenging boss of the game, Deadlift.
Boss: Deadlift
Deadlift is probably the first major boss of the game, as he’s a lot more challenging than Flame Knuckle. One of the first things you’ll notice in the arena is a lot of jump pads, as well as there being a lot of different layers, vertically. There will also be plenty of Scavs in the arena to add to the damage that Deadlift can do.
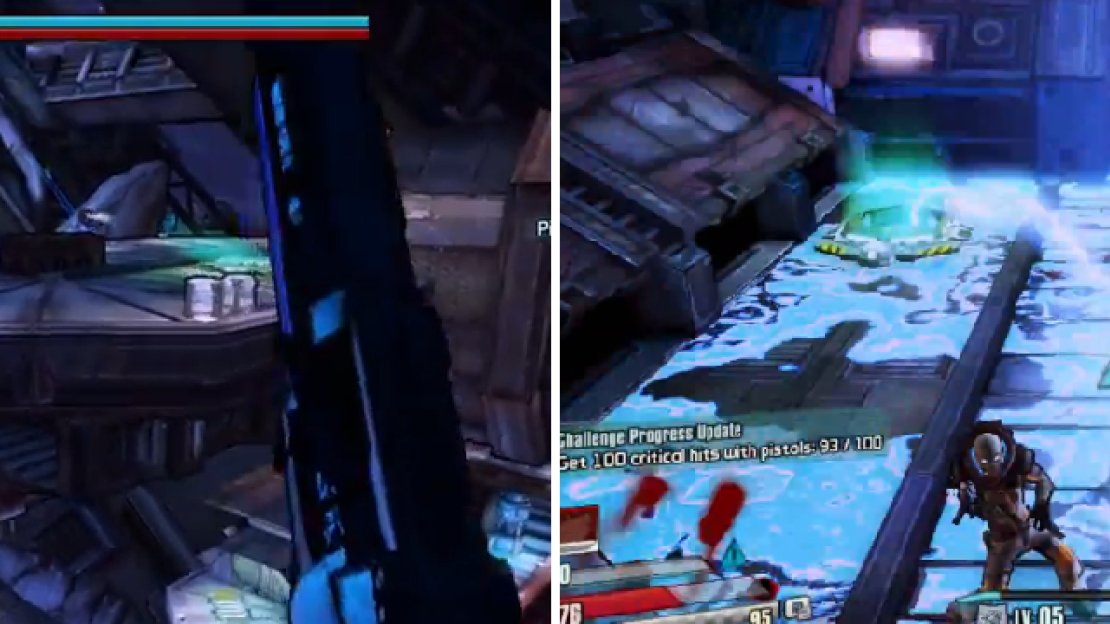
Deadlift has three basic attacks that will do in the battle, with the first being electrifying the floors on certain levels. You can tell which ones are which, since they have different textures. You do not want to be standing on those whenever he activates the electricity.
His other two attacks are a laser beam that deals shock damage, as well as two slow moving balls of electricity. As you can see, Deadlift is big on shock damage, meaning your shields will go down fast. Thus, there are two ways to deal with him, with one being to chase after him using the bounce pads.
Deadlift’s two most dangerous attacks include the electric balls (left) and him electrifying the floors (right).
The other way involves staying on the ground level and using a ranged weapon, such as a sniper rifle. It seems that Deadlift never really lands on the bottom, but there will be fewer chances to hit him, unless he likes to stay on the lower levels. It might take longer, but it’s a much safer way.
Deadlift Grounded
When Deadlift is done for, use the jump pads to reach the top of the room and go through the door, to find the Digistruct Key in the toilet. Use the exit to leave and don’t forget to grab the Last Requests side mission that’s nearby. Head through the Kraggons and jump across the platforms to reach the other side with the Scavs.
Go to the waypoint and insert the key into the device, then try to summon a vehicle. It doesn’t work, so Janey says to smack it. Melee the device and than it’ll start working again, so summon a vehicle and head towards the next waypoint on your map, which will bring you back to Serenity’s Waste. Go back to Janey and pick up the Orbatron to finish the mission.


No Comments