| Mission Details |
|---|
| **Rewards:** 977 XP, 399 dollars |
Use the exit right next to Moxxi to head to Triton Flats. Grab a vehicle and start heading towards the waypoint on your map, minding the bandit vehicles and the Shugguraths. Note this isn’t across the bridge, but down a narrow passageway. When you get there, get out and go into the room with the Claptrap unit.
He says that in order to get to Crisis Scar, you will need to join RedBelly’s scavs and prove yourself by killing some Darksiders. Now you can cross that bridge and go right as soon as you do to reach The Grabba section. Head inside the atmosphere-filled area and reach the back to find another Fast Travel station.
Follow the hallway and into the first room with Darksider enemies, who are nothing more than Scavs. You will encounter a named enemy here, called Magma Rivers, who will drop a prism upon being killed. As the objective states, you need three of these and you’ll find two more named enemies as you clear the compound.
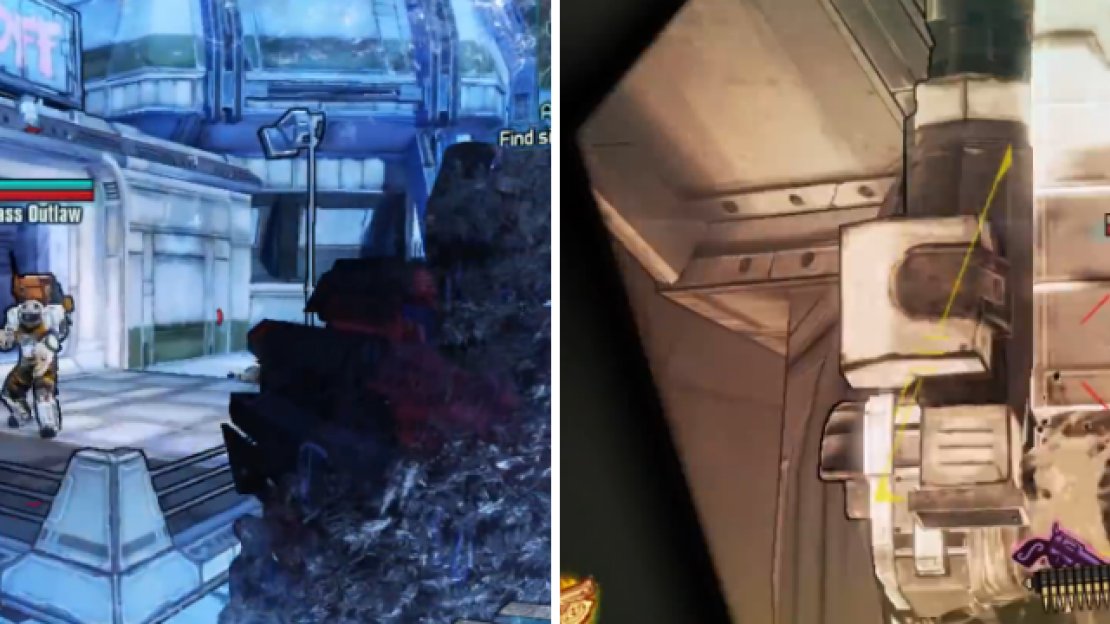
With the room cleared, find the jump pad, but don’t use it yet. There’s a small switch next to it that you have to shoot before using the jump pad, as you won’t get enough air to reach the next section without doing so. When you’re good, go through either exit and up the stairs to find more Darksiders, as well as Wally Wong, the second prism holder.
Shoot the little box next to the jump pad, then quickly use it to get to the next area.
Kill them all and the last named guy will appear, Fair Dinkum, who’s a Madman-type that will charge you, melee and use the butt slam. Make sure you also got the 20 kills necessary, then report back to SC4V-TP. You’re good to go, but you’ll have to use the secret entrance, since he broke the normal one.
Head around and to the new waypoint, then press the button to get inside. The new objective says to get to Crisis Scar unnoticed, but that doesn’t last long as the enemies will start attacking once RedBelly finishes talking. Make your way through the enemies and jump pads, then exit to Crisis Scar.
Finding the Signal
In the initial area will be some Kraggons, then you’ll eventually make your way to another Scav base. Kill the guys outside, then approach the gate, only to have two turrets appear. Use cover, if needed, and destroy them, then RedBelly will have the gate opened, with a nice batch of troops coming to greet you.
With them dead, head inside and clear the compound, then approach the door, only to have a Badass Outlaw show up. Use cover, your Action Skill and what else you have to take him down. Go through the door that the Badass came out of, then go up some stairs and you’ll reach another outside area.
Badass Outlaws are probably the most challenging non-boss Scav enemy in the game, so don’t be afraid to use everything you have on them.
Of course, there will be more Scavs here, as well as another Badass Outlaw towards the end of the enemy wave. Go through that door and get ready for a boss fight.
Boss: RedBelly
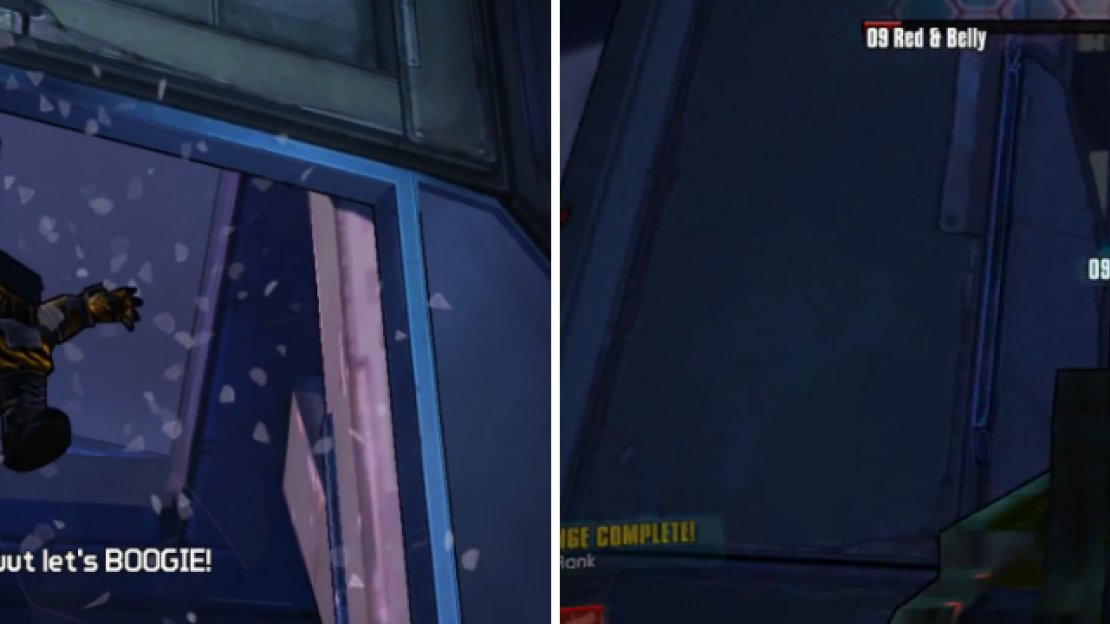
When the boss first shows up, you will notice it’s actually two in one, with one forming the head and the other one being the body. All the boss really does is either a butt slam with a pretty wide radius or shoot at you with its laser gun.
Once you manage to get the boss’ health to a certain threshold, Red and Belly will split and become two bosses now, with Red flying in the air. Belly will maintain the same two attacks as before, while Red will just shoot at you. Note that Lil’ Scavs will spawn throughout the fight whenever you enter the arena.
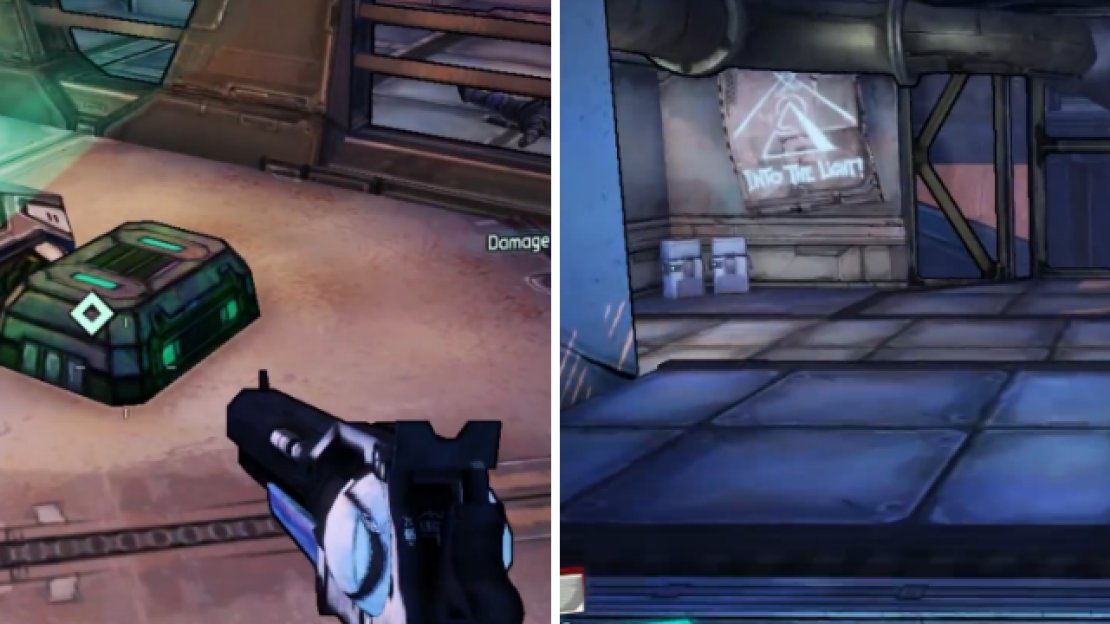
An easy way to kill both phases of this boss battle is to hang out by the vending machines just before you entered. Both cannot enter this area for some reason, so Belly will just sit at the doorway and still attack, but you can hide if your health gets too low. From here, it’s easy pickings to down both bosses without much of a problem.
RedBelly are actually two bosses that start out together at the beginning of the fight, and will separate once their health reaches a certain point.
With the bosses dead, find a switch on the wall opposite of the entrance and press it to open a door. Head up to the top and you’ll find the console to shut off the jamming signal has been broken. Jack says to go on the roof and do it manually. On the roof, use the console and then you’ll have to destroy the three relays.
Each relay will have a few Scavs guarding it, as well as two turrets. Once you clear the area around one, you will have to shoot it until it explodes. When all three are toast, return to Concordia and find Jack in the city. It’s time to meet The Meriff, but you’ll need to find another way to get to him.
Find the CU5TM-TP and present to him the smutty recording you have of The Meriff. This will cause him to override the elevator controls, allowing you to go to his office. Inside, you’ll be greet by some enemies and there will also be some turrets. After the coast is clear, head into the office, watch the scenario that happens, then go meet up with Janey, who’s now in Concordia, to finish the mission.


No Comments