| Mission Details |
|---|
| **Rewards:** 2376 XP, 157 dollars |
Your goal now is to find an AI core that Jack needs, but Janey doesn’t have one. However, she does know someone that likely has the Dahl AI core, who goes by the name of Davis Pickle and is camping out in Outlands Canyon. The problem is that the only way to get there will require you to get a Stingray.
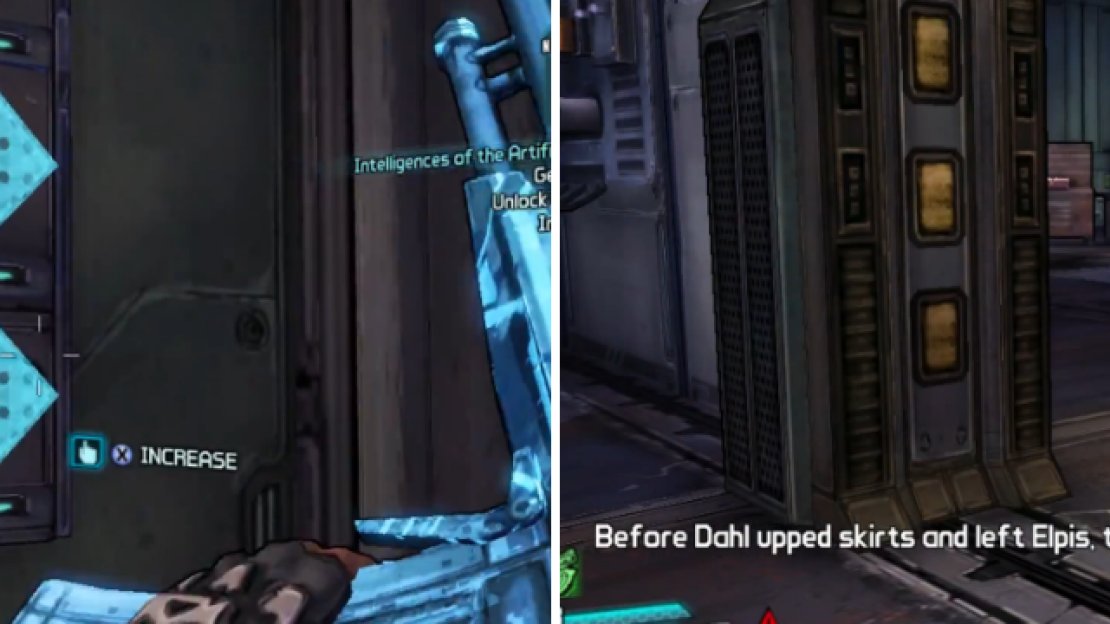
Head to Triton Flats and to the central area of the northern part to find a garage. Inside, you’ll spot a locked door and some numbers off to the right of it. Janey will chime in and say the combination is “8008,” meaning you’ll need to change the numbers by pressing the arrows to the left or right of those numbers.
Just input the numbers using the arrows on the left and right, then push the button to open the door.
When the numbers are in order, press the button by the door to open it, then place the scrambler on the console. With that in place, you can now spawn a Stingray, so do that and ride to the waypoint. The Stingray is able to hover in the air, similar to you, as well as slam the ground. You need to jump off the ramp to clear the chasm, allowing you access to Outlands Canyon.
Finding Pickle
On your way to the waypoint, which is Pickle’s location, you’ll be fighting through plenty of enemies, including Torks and of course, Scavs. The Torks are probably more problematic than the Scavs, since you’ll have Spitters and the other ones that can burrow underground and launch you when they come above ground.
Once you reach Pickle, talk to him and he’ll mention that you can probably get one from the Drakensburg, which is run by the Bosun and Skipper. The only problem is that it’s not going to be easy getting the AI, as you’re going to need to fight your way through the place. He’ll open up a path to the Outlands Spur area, so use the exit nearby to go there.
The Drakensburg Schmakensburg
As you venture into the new area, you’ll notice a new type of Kraggon, cryo-elemental ones. They moreorless function the same, although the big ones can shoot icicles at you instead of fireballs. Another thing you’ll find out is that the waypoint is across a pretty decent-sized gap, so you’ll need to find a way across.
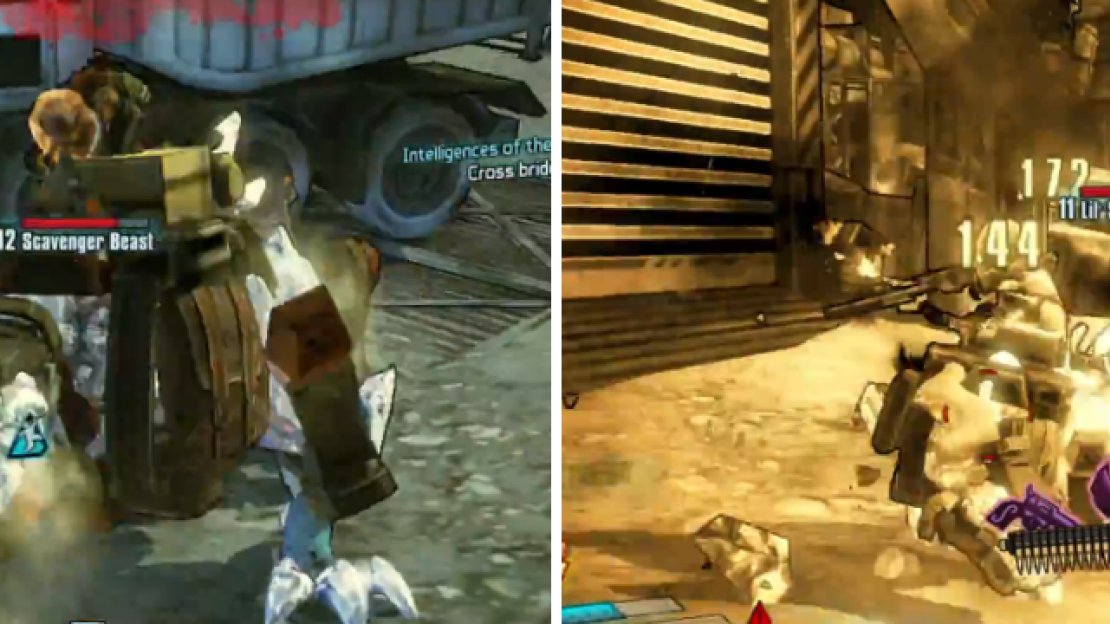
There’s a jump pad you can use to cross, but you aren’t able to find a way inside the building. Well, the front door will open very soon, so wander around the area in front until some enemies appear. Kill them all and a second wave will show up, including a new enemy, a Scav that will be riding a Kraggon.
This enemy functions similar to the normal Kraggons, where they will split up into smaller ones upon death, which includes the Scav riding on top (unless you kill the Scav first). Also, be on the lookout for Armored Outlaws, since they take more damage than usual, unless you have corrosive damage on hand.
Yes, that’s a Scav riding a Kraggon and yes, it splits up like a normal Kraggon.
Go through the previously locked door and clear the area of enemies, then attempt to cross the bridge, only for the Skipper to retract it, halting your progress. Pickle mentions there being an override the bridge controls, so head to it and push the button, only to have the Bosun actually destroy the bridge now.
Of course, Pickle has another plan, which is to dump methane to cool down the lava so you can cross it. To get to the controls, go out the nearby door and drop down to the walkway below. Turn the valve only to have no methane come out. Pickle mentions that you’ll need to go to the pumping station in order to turn on the methane.
Pumping Station
The pumping station is back in the first area, so you’ll need to use a jump pad to reach the area, then you can begin your long trek to the station. Go to the front gate, only to see it be locked and some turrets appear. Luckily, there’s a door on the right side you can go through, which leads into the plant.
Have some fun with the enemies in the first area, then start making your way towards the waypoint. Use the console to activate the pumping station, then you’ll need to find a way to redirect the flow. Head to the next area and fight through the plethora of enemies, including enemy jetfighters.
The valve you’re looking for is at the very top, so you’ll need to find some jump pads that’ll allow you to get up there. Once you reach it, turn it and then head back to the one valve you used to try and release methane. This time, however, it will work and freeze the lava, allowing you to cross and move to the Pity’s Fall area.
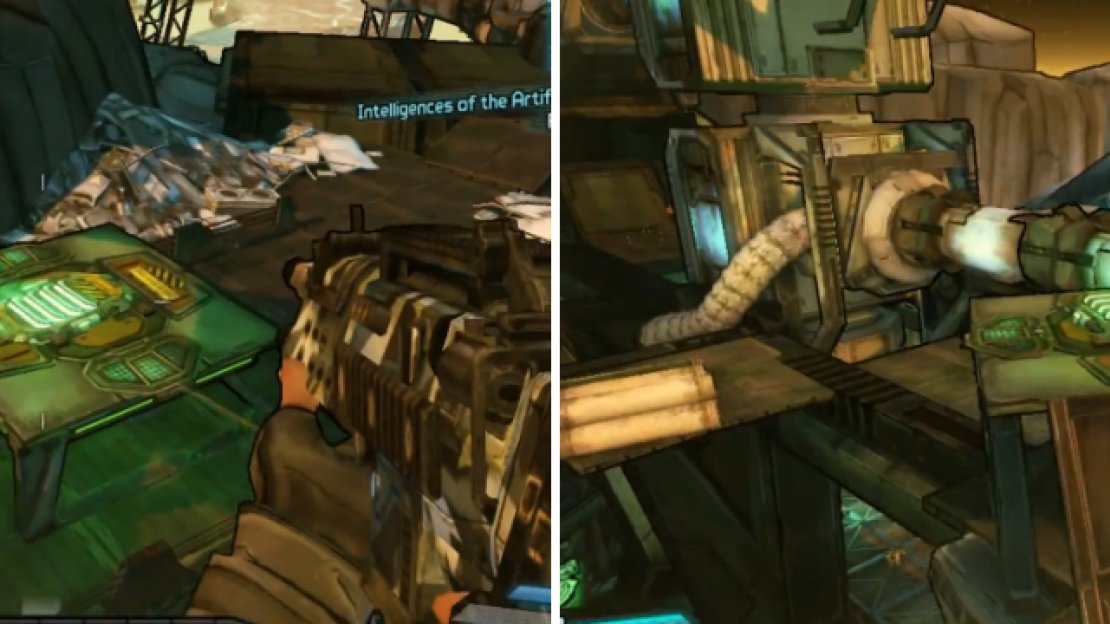
You’ll need to use the jump pads in the screenshots above in order to redirect the methane flow.
Pitys Fall
The enemies you’ll be fighting from this point on will be human, so something like a fire-elemental weapon will be good. Make your way to the entrance of the Drakensburg, minding the Scavs and two turrets at the entrance, then head inside. Once there, head through the doorway on the left and into the Core Systems area.
When you approach the waypoint, Bosun will put up a forcefield to block your progression. After some conversation, he’ll spawn a few enemies, one of which is a Badass Outlaw. Kill them all and you’ll get some chatter with the Skipper, who turns out is turning against the Bosun, although he doesn’t quite know it yet.
She’ll open a door for you on the second level, which leads back outside. Fight your way to the next checkpoint, which will put you in the Hangar Bay area. Don’t forget to keep an eye on your oxygen level while you fight through more Scavs to get to the next waypoint.
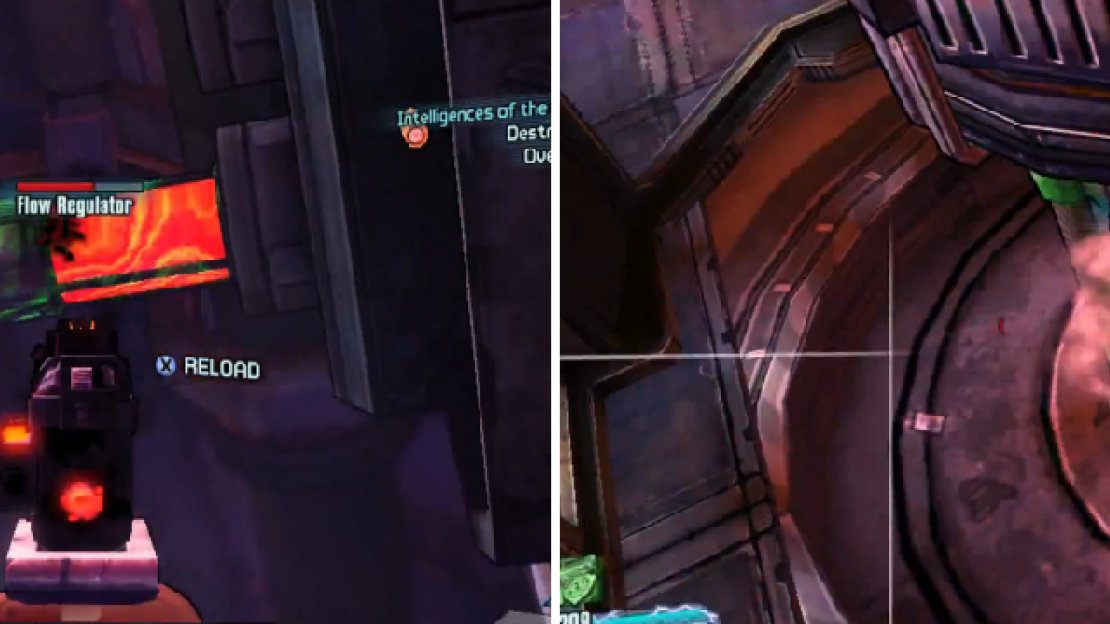
There’s a path in the leftmost portion of this area, that leads to two jump pads that go up a shaft, bringing you to the Engine Room. Your first task is to go to the control panel and set the engines to maximum power. After Pickle does his thing, you’ll need to look towards the top of the room and shoot the red thing that is the flow regulator.
The flow regulator is near the ceiling (left), while the power stabilizer will require you to jump and shoot or jump onto something nearby (right).
Head to the platform towards the top and use the control panel to expose the next thing you need to shoot, which will require you to jump a little bit in order to hit it. Now, there’s a walkway on the western side that leads to the next control panel. Once everyone finishes talking, find the horizontal shaft in the middle of the room.
On the one end is an opening on the side, allowing you to travel through the shaft. Jump to the western walkway, then climb the ladder to a big room that will eventually lead you back outside. Use the jump pad to continue, then the Bosun will sick Poopdeck on you, only for him to meet a quick death.
You’ll end up in a room that looks like a dead end, but there’s a hole in the floor that allows you to drop down. Kill the enemies, then find another spot where you can drop down, getting you to the control panel that will deactivate the barrier from earlier. Go through where the barrier was and kill the last group of enemies in your way before the boss.
There will be some jump pads that lead to the top, where you’ll find some vending machines. Make sure you top out your ammo and health, then use the elevator to go down and meet the Bosun, face to face.
Boss: The Bosun
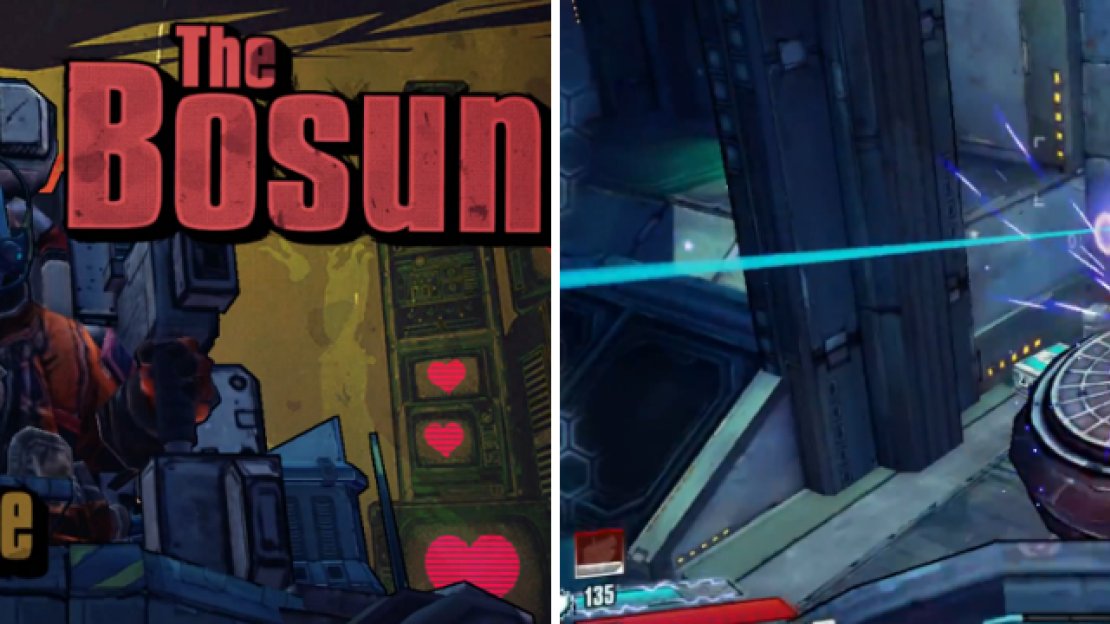
The Bosun can be an annoying boss, since he has four things that will regenerate his shields, three of which are on the central platform and another hanging from the ceiling. You will want to destroy all of these first, so you don’t waste ammo on shooting the Bosun, only to have his shield come back. You can easily see where the things are, since they connect to him with a beam.
The Bosun is a fairly typical boss, except he has four turrets around the area that will quickly regenerate his shields.
It’s best to leave the enemies alone, as you can use them if you go down to get a Second Wind, unless they’re up in your face (like the Lunatics). As for the Bosun, he has lasers and a weapon on the bottom of his chair that can cause burning damage, as well as rockets that can cause Shock.
The Bosun can put quite a hurting on you, but you can likely stick to the bottom floor to avoid some of his attacks, like the rockets. With the things regenerating his shields down, the Bosun shouldn’t last too long, as long as you have strong weapons.
Head to the door marked on your map and press the button to open it up, letting you into the AI hub. As it turns out, the Skipper is the military grade AI you have been searching for this whole time. Open the door leading to the AI and grab it, finishing the mission.


No Comments