A Light in the End of the Tunnel is a side mission in the Wild Island zone of Stalker 2: Heart of Chornobyl. This mission is easily missed if you don’t head south to Quiet’s camp from the Noontide Base because the main mission will take you east to Zantor instead. Read on to find out where you can find the mission, how to deactivate the portable psi installation emitter, and what you need to do to complete the mission.
Table of Contents
If you want to jump to a specific section, click on the links below.
Finding Quiet’s Camp - Mission Start
Make your way to the Noontide Base via the Hot on the Trail main mission. After you’ve finished up everything you need to do there, you’ll be sent over to Zantor for the Chasing Ghosts main mission. Before you head to Zantor, make a detour south to find Quiet’s Camp.
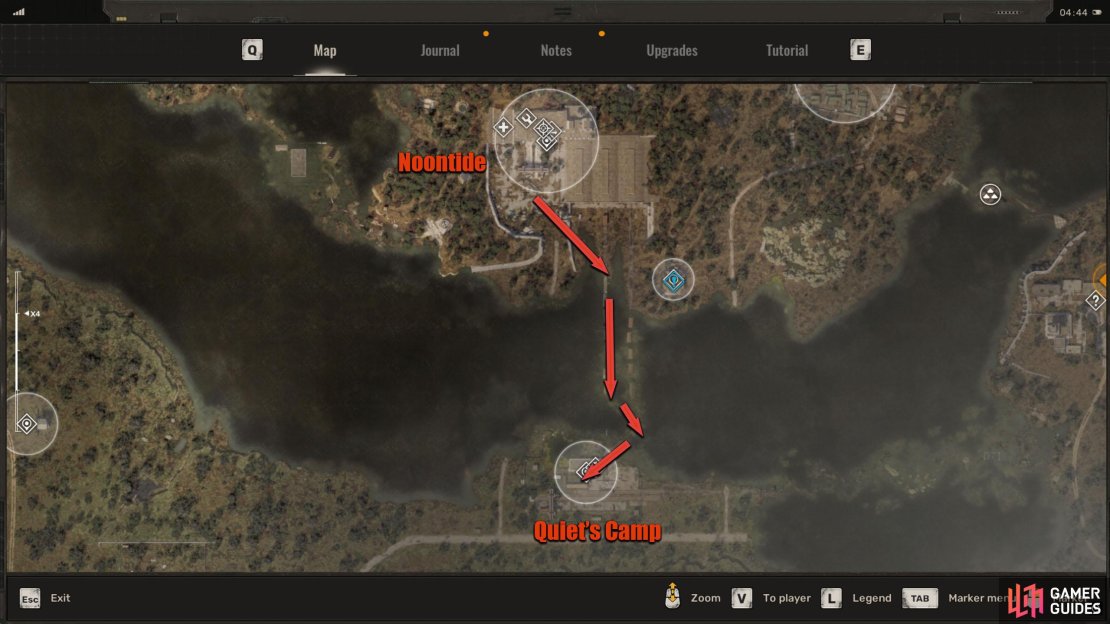
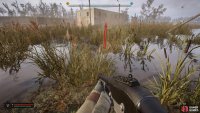
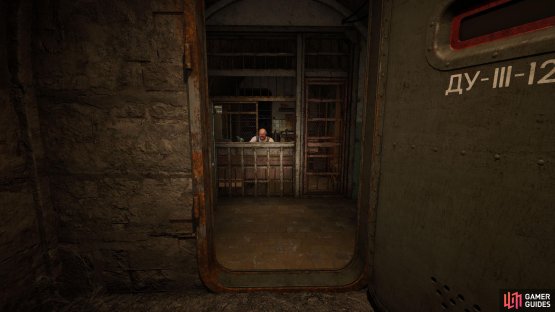
From the Noontide Base, head south to find a train carriage you can jump on. Follow the trail of carriages south until you go through the last carriage. On the other side, you’ll find a large building in front of you, this is Quiet’s Camp. Enter the building to find Quiet sitting behind his desk. Speak to him, and he’ll ask you to get a psi-installation emitter; ask him about it if you want, then accept the quest.
(1 of 4) Quiet’s Camp can be found south of Noontide.
Find Peat at the Checkpoint
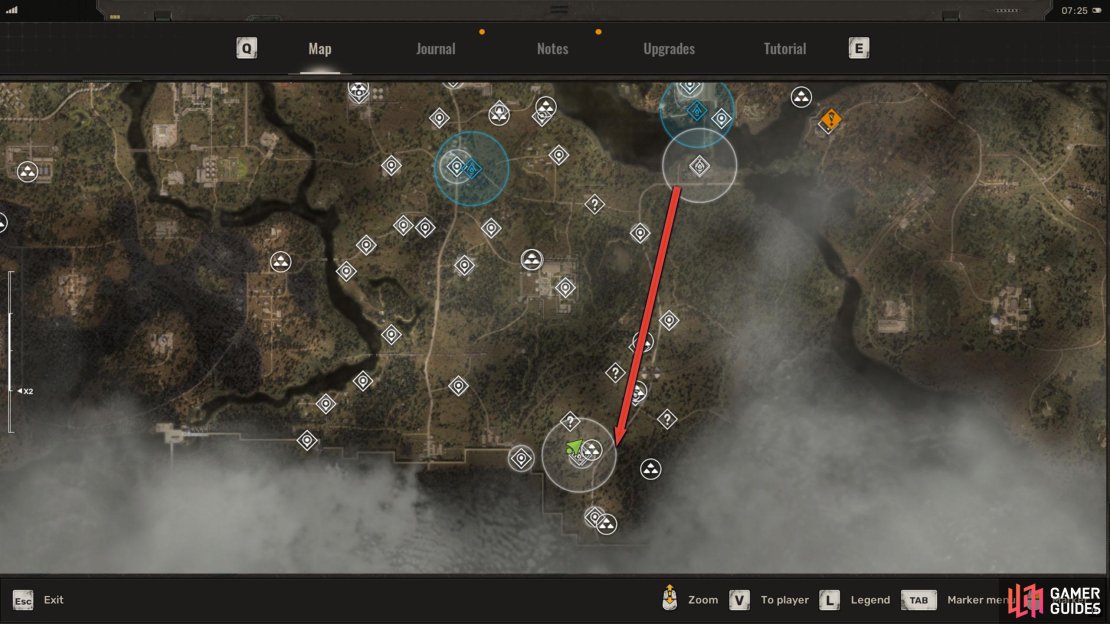
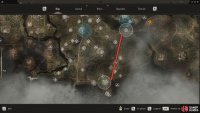
To find the psi-installation emitter, you’ll need to find Peat, the last guy Quiet had on the job, who’s gone missing. This is a long trek, so make sure you lighten your load, pack up on energy drinks or water, and prepare for a long walk south, 1 km to be exact. There’s not much to say about this part of the mission other than to stay on the road and navigate past the numerous anomalies you’ll encounter along the path.
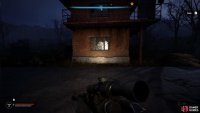
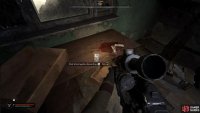
There are buildings and POIs you can check out along the way, but they have nothing to do with the mission. When you reach the checkpoint, it’s suspiciously quiet (pun intended), check out the other room if you want, but the place you’re looking for is the tower on your right. Enter the upper room and search on top of the desk to find a recorded interrogation message regarding Peat.
(1 of 3) Follow the path south from the camp while avoiding the numerous anomalies along the way.
Rookie Village - Peat Location
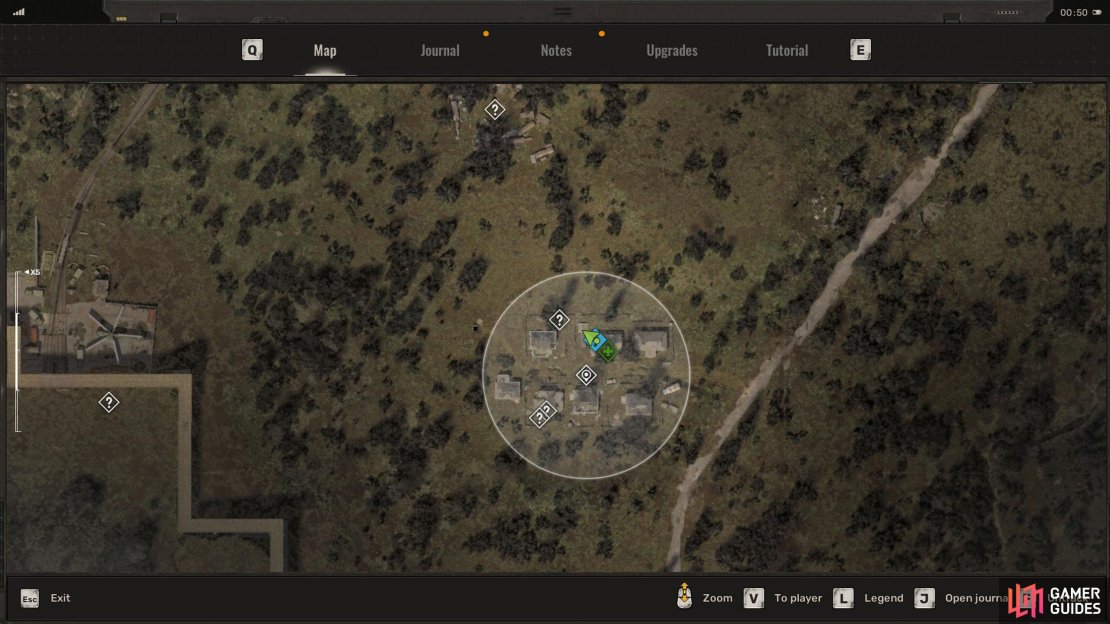
The recorded message will mention the Rookie Village, so that’s the next stop. Go back to the main road and head north/northwest to find Rookie Village. Inside the village, head to the doctor (indicated with the first-aid sign), and speak to Whale. Ask him about a wounded stranger that recently came here, and fortune has it, he is in the same building! Walk into the adjacent room to find poor old Peat on the bed. Speak to him to receive the code for the bunker, where the psi-installation is.
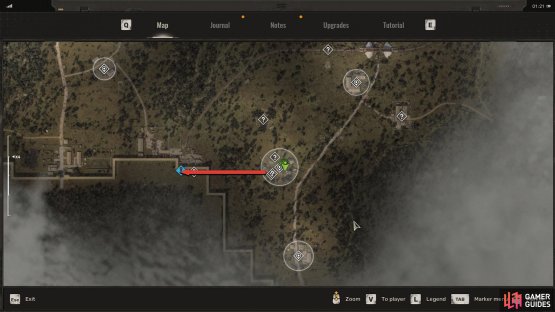
(1 of 3) Rookie Village is a little ways to the north of the checkpoint.
Abandoned Tunnel Guide
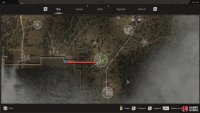
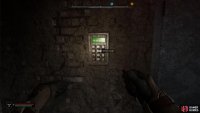
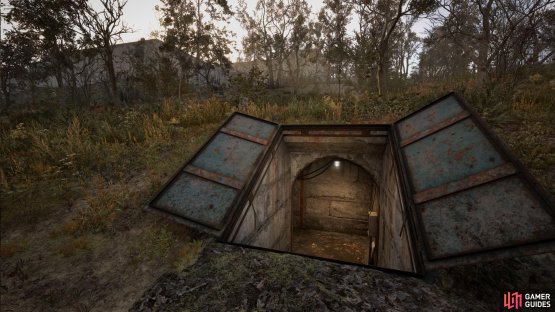
Now that you have the code, it’s time to go to the Abandoned Tunnel. Before going to the Abandoned Tunnel, we recommend offloading your excess gear in the stash here, as there’s a fair bit of loot in the tunnel. When you’re ready, exit Rookie Village, head west to the large building, and go through the main entrance. At the back of the complex, to the south, you’ll find the tunnel. Equip your bolts and make your way to the door where the red light is, while throwing the bolts at the anomalies along the way. Enter the code that Peat gave you (1268) to enter the bunker.
(1 of 2) The Abandoned Tunnel is to the west of Rookie Village.
The Abandoned Tunnel is to the west of Rookie Village. (left), Enter the code obtained from Peat to enter the bunker. (right)
In the first room, you’ll find some supplies around the room. Enter the door to your left and follow the corridor into the next room, which looks like a storage room of sorts. Once again, loot all the supplies scattered around the room, and then head into the next room. There’s not much in this room, so head into the office to your left, and go into the garage next to it. Here, you’ll find some enemies, ‘zombies’ to be exact. Humans who have had their minds taken control of. There’s one to the left of the door and a couple opposite the door. Either shoot them with a shotgun or tap their head with a single bullet to take them down.
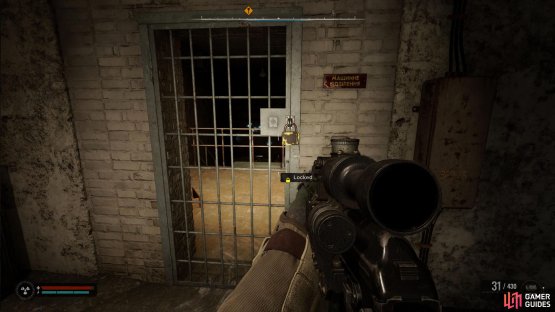
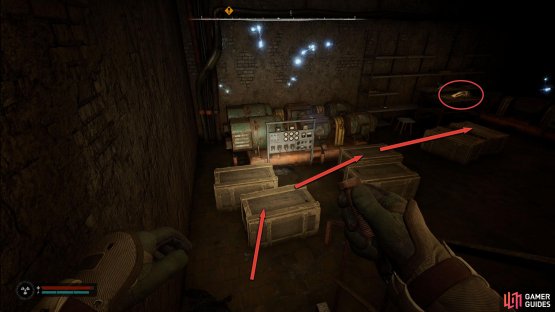
With them taken care of, loot their corpses, and go across to the other side of the room. To the left, you’ll find a locked door with a padlock on it that can be shot off. Go inside, and jump onto the crates (to avoid the electricity), over to the backpack, located at the back-right of the room, for some supplies.
(1 of 2) Shoot the padlock to gain access to the room.
Shoot the padlock to gain access to the room. (left), Jump across the crates to the backpack to avoid getting electrocuted. (right)
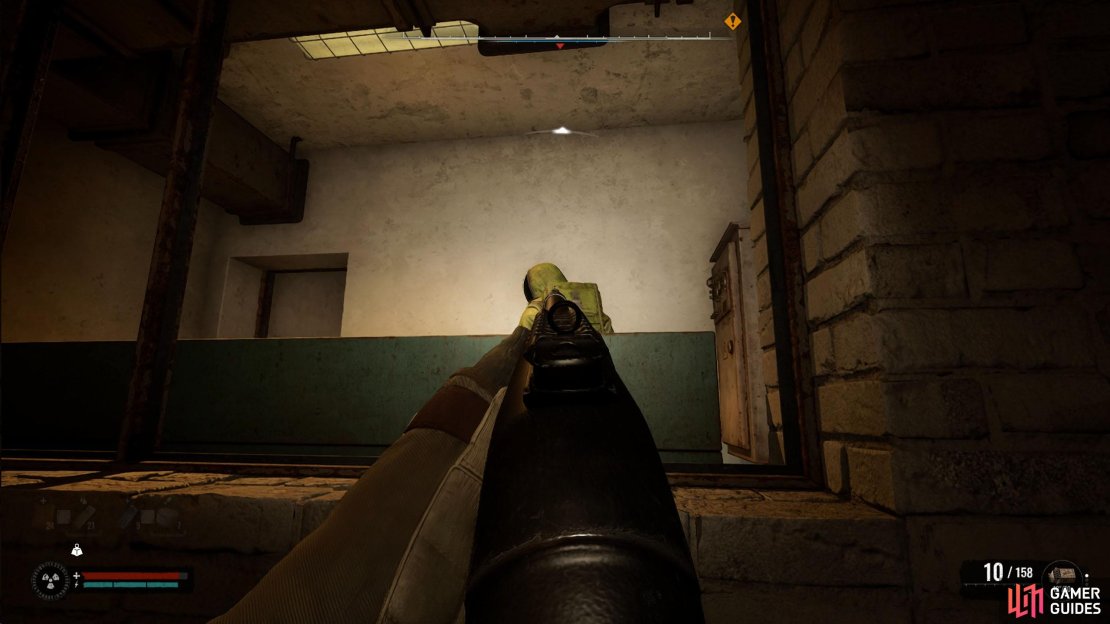
Exit the room back into the garage, and follow the path south. There’s random loot like bullets, ![]() Medkits, and grenades on the various shelves in here, so loot them if you have the space. When you reach the red container, go through it, go over the wooden plank, and continue south, using the carriages as a bridge. At the end of the carriage, jump over to your right, and you’ll see a room with a window and a yellow hue. If you look from outside of it, you can see a zombie unaware of you. Take it out, and then head through the door to the right of the room.
Medkits, and grenades on the various shelves in here, so loot them if you have the space. When you reach the red container, go through it, go over the wooden plank, and continue south, using the carriages as a bridge. At the end of the carriage, jump over to your right, and you’ll see a room with a window and a yellow hue. If you look from outside of it, you can see a zombie unaware of you. Take it out, and then head through the door to the right of the room.
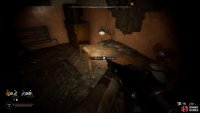
This room will have some more zombies in it, so proceed carefully, taking them out as you make your way through the room. After you’ve taken them out, make your way to the hole in the back of the room, and look to the left. Here, you’ll find an explosive canister you can shoot to give you access to a stash. Head through the door to your left (where you shot the zombie through the window). Loot the corpse for ![]() Vadym Brahin’s PDA, and then press the big red button to open the double doors outside.
Vadym Brahin’s PDA, and then press the big red button to open the double doors outside.
Go back to where you shot the guy in the window, and go through the now-open double doors. When you go into the next room, you’ll have to deal with a couple more zombies, who will come through the door to the right of the shelf in front of you. Take them out, and then go through the door to the right to find the stash you gained access to earlier. Make sure you loot the ‘![]() Old Key’ of the desk while you’re in there.
Old Key’ of the desk while you’re in there.
(1 of 5) If you jump up near the window, a zombie will get up. Shoot it from here to save yourself later.
Now, go through the door where you killed the two zombies, and make your way through the corridor, but stay against the left wall as there is an anomaly on the right. Continue through the corridor until you reach the large room with abandoned train carriages. There are plenty of supplies in the carriages and on the shelves in this room, so loot them if you need them, and then head north, dealing with the zombies along the way.
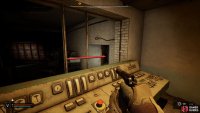
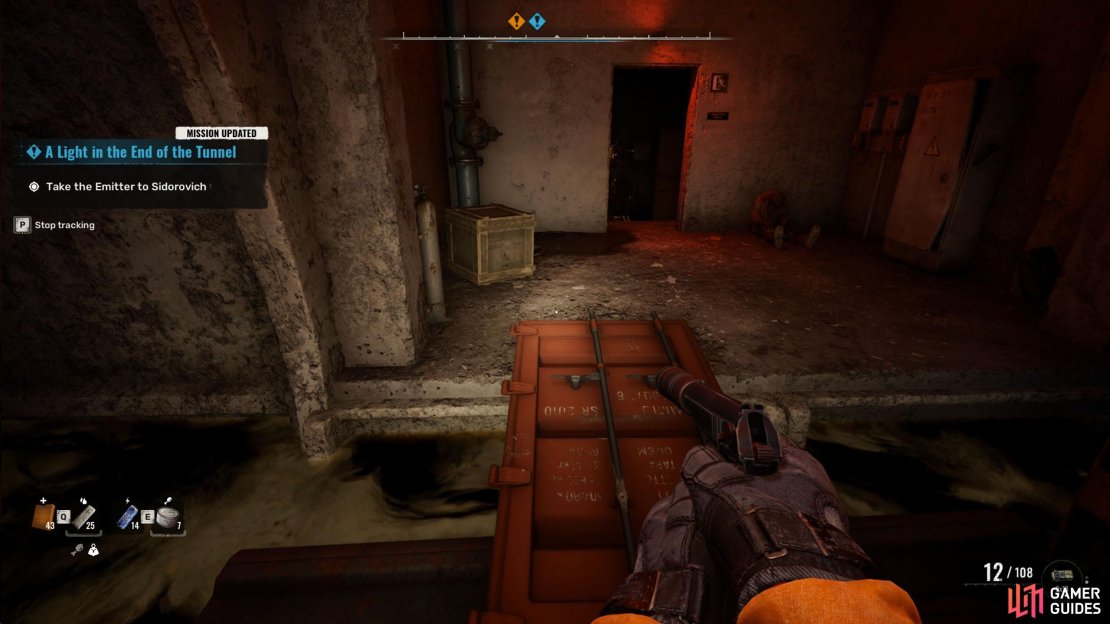
At the end of the path is a gate containing a stash. Go inside and loot the stash, but be careful of the anomaly in there by the stash. Go back, head into the center of the room, and go through the green carriage to reach the other side. There will be more zombies here, so take them out before they cause you too much trouble. With them dealt with, go south toward the red container, which contains the psi-installation emitter you are looking for.
How to Disable the PSI-Installation Emitter
Now, you’ll get an optional objective to disable the emitter. There are two ways to do this, one is to damage it, making the emitter useless, and giving you a lower reward upon the completion of the quest. The other method involves killing an invisible mutant who will shock you with electricity and throw stuff at you. The reward isn’t that much lower, believe it or not, so if you don’t want to fight this, shoot, or melee the emitter to disable it, and pick it up.
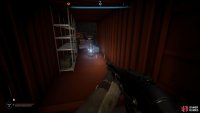
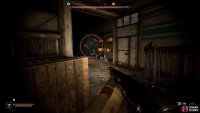
However, if you want to do the mission properly, you’ll want to go back on yourself a little, go through the door to the northeast (where the dead mutant is), and search around the adjoining rooms for a ball of invisible energy with electricity coming out of it. This is the mutant that goes around the rooms in a circle and takes several shots (shotgun) to take it down.
Make sure you keep an eye on where it goes, as it will zoom around the rooms while shocking you with electricity or throwing objects at you. This does a lot of damage, so make sure you keep your health near full to not die from a single hit. When it uses the electric attack, it acts like a mine, so run away from it to avoid getting damaged by it. If it starts levitating objects, keep moving to avoid them hitting you.
(1 of 3) The PSI Emitter will be in the red container.
Not going to lie, this is a pain to defeat. If you lose sight of it, keep running around the circle of rooms to find it. It’ll be somewhere. Once it’s defeated, the psi-installation emitter will be disabled. Now, you can search these rooms for supplies, and most importantly, the ![]() SSP-99 Ecologist armor, which is behind the locked white door in the office.
SSP-99 Ecologist armor, which is behind the locked white door in the office.
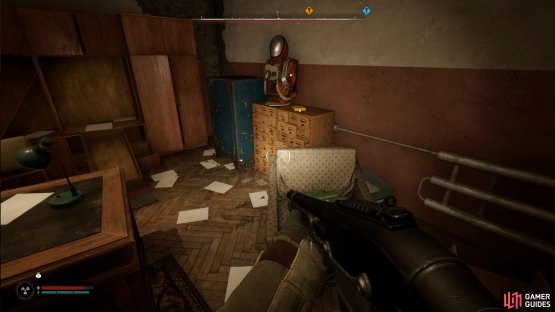
You picked up the Old-![]() Key earlier, right? The armor will be displayed on top of the file cabinet to the right of the desk, with a
Key earlier, right? The armor will be displayed on top of the file cabinet to the right of the desk, with a ![]() Scientific Medkit, and a stash next to it. At the back of the room where the dead mutant is, you can find the holy grail of Medkits, as there is a shelf at the back stacked with Medkit boxes. Take them if you expended a lot of them against the mutant.
Scientific Medkit, and a stash next to it. At the back of the room where the dead mutant is, you can find the holy grail of Medkits, as there is a shelf at the back stacked with Medkit boxes. Take them if you expended a lot of them against the mutant.
(1 of 2) The armor will be on top of the file cabinet, next to the stash.
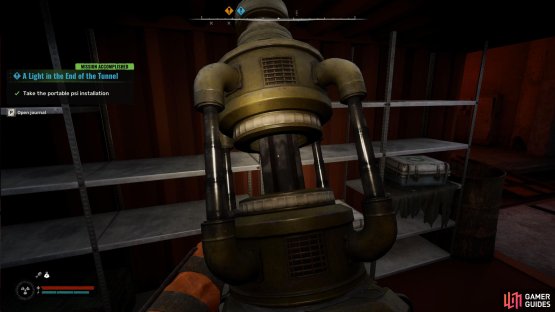
The armor will be on top of the file cabinet, next to the stash. (left), After disabling it, pick up the emitter. (right)
Take the Emitter to Sidorovich
Head back to the psi-installation emitter and pick it up, which you’ll need to bring to Sidorovich back in Rookie Village. Now, there is good news and bad news. The good news is there is a shortcut back to Rookie Village. The bad? You’ll need to defeat a PSI-Mutant who will use your weapons against you. From the emitter, go around the corner to the southeast, and through the door, which will take you to a tunnel. Follow the tunnel down, interact with the switch opposite, and turn it on.
Continue down the tunnel to the left and take a right at the intersection, where you’ll find a ladder. Take it down and you’ll drop into some chemicals. Quickly get into the pipe in front of you, jump over the chemicals in front, and break the wooden panels to expose another ladder. This ladder will drop you on top of an anomaly, but it’s a good one that will stop you from taking fall damage. After you’ve dropped, pick up the supplies to the west, and then go east. If you have trouble getting past the anomaly, try crouching through it.
(1 of 3) Go through the door around the corner of the emitter, and follow the tunnel while taking the ladders down.
Before you take the next ladder down, be prepared for a difficult fight against the aforementioned mutant (if you’re lucky, you can kill it with multiple grenades, but it’s random if it will be near the drop or not). When you drop, you’ll immediately be in combat with the mutant. If you see a blue shield around it, it can deflect your bullets, so wait until it’s down before firing. Another frustrating thing about this battle is it will frequently pull your equipped weapon from your hands and drop it to the floor. If you don’t pick it up immediately, it’ll use the gun telepathically against you.
The best way to deal with this is to stay to the left side of the wall where you dropped, wait for its shield to disappear, and then throw everything you have at it. This includes grenades, shotgun shots, rifle shots, and anything else you have in your arsenal. After several shots, it will drop to the floor and die. Before you exit the tunnel, make sure you loot the stash near where you dropped it.
Exit the tunnel, and head northeast back to Rookie Village, which is pretty close. When you get there, head to Sidorovich, who can be found by heading to the objective marker, and going down the stairs nearby. This will end the mission, giving you your reward.
(1 of 2) Sidorovich can be found in his bunker at Rookie Village.
Sidorovich can be found in his bunker at Rookie Village. (left), Speak to him to end the mission and get your reward. (right)
Quiet Bonus or Sidorovich Crook Choice
When you leave Sidorovich’s bunker, you’ll get a call regarding the job from Quiet. This will bring up a timed choice, where you can tell Quiet that he’s getting a bonus, which is what Sidorovich told you, and you have no reason not to believe that.
Alternatively, you can tell Quiet that Sidorovich is a crook, and if you know him from the other games, he is, as he always tries to scam you out of money when you sell him things, and he pays low for mission rewards. We’re not sure of the outcome of this choice, but we will update this page when we do. That’s it for the mission. Sidorovich will have more missions for you if you’re interested in them.










No Comments