During your search for Nestor in the ![]() Garbage region of Stalker 2: Heart of Chornobyl, you’ll eventually have a meeting with a Kingpin named Varan, as part of the
Garbage region of Stalker 2: Heart of Chornobyl, you’ll eventually have a meeting with a Kingpin named Varan, as part of the ![]() Deal with the Devil main mission. This mission can help you get the information you need by performing a task for Varan, keep reading to learn the outcomes of the choices available to you.
Deal with the Devil main mission. This mission can help you get the information you need by performing a task for Varan, keep reading to learn the outcomes of the choices available to you.
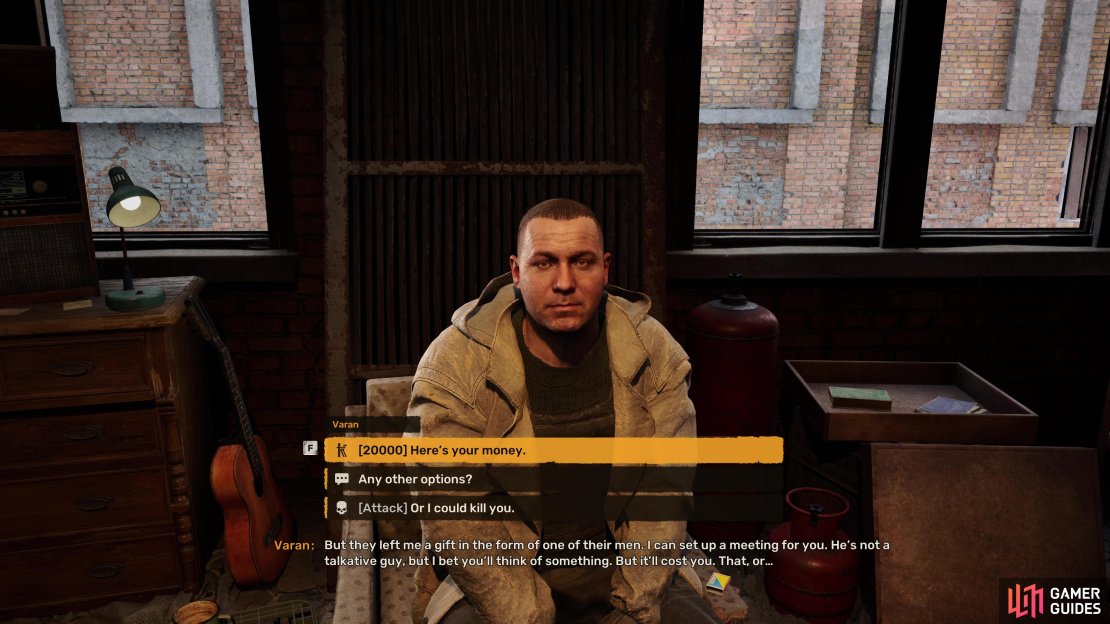
Varan will give you a number of choices when you speak with him, starting the King of the Hill mission.
Table of Contents
If you want to jump to a specific section, click on the links below.
| Quickjump |
|---|
| King of the Hill Mission Location |
| Kill the Shah or Kill Roosevelt |
| Kill the Shah |
| Kill Roosevelt |
King of the Hill Mission Location
As mentioned above, you’ll need to proceed through the main missions in Garbage until you begin the Deal with the Devil main mission, in which you’ll meet the Kingpin, Varan, a shady man who won’t hand over the information on Nestor unless you perform a task for him or pay him 20,000 Coupons. Agree to help him with his task and he’ll inform you that he wants to take control of Garbage, and wants you to take out one of his competitors.
You can choose to ignore this altogether and choose to attack Varan, it’s something you’re going to need to do at the end of Deal with the Devil regardless, but this is a mission well worth undertaking as both are holed up in locations where you can get your hands on some great loot. You’ll find out how to go about both of these routes below.
Kill the Shah or Kill Roosevelt
This is the ultimate question of this mission, should you kill the Shah or Roosevelt, both of them, or none at all? The answer lies with how you see Skif’s position in The Zone. Odds are you may have already done some side missions involving the Shah, making your choice a bit easier. Alternatively, you can choose to kill both of them, loot their hideouts, and still keep Varan happy (for now).
One question you do need to ask yourself is whether you want to lose access to a possible shop later in the campaign, as the Shah is known as a gun runner and you may be cutting that supply off if you decide to end his involvement in your journey right here, right now.
Kill the Shah
This is arguably the easiest of the two routes, especially if you’ve completed the No Honor Among Thieves side mission and kept Docent alive in favor of getting the location of the Shah’s stash. With his gun in your possession, you can make this a very short side mission indeed, with hardly any danger to yourself.
(1 of 2) You can find Shah at The Brood to the west of the Slag Heap.
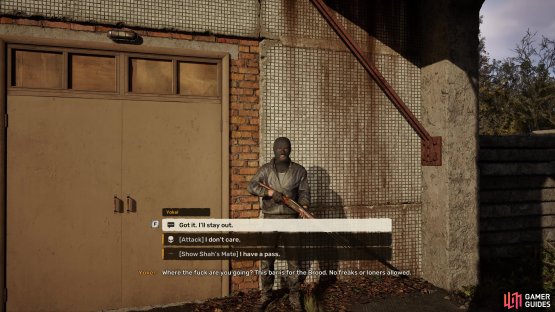
You can find Shah at The Brood to the west of the Slag Heap. (left), Show the guard at the entrance Shah’s Mate to gain access to him. (right)
Once you’re ready to deal with the Shah, be sure to bring ![]() Shah’s Mate along for the ride, you don’t need it equipped, but you do need it in your pack. You’ll find the Shah in a place called The Brood, an outpost located directly west of the Slag Heap and you’ll want to approach the front door itself, as risky as that may sound.
Shah’s Mate along for the ride, you don’t need it equipped, but you do need it in your pack. You’ll find the Shah in a place called The Brood, an outpost located directly west of the Slag Heap and you’ll want to approach the front door itself, as risky as that may sound.
Once you speak to the guard outside, you’ll be given a series of choices which will affect how you can reach the Shah. If you’re not interested in a quick hit, you can just attack on site, that way you’ll be able to treat yourself to loot from all of the enemies and what’s in the bar itself. Still, this is by far the most dangerous route and one we recommend not following. Instead, if you have Shah’s Mate with you, you can show it to the guard and he will let you through, sending you upstairs to speak with the Shah.
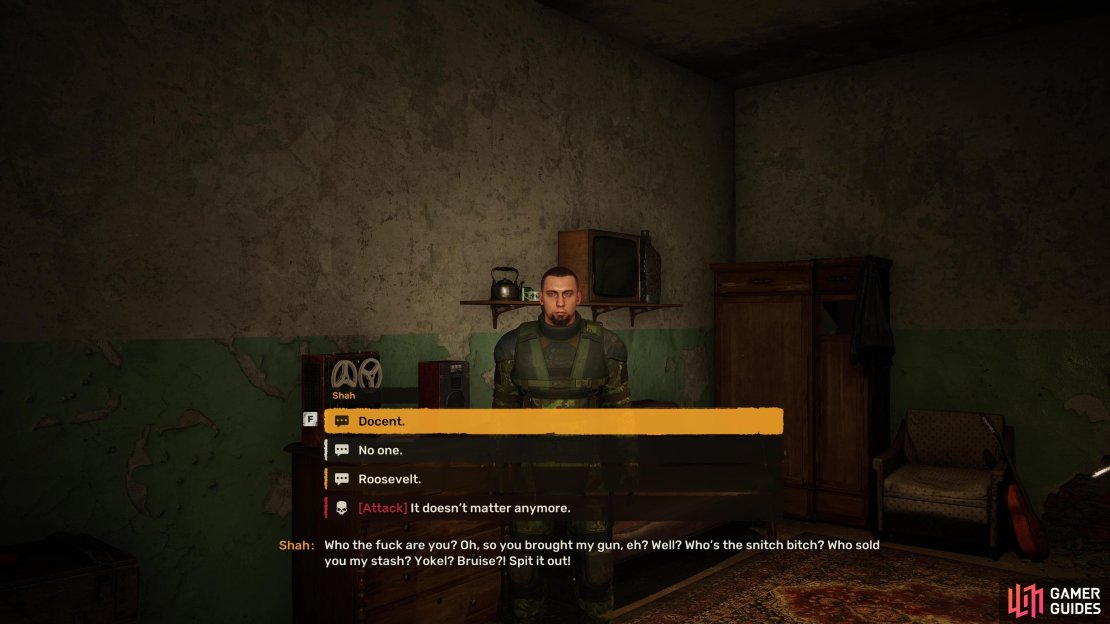
You can now pass through the bar with no danger of being shot at and go straight to the Shah, who will not be best pleased that you have his gun. You’ll be given several choices here as to who sold him out, but if you’re here for his ![]() PDA, you may as well forgo the formalities and choose the attack option. Simply pull out a Shotgun and one blast to the head will end the firefight, giving you time to loot the PDA and anything else of note in the room.
PDA, you may as well forgo the formalities and choose the attack option. Simply pull out a Shotgun and one blast to the head will end the firefight, giving you time to loot the PDA and anything else of note in the room.
With your objective for Varan complete, you need to make a getaway, and the easiest way to do this is by jumping out of the nearby window just outside of the Shah’s room, follow the pipes to the left, and then sprinting away from The Brood, if done correctly, you won’t have to fight anyone else.
(1 of 3) You will get a number of choices when you speak to the Shah.
Kill Roosevelt
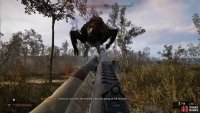
If you choose to take out Roosevelt, you’ll want to speak to Colonel Borodulin, the optional objective, as this will give you an easy way to reach Roosevelt. You can find Borodulin standing by an overturned car along the road southwest of Slag Heap. After speaking to him, help him out with his hunt, which involves defeating a few hogs and some weird leaping mutants. Equip the shotgun and help him take them out, healing when necessary. After the hunts end prematurely, the Colonel wants something else to hunt, you.
Agree to his request, and when you need to hide, find any object wide enough and high enough to obscure you, turn your light off, and wait. If he starts walking toward you, slowly walk around the other side of the object, breaking the line of sight between you. After about 20 seconds or so, he’ll give up, and thank you for the hunt. He’ll tell you that to get into the Commissary, where Roosevelt resides, you can use the pipes to get inside unnoticed.
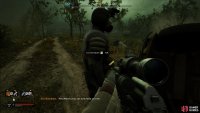
(1 of 4) You can find Borodulin to the southwest of Slag Heap.
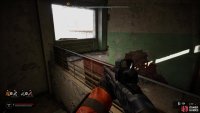
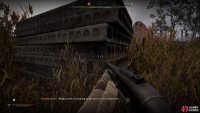
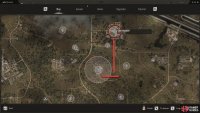
Make your way to the Commissary, which is situated to the north of Slag Heap. Simply follow the road north, and you’ll eventually reach it. The area surrounding the complex should be empty, at least, it was for us, so make your way in via the northern entrance, and head east when you can to find some toilets. Behind the toilets is a pipe leading into the Commissary. Climb the pipes and follow them to the end where you’ll find some more pipes leading further up. Take them up and they’ll lead to an open window.
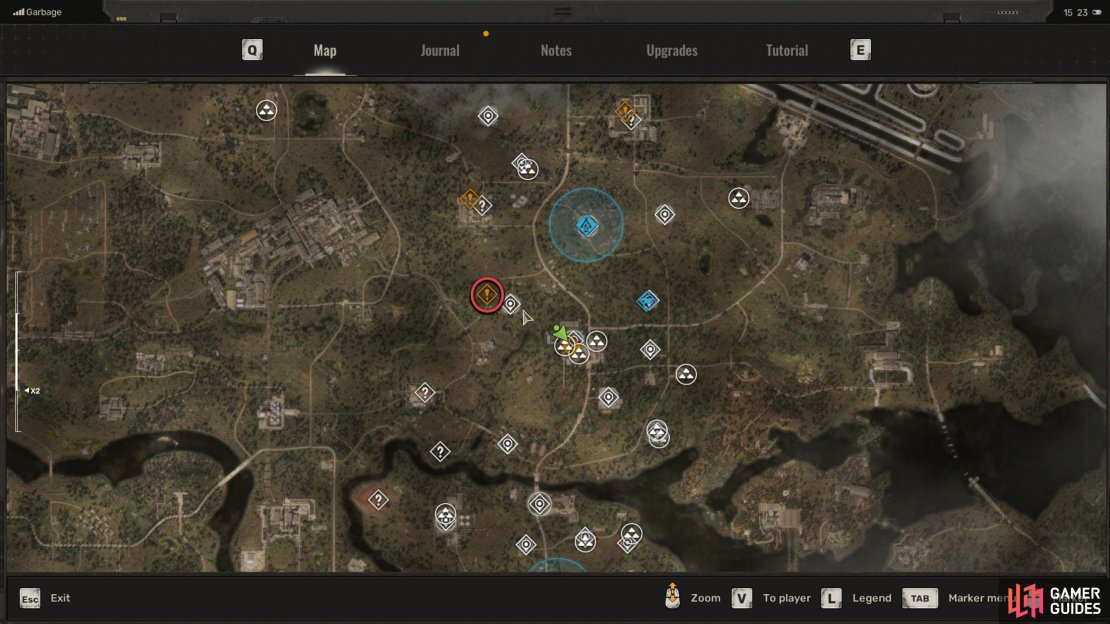
(1 of 3) Take the road north of Slag Heap to find the Commissary.
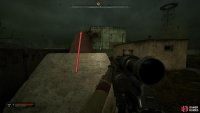
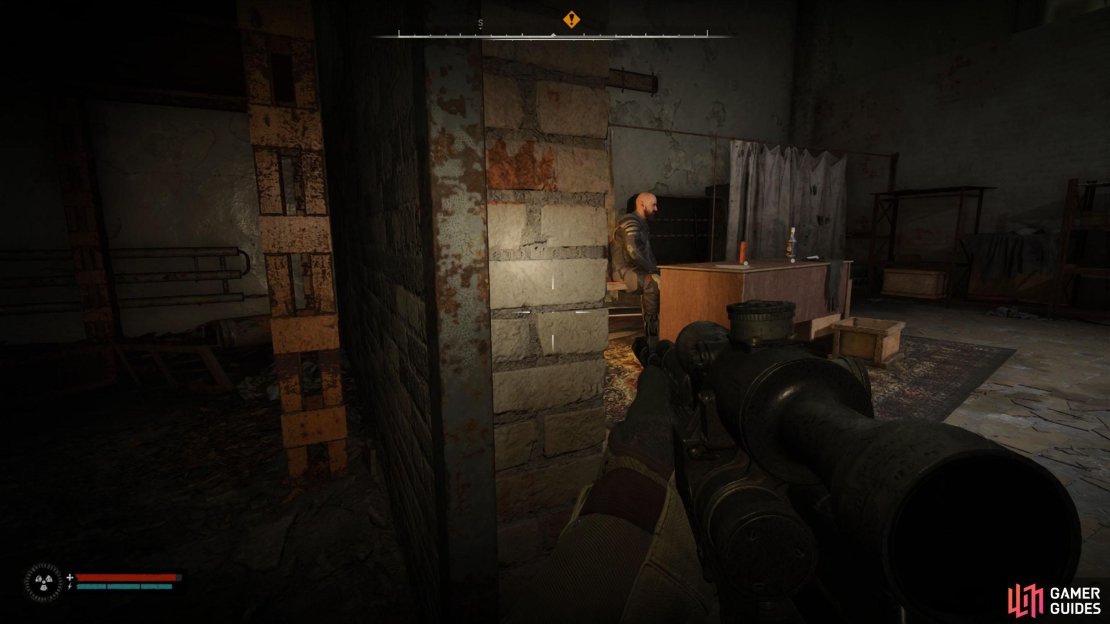
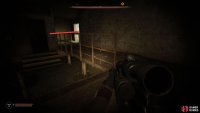
Go inside, drop to the platform below, and make your way west while staying crouched as there are sleeping guards in here. Take the western stairs down and drop to the floor. To your east is your escape route, remember that, and to the west is the room where Roosevelt is, who is very much awake. Slowly peek into the room and shoot him with a suppressed weapon. If you don’t kill him in one shot, he’ll shoot back alerting the guards, same goes with using a gun that isn’t suppressed.
If you do wake them up, don’t worry as you escape still without taking a gunfight. When you kill Roosevelt, loot his corpse for ![]() Roosevelt’s PDA, and head to the escape route mentioned earlier. Drop to the floor, follow the western tunnel until you reach the corpse. Be careful here, as there is an anomaly there which makes you bleed due to the shards of glass. If you crouch and follow the wall, you can bypass this unharmed. Make sure you loot the corpse and back pack before you continue on. Follow the tunnel to the end and it’ll lead outside. Now all you need to do is get away from the area, and you’ll be fine.
Roosevelt’s PDA, and head to the escape route mentioned earlier. Drop to the floor, follow the western tunnel until you reach the corpse. Be careful here, as there is an anomaly there which makes you bleed due to the shards of glass. If you crouch and follow the wall, you can bypass this unharmed. Make sure you loot the corpse and back pack before you continue on. Follow the tunnel to the end and it’ll lead outside. Now all you need to do is get away from the area, and you’ll be fine.
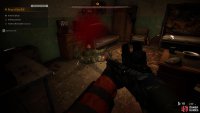
(1 of 4) In the room west of the stairs, you’ll find Roosevelt. Kill him with a suppressed weapon and then leave.
Regardless of who’s PDA you get, once you have at least one of them, you can return to Varan at The Plant and hand it over to complete ![]() King of the Hill. Varan will hand over the key to a room in his basement where you can find the information you’re looking for.
King of the Hill. Varan will hand over the key to a room in his basement where you can find the information you’re looking for.






No Comments