It’s been a long wait for a new Stalker game, and Stalker 2: Heart of Chornobyl opens in spectacular fashion with the prologue, ![]() There and Back Again. After pocketing a priceless Artifact, you find yourself entering The Zone to use a Scanner on it thanks to a contact you have. Keep reading to learn the basics of Stalker 2 and how to complete this mission.
There and Back Again. After pocketing a priceless Artifact, you find yourself entering The Zone to use a Scanner on it thanks to a contact you have. Keep reading to learn the basics of Stalker 2 and how to complete this mission.
Skif is looking for a way to scan a rare Artifact in the There and Back Again mission in Stalker 2.
Table of Contents
If you want to jump to a specific section, click on the links below.
Cross the Perimeter
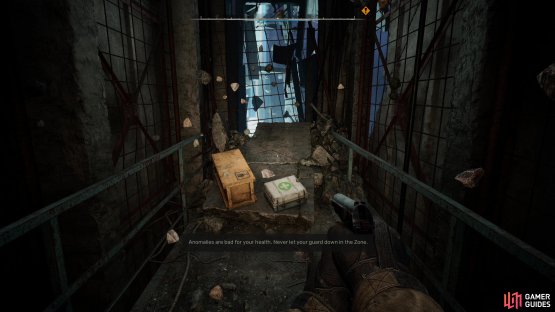
Once you gain control of Skif, you’ll find yourself in the ![]() Lesser Zone, where most newcomers enter The Zone from. Take a moment to get your bearings and follow the on-screen tutorials to learn how to move about. When you’re ready, head north to the wall and you’ll find a way in. If you go to the right, you can find a box you can break and a medical box with some healing supplies, don’t miss out on these.
Lesser Zone, where most newcomers enter The Zone from. Take a moment to get your bearings and follow the on-screen tutorials to learn how to move about. When you’re ready, head north to the wall and you’ll find a way in. If you go to the right, you can find a box you can break and a medical box with some healing supplies, don’t miss out on these.
(1 of 2) Be sure to go right when passing through the perimeter for some loot.
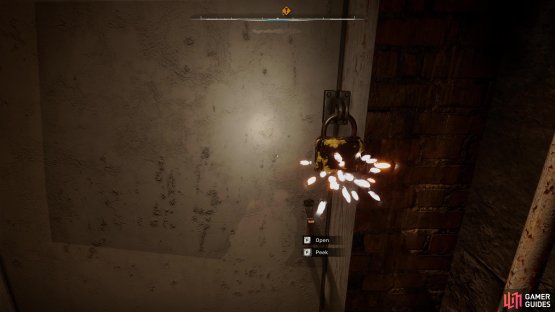
Be sure to go right when passing through the perimeter for some loot. (left), You can break the lock on the door to the sewers by striking it with melee. (right)
Enter the Sewer Tunnel
Follow the path to the left and down the slope now and crouch under the debris as you follow the linear path, making sure you grab the ![]() Medkit along the way. These are important, as they’ll restore a larger portion of your health, just remember you’ll need to use a
Medkit along the way. These are important, as they’ll restore a larger portion of your health, just remember you’ll need to use a ![]() Bandage instead if you want to stem Bleeding. As you approach the door, you’ll find wooden planks across it, take out your Knife and strike it to clear the way and continue on.
Bandage instead if you want to stem Bleeding. As you approach the door, you’ll find wooden planks across it, take out your Knife and strike it to clear the way and continue on.
You’ll find some loot scattered around, pick it up and as you approach the locked door, note the padlock on it. There’s no need to search for a key for this, simply strike it or shoot it with your Pistol to break it and continue on and enter the sewer tunnel.
Go Through the Sewer Tunnel
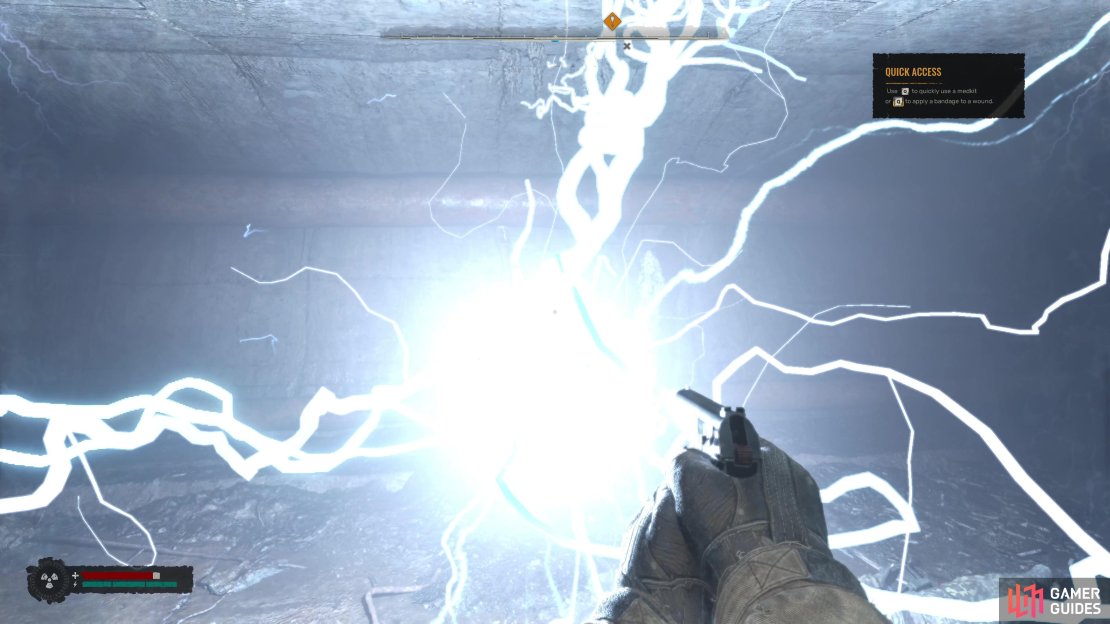
Make sure you have your light on as you go through these sewers as it can be difficult to see. As you go through the door though, you’ll come into contact with an Anomaly for the first time, an Electro one at that. A surge of energy will come rushing down the tunnel and then loop back around, if you come into contact with it at any time, it will head for you and shock you, dealing heavy damage.
The objective is clear then, wait for it to pass, and then sprint up the tunnel, taking the time to loot the body along the way for some nice loot if you can. Once you get to the end, you’ll find you can go either left or right, go right to find another body to loot and a Medkit which may be useful if you took damage from the Electro surge. Continue around the corner from here and you’ll reach another intersection, going left will bring you back around the loop while right will allow you to exit the sewer tunnel.
If you get too close to the Electro Anomaly, it will lock on to you and deal heavy damage.
Get to the Mobile Lab
Now outside, if you take a look at your map, you’ll spot that the Mobile Lab is situated just to the northeast, but you’ll need to pass through Rudnya-Veresnya (Map Marker) first, an area with some buildings you can scavenge some useful loot from. More importantly, some mutants will attack you here in the form of Rats and other like-minded beasts. Hopefully you picked up the Assault Rifle from the body in the sewers to deal with the larger mutants, and stick to ![]() Skif’s Pistol for the rats.
Skif’s Pistol for the rats.
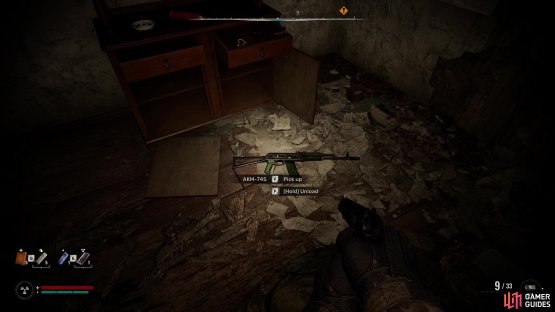
In terms of the loot you can find around this area, the house to the north contains a body where you can loot an AKM-47S, a superior version of the basic Assault Rifle you found in the sewers. Loot it and the other houses around here and continue northeast to find a house you’ll need to pass through by climbing up the ladder and going over. The Mobile Lab is just ahead of you, climb the ladder to get on top of it and open the hatch on top to get inside.
(1 of 2) Rats will attack you when leaving the sewer.
Rats will attack you when leaving the sewer. (left), Search the northern house for a better gun. (right)
Find Nehoda and the Echo Detector
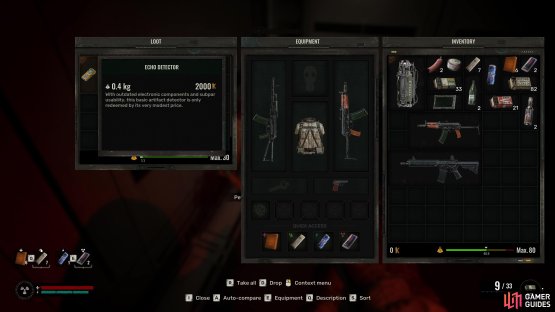
You’ll soon come to learn that something has gone horribly wrong and there is no sign of life from anyone here. As you go around the corner, you’ll find the body of Nehoda, the contact you were supposed to be meeting with. Take the time to loot the various bodies and stashes in the Scientists’ Bunker, you’ll find useful items such as Scientists’ Medipack (that restores all of your health, recover Bleeding, and Radiation, keep these for emergencies!) and more importantly, the ![]() Echo Detector.
Echo Detector.
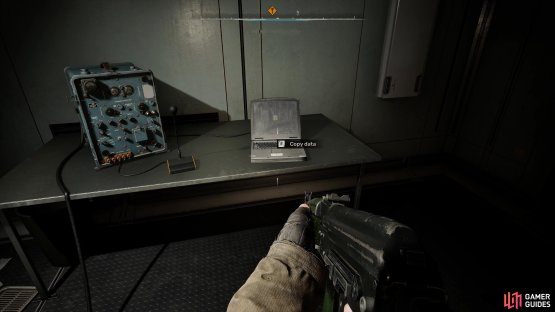
This handy device will allow you to track Artifacts, one of the most important items you’ll come across during your time in The Zone. Once you’re ready, search Nehoda’s body and loot the ![]() PDA, and you’ll then need to find some information on the Scanning Points. Turn the power back on by flipping the switch near Nehoda’s body and then head back toward where you entered the bunker to find a laptop you can copy data from.
PDA, and you’ll then need to find some information on the Scanning Points. Turn the power back on by flipping the switch near Nehoda’s body and then head back toward where you entered the bunker to find a laptop you can copy data from.
(1 of 2) Loot and equip the Echo Detector found on the Scientist.
Loot and equip the Echo Detector found on the Scientist. (left), Then copy the data from this laptop after restoring the power. (right)
Find the Artifact in the Anomalous Field
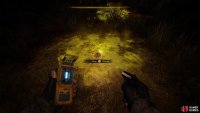
With the Scanning Points in your hand, and an Echo Detector to track down Artifacts and Anomalies, your next objective is to scan the Artifact yourself. Return to where you found the Echo Detector to find the door is now open, head outside and with the Detector equipped, head to your right to find some Acid pools that will cause the light to blink rapidly. Get to the position where it blinks the fastest and you should see an Artifact appear in one of the pools, pocket and equip it to get some Radiation.
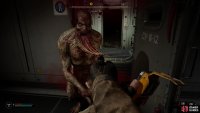
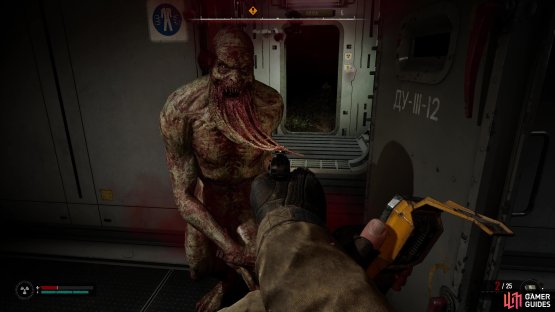
Beware though, an invisible Mutant will soon attack after picking this up. Retreat back into the Bunker and aim at the door, as soon as you see some shimmering, fire away until the Mutant is down.
(1 of 2) When the light is blinking rapidly, you’ll be able to discover an Artifact.
When the light is blinking rapidly, you’ll be able to discover an Artifact. (left), Lure the mutant back into the Bunker and take it out. (right)
Start Scanning at Point 1, 2, and 3
Once you’ve dealt with the Mutant, continue toward the objective, through the house, and you’ll eventually reach the first Scanning Point, just before the Old Wall. Set it down and then quickly run back the way you came to avoid the Electrical Anomaly that sets off upon detonation, stay too close, and it could spell the end of your journey.
Unfortunately for Skif, this isn’t the place you need, so go back over to the Scanner and pick it up and make your way to the next point. The Old Wall is right by you, where part of is broken, allowing you to pass through it. Beware though, just beyond this wall is a camp of Bandits who will attack you on sight, but you have the element of surprise (hopefully). If they do start firing at you, retreat behind the wall to the side and let them approach you, this is perfect spot to take them out as they filter through the gap.
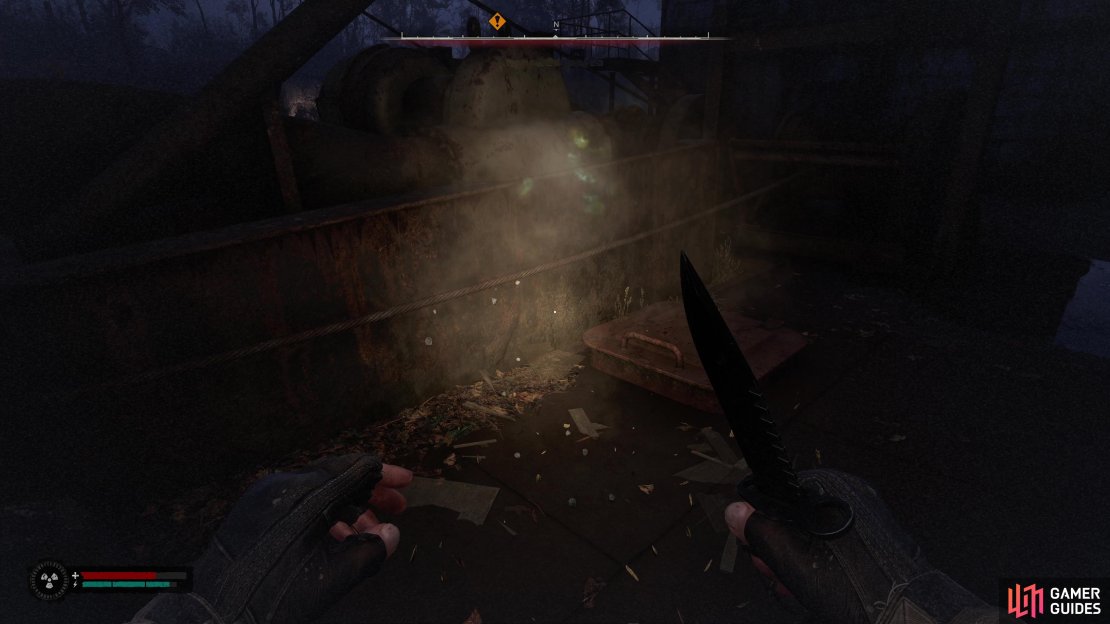
Once the nearby area is clear, take the time to loot their camp for any basic supplies and then head toward the Barge. You’ll run into your first Poltergeist here, enemies that can be hard to see but will toss objects at you that can really hurt. Look for some shimmering near where any objects are levitating and fire away, it doesn’t take many bullets to down one. There’s not a whole lot to find on the Barge if you want to ignore it, but you can find a stash at the top with some ![]() Army Medkits.
Army Medkits.
(1 of 3) Look for this shimmering when trying to find a Poltergeist.
What you’re looking for, then, is a cave situated just north of the Barge, as you pass through here, you’ll reach an opening where the second Scanning Point can be found. Set it off again, take some cover, and then retrieve it once more after you learn this isn’t the point either. That leaves you with just one more point left to look for, so leave the cave to continue the search.
Just to the northwest of your location is a Cabin (Map Marker), the destination for your final Scanner Point. Although you may be tempted to scavenge the nearby area, it’s much better to leave this for now and do so after the events of placing the third and final Scanner. It looks like this is the right place, unfortunately things don’t go as planned and Skif is knocked out, bringing this intro mission to a close.







No Comments