![]() The Lost Boys is a side mission in Stalker 2: Heart of Chornobyl and is accepted in the first hub area of the game, Zalissya. Read on to find out where you need to go, what you need to do, and what outcome you get for your choices in the mission.
The Lost Boys is a side mission in Stalker 2: Heart of Chornobyl and is accepted in the first hub area of the game, Zalissya. Read on to find out where you need to go, what you need to do, and what outcome you get for your choices in the mission.
Where to Start The Lost Boys Quest
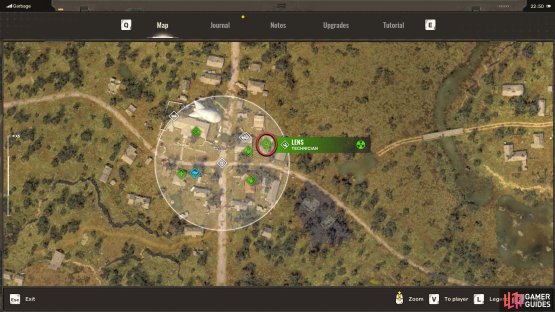
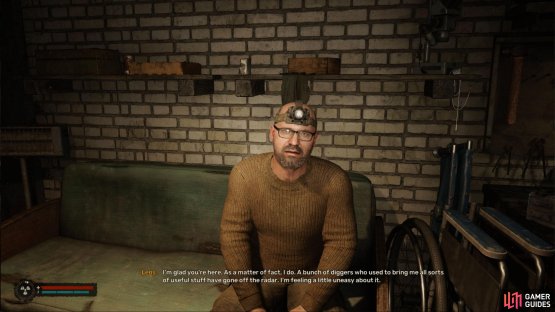
You can accept the quest when you reach the first main hub area, Zalissya (Map Marker). When you reach the town, head over to the Technician Lens (indicated on the compass as a spanner icon), and speak to Lens. Ask him if he has any work for you, and he’ll ask you to investigate the disappearance of some diggers that work for him. There are four of them in total, Max Saturday, Bedlam, Vasya Punk, and the leader, Mastiff. Apparently, they were last seen near the tunnel, south of Zalissya.
(1 of 2) To start the quest, head over to Lens in Zalissya.
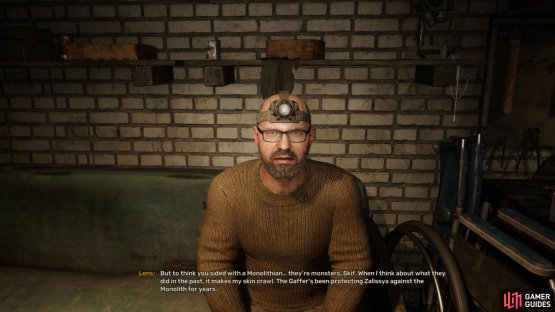
To start the quest, head over to Lens in Zalissya. (left), Ask him if he has any work for you, and he’ll give you The Lost Boys side mission. (right)
Finding the Missing Diggers
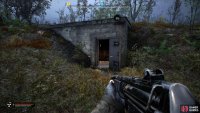
Exit the town via the southern road and follow it until you reach the Dire Thicket point of interest (Map Marker), which will be on your left. Continue south on the road a little, and you’ll find a bunker by the side of the road with an open door. Enter the bunker and the mission objective will update. Drop down and go through the northern hallway, and be prepared to defeat the mutated rats that hop around the place.
(1 of 2) From Zalissya, follow the road south, past the Dire Thicket POI.
From Zalissya, follow the road south, past the Dire Thicket POI. (left), You’ll find a small bunker with its door open. Head inside. (right)
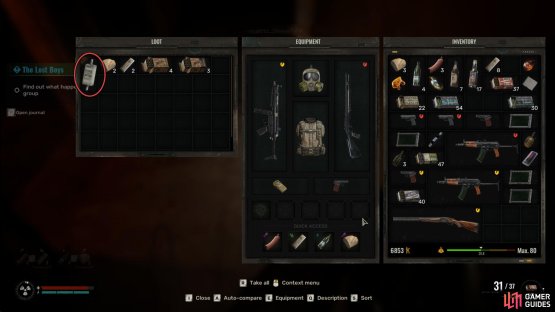
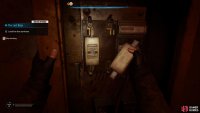
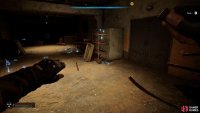
Follow the hallway, and you’ll come across a weapon and backpack on the floor. Search the backpack to find a fuse inside, and enter the doorway to the left of the backpack to find a place where the fuse needs to go. Head back to the hallway and continue west, and you’ll soon come across a room filled with anomalies. Equip your bolt and throw it at the electrical anomalies as you pass through the room and continue through the hallway to the west to another room with a large gravitational anomaly.
(1 of 2) In the middle of the hallway, you’ll find a backpack. Loot it for a fuse.
In the middle of the hallway, you’ll find a backpack. Loot it for a fuse. (left), Place the fuse in the nearby fuse box to update the objective. (right)
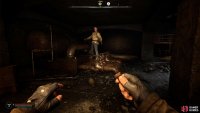
Before dropping, take out any rats you see below before going down the stairs. There is a backpack to your left you can loot for some goods, and then you’ll want to proceed through the room, throwing bolts at the anomaly situated in the hole in the ceiling. On your right, you’ll find a survivor who was caught up in the anomaly, and his body will be thrown around the room because of the anomaly. Quickly throw a bolt at the anomaly to briefly stop it, and rush over to the body, so you can loot it, as it will have a ![]() PDA on it.
PDA on it.
The PDA will contain a conversation between Max Saturday and Dew who mentions that the leader, Mastiff, was taken by a Monolithian, and everyone is dead. However, it appears that Mastiff was taken by the Monolithian to another location. Once you’ve read the PDA, it’s time to exit the bunker. Head up the stairs on the western side of the room and interact with a lever to open a passage. In the next room, you’ll encounter another room filled with electrical anomalies. Equip your bolts and make your way through the room while throwing the bolts at the anomalies and exiting the bunker.
(1 of 3) Throw your bolts at the anomalies to pass through the room.
Find Mastiff
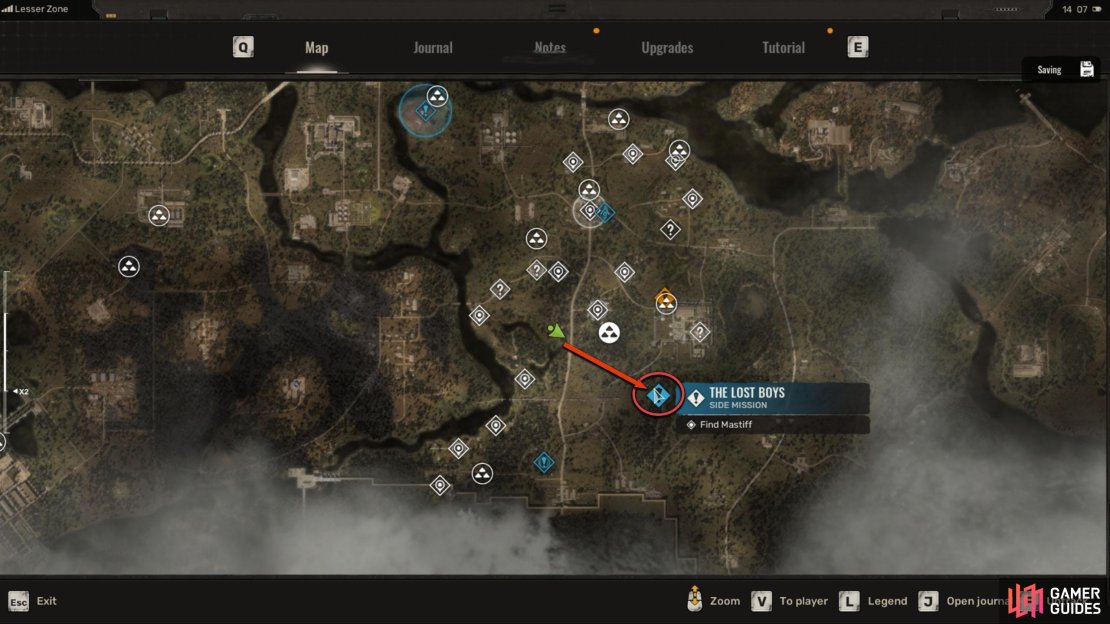
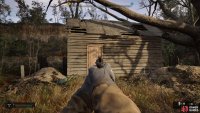
If you take a look at your map, you’ll find that a location has been added to the map in the southeast. Run toward the objective, and you’ll eventually come across a run-down shack. Head inside to find a locked door. You’ve found the location, but you’ll need to look for another entrance. Exit the house and go behind it to the east to find another smaller building with a padlock on the door.
Shoot the padlock, go inside, and pick up the supplies on the shelves to your left. To the right of the door is a large hole. Go down the hole and through the tunnel to enter the locked house. As you enter the house, you’ll hear chatter from someone that goes by “The Ninth”. Go through the doorway in the north and, immediately to your right, you’ll find Mastiff recovering from his injuries on the bed.
(1 of 4) Head southeast to find a lone house that has seen better days.
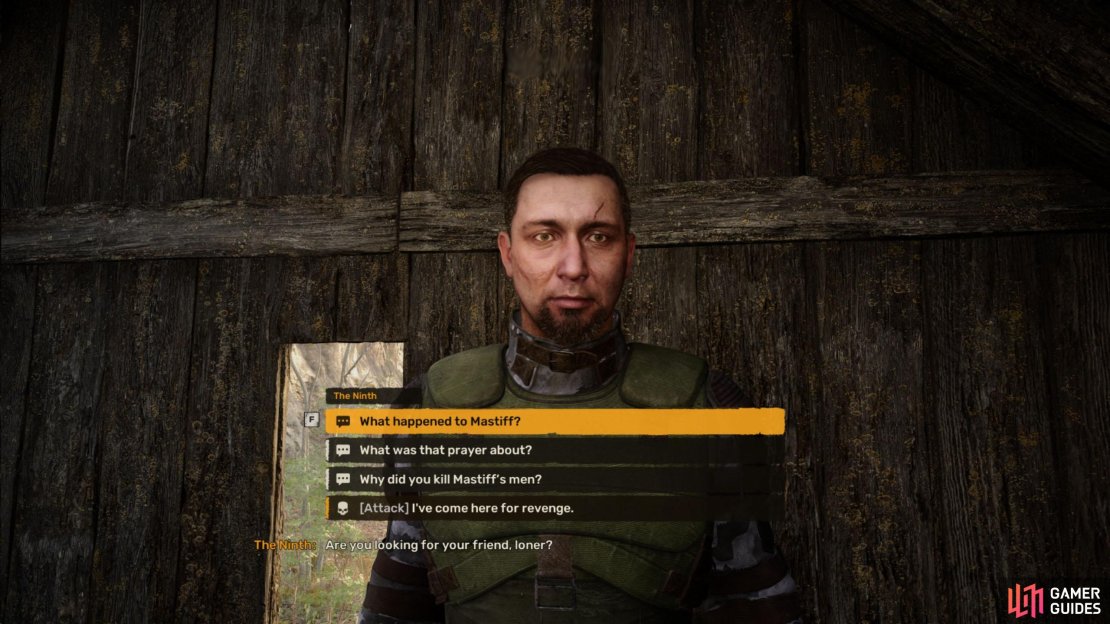
Speak to Mastiff and he’ll mention the attic. Head up the ladder opposite Mastiff, and you’ll find the Monolithian. Speak to him and go through the options, but don’t attack him yet. If you ask him why he attacked Mastiff’s men, he’ll explain to you that he didn’t and that it was a deadly mutant instead.
If you searched the room with the gravitational anomaly, you will know he is telling the truth, as there is a mutant body there. As you ask him about what happened to Mastiff, the house will get swarmed by some men. Don’t worry, these are not hostile to you, yet, but they have come for The Ninth. This will give you the option to help The Ninth out or not.
Go up the ladder opposite Mastiff and speak to The Ninth.
Helping out The Ninth
To give you an idea about the person you’d be helping out, he is, or was, a Monolithian. In Stalker Lore, these individuals used to be stalkers but were brainwashed by the psychic emitters that were found in the zone (Brain Scorchers). This caused them to follow the will of the C-Consciousness, making them incredibly loyal to it. The Common-Consciousness, To give you an idea about the person you’d be helping out, he is, or was, a Monolithian.
In Stalker Lore, these individuals used to be stalkers but were brainwashed by the psychic emitters that were found in the zone (Brain Scorchers). This caused them to follow the will of the C-Consciousness, making them incredibly loyal to it. The Common-Consciousness (C-Consciousness for short) was a brain control experiment by a secret organization known as The Group, which is responsible for The Zone and its expansion. So, in short, the Monolithians are not someone to be trusted.
(1 of 2) If you help out The Ninth by taking out the men coming for him, you’ll get the Rubber Layer Blueprint.
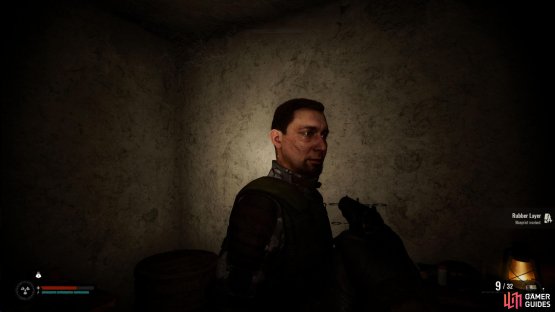
If you help out The Ninth by taking out the men coming for him, you’ll get the Rubber Layer Blueprint. (left), However, you’ll lose 50% of your reward from Lens, who isn’t happy you helped out a Monolith soldier. (right)
However, this particular Monolithian appears to be different, and he helped out Mastiff, so he can’t be too bad, right? Only you can make that decision, but helping him out will reward you with the ![]() Rubber Layer Blueprint. Note that helping out The Ninth means you’ll have to kill the men outside who are Lens’ people, so killing them will make Lens unhappy, and you’ll only receive half of the mission reward, which was 1000 K reduced to 500 K.
Rubber Layer Blueprint. Note that helping out The Ninth means you’ll have to kill the men outside who are Lens’ people, so killing them will make Lens unhappy, and you’ll only receive half of the mission reward, which was 1000 K reduced to 500 K.
After helping out The Ninth, you can ask him who he really is, and he’ll tell you that he used to be a Monolith soldier, but now he isn’t. He will also tell you that he will remember you for helping him out. We’re not sure if this has future ramifications, but it’s worth noting. That’s it for The Lost Boys mission. Return to Lens in Zalissya to receive your reward, and a telling off if you helped out The Ninth.







No Comments