![]() Budmo! is a side mission in Stalker 2: Heart of Chornobyl that is accepted from Misha in the
Budmo! is a side mission in Stalker 2: Heart of Chornobyl that is accepted from Misha in the ![]() Slug Heap hub area of
Slug Heap hub area of ![]() Garbage. They want to help out their friend who is traversing the zone with bottles of vodka to help him with the radiation. This task requires you to place a single bottle of vodka in each of his three stashes. However, this mission will test your greed with what can be found in each stash, and it’s up to you whether you help out their friend or take the loot for yourself. Read on to find out the ramifications of this, as well as how to reach each stash.
Garbage. They want to help out their friend who is traversing the zone with bottles of vodka to help him with the radiation. This task requires you to place a single bottle of vodka in each of his three stashes. However, this mission will test your greed with what can be found in each stash, and it’s up to you whether you help out their friend or take the loot for yourself. Read on to find out the ramifications of this, as well as how to reach each stash.
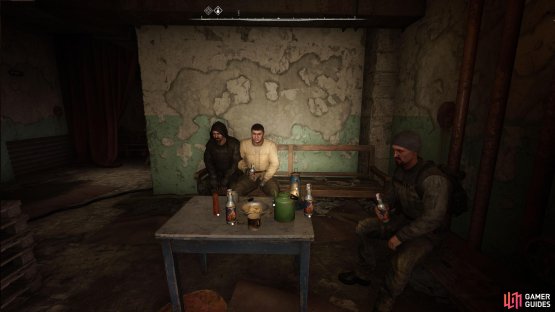
The guys at the bar are drunk and want to help out their friend, Panas, by placing a bottle of vodka in each of his stashes.
Table of Contents
If you want to jump to a specific section, click on the links below.
| Quickjump |
|---|
| Mission Start |
| Power Transmission Stash |
| Concrete Blocks Stash |
| Poisonous Hole Stash |
| Looting the Stashes Outcome |
Accepting the Mission
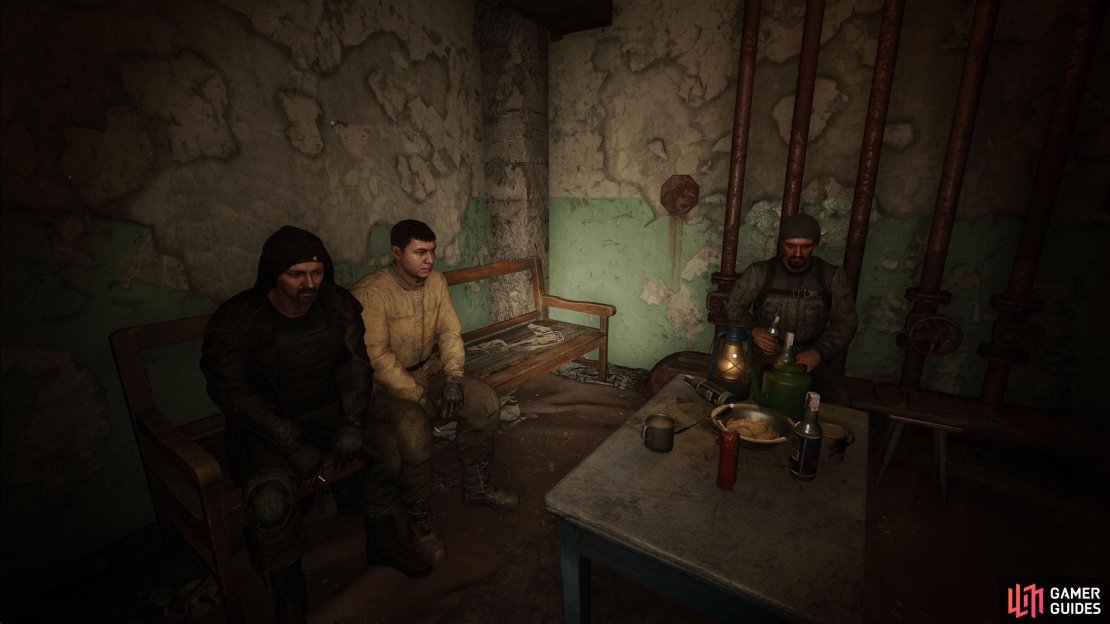
When you reach Slug Heap in Garbage for the first time, you’ll find a group of friends drinking next to the bar. Talking to them will give you the chance to sit down and have a drink with them. Doing so will result in the Budmo! Mission. Your goal is to place a bottle of ![]() Cossacks Vodka in each stash, of which there are three. Before you set off on the mission, make sure you purchase (or pick up) three bottles of Cossacks Vodka and one
Cossacks Vodka in each stash, of which there are three. Before you set off on the mission, make sure you purchase (or pick up) three bottles of Cossacks Vodka and one ![]() Anti-Radiation Drugs.
Anti-Radiation Drugs.
(1 of 2) You can accept the mission by talking to Misha and the guys next to the bar in Slag Heap.
You can accept the mission by talking to Misha and the guys next to the bar in Slag Heap. (left), Agree to sit down and have a drink with them, and they’ll give you the mission. (right)
Power Transmission Stash Location
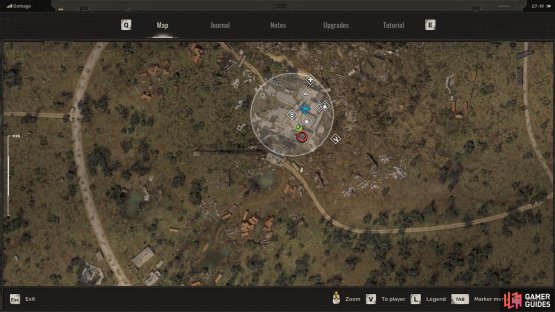
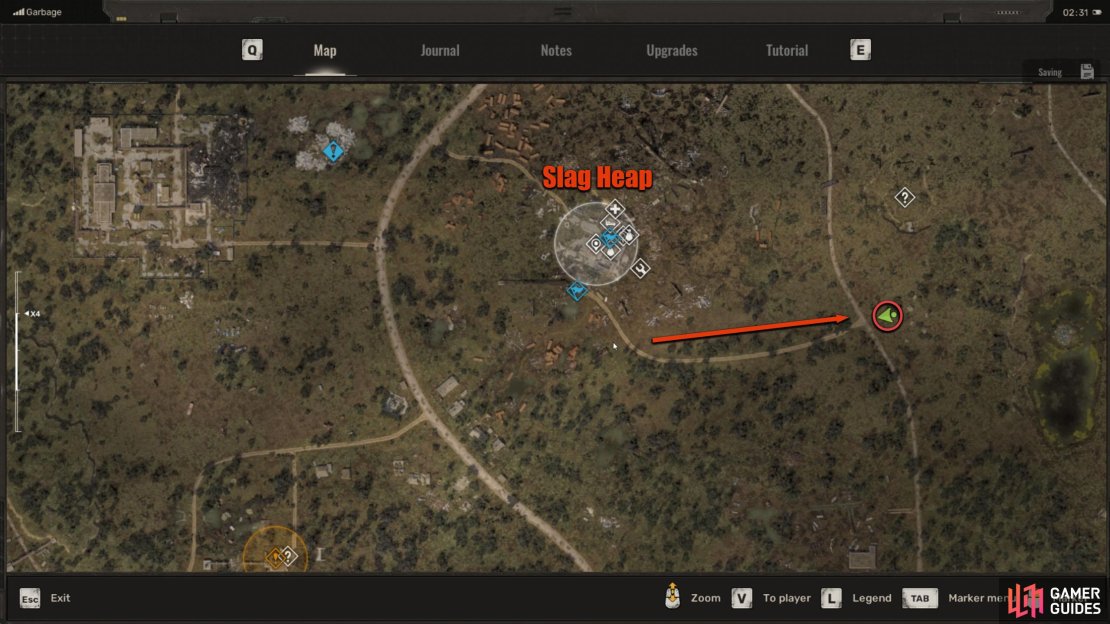
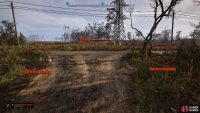
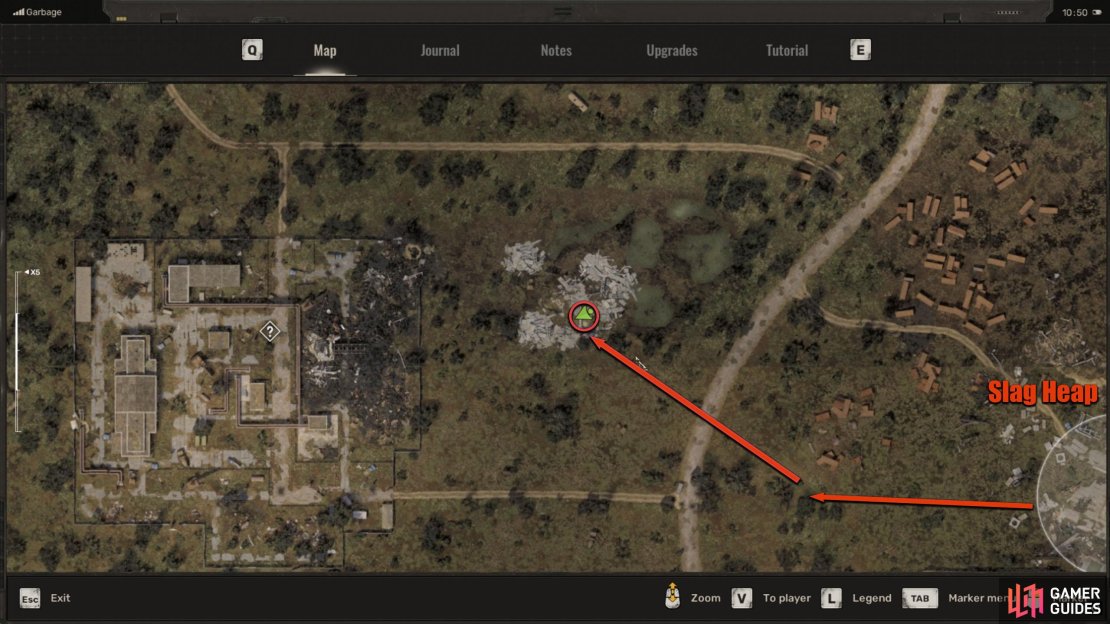
The first stash on the list is the Power Transmission stash. From Slug Head, follow the road east until you reach the intersection. Along the way, you will pass three anomalies with the first being a gravitational anomaly, the second being glass shards, and the third being two electric anomalies. At the intersection is where you’ll find the final anomaly, where you can walk between them to find a pylon to the north.
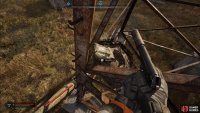
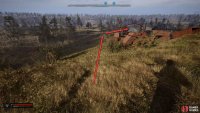
Go over to the pylon and check out the northwest corner of it, where you’ll find a log leading up to a tree. Climb the log, jump over to the plank leading to the pylon, and you’ll find a bag at the end. This is the stash and your first test of greed.
If you want to complete the quest, DO NOT take the items inside as this will fail the mission (later), however, don’t think you can come back later to get them as they will be gone. Inside this stash, you will find the ![]() Moonlight artifact, the
Moonlight artifact, the ![]() Flash Artifact, and the
Flash Artifact, and the ![]() Hilka Detector. Again, if you take these, you will fail the mission.
Hilka Detector. Again, if you take these, you will fail the mission.
(1 of 4) Follow the eastern path from Slag Heap to find the Power Transmission Stash.
Concrete Blocks Stash Location
Although this is the last one on the list, you’ll want to do this second, as once again you’ll have valuable loot inside the stash that will be gone if you go to the Poisonous Hole stash first. From Slug Heap (run back here if you’re following the guide), head west over the hills until you reach the containers.
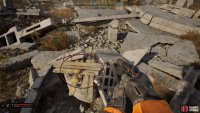
From there, go northwest toward the concrete rubble and block area. This stash is difficult to find as it’s hidden amongst the rubble, but you can find it in the center, a little to the south. It will be inside a small concrete ring with wooden planks covering it up. Smash the planks, and open the bag within to place the bottle of Vodka.
Once again, you’ll find a bunch of good gear inside including, an ![]() RNBW 2X Scope, a
RNBW 2X Scope, a ![]() Pistol Suppressor, an
Pistol Suppressor, an ![]() M10 Gordon (undamaged), and some bullets. Same as the first stash, looting this gear will fail the mission. Note that several mutant rats around this area may attack you when you get closer to the stash.
M10 Gordon (undamaged), and some bullets. Same as the first stash, looting this gear will fail the mission. Note that several mutant rats around this area may attack you when you get closer to the stash.
(1 of 4) Head over the hills west of Slag Heap until you reach the containers, and then head northwest.
Poisonous Hole Stash Location
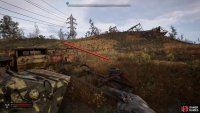
From the previous stash, head north to reach the road. DO NOT follow the road west, as you’ll die of radiation. Instead, go east a little, and then go northeast toward the abandoned vehicles.
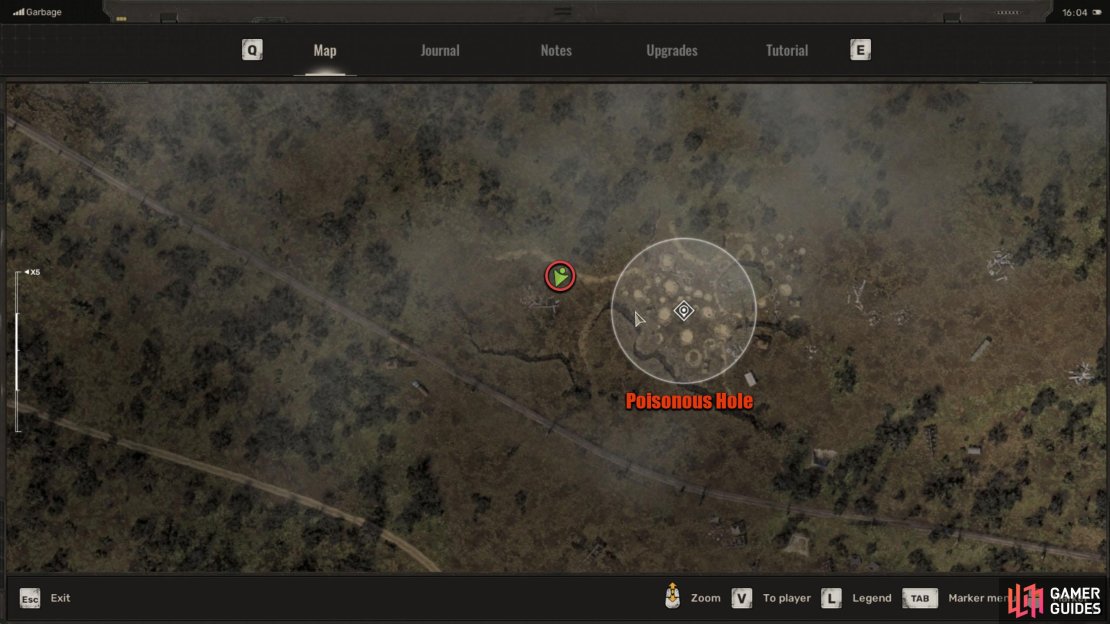
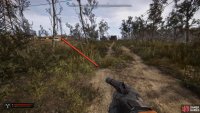
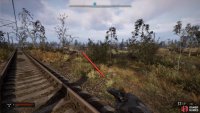
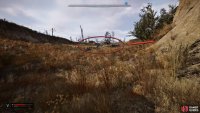
Go around the area while heading northwest until you reach a railway track, and then begin to head west. As you head west, you’ll pass a tunnel to your left with some supplies, and a bit further west, the Poisonous Hole.
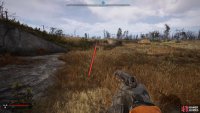
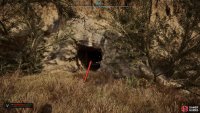
Note that you can get an anomaly from the Poisonous Hole, so you may as well get it while you’re here. It can be found in a poisonous pool next to the tractor in the center of the area. Navigate past the poisonous pools and exit the area via the west, and you should notice a pile of wreckage in front of you. To the right of that, against the bank, is a bush obscuring a tunnel entrance.
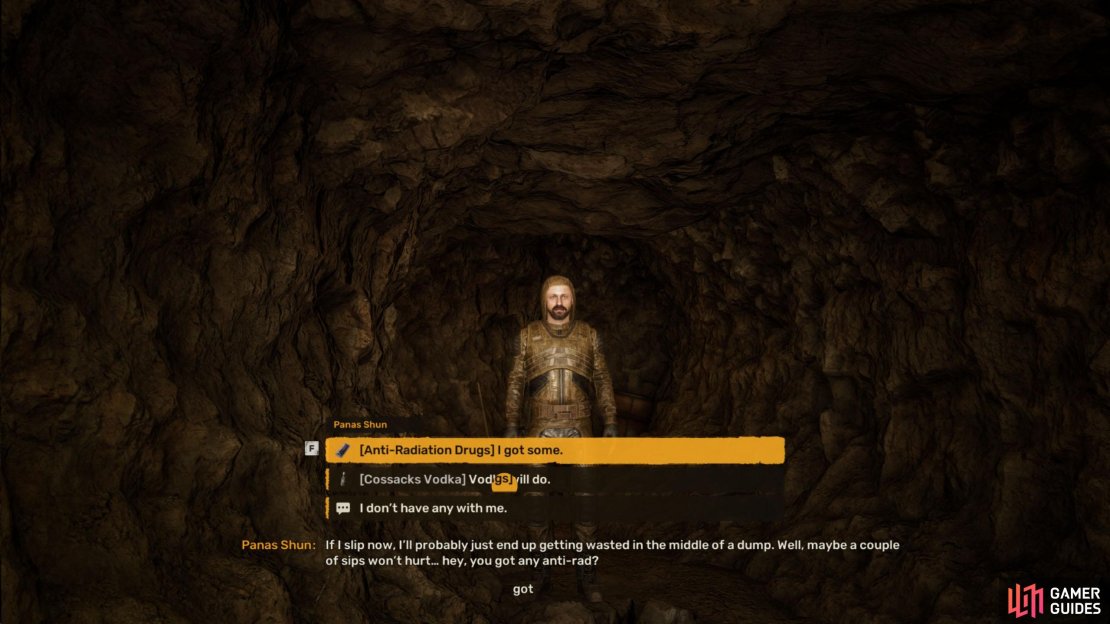
Now, you’ll find out the repercussions of your greed. In the tunnel is Panas Shun, the guy who you’re giving the vodka. If you have taken his gear, he’ll instantly try to gun you down, so repay the favor. However, if you were a good Stalker, he’ll ask for Anti Radiation meds, and once you’ve given it to him, the mission will be complete. You will be rewarded 1300 K for this mission.
(1 of 4) To your left is a tunnel with some supplies. Continue west to find the Poisonous Hole.
Loot the Stashes or Not?
In terms of a monetary perspective, the value of the loot far outweighs the value of your reward. From an ethical perspective, killing an innocent man for some loot isn’t very ethical. However, you are a Stalker and a Stalker always does what’s best for themselves. Completing the quest normally will have Panas tell you that he intends to move on to ![]() Duga or
Duga or ![]() Prypiat.
Prypiat.
(1 of 5) Inside the Poisonous Hole Stash, you’ll find Panas. He will be friendly if you don’t steal his stashes. Hand over the Anti Rad meds.
However, we cannot confirm if he does this, as we’ve yet to find him. If we do, we’ll update the page. For now, taking the loot is best for progression, as you’ll get a lot of useful and expensive gear from it that the measly 1300 K cannot cover. That’s it for the Budmo! Whether you took the loot or not is down to you, but the mission will either fail (if you took the loot) or be completed (if you didn’t).






No Comments