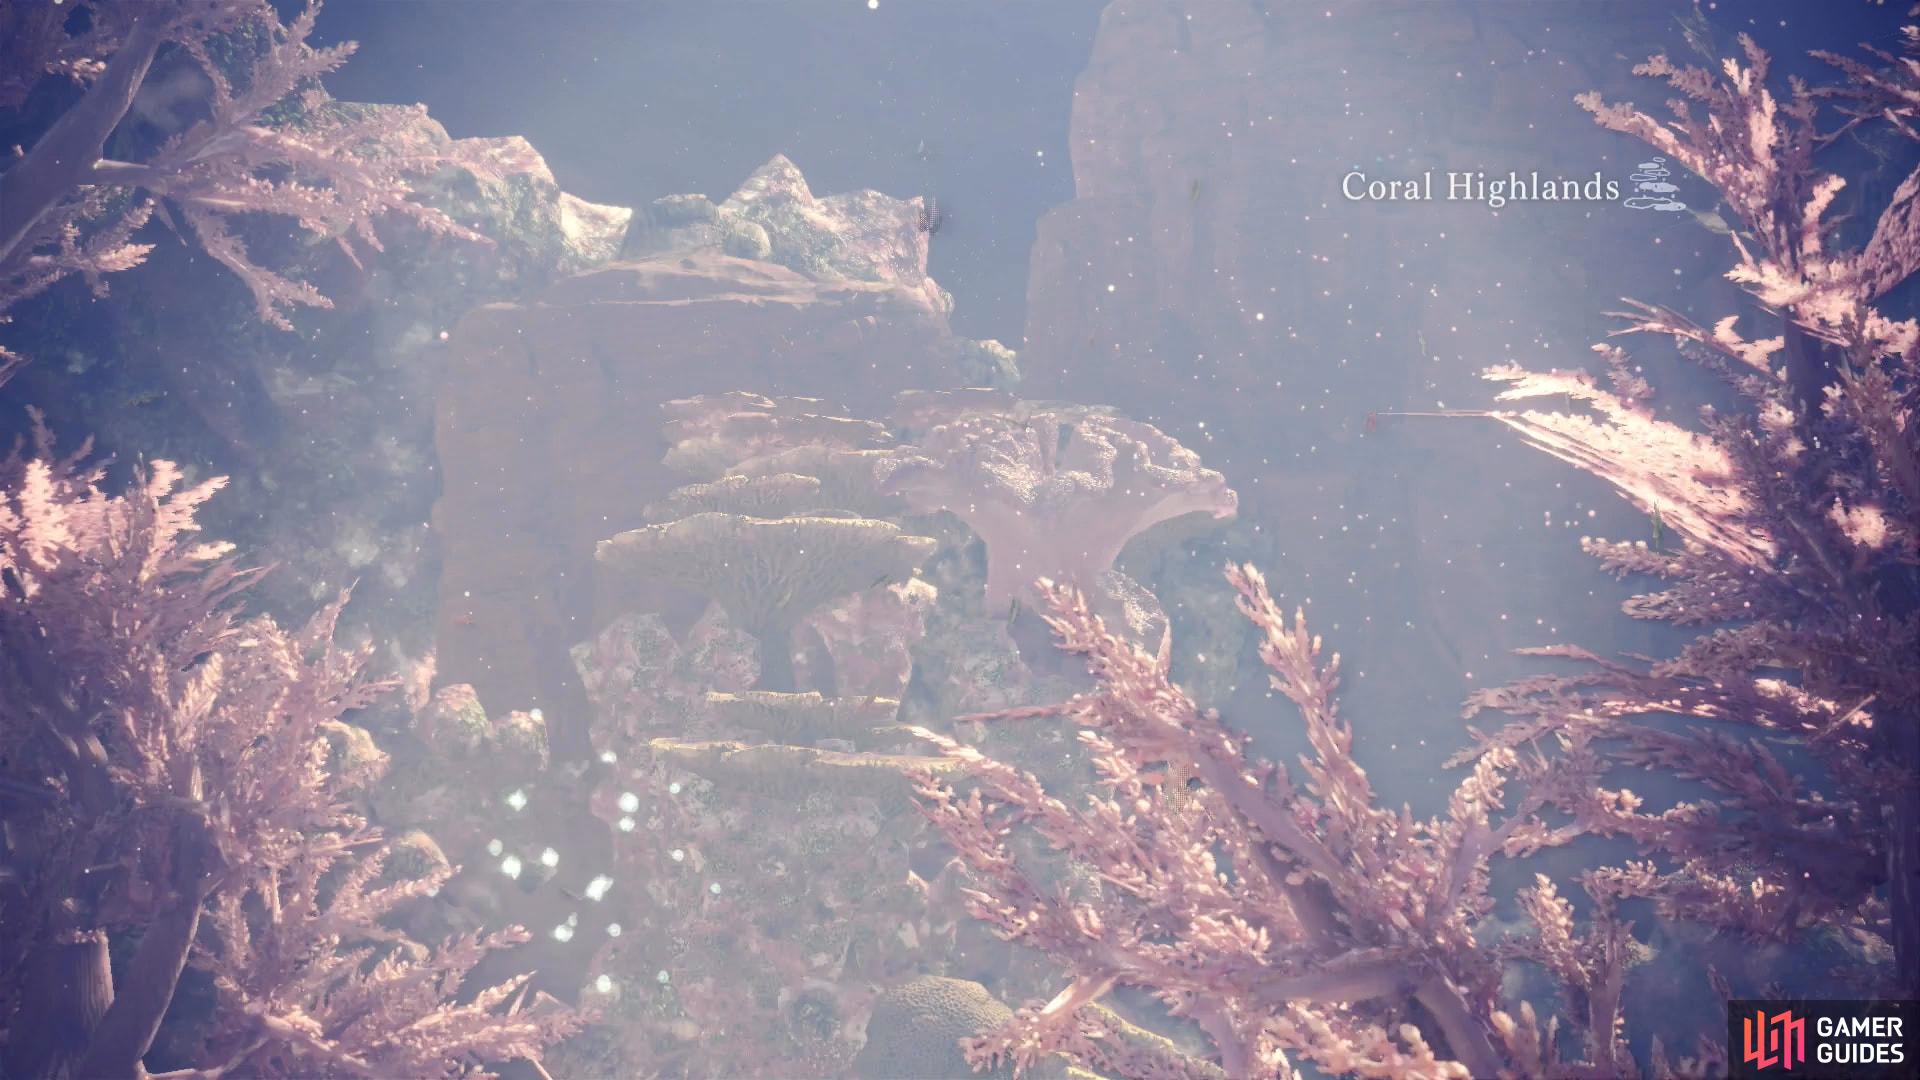
When you’re finally tired of (or done with) all the quests you have available, it’s time to travel to the Great Ravine and see what new flora and fauna are there for you to exploit! When you arrive, endure some chatter, then follow The Handler along the linear path ahead until you reach… the Coral Highlands! Watch the scenes that follow and you’ll find yourself in the Research Base, another stronghold of the Commission in the New World, by the look of things. Talk to the Third Fleet Master lounging before you and she’ll give you a novel suggestion - take an expedition into the Coral Highlands!
(1 of 2) The Third Fleet Master will suggest making an expedition into the Coral Highlands
The Third Fleet Master will suggest making an expedition into the Coral Highlands (left), Talk to the Elder Melder and she’ll introduce you to the wonderful work of charms (right)
Not much of a change, really, but first, you have the Research Base to explore, and while it offers some of the same amenities as Astera did (access to an Item Box, ability to manage your Palico, Provisions Stockpile), their resources really aren’t comparable. Before you leave, talk to Elder Melder, who will give you a Defense Charm, prompting a tutorial. Suffice to say, Charms are are, in essence, accessories you can wear that activate or enhance skills. These function identically to armor skills, and can be upgraded, although the materials required are… beyond your means at the moment.
Anyways, with that out of the way, leave the confines of the Research Base and head off an an expedition… another one! This time to the Coral Highlands.
Coral Highlands Expedition
A whole new area to explore, hooray! For real this time! Double hooray! First step is to find a suitable spot to set up camp. Grab what items you need out of the Item Box (you can fast travel back here if you need to, so don’t worry too much) then jump off the cliff to the north. Spend what time you want capturing endemic life, harvesting materials new and old, then make your way to AREA 2, where you can climb a ledge to the east to witness a cutscene introducing the Shamos small monster, and a more worthy monster - the Tzitzi-Ya-Ku. There’s no need to pick a fight with either at this stage, but if a Shamos pack attacks, exterminate them, and avoid conflict with a Tzitzi-Ya-Ku if at all possible.
Make your way north and climb to reach AREA 7, then continue north to reach AREA 8 and head on into AREA 10, where, at the eastern edge of the area you’ll find a hole you can crawl through, beyond which is a convenient spot for a camp.
Astera After the Coral Highlands
After you discover the camp site you’ll be prompted to return to Astera, where the delivery Setting Up Camp: Coral Highlands will be placed at the Resource Center for you to fulfill. If you take a gander at it, you’ll notice that two of its requirements aren’t too bad (1,000 Research Points and Monster Bone M), but the other requirement is a Tzitzi-Ya-Ku Hide. Looks like you’ve got some hunting if you want to make inroads into the Coral Highlands! You can do this via expedition, if you’re so inclined, but keep in mind that wounded monsters can flee from the map in expeditions, so you’re better off picking up the optional quest A Tzitzi for Science and hunting it that way.
Before returning to the Coral Highlands, you might as well pick up some quests in Astera. The Commander has an exclamation point over his head, but he doesn’t do much but tell you about some “bio-energy” that Zorah Magdaros has churning inside of it. Neat.
To Hold a Harvest
Talk to the Laid-back Botanist, who offers to make the Harvest Box bigger. All you need to do is complete the delivery request To Hold a Harvest, which will be added to your to-do list now. This requires you to obtain an Aqua Sac, which can be obtained from Jyuratodus in the Wildspire Wastes. It might take a few kills to get one, but you can increase your chances if you capture it (not easy due to its habitat making it difficult to deploy traps) or by picking up an Investigation for it. When you turn this delivery request in, the size of your Harvest Box will be doubled, so you can neglect your cultivation for much longer.
A Feast of Fish
Next head back to the Canteen and talk to the Fiver Bro there, who passed off one of his tasks to you… a behavior he’ll repeat by passing on the delivery request A Feast of Fish, which merely requires you to harvest some Gajau Skin. Gajau can be found in the Wildspire Waste, in AREA 9 and AREA 10. If you don’t have enough Gajau Skin already, considering harvesting more by doing the quest The Pain from Gains - you’ll earn Zenny and possibly make progress towards bounties if you hunt within the confines of a quest, after all.
Coral Highland Gains
While you’re here, chat with the Meowscular Chef again and he’ll enlist your aid in bulking up the Canteen again. This time he expects you to complete two new quests, It’s a Crying Shamos and What a Bunch of Abalone. The former burdens you with the trivial task of killing 11 Shamos, while the latter requires you to obtain and deliver 10 Super Abalone. GAINS!
The Special Arena
Finally, head to the Workshop and talk to the Second Fleet Master, who tells you about a scheme he hatched while at the Great Divide. Seeing the natural scenery there, he decided to model a “Special Arena” after the terrain there… because of all the things the New World needed was more blood sport themed with the location of a signature failure of Astera’s hunter. You can now also craft Charms, if you happen to have the materials to do so.
The establishment of the Special Arena will add several new optional quests, including Special Arena: Barroth, Special Arena: Tobi-Kadachi, and Special Arena: Rathian. Arena quests will not be covered in the walkthrough, as they’re just repeats of fights you’ve already completed. Just be warned that hunting monsters in the arena is slightly tougher than out in the wild, as the monster will not run off at any point, making it more difficult for you to get a break, sharpen your weapon, heal, and all that wonderful down-time stuff you’ve probably been taking for granted.
In any event, you’ve got plenty of things to do, and all these new quests will be covered below, ending with A Tzitzi for Science. Deliver requests will be left up to your own initiative to fulfill, as the means for doing so have been provided in the same paragraph where the request was obtained.


 Sign up
No Comments