| Quest Info |
|---|
| Objective: Slay 7 Jagras |
| Reward Money: 720z |
| Time Limit: 50 min. |
| Conditions: None |
| Failure Conditions: Time Expires / Faint 3 Times |
| Other Monsters: Aptonoth / Mernos |
After you accept the quest, you’re free to keep exploring Astera until you’re ready to go, including grabbing a meal (if you haven’t done so already) and changing your gear. Since you should have done all of that ahead of time, you can start the mission immediately by pressing the [Touch Pad] button, or by heading to any of the town’s many gates and pressing [X]/[A].
Hunting Basics
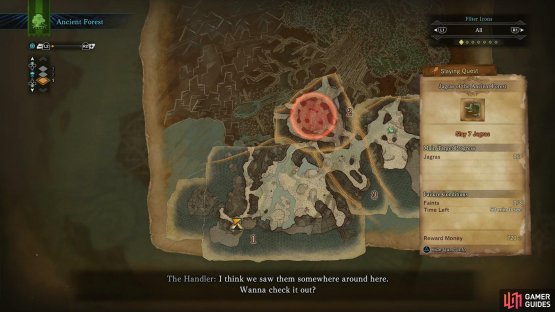
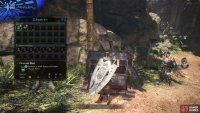
When you arrive in the Ancient Forest, you’ll be treated to more dialogue from The Handler. Joy. She’ll run over the basics (the very, very basics) of completing quests, including telling you that you complete quests by… completing their objectives. Riveting. She’ll mark where you encountered the Jagras on your map before moving on to something less insulting - the Supply Box. At every camp in the field you’ll find the Supply Box, which contains mission-related items for you to use, free of charge. Be sure to claim what you need from the box, and use those in preference of other, similar items, which you’ll have to replenish at your own cost. In this case, be sure to grab the provided First-aid Meds and EZ Rations, which restore Health and Stamina, respectively.
(1 of 2) The first assignment starts out pretty hand-holdy, telling you exactly where you need to go
The first assignment starts out pretty hand-holdy, telling you exactly where you need to go (left), but all advice isn’t so bad - be sure to take what freebies you can from the Supply Box (right)
After that, you’ll be free to go, and you’ll be accompanied by the Field Team Leader, so your first mission won’t be left entirely up to your own competence. Probably a good thing, right? As you go, the game gives a very minor prompt concerning items, which is worth going into a bit more. Items in your Item Pouch (press [Options]/[Menu] and search for the “Items and Equipment” tab) are also represented on your Item Bar for quick use. The Item Bar is at the bottom right of the screen, and you can scroll between various items you possess by using the D-Pad, and use them by pressing [Square]/[X].
You can also find more quick-buttons by holding down the [L1]/[LB] button, which brings up the radial menus. You have four such menus to choose from, which you can customize. Right now, by holding [L1]/[LB] and pressing up on the [Right Analog] you should be able to quickly use your Whetstone, which will come in handy, and is worth remembering. You can worry about customizing your radial menus later on, when you have more items to fuss over. For now, things are relatively simple.
Other useful HUD elements include the time limit (notice the clock on the top left of your screen), which is near your Health and Stamina bars. These are context sensitive, appearing as green and yellow diamonds until there’s some need to display anything else. Some other weapon info can be found below your Health and Stamina bars, and below that, your Palico’s status. On the upper right of the screen you’ll find context-sensitive command prompts and your current objectives listed. Finally, on the bottom left of the screen is the mini map.
Hunting Jagras
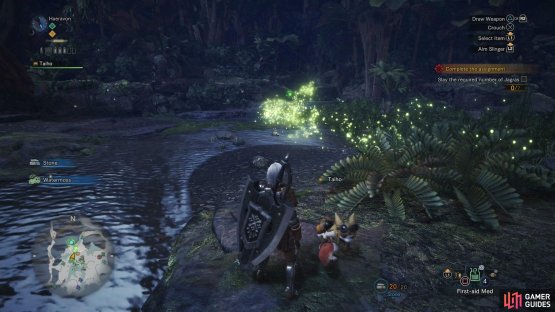
Note that you started the mission in the Southwest Camp - where you first made landfall on the New World, courtesy an irate Wyvern. Follow the same route as last time by heading northeast to reach the river-crossed lowlands where docile Aptonoths feast. Ignore them and rendezvous with the Field Team Leader, then follow him north as he’ll lead you to the vine shroud beyond which the Jagras’ lair can be found.
(1 of 2) Follow the Scoutflies to your destination
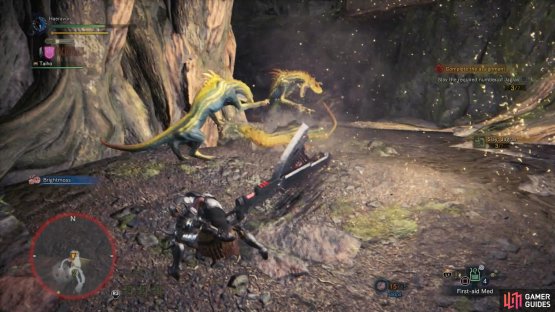
Follow the Scoutflies to your destination (left), then kill the requisite number of lesser Jagras (right)
Enter the Jagras’ lair and test yourself in combat. Don’t worry, these monsters aren’t too sturdy, and now that you’re armed, they’re far less dangerous. Kill what you can, and when they run off, harvest the bodies for some useful monster bits. Once done, follow them deeper into their lair where you’ll find a higher concentration of them. Kill your requisite seven Jagras, then loot what you can before the quest officially ends, where you’ll get additional quest rewards (on top of whatever you picked up). Store or sell whatever you wish, after which you’ll see more rewards, and progress made by your Palico based on its actions during the quest.



No Comments