| Quest Info |
|---|
| Objective: Hunt a Pukei-Pukei |
| Reward Money: 2520z |
| Time Limit: 50 min. |
| Conditions: HR 2 or higher |
| Failure Conditions: Time Expires / Faint 3 Times |
| Other Monsters: Aptonoth / Jagras / Mernos |
Hunt - Pukei-Pukei
This assignment is almost entirely a hunt, so once you get done with talking to the Commander and The Handler in Astera, you should be able to play online, if you wish for some help in the task. It’s not a terrible idea, as the Pukei-Pukei is stronger than the last two monsters you’ve faced, although nowhere near insurmountable for a lone hunter who comes prepared. Get a meal, then choose to start the assignment at the Northeast Camp, as it’s pretty close to the Pukei-Pukei’s lair.
| Elements | . |
|---|---|
| Fire | * * |
| Water | X |
| Thunder | * * * |
| Ice | * * |
| Dragon | * |
| Ailments | . |
|---|---|
| Poison | * |
| Sleep | * * * |
| Paralysis | * * * |
| Blast | * * |
| Stun | * * |
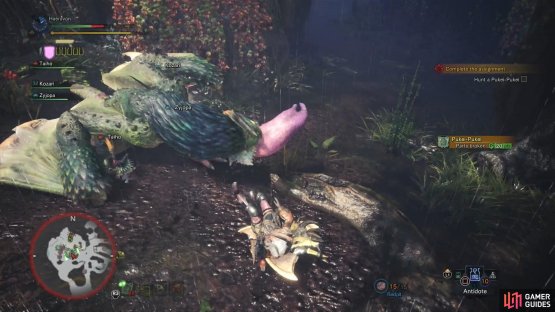
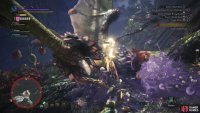
(1 of 2) The Pukei-Pukei can injure hunters by charging back and forth
The Pukei-Pukei can injure hunters by charging back and forth (left), and will sometimes append its charge attacks with a tongue lash (right)
The Pukei-Pukei is a large Wyvern monster that can spew venom in many ways. Antidotes are very strongly recommended, if not mandatory for this fight, unless you managed to craft yourself some armor with the Poison Resistance skill on it… sadly, the only one available with the monsters you have access to are the Pukei Vambraces, which naturally require you to kill a Pukei-Pukei, first. Plenty of Antidote Herbs can be found in AREA 5, which not only makes it close to the Northeast Camp, but close to the Pukei-Pukei’s lair to the north, in AREA 6.
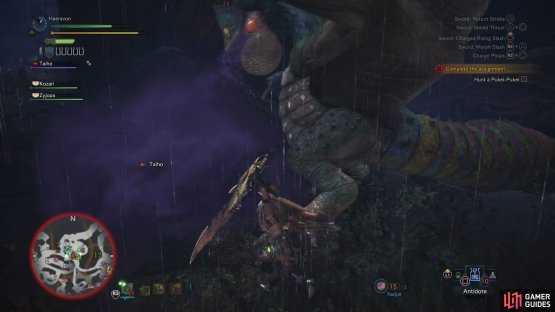
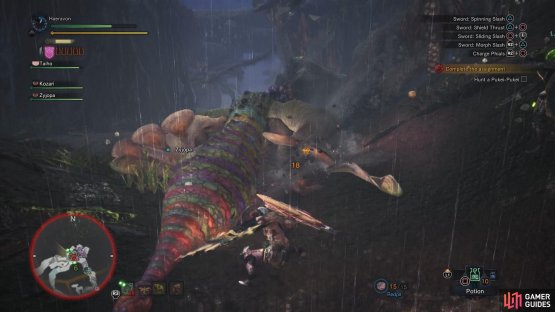
(1 of 2) The Pukei-Pukei’s most annoying attacks involve poison, including a poison gas breath attack
The Pukei-Pukei’s most annoying attacks involve poison, including a poison gas breath attack (left), and poison spit, which it can shoot three globs of in sequence (right)
Collect whatever restoratives you deem necessary, then search for tracks, which most likely will lead you north to AREA 6 and the Pukei-Pukei. The Pukei-Pukei can spit poison, either as a single gob, as a three-spit combo, or it can spew a venomous mist… and that’s just its front end! Its tail can also dispense poison, making only its flanks somewhat safe against envenomation. Even then, it’s fast and agile enough that you can’t rely on an exposed flank remaining safe for long, so you’re better off just trying not to attack too frequently - hence leave yourself exposed - so you can dodge or block its venomous attacks.
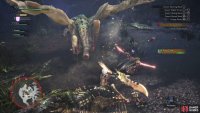
(1 of 2) Not only is the Pukei-Pukei’s tail vulnerable to damage, but it’s a relatively safe direction to attack from
Not only is the Pukei-Pukei’s tail vulnerable to damage, but it’s a relatively safe direction to attack from (left), Dish out enough damage to the tail and you may end up severing it (right)
In addition to its venomous attacks, it will perform lunges, charges, tail swipes, and leaping claw attacks. Like the Kulu-Ya-Ku, it’s somewhat flighty, but unlike its more terrestrial counterpart, it still retains the ability to fly, so be sure to get your Scoutfly Level up before you engage it so you can keep track of it when it flees. The Pukei-Pukei will usually return to its lair in AREA 6 when gravely wounded.
The head, wings and tail are all breakable, with the head being most susceptible to damage of the three. A Pukei-Pukei with a severed tail is much less of a hassle to fight, making it a fine first target. It’s quite weak to thunder, somewhat weak to fire and ice, and strong against water. Naturally, it’s not terrible susceptible to poison, and highly vulnerable to sleep and paralysis.
| Carves | Frequency |
|---|---|
| Pukei-Pukei Shell | * * * * |
| Pukei-Pukei Quill | * * * |
| Pukei-Pukei Scale | * * * * * |
| Pukei-Pukei Tail | * * * |
| Pukei-Pukei Sac | * * * |
| Rewards | Frequency |
|---|---|
| Pukei-Pukei Shell | * * * * |
| Pukei-Pukei Scale | * * * * |
| Pukei-Pukei Quill | * * * |
| Pukei-Pukei Sac | * * |
| Monster Bone M | * * * |
| Poison Sac | * * * |
Kill and carve the Pukei-Pukei, then search around for any other feathers or monster bits that may be lying about. After the quest ends you’ll hit Hunter Rank 3, snagging you a trophy and the right to challenge higher-end assignments. Also, you’ll automatically travel back to Astera, where the Commander will praise your work, and update you on Zorah Magdaros. How do you lose track of something that big?! Whatever, you’ll be put in charge of the Wildspire Waste, protecting scholars as they investigate the New World… which largely means, you get a new hunting ground full of new monsters to challenge. This starts the assignment The Best Kind of Quest. With a name like that, it’s got a lot to live up to!






No Comments