Firelink Shrine
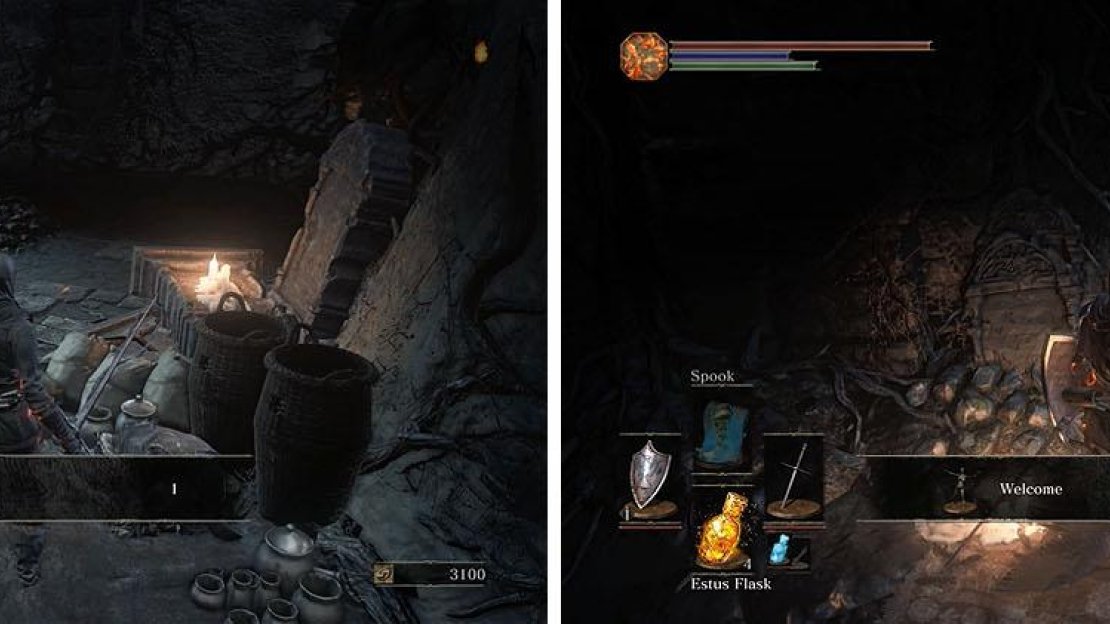
Speak with Greirat to obtain the “Curl up” gesture and Cornyx, located to the right of Andre the Blacksmith, for a Pyromancy Flame and “Welcome” gesture.
Speak with Greirat and Cornyx to obtain some gestures.
Undead Settlement
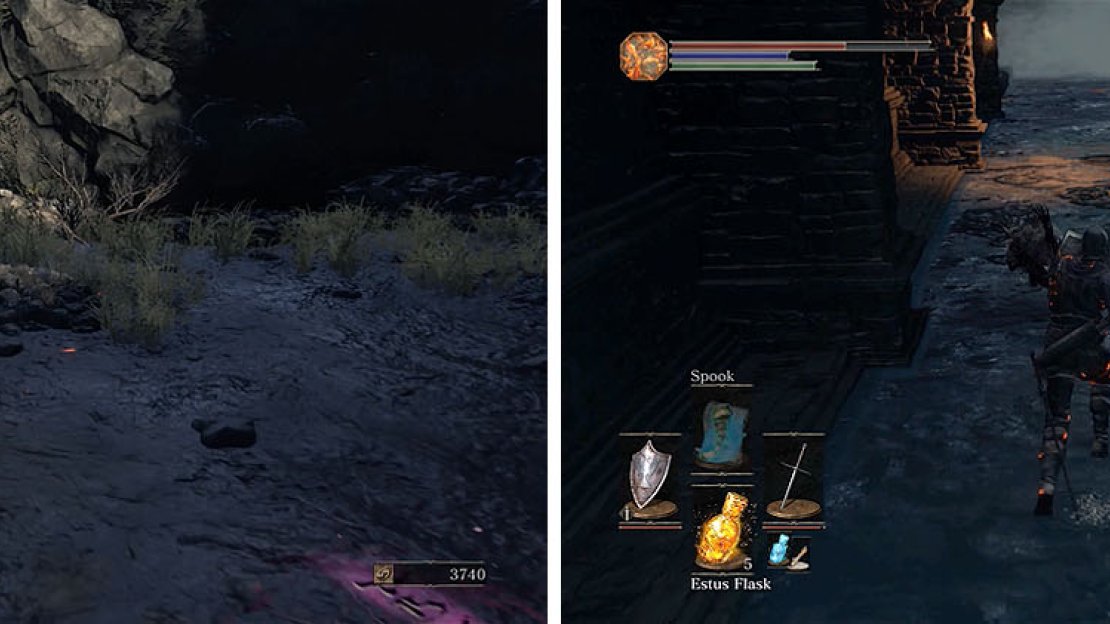
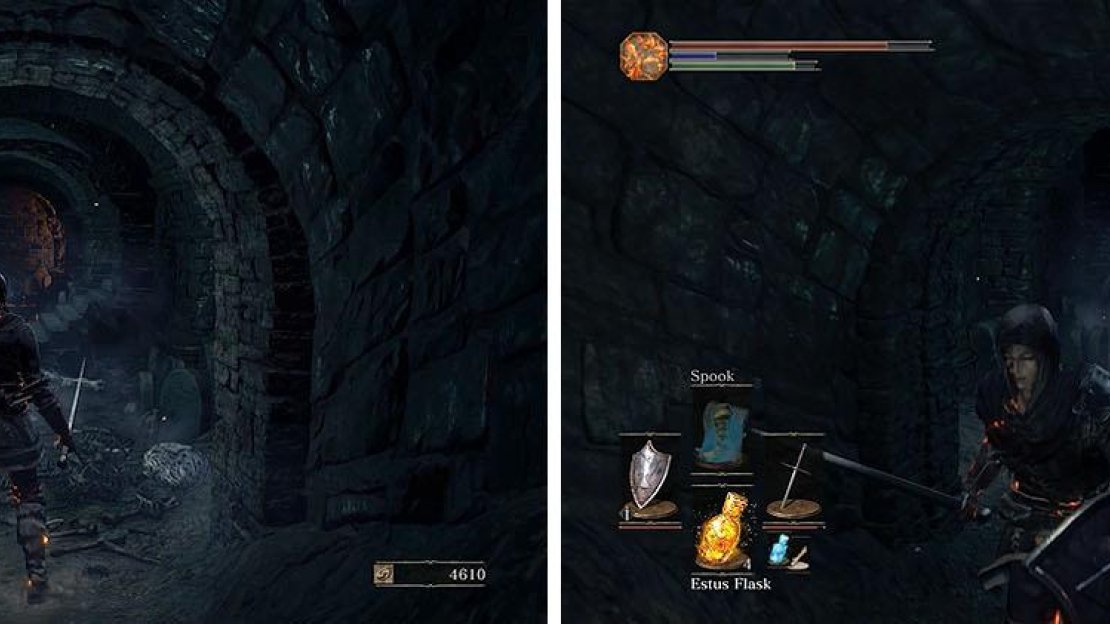
Return to the Road of Sacrifices and take the lift up to return outside and then head across the bridge to enter the sewers across the way. There are three Hound-rats in the open that can be dealt with by blocking their first attack before you counter attack, and then grab the Caestus .
Enter the sewer across from the bridge to encounter your first Hound-rats.
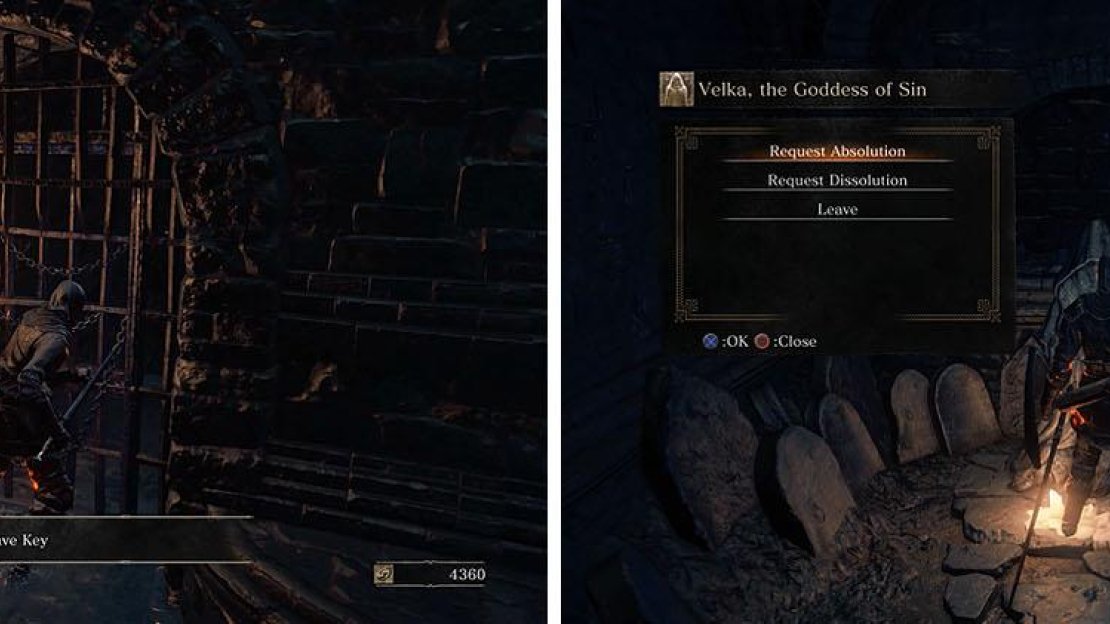
Drop back down to the water and check the barred alcoves to use the Grave Key you purchased early, unlocking a path that leads to a Loincloth and the statue of Velka.
Velka will offer you the chance to request absolution for your sins, but provided you don’t accidentally attack an NPC you won’t need to remember where this is.
The Grave Key will take you to the lower sewer, where you can find Velka.
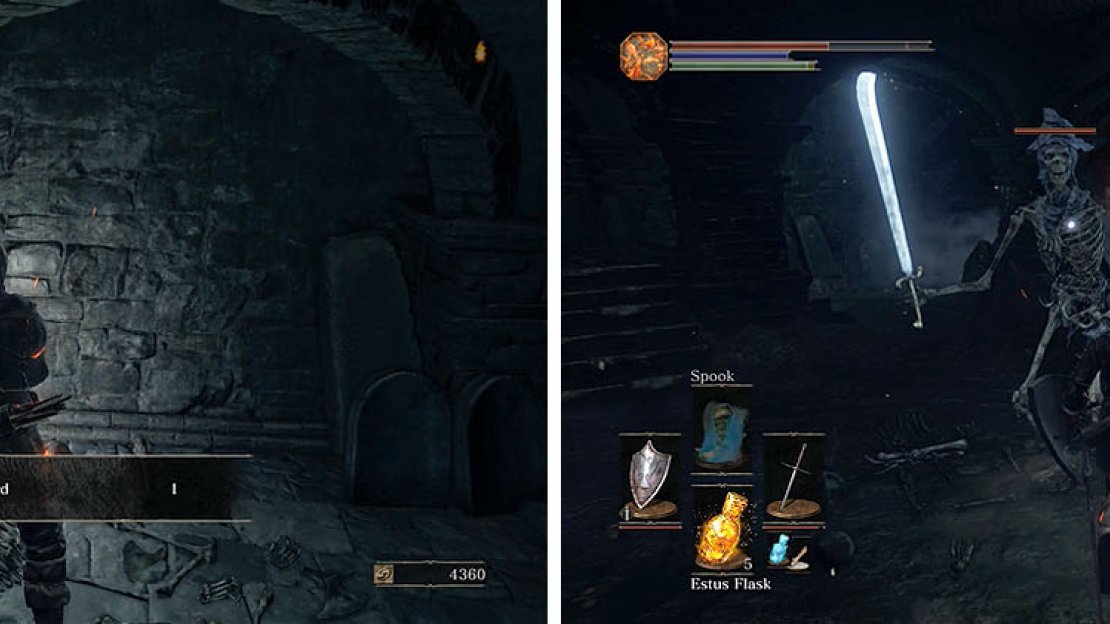
Follow the tunnel to a Red Hilted Halberd and then enter the next room, walking slowly as you approach any bones as they will combine to become a Skeleton Soldier.
There are a total of five skeletons in the first room with the Soul of an Unknown Traveler , but if walk slowly and then back up whenever one begins to form they won’t pose much of a threat on their own.
Grab the halberd and enter the next room, where you’ll encounter some skeletons.
The next tunnel is an ambush, with a skeleton forming ahead and behind you when you reach the center of the tunnel. Wait for the one ahead to begin to form and then roll backwards into the previous room so they are both in front of you, making them easier to handle.
The next tunnel is a trap, with a skeleton spawning in front and behind you.
Exit the sewer into a pit and then rush the Crystal Lizard for a Heavy Gem . Remember when I mentioned a Hollow Manservants will plunging attack you when you are below? Well, look up and shoot him with an arrow, allowing you to collect the Titanite Shard x2 .
Kill the Crystal Lizard and watch out for the manservant on the ledge above.
Follow the path outside while looking up to spot a corpse hanging with the Blessed Red and White Shield +1 and then enter the archway.
While it may look like there is only one Hound-rat in this area, moving forward will result in many more entering from the small alcoves at the back of the room. Proceed with caution and either strike them as they enter the area or run back and take the short ladder to stand on the ledge and defeat them with your bow.
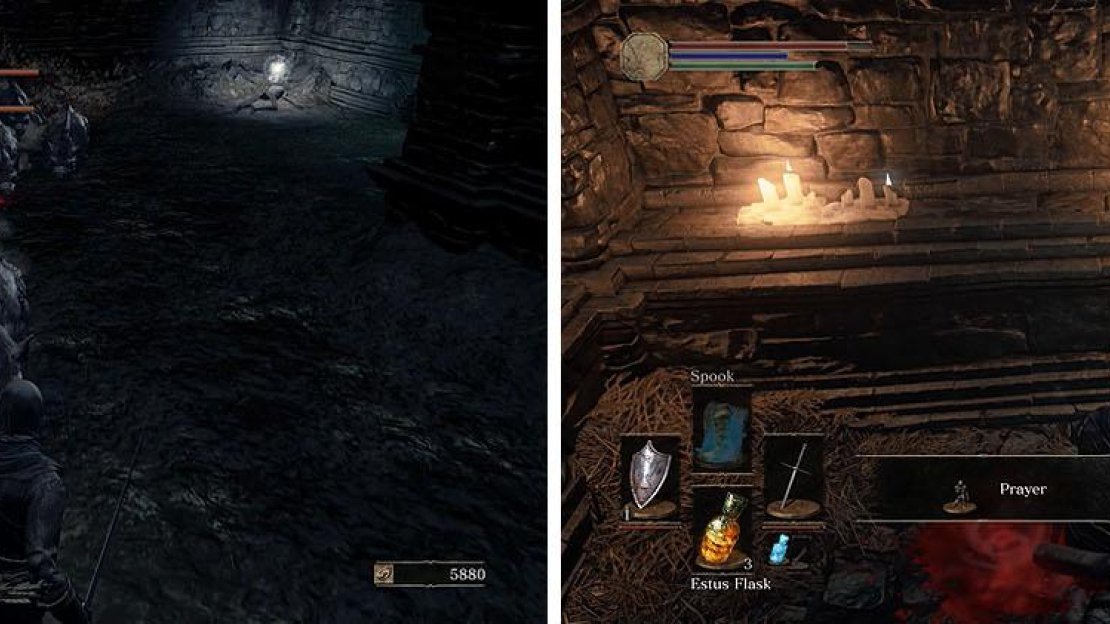
Collect the Saint’s Talisman and climb the ladder to find Irina of Carim , who you can touch add her to Firelink Shrine and obtain the “Prayer” gesture.
Defeat the horde or rats to reach Irina, who will move to Firelink as a merchant.
Exit through the gate to find Eygon of Carim , an NPC who will stand in Firelink Shrine, and then return to the large church where you met Siegward.
Activate the lift and then roll off before you get stuck going down and then look for a wooden platform about halfway up the lift. This platform requires you to roll off the lift as it passes by and missing it will result in death, so don’t be afraid to take the lift up and down a few times until you know exactly where it is.
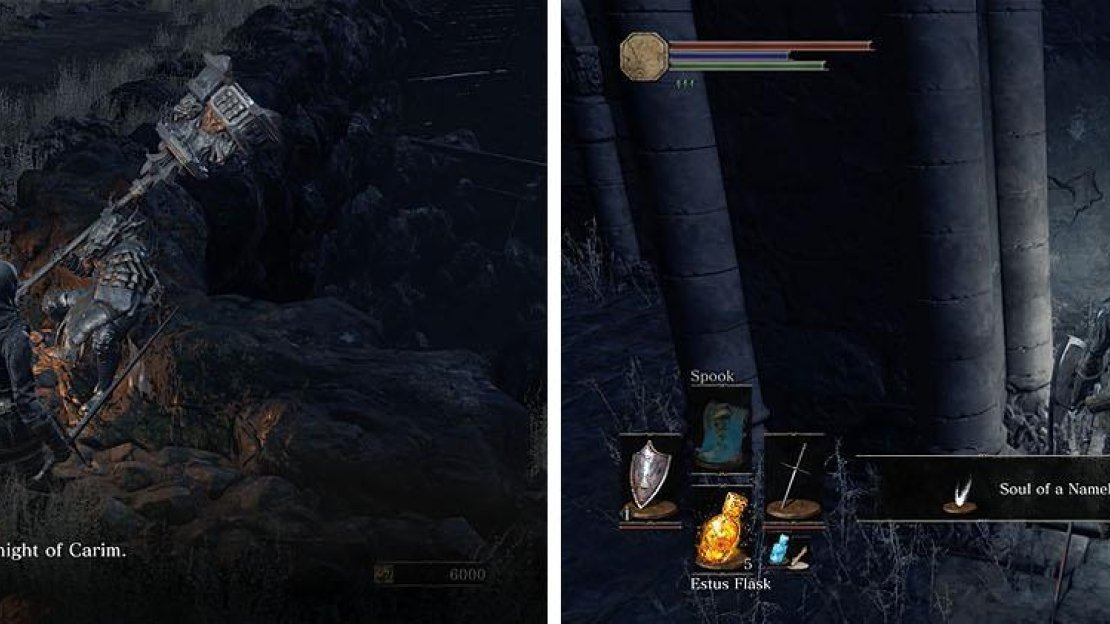
While learning the platform’s location you can also visit to top of the tower to find a Soul of a Nameless Soldier and the Giant that tosses the large arrows toward the Dilapidated Bridge.
Speak with Eygon near Siegward’s tower and take the lift to the top.
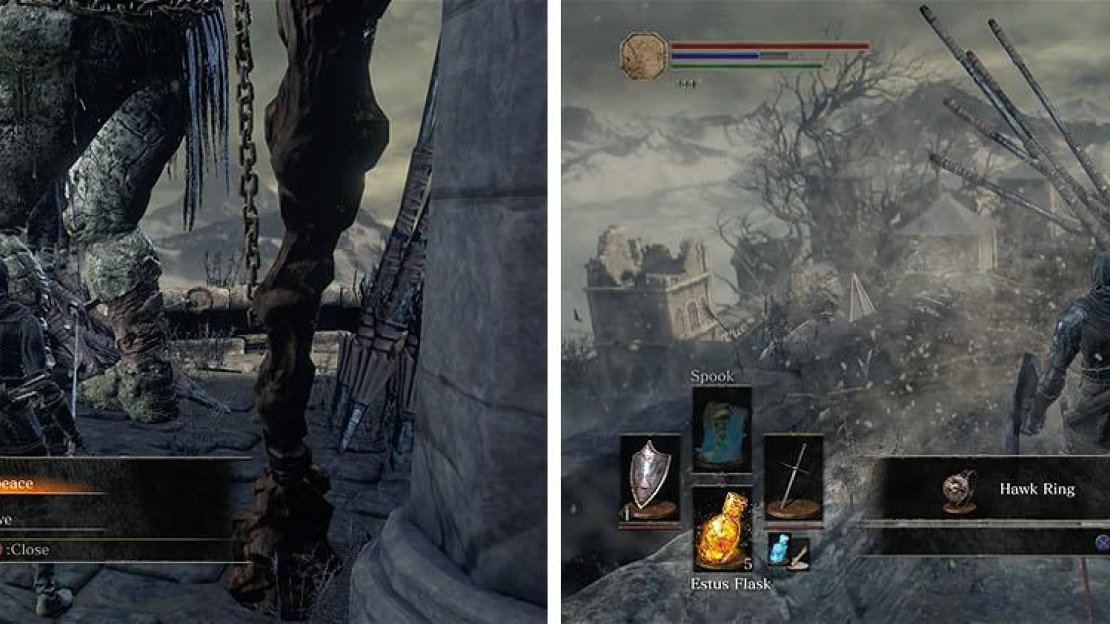
There are two options you can choose when dealing with the Giant: the first is to befriend it and it won’t throw arrows at you if you carry a Young White Branch, while the other is to kill it for the Hawk Ring .
Kill the Giant for the Hawk Ring if you use the bow heavily, as it is a great addition to your damage, but keep him alive if you want to draw enemies toward any white birch tree to have the Giant kill them. Note that if you collect all the Young White Branches you’ll earn the Hawk Ring without defeating the Giant.
Make Peace with the Giant or defeat it to obtain the Hawk Ring.
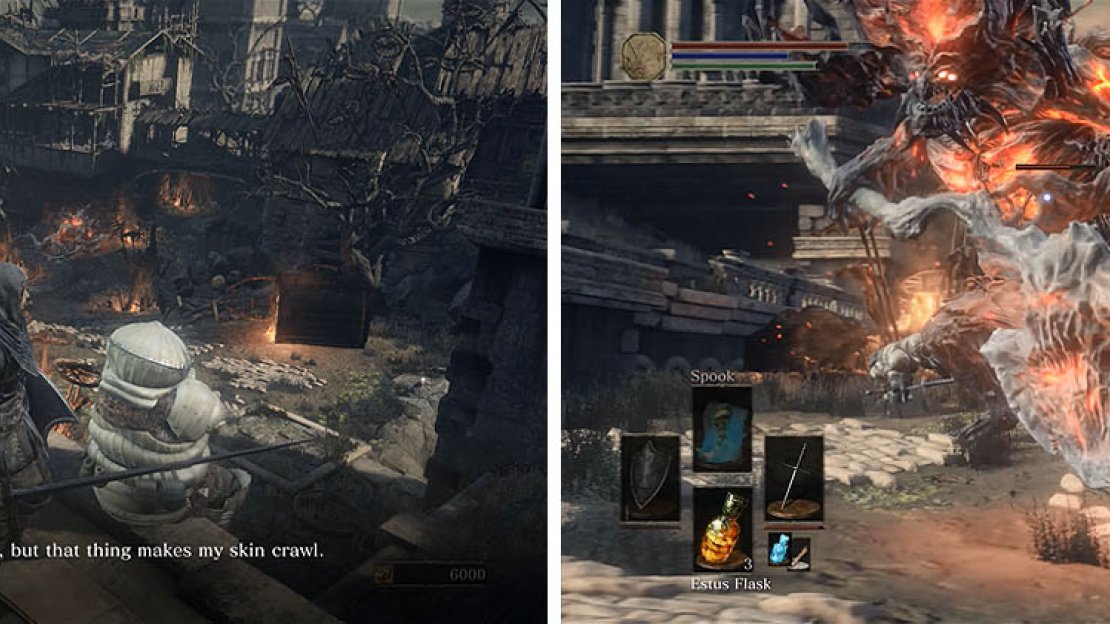
When you finally land on the wooden platform halfway up the lift shaft you’ll find Siegward again. This time he warns you of a dangerous enemy ahead, but ignore his advice and drop down to approach the Demon.
Siegward will come to the rescue and join the fight, but that doesn’t mean you can get cocky about it. Watch out for the demon’s sweeping attacks and when he engulfs in fire he’ll explode in a blast that’ll likely kill you. Attack when he is focused on Siegward and make sure to stay at full health to defeat him for a Fire Gem .
Talk to Siegward and then enter the courtyard below to fight the Demon.
Speak with Siegward multiple times to obtain a Siegbrau , the “Toast” and “Sleep” gestures and then check the area for a Homeward Bone .
You can now head down into the courtyard to find a Large Club , Pale Tongue , and the Northern Armor Set and then look for the only building you can enter.
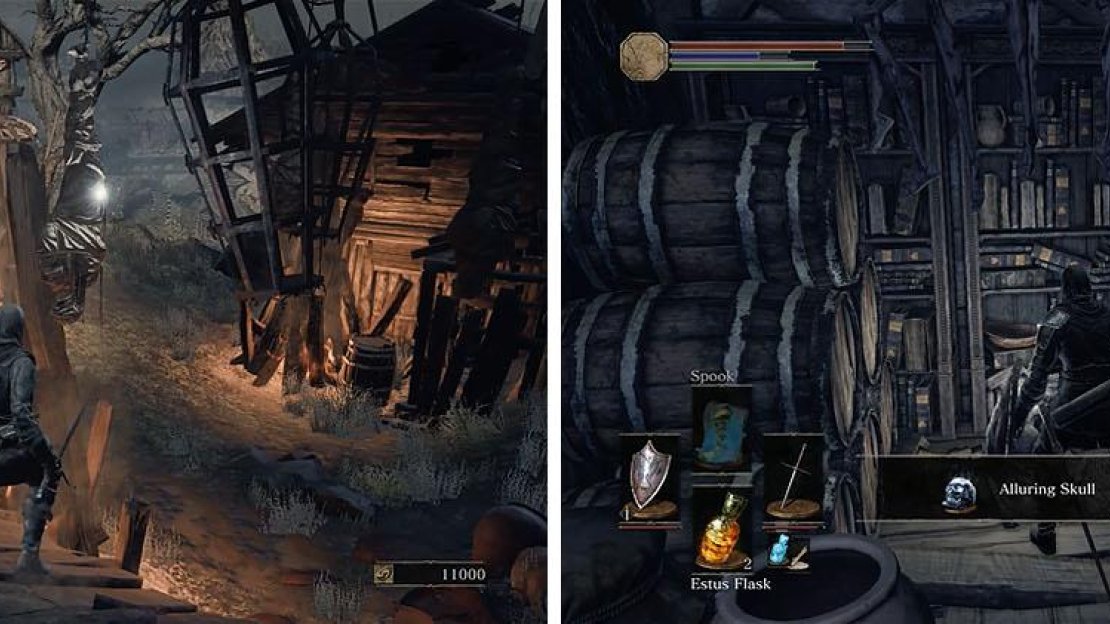
The first floor has some Red Bug Pellet x2 and upstairs you’ll find Alluring Skull x2 flanked by some Cage Spiders that drop from the ceiling. Head to the other side of the building, dealing with two Starved Hounds, and then turn around and kill the Cage Spider before you continue.
Check the courtyard for some items (left) and then head into the building and up the stairs, killing the Cage Spiders near the Alluring Skulls (right).
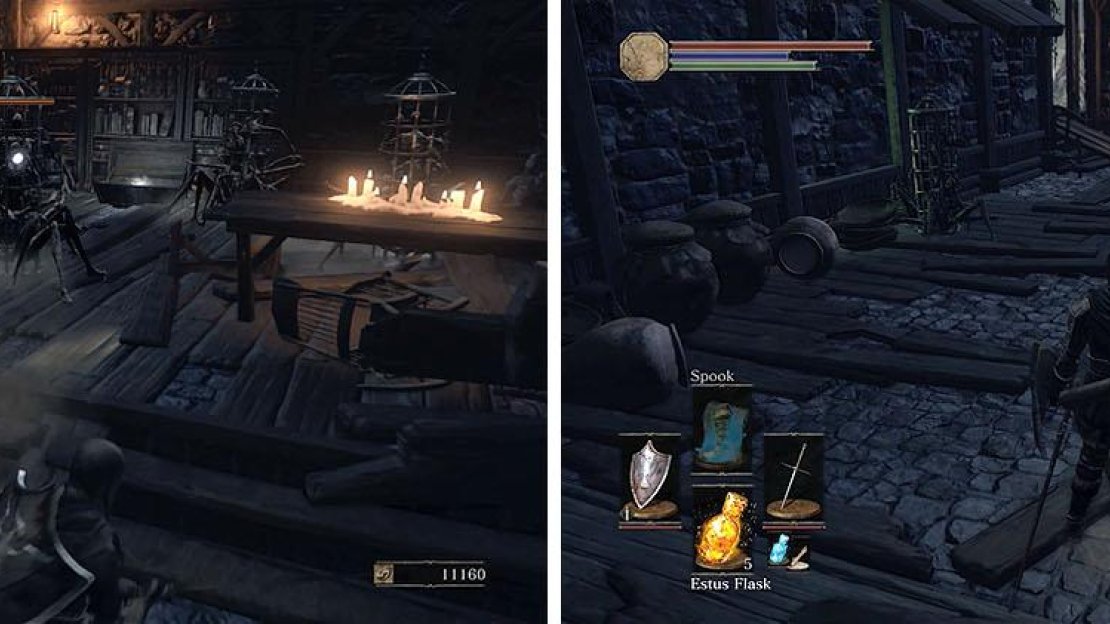
As you approach the chest you should note the many Cage Spiders on the ceiling, so open the chest and quickly roll back to deal with them before you collect the Human Pine Resin x4 .
Head up the stairs and spot two Cathedral Evangelists with their back to you, but don’t try and take them both on. You can either pull each individually and fight them in the room below or rush past them and exit to the rooftop. If you want to fight them, you’ll likely be doing so for the first time on even ground.
Opening the chest drops a bunch of Cage Spiders from the ceiling (left). Upstairs, decide how to take on the two Evangelists (right).
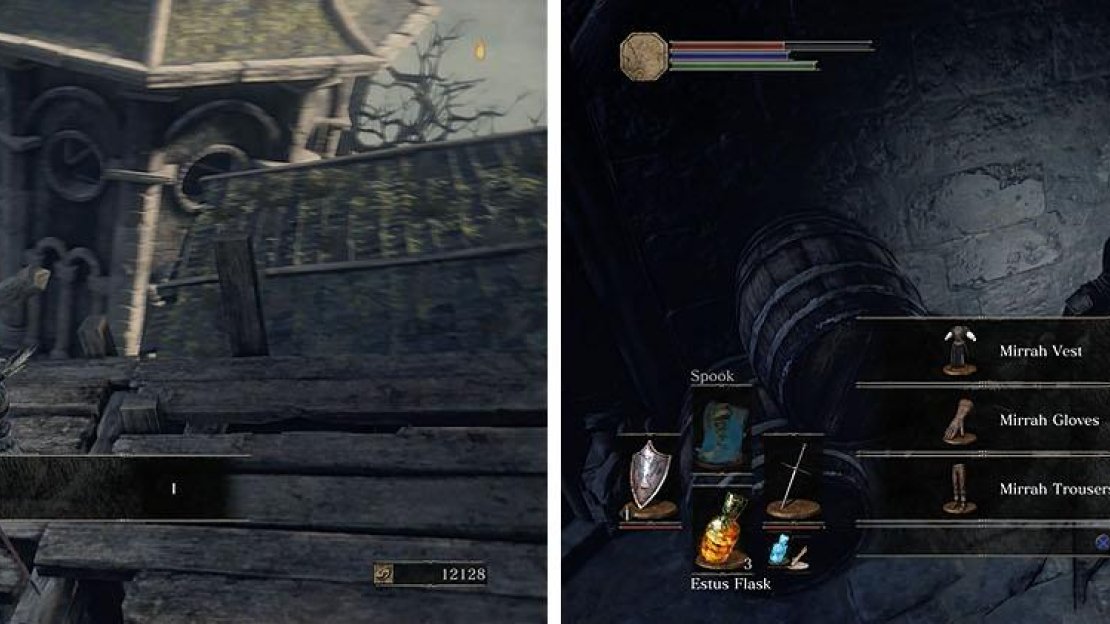
Collect the Flynn’s Ring from the rooftop and then roll to the adjacent tower to find Homeward Bone x2 . The fall down the tower will kill you in one go, so jump across to the wooden platform about halfway down the tower before dropping to the ground to collect the Mirrah Armor Set and Chloranthy Ring .
The tower exit drops you near the large steps leading to the boss arena, but head back toward the bonfire to grab an Ember .
Collect the Flynn’s Ring and make your way down the tower for more treasure.
No Comments