Cross the roof and pick up the Firebomb x3 and then rush around the outside of the rooftops to spot a Crystal Lizard ( Raw Gem ). These creatures drop fixed items upon death, but given the opportunity they will flee and vanish.
Collect the Large Soul of a Deserted Corpse on the roof before taking the ladder and then take out the Hollow Soldiers on one side of the building. You can now collect the Firebomb x3 and then search the opposite side for Black Firebomb x3 .
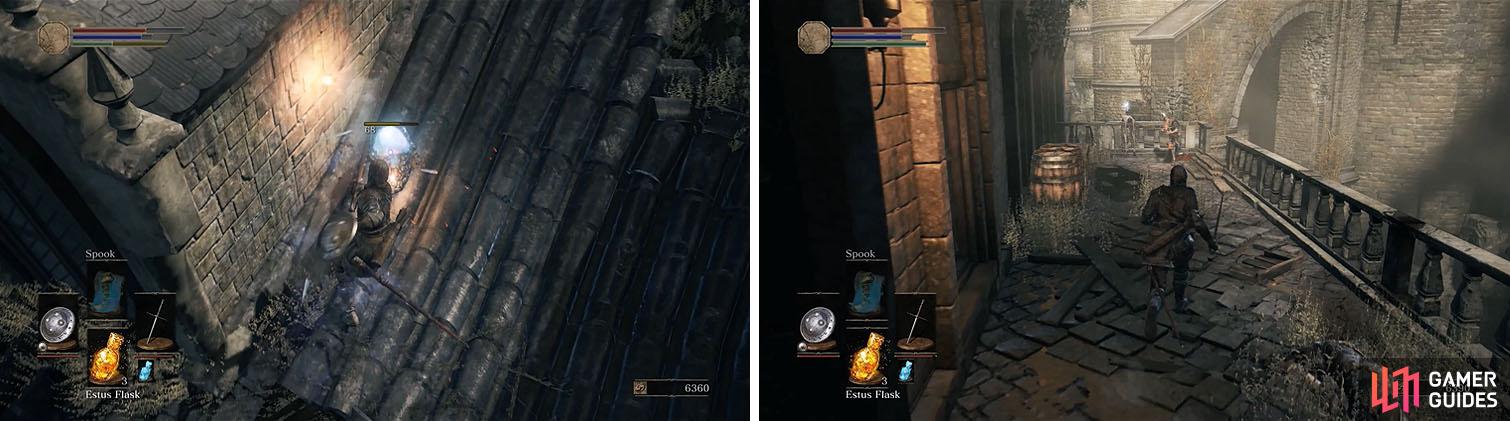
Make sure to kill the Crystal Lizard before taking the ladder down to encounter more enemies with crossbows.
Enter the building near the ladder you originally came down and then enter the room on the left, killing the Hollow Soldiers inside. Attack the pots to find a corpse with Undead Hunter Charm x2 and then check the back balcony for a Titanite Shard , with even more enemies ready to ambush you.
Backtrack to the main part of the building, where a Lothric Knight patrols, and collect the Soul of a Deserted Corpse before heading further into the building.
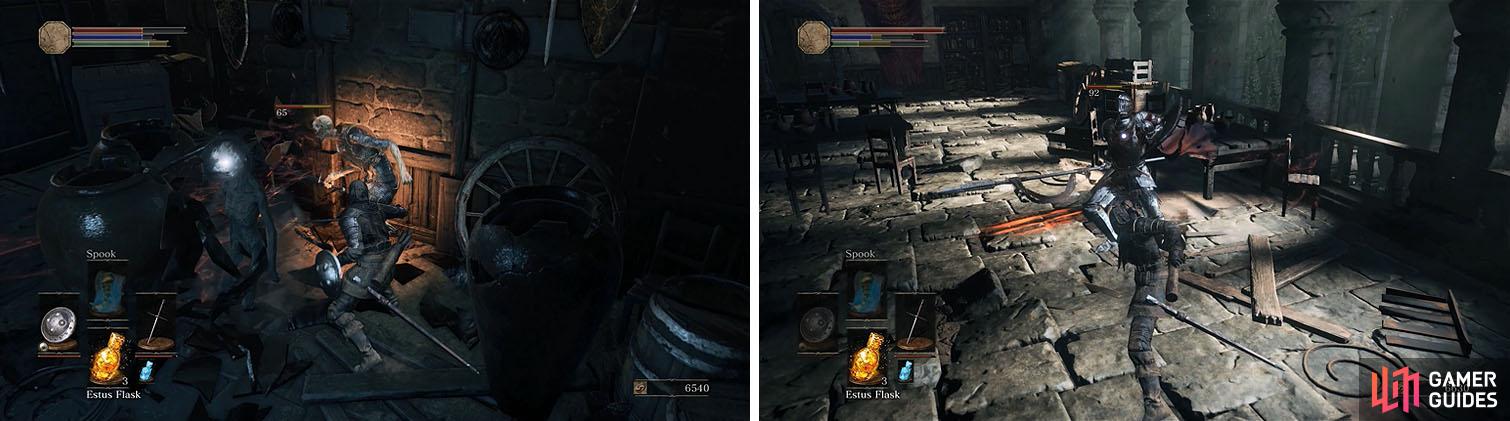
Enter the building to collect some items (left) and defeat the Lothric Knight (right).
A room on the left has a Hollow Soldier ready to strike when you pass, as well as a Broadsword , and if you continue down the stairs you’ll come to a room with more enemies. Head around the upper level to kill some minor enemies and open a chest with the Silver Eagle Kite Shield and then backtrack to the lower level.
Fight off the Starved Hound and Large Hollow Soldiers in the room below individually and when the area is clear you can now grab the Titanite Shard under the stairs, Estus Shard from the anvil, and Cell Key from the stairs.
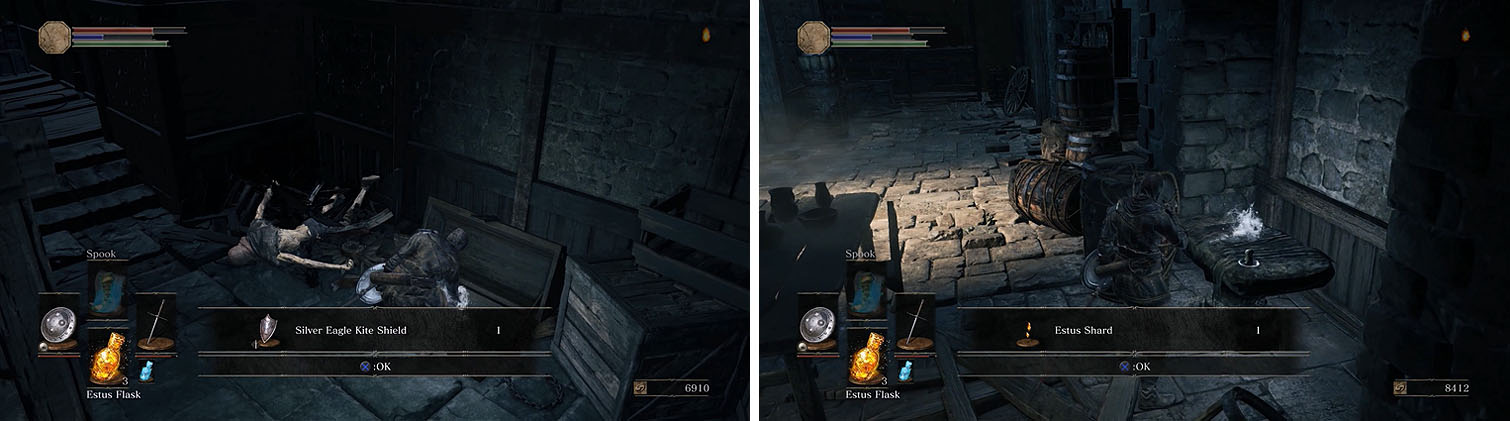
Collect the a chest and then clear the bottom level to find multiple valuable items.
If you exit the opposite side of the building you’ll be able to shoot the Winged Knight from the balcony above, allowing you to ignore actual combat with this enemy type for now. Head back through the building and when you reach the room where the Broadsword was turn left to find a hidden path behind some boxes.
Grab the Green Blossom x2 at the end of the path and then roll through the barrels to find a chest with an Astora Straight Sword . You can now drop into the courtyard where the Winged Knight was to grab the Rapier and Ember x2 below.
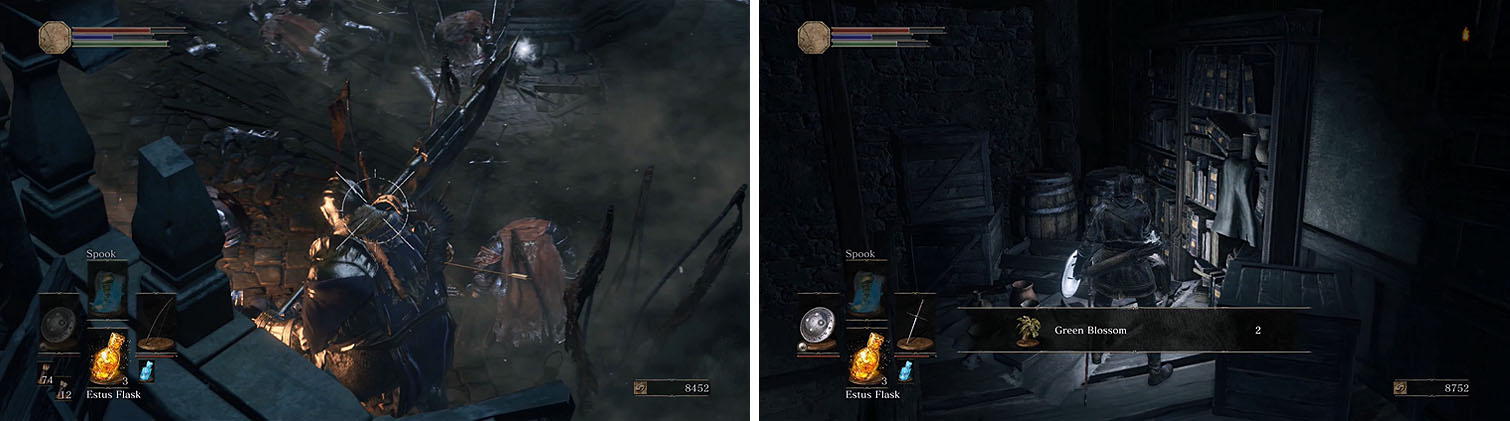
Defeat the Winged Knight (left) and then enter the hidden path at the top of the stairs, rolling through the barrels near the Green Blossoms (right).
There are two exits from this courtyard: one is a dead end with a ladder, while the other leads outside. Turn right and kill the Hollow Soldier hiding behind a pillar before dealing with the crossbowman on the stairs and then take the stairs.
There is another set of stairs on the right that leads to a Large Soul of a Deserted Corpse and a Ring of Sacrifice , reached by jumping to the wooden awning, and then return to the stairs and head straight.
In the courtyard, kill the Hollow Soldier and then back up into the building to prepare for the ambush. You can now grab the Green Blossom x3 near the exit before taking the lift in the opposite building, grabbing the Throwing Knife x6 at the top.

Don’t miss the Ring of Sacrifice (left) and then clear the courtyard to unlock the shortcut back to the first bonfire (right).
The gate is a shortcut that leads back to the area near the first bonfire, where you encountered the Starved Hounds and Large Hollow Soldiers for the first time.
Firelink Shrine & NPC Quests
Make sure to turn in your Estus Shard at the blacksmith, granting additional Estus Flasks, and then head to highest throne to find Ringfinger Leonhard . Leonhard will only hand over C racked Red Eye Orb x5 for now, but remember his location in Firelink for later.
You can now return to High Wall of Lothric, but instead of heading to the first bonfire choose the Tower on the Wall bonfire instead.
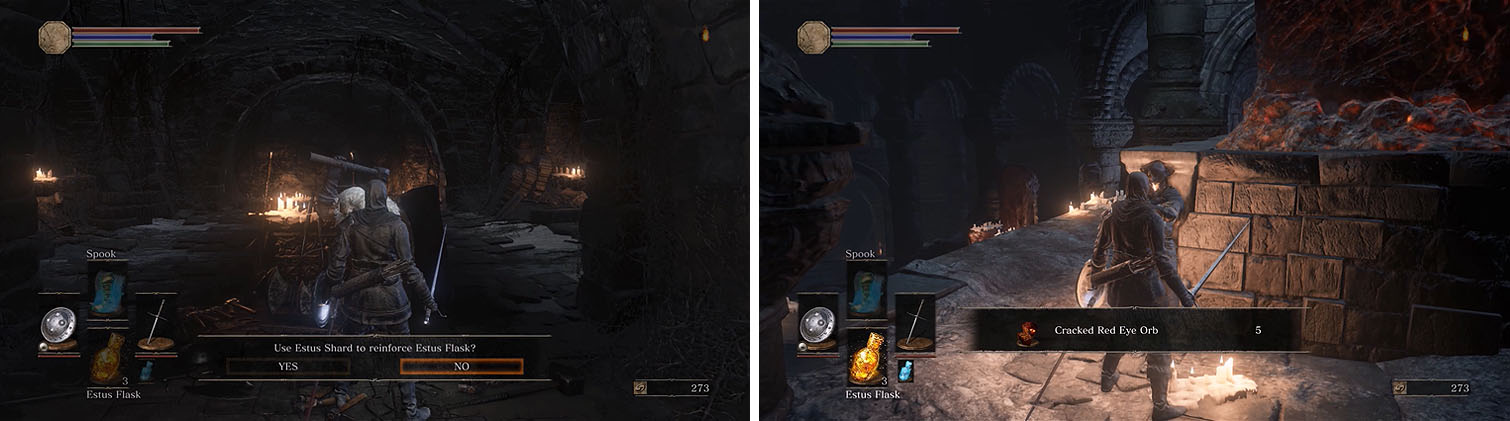
Reinforce your Estus Flask and speak with Rinfinger Leonhard at Firelink.
High Wall of Lothric
Head all the way down the tower, taking the ladder down to the Large Hollow Soldier, and this time make your way to that locked cell mentioned earlier.
With the Cell Key you obtained earlier you can now free Greirat of the Undead Settlement , who will ask you to find a woman named Loretta, and give you the Blue Tearstone Ring .
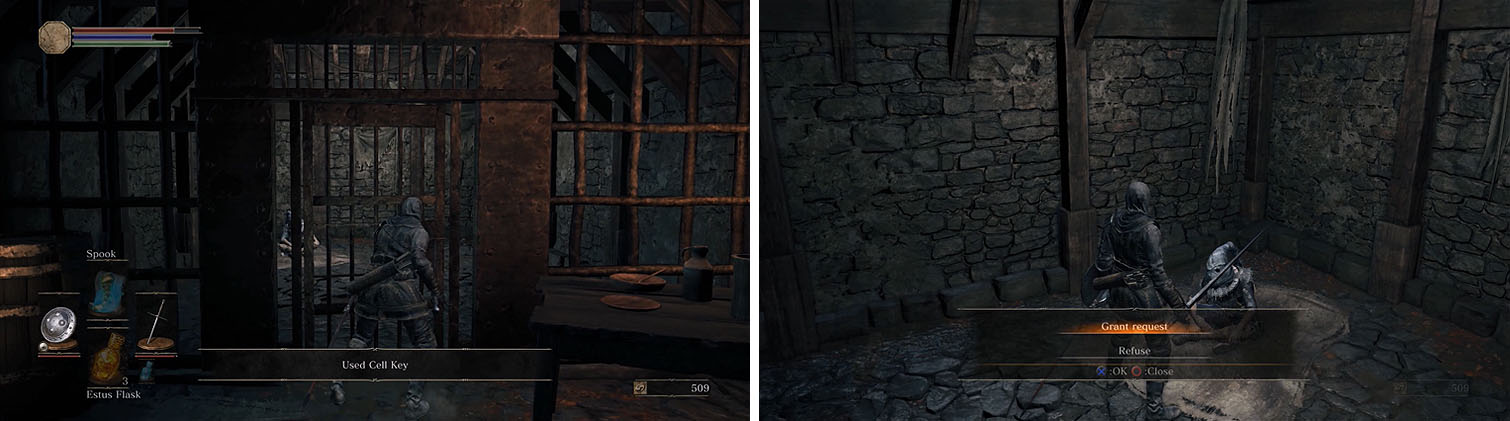
Use the Cell Key to release Greirat and accept his request for the ring.
Return to the bonfire and travel to the first bonfire in High Wall of Lothric and take the shortcut once again, rushing through the area to avoid being ambushed. Head straight toward the Soul of a Deserted Corpse and then lure over each of the Lothric Knights individually before entering the church behind them.
Emma is the priestess that protects the entrance to Lothric Castle, but for now she will provide you with the Small Lothric Banner and the Way of Blue covenant.
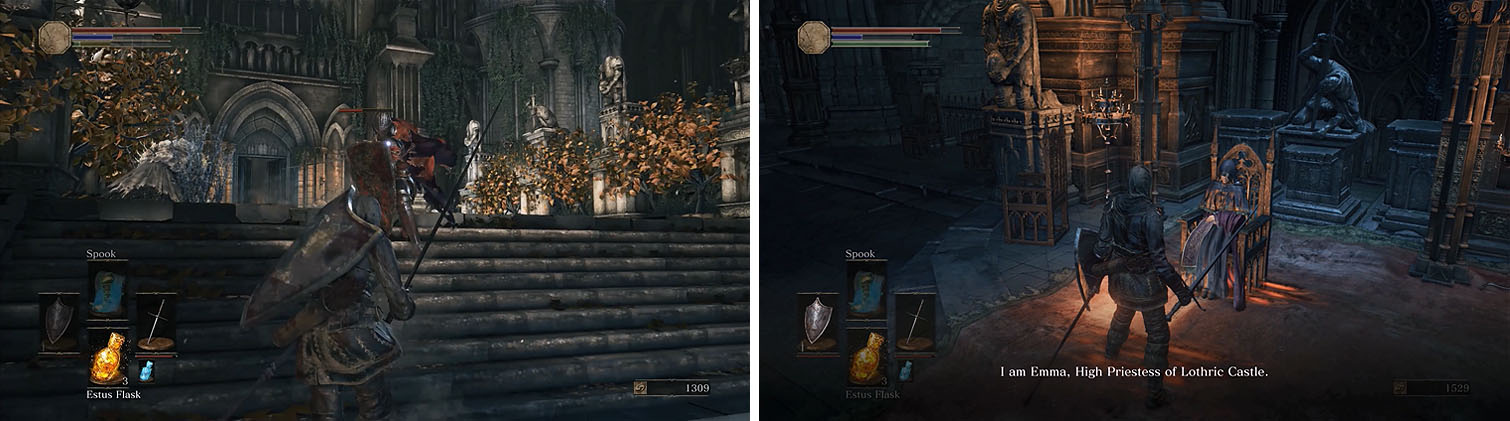
Lothric Knights protect the path to Emma, High Priestess of Lothric Castle.


No Comments