Travel to the Distant Manor bonfire and head down the stairs and drop off the ledge straight ahead to find a Rusted Gold Coin .
There are two Irithyllian Slaves directly below you, as well as a Large Titanite Shard behind the pillar, and around the corner near the stairs is a Burning Stake Witch. Be careful when fighting the witch, as there is a Pontiff Knight up the stairs that you may trigger if you back up them, and then exit the building.
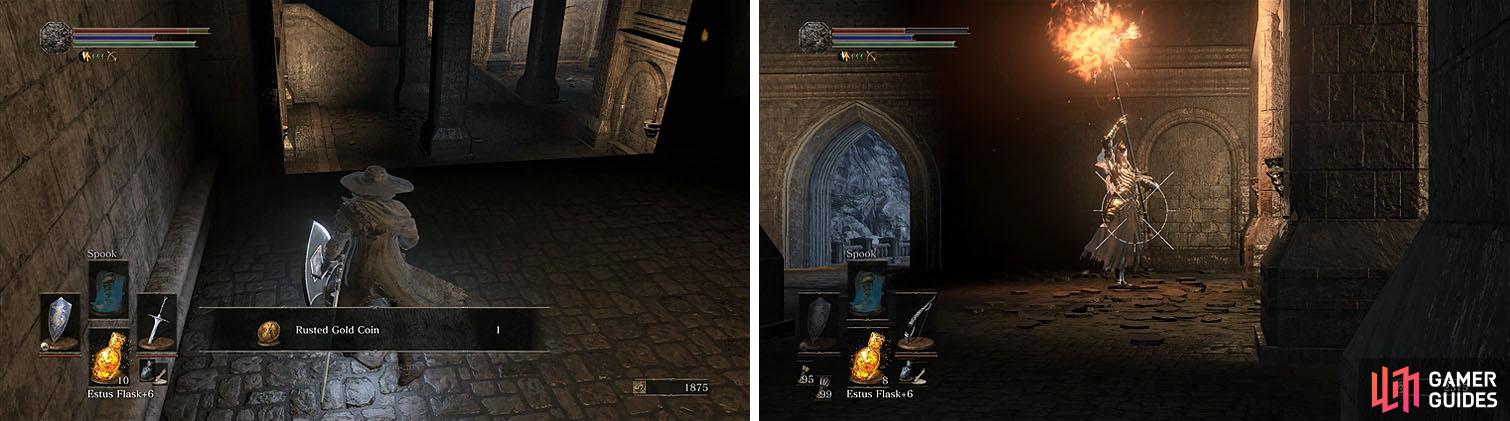
Drop onto the ledge with a coin and then defeat the witch near the exit.
If you are embered the Dark Spirit Alva, Seeker of the Spurned will invade in the archway leading deeper into the dungeon.
You can start this fight with a backstab if you wait for him to spawn on the stairs leading into the dungeon, as he spawns facing toward the outside, and then follow this up with a long combo as he rises.
Alva uses a curved blade and fights similar to the Farron Watcher in Road of Sacrifices, spinning 360 degree in a sweeping combo and using a crossbow. The good news is that Alva can easily be interrupted and if you get the early advantage this fight will be over quickly ( Murakumo ).
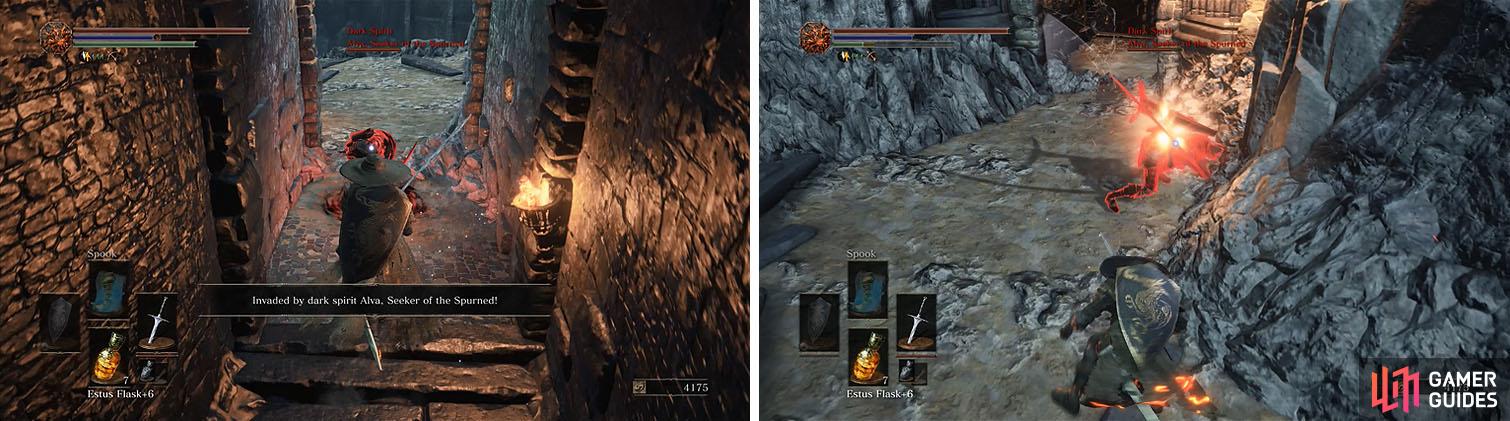
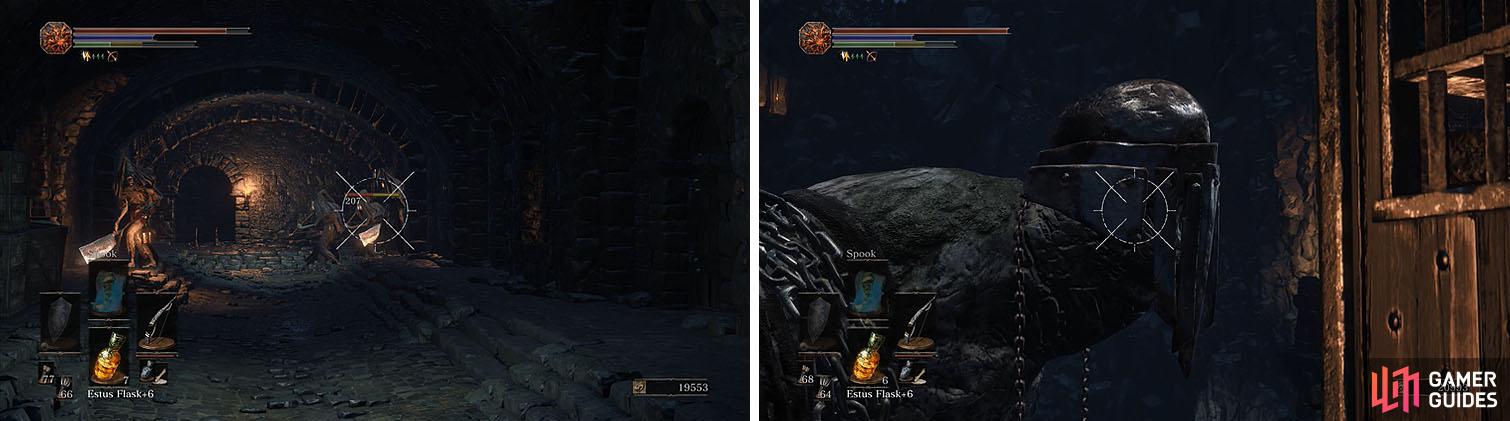
Wait for Alva to spawn in the hallway to start the fight with a backstab (left) and then roll out of the way of his spinning combos (right).
Head down the stairs to reach the Irithyll Dungeon bonfire and then enter the dungeon with a number of cells, two of which contain a Rusted Coin and Large Titanite Shard . The last cell on the right is locked and can’t be opened until much later, so exit the other side of the room to encounter a Jailer.
These enemies don’t seem dangerous at first, but they have the ability to lower your maximum health to nearly nothing. Don’t give them a chance to do this by charging them and attacking, but be careful when they are in groups.
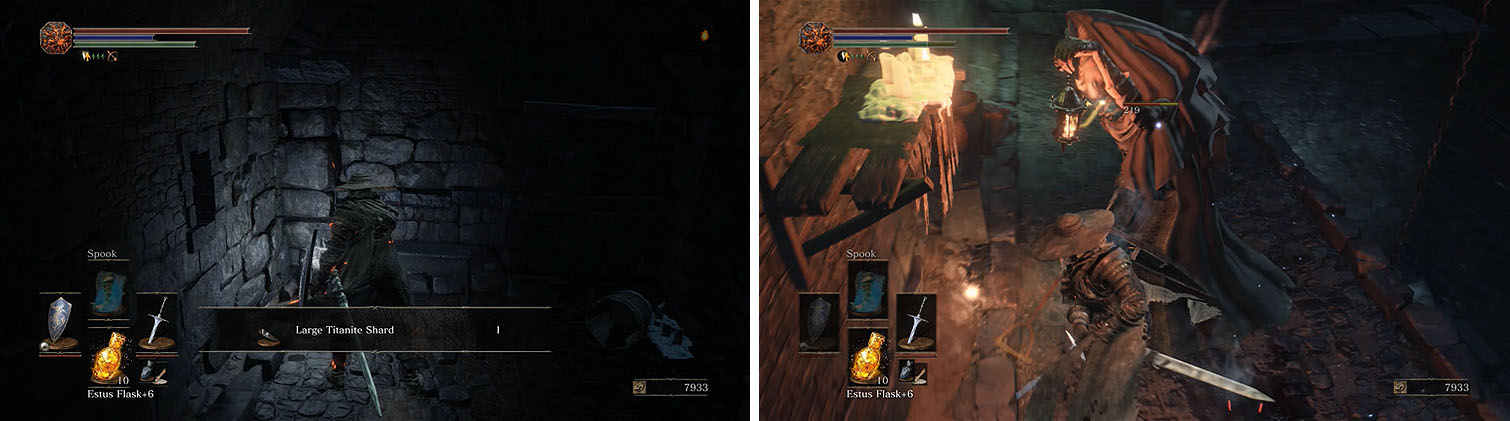
Collect the items from the cells and then rush out to attack the Jailer.
Defeat the corpse in the cell before you pick up the Fading Soul or it will strike you from behind and push you down to the level below.
Kill the Jailer around the next corner before you deal with the three corpses in the nearby cell and then make your way to the end of the hall for a Large Titanite Shard . You can now take the nearby hallway to a set of stairs overlooking a Jailer and some Cage Spiders to reach the lower level.
The cell with an item here requires the same key as the one near the bonfire, so ignore it and turn right to kill a corpse hiding by the Large Soul of a Nameless Soldier .
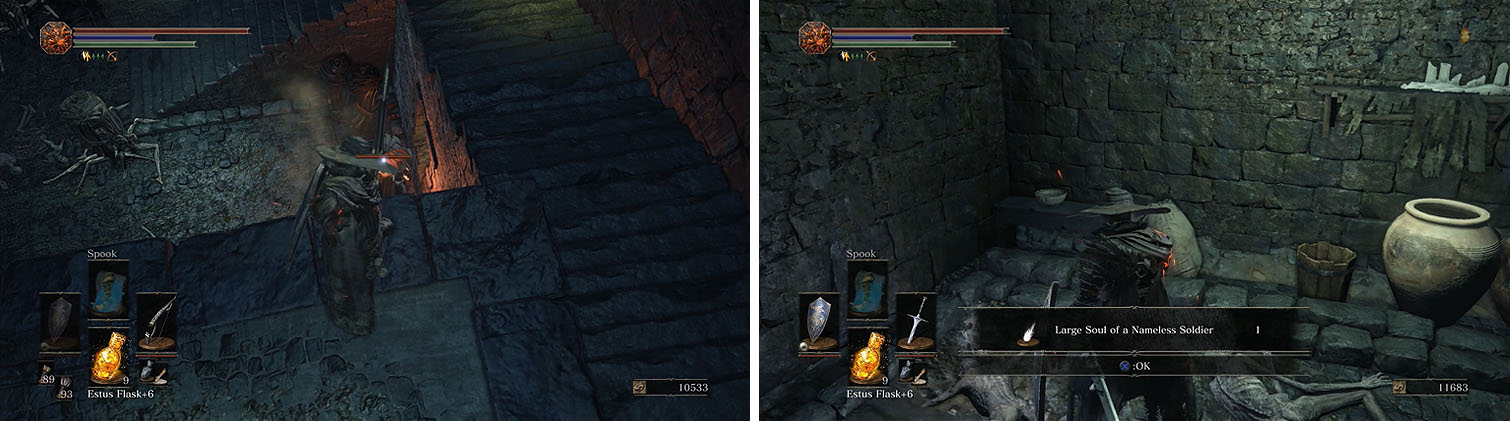
The stairs leads to an area with a Jailer and some Cage Spiders (left) and just outside to the right is a soul on the body of a corpse (right).
Head down the hall and enter the first cell on the left to defeat more corpses and collect the Old Sorcerer Armor Set and then open the cell at the end of the hall with a Corpse-grub. While this may seem pointless, defeating this optional enemy will grant you the Great Magic Shield .
You can now head back down the hall and up the stairs to the bridge with a Jailer, which leads to the other side of the dungeon.
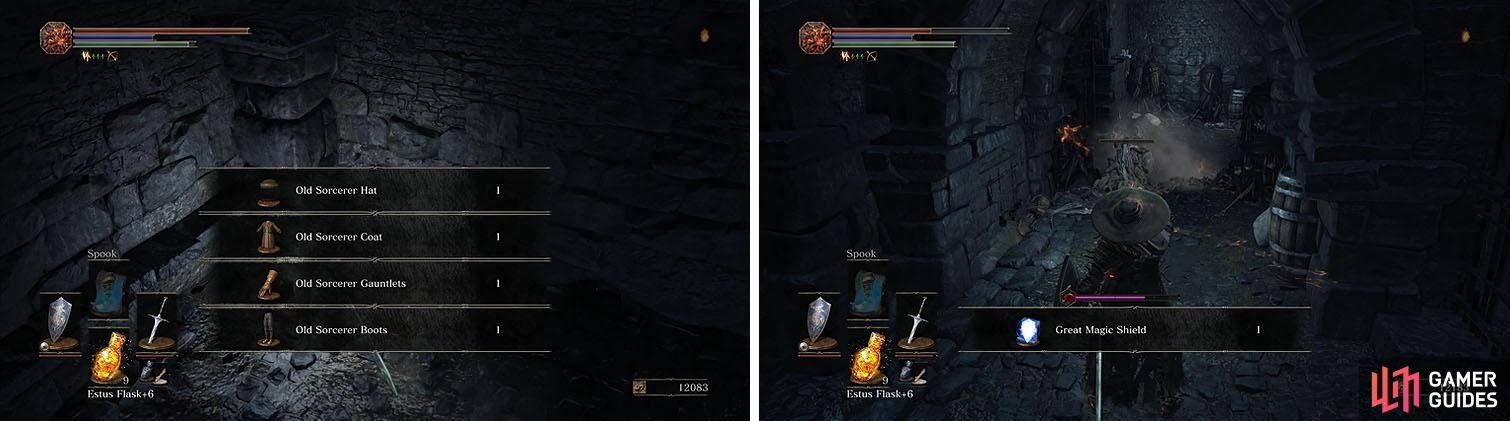
Make sure to grab the Old Sorcerer armor (left) and defeat the Corpse-grub for the Great Magic Shield spell (right) before backtracking.
The gate on the left is locked from this side, so head right to defeat another Jailer and then enter the cell at the end for a Large Titanite Shard . Head back and enter the previous cell with a hole in the wall to find a Pale Pine Resin x2 and then enter the next room to find a Wretch on the wall.
These dark enemies blend in with their environment, but are slow and pose little threat if you rush them and attack. You can now open the gate, turn left to open the gate that was locked to create a shortcut, and then turn around to find a cell with the Jailbreaker’s Key at the end of the area.
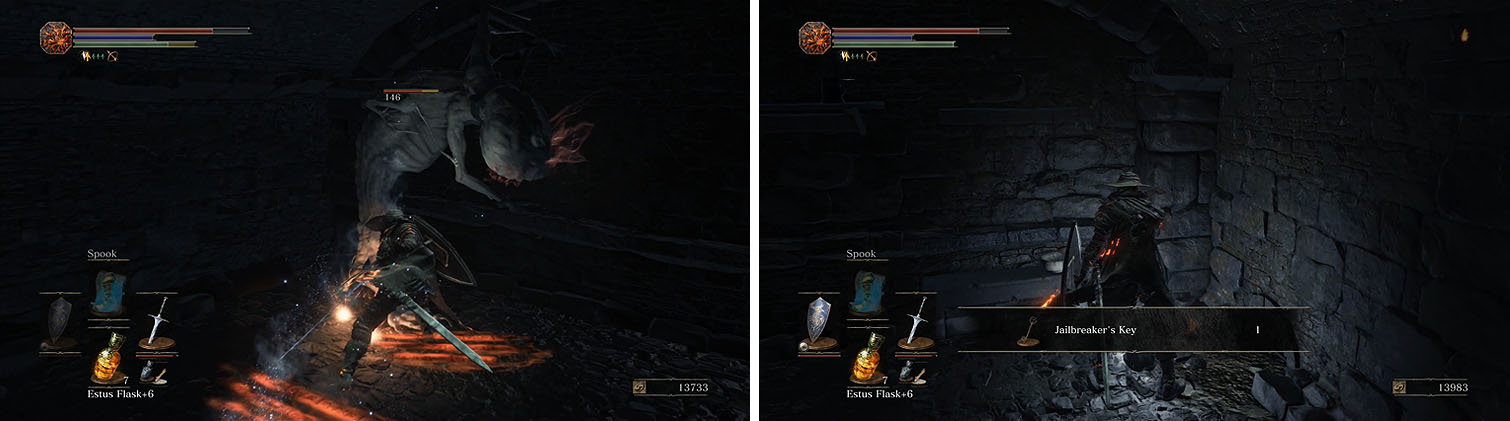
The Wretch on the wall is not an ally (left), so kill it and then collect the Jailbreaker’s Key from one of the cells (right).
Backtrack and turn left at the opened gate to reach the stairs leading to the lower level and use ranged attacks to kill the three Jailers before making your way down.
Enter the nearby cell to defeat a Wretch and collect a Simple Gem and then turn left to spot a Crystal Lizard. A cell directly next to the lizard has another Wretch that will strike as you run past, but you’ll want to kill the lizard for the Titanite Scale before you deal with the Wretch itself.
There is a Wretch waiting in the cell with the gem and near the Crystal Lizard.
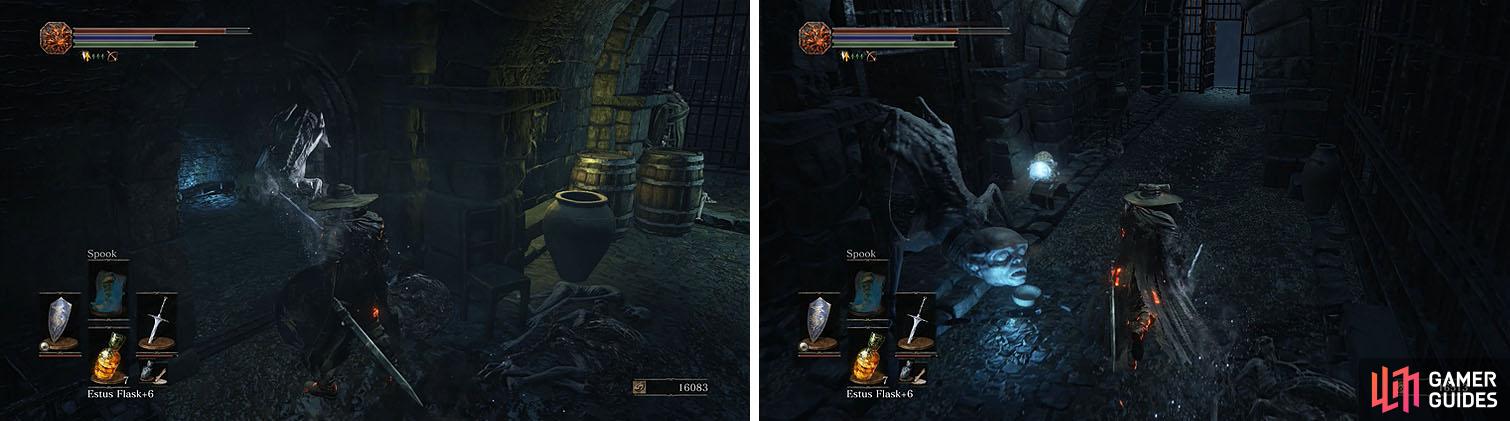
Head outside to grab the Homeward Bone x2 and then backtrack all the way to the bridge connecting each side of the cell block. Turn left, if you’re facing the side of the dungeon with the bonfire, and roll through the barrels at the end of the hall to unlock the gate with the Jailbreaker’s Key.
Drop onto the ledge with the Bellowing Dragoncrest Ring and then kill the Peasant Hollows with ranged attacks before dropping down to the ground.
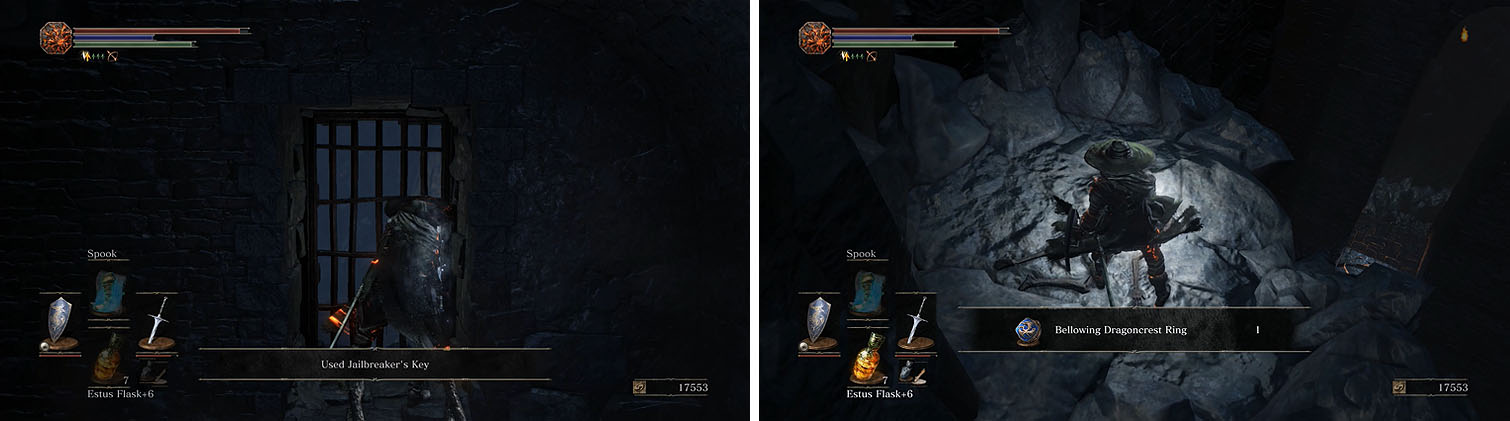
Use the Jailbreaker’s Key to access the ledge with the Dragoncrest Ring.
Enter the building and kill the Mimic with an Estus Shard before you take the stairs.
Multiple Hollow Peasants round the corner as you enter, so use a mixture of ranged attacks and combos to defeat them and then turn the corner and finish off any remaining enemies to grab the Soul of a Weary Warrior .
Find the arch with a ladder leading down to the next level and open the door to find a Giant Slave, which you can easily defeat with ranged attacks. After the giant is dead you can kill the Crystal Lizard that was hiding behind his arms for a Titanite Chunk and grab the Soul of a Crestfallen Knight .
Defeat the Hollow Peasant and then slide down the ladder to find a Giant Slave.
Take the ladder to the bridge overlooking an area with multiple items and a bunch of rats that spawn endlessly and then drop down and collect the Large Titanite Shard x2 and Profaned Flame .
The archway in the center of the area leads to a lift that is a shortcut to the bonfire, while the arch near the edge of the area beneath the bridge leads to a Mimic containing Dragonslayer Lightning Arrows .
You can now take the ladder and drop across the gap in the wooden roof to collect the Lightning Bolts before dropping to the area below.
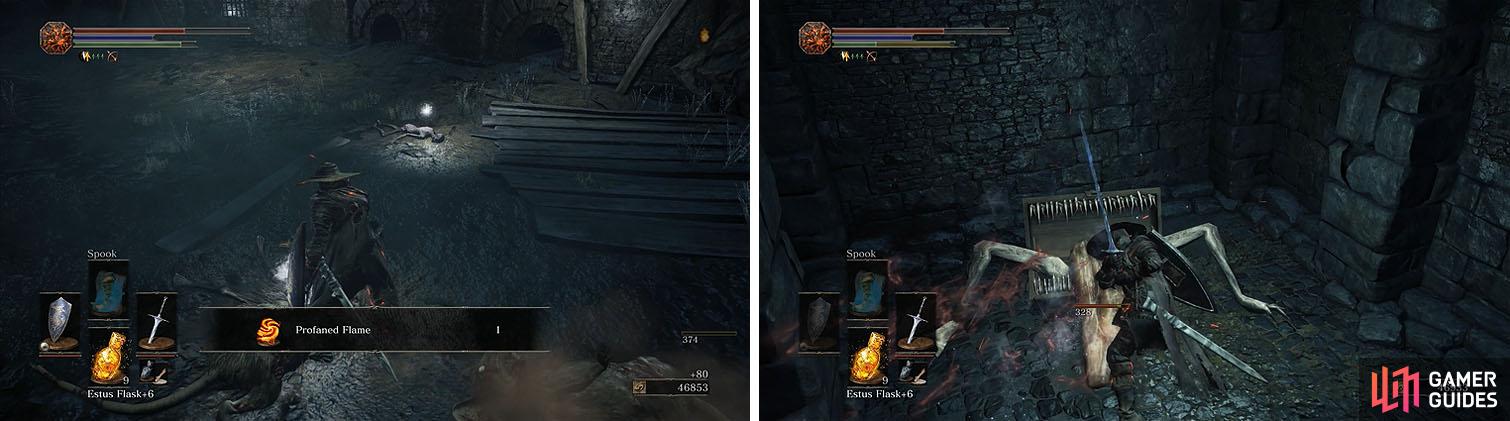
Drop into the area with Hound-rats to find multiple items (left) and then exit via the ladder near the Mimic (right).
Cross the bridge this time to grab the Pickaxe and then enter the sewer and kill the Hound-rats. Head up the stairs and collect the Soul of a Weary Warrior and then head to the dead end with two chest; the left is a Mimic carrying the Dark Clutch Ring and the other contains the Old Cell Key .
Head back down and a bunch of Basilisks will drop from a hole in the ceiling and then enter the broken wall on the left to find two Large Hound-rats and Dung Pie x4 .
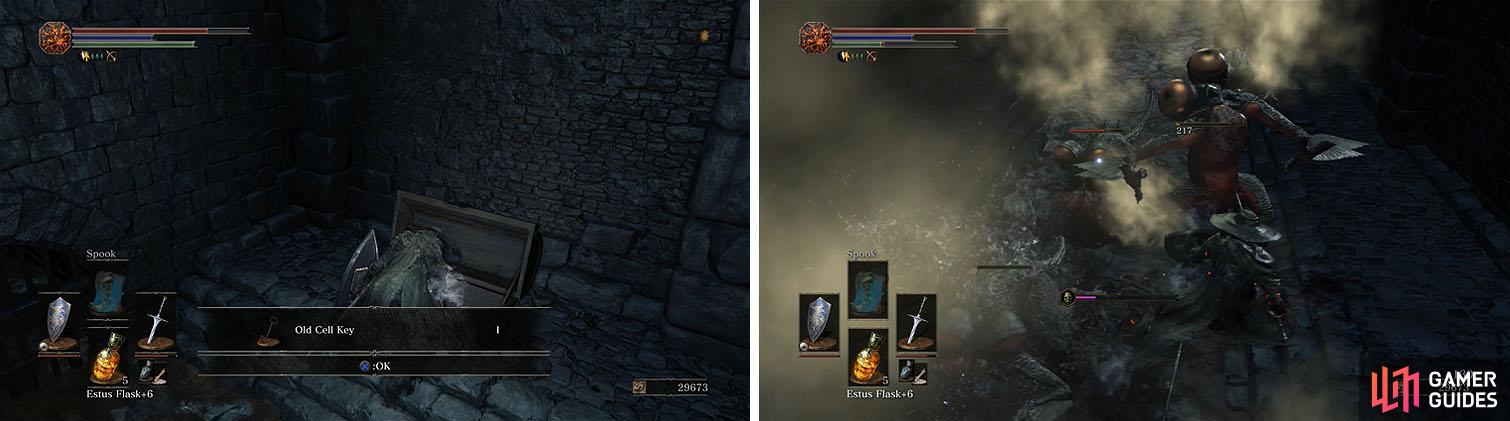
After collecting the Old Cell Key a group of Basilisk will ambush you.
Pillage the Large Titanite Shard from the corpse and then enter the doorway and follow the path outdoors. Note the strange dragon-like creature praying in the distance, as you will later want to return here when you gain the Path of the Dragon gesture, and then collect the Dragon Torso Stone .
The lift leads to a Large Soul of a Nameless Soldier and a gate that creates a shortcut and then head back down and roll to the ledge with the Lightning Blade .
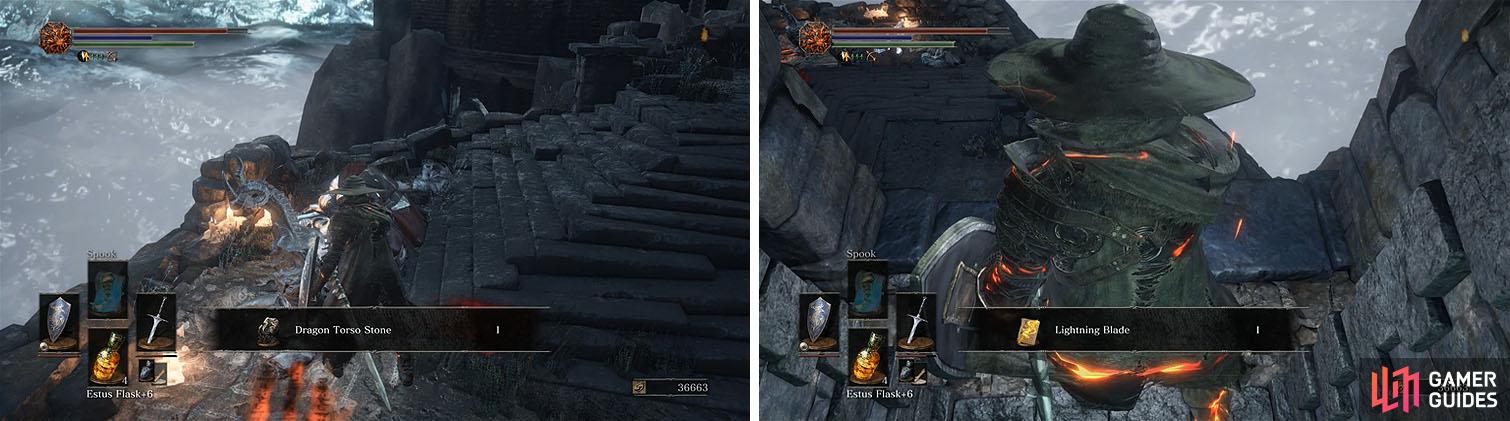
Grab the Dragon Torso Stone and don’t miss the spell by rolling off the lift.
Return to the area with the Jailers and enter the arch on the left to encounter a bunch of Wretches. Once clear, collect the Profaned Coal and lift the gate to return to the previous room.
Attack the Mimic with Titanite Scale x2 on the left and make sure to collect the Ember and Alva Armor Set before heading forward. The cell on the left contains the Dusk Crown Ring and Xanthous Ashes and grab the Ember near the stairs on the opposite side of the dungeon.
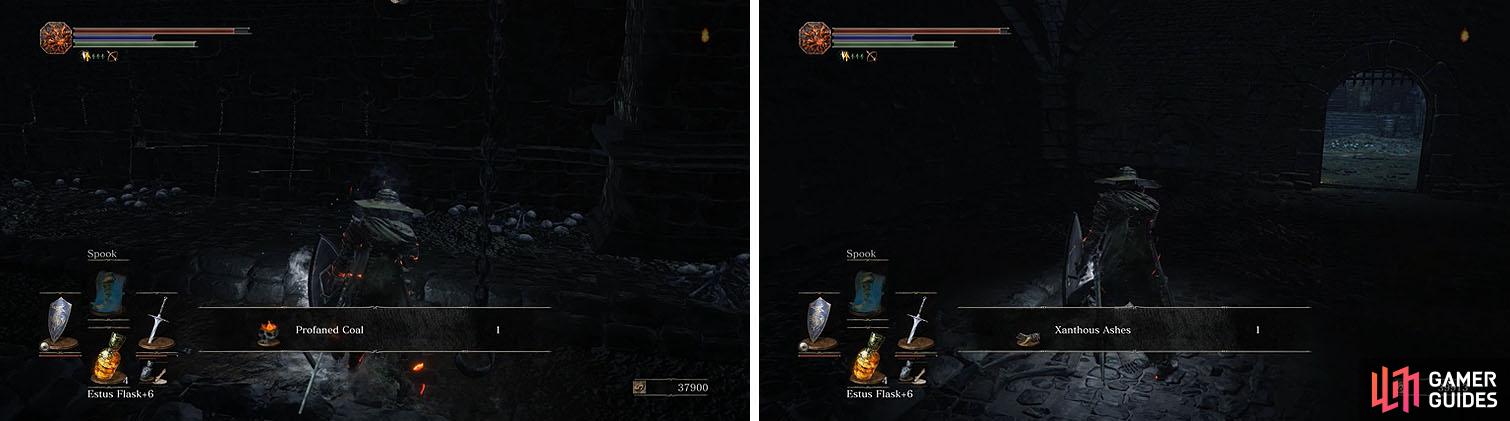
Check the large cells for items like the Profaned Coal and Xanthous Ashes.
There is a Jailer in the tunnel that leads to a locked cell with Karla , who you’ll have to come back for later, and the cell contains a Lycanthrope.
You can now exit through the large archway, head down the stairs to collect the Large Soul of a Weary Warrior , and head across the bridge.
No Comments