Travel to the Farron Keep bonfire and exit the building, turning left around the side of the building to find some Rotten Slugs and a Ragged Mask .
Entering the swamp will result in Poison build-up and eventually inflict you with Poison. For the most part this will be impossible to avoid, so carrying Purple Moss Clumps or equipping the Caressing Tears miracle to help save a ton of Estus Flasks.
There are slugs around the corner, near a treasure, as well as hidden in the poisonous swamp that makes up Farron Keep.
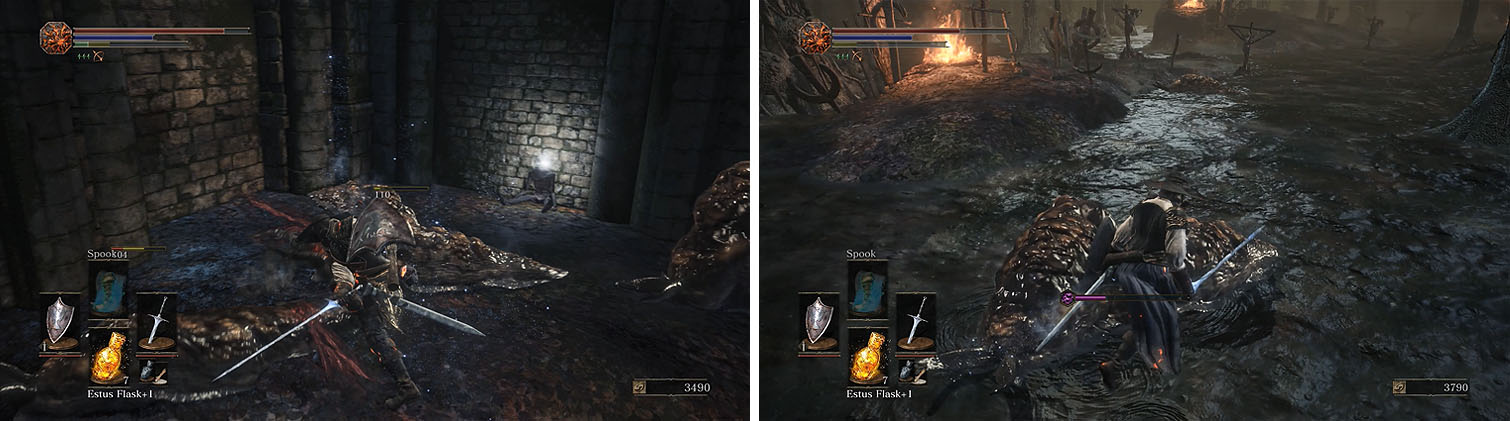
Follow the islands nearby until you reach the largest one with a fire burning and then look left to spot a Titanite Shard in the distance. This will likely cause you to become poisoned, but don’t bother removing it.
Cross back toward land and head straight toward the stone ramp and overturned building to find an Estus Shard and then return check behind the nearby fire for a Titanite Shard . Ignore the stairs and turn left to find another small section of land with Prism Stone x10 and then turn toward the area of dense trees.
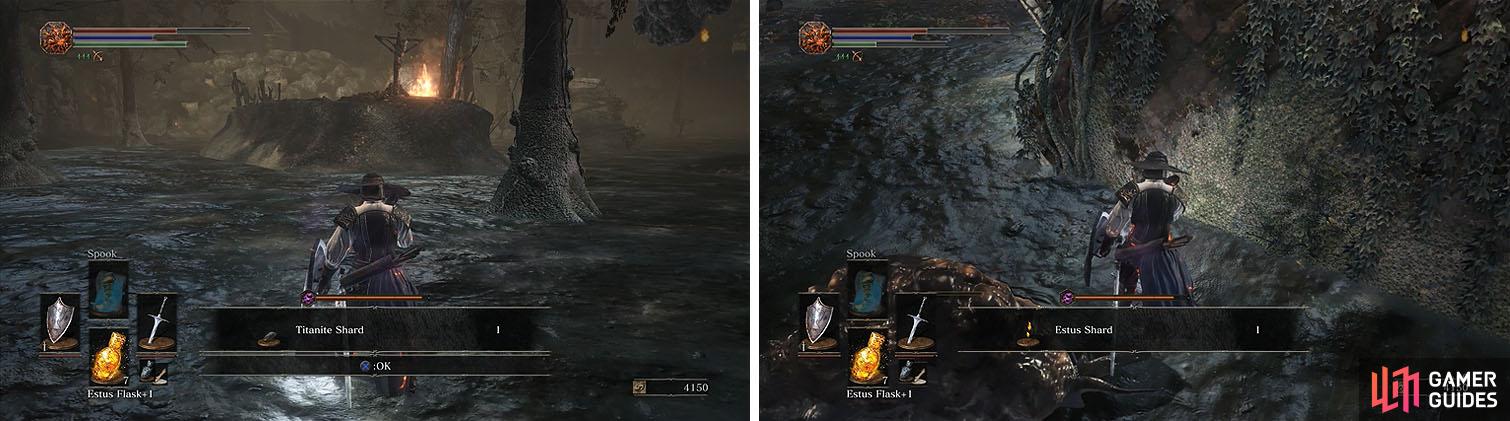
Check the swamp for a Titanite Shard and don’t miss the Estus Shard nearby.
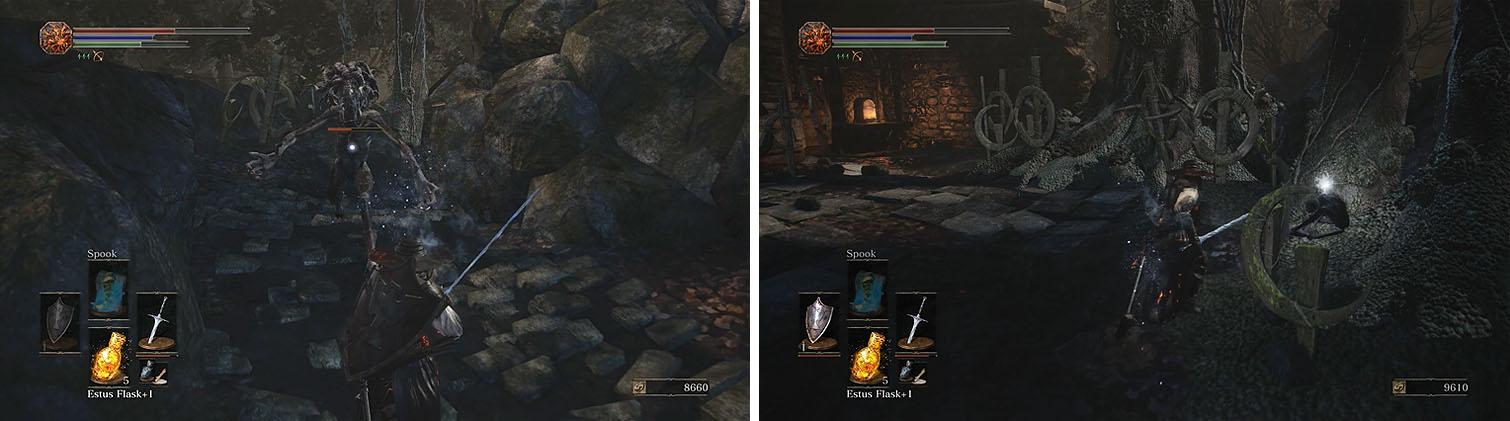
The dense woods has two items: a Stone Parma and Rotten Pine Resin x4 , but be careful as you exit the woods because a Darkwraith waits on the other side.
Unlike the before you’ll have to fight this Darkwraith on even ground without being able to use the environment to your advantage. Roll past the fast attacks and get in a strike or two, but back off quickly to avoid being grabbed. Take your time and only strike when he is vulnerable and you should be able to handle him.
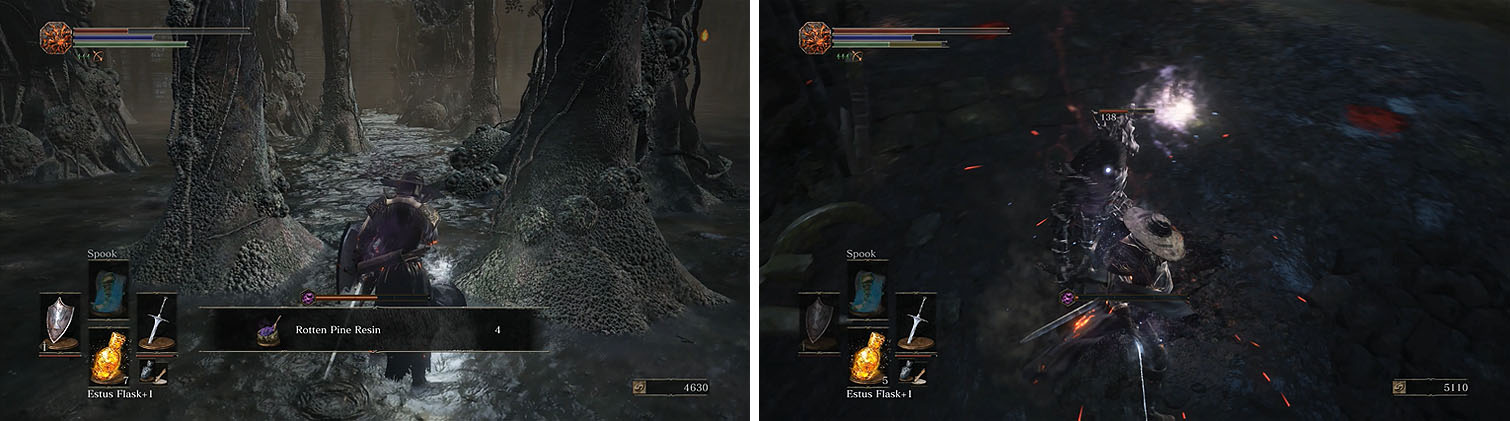
Collect the items as you pass through the woods (left) and on the other side you’ll encounter a Darkwraith (right).
Grab the Sage’s Coal from behind the Darkwraith’s location and then backtrack to the stairs you passed earlier.
As you reach the top of the stairs you’ll encounter two Ghru: one with a shield and the other a dagger. The dagger Ghru uses sweeping attacks that can be easily guarded before you strike and the other acts similar to other spear/shield enemies.
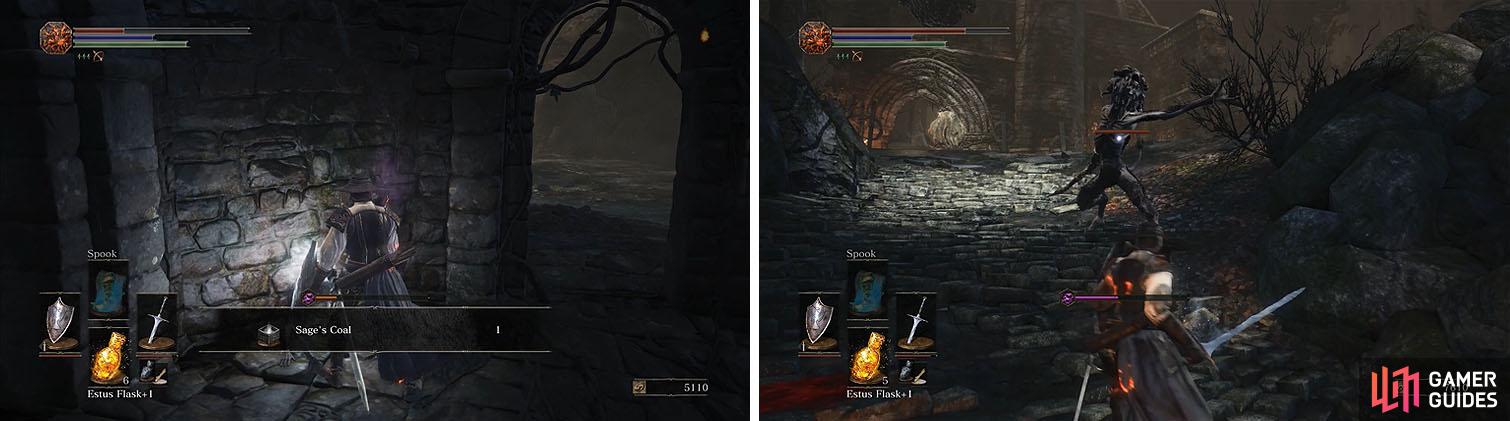
Make sure to pick up the Sage’s Coal and then head up the hill nearby.
Approach the small altar to the right of the arch and extinguish the first flame and then head through the arch. Grab the Rotten Pine Resin x2 on the right side of the area and then exit the other side of the island.
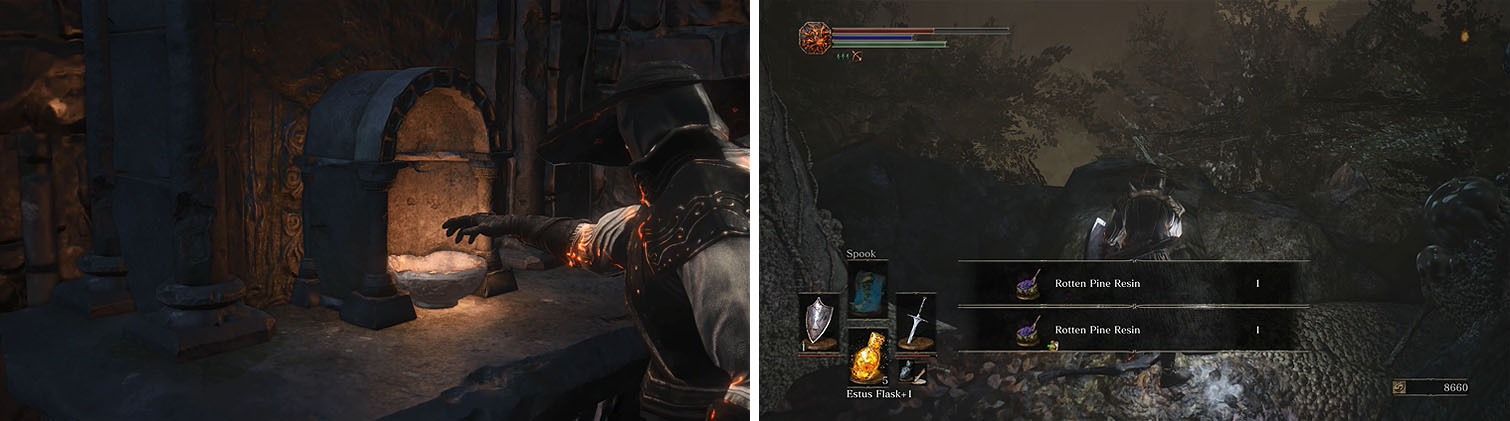
Extinguish the first flame and then collect the resin at the back of the area.
There is a Titanite Shard in the swamp straight ahead that you can grab and then turn around and head toward the island with a fire.
Here you’ll encounter the first Mad Ghru, which uses deadly jumping attacks, so proceed with caution and never attack more than twice before rolling away. You can now cross to another piece of land with a Titanite Shard and then take the stairs up to defeat a Ghru, collect the Purple Moss Clump x2 and extinguish a second flame.
The wild Ghru are extremely dangerous, so attack them with caution and then head up the stairs to collect a treasure and extinguish the second flame.
The bridge behind the flame has three Ghru, two with spears and one of which is a conjurator. This version is extremely weak and is easily defeated if you get close, but they stand back and use a cloud of Poison Mist to try and poison you. Use ranged attacks to pull the spear Ghru or defeat the conjurator and then activate the bonfire on the other side.
Make your way toward the large stone doors and drop off the ramp to the left to find a Titanite Shard . There are a number of feral Ghru in the dense woods and a Giant Crab near the white birch tree.
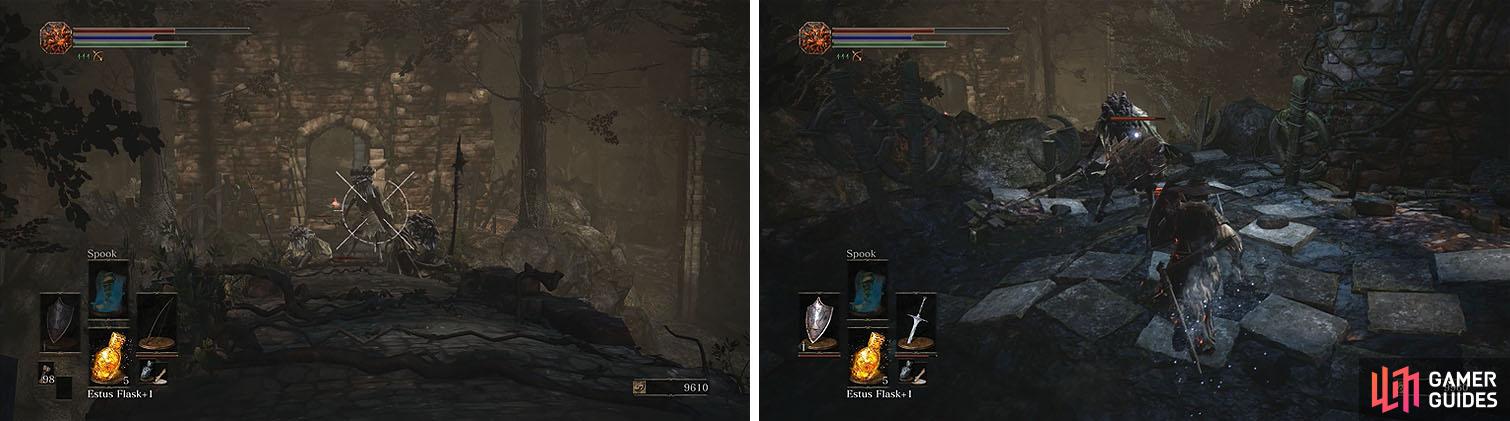
Use ranged attacks to lure the Ghru off the bridge, crossing to reach the bonfire.
If you befriended the Giant in Undead Settlement he’ll aid you by throwing large arrows at the crab if you lure it around the area. If you killed the Giant, lure the crab back toward the ramp and use the arched under it to get the crab stuck and allow you to easily kill it for the Lingering Dragoncrest Ring .
Collect the Large Soul of an Unknown Traveler , Gold Pine Resin x6 , Ember , Soul of a Nameless Soldier , Young White Branch x2 , and Crown of Dusk .
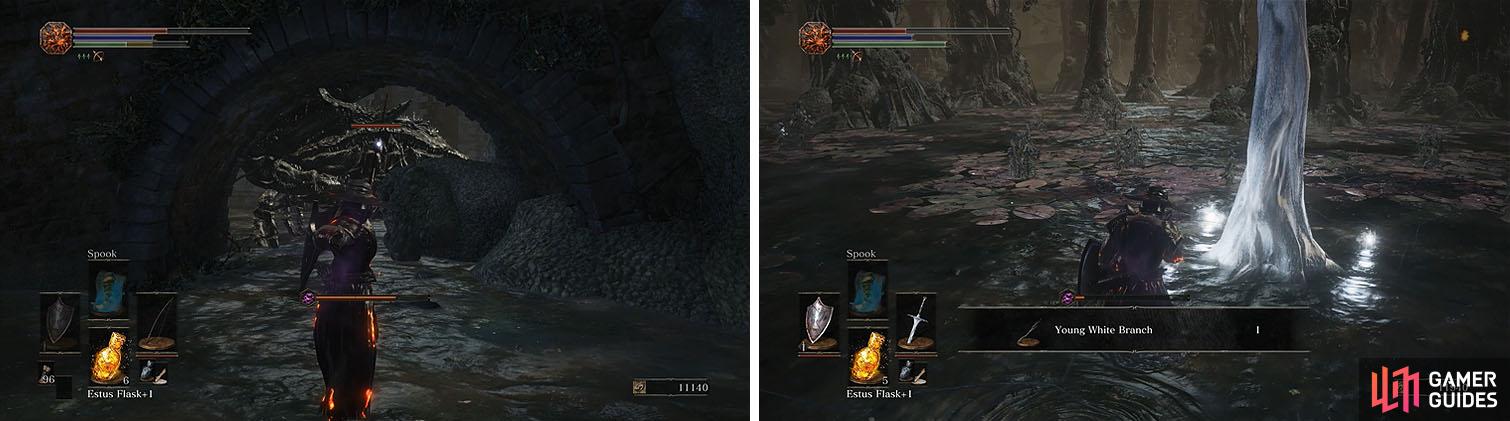
Lure the Giant Crab to the bridge, using the arch to block its attacks, and then collect the items near the white birch tree.
Follow the wall to a section of land with three more Ghru and some mushrooms, which you might recognize from Dark Souls 2, and then pick up the Sage’s Scroll .
If you follow the further you’ll encounter three Elder Ghru surrounding a Poison Gem , but these enemies are deadly when fought in groups. Use your bow to deal a critical shot to the head and then run behind the trees to break the line of sight, allowing the Elder Ghru to reset to its original location.
This is a slow process, but it’ll guarantee that you don’t have to fight these dangerous enemies up close and can obtain the Black Bow of Pharis and Pharis’s Hat .
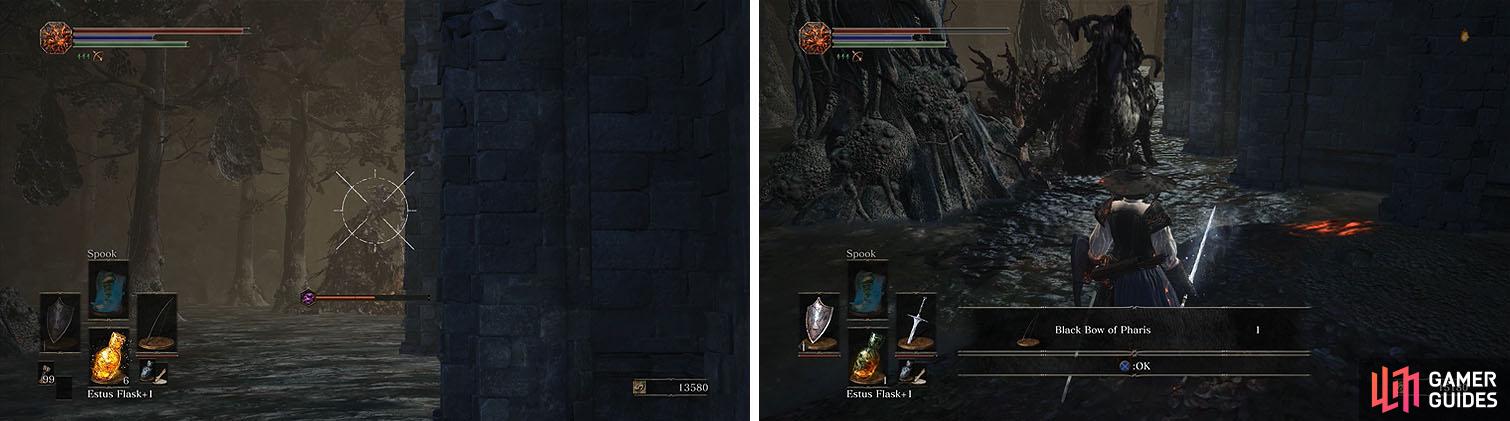
Use ranged attacks to deal critical damage from a safe distance.
Backtrack to the bonfire and travel to the Farron Keep bonfire and head right when you exit the building. Collect the Purple Moss Clump x3 and Iron Flesh spell that is in the deeper water and then note the rocky wall straight ahead.
Follow the rocks left to some stairs leading up onto the island and then extinguish the third flame, while being careful that the Elder Ghru that was facing the stairs isn’t following you.
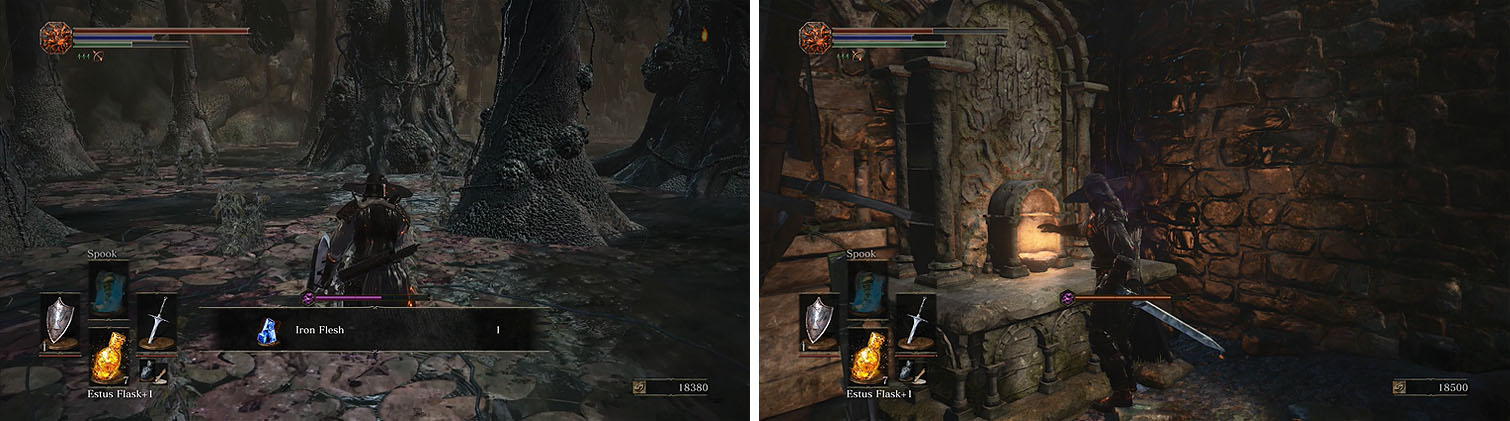
Back near the first bonfire you’ll find the Iron Flesh spell (left) and if you head to the nearby hill you’ll find the final flame (right).
Check behind the right side of the flame for a Rusted Gold Coin and then head through the arch to collect the Homeward Bone x2 . The nearby stairs leads to a Mad Ghru, the deadly ones that jump in the air, so proceed with caution to defeat it.
If you’re embered you’ll get a message notifying you that Yellowfinger Heysel has invaded, but she won’t attack unless you continue down the stairs. A magic caster, Heysel is almost invisible until she attacks and will use Farron Dart and Farron Hail. Lure her into casting Farron Hail before you attack and don’t let off until you are almost out of stamina.
In the end, she isn’t much of a threat unless she attacks with her enchanted pickaxe or you take every Farron Dart she tosses ( Heysel Pick , Xanthous Crown ).
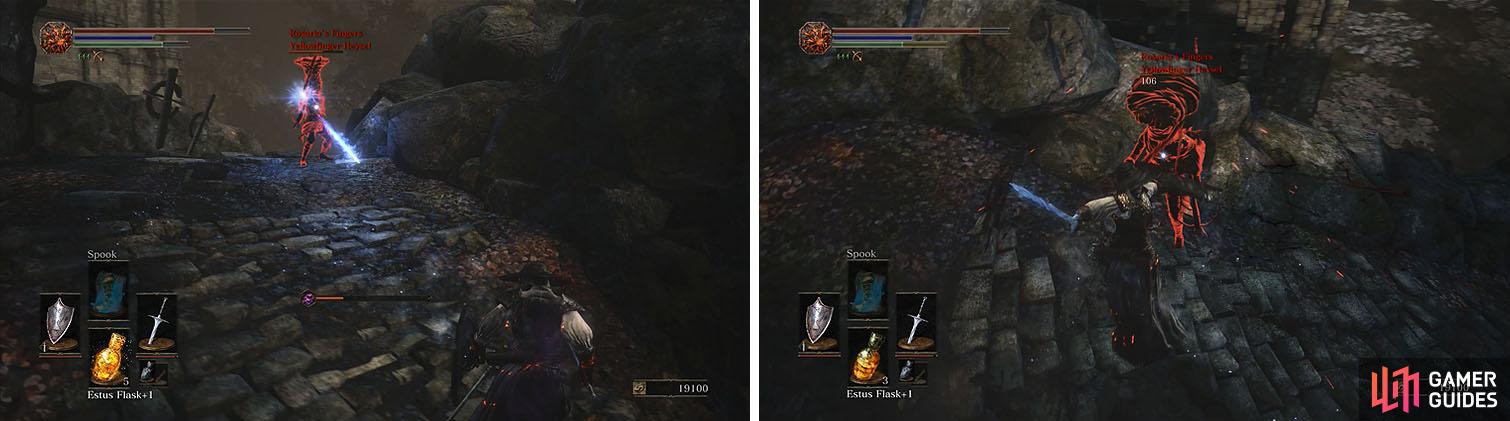
Lure Heysel to use her magic and then strike in a long combo that she can’t avoid.
Head down the stairs and turn left to behind the building for a Large Soul of a Nameless Soldier and then head back up toward the flame you extinguished.
From this area you should be able to target the two Elder Ghru in the swamp below, shooting them with your arrows or luring them to the archway to get them stuck. If you use the archway remember that their magic can still hit you, so don’t get let your guard down just because they can’t reach you with physical attacks.
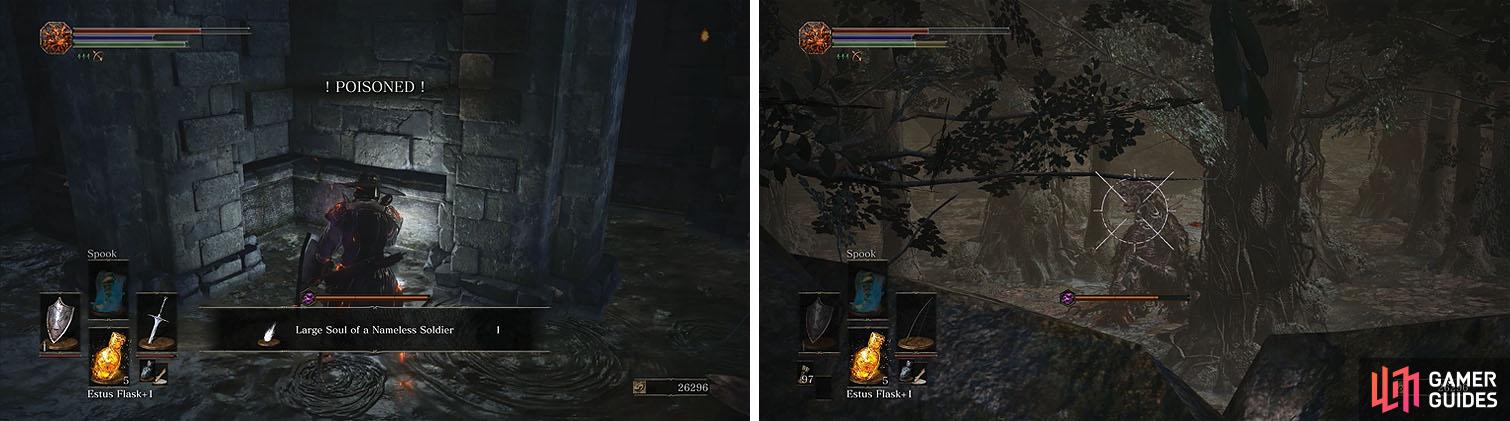
Collect the soul at the base of the stairs (left) and then head back up and use ranged attacks on the Elder Ghru in the swamp below (right).
Head down to the area where the Ghru were to collect the Titanite Shard x2 and then follow the wall of the island to find the Nameless Armor Set .
Nearby on some land is another Titanite Shard and then head toward round building straight ahead, which contains a ton of Rotten Slugs and an Undead Bone Shard . The ramp near this building leads to the other bonfire, but head out the other side of the building to spot a ladder.
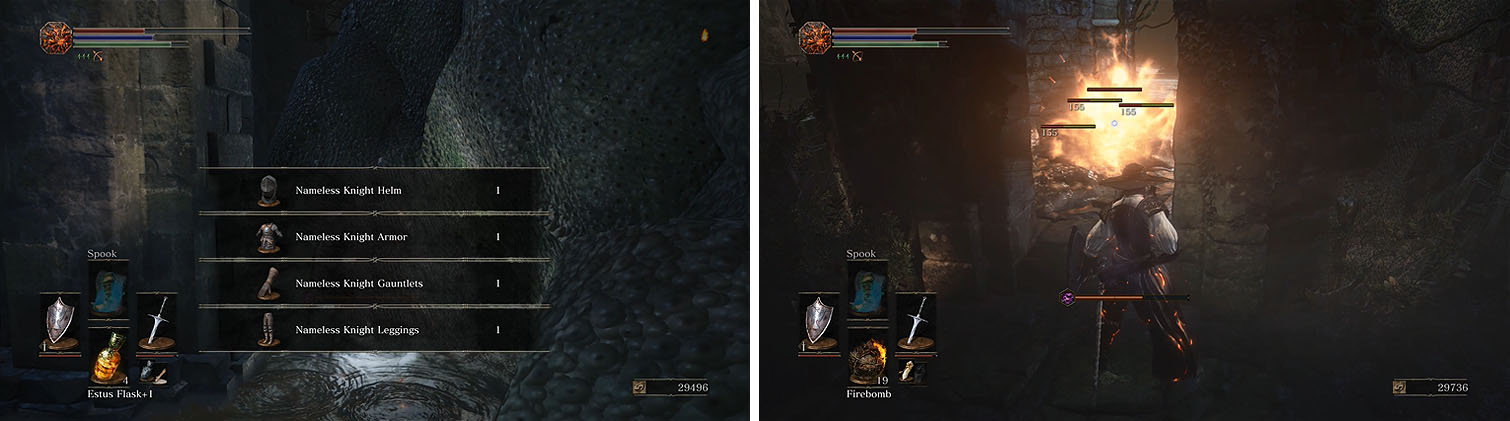
Directly across the swamp from the Nameless Armor set (left) is a circular building with an Undead Bone Shard (right).
Ignore the ladder for now, unless you need Estus Flasks since there is a bonfire up there, and hug the wall of the building to find a Wolf’s Blood Swordgrass near an island with an Estus Soup and Sunlight Talisman .
The dense woods has a number of feral Ghru in the deep water and two stone ramps. Make your way carefully through the area and check both ramps for the Purple Moss Clump x4 and Greatsword and then backtrack to the ladder and climb up.
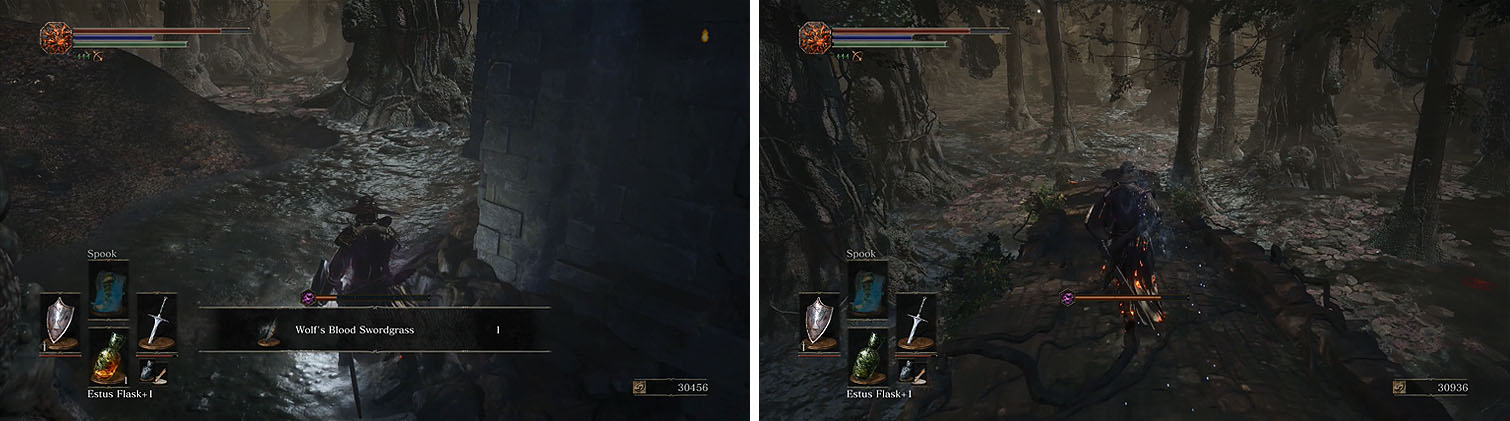
Check the side of the building for a treasure (left) and then head into the deep water. to find two ramps, each with treasures (right).
Head right at the top of the ladder and rush up the stairs to find a Crystal Lizard for a Twinkling Titanite and then backtrack to the top of the stairs and strike the wall to reveal a hidden path with the Dreamchaser’s Ashes .
Drop down to join the Watchdogs of Farron covenant and gain the “Legion Etiquette” gesture and then activate the bonfire.
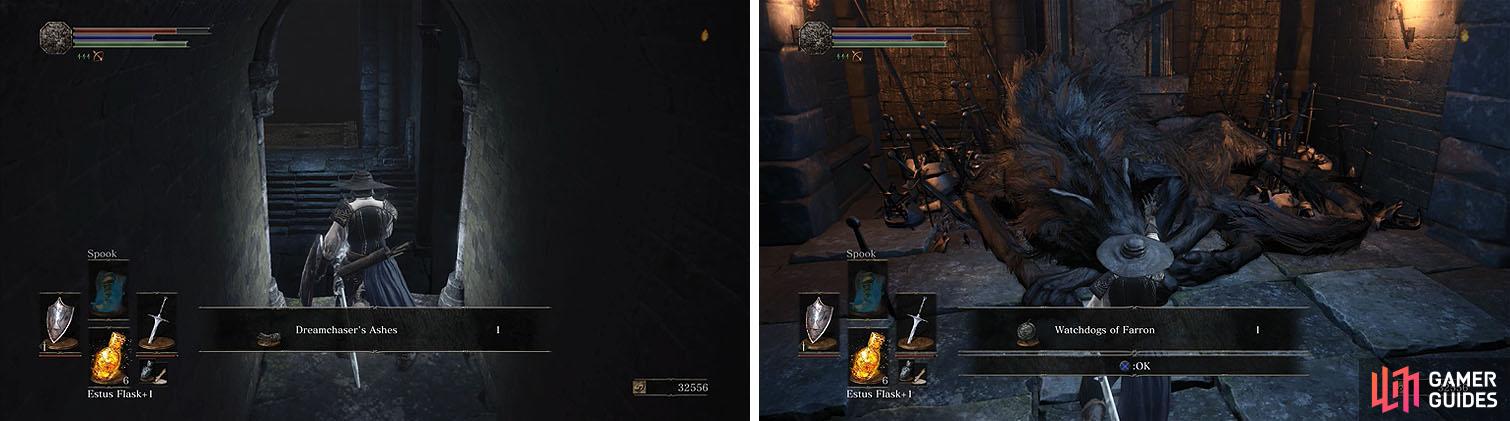
Reveal the path with ashes (left) and then join the Watchdogs covenant (right).


No Comments