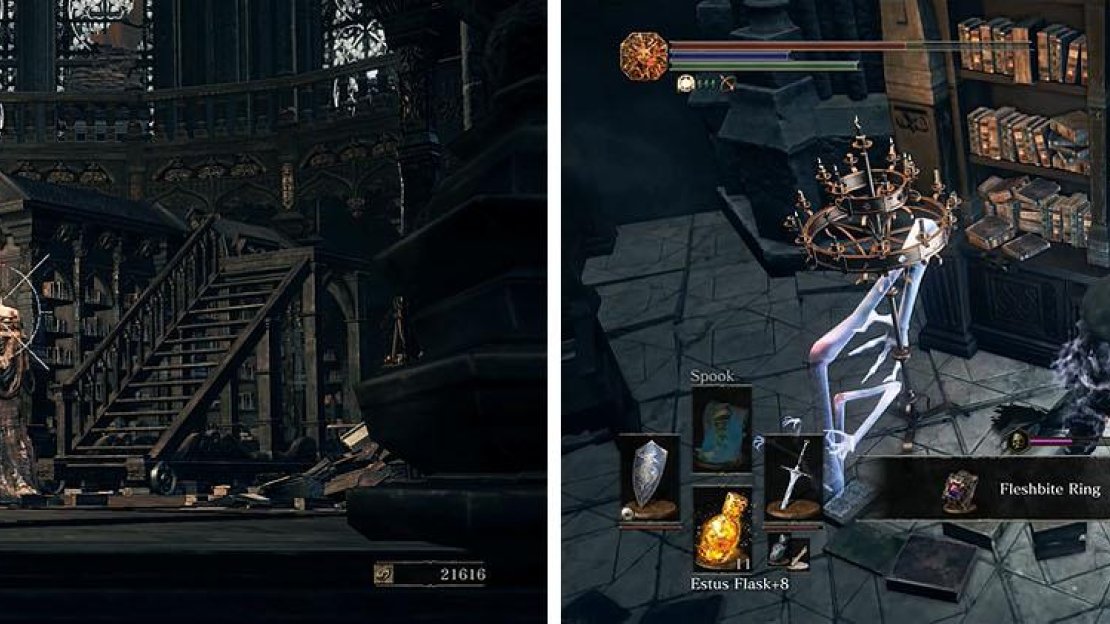
Head back up the lift and exit the doorway to reach a library section with three Scholars on the ground and another on the level above that overlooks the area and then collect the Titanite Scale x3 from the chest and Large Soul of a Crestfallen Knight near the bookshelves.
You can now rush up the stairs to find a Crystal Lizard ( Twinkling Titanite , Refined Gem ) and then grab the Fleshbite Ring before heading outside.
Clear the library of Scholars and then head upstairs to grab the Fleshbite Ring.
Take the ladder down and turn the corner, but instead of heading over the rooftops look down to the right to spot a ledge between the roof and the buttress.
Drop down and collect the Titanite Chunk near the Lothric Knight, which is the same knight near the bridge at the top of the archives, and then follow the ledge to enter a passage with a Hollow Gem .
This path leads to a Corvian Storyteller with three other Corvians that you’ll want to handle with care and then walk onto the roof straight ahead make your way to the left corner. From here you can jump to the adjacent roof with Titanite Scale x3 and then roll onto the balcony of the archives.
Drop off the rooftop to a ledge with the Hollow Gem (left) and then focus on the Storyteller around the corner first (right).
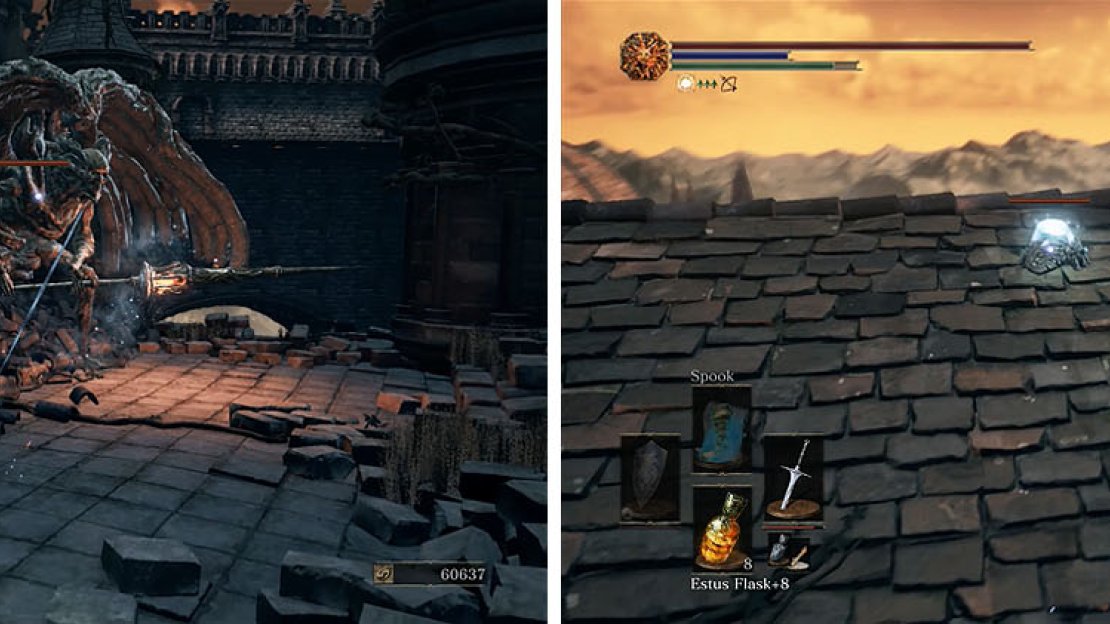
Make your way back up to the rooftops and this time follow the path down the ladder and onto a flat roof, where a Stone Gargoyle attacks as you approach the Titanite Chunk . Continue across the roofs and around the building, but watch out for another Stone Gargoyle that charges you when round the corner.
Once defeated you can head up the slanted roof to grab the Soul of a Weary Warrior and then turn the corner to spot two more Crystal Lizards ( Twinkling Titanite , Heavy Gem / Twinkling Titanite , Sharp Gem ).
Once again you’ll likely only be able to defeat one of the lizards, but don’t be to concerned if they run off because they have a habit of falling to their death.
Watch out for the Stone Gargoyle on the roof and then rush the Crystal Lizards.
A Stone Gargoyle will swoop down from above after you’ve dealt with the Crystal Lizards, so defeat it and follow the rooftops until it drops you onto another roof with a Titanite Chunk .
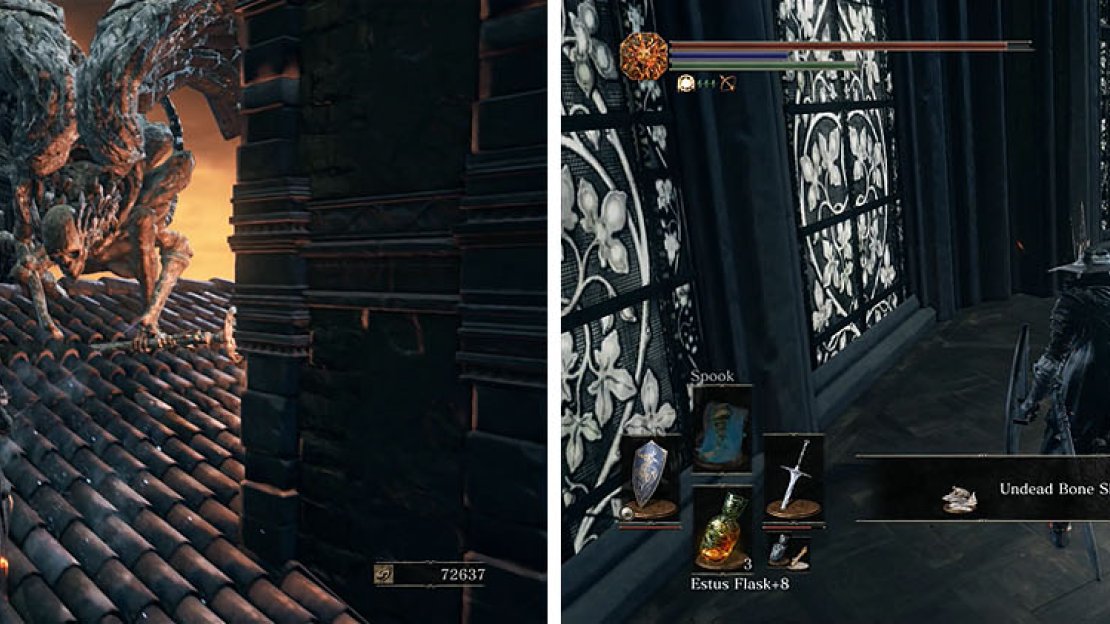
There are two more Stone Gargoyles on this roof that you’ll need to fight, but it is possible to run past them and drop onto the balcony to the right. You can now enter the building through the broken window to collect the Ember and Undead Bone Shard and then kick down the ladder.
Fight or flee past the two Stone Gargoyles and then collect the Bone Shard inside.
Continue around the inside of the archives and ignore the doorway leading outside and then make your way to the dead end with Titanite Chunk x2 , defeating the Hollow Slaves and Lothric Knight on the way.
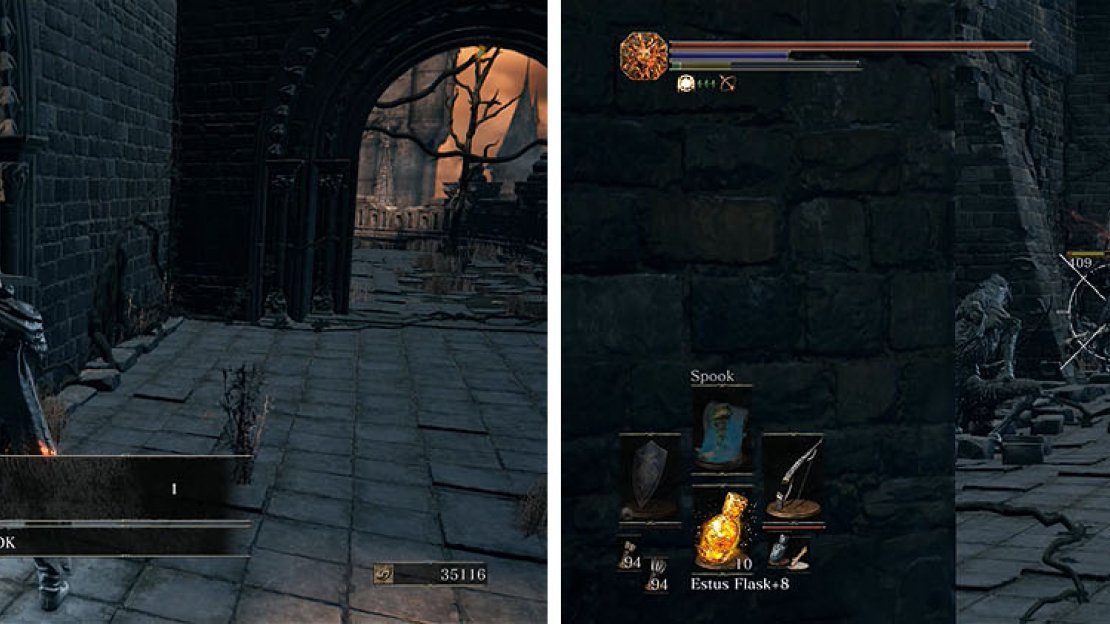
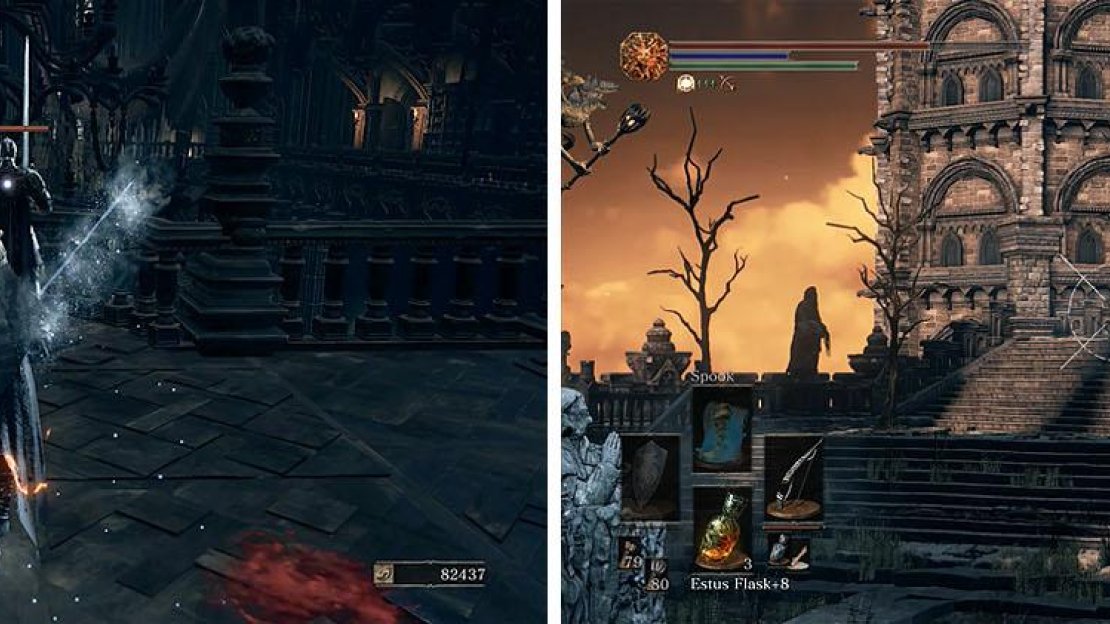
You can now backtrack to the doorway and head outside, but be careful as you enter the courtyard because there are three unkindled up ahead. Defeating these enemies can be difficult because they’ll all attack at once, even if you only pull one with an arrow, so you’ll need to out maneuver them.
Make sure to check the dead end before heading outside to spot three unkindled.
There are two melee unkindled, one with a greataxe and the other with a katana and arbalast, and the other is a pure mage.
This means that the greataxe unkindled is likely going to be the one that will rush in first while the other two hang back and use ranged attacks, so breaking line of sight is the key to avoiding damaged from the other two unkindled. If need be you can back up into the archives in the hopes that the other two will lose interest, but don’t be afraid to be aggressive.
Once you are left with the katana and mage you shouldn’t have too much of an issue avoiding the arrows while you defeat the mage and then finish off the other ( Golden Wing Crest Shield , Sage’s Crystal Staff , Onikiri and Ubadachi ).
The unkindled with the greataxe will rush you and should be taken out first, followed by the sorcerer since she is more dangerous than a few arrows.
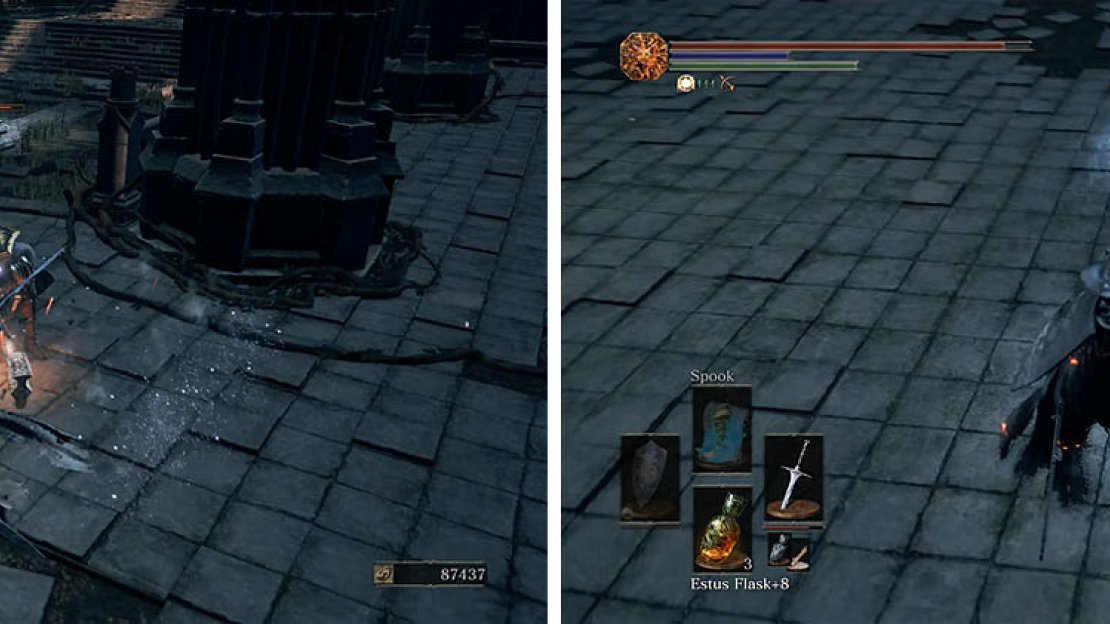
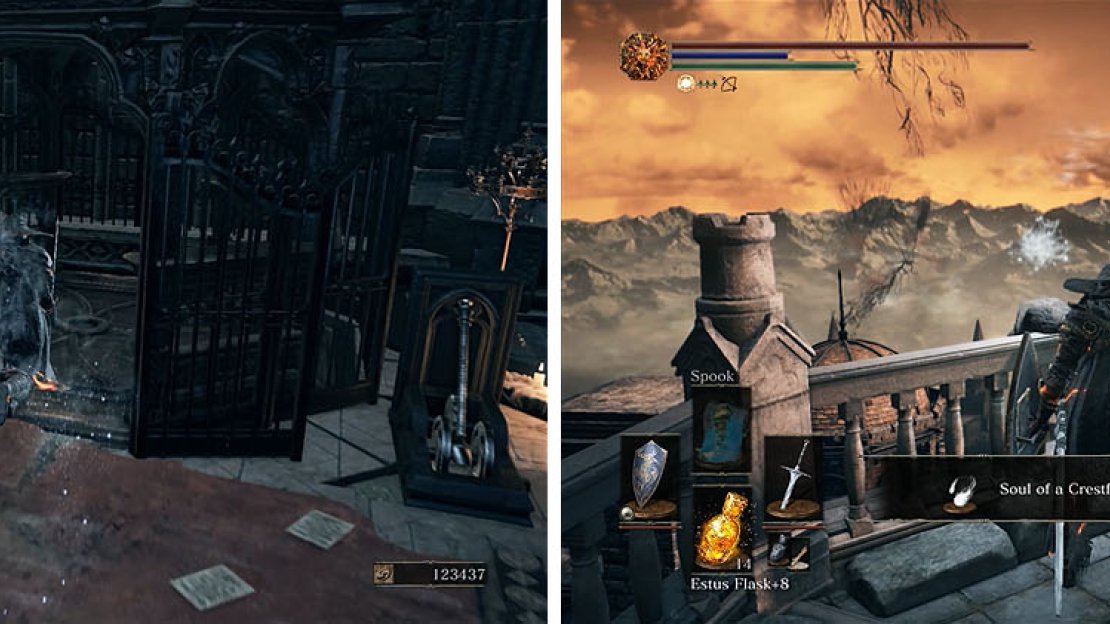
Head up the stairs and grab the Large Soul of a Crestfallen Knight and then activate the lift that leads all the way down to the Grand Archives bonfire.
Exit through the doorway and veer right straight away to find a staircase leading to the dome of the building with a Soul of a Crestfallen Knight and then cross the rooftops to the top of the Grand Archives.
The lift ahead leads back to the beginning of the Grand Archives (left). You can then head up the stairs to reach the top of the building (right).
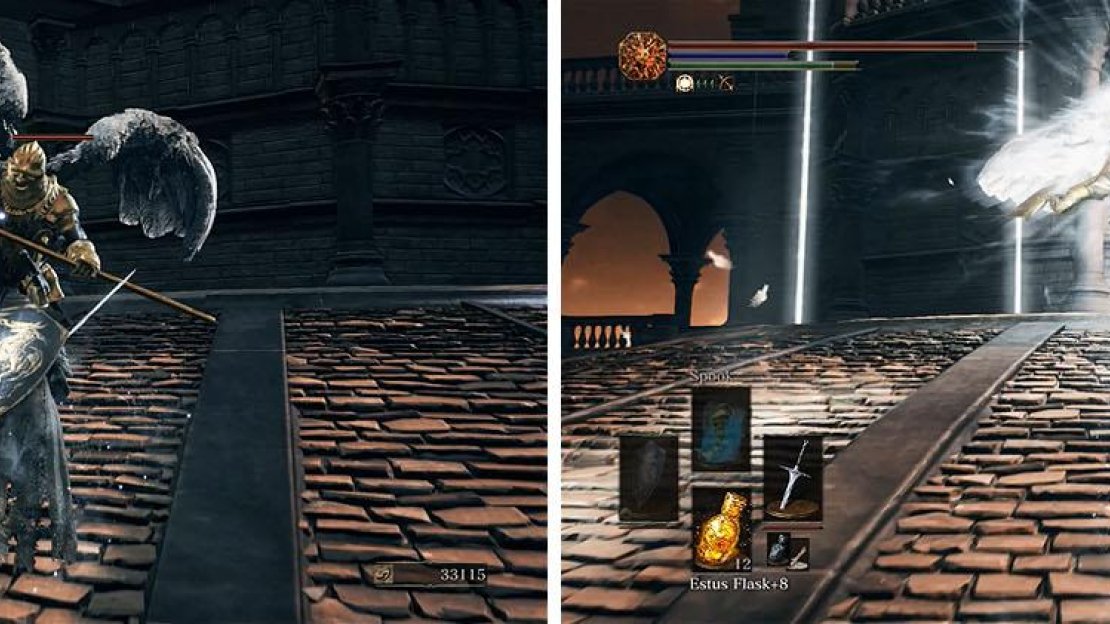
When you head up the stairs to reach the peak of the dome a group of Winged Knights will fly in, so rush back down the stairs before they spot you.
These golden versions have full blown wings and can use jumping attacks, but they aren’t very different from their un-winged counterparts other than that.
Wait for the one Winged Knight that patrols around the rooftop to walk off to the right and then enter and take on the one with the halberd. You have a decent amount of room to maneuver to the right, following the patrolling Winged Knight, but don’t wander too far to the left because there is another Winged Knight nearby.
You need to finish the first one quickly, as the patrol will eventually make its way all the way around the dome and will join the fight. Provided you finish the first one off before the second one comes back round you should be able to finish off the other two without any issues to obtain a Titanite Slab .
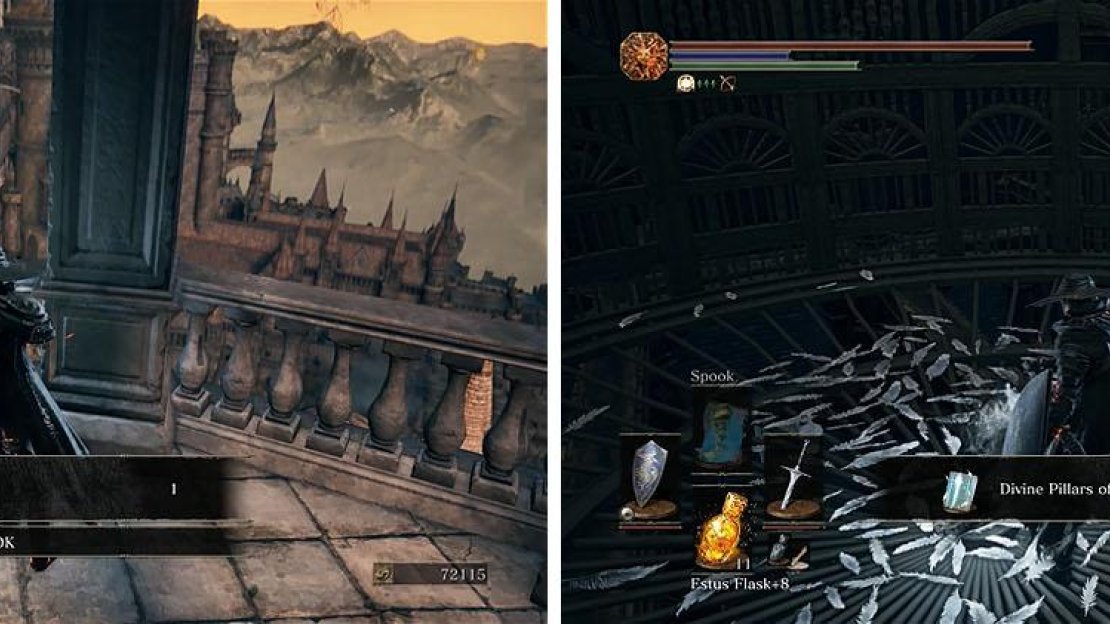
Fight the Winged Knights on the roof and watch out for the Divine Pillars of Light.
Check the rooftop area for an Estus Shard and then head up the stairs and climb the tower to collect the Hunter’s Ring .
Make your way back down and enter the tower to find a hole in the floor that drops you onto a beam and then drop into the cage to find the Divine Pillars of Light spell .
Climb up the tower before you you head inside and drop into the cage for a spell.
Exit the cage onto the wooden beam and turn your camera to spot the caster Man-grub and kill it with ranged attacks, or it will end up knocking you off the beams, and then turn around to spot a Blessed Gem .
You can now roll onto the metal beams below and search for the ladder that leads to two chest with a Divine Blessing and Twinkling Titanite x3 .
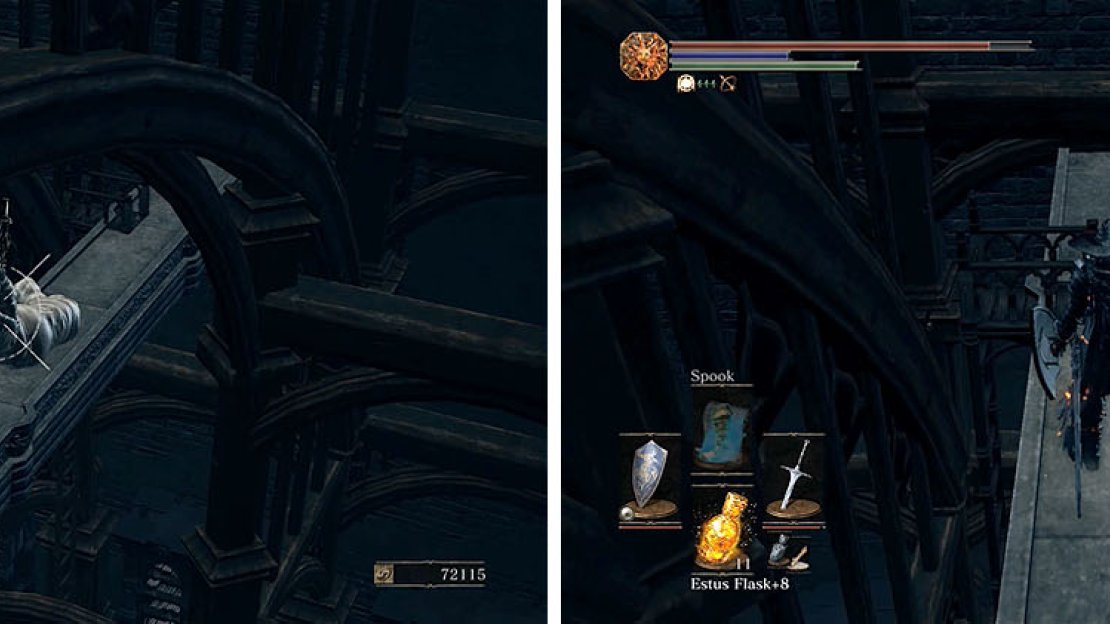
Make sure to shoot the Man-grub before you drop down and take a ladder.
Make your way back to the top of the Grand Archives, either by using a Homeward Bone and taking the lift or by running there from your current location, and then time take the stairs straight ahead as you exit.
All that lies between you and the boss ahead is a bunch of Hollow Slaves and a few Lothric Knight, but don’t miss the lift to the right at the top of the stairs.
This will lead to the area near the Dragonslayer Armor boss arena in Lothric Castle, but the much more interesting part is the fact that this is a two platform lift. This means that if you ride the lift down and activate it to head back up, rolling off so you don’t take it, another platform will take its place that goes down to a well hidden Titanite Slab .
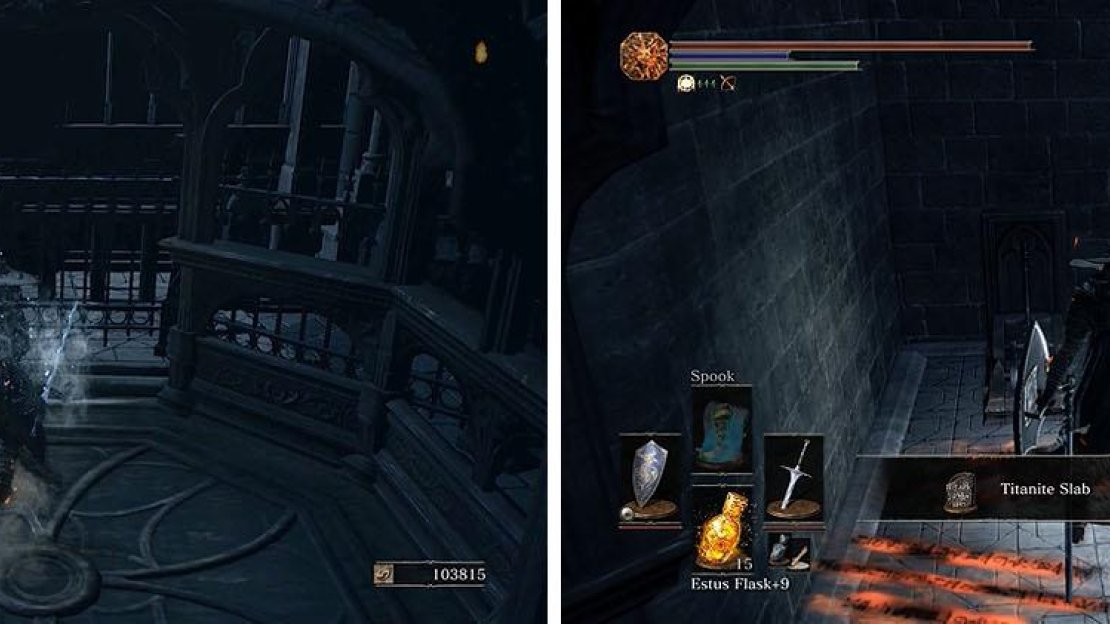
Switch platforms and take the lift all the way down to find a hidden Titanite Slab.
No Comments