Head back to the Irithyll of the Boreal Valley bonfire and cross the bridge where you defeated Creighton the Wanderer. Now that you have defeated his invading spirit in the graveyard you’ll find a corpse with the Mirrah Chain Armor Set .
Travel to the Pontiff Sulyvahn bonfire and slowly walk into the courtyard to spot two Crystal Lizards in the area below. You can either use your bow to defeat one and then charge at the other or try and charge at them both in the hopes that you can kill both for the Twinkling Titanite x2 .
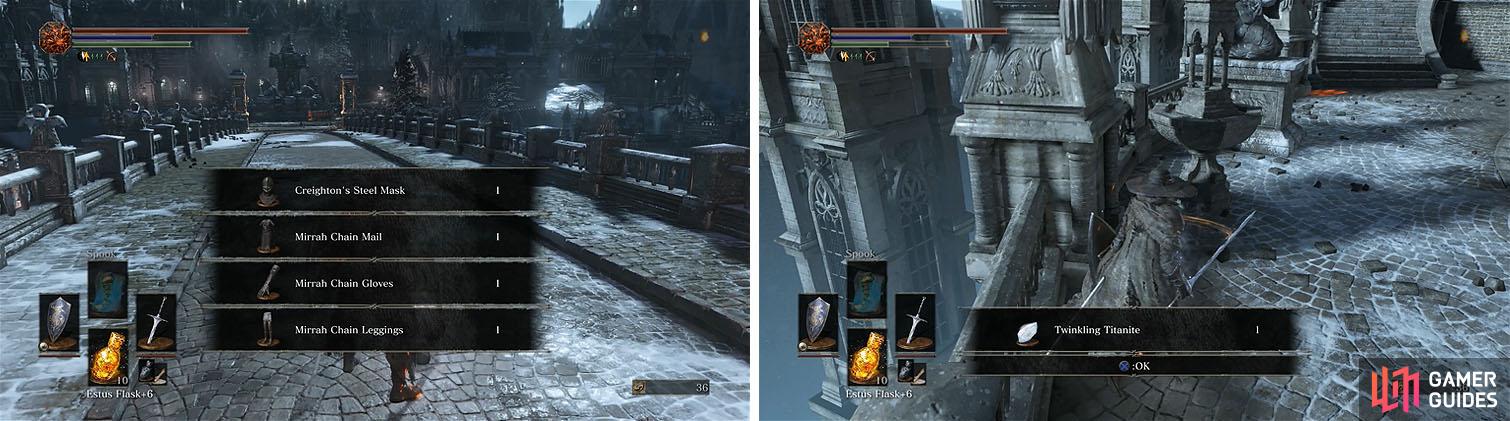
Return to the bridge to find Creighton’s armor (left) and then exit Sulyvahn’s boss area to kill two Crystal Lizards (right).
Head back up the stairs and check the left side of the building to find a Large Titanite Shard and then take the stairs on the other side of the building.
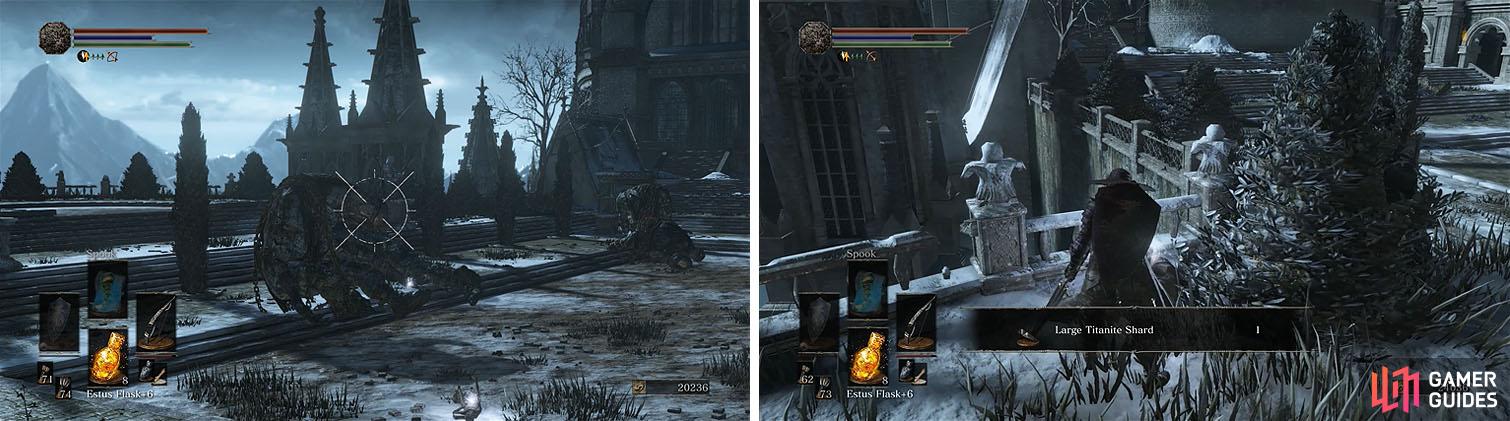
Note the item hanging off the ledge before you enter a large courtyard with dead Giant Slaves, but a number of Deacons in this area will throw fireballs at you from the upper level if you don’t take care of them first.
Turn left as you enter the courtyard and head into one of the archways and then check the dead end to the right for some Irithyllian Slaves and the Dark Stoneplate Ring . At the opposite end is a staircase leading up to the Deacons, but if you turn right you’ll find the Large Titanite Shard spotted earlier.
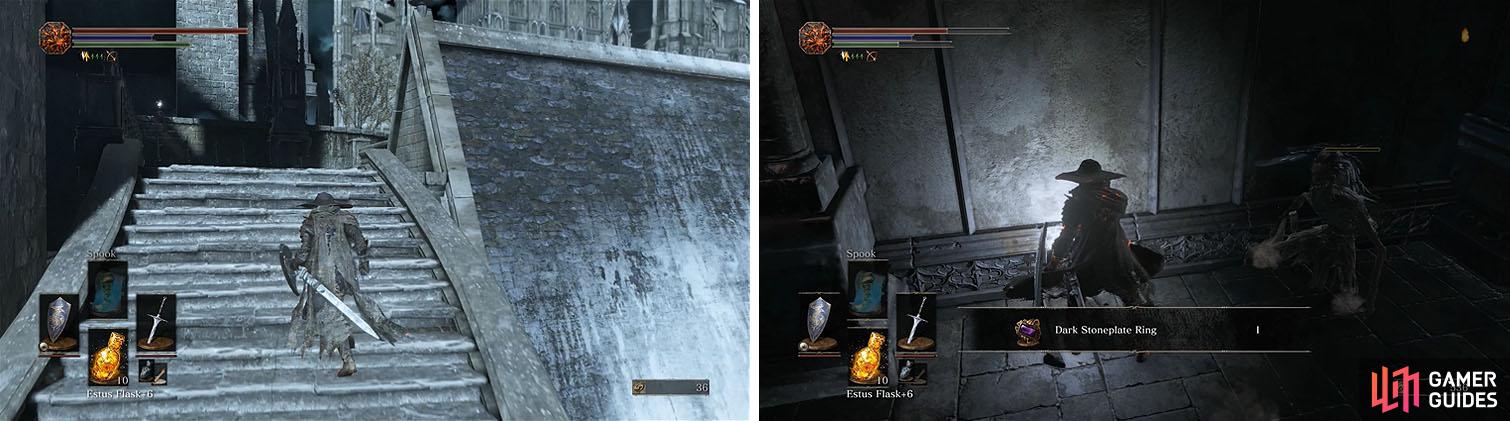
There is item hanging off the edge of the building, but you can’t get it yet (left). Make sure to check the dead end for a Dark Stoneplate Ring (right).
Enter the archway next to the stairs to return to Pontiff Sulyvahn’s boss arena and activate the lift on the left to create a minor shortcut. There are two sets of stairs, one leads to a Crystal Lizard that drops a Simple Gem and the other leads to a Mimic that drops a Golden Ritual Spear .
Head back outside towards the Deacons and make your way to the other side of the area and then take the stairs down.
There are two unkindled in this area, each duel-wielding enchanted weapons, and they tend to fight together to give you very little opportunity to strike one without leaving yourself open to the other. Lure each into an attack to create an opening or use ranged attacks to stay at a safe distance while you defeat one, making the other more manageable ( Drang Twinspears ).
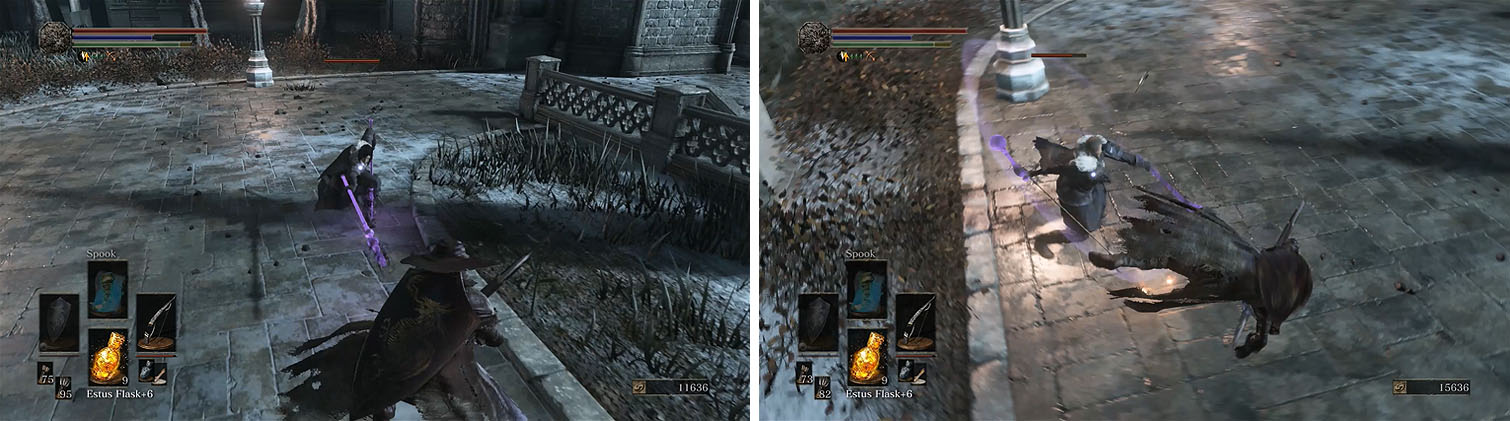
There are two unkindled, each using different magic enchanted weapons.
Take the staircases down to the courtyard and approach one of the Giant Slaves slumped on the ground. If the giants doesn’t rise then they are permanently dead, but make sure to check each of them because there are two of them in the courtyard.
These can easily be fought with ranged attacks and allow you can collect the Ember x2 , Soul of a Weary Warrior , Large Titanite Shard .
Two of the Giant Slaves in the courtyard are merely slumbering, so kill them before you collect the items.
Enter the building at the top of the stairs and strike the corner wall to reveal a hidden path and slide down the long ladder. This hidden water reserve has two Sulyvahn’s Beasts that once defeated will give you access to a bonfire and a new covenant.
Fighting in the open and dealing with both at the same time will get you killed rather quickly, so pull one back to the ladder and fight there. Bait each of the beast into an attack and then strike at its side, but don’t stick around too long as the Sulyvahn’s Beast will turn his head and bite at his side. Stay close to avoid the charge attacks used when you’re at a distance and only heal when you have an opening.
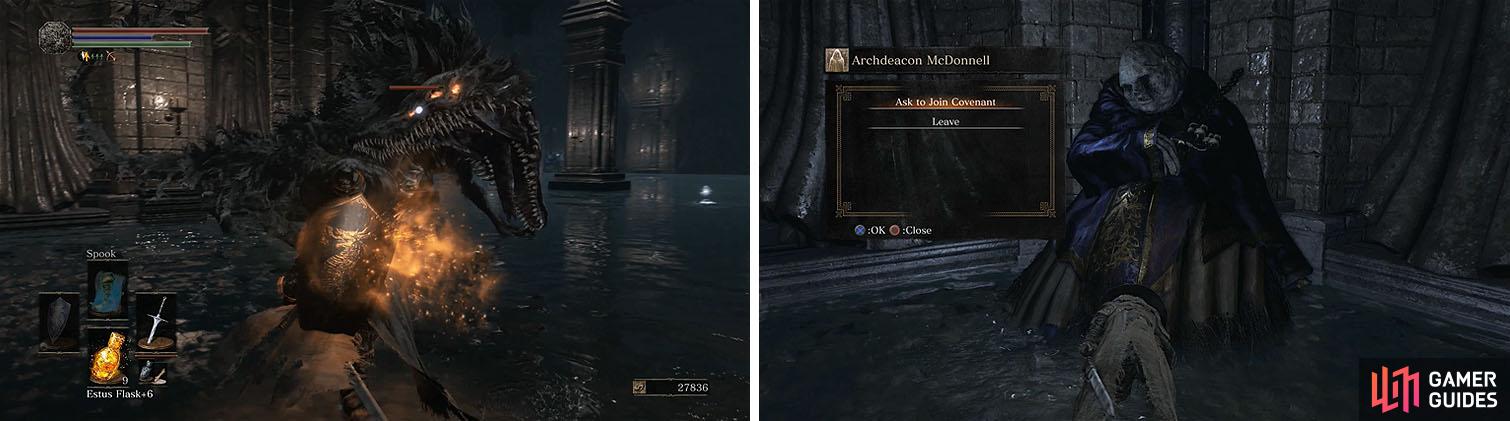
Defeat the Sulyvahn’s Beasts to gain access to the Aldrich Faithful covenant.
After defeating both Sulyvahn’s Beasts to obtain the Ring of Favor you can activate the bonfire, grab the Human Dregs and Deep Gem , and speak with Archdeacon McDonnell to join the Aldrich Faithful covenant.


Head back up the ladder and take the stairs and then check the outside of the area behind the stairs for a Titanite Scale . Follow around the outside of the building counter-clockwise and roll onto the nearby tower and take cover from the greatarrows shot by the Silver Knights.
You can peek around the left side of the tower and shoot the Silver Knight to push it off the ledge and then collect the Large Titanite Shard . Rush up the buttress to the next tower and then rush up to the building and head down the stairs on the right to find the Easterner’s Ashes .
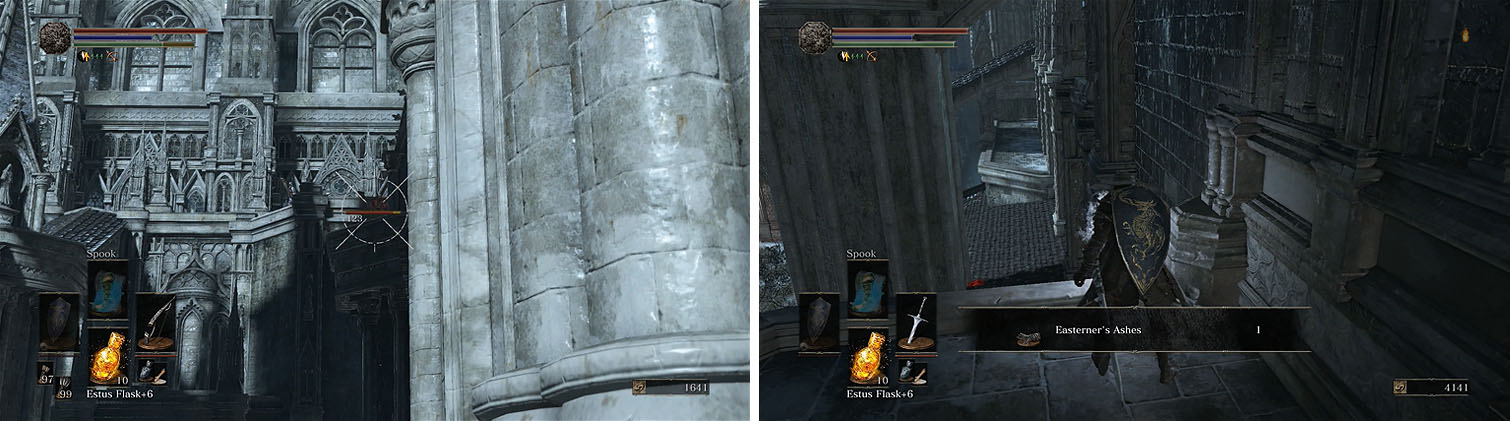
Watch out for the Silver Knights with greatbows and collect the Easterner’s Ashes.
The Silver Knight upstairs should have its back to you, allowing you to backstab him, and nearby you’ll find another Silver Knight on a ledge. Turn left and stand at the top of the buttress on the stone floor and look right to spot another Silver Knight on a nearby tower that shoots greatarrows.
Finish off the Silver Knights you kicked off the ledge, if you backstabbed them, and drop from the buttress and then drop down again to find the Dragonslayer Greatbow and some Dragonslayer Greatarrows .

Kill the Silver Knight in the nearby tower and then drop down to find a greatbow.
This leads back to the area with Giant Slaves, so circle back to where you dropped.
Around the corner is a Silver Knight hiding on the right and then head down the ledge to defeat another Silver Knight. Follow the buttress and check behind the tower for a Large Titanite Shard and then open the shortcut in the nearby tower.
You can now enter the archway and strike the statue on the right to reveal a hidden path, with the Brass Armor Set , and then grab the Ember and pull the lever.
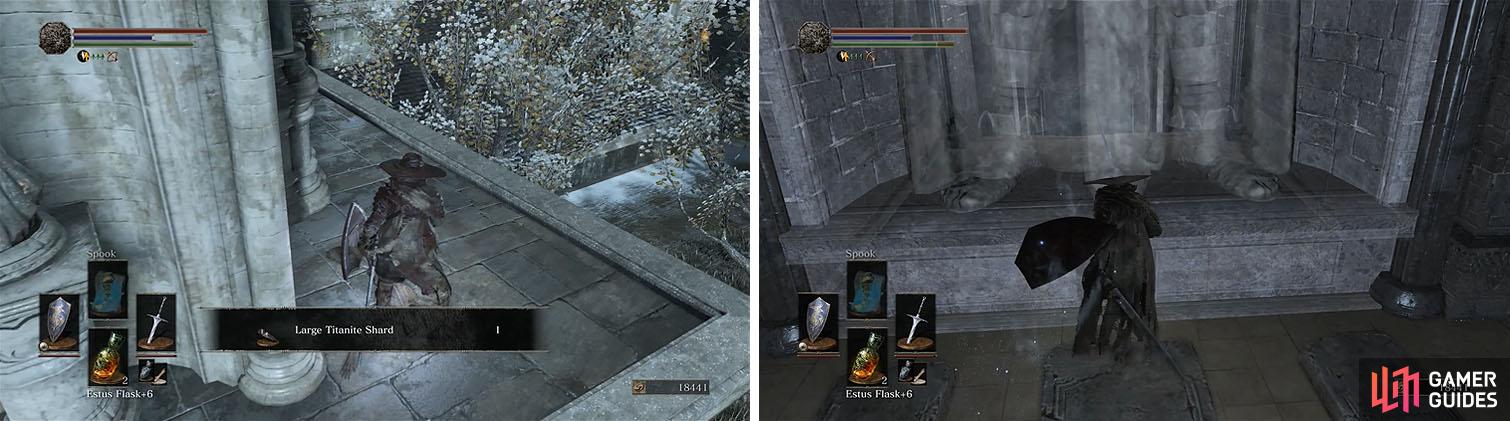
Grab the Large Titanite Shard near the shortcut (left) and make sure to reveal the hidden path to the Darkmoon Chamber (right).
Head up the stairs and use the circular lever to raise the tower to the upper position and activate the Anor Londo bonfire.
Take the stairs back down to the bottom without lowering the tower and the exit will now be facing a tower with no bridge. If you take a leap of faith and walk off the ledge you’ll find an invisible path that leads to a bonfire and the Blade of the Darkmoon covenant, which you can join if you gained the Darkmoon Loyalty gesture from Sirris.

Cross the invisible bridge to find and join the Blade of the Darkmoon covenant.
Enter the tower and use the beams to collect the Painting Guardian’s Curved Sword and Painting Guardian Armor Set and then warp back to Firelink Shrine.
Speak with Yuria and exhaust her dialogue, which should indicate that your spouse is waiting for you in the darkmoon chamber, and then return to Anor Londo.
Lower the tower and head down the long set of stairs to speak with the pilgrim for the Sword of Avowal and then continue into the darkmoon chamber and interact with Anri for a scene to obtain the Dark Sigil x3 .
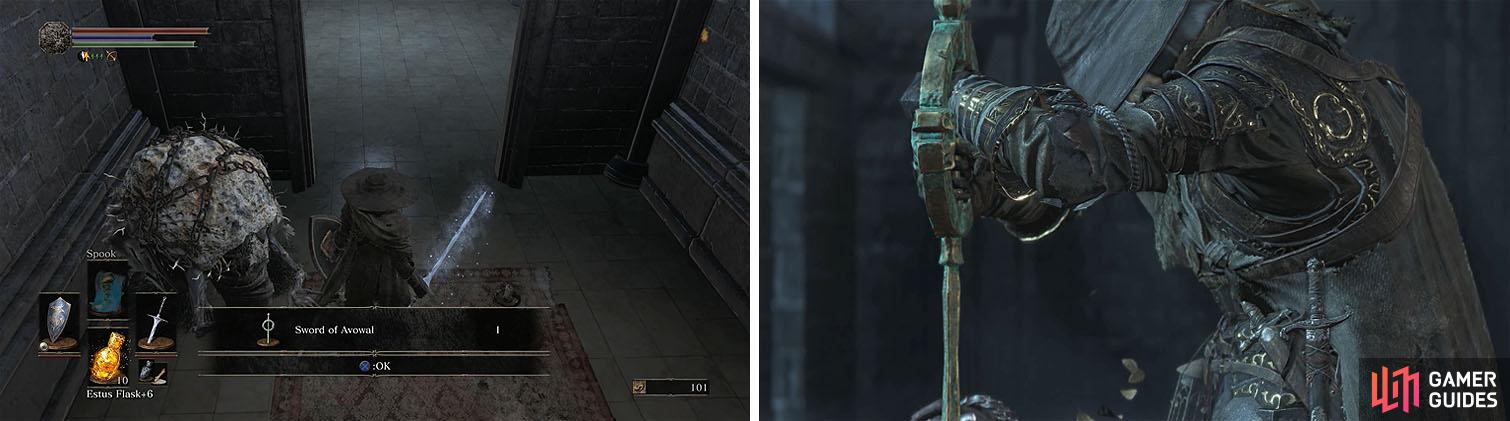
Receive the Sword of Avowal to perform the marriage ritual.
After the scene you can reload the area to obtain Anri’s Straight Sword and Reversal Ring and then head back to the pilgrim to find the Chameleon spell.
No Comments