A Stone Gargoyle will come swooping in as you approach the Profaned Capital, but there is no need to fight it in the open. Back up to the stairs leading to Irithyll Dungeon and use ranged attacks to defeat it from a safe distance.
You can now cross the bridge and drop into the tower and then climb the ladder to find an Undead Bone Shard , the “Stretch out” gesture, and a bonfire.
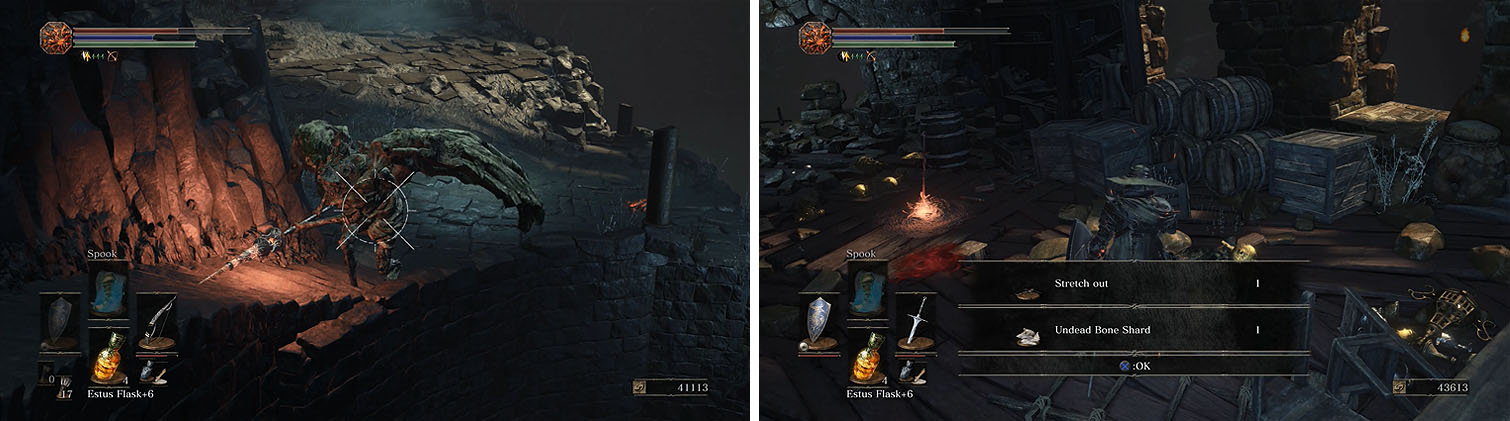
A Stone Gargoyle blocks your path to the Profaned Capital (left) and inside is an Undead Bone Shard (right).
Return down the ladder to exit the smashed wall in the side of the building and turn left to encounter a Stone Gargoyle. These enemies come with either a torch or a spear and usually use jumping attacks to strike. Roll under each attack and strike the wings or back of the gargoyle, but back off if they cover themselves with one of their wings.
You can now climb the ladder and grab the Rusted Coin x2 and then take the ladder back down and enter the nearby building.
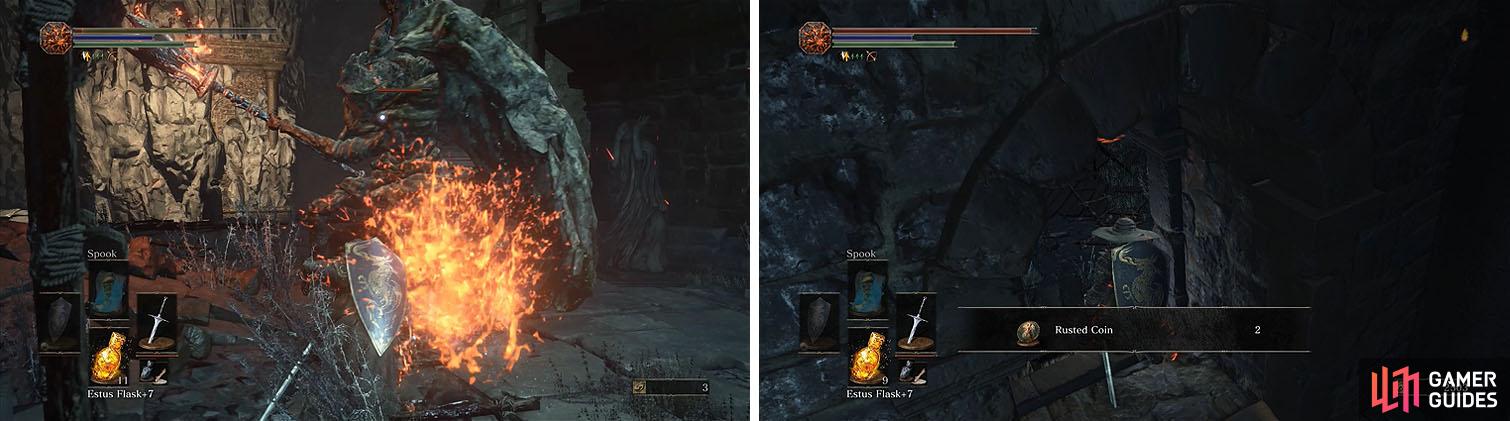
Defeat another Stone Gargoyle outside the statue (left) and then climb a ladder to grab the Rusted Coin in the window (right).
There’s a Crystal Lizard straight ahead, but don’t approach it because a gap in the floor blocks your way. Turn left and right to encounter another Crystal Lizard ( Twinkling Titanite ) and then take the first right to reach the Crystal Lizard you saw before ( Twinkling Titanite ).
You can now turn left and take the stairs to a Rusted Gold Coin and then turn around and exit the building to a platform overlooking a swamp.
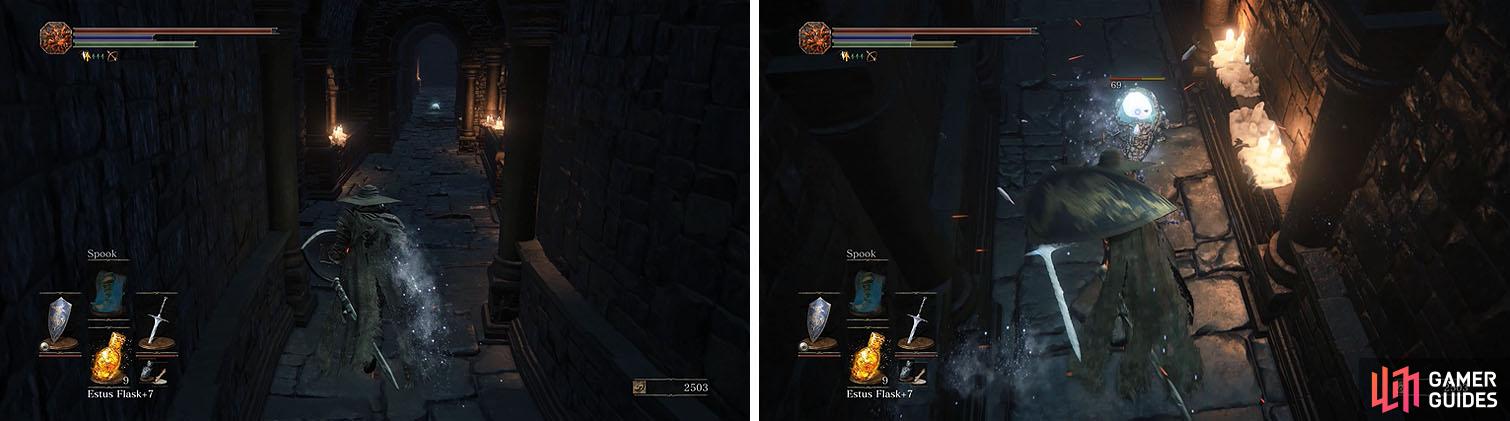
Ignore the Crystal Lizard and take the detour around to circle back and defeat it.
Follow the wooden platform to the right to collect some Blooming Purple Moss Clump x3 , a hint of the toxic swamp below, and then drop to the section of solid ground near a Sewer Centipede.
There’s almost no way to avoid being afflicted with toxic, so once you enter the swamp you’ll want to collect all the items while dealing with the numerous enemies.
Start with the Purging Stone on the nearby island and then pass under the platform to the cavern with a Poison Gem and Cursebite Ring . You can now head back out towards the chapel, pass the door to find a Shriving Stone , and then enter the chapel itself through the double doors.
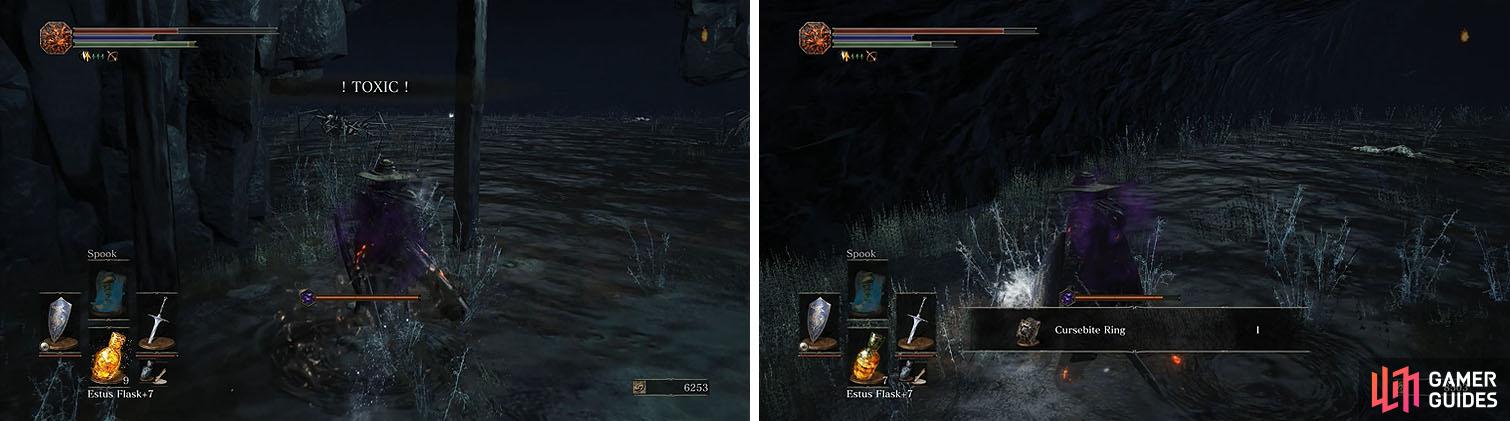
Its impossible to avoid the toxic swamp if you want to collect the items nearby.
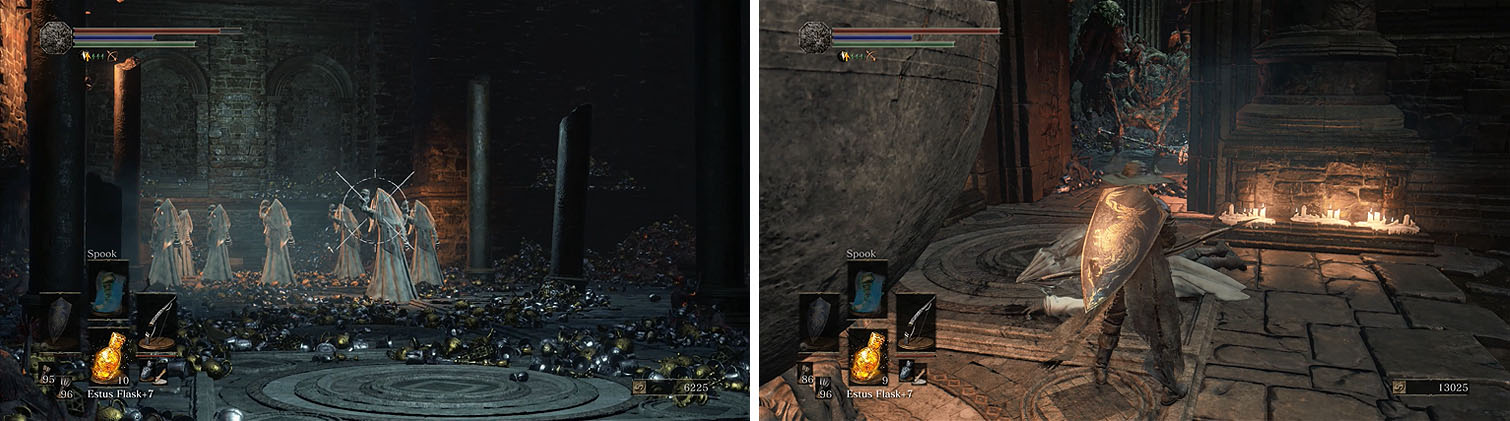
There are three Monstrosity of Sins in the chapel’s first floor, two of which are asleep in the back while the other is crawling around.
These enemies may be slow moving, but their attacks cover almost every direction and do massive damage. No matter if you’re attacking from the back or side these enemies roll over, flop to the side or smash your face into the floor.
Your options are limited to either striking and then retreating, using patience, or using a bow to attack them while you back up. Note that if you use your bow you can perform a critical attack that knocks them over when they stand up and charge you, allowing you to do massive damage.
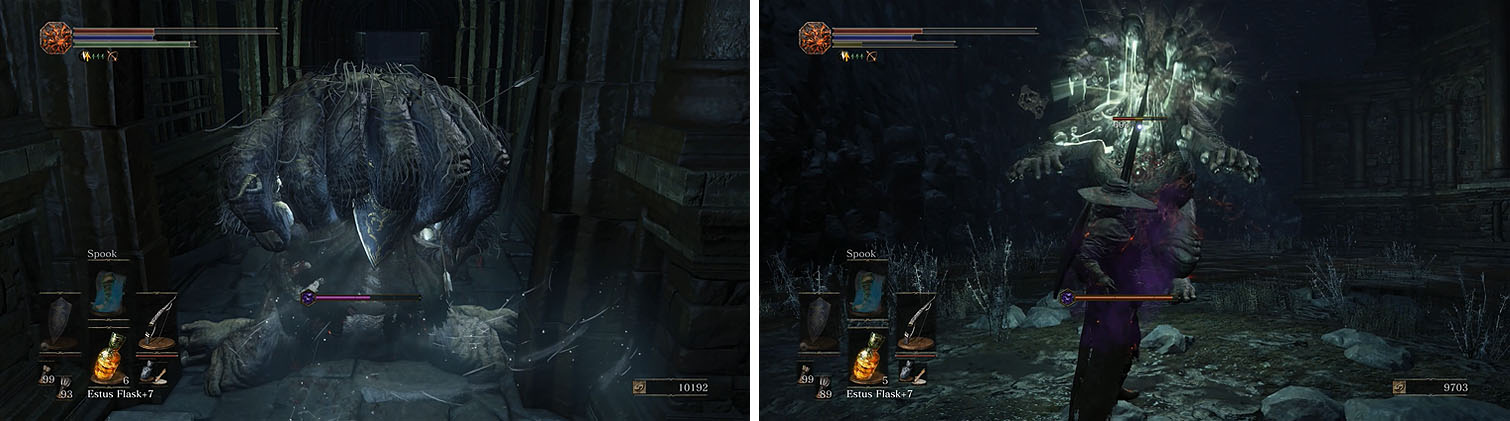
The monstrosities crawl forward in the hopes of grabbing you, but a well timed arrow to the head will cause critical damage.
The first Monstrosity of Sin you defeat will automatically drop the Eleonora and then you can attack one of the sleeping monstrosities. No matter which one you strike both of the enemies will wake up, so use the pillars as cover or back out into the toxic swamp to give you more room to maneuver.
Once the area is clear, collect the Purging Stone x3 instead the chapel and then climb up the ladder on the side of the building to reach the second floor.

There are two more monstrosities on the first floor that you can defeat before taking the ladder on the side of the building.
Another Monstrosity of Sin is inside, as well as the Court Sorcerer Armor Set , and then attack the Mimic behind the pillar for the Court Sorcerer’s Staff . The stairs leads to a Rubbish that overlooks the bonfire tower, but you’ll want to head back out the other side of the building and take the stairs to the roof.
An unkindled sorcerer, Court Sorcerer Eamon, will attack using Soul Spear and Homing Soulmass, but if you rush in and use a long combo you can avoid these. Strike and then back up to avoid the heavy attacks from the Gargoyle Flame Hammer he uses and you should finish him off to obtain the Logan’s Scroll .
You can now grab the Poison Arrows from the corpse on the roof before dropping through the window to land on the pillar with the Wrath of the Gods spell.
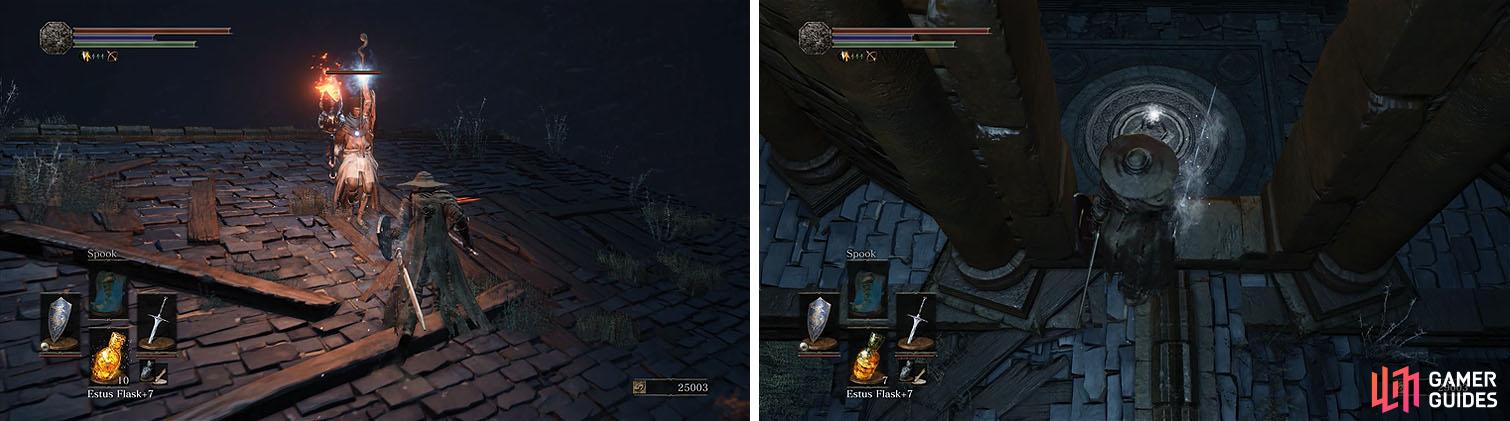
Watch out for the sorcerer’s spells, as well as his flame hammer, and then drop through the window to find the Wrath of the Gods spell.
Return to the roof and turn toward the stairs to spot an open window that you can jump to, crossing over the stairs below. This leads to the cell that contains Siegward of Catarina and the Covetous Gold Serpent Ring and make sure to exhaust Siegward’s dialogue to obtain a Titanite Slab .
Follow the stairs up this time and turn left down the hall, but turn around when you reach the first barred window to attack the two Jailers that appear behind you. At the end of the hall you can collect the Jailer’s Key Ring , which unlocks the cells in Irithyll Dungeon, and drop into the part of Irithyll Dungeon with the Hound-rats.
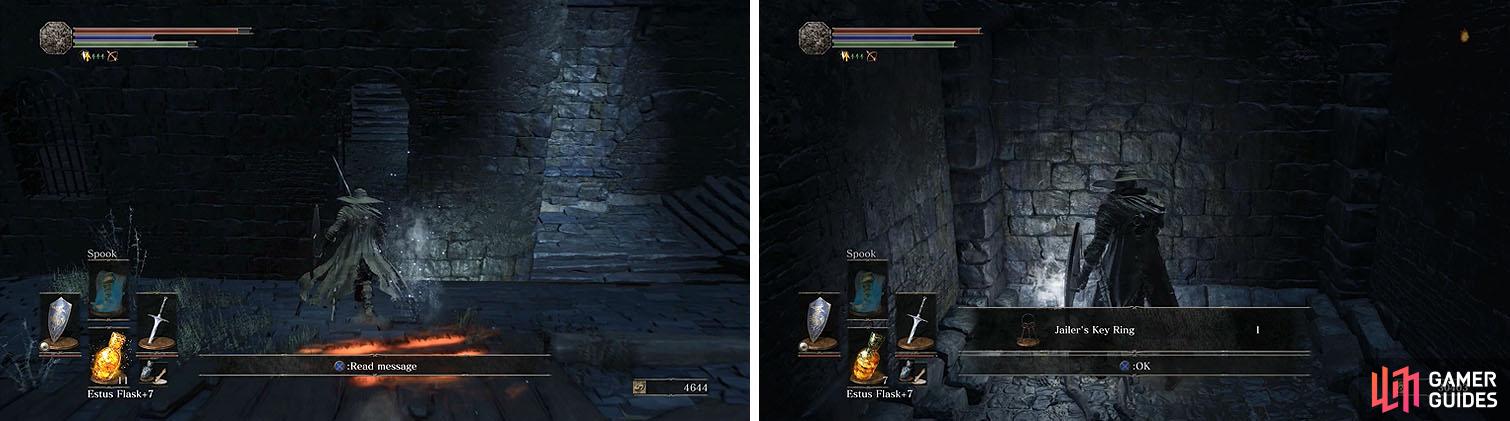
Don’t miss the window that leads to Siegward (left) and the Jailer’s Key Ring to release Karla in Irithyll Dungeon (right).
From here you can take the lift up to return to the two gates in the dungeon that were locked for a Rusted Gold Coin and the Prisoner Chief’s Ashes and then head to the bottom of the dungeon and speak with Karla.
Karla will move to Firelink Shrine, in the alcove below the blacksmith, and you can pass her any scrolls that Corynx wouldn’t accept.
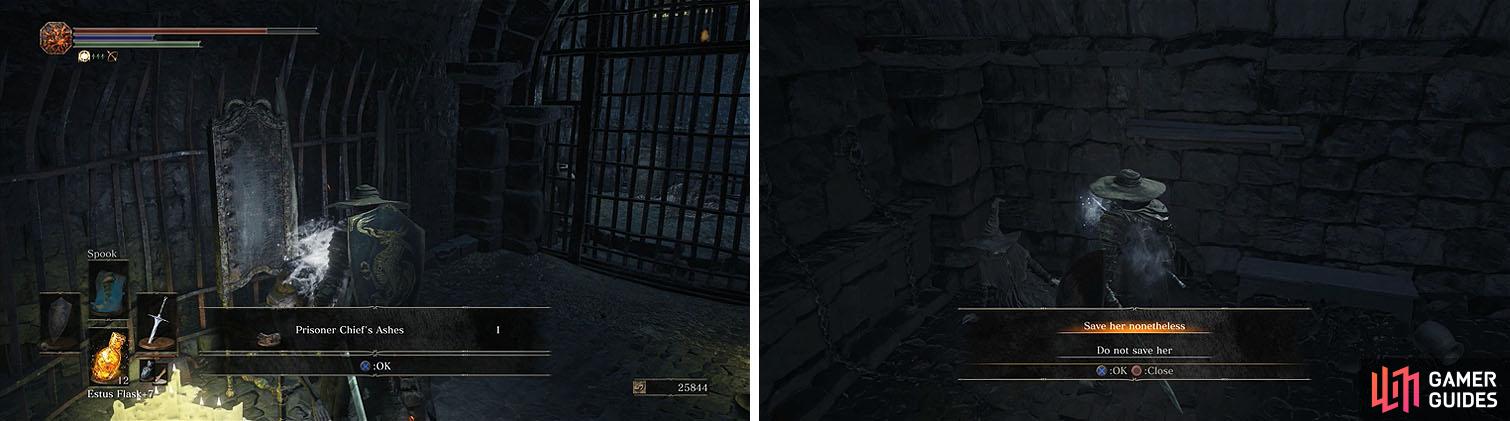
Use the Jailer’s Key Ring to collect the previously inaccessible items (left) and release Karla from her cell (right).
Head down the ladder next to the bonfire and you’ll be near a large stone bridge with fireballs shooting at you from an altar in the area below.
Rush across the bridge until the Stone Gargoyle starts to make its way to you and then back up toward the ladder to give you room to fight. As you head back across the bridge once more, look for a gap on the right that drops onto another part of the destroyed bridge; if you reach the Onislayer Greatarrows you’ve gone to far.
Make sure to grab the Onislayer Greatbow before you drop down the ledges to reach the bottom level and then search behind you for Rusted Coin x2 . You can now head up the stairs and kill the Jailer Handmaids that have started to make their way down to you and enter the back hall.
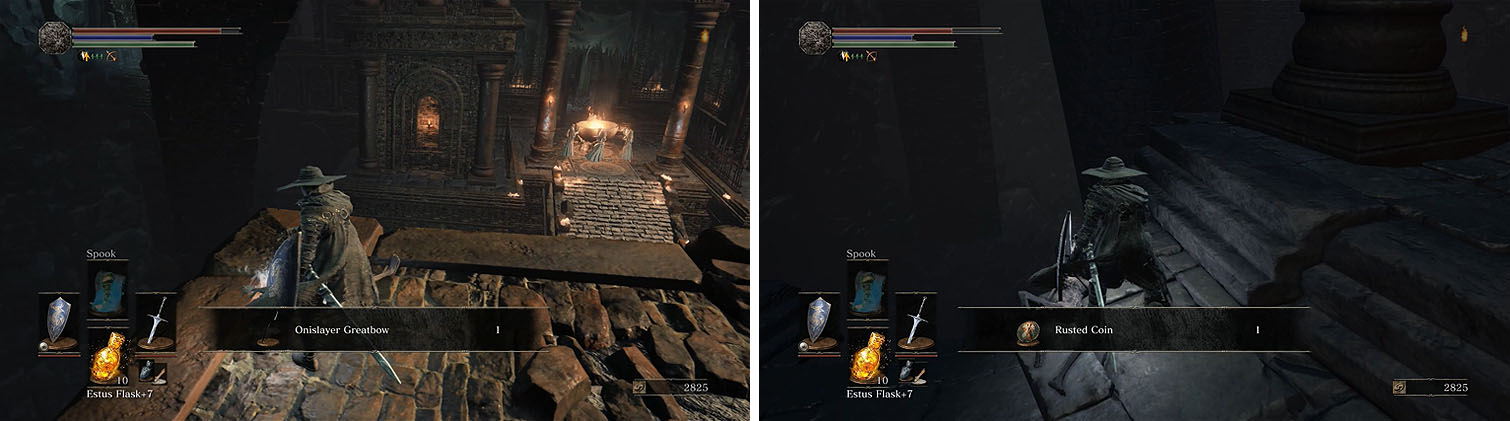
Grab the greatbow when you drop and then search the area for some Rusted Coins.
The boss fog lies straight ahead, but there’s still areas to explore.
The area to the right has a large number of Jailer Handmaids near two chests, but don’t rush in as a Stone Gargoyle will enter to the right. Pull each of the Handmaids back with ranged attacks until they’re all gone and then approach the chests and turn around to take on the Stone Gargoyle.
If you’re having any trouble fighting the gargoyle you can exit back outside, as the gargoyle will get stuck in the doorway, but be wary of the other gargoyle that spawned in the other hallway.
Pull the Jailer Handmaids with ranged attacks (left) and then retreat to the exit to fight off the Stone Gargoyles (right).
There are three chests in the area that is now clear: the two Mimics with a Rusted Gold Coin x2 and Greatshield of Glory and the chest on the right with an Ember .
You can now cross to the opposite side of the area and kill the Stone Gargoyle, if you didn’t already, and the remaining Jailer Handmaids.
No Comments