Travel back to Wolnir’s bonfire and exit into the catacombs, striking the bridge to create a ladder to Smouldering Lake. A Demon, similar to the one you fought in Undead Settlement, lies just inside the doorway and can be pulled back to the arch to defeat it with ranged attacks for the Soul of a Demon .
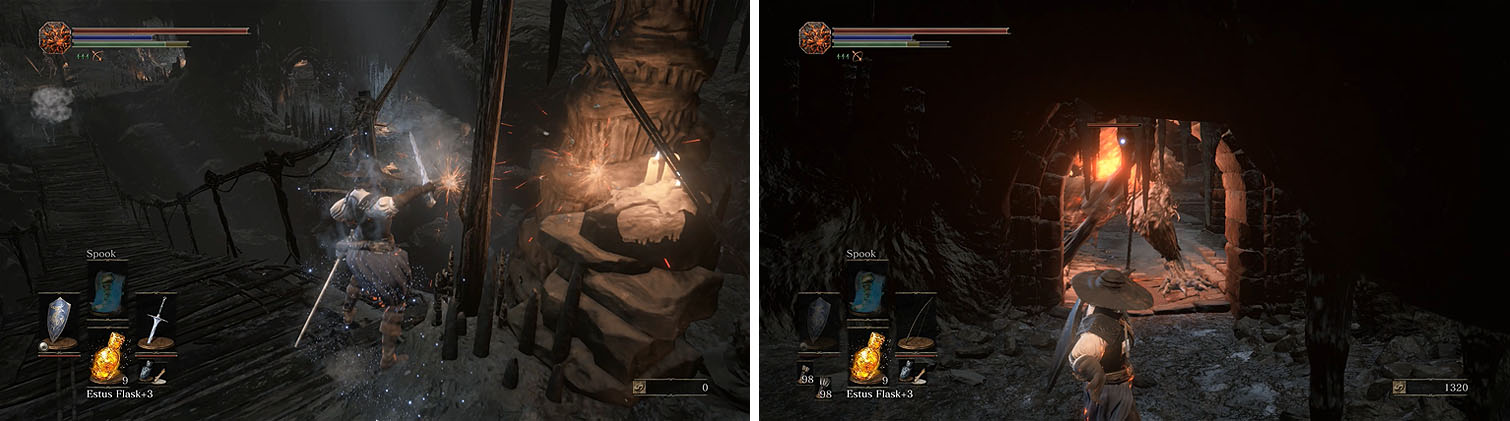
Strike the bridge near Wolnir’s bonfire to create a ladder (left) and then pull the Demon back to the archway to attack him safely (right).
Continue around the upper level and attack the chest to reveal the Mimic for a Black Blade and then down the stairs to defeat a Skeleton Soldier.
The next set of stairs leads to more skeletons, many of which spawn more than once, and then collect the Large Titanite Shard and Large Soul of a Nameless Soldier . You can now continue into the tunnel to find an Old Sage’s Blindfold and Witch’s Ring and then activate the bonfire beyond.
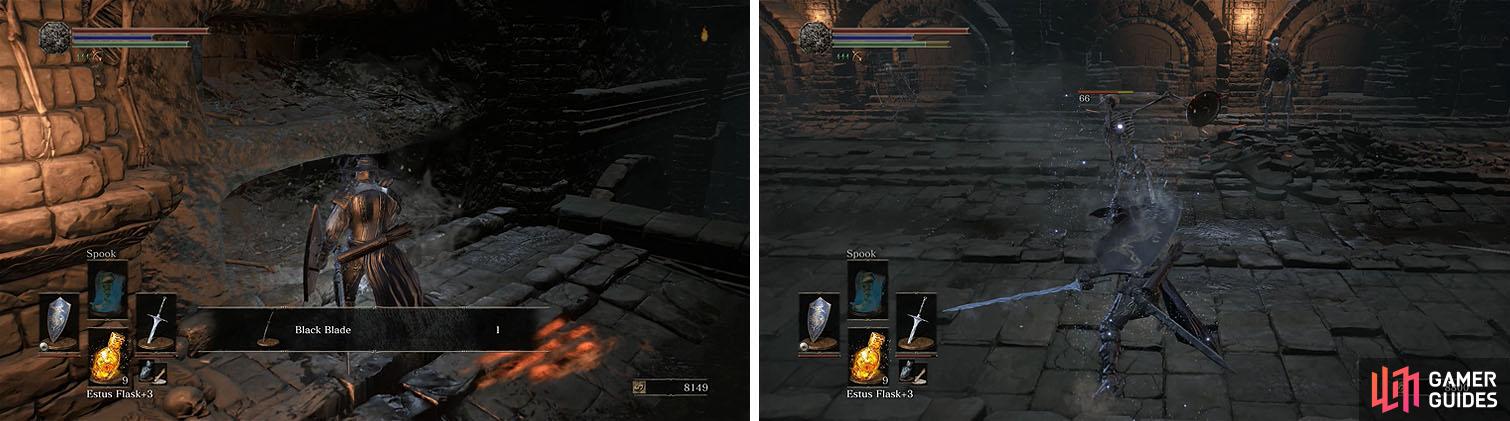
Make sure to attack the chest, which is a Mimic, and then follow the stairs down and kill the numerous skeletons.
Smouldering Lake is a large area of shallow water that is constantly bombarded by a catapult that shoots arrows in bursts of three. Running through the area will allow you to avoid the fire from the arrows, but rolling does very little to help you.
Time the arrows so that you begin running on the second or third arrow and stop when the arrows are being reloaded, allowing you to collect the Large Titanite Shard x3 in the water.
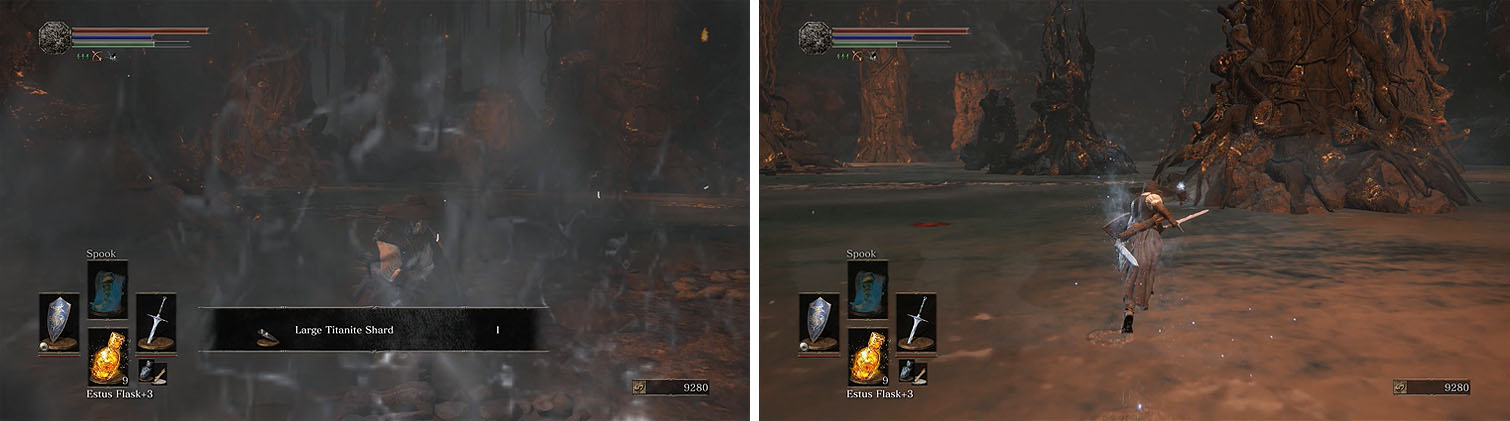
Rush through the water to collect the shards while using the pillars for cover.
Head back to land and then hug the wall to the right to find a tunnel leading to two Crystal Lizards that drop Twinkling Titanite x2 , but be careful of running them too far down the cave.
As you enter the open area you’ll find Horace the Hushed , driven made, who attacks with a halberd and shield. Horace is easily interrupted by attacks and should be met with aggression to defeat him for the Llewellyn Shield .
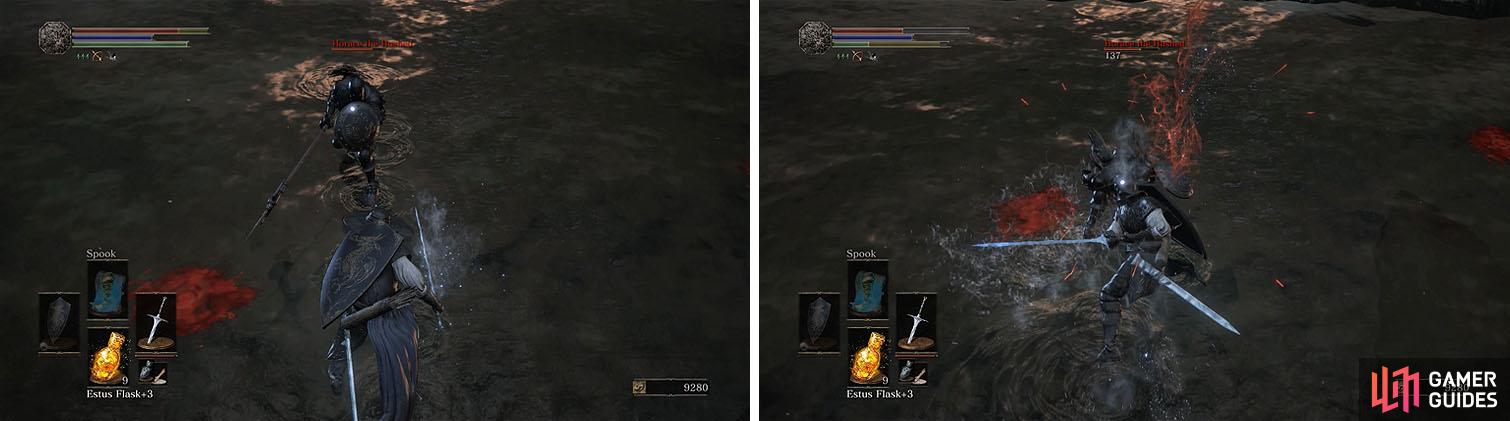
Roll past Horace’s attacks and use combos to take him down quickly.
Grab the Large Titanite Shard x2 and Yellow Bug Pellet x2 and then exit the tunnel and take cover behind the nearest pillar on the left.
Near the Giant Crab there is a Chaos Gem in the far corner, but reaching it while the catapult is up is risky. Start by waiting for the second arrow to strike the pillar you’re using as cover and then rush toward the pillar near the far wall with some stone covered ground nearby.
Wait for the first arrow to strike and then rush toward the corner, following the wall to the right, and make sure to stop running and recover your stamina while the catapult is reloading before running again. The next barrage should end as soon as you reach the Chaos Gem and then you can return the same way you came.
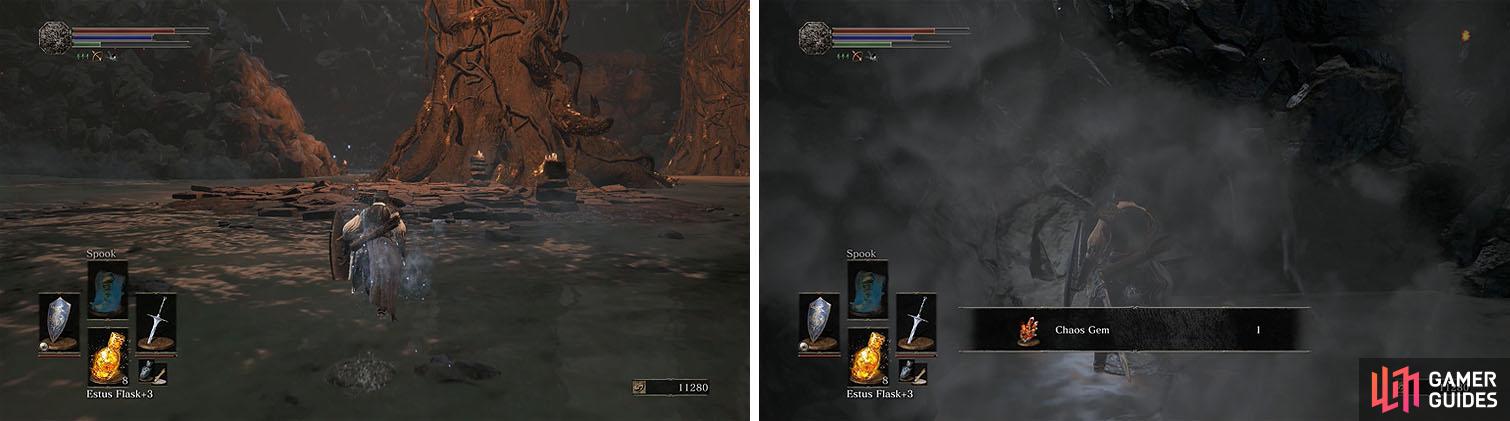
Head toward the stone ground and then continue onward to the Chaos Gem.
Head back to the entrance, ignoring the hole in the stone floor if one was made by the arrows, and then stand on the left side of the nearest pillar.
A Carthus Sandworm spawns in the area ahead and can be defeated from this located with ranged attacks to obtain the Lightning Stake spell and an Undead Bone Shard .
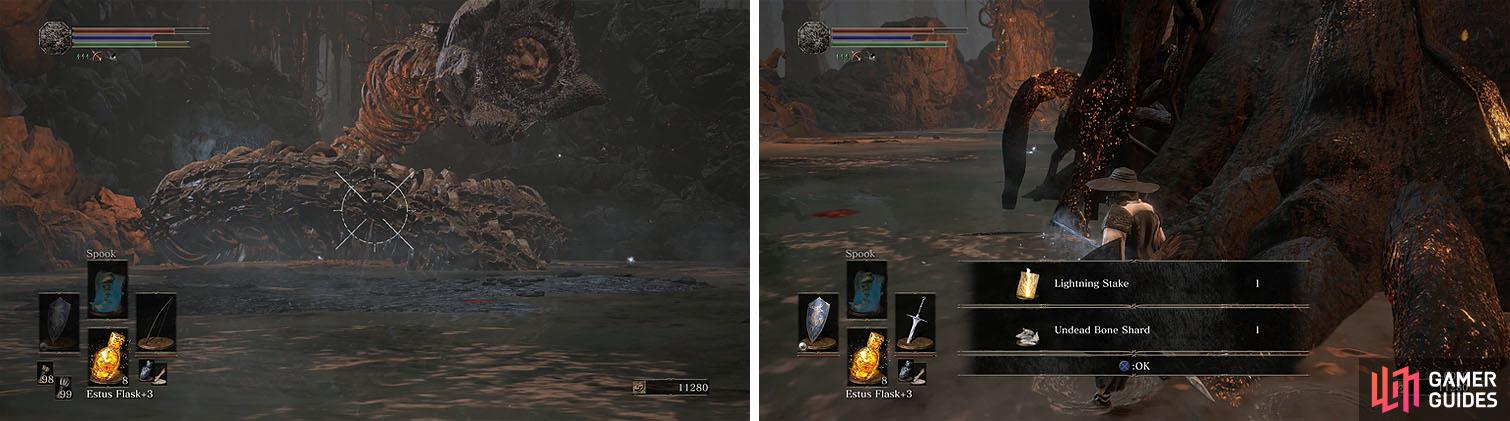
The pillar provides cover for you to use ranged attacks to defeat the Sandworm.
There is another Large Titanite Shard nearby, if you didn’t grab it with the three earlier, and instead of heading toward the Carthus Sandworm aim between the two pillars on the far wall. As you get closer you’ll notice that the wall is made of crumbling stones, which can be destroyed by luring a catapult arrow into it for a Speckled Stoneplate Ring .
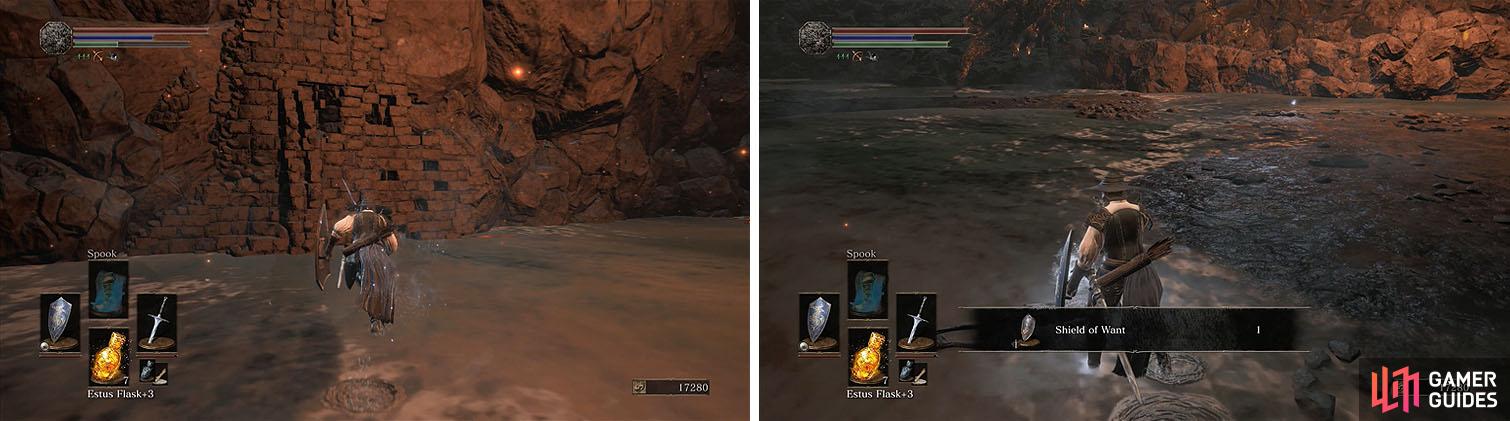
Continue along the wall and grab the Shield of Want and Large Titanite Shard in the open and then head up the ramp at the back of the area to collect another Large Titanite Shard . You can now activate the bonfire down the stairs and decide if you want to summon any NPCs to the upcoming fight.
Head toward the far wall, which can be blown to bits with to find a ring, and then collect the remaining items in the open.
No Comments