Travel to High Lord Wolnir’s bonfire and cross the wooden bridge to find Anri of Astora to the left, near the stalagmites. Be careful of the skeletons that attack and then speak with Anri, but don’t inform him/her of what happened to Horace.
Return to the Demon Ruins bonfire in Smouldering Lake to access the remainder of the area, which happens to be the majority of the area, and take the stairs down.
A Demon Cleric and a ball of fire that clerics often summon await in the next hall, but don’t fight these enemies face-to-face. They can attack with melee weapons and toss fireballs at you, so circle around the back and attack.
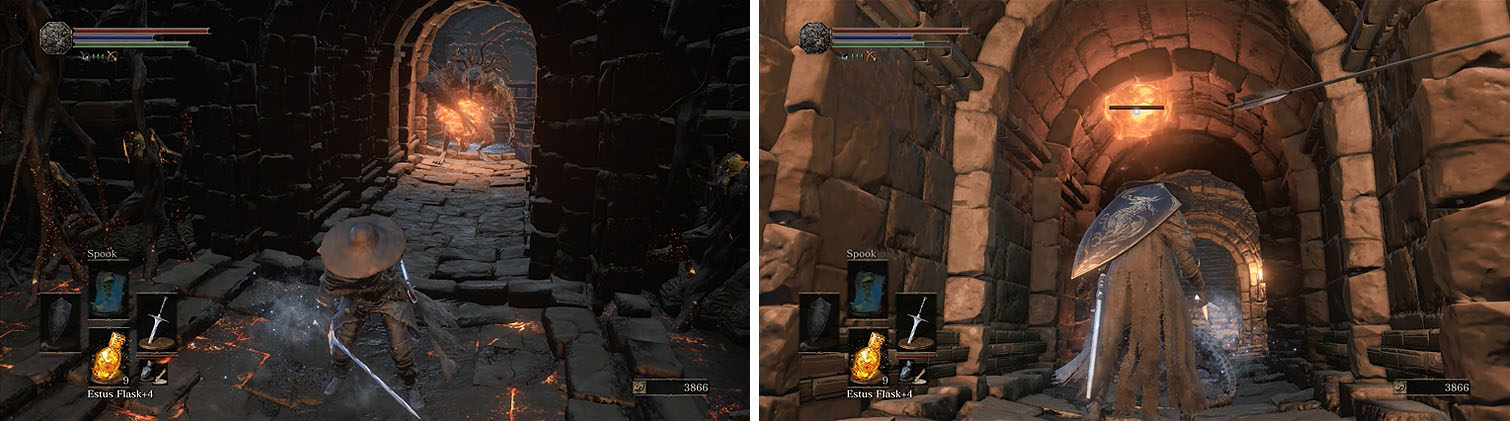
Demon Clerics and the balls of flame they summon both toss fireballs.
Grab the Ember and then head down the hall to find four Smouldering Ghru, which are slight variations of the Ghru in Farron Keep. Peek around the corner and pull the Ghru over individually to avoid a rough fight and make sure to rush the conjurator version in the corner that blows Poison Mist.
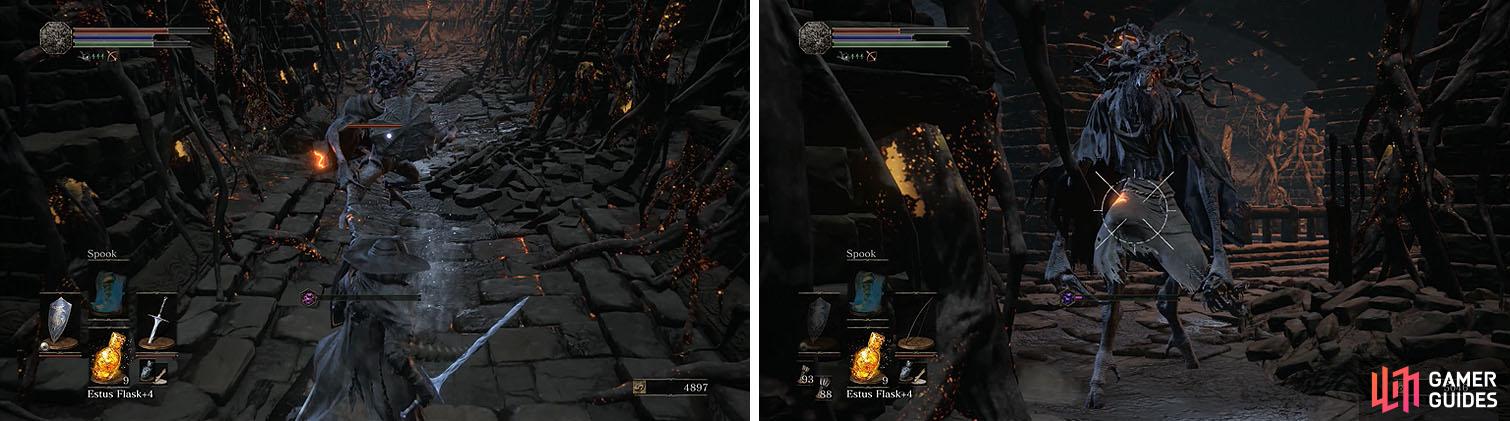
Around the corner are four Ghru, including a conjurator that spews Poison Mist.
Ignore the stairs and head through the arch to pull the wild Ghru straight ahead, as there is a second around the corner. There is a Smouldering Rotten Flesh in the corner, as well as a Demon Statue, which can be easily interrupted by attacking, and then pick up the Ember and then backtrack to the stairs.
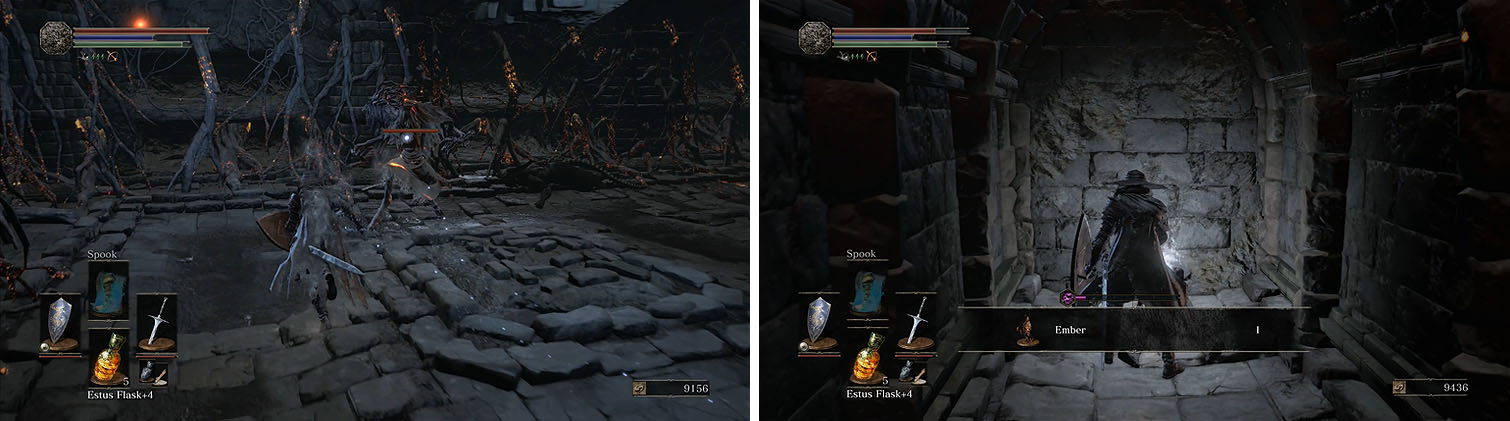
Head down the stairs, rush to the opposite wall, and take the long hallway on the right to avoid the Demon Clerics’ fireballs. Kill the two feral Ghru in the hall on the left and then smack the corner wall of the hallway to reveal a hidden room.

There are two enemies in the small hall near the Ember that are waiting to attack (left). Downstairs, don’t forget to strike the illusionary wall (right).
There is a Black Knight with a greataxe inside that you’ll need to deal with before you pick up the Black Knight Sword and then head down the right hallway to continue.
There is another feral Ghru in the room with two Demon Statues and in the room beyond you’ll encounter another Ghru. Turn left toward the open area and rush the conjurator Ghru and then kill the Ghru at the end of the hall.
There is a small tunnel that leads from the Ghru’s location to the stairs on the opposite side of the room, but about halfway through the tunnel is another small tunnel that shoots off into a dead end with an Ember .
Defeat the Ghru and make sure to get the Ember in the small tunnel.
Activate the bonfire straight ahead and then pull the Demon Cleric in the nearby tunnel into the bonfire room to give you more room to maneuver.
The room straight ahead has three Ghru, two on each side of the entrance, and a conjurator Ghru straight ahead. Use ranged attacks to deal with the Poison Mist spewing Ghru and then try and grab the attention of the Ghru on the left by hugging the entrance wall and barely stepping into the room.
With both Ghru dead, collect the Izalith Pyromancy Tome and then exit and follow the tunnel to a dead end with a Crystal Lizard ( Chaos Gem ).
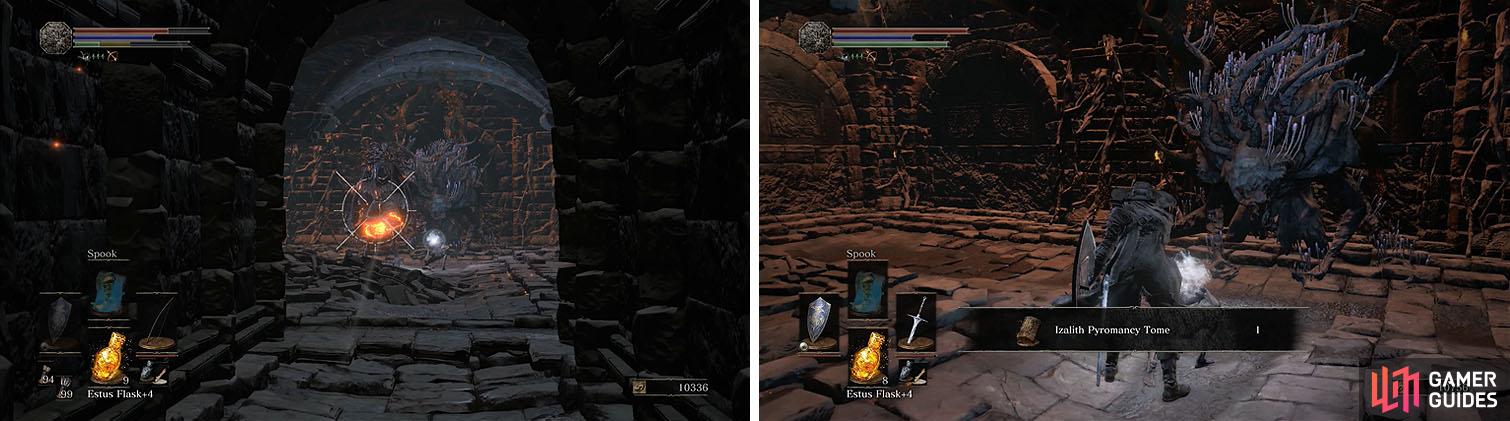
Defeat the Ghru in the room straight ahead before grabbing the Pyromancy Tome.
Back in the bonfire room, attack the only part of the wall without vines to reveal a hidden path and then rush down the tunnel for a Estus Shard . You can now head back the way you came, fighting off the numerous Rotten Flesh.
The ledge to the left leads to an area overlooking the two Demon Clerics you bypassed earlier, so use ranged attacks to attack them. The Demon Clerics often stand extremely close to the wall and it makes them difficult to hit with ranged attacks, but as long as you can attack and kill one you can drop to plunging attack the other.
Check the corner of the room for some Rotten Flesh guarding the Undead Bone Shard and then head to the opposite end of the hall and take the tunnel on the right.
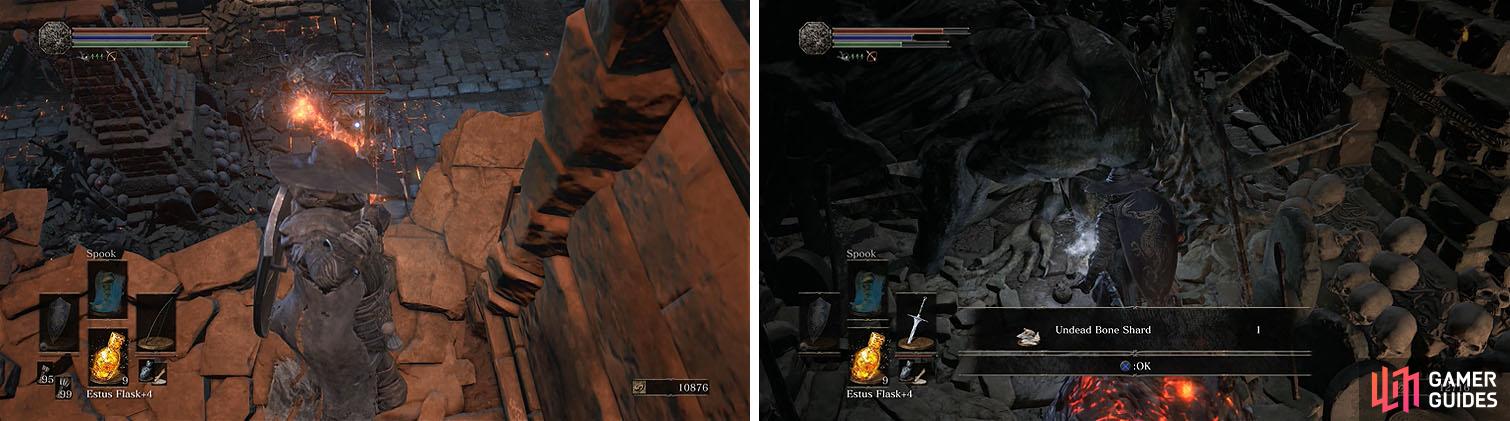
Defeat the two Demon Clerics below and then collect the Undead Bone Shard.
Kill the Hound-rat straight ahead and then take the tunnel on the right to a room with three more Hound-rats. Strike the wall opposite the tunnel to reveal a hidden path that leads to a familiar figure and the Quelena Pyromancy Tome .
The stairs leads to a pit of lava with the Toxic Mist and White Hair Talisman , but you’ll likely die before reaching either.
Backtrack to the previous room and take the only tunnel you haven’t entered and then kill the Hound-rat on the left. You can now take the stairs down and pull the Large Hound-rat down the hall, as there are many more smaller rats behind it.
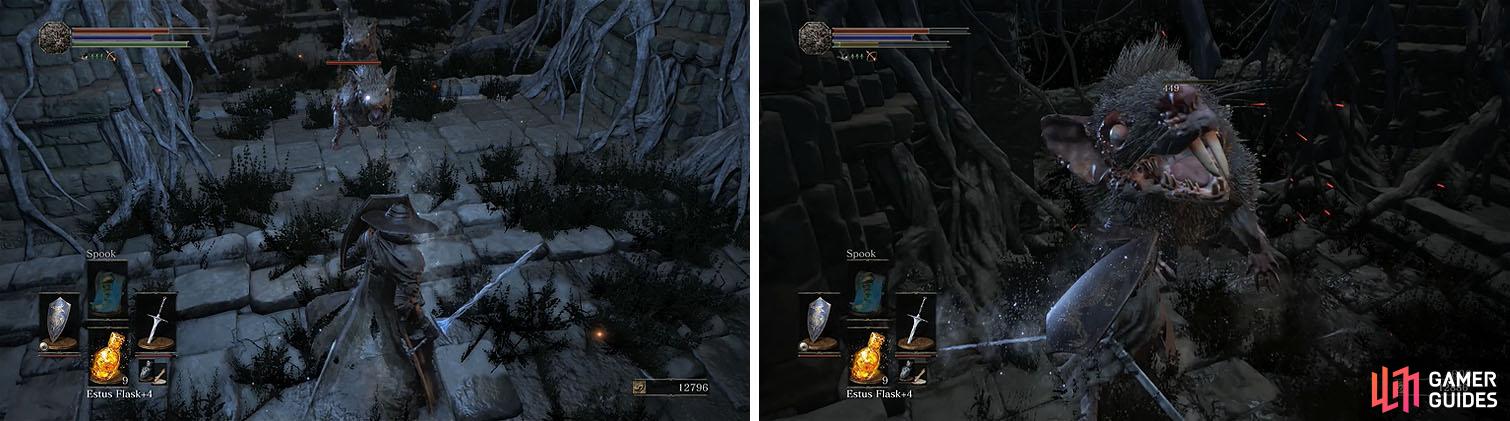
There are Hound-rats in abundance that you’ll need to deal with carefully.
Strike the hall about halfway up the tunnel to find a chest with Large Titanite Shard x3 and then strike the wall behind that to reveal another hidden path.
This will drop you on a ledge with a Izalith Staff , just above the basilisks that you’d encounter if you took the stairs, so drop down and defeat them with plunging attacks. There are even more basilisks ahead that you can pull back to deal with individually and then collect the Titanite Scale .
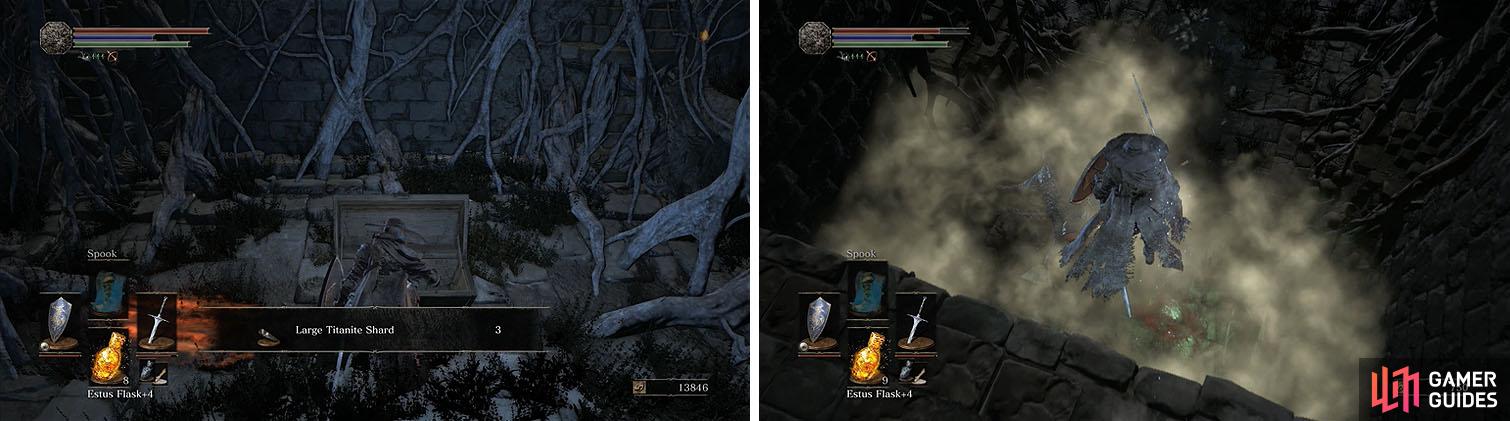
The hidden path reveals a chest with some shards, but behind that is another hidden path that leads to the area above the basilisks.
Head toward the stairs and enter the broken wall on the left, where Knight Slayer Tsorig awaits around the corner. Unlike your last encounter with Tsorig you won’t have a trap to help you knock him over, making this fight that much more difficult.
Lure him into performing a heavy strike or charge attack and then get in a strike or two before rolling back to avoid any counters. Be patient and take some time to learn his attack delays so you don’t walk straight into a charged attack and you should defeat him for the Fuma Ultra Greatsword and Black Iron Greatshield .
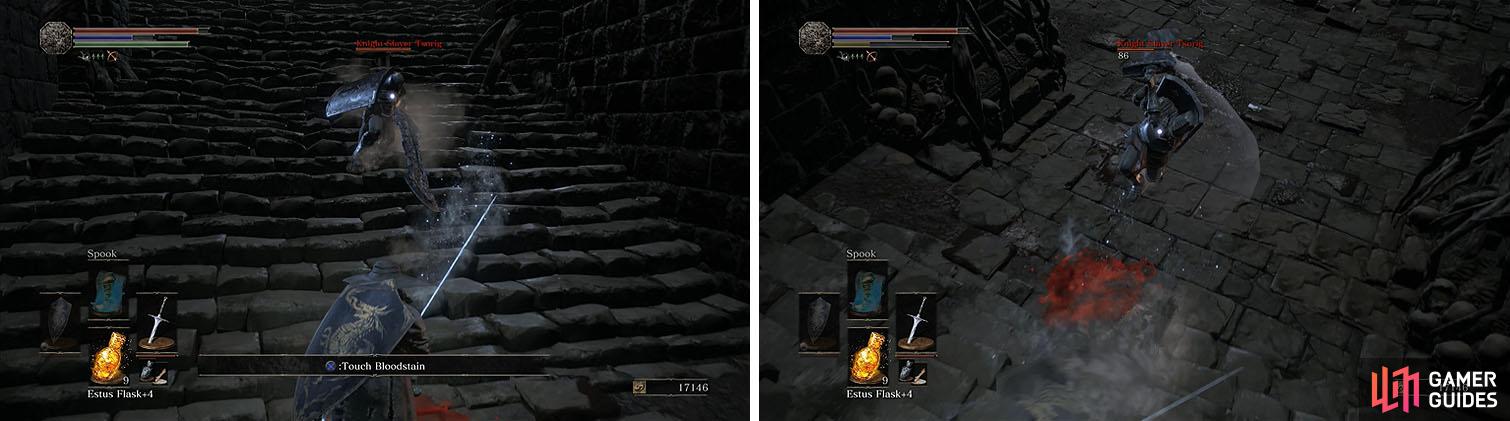
Bait Tsorig into performing his heavy attacks before you strike and make sure to back up if he starts to attack through your combo.
There is another section of lava here with an Ember and the Sacred Flame pyromancy, but this is something you’ll likely want to come back for later.
Head back to the large stairs and take them to encounter a Black Knight above the lava and then collect the Soul of a Crestfallen Knight before climbing the ladder. When you reach the top of the second ladder turn around and look down to spot a ledge with the Dragonrider Bow and then climb back up.
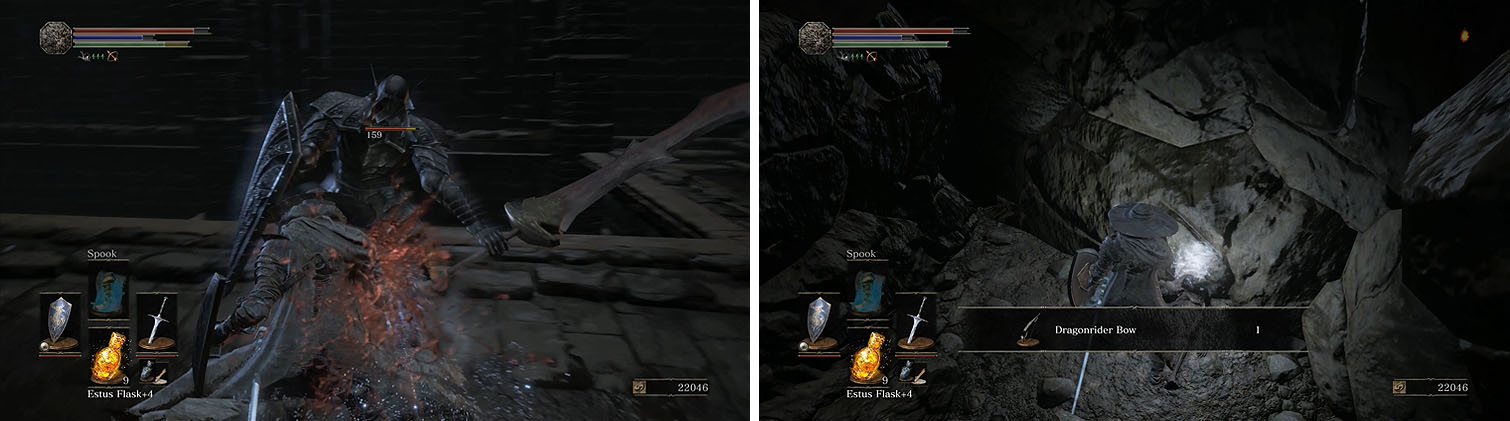
If you get behind the Black Knight you can backstab him, tossing him into the lava below (left). You can then head up the ladder and drop down to find a bow (right).
This area has only a single item, the Homeward Bone x2 along the left wall, but it does allow you to shut off the catapult.
Tthere are a number of enemies blocking your path, including some Skeleton Wheels and two Skeleton Swordsman, so if you are running low on Estus Flasks you can rush past everything and lose them behind the catapult before shutting it down.
No Comments