
This is a guide for exploring the interior of Viper Manor in Chrono Cross: The Radical Dreamers Edition.
Foyer
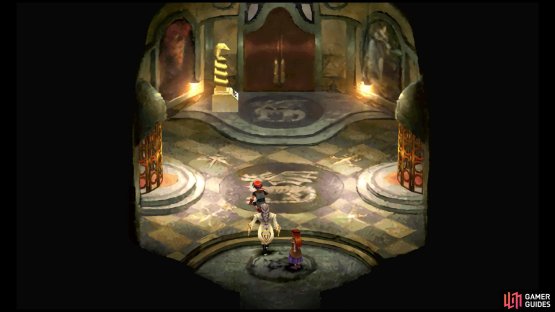
(1 of 2) This is the foyer, but there’s no way to proceed. Or is there?

This is the foyer, but there’s no way to proceed. Or is there? (left), Mess with the statue to purposely trigger the booby trap. (right)
Upon entering the manor, there will be a large door straight ahead and side gates on the left and right. The large door won’t open though, something is blocking the left side gate and going through the right side gate leads nowhere, except for some booby traps.
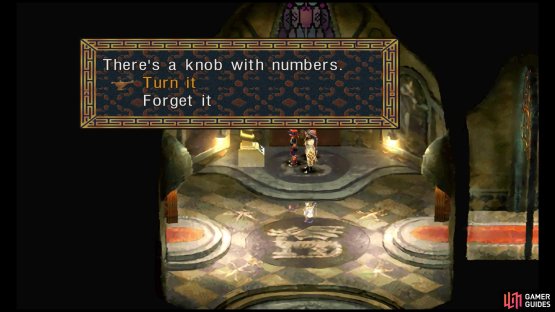
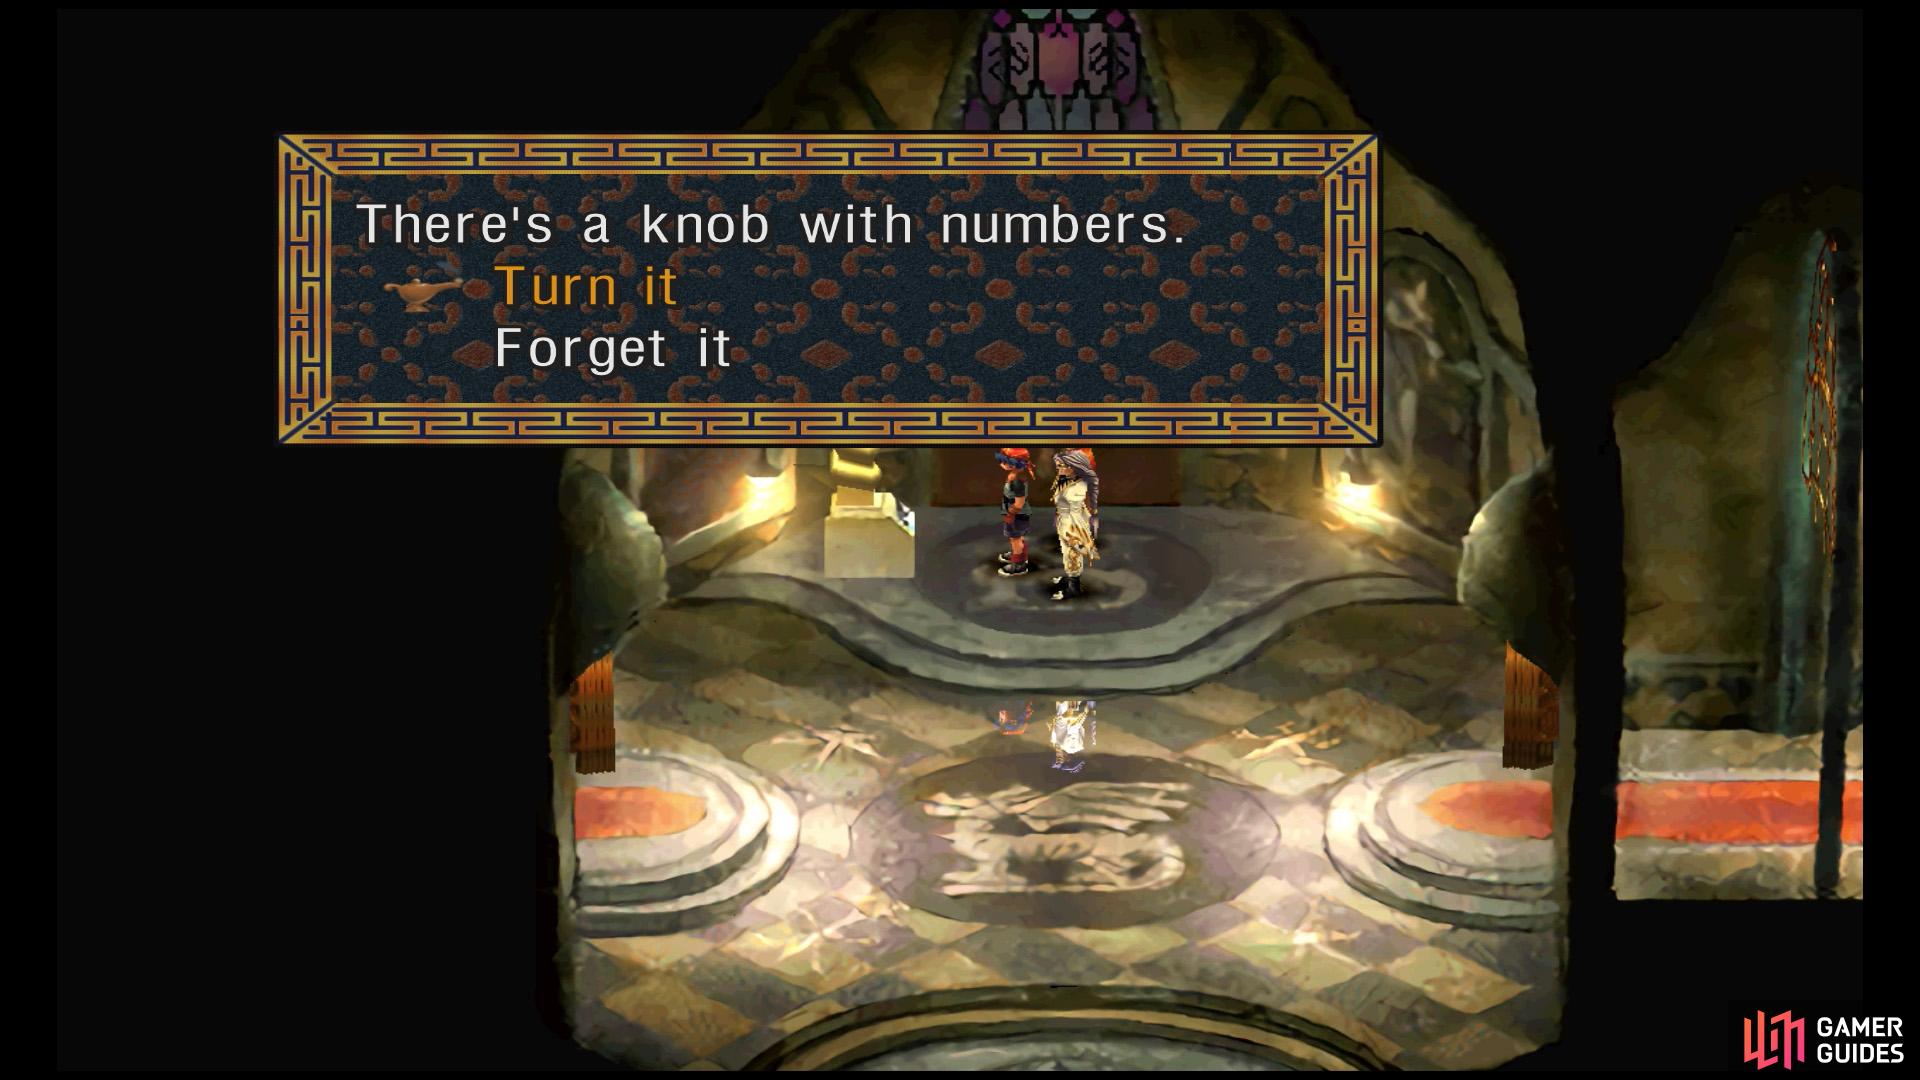
To progress, inspect the snake statue to the left of the big door. You’ll be prompted to turn the statue left X number of times, then right Y number of times. Press Left or Right to input whatever you want for X and Y. The answer will obviously be wrong and you’ll fall into a trap…
Basement

(1 of 2) You’ll get captured, but Kid will find a way to bust you out.
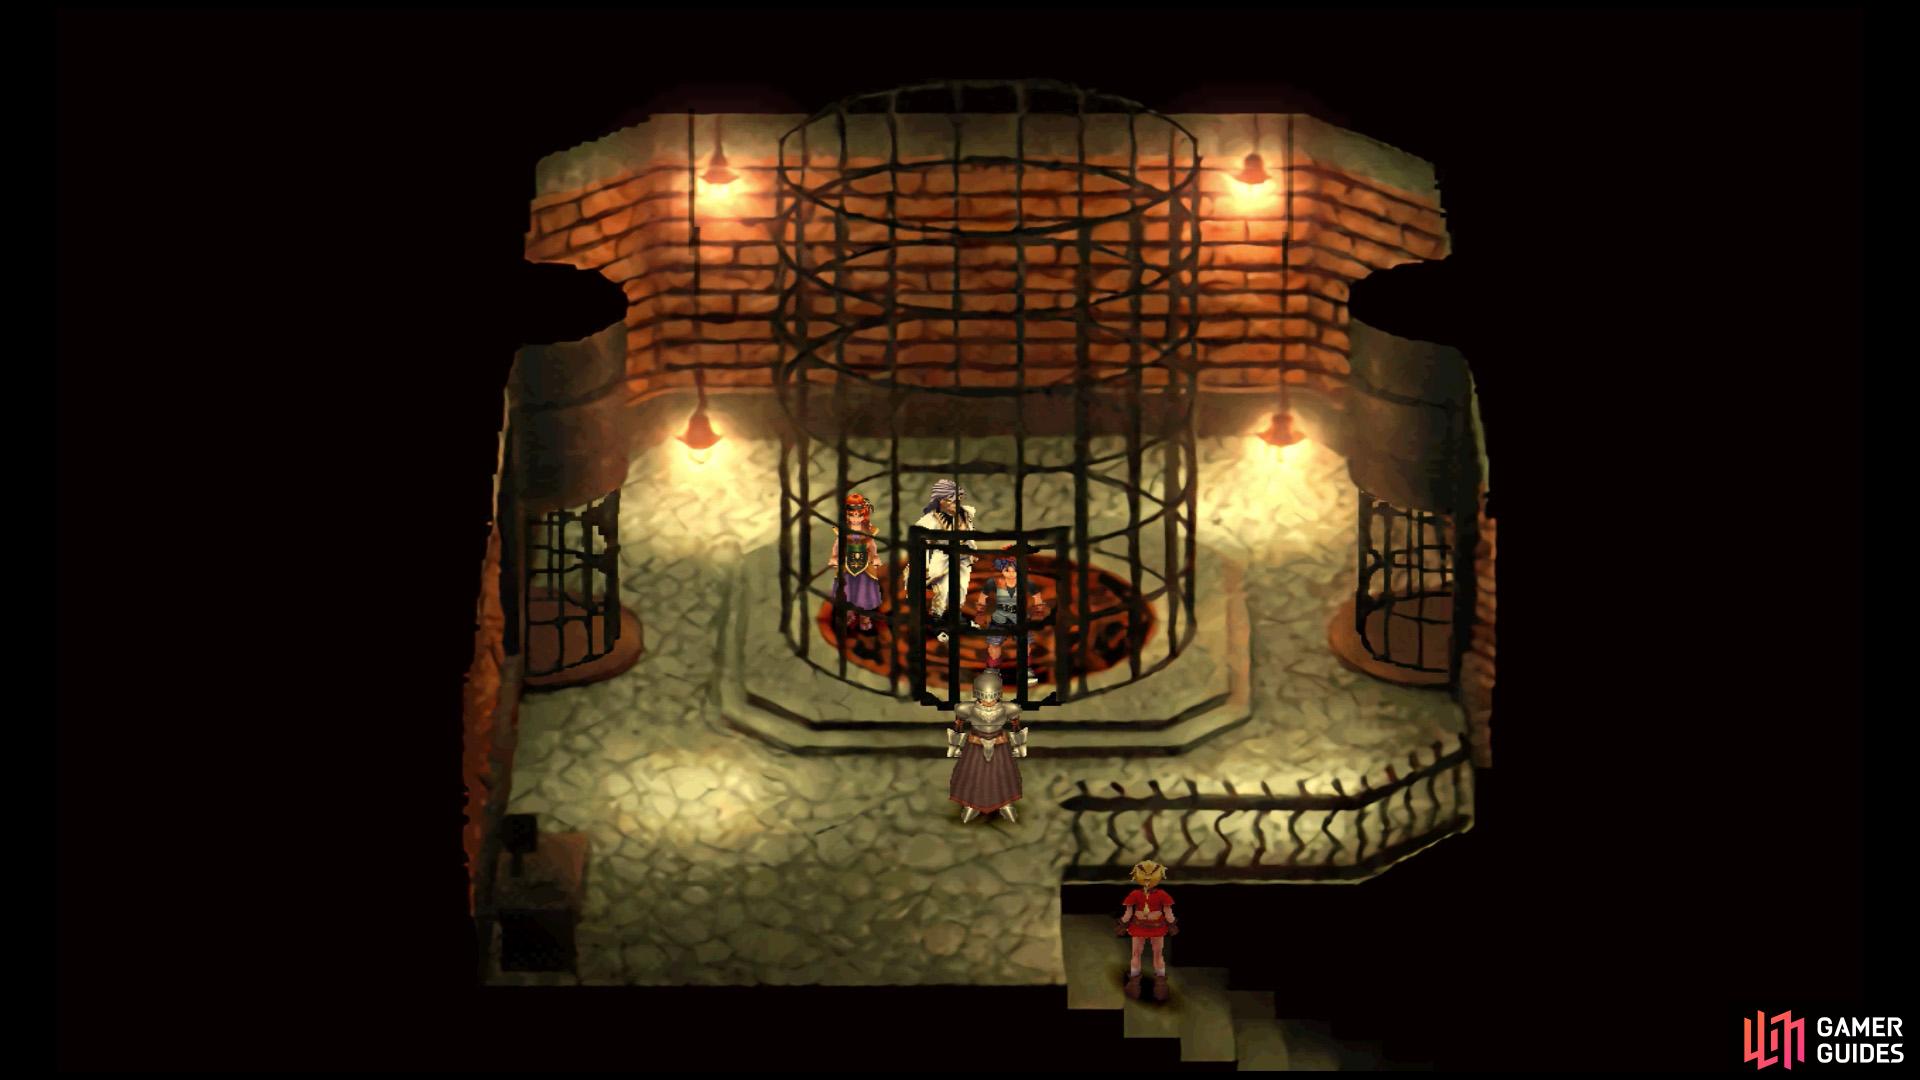
You’ll get captured, but Kid will find a way to bust you out. (left), Afterwards, you’ll need to fight your jailers. (right)
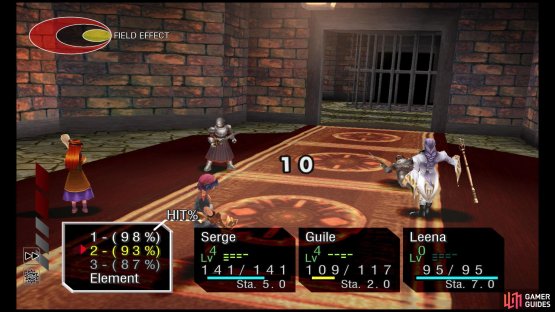
You’ll come crashing down inside a sturdy cage down in the basement. If Kid’s in your party, she’ll rile up the guards and make them open the cage so you can fight.
Otherwise, keep shaking the cage door until Kid arrives from the stairs below, surprising the lone guard. She’ll unlock the cage for you before leaving. As you leave, the two guards who left will come and fight you.
Afterwards, your three party members will steal the guards’ uniform, so they can sneak around easily. However, there are monsters all around the manor that will still attack you.
First, go down the steps near the bottom, to reach the jail area.
Jail

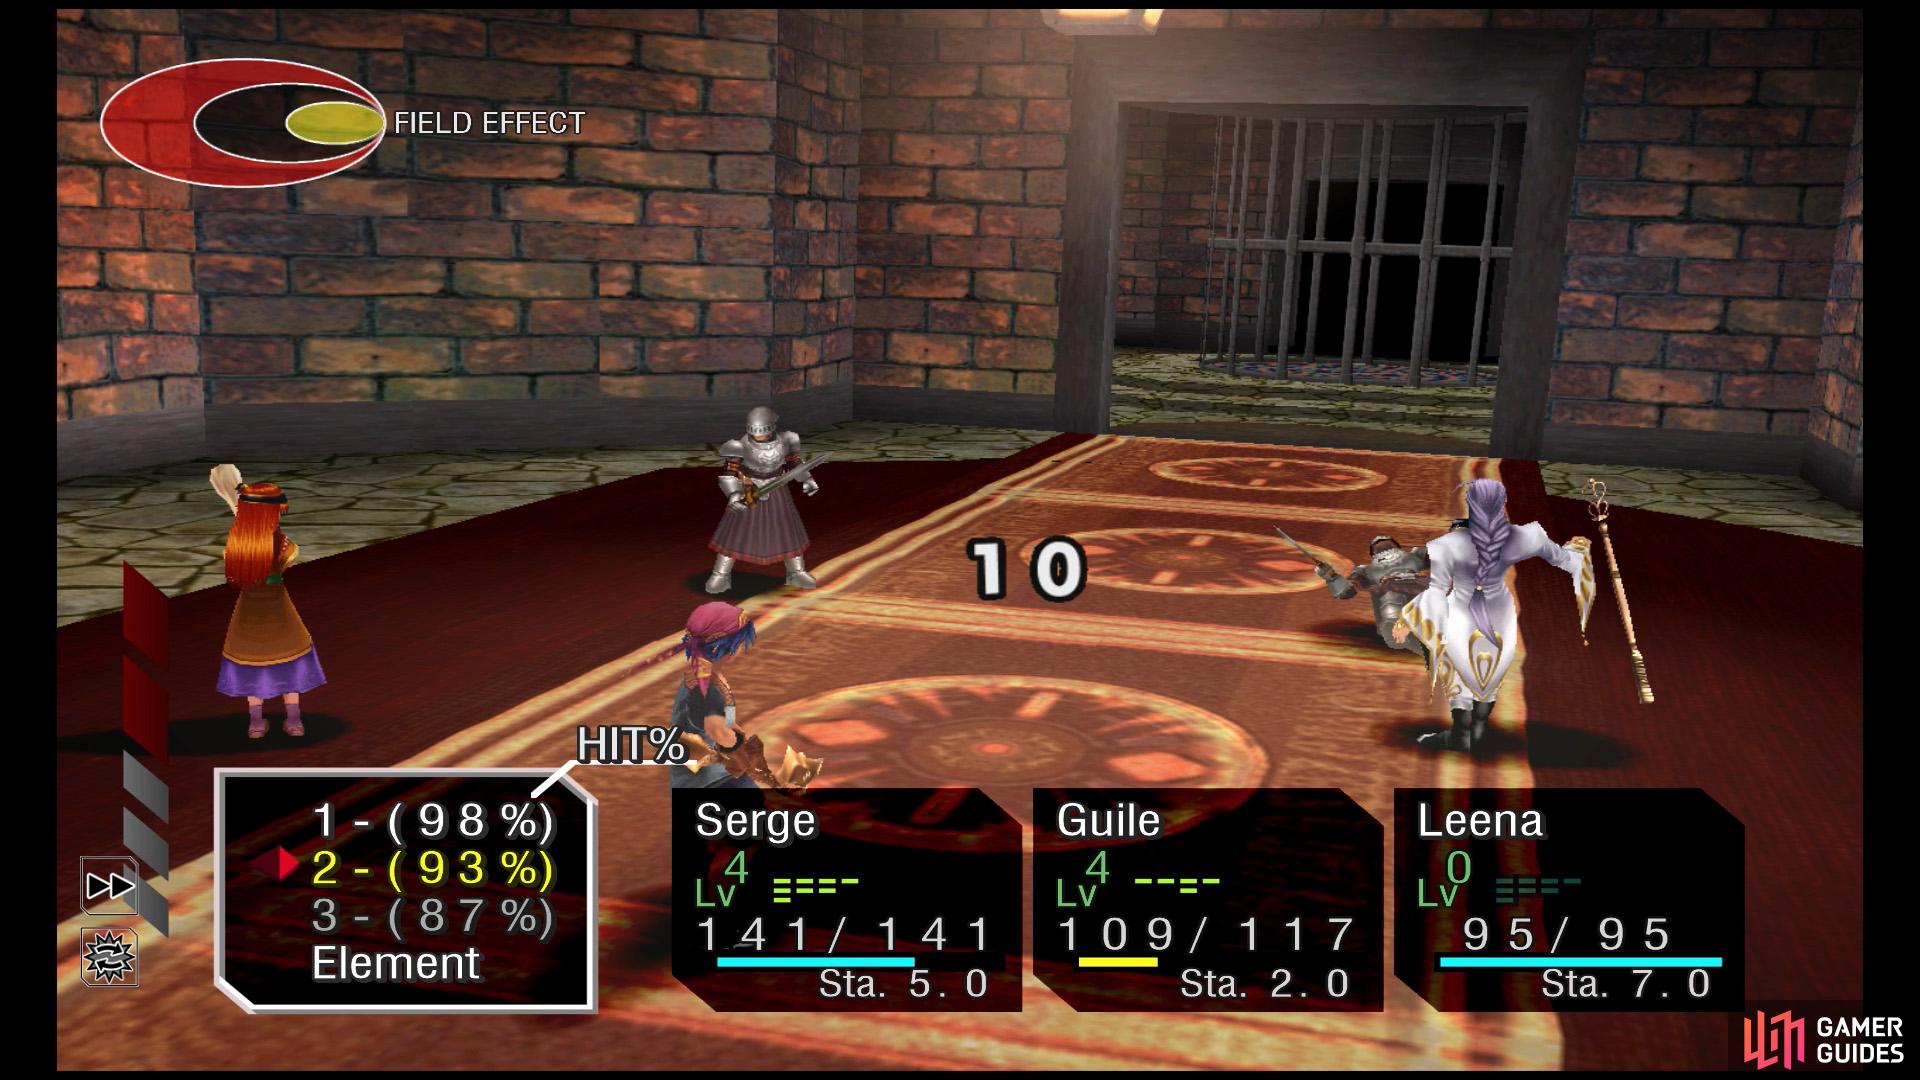
(1 of 2) During these Mimic fights, you need to attack the correct chest.
During these Mimic fights, you need to attack the correct chest. (left), Succeed and the battle will instantly end and you’ll receive an Element. (right)
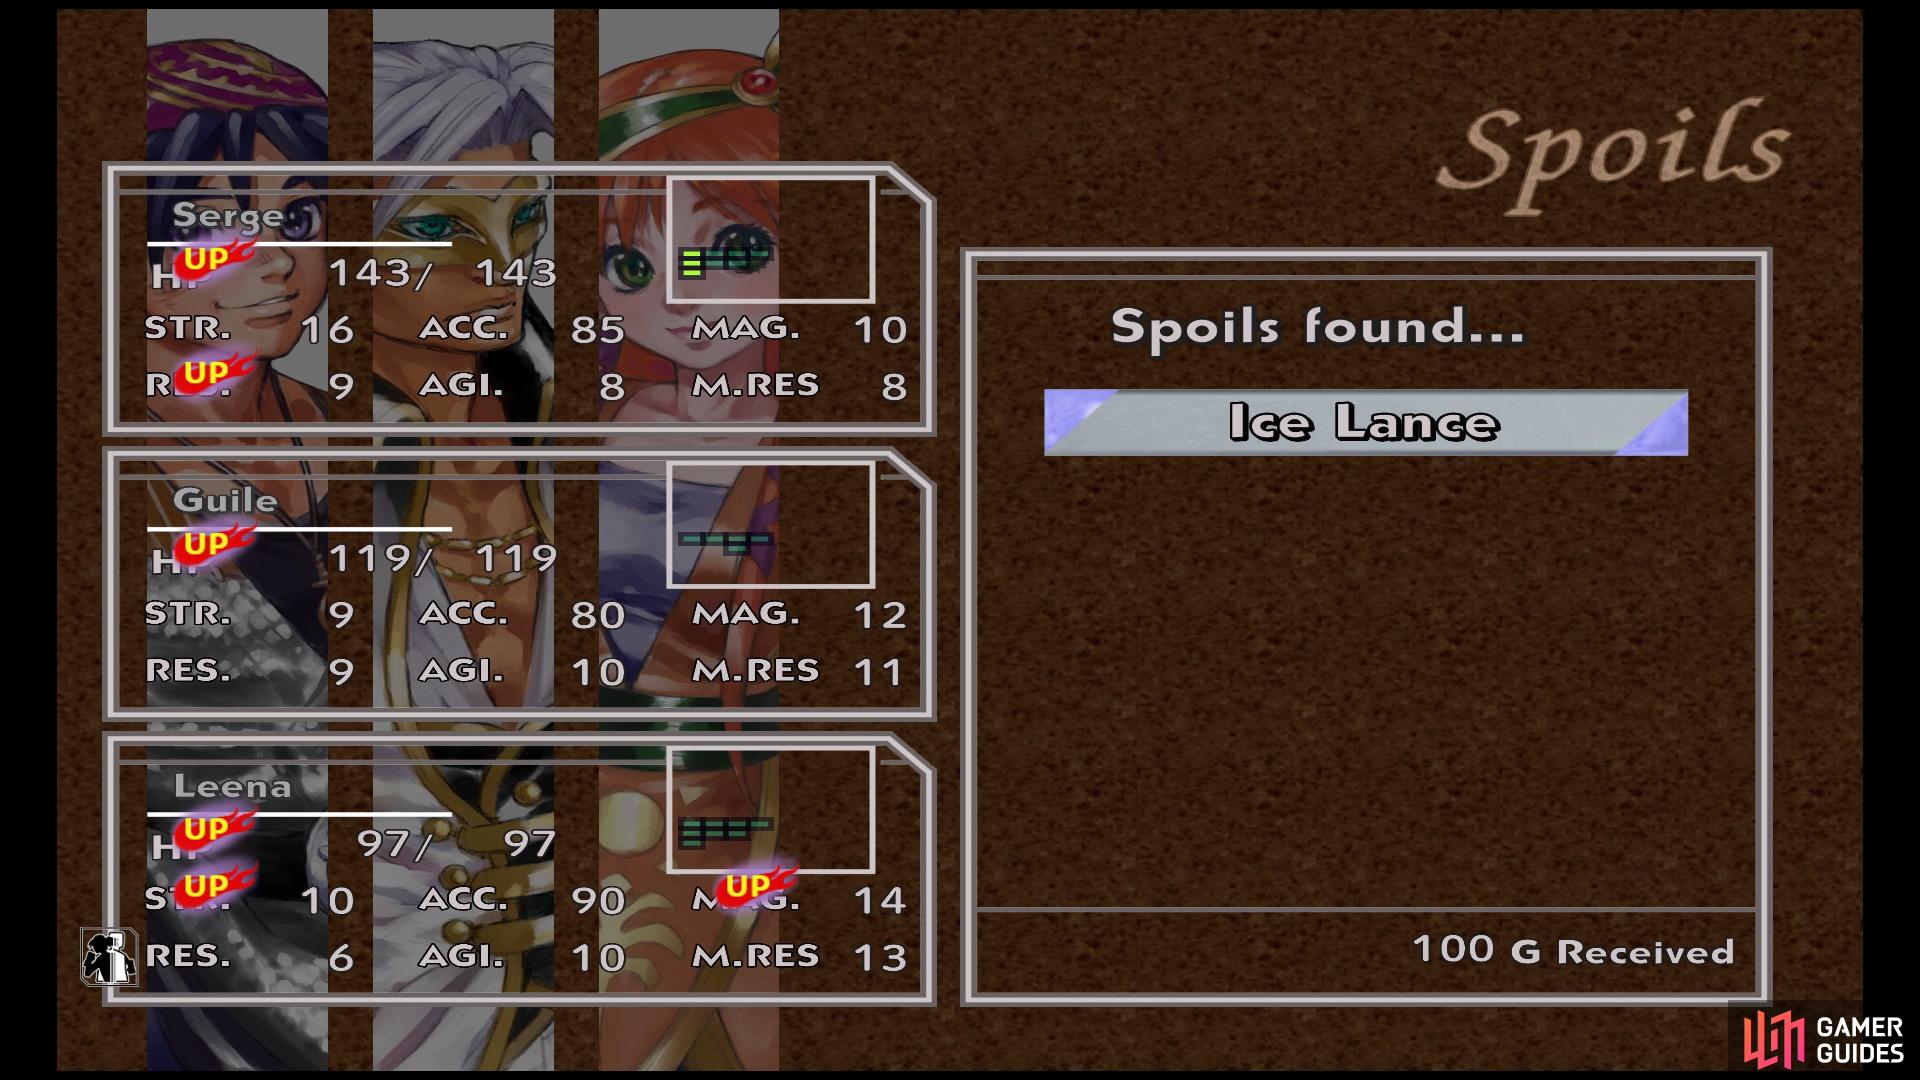
Here, open the blue chest to trigger a Mimic battle. During the fight, there will be a big Mimic and a smaller one. Attack one of them and if you guessed right, the end will immediately end and you’ll receive a random Element. Choose wrong and the fight will continue. If you guessed wrong, you can Run Away and repeat the “fight” until you guess correct.
That’s all. You don’t want to loiter unless you want to be found out and thrown in the slammer for real! Exit back to the cage that you broke out of, then go right.
East Wing - Basement
There will be a door nearby protected by guards. Actually, if Kid’s not in your party, she’ll have knocked them out. To the right is a robot you cannot bypass (for now).
(1 of 3) There’s lot of loot to grab here!
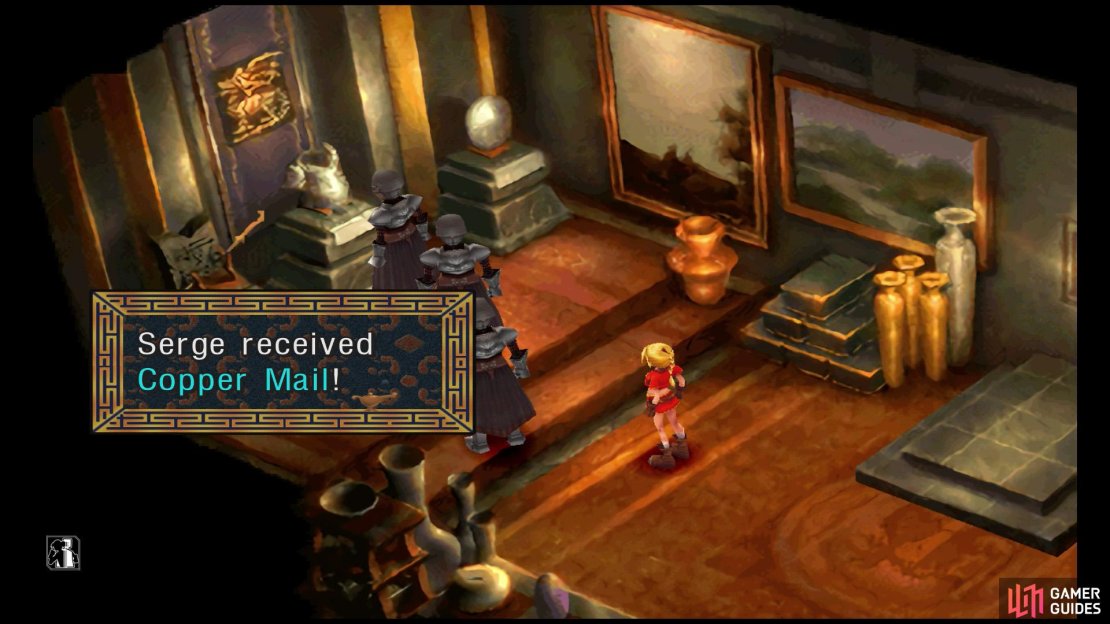
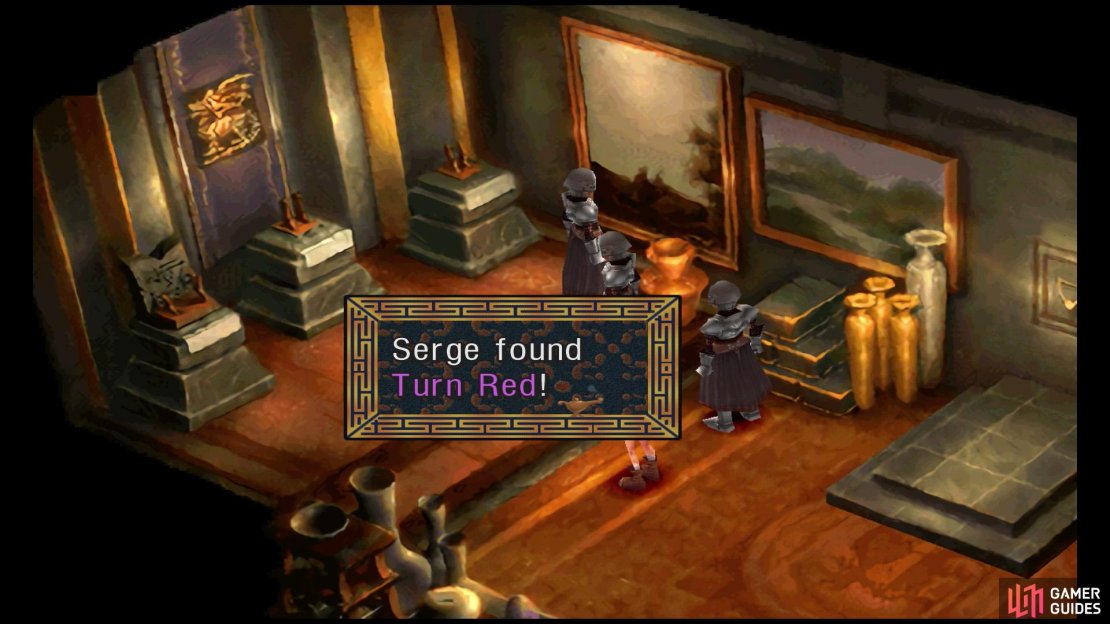
Past the door, you’ll arrive at the treasure vault. Along the top, raid the armors for a Bronze Sword, Bronze Mail and Hero’s Shield. The latter can only be equipped on Pierre. Nearby, on the right, you can inspect the golden vase to fight a Potty enemy and obtain a Turn Red Element.
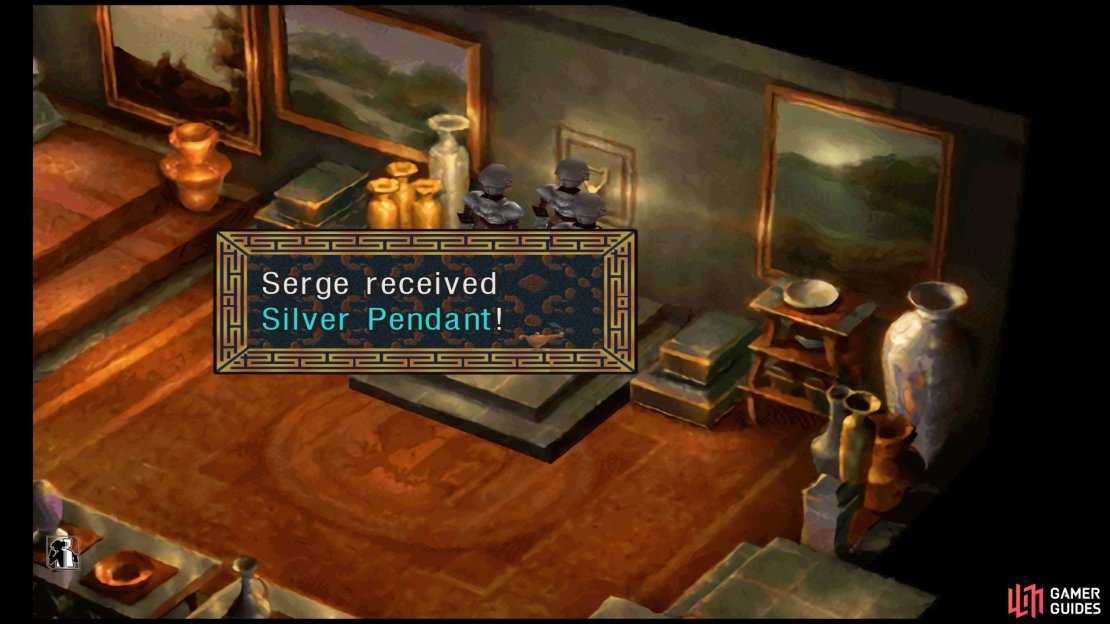
Down below, check out the blue box for another Mimic fight. It works the same as the one in the jail. Attack the correct enemy to earn a random Element. Finally, go over to the necklace hanging suspiciously on the wall. Inspect it to obtain a Silver Pendent and get booby trapped!
On the other side, you’ll meet with Luccia, who totally doesn’t scream “mad scientist”. As part of her experiment, she’ll unleash some monsters on you.
Boss Fight: Neo-N-Bulb
How to Defeat Them
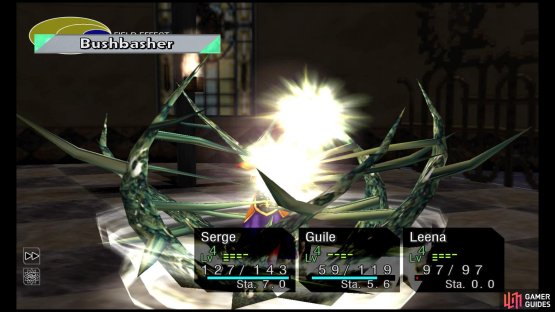
(1 of 2) These enemies are fairly weak and can be dispatched with Auto-Battle.


These enemies are fairly weak and can be dispatched with Auto-Battle. (left), That said, they can use Green Element spells, so watch your HP! (right)
Although we’ve listed this as a boss fight, it’s barely one at all. You must fight two Neo-N-Bulb enemies, which are cannon fodder enemies with more HP than usual.
If you have any, Yellow Elements such as Electro-Jolt are effective. Be wary of their Bushbasher, which can inflict Poison. Hopefully you brought Antidotes.
After the Boss Battle
Now leave the lab via the bottom exit. Luccia will mention this probably won’t be the last time you see her… Shudder.
East Wing - Basement (Continued)
Back in the east wing corridor, you can battle the robot in the middle to create a path back to the area with the giant cage. As you’d expect from its intimidating posture, it’s quite strong. So make sure everyone has max HP. For the fight itself, use Green Elements to maximize your damage.
To the right of the lab is a door with a eye monster. If you try to enter while the eye’s looking, you’ll fight a Portalgheist. But you can sneak past it if your timing is good. Or you can press the button to turn off encounters!
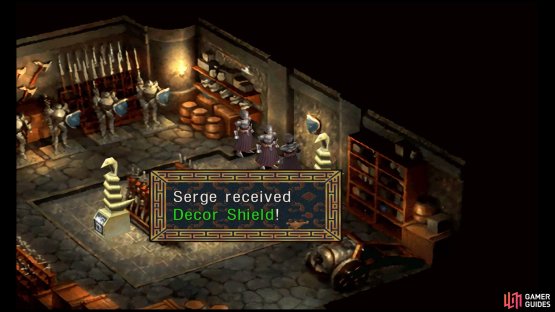

(1 of 2) Take the Decor Shield hanging from this wall.

Take the Decor Shield hanging from this wall. (left), Place it on the suit of armor without a shield, but be ready for an ambush! (right)
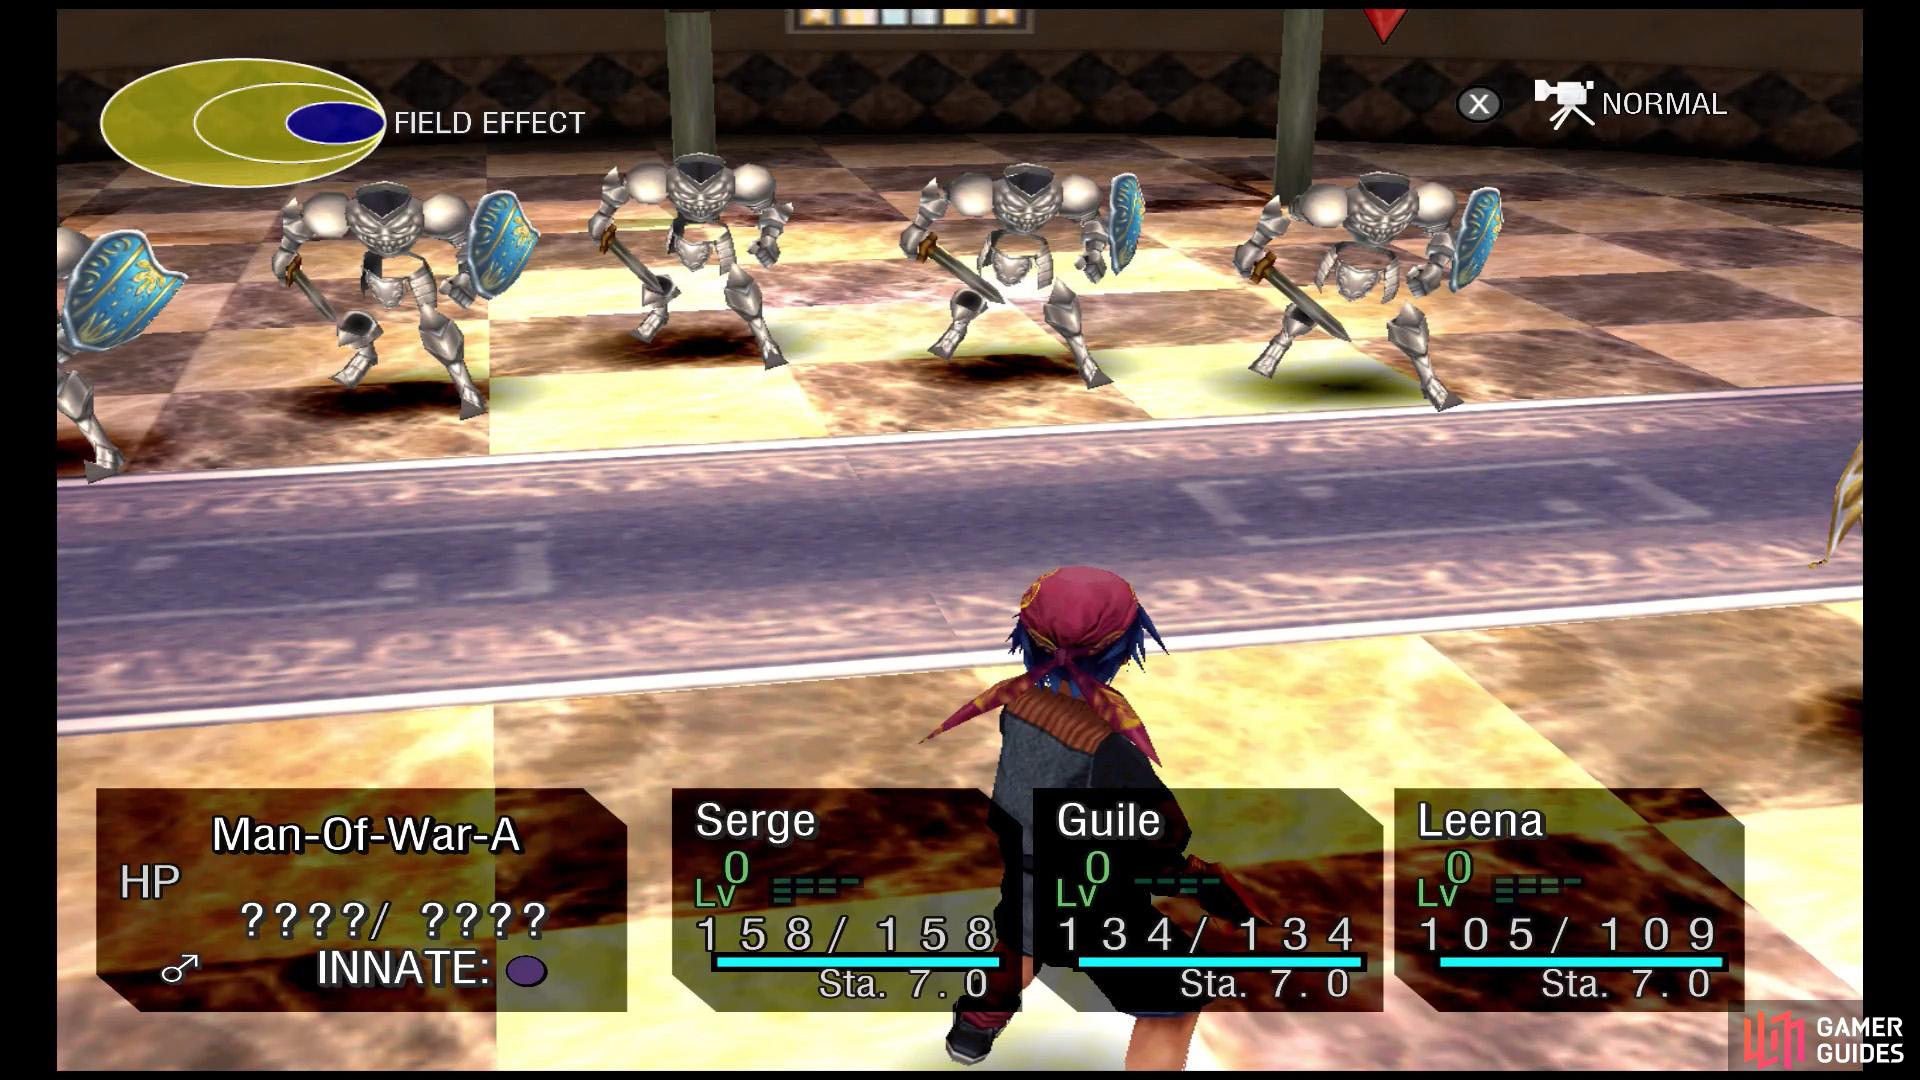
This room is infested with traps. About the only thing that’s safe is the blue chest by the corner on the right, which contains a Copper Helmet. Above the chest, grab the Decor Shield on the wall above the snake statue. Place this shield on the coat of arms that’s missing a shield, but prepare for battle!
Five Man-O-War enemies will assault you. They’re Black innate, so White Elements are effective. Despite their numbers, this fight shouldn’t be too taxing, so long as you kept your party healthy. We suggest picking off each Man-O-War one at a time.
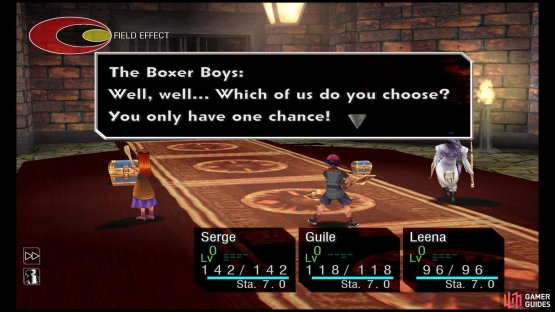
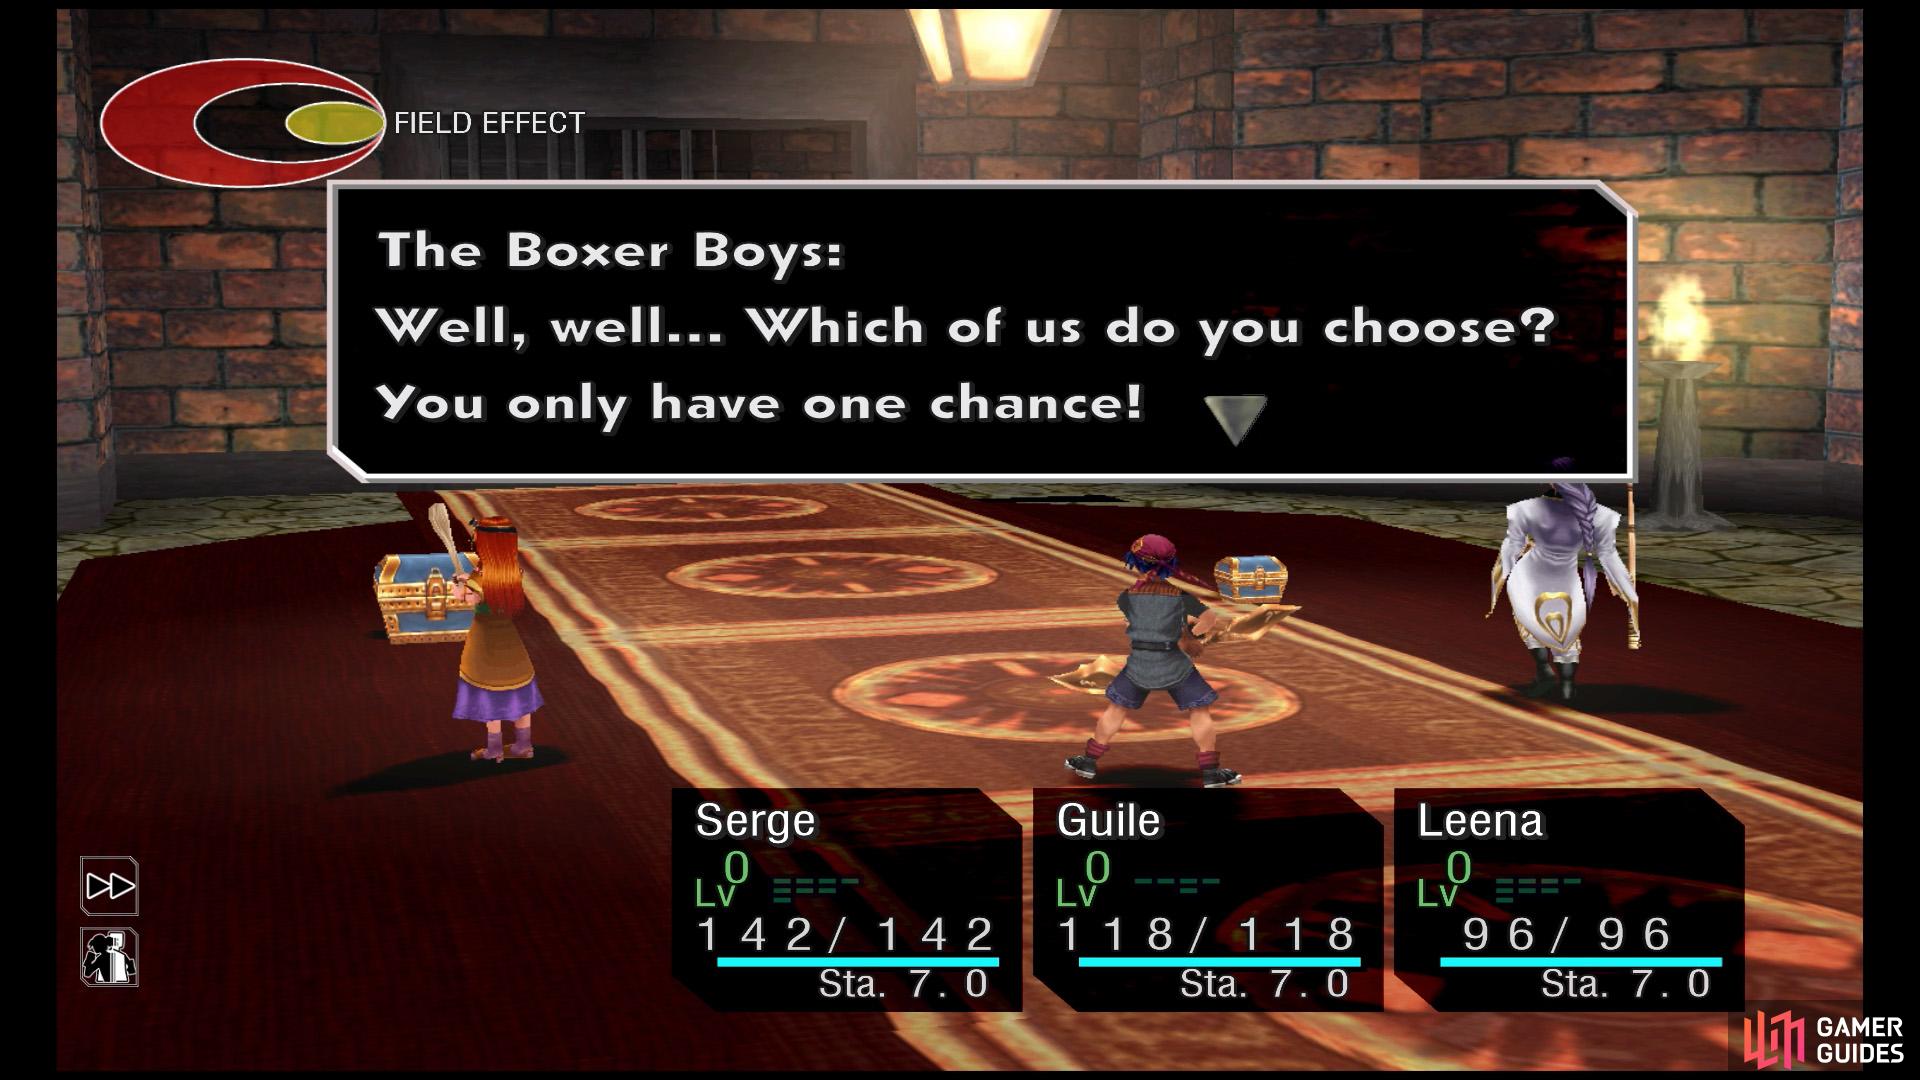
From here, if you move the second snake statue so it’s parallel to the one above the Copper Helmet chest, a secret passage will be revealed. Do this before fighting the Man-O-War enemies and a booby trap will trigger, dropping enemies from the ceiling.
Return to the east wing corridor and go up the stairs on the right.
East Wing - First Floor
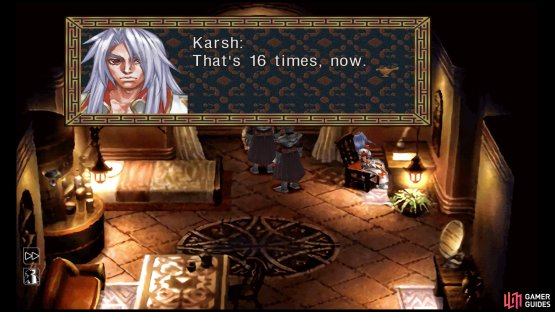

(1 of 2) Keep trying to open the chest, until you do it 20 times.

Keep trying to open the chest, until you do it 20 times. (left), Karsh will give up and let you take the Dragoon Gauntlet. (right)
The first room on the right, guarded by another Portalgheist, is home to Zoah of the 4 Devas. You can speak to him to LEARN SOME BACKSTORY. The next room on the left is where Karsh, the guy you fought at Cape Howl, resides. He doesn’t recognize you because of your disguise though. Check the chest 20 times (use Fast-Forward) to receive a Dragoon Gauntlet.
Continuing west will lead you back to the foyer, with the trap door. However, it’s pointless to return, so go back downstairs and return to the central cage. Now go through the side gate on the left.
West Wing - Basement

(1 of 2) Turn Green hidden in the kitchen cupboard.
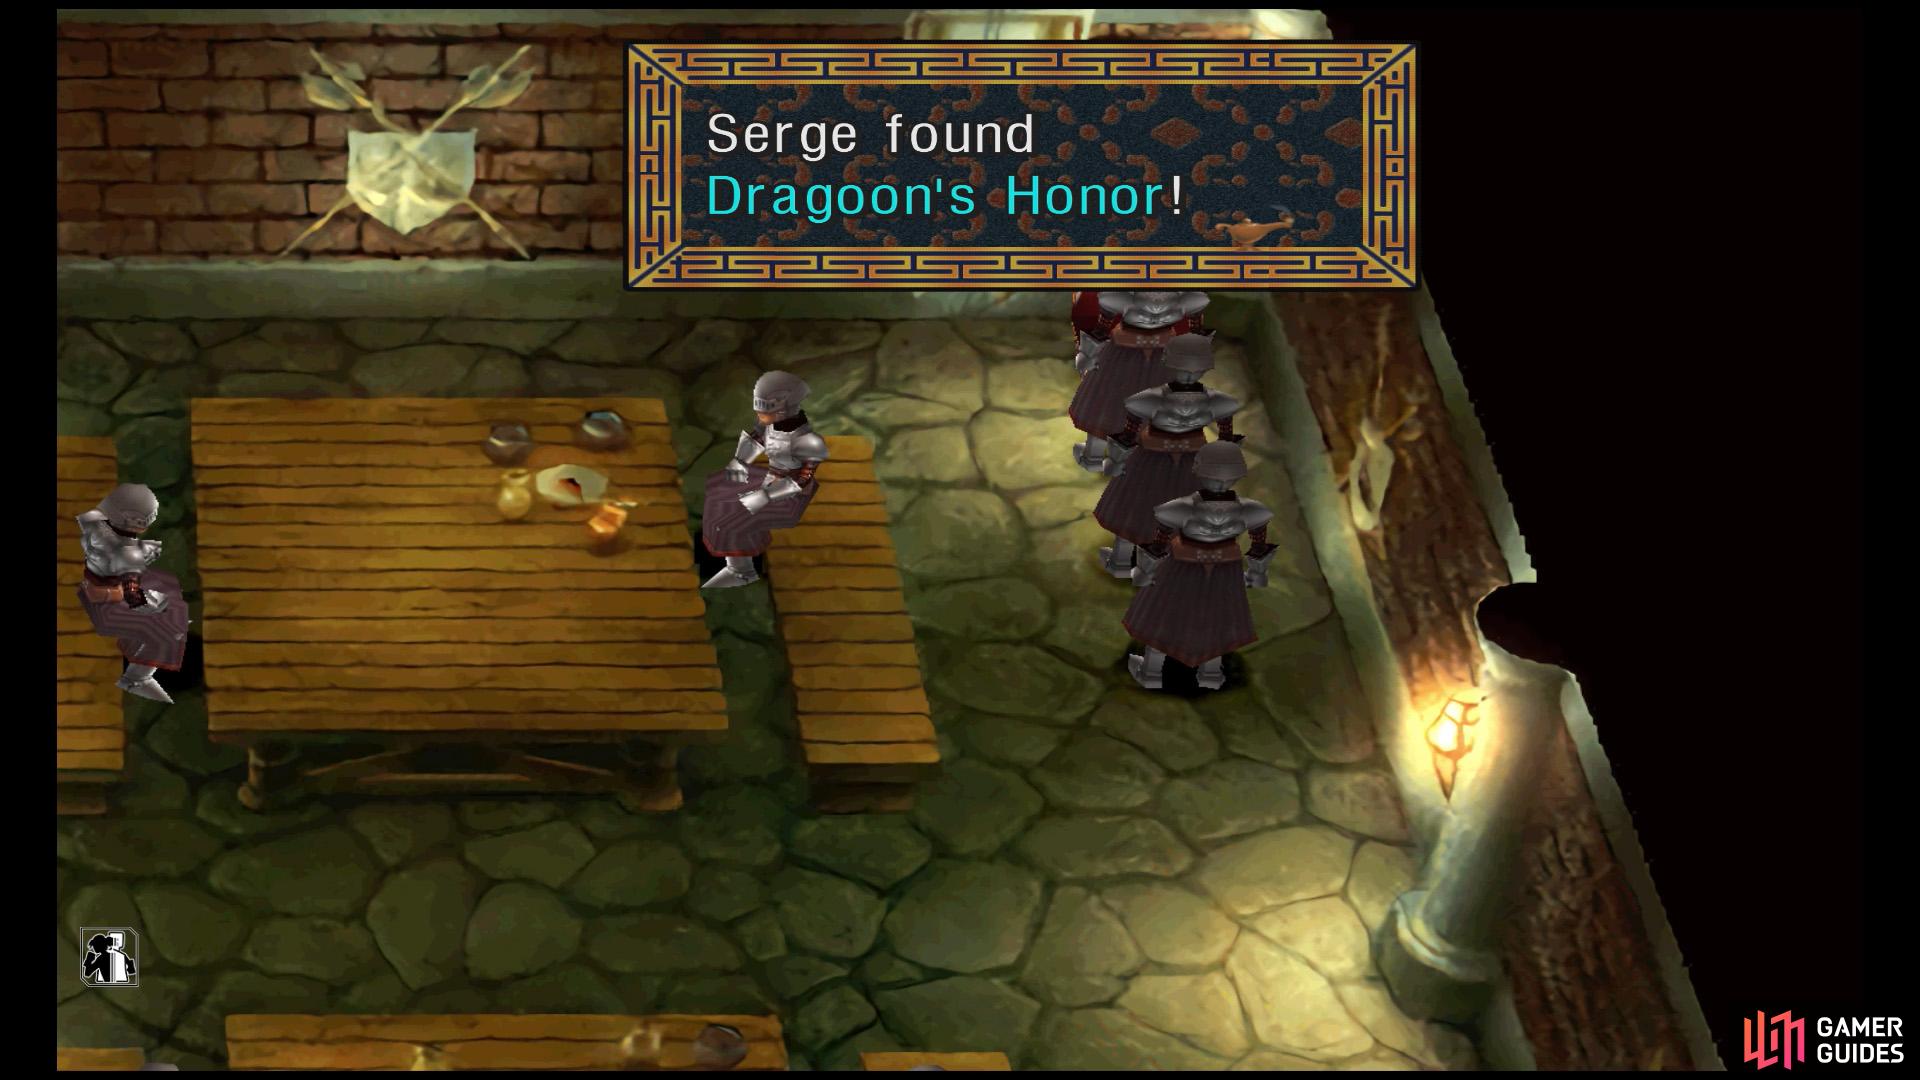
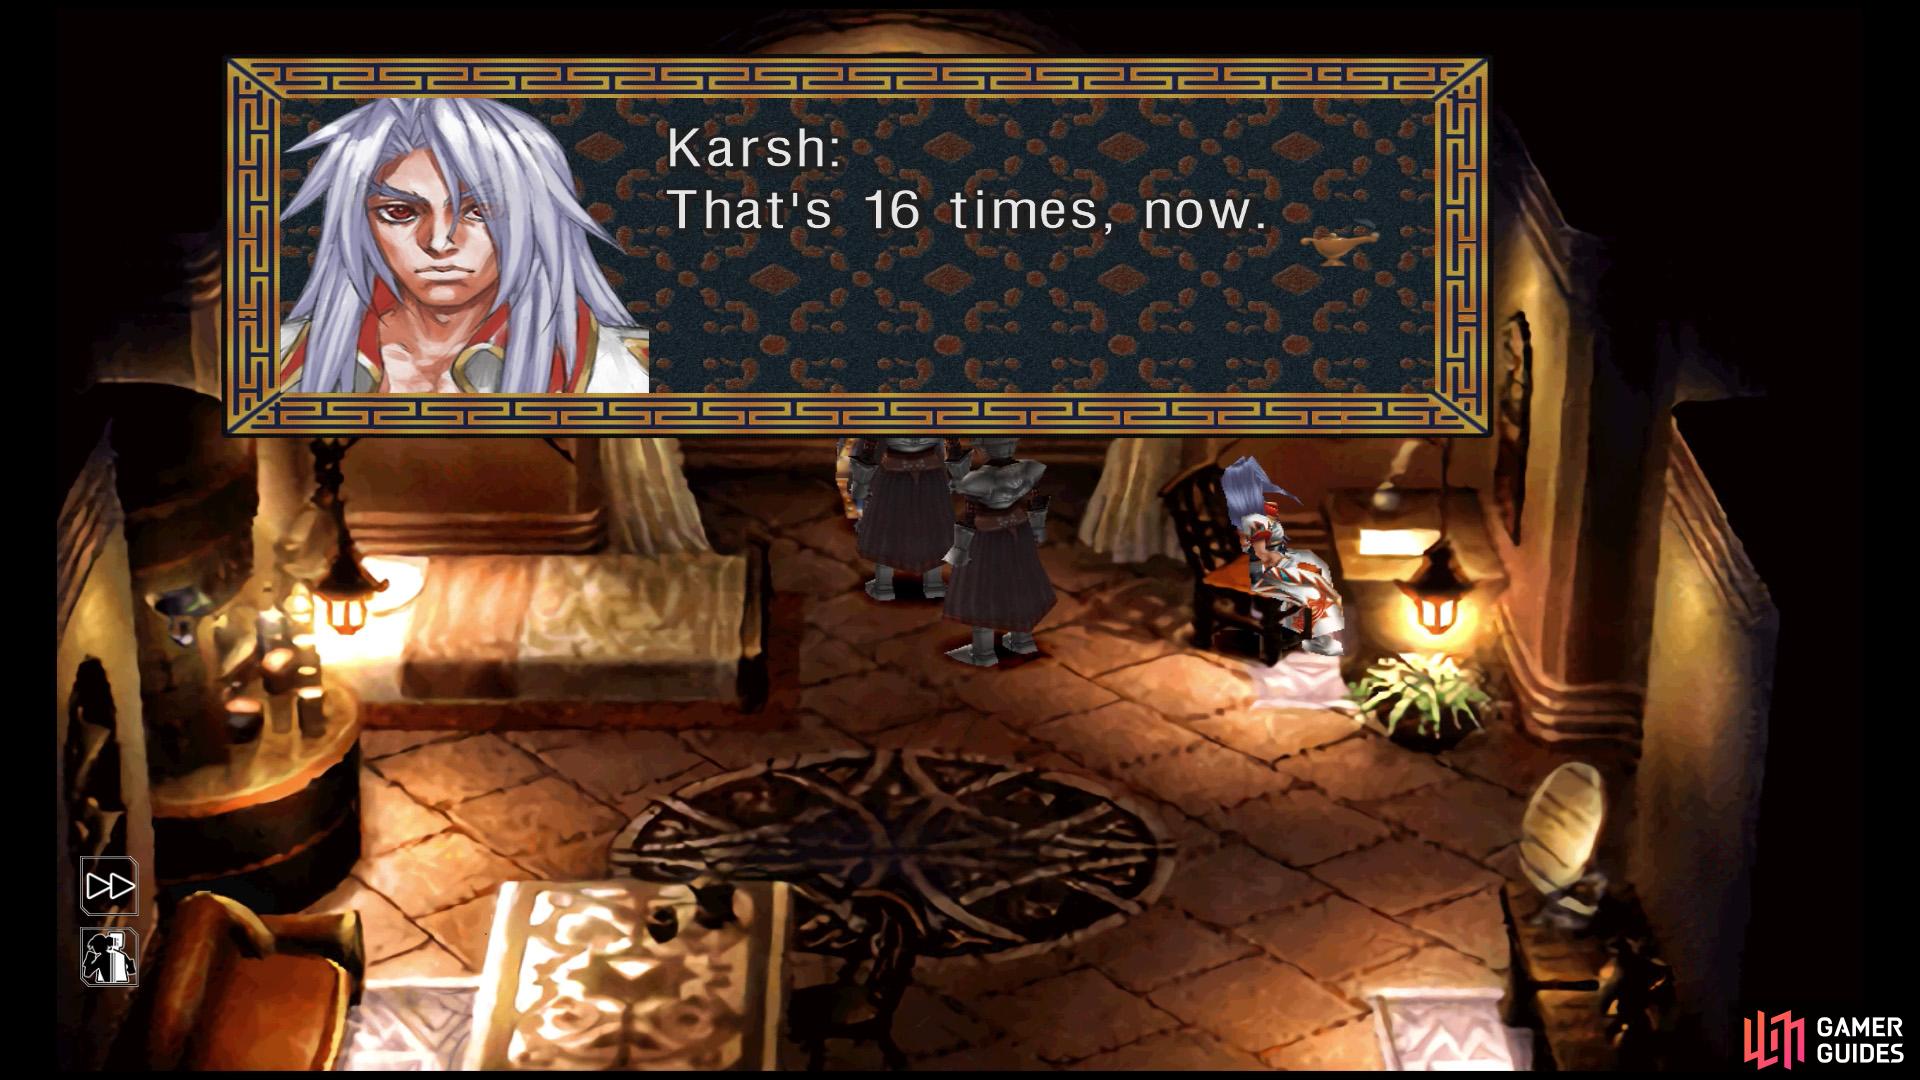
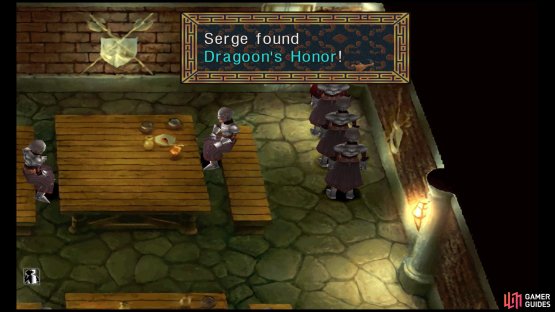
Turn Green hidden in the kitchen cupboard. (left), Dragoon’s Honor by the top-right corner. (right)
There are three doors along this corridor. The first two doors on the right lead to the dining hall. Near the upper-right corner, open the chest to find the Dragoon’s Honor. This is what Guile was searching for. Towards the west is the kitchen, where Orcha’s preparing a meal. Search the cupboard at the back for a Turn Green Element.


(1 of 2) Listen in to Glenn’s conversation with the soldiers.
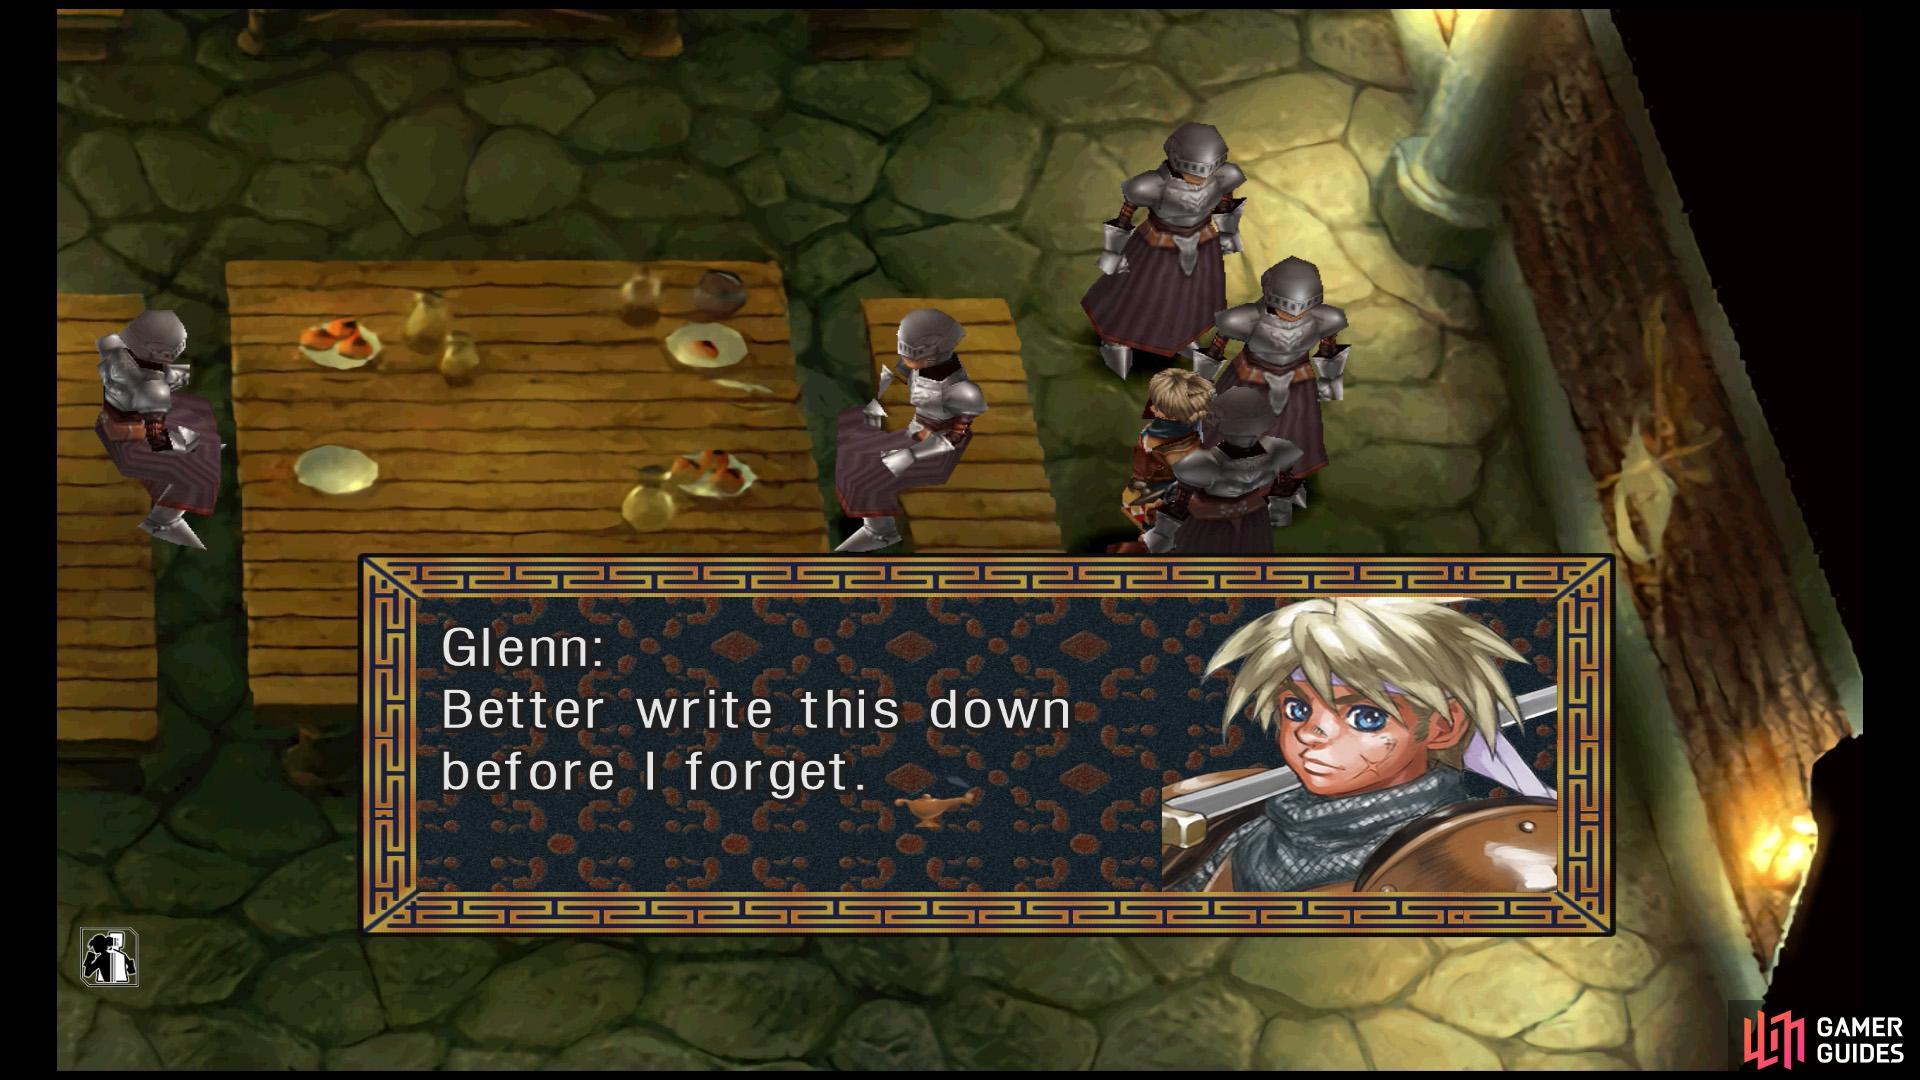

Listen in to Glenn’s conversation with the soldiers. (left), Then check this wall in the barracks. Note: The code is randomized. So this code WON’T work for you! (right)
While in the barracks, check the west side, near the bottom, for a box containing a Revive Element! Also, be sure to use the save crystal here to record your progress. Exit back to the corridor and go up the stairs on the left.
West Wing - First Floor

(1 of 2) The bigger chest contains a Turn Black.
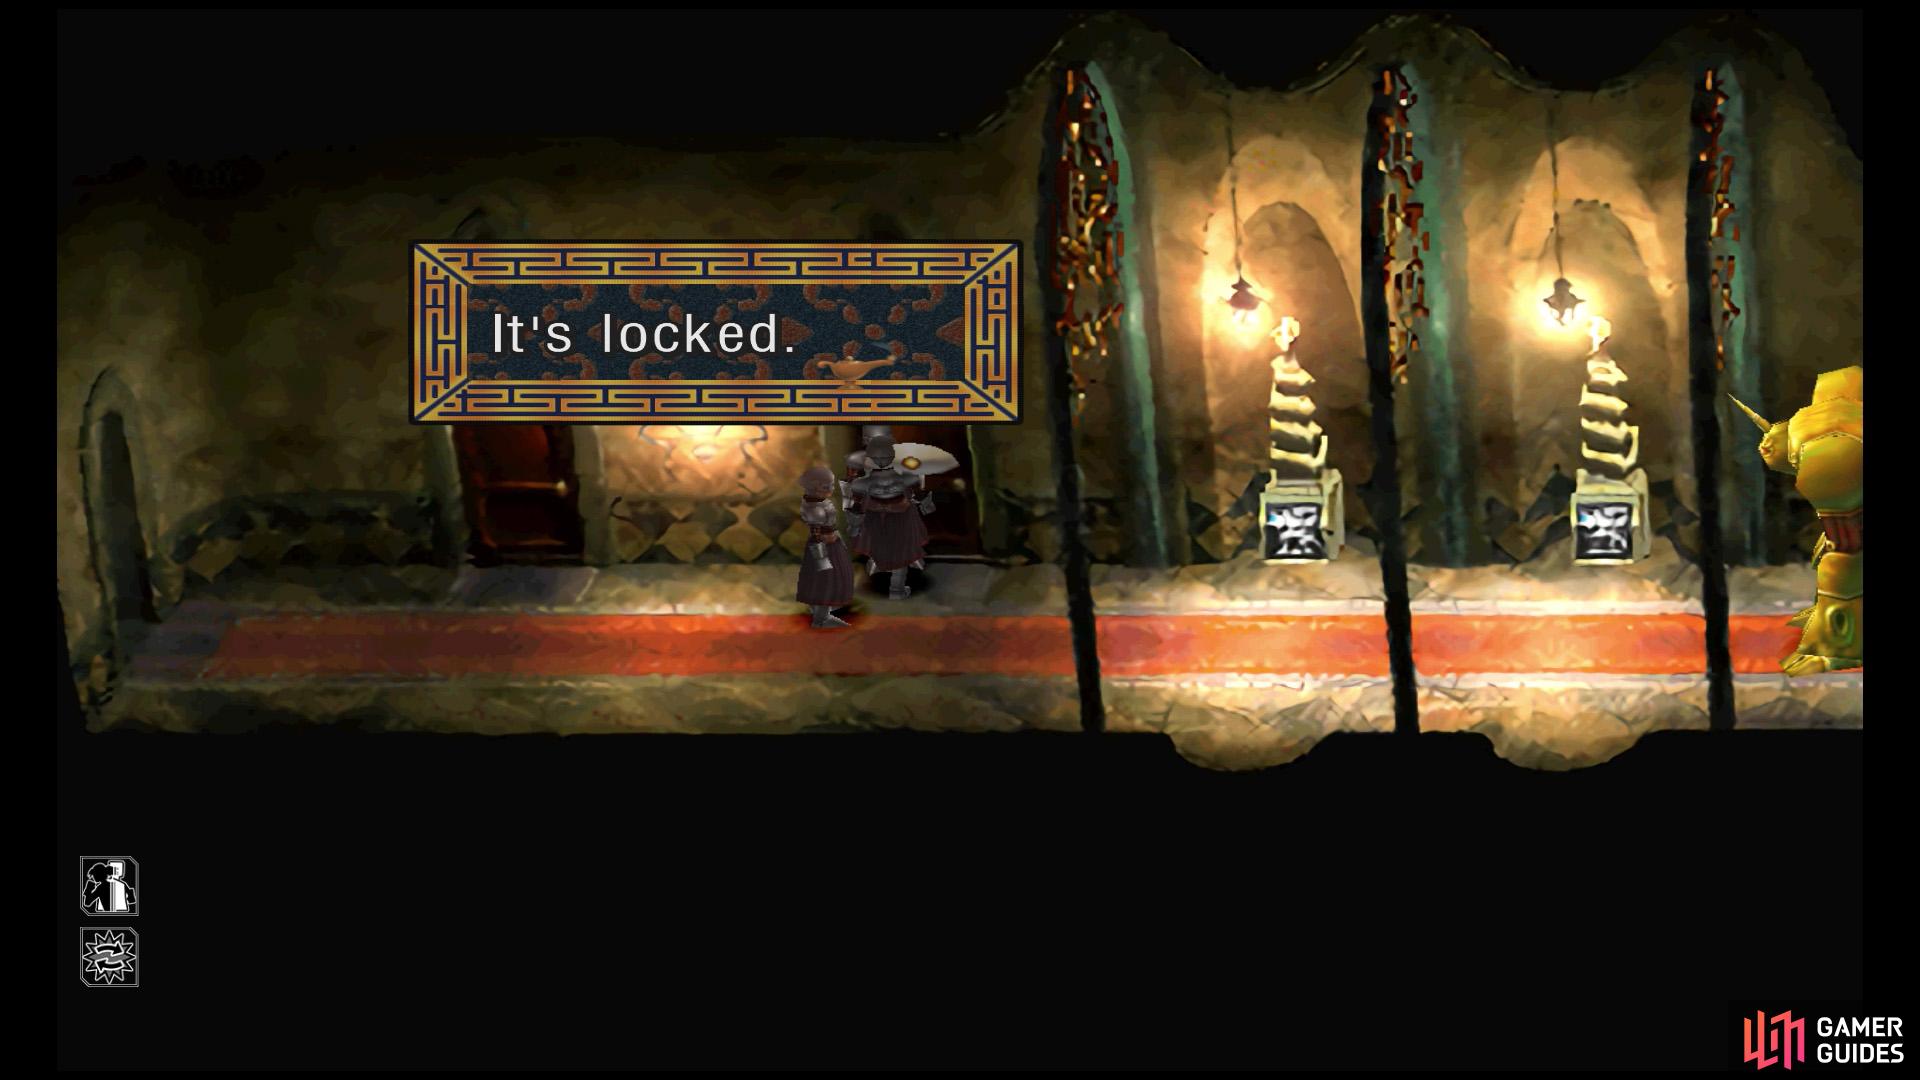
The bigger chest contains a Turn Black. (left), This guarded door is locked. (right)
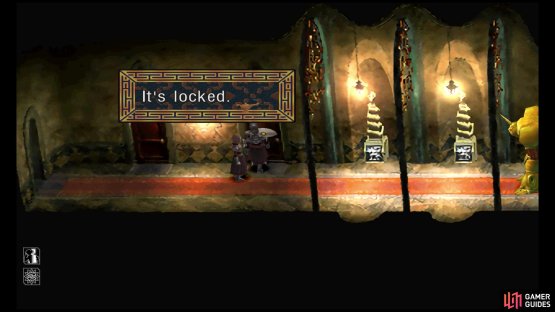
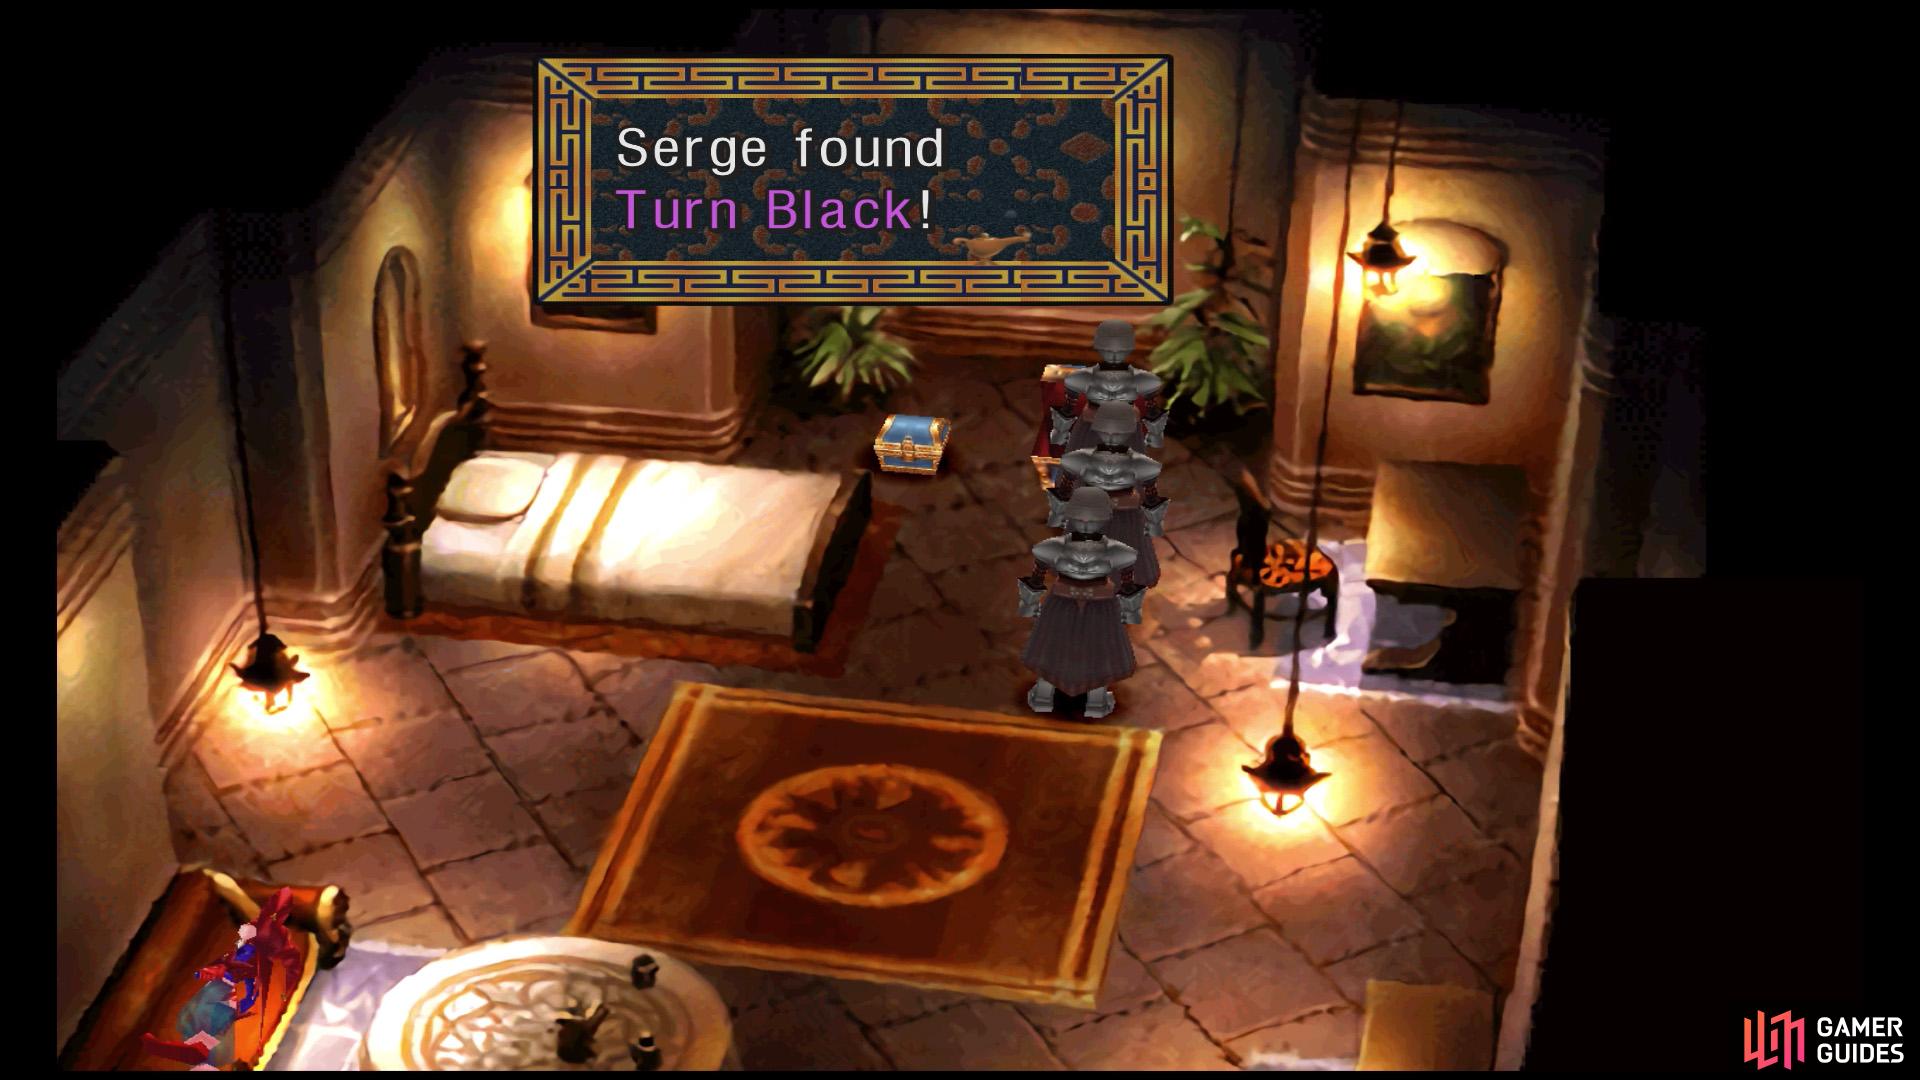
Upstairs, enter the first door on the left to find Harle’s quarters. The chest on the left contains a Turn Black Element, while the right chest is another Mimic battle. The next door on the right, despite being protected by a Portalgheist is locked. Boo. Further right is another robot, which you can beat up if you defeated the first one.
Back at the Foyer
Past the robot, you can return to the foyer with the trap door. Here, inspect the snake statue again and this time, input the correct code. Do it correctly and the big door will open.
Audience Chamber

(1 of 2) This is the audience chamber, but the general isn’t here.

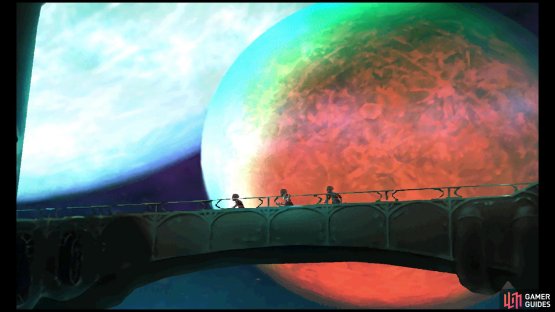
This is the audience chamber, but the general isn’t here. (left), Head west across this moonlit bridge to reach the library. (right)
Past the big door, you’ll arrive in a more-or-less empty audience chamber. Go through the left side gate to reach an external bridge connecting to the library tower.
Library
Make your way up the stairs on the left, until you bump into the little girl near the middle of the medium level. This will trigger a long cutscene where the Prophet of Time explains what’s happened to Serge.
Afterwards, the little girl will fight you. If you were paying attention to Zoah, you could probably guess who she is…
No Comments