
Toward the end of Tok’s Kingdom, you’ll be required to find the parts to forge the ![]() Aureus Spear in Blades of Fire. This requires you to find two parts of the missing scroll and an
Aureus Spear in Blades of Fire. This requires you to find two parts of the missing scroll and an ![]() Aureus Steel Ingot. Read on to find out where you can find these materials.
Aureus Steel Ingot. Read on to find out where you can find these materials.
To progress the story, you’ll need the Aureus Spear, and to forge it, you’ll need to find its missing parts.
Table of Contents
If you want to jump to a specific section, click on the links below.
| Quickjump |
|---|
| Aureus Steel Ingot Location |
| Aureus Spear Scroll I Location |
| Aureus Spear Scroll II Location |
Aureus Steel Ingot Location
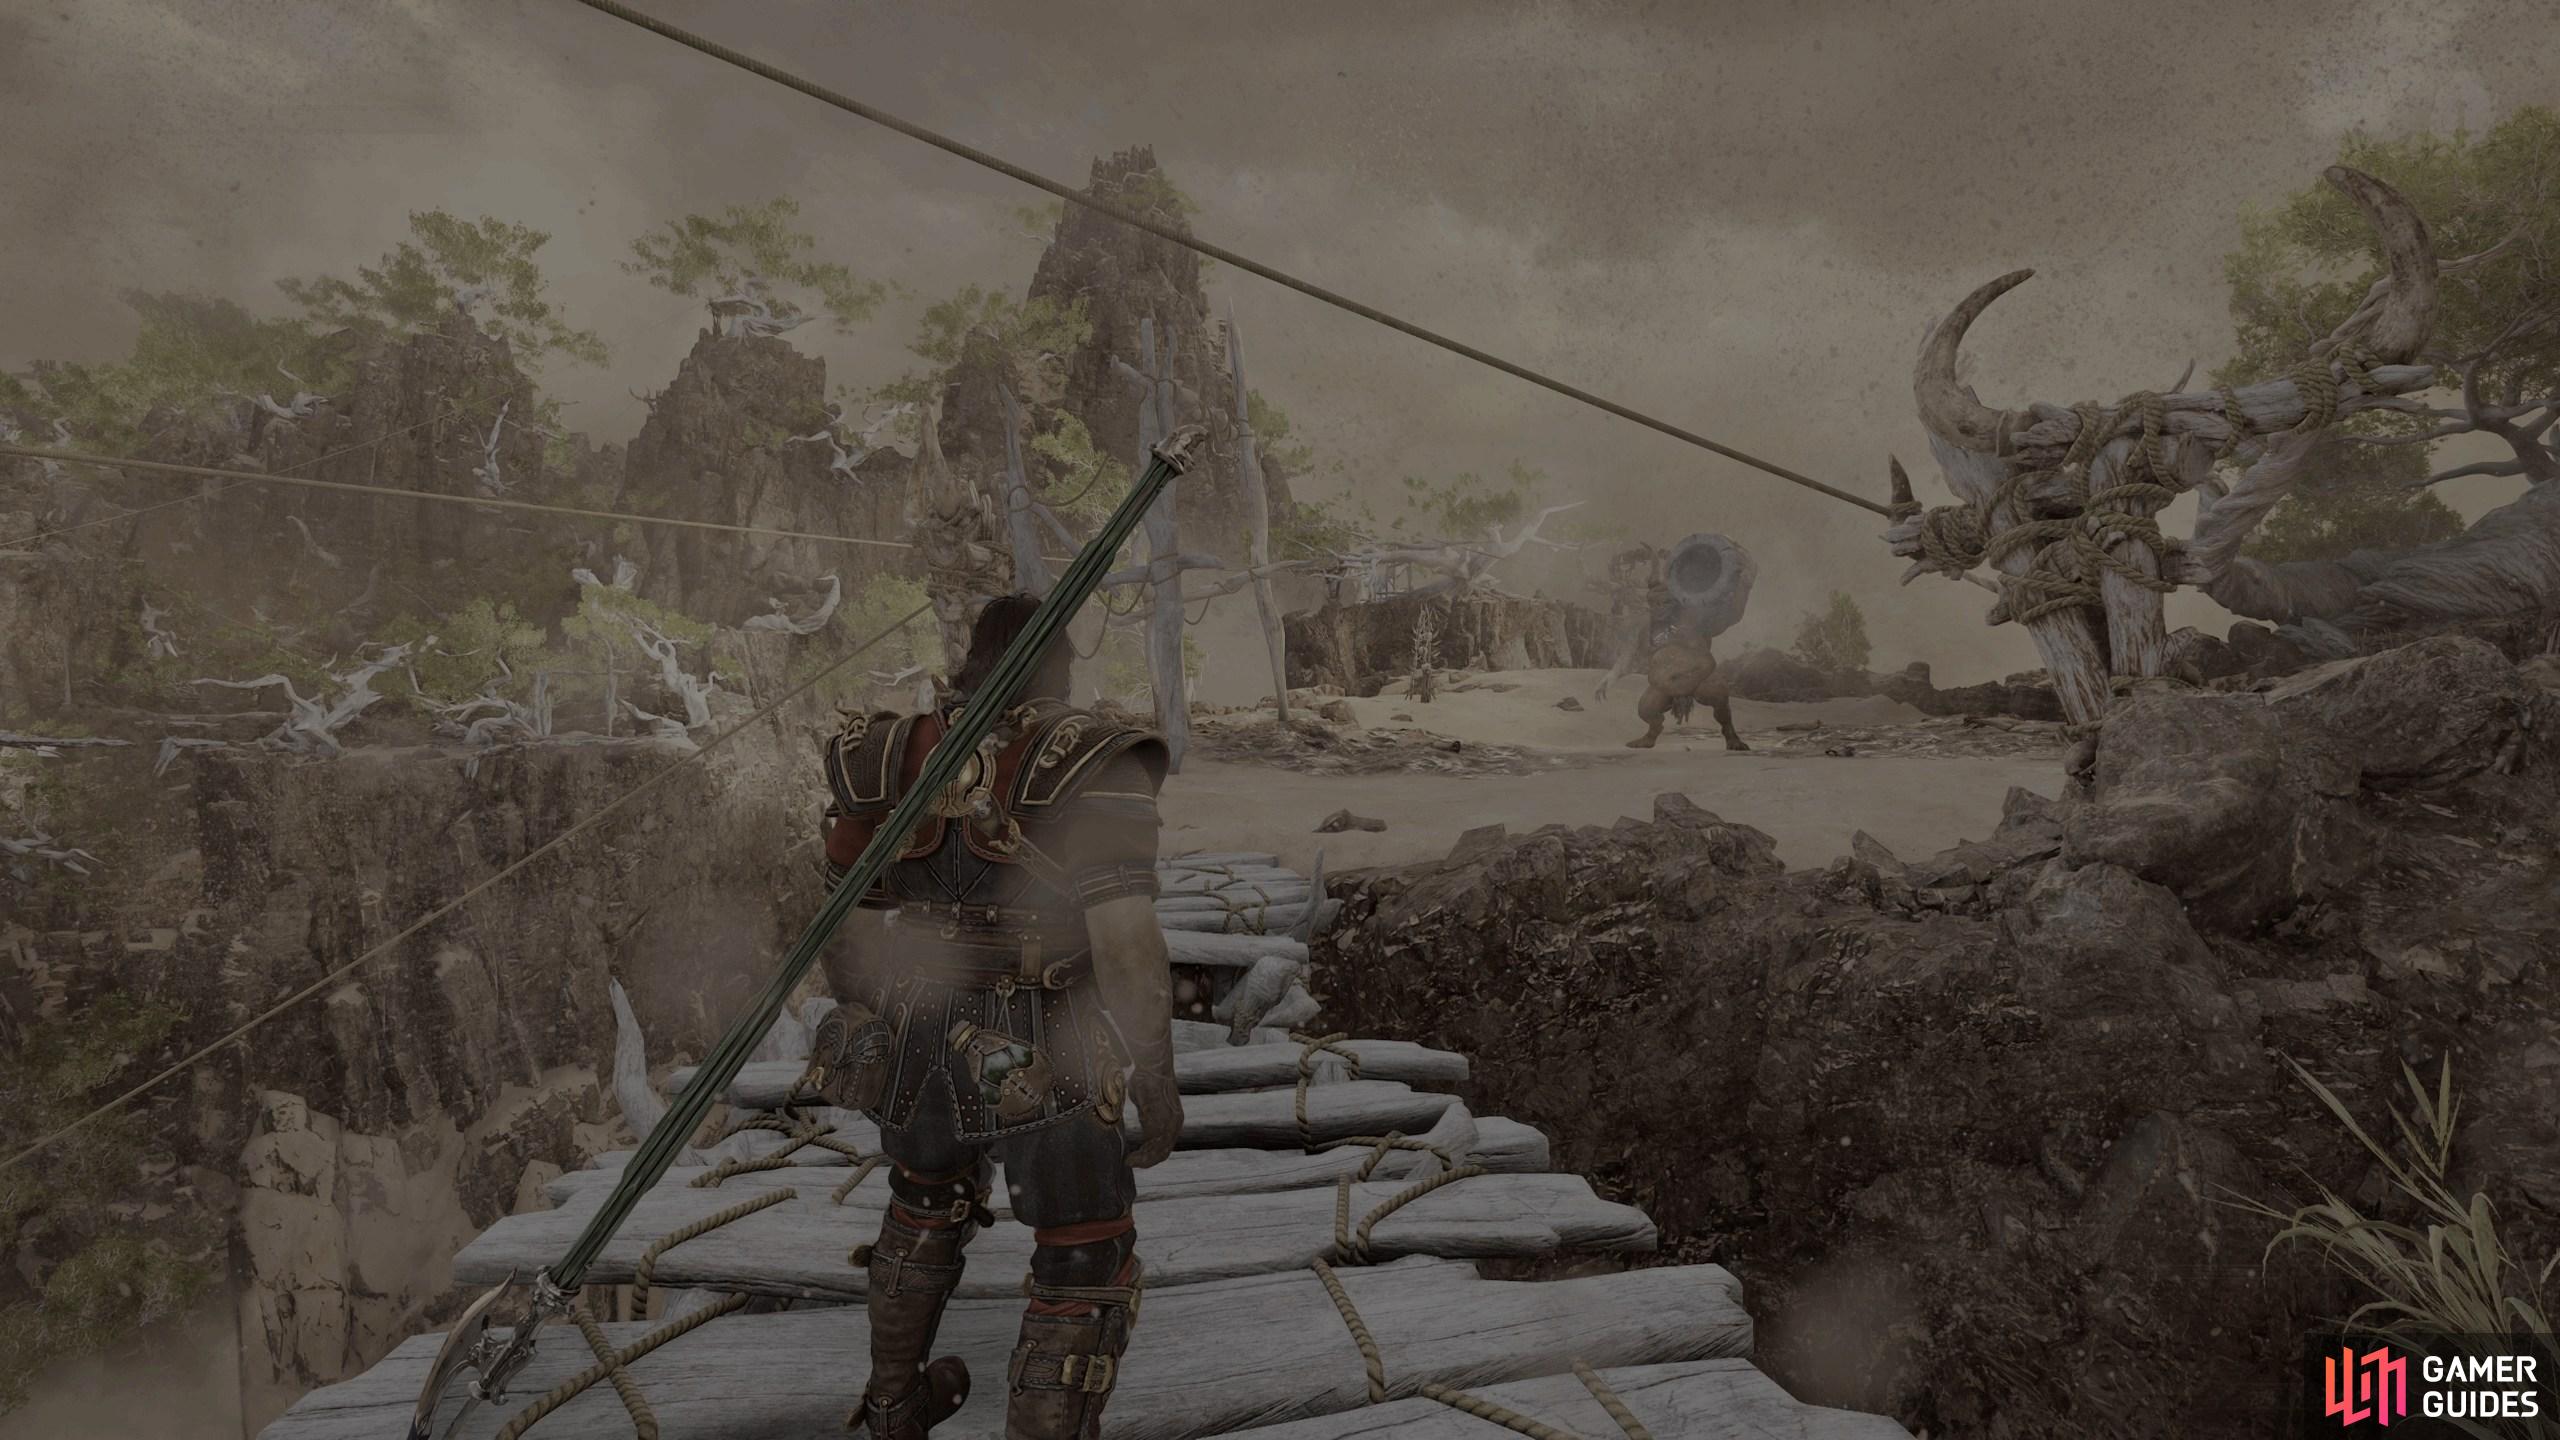
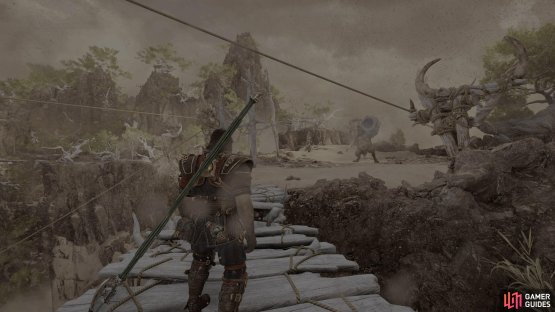
The order you acquire these materials doesn’t matter, but let’s get the Ingot first as we’re already in this location. Fast travel to Dhyrias’ Forge and head down the slope toward the elevator. Don’t go on it; instead, turn north and follow the path to the end to find the ![]() Roggs’ leader,
Roggs’ leader, ![]() Koko. As you approach him, it will initiate a boss fight. Unlike most of the boss fights in the game, this is a three-part boss fight, where Koko will retreat to another location once you deplete his health.
Koko. As you approach him, it will initiate a boss fight. Unlike most of the boss fights in the game, this is a three-part boss fight, where Koko will retreat to another location once you deplete his health.
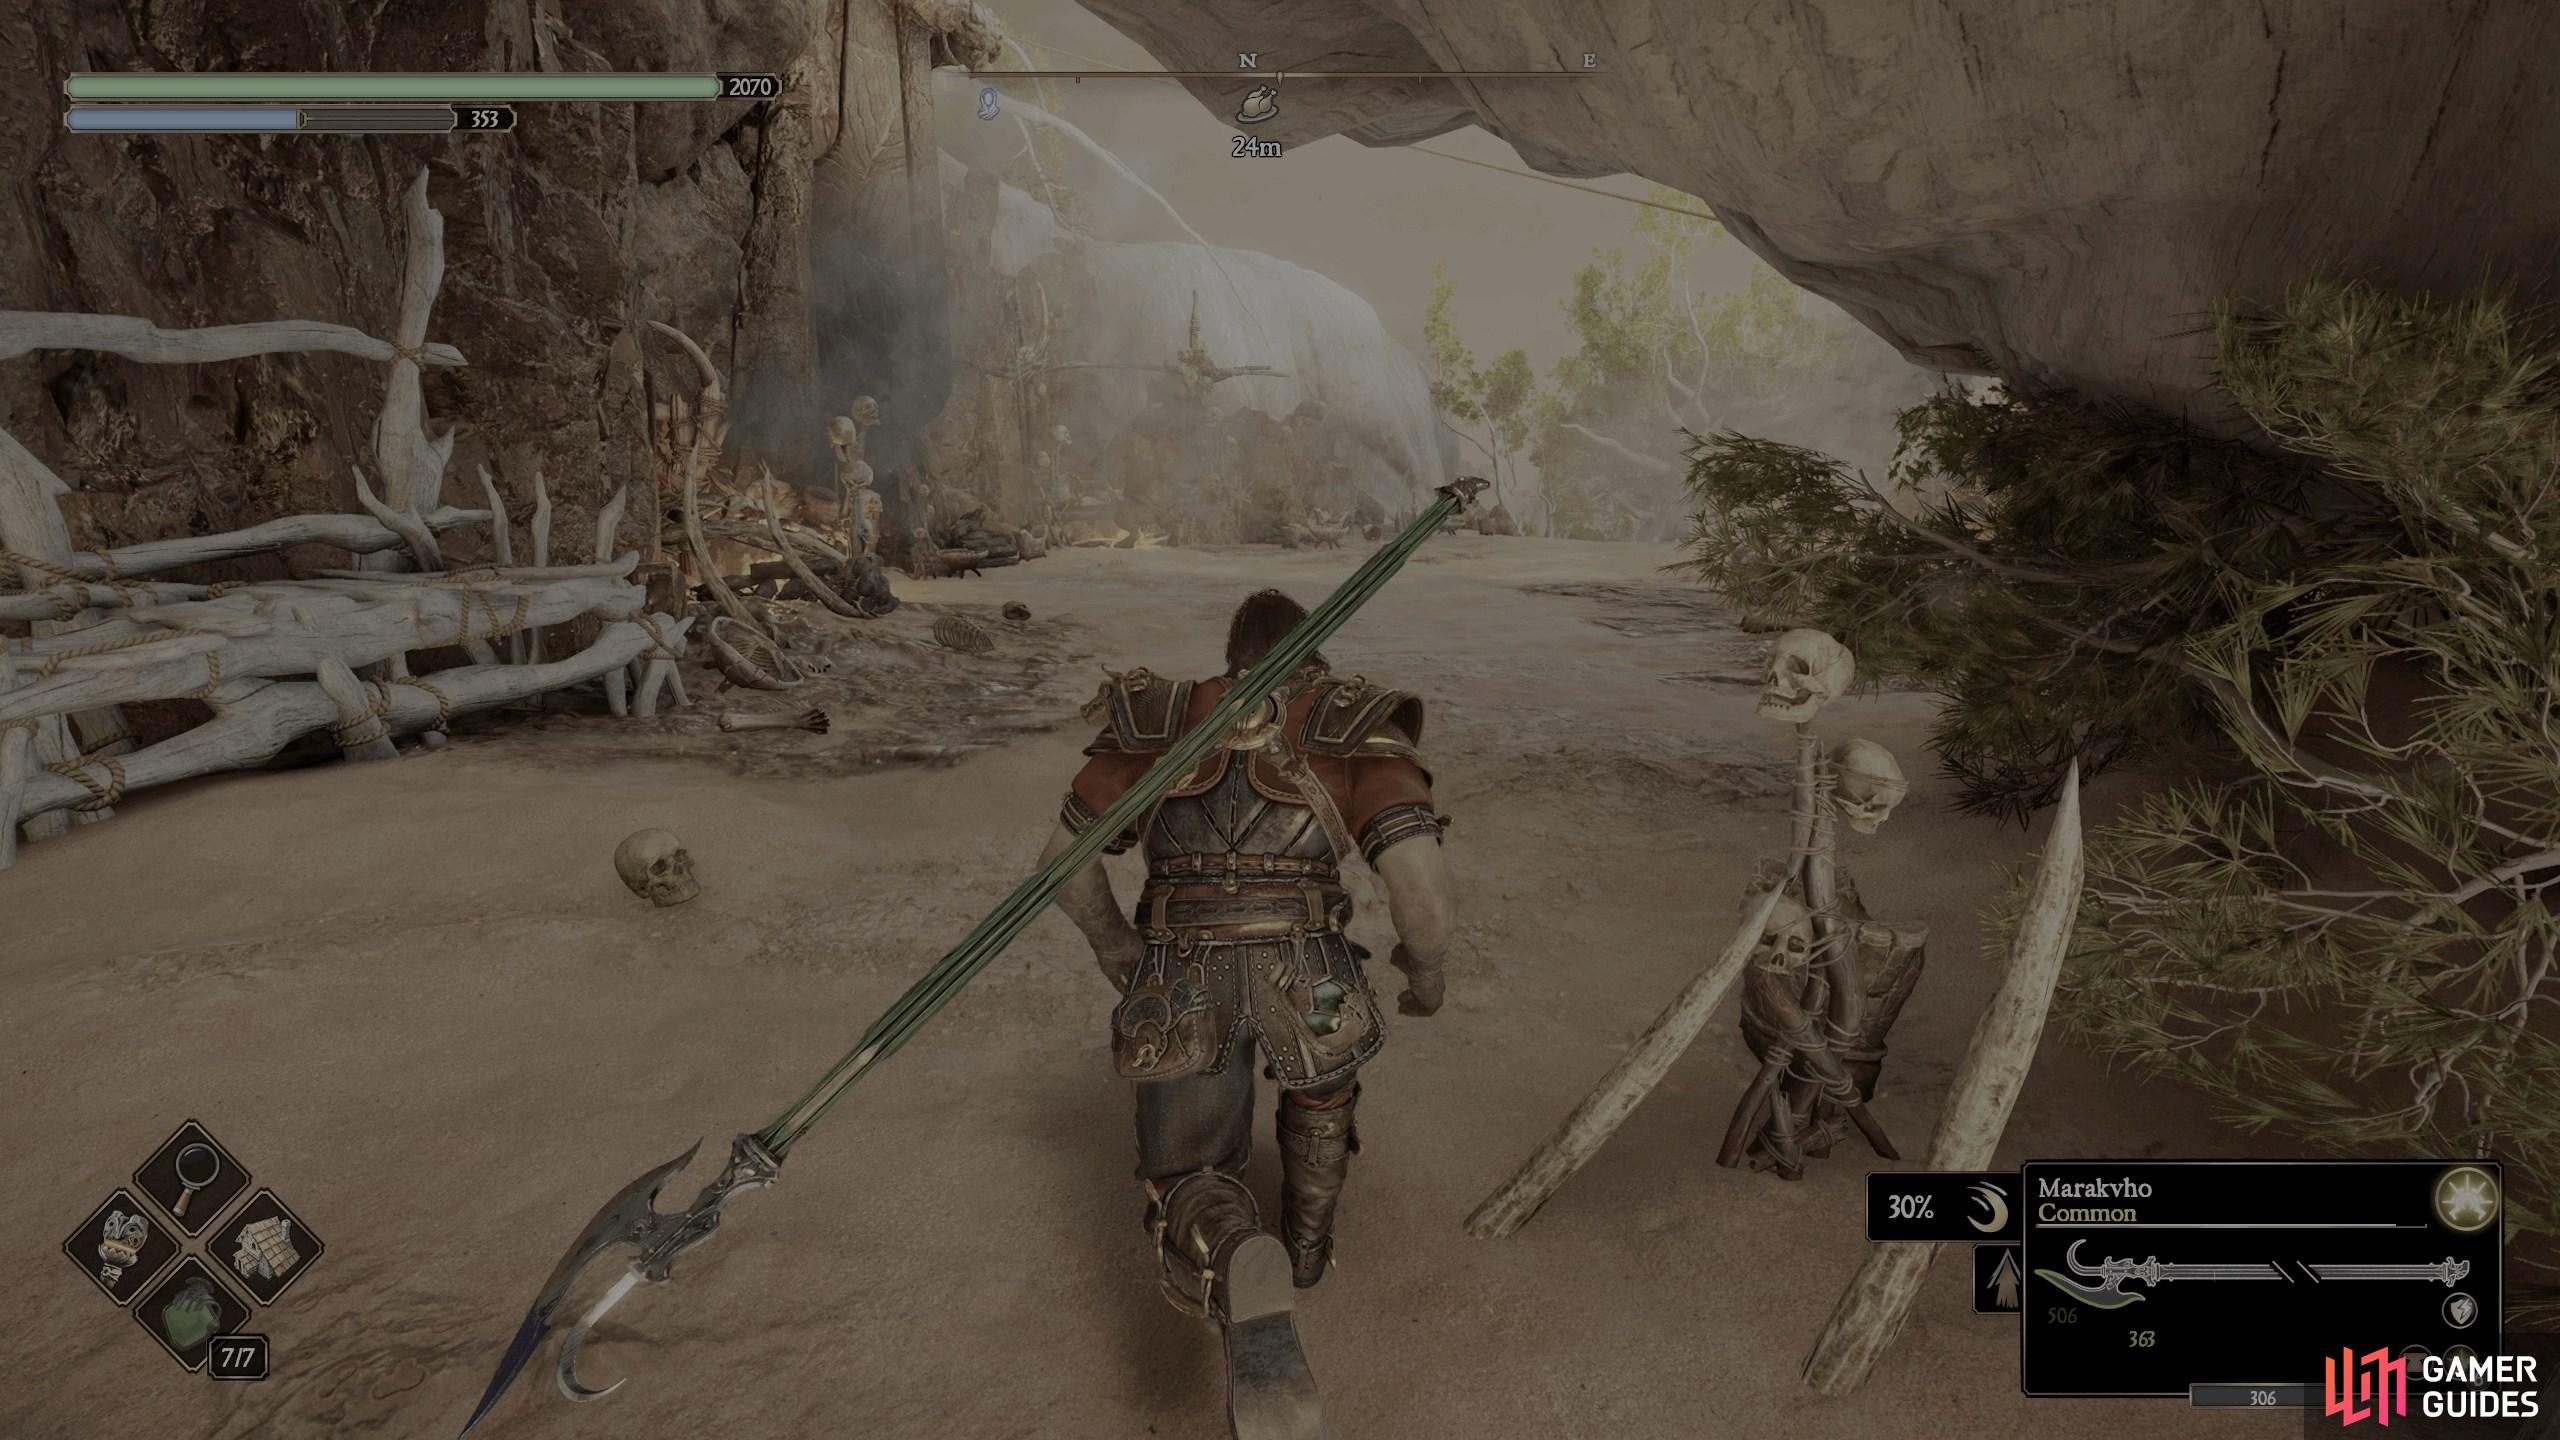
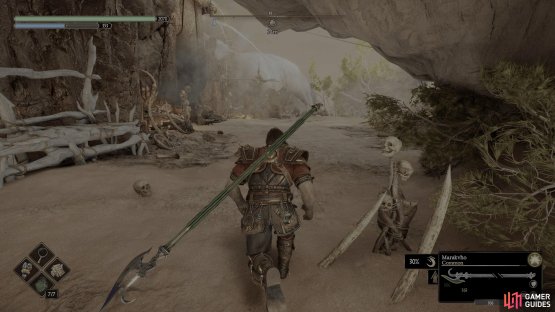
(1 of 2) The first place you’ll find Koko is the area to the right of the elevator.

The first place you’ll find Koko is the area to the right of the elevator. (left), After defeating him the first time, take the zipline down to the Lava Temple. (right)
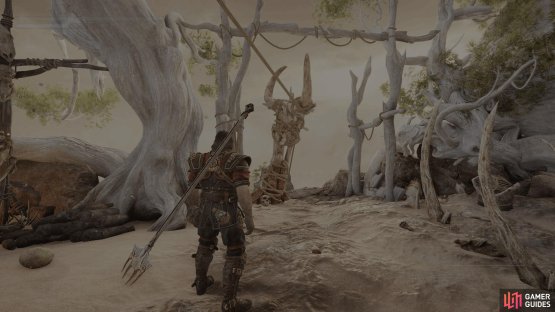
Follow him down the nearby zipline to the Lava Temple Forge. You can rest at the Forge if you need to replenish your potions; it won’t restart the battle. When you’re ready, jump over the gap to fight Koko a second time. This battle is more of the same as last time, with a couple of new attacks thrown in. Once you deplete his health, once again, he’ll retreat, but this time he’ll go to his lair at Koko’s Hollow. Take the nearby zipline (or fast travel) to Koko’s Hollow, rest up at the forge, and prepare yourself for one more fight with Koko.

(1 of 2) Defeat him a second time outside Lava Temple and he’ll retreat again.
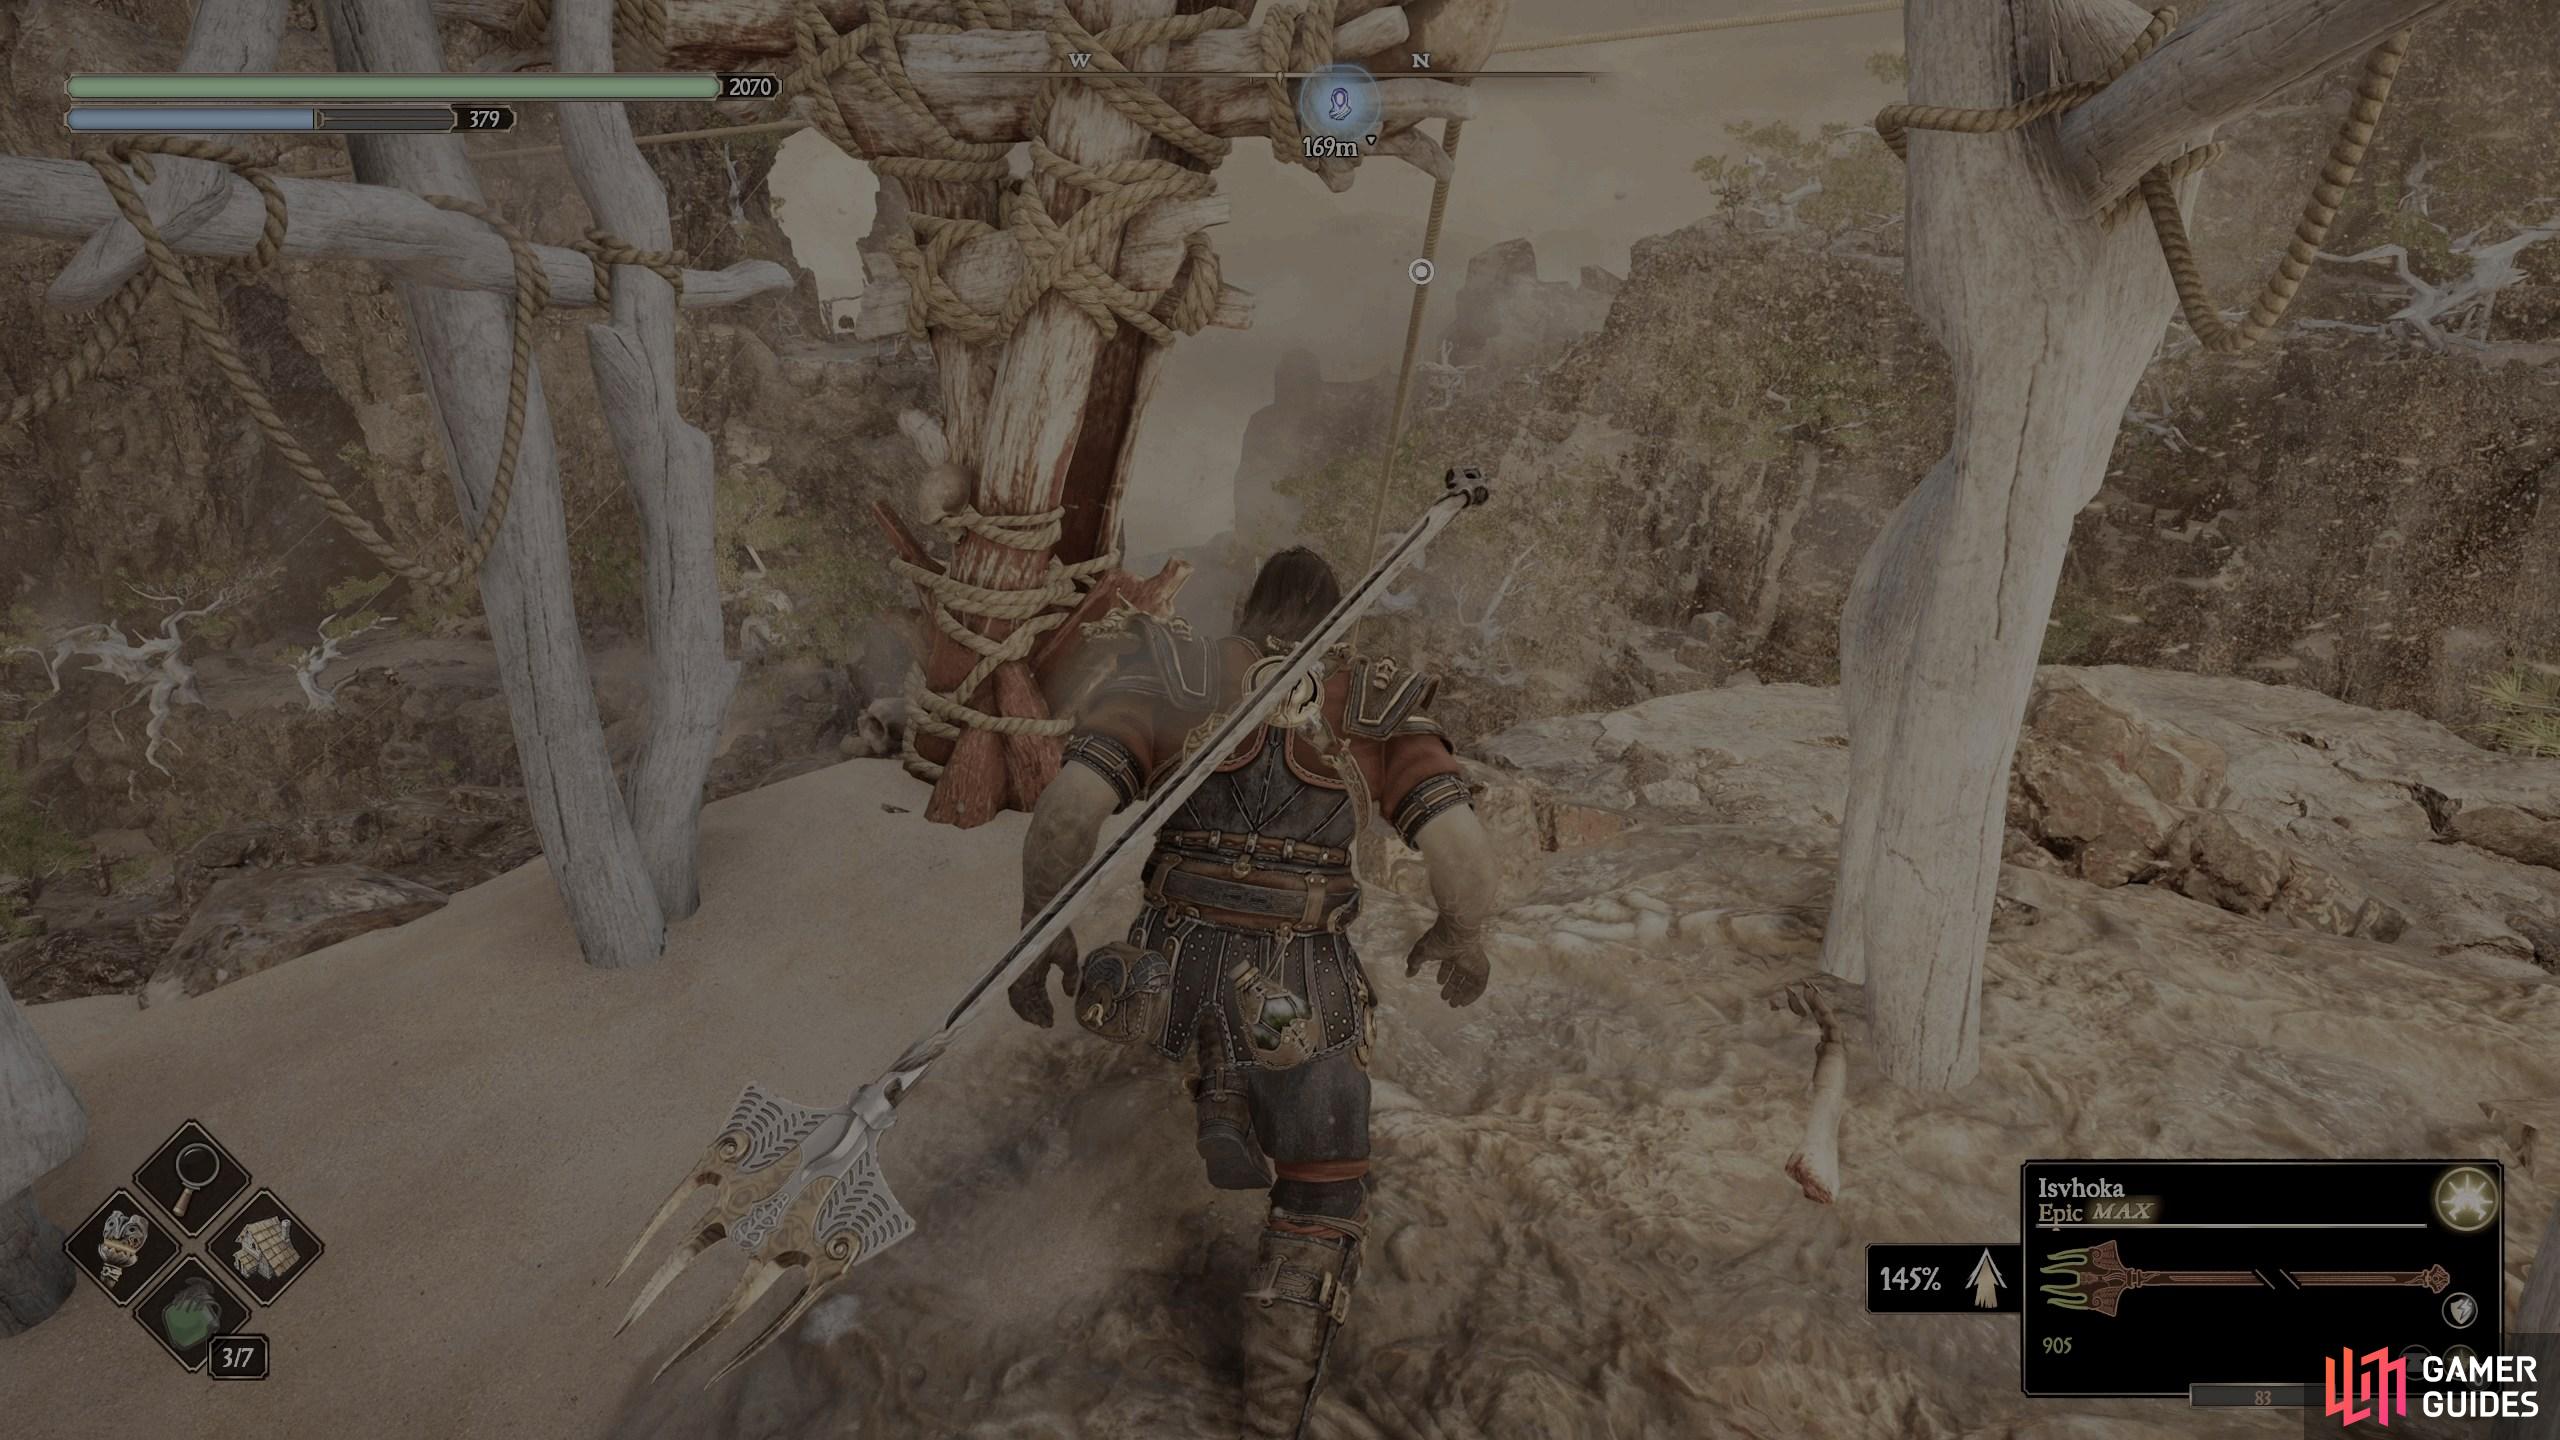
Defeat him a second time outside Lava Temple and he’ll retreat again. (left), Take the zipline down to Koko’s Hollow, follow the path north, and take a right when you can. (right)
The lair can be found by following the northern path from the Forge and heading right when you can. This time, Koko’s weapon will have more range, and he’ll leave behind green dust that fully depletes your stamina, but other than that, pretty much the same. When you deplete Koko’s health to around a quarter, he’ll become dazed. You need to try to lure him on top of the boarded hole in the center of the arena, and he’ll crash down and die.
If you don’t do this quickly enough, he’ll get half his health back, and you’ll need to repeat the process. The easiest way to do this is to fight him on or around the hole, especially when his health gets low.


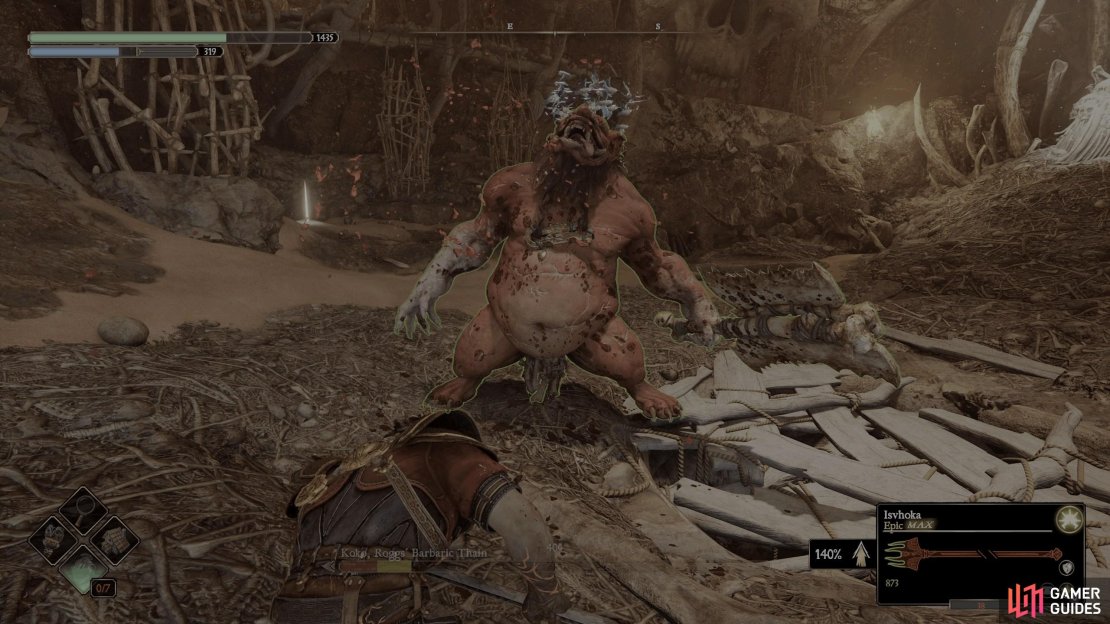
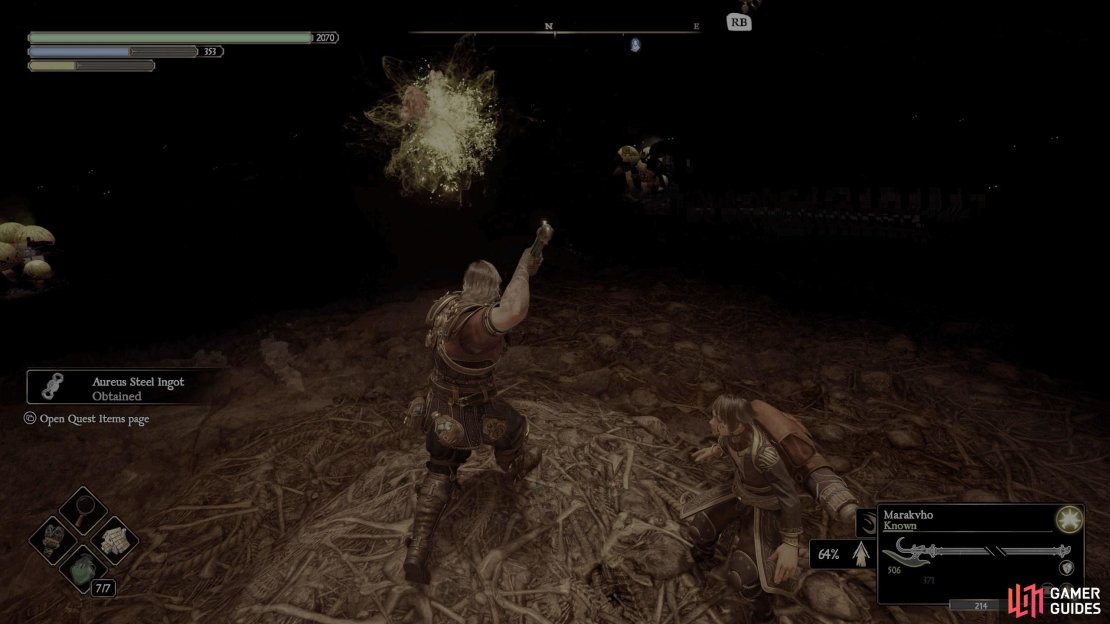
(1 of 3) This will be the final fight with Koko, but the fight will only end if you make him fall down the hole.
Once you’ve defeated him, his corpse will drop through the hole, along with the Ingot. Climb down the hole and pick up the Ingot, and then come straight back up. The area in the hole requires a weapon with the Light Rune, and there is some loot down there, including a Forger’s Criptex, but you don’t need that for this quest.
Aureus Spear Scroll I Location
The first part of the scroll is located in The Ergion’s Abbey. You went here earlier, but now Arwen has opened a way for you to get inside. From the Abbey Heights Forge, follow the bridge north into the Abbey courtyard. In the courtyard, go northwest to find a gap in the fence, and go through it. In the next area, ignore the enemies and run northwest to find an open coffin. Take the ladder down and you’ll end up in the Catacombs.
Make your way through the Catacombs by closing the coffins, defeating the enemies, and collecting the loot before using the lever on the upper floor to unlock the gate below. Go down to the now-open gate and get ready to fight a Blazing and Lightning ![]() Sentenza at the same time! If you’re struggling, you can run back out of the gate, and they’ll retreat to their original spots. However, if you leave them alone too long, they’ll start to get their health back.
Sentenza at the same time! If you’re struggling, you can run back out of the gate, and they’ll retreat to their original spots. However, if you leave them alone too long, they’ll start to get their health back.
Once you’ve dealt with them, follow the tunnel northeast and go up the ladder into the Abbey. After the scene, head southwest into the Abbey proper for another scene, where you’ll see the scroll left on the altar in the following room. You’d think you would have a boss or battle here, but you won’t, the scroll will be yours for the taking, and nothing bad will come of it…yet. Pick up the scroll, and continue searching the Abbey if you want, but you’re good to go for now.

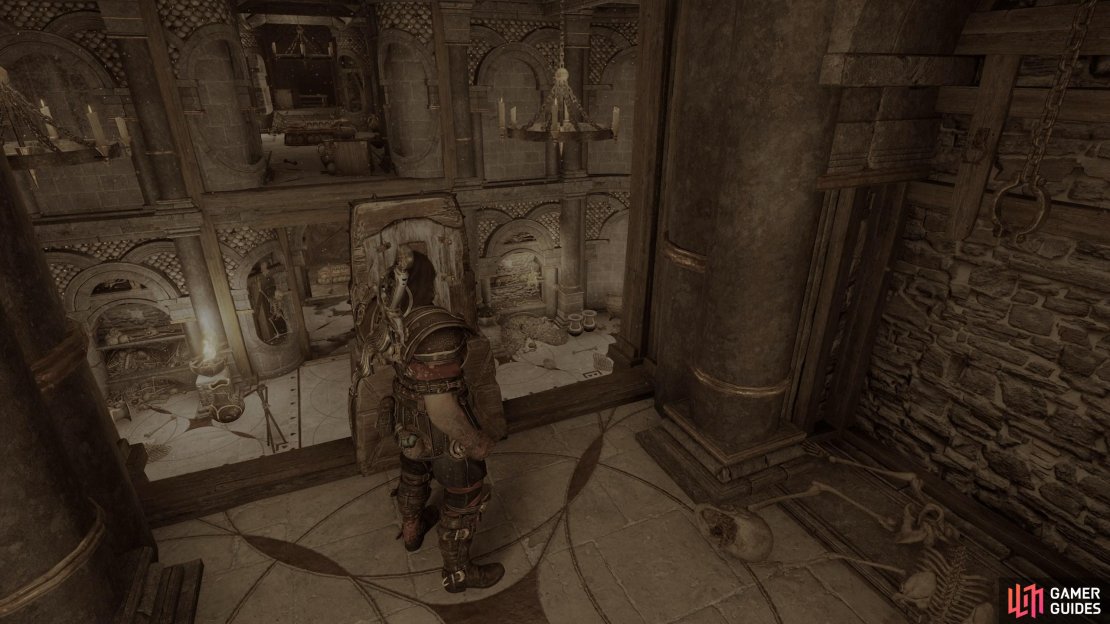


(1 of 3) In the Catacombs, activate the lever on the upper floor to open the gate below.
Aureus Spear Scroll II Location
If you read the description of the quest item, it’ll mention it’s in the hands of a Master Forger. Considering the only Master Forger you know is Glinda, it’d be a good idea to ask her. Similar to the Phoenix Feather earlier, Glinda will give you the second half of the scroll after you go through her dialogue options.
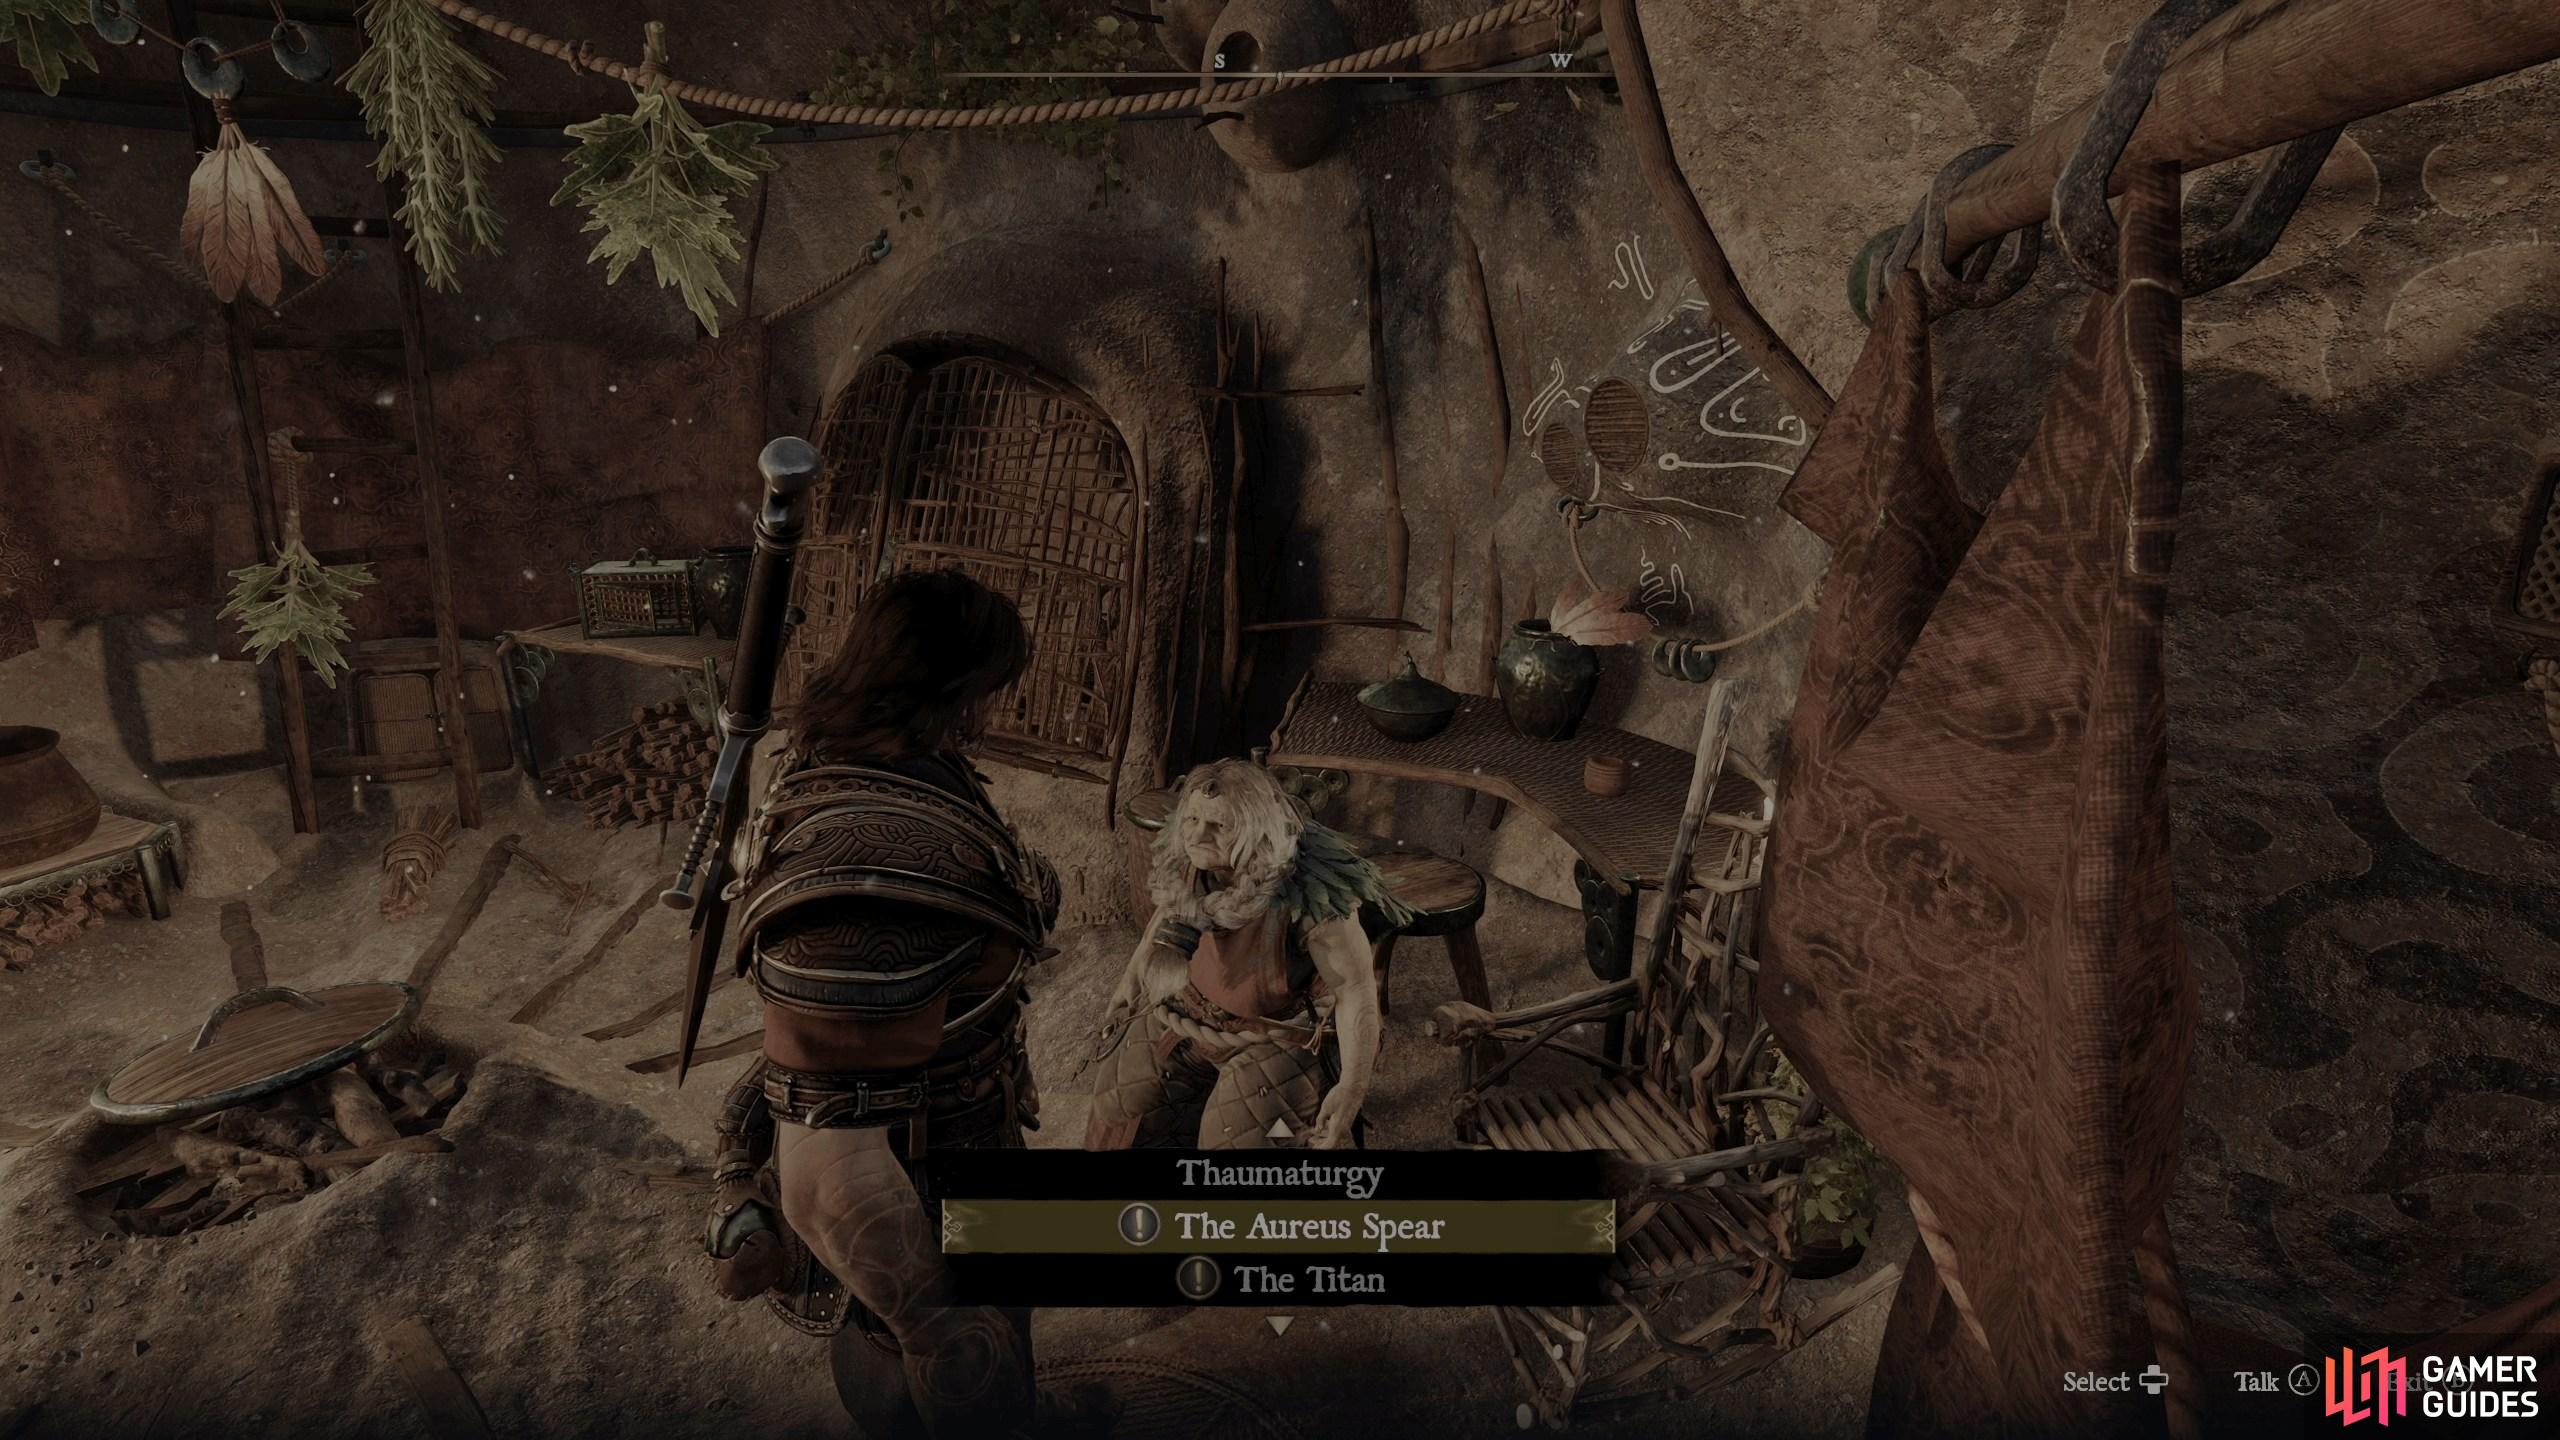
After you have the other parts of the Spear, speak to Glinda to receive the final part of the scroll.
Once you have all the required parts to forge the spear, all that’s left to do is craft it. Note, after this point, whenever you go to a Forge and select “Go To Forge”, you will have to build the spear by interacting with the table. After you do this and exit, you’ll be forced into a scene and a boss battle. That’s it for the Aureus Spear, We recommend you save one of the parts of the spear for when you’re ready to progress the story, otherwise, you won’t be able to craft a new weapon until you do.
No Comments