
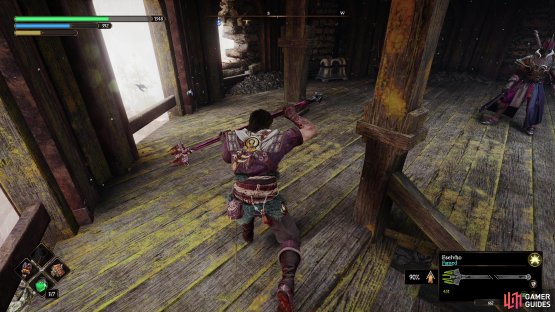
Blades of Fire is a massive adventure that contains many collectibles, be it unlocking new weapons, finding Seneschals for new parts, defeating the Sacred Templars and more. On top of this, there is a whole menu dedicated to improving Aran, be it with Forger Criptex that increases how many stars you can have when forging, or ![]() Life Criptex that improves the effectiveness of healing. There are a total of 12 Life Criptex to seek out and on this guide, you’ll learn where to find all of them to boost Aran’s survivability in this harsh world.
Life Criptex that improves the effectiveness of healing. There are a total of 12 Life Criptex to seek out and on this guide, you’ll learn where to find all of them to boost Aran’s survivability in this harsh world.
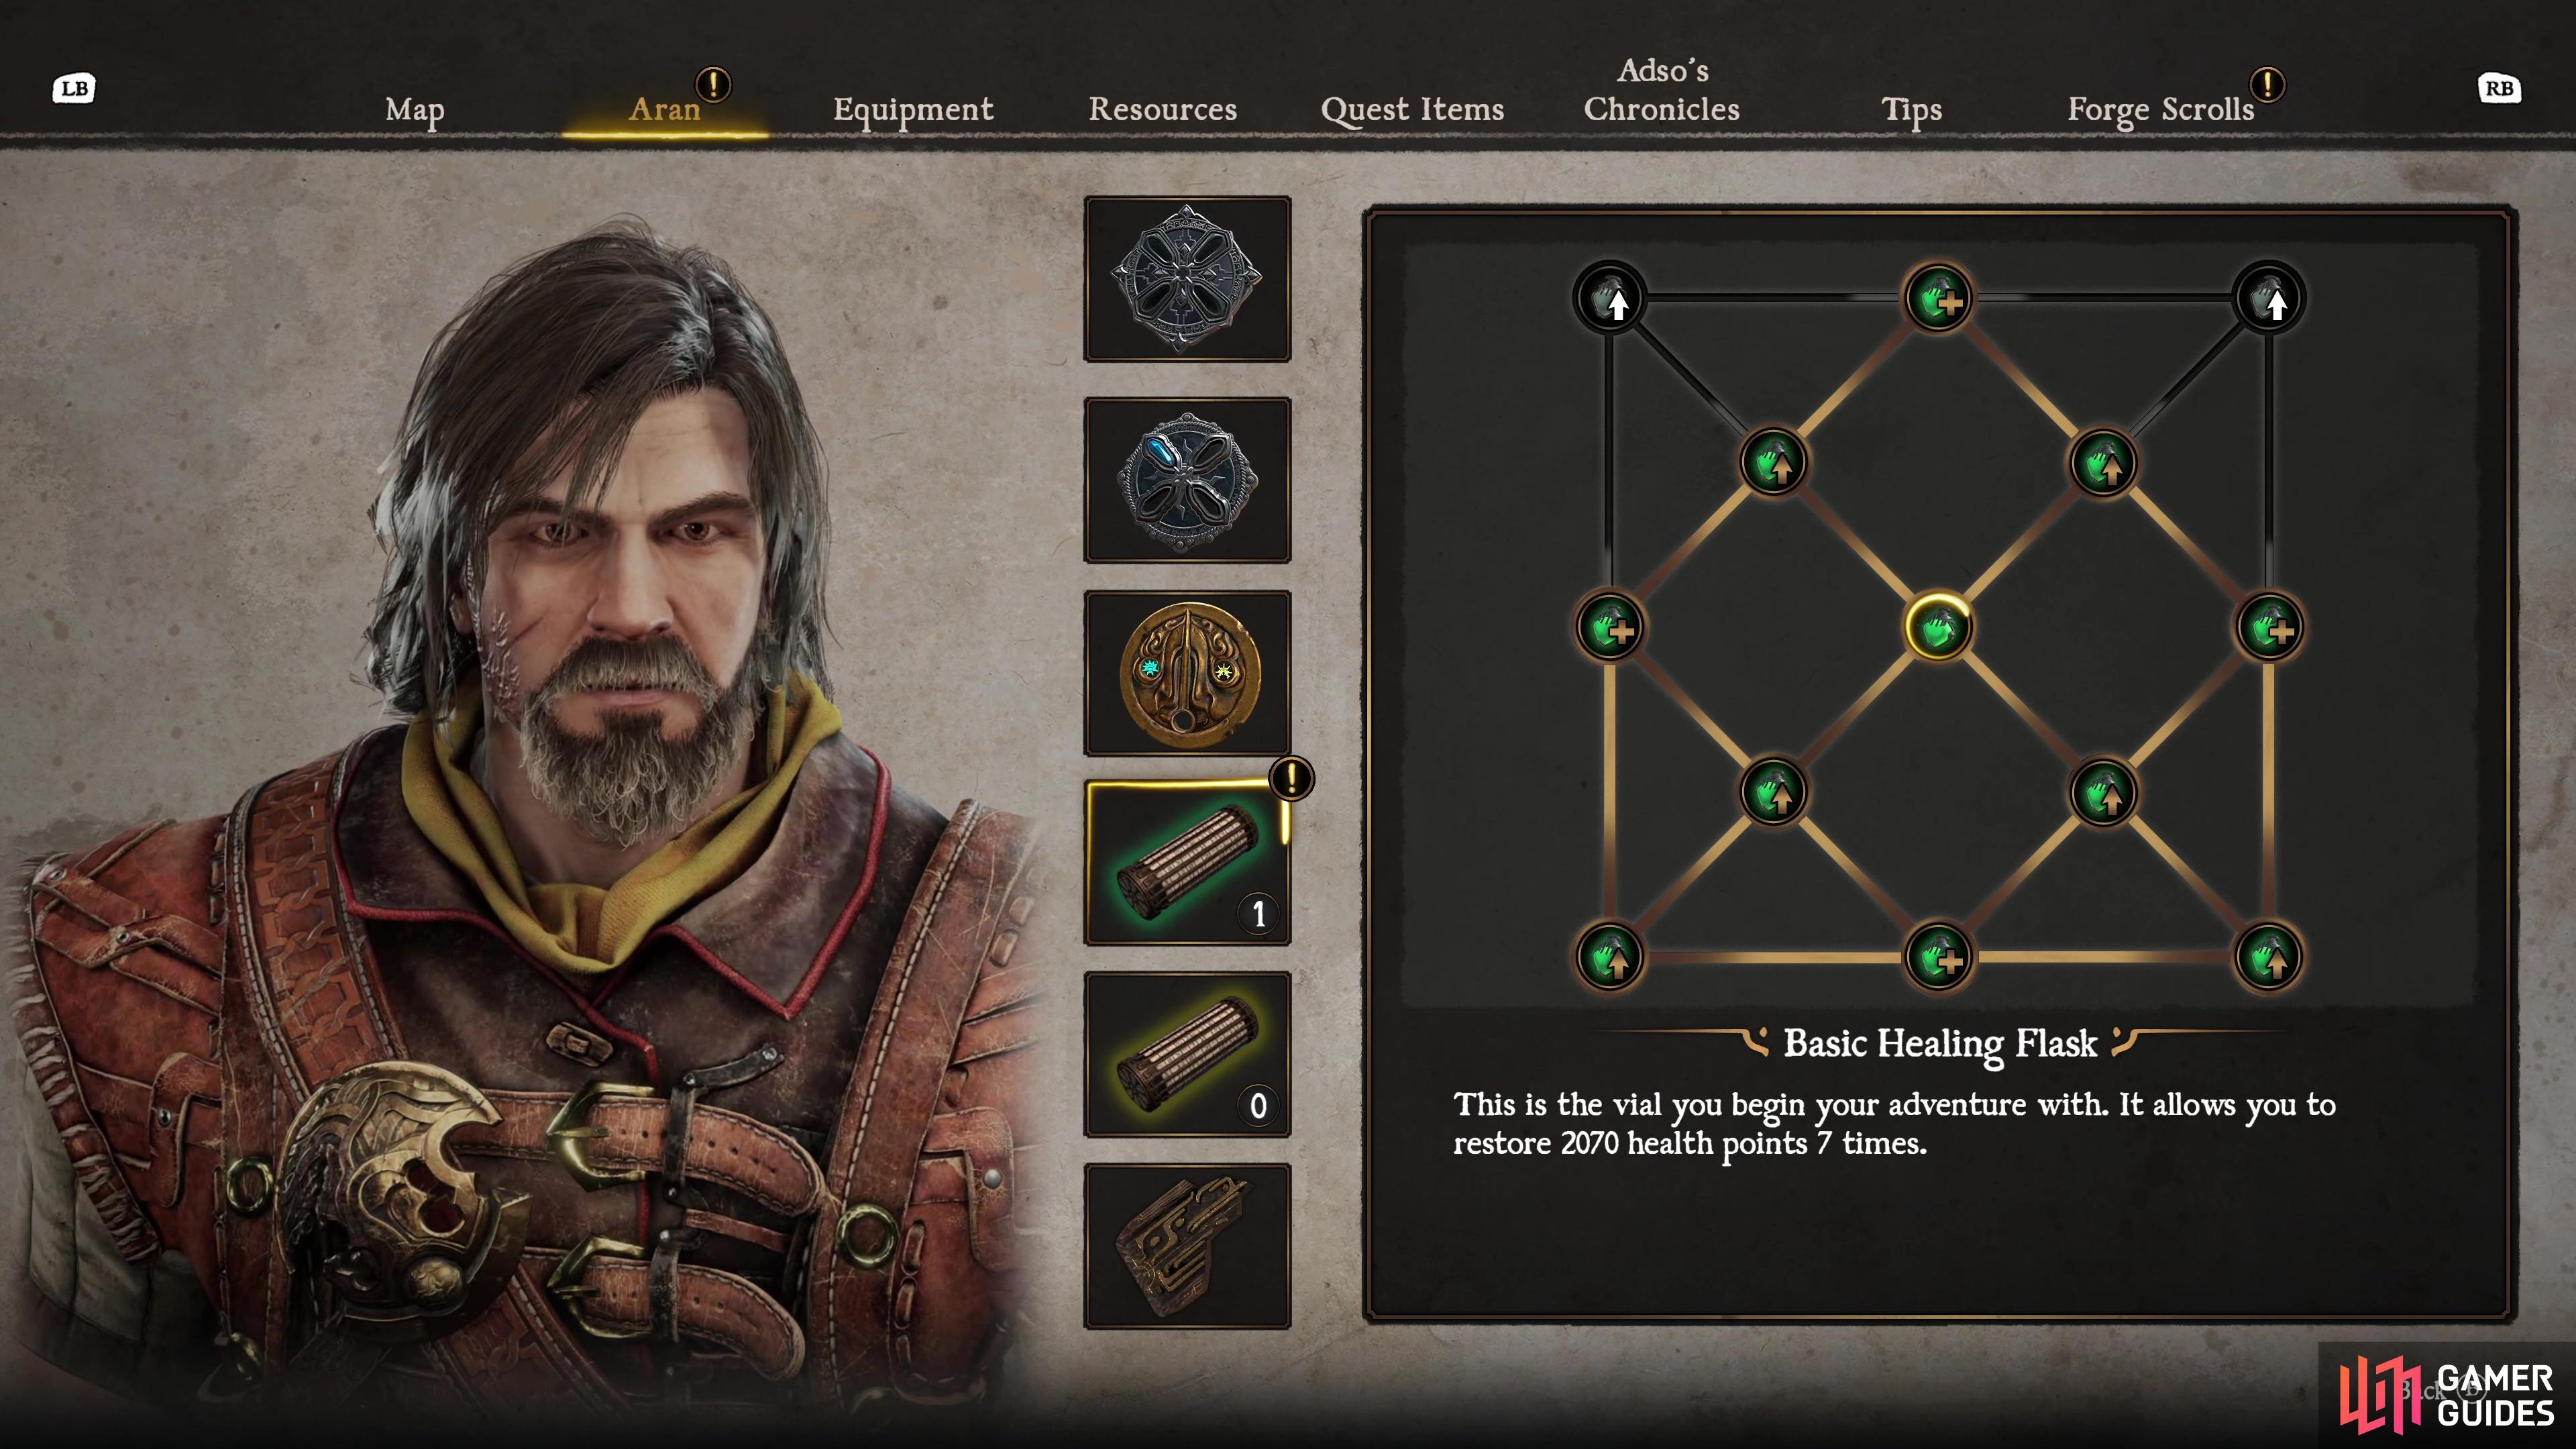
Life Criptex in Blades of Fire will increase the number of healing flasks and its effectiveness for Aran.
Table of Contents
If you want to jump to a specific section, click on the links below.
Improving the Healing Flask
At the start of the adventure, you’ll have three uses of your Flask available to you that will be replenished whenever you rest at an anvil. Fortunately, by searching around the various locales that you visit, you can find Life Criptex that can be used in Aran’s menu to either increasing the effectiveness of each use or to add additional uses, up to a total of seven. You won’t be able to beeline to the use increase upgrades however, you’ll need to often get the two effectiveness upgrades that surround the node first.
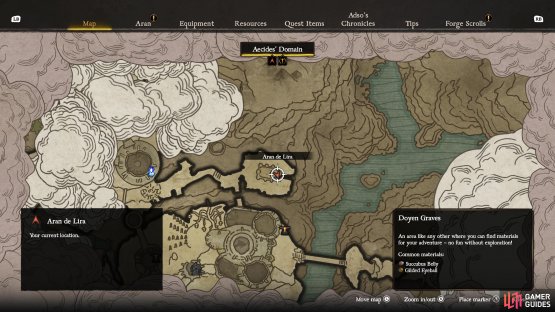
As such, plan your upgrades around surrounding the use increase nodes as quickly as possible, having more uses is far more beneficial, especially earlier on in the adventure. For the most part, you can find the majority of the Life Criptex in the game’s first two regions (Aceides’ Domain and Tok’s Kingdom). Below, you’ll find the location of every Life Criptex along with a link to a map marker (coming soon).
Where to Find Every Life Criptex
As mentioned at the top, there are total of 12 Life Criptex in Blades of Fire, and you’ll always find them in a chest, similar to the ones that often house Life and ![]() Stamina Gems. The table below will show you where to find every one at a glance, with more information below that:
Stamina Gems. The table below will show you where to find every one at a glance, with more information below that:
| Number | Location | Map Marker |
|---|---|---|
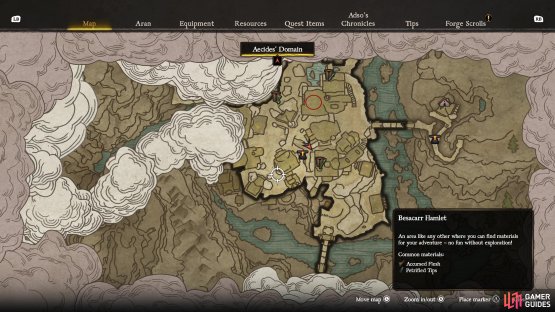
| 1 | Besacaar Hamlet - Dry Riverbed | Map Marker |
| 2 | Map Marker | |
| 3 | Map Marker | |
| 4 | Map Marker | |
| 5 | Map Marker | |
| 6 | Map Marker | |
| 7 | Map Marker | |
| 8 | Map Marker | |
| 9 | Tok’s Kingdom - |
– |
| 10 | – | |
| 11 | Tok’s Kingdom - |
– |
| 12 | Tok’s Kingdom - Citadel of Tharas-Munda | – |
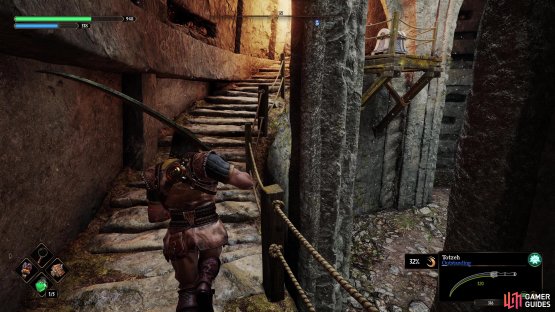
Life Criptex 1: Besacaar Hamlet - Dry Riverbed
In the large northern house in this area. Look for the stairs leading up outside and you will find a way inside where you can then drop down. Once here, look for a ladder you can interact with that will have Aran boost Adso and he will drop the ladder down to you, where the chest can be found.

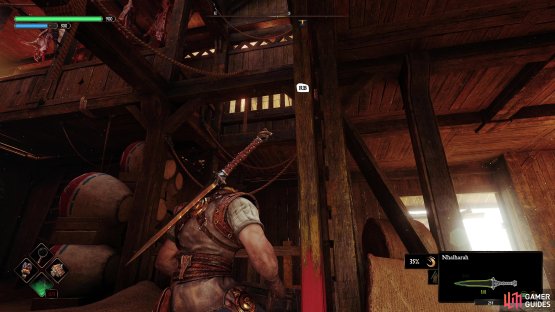
(1 of 2) Head to Besacaar Hamlet and go to the northern house.
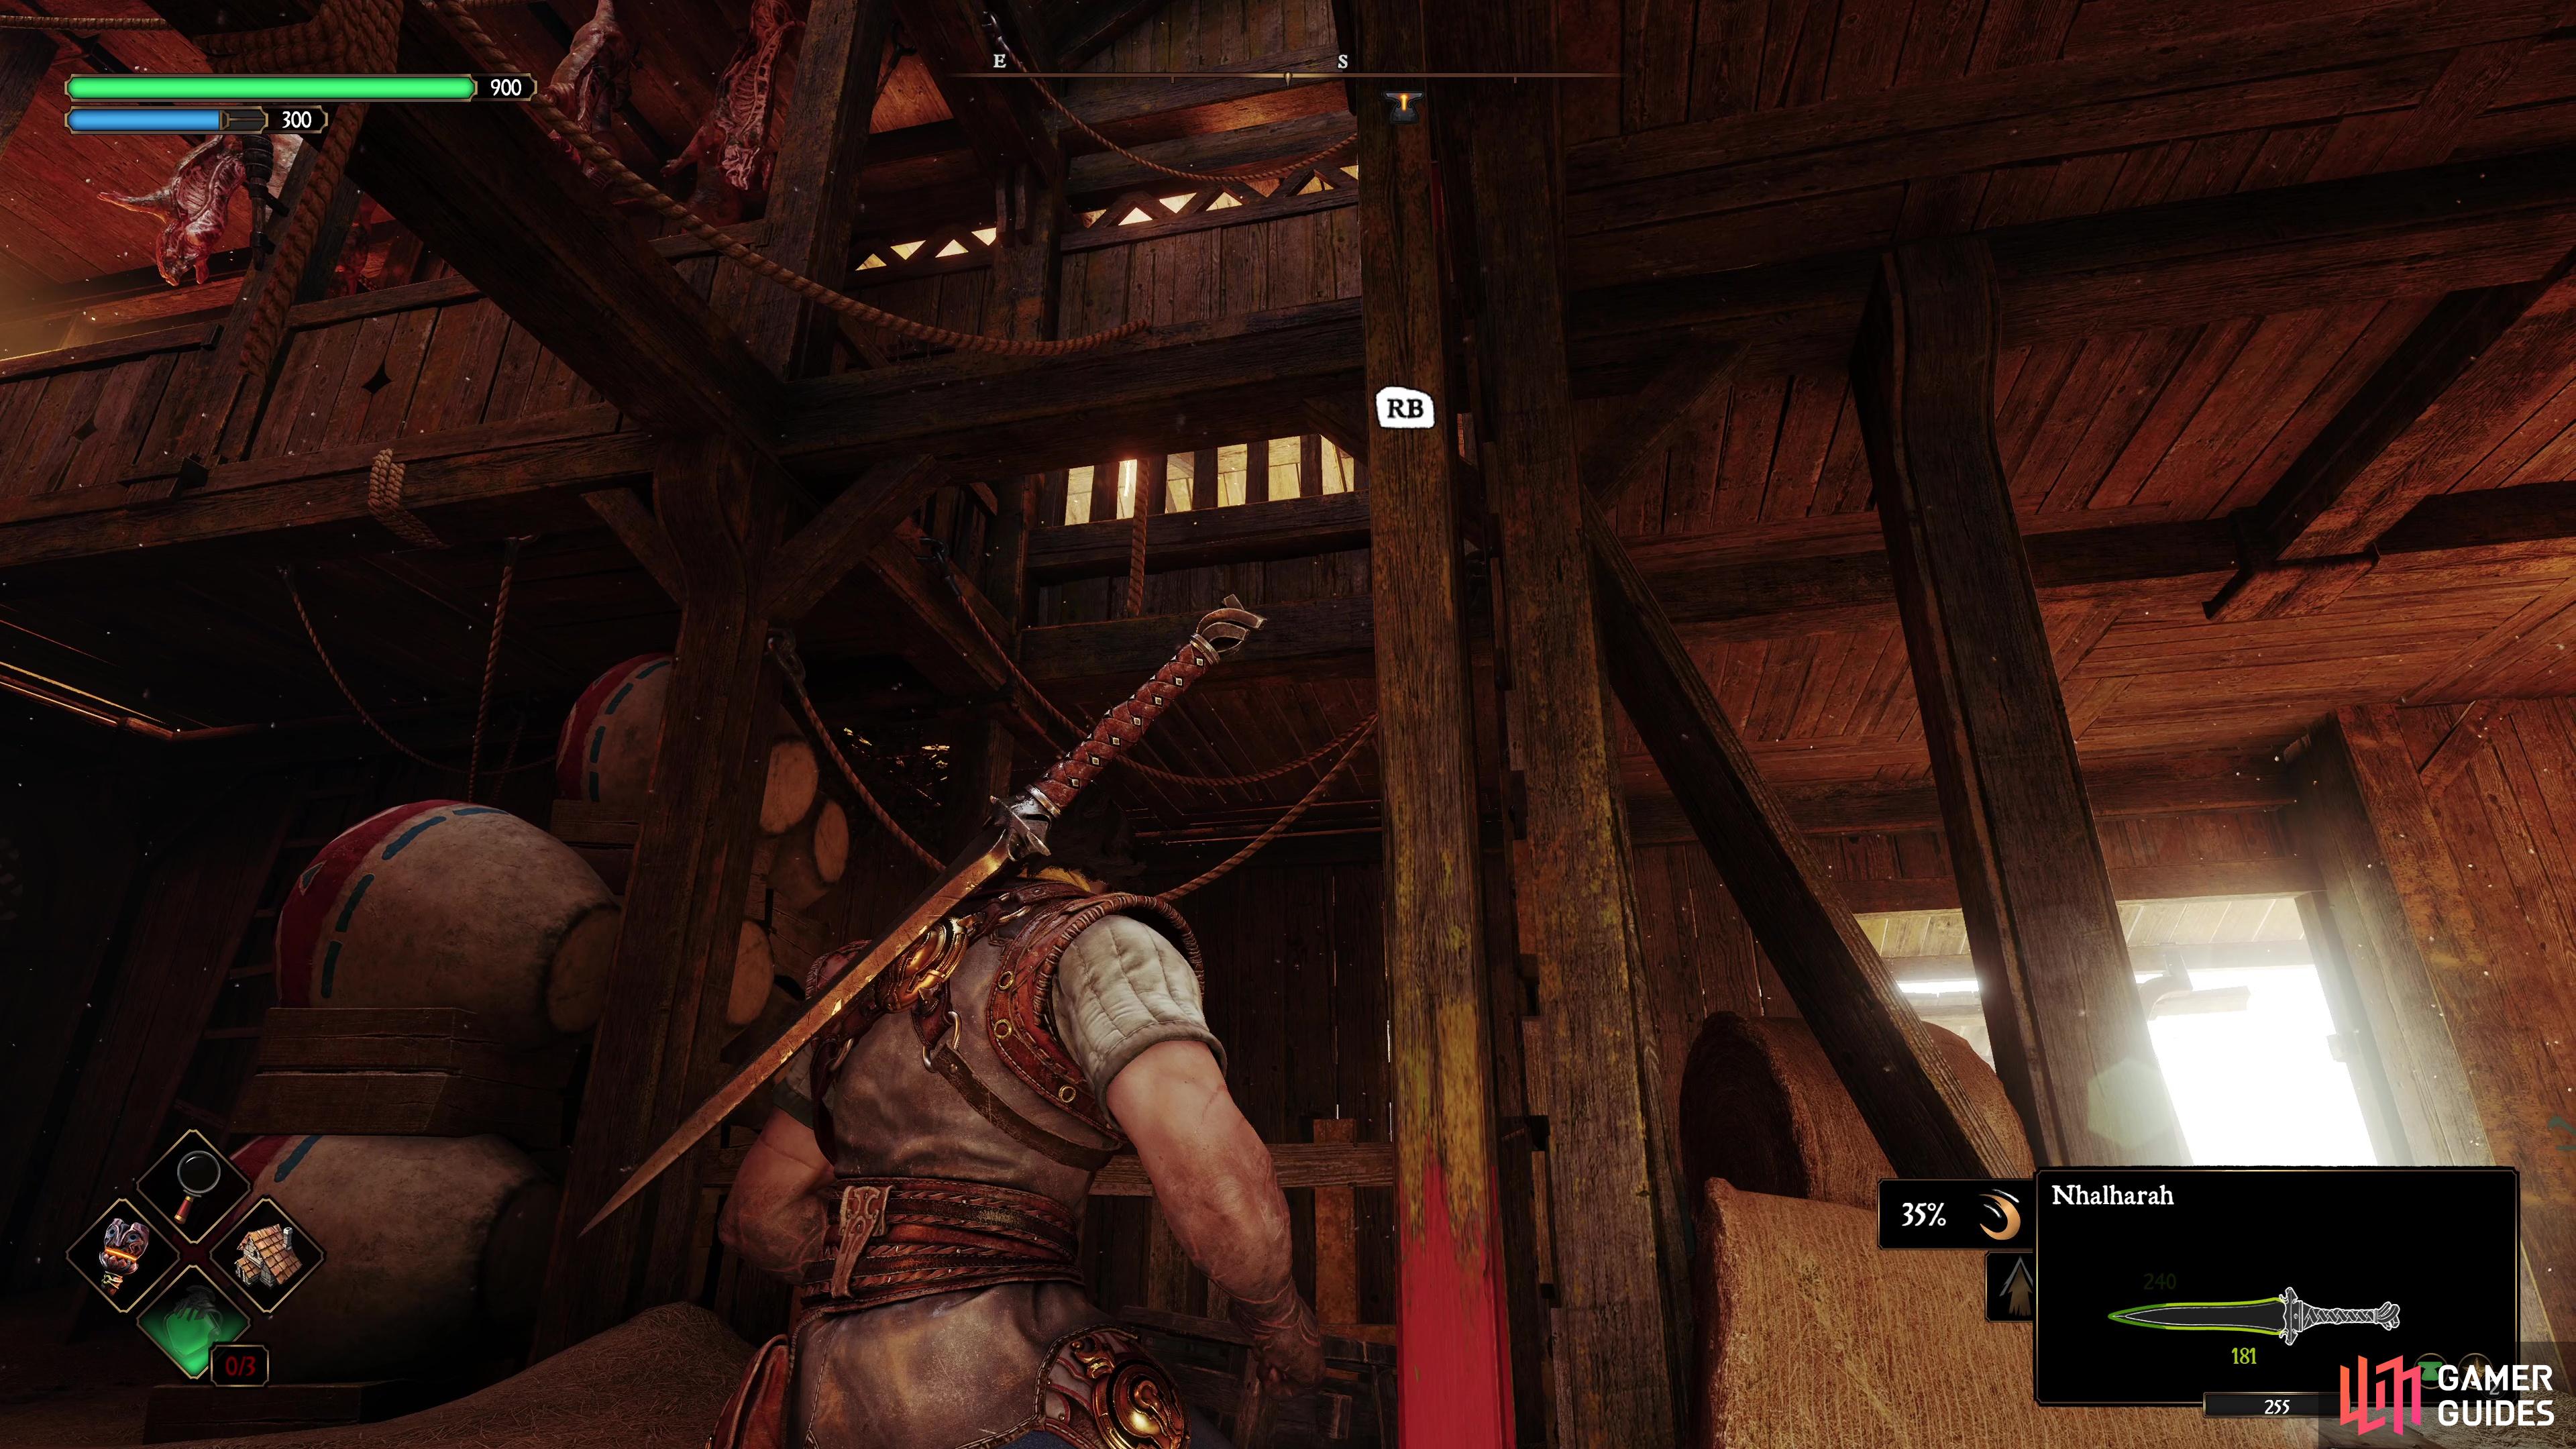
Head to Besacaar Hamlet and go to the northern house. (left), Once you drop down, boost Adso to drop this ladder leading to the Life Criptex. (right)
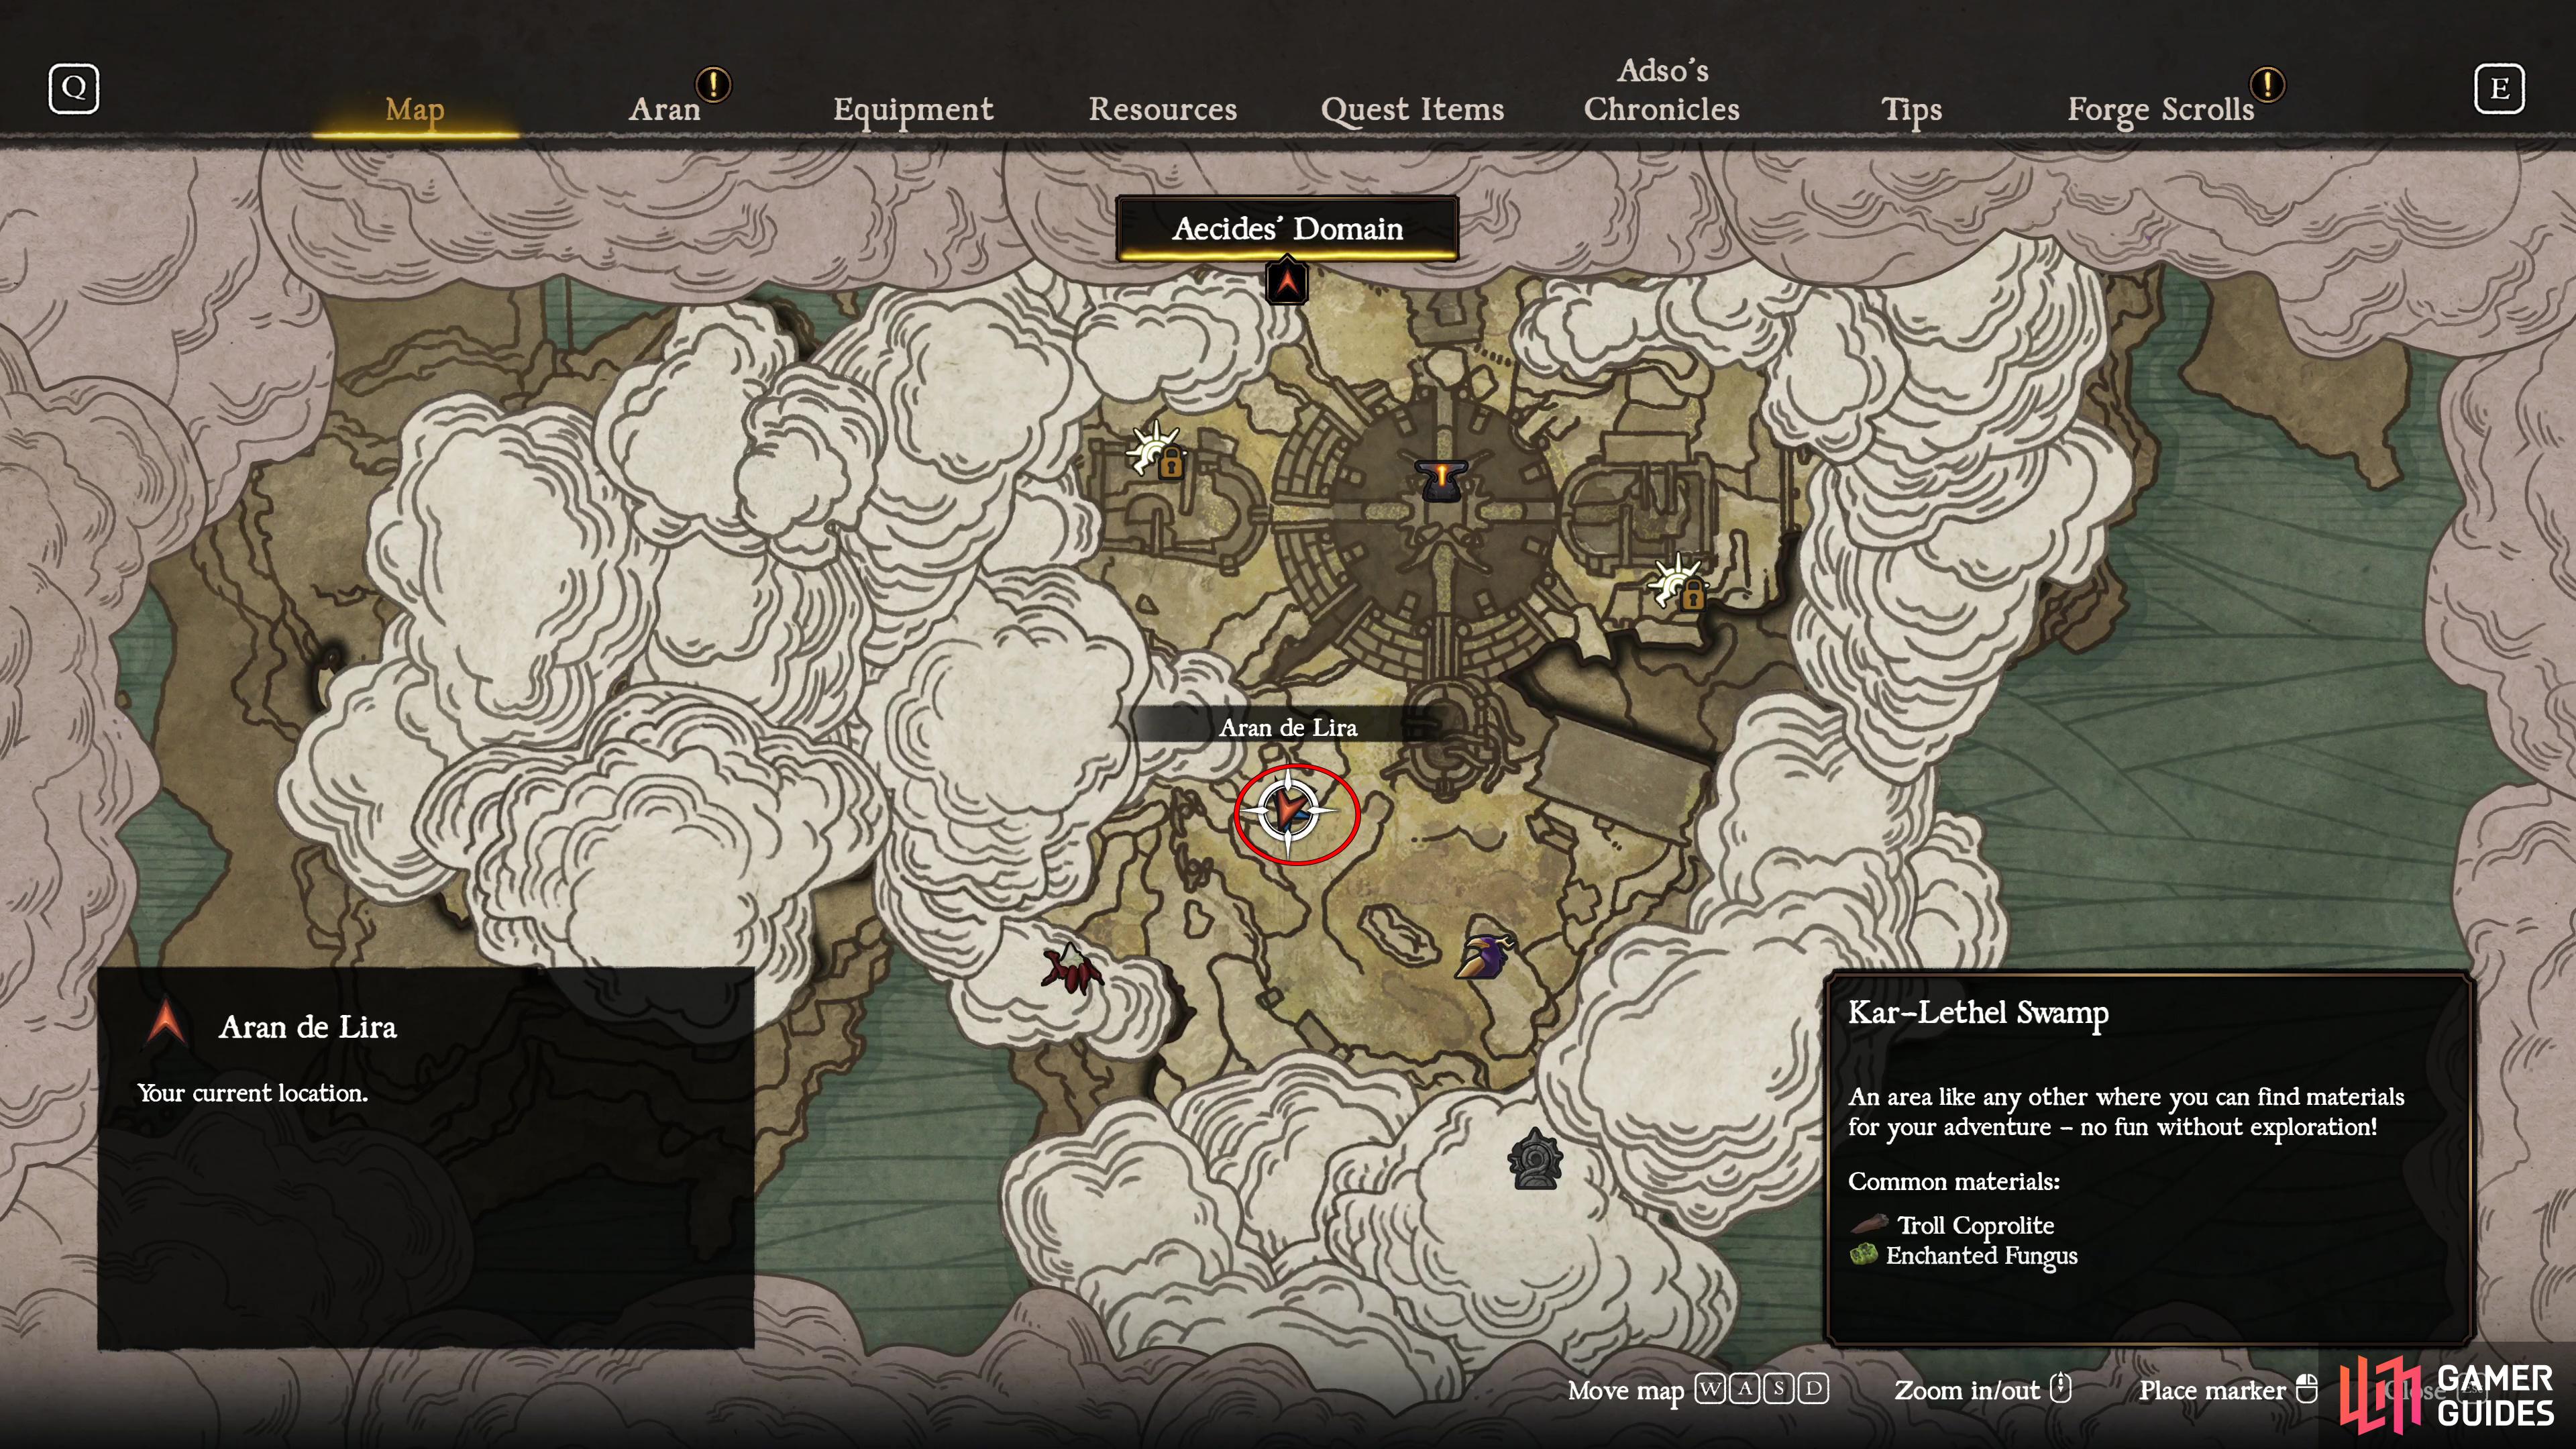
Life Criptex 2: Kar-Lethel Swamp - Forger’s Sanctum
Form the Forger’s Sanctum anvil, drop down from the southern exit and then go back on yourself to the northwest to find a cave, the chest can be found inside.

(1 of 2) Make your way south out of the Forger’s Sanctum in the Kar-Lethel Swamp.
Make your way south out of the Forger’s Sanctum in the Kar-Lethel Swamp. (left), Then go up the slope to the northwest and into the cave to find the Life Criptex. (right)
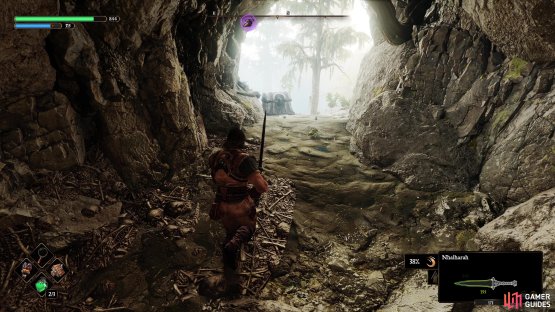
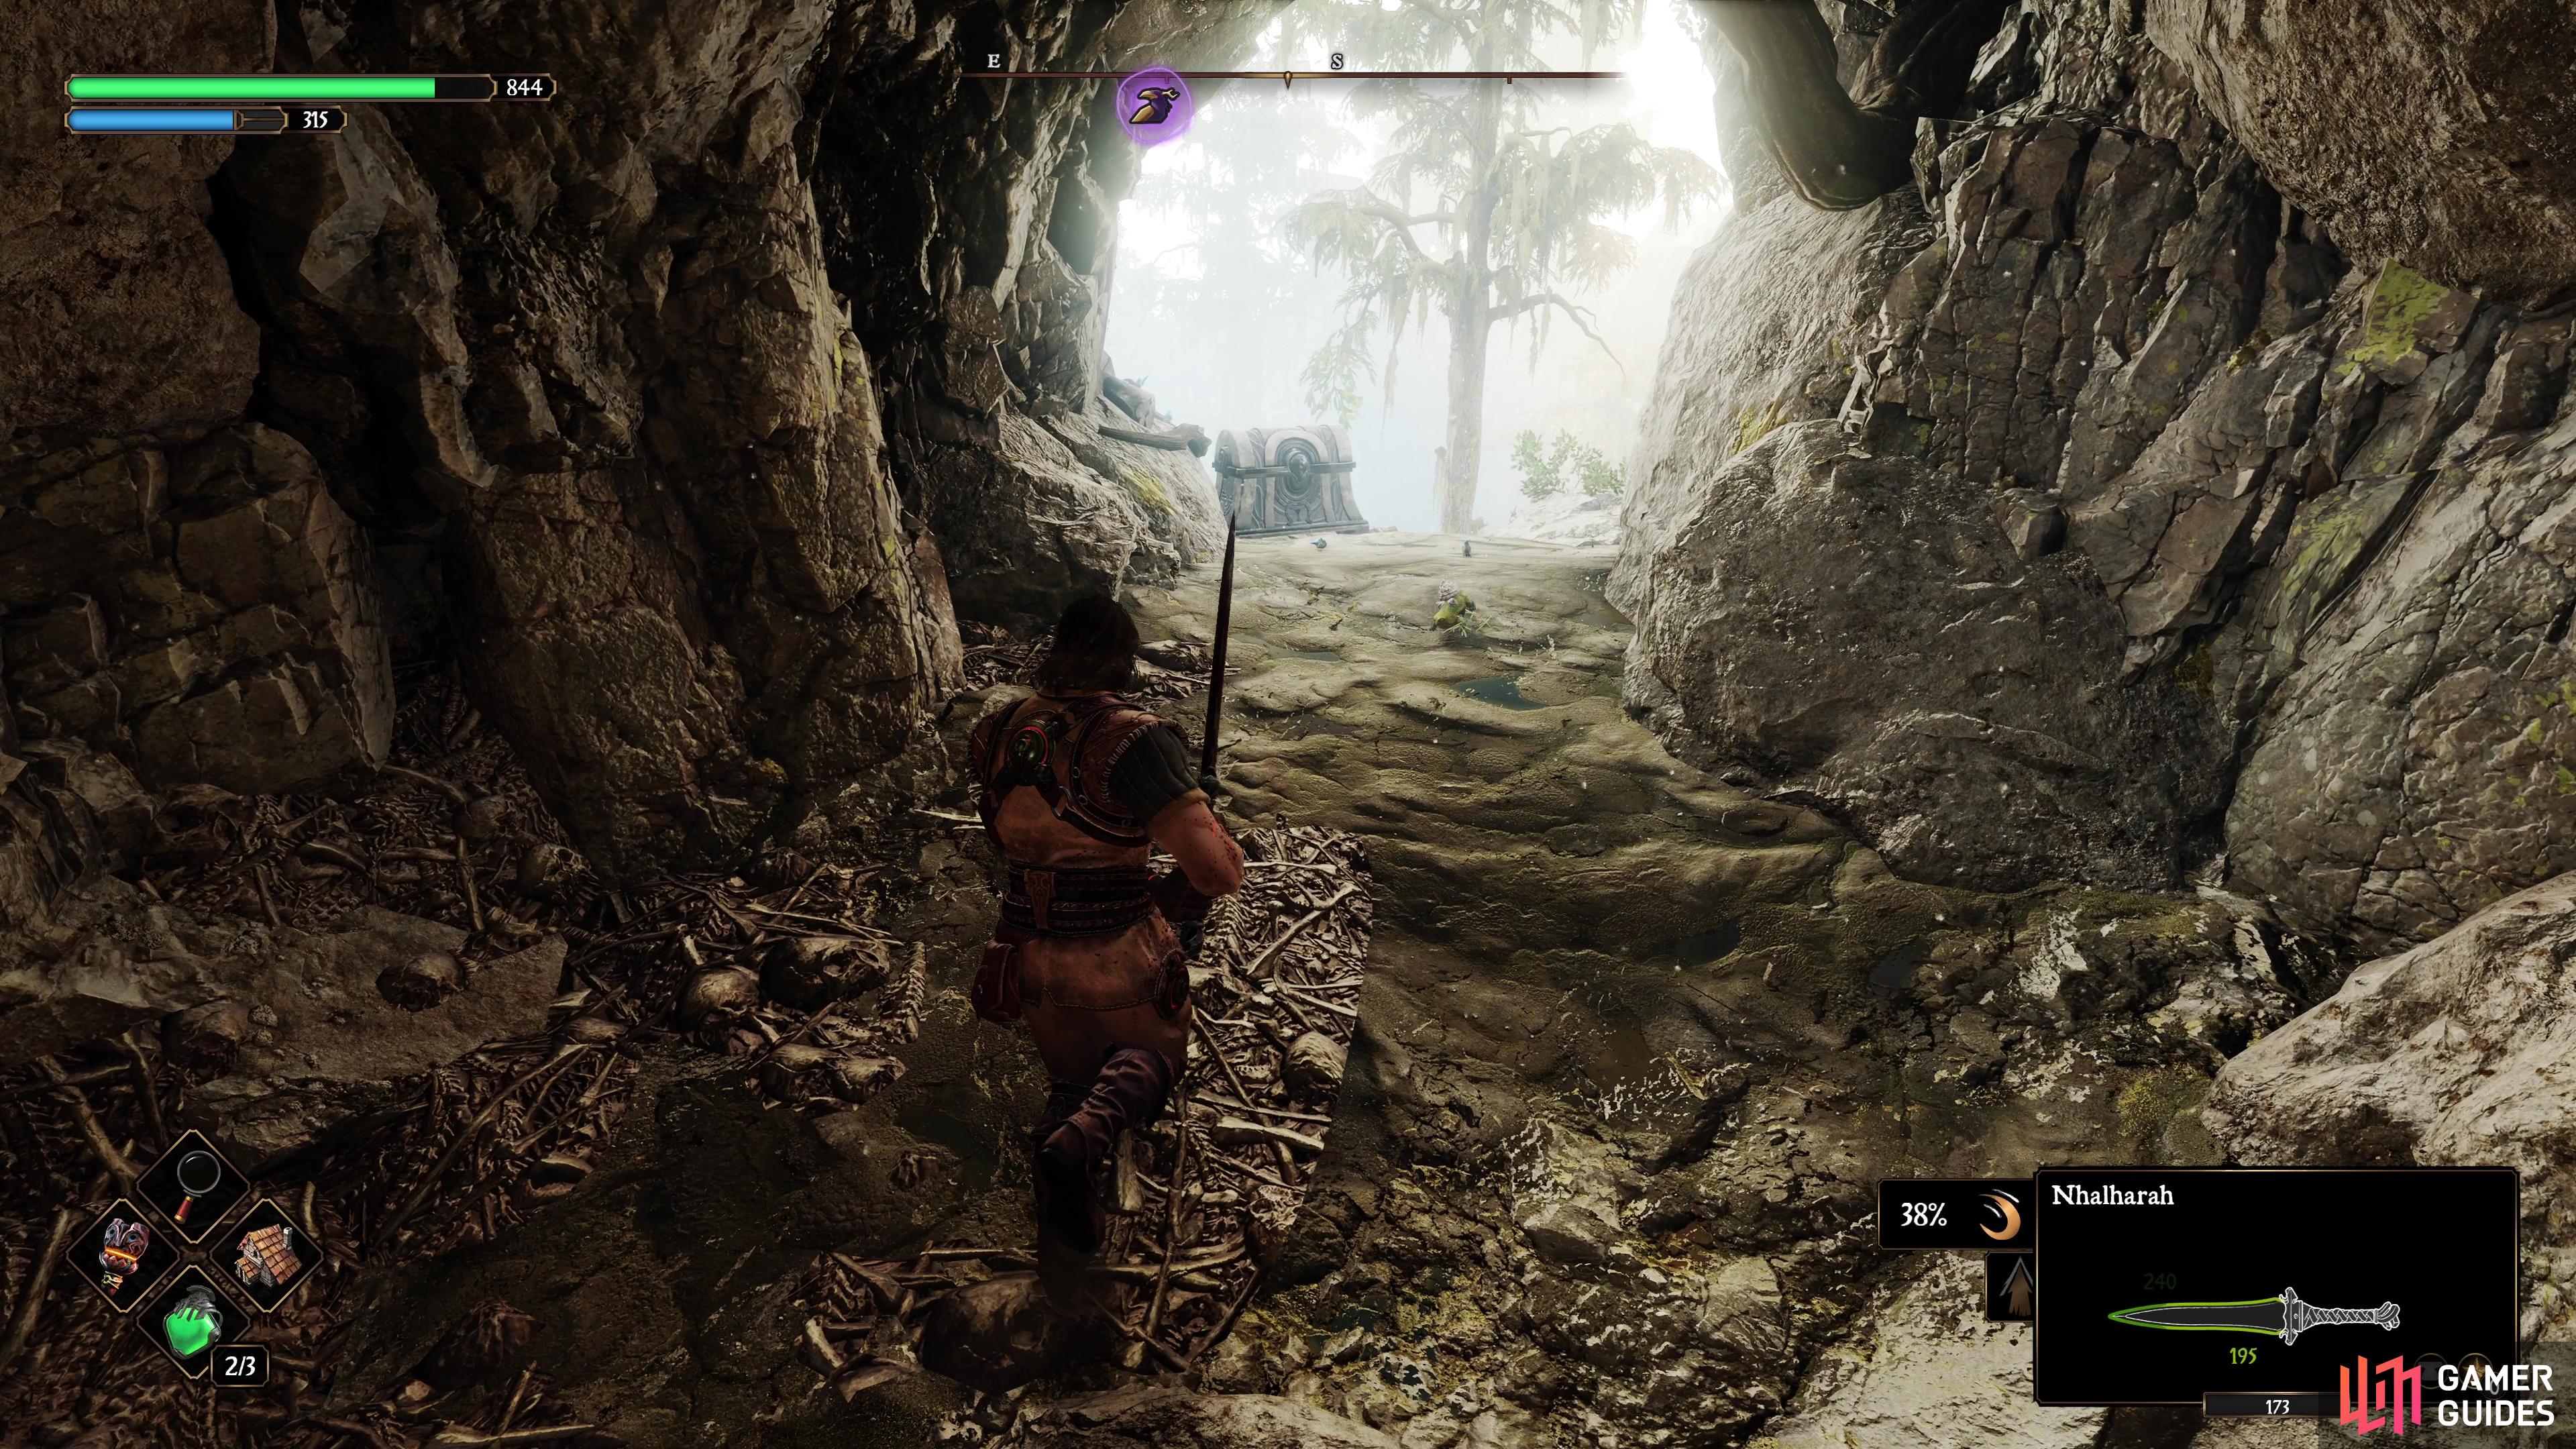
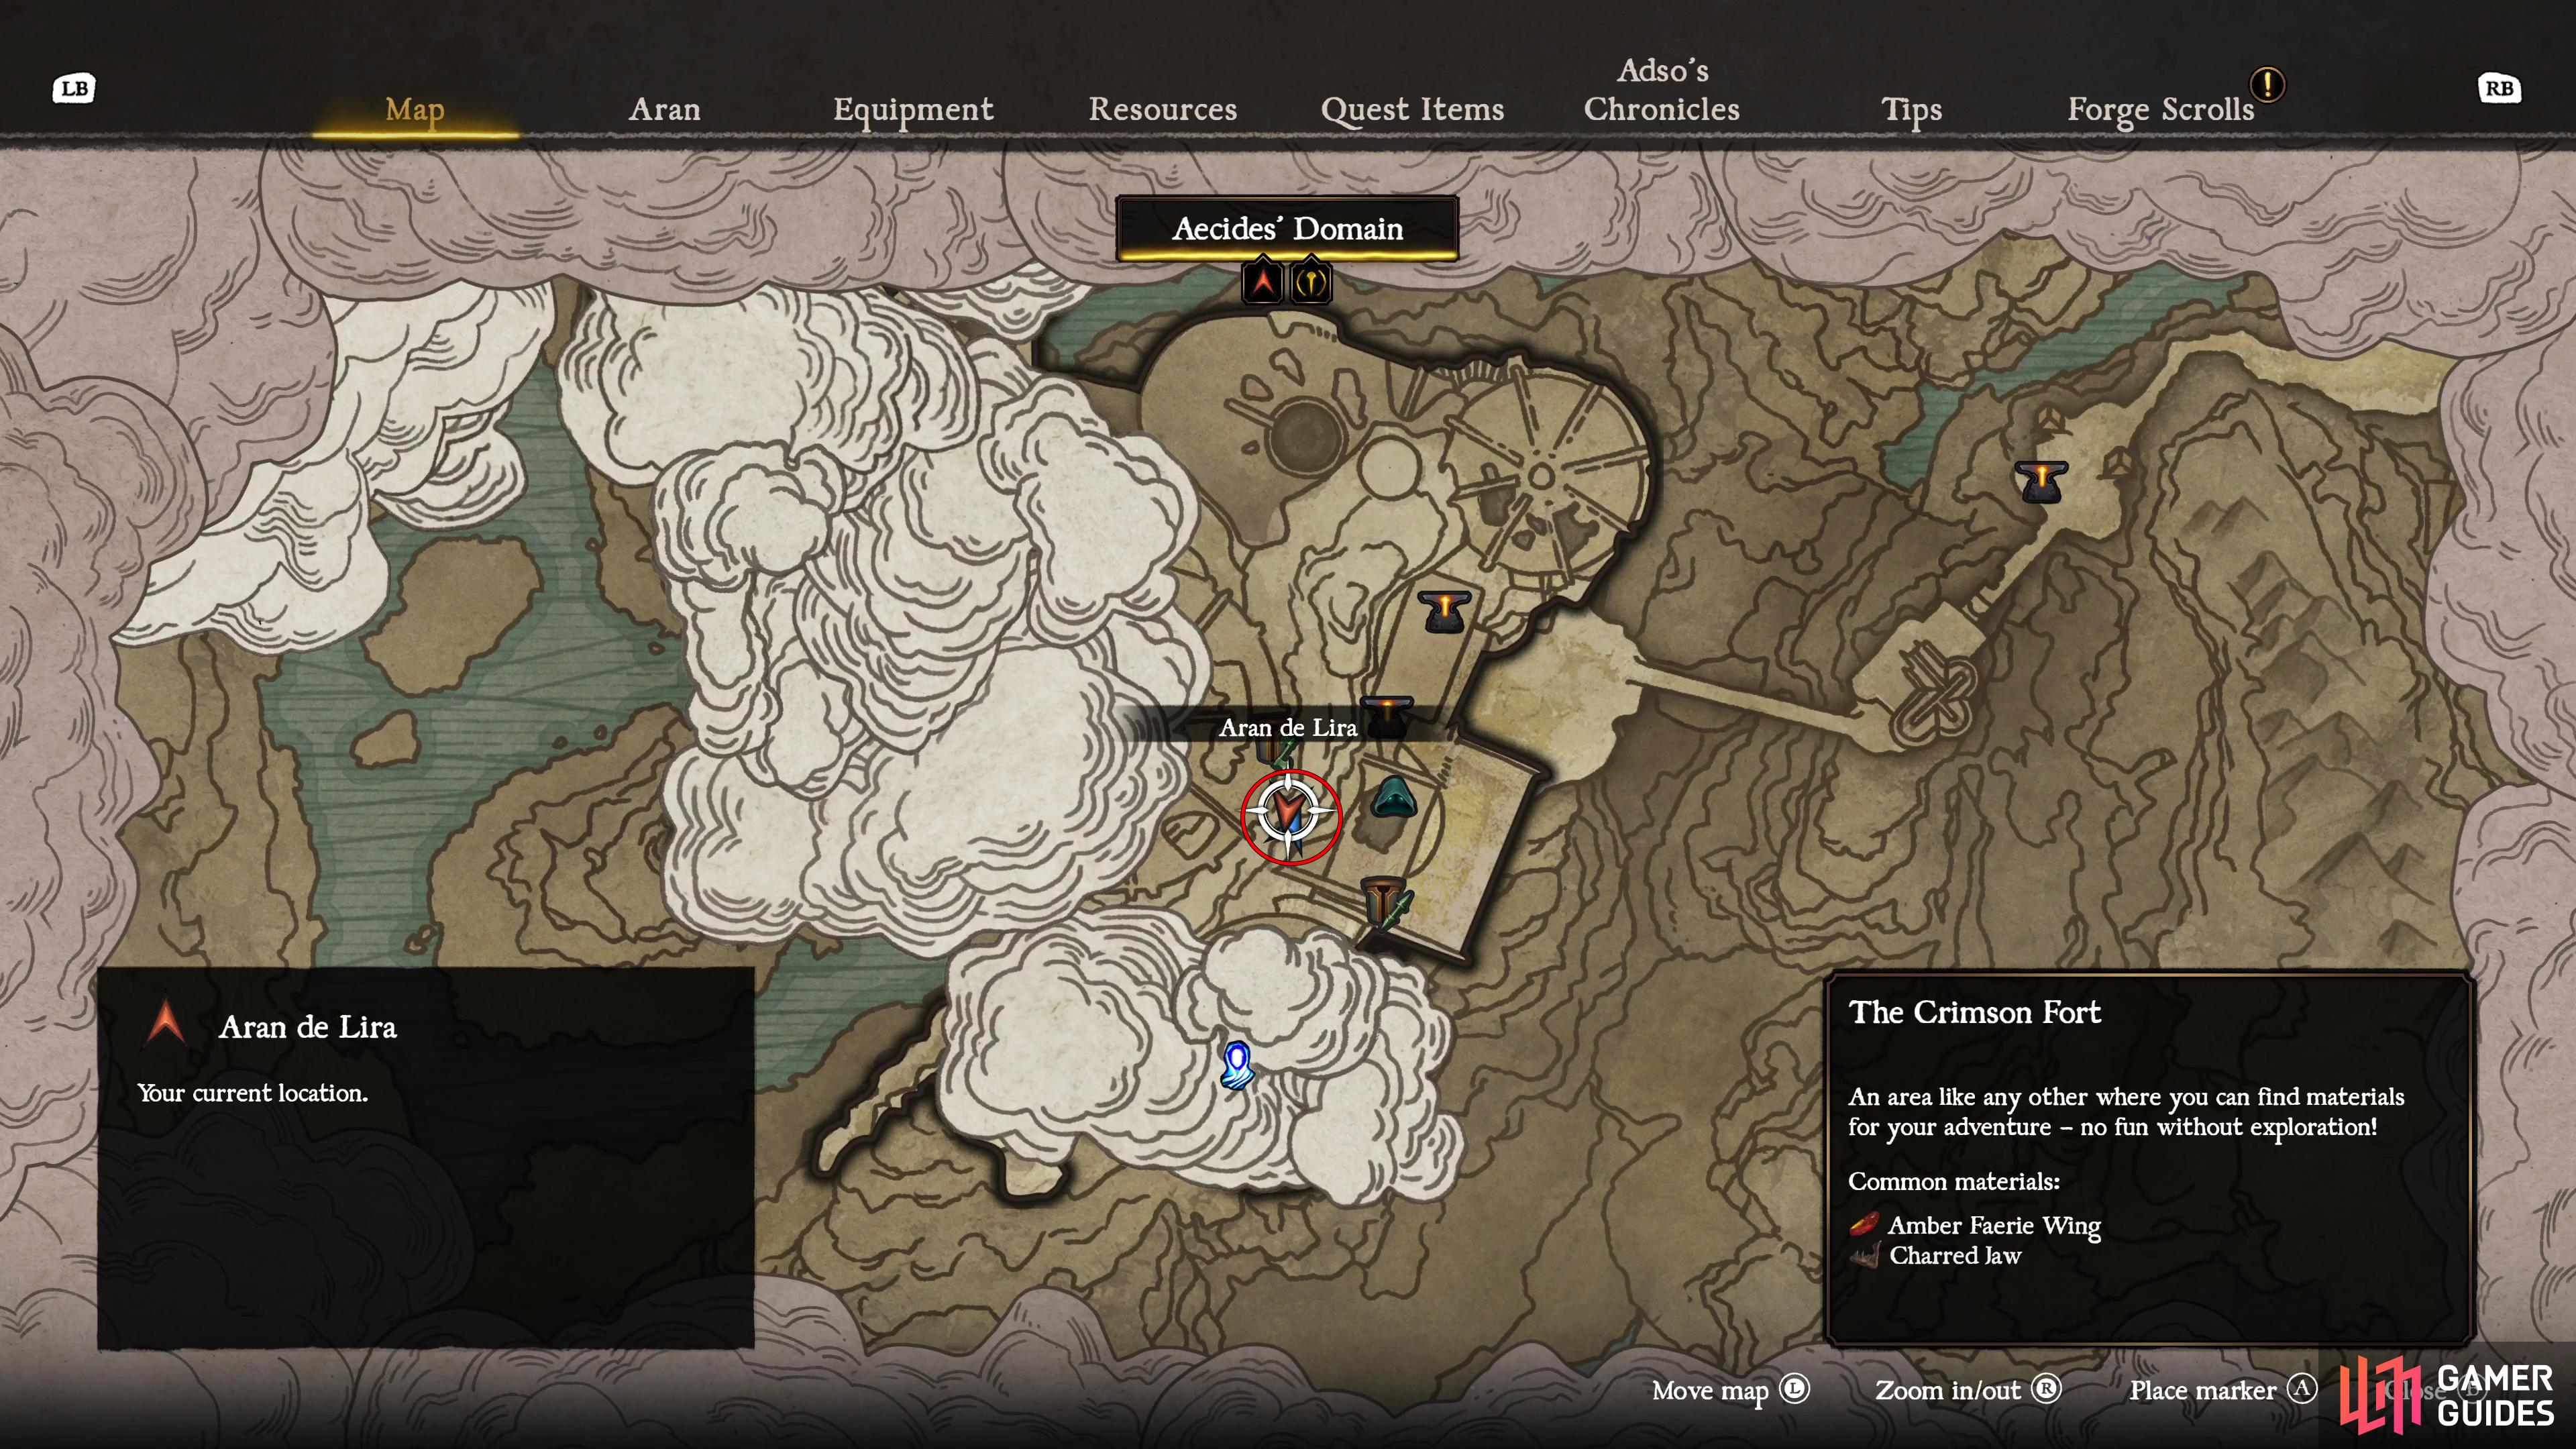
Life Criptex 3: The Crimson Fort - Cellar’s Roof
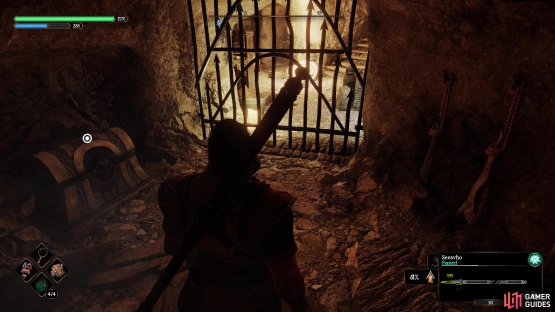
Once you have the ![]() Key of the Lord after defeating
Key of the Lord after defeating ![]() Cavimo Rex for the first time, go back into the building ahead and go down the stairs. Look for a gap on your left which will lead to a locked door requiring this key where the chest can be found.
Cavimo Rex for the first time, go back into the building ahead and go down the stairs. Look for a gap on your left which will lead to a locked door requiring this key where the chest can be found.
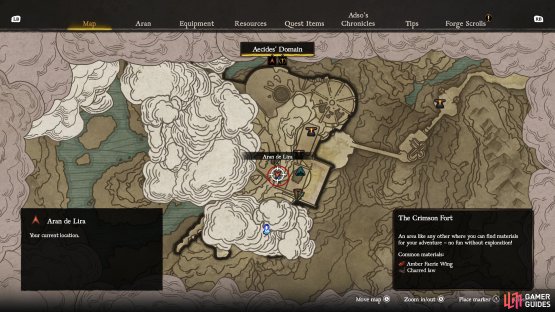

(1 of 2) From the Crimson Fort’s Cellar’s Roof anvil, go back into the building in front.
From the Crimson Fort’s Cellar’s Roof anvil, go back into the building in front. (left), Go down the stairs and through the gap to find this locked door requiring the Key of the Lord. (right)
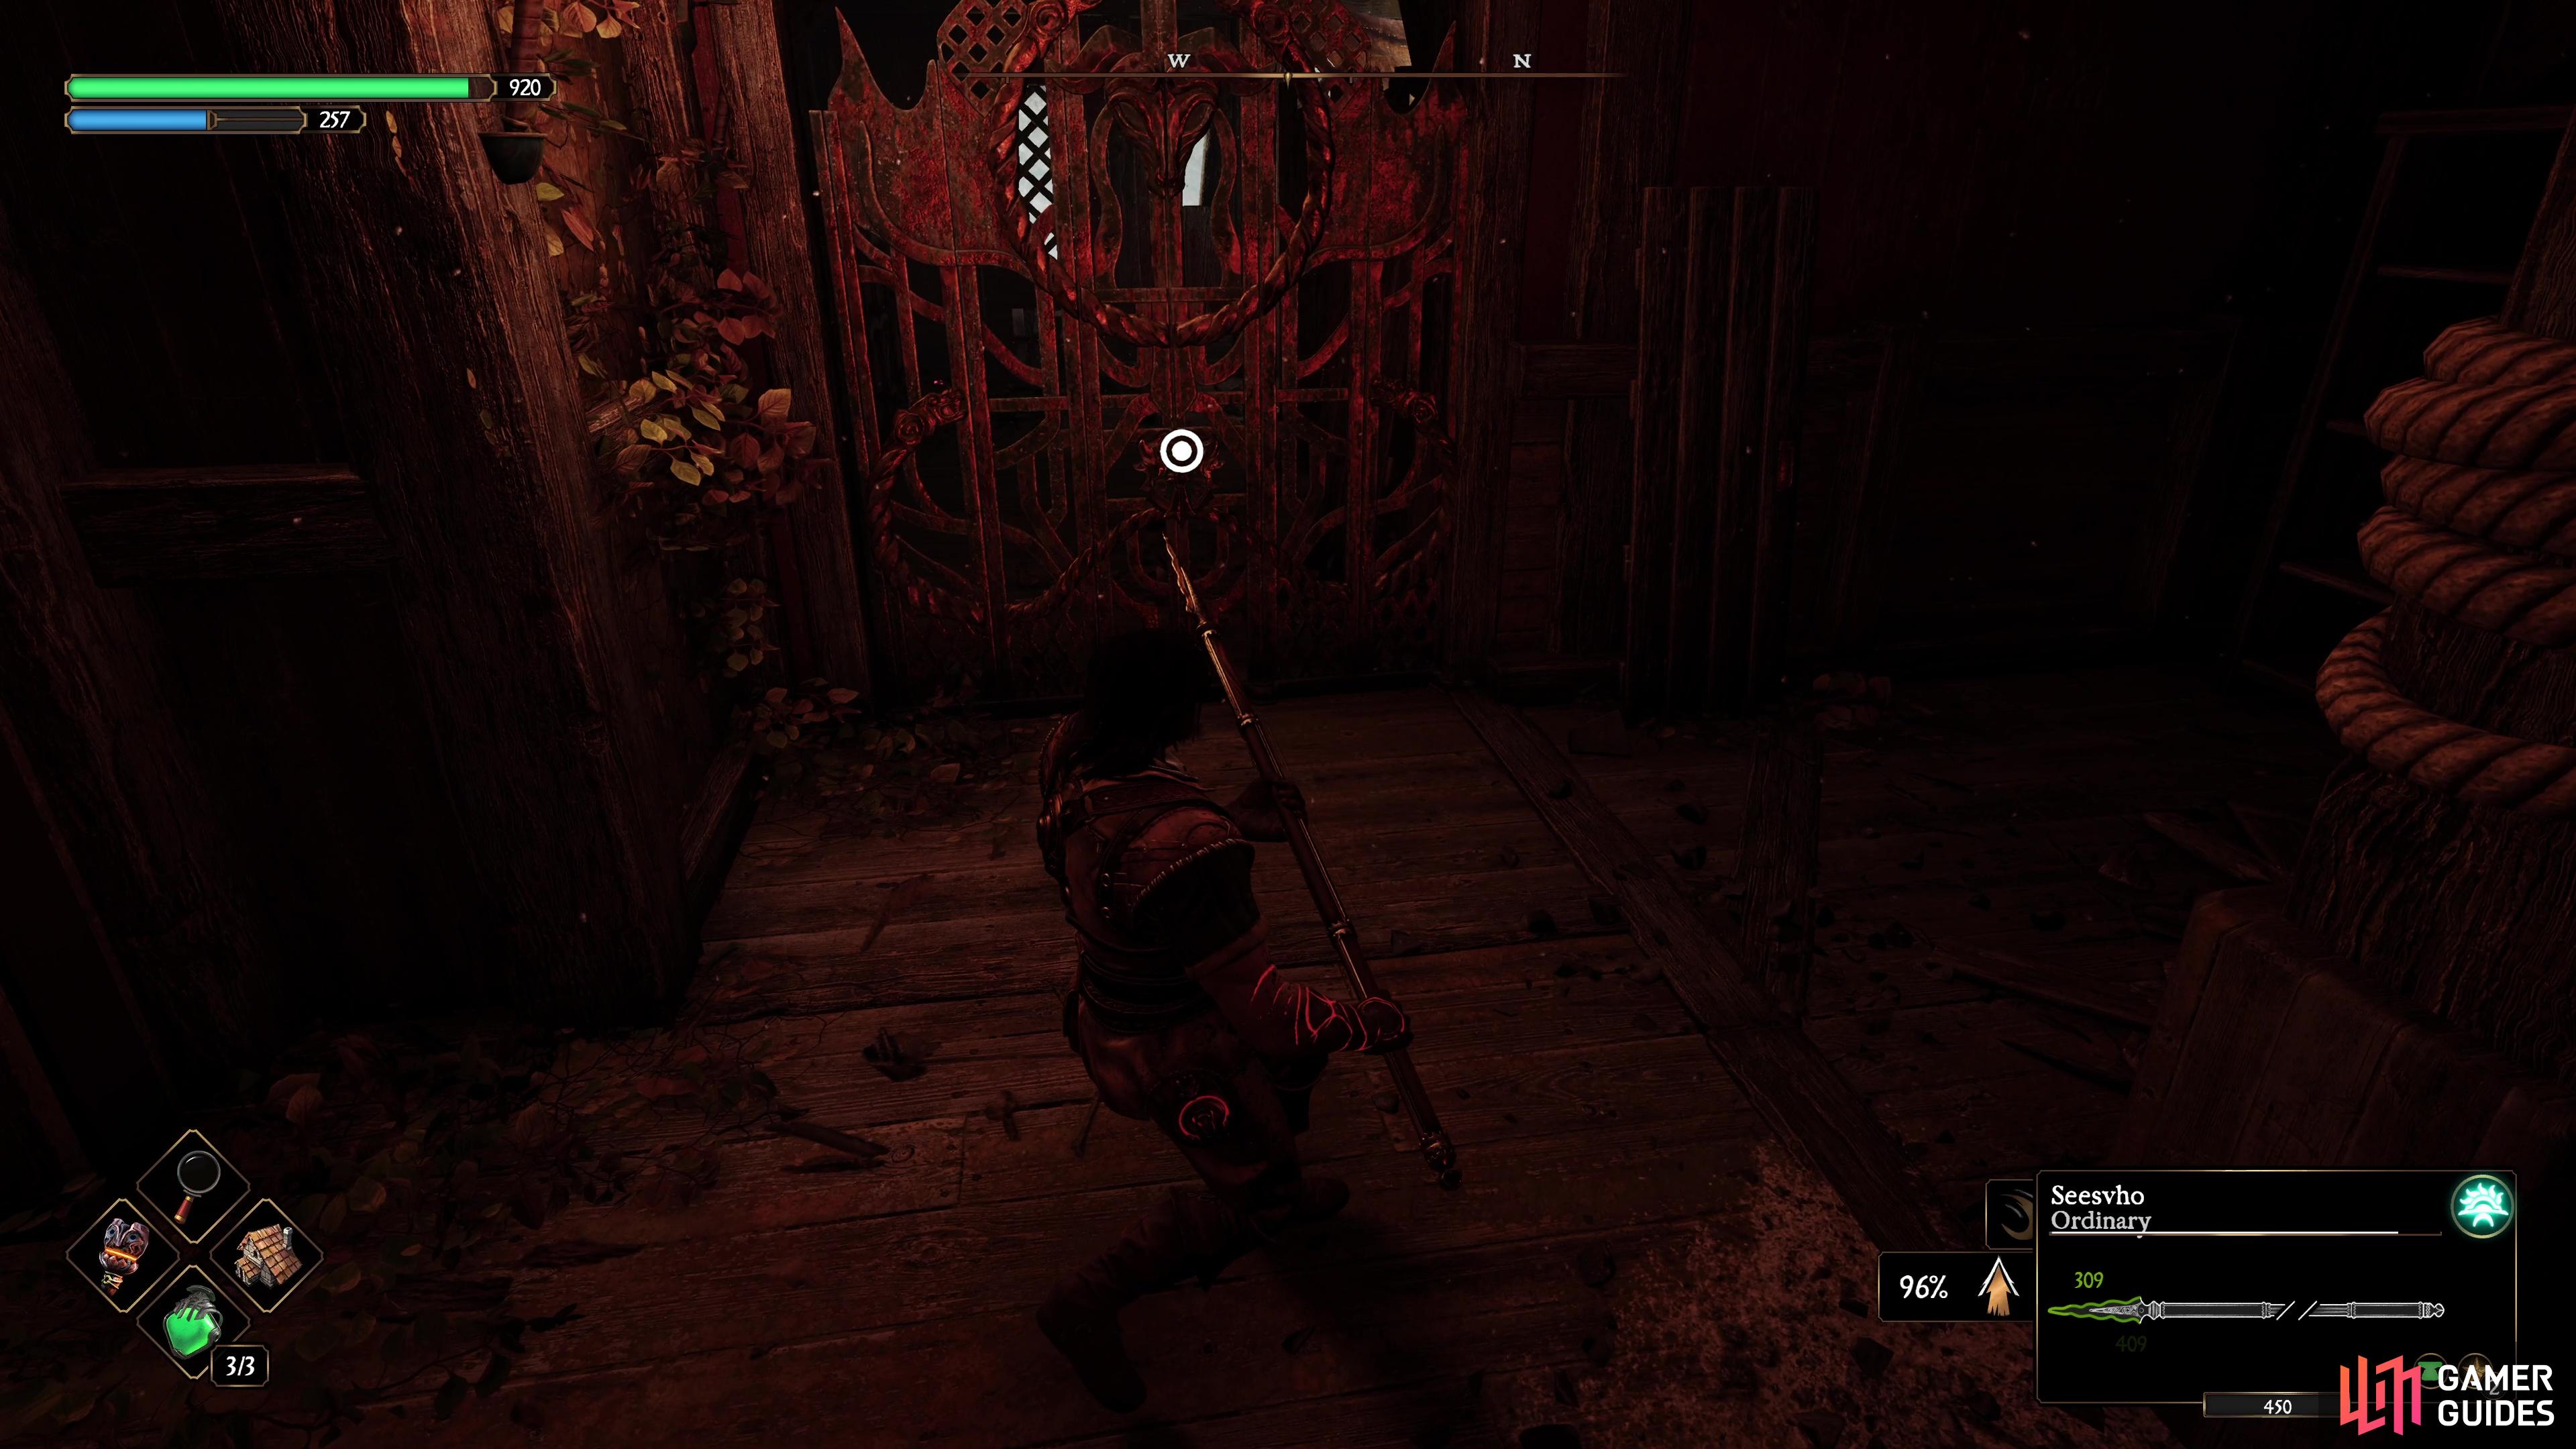
Life Criptex 4: The Crimson Fort - Hollow Hall Entrance
After you drop down into the main room here (where you fight Cavimo Rex for the first time), look under the stairs to find a shortcut door. Ignore this, however, and go outside to the right and jump across the gap, this will lead to a locked door (that requires the Key of the Lord) that leads to the chest.

(1 of 2) Head to the Hallowed Hall Entrance at the Crimson Fort and go into the main room.

Head to the Hallowed Hall Entrance at the Crimson Fort and go into the main room. (left), Go under the stairs and look to the right for this gap, this leads to the Life Criptex. (right)
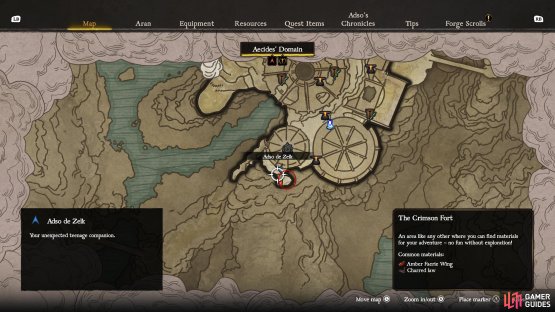
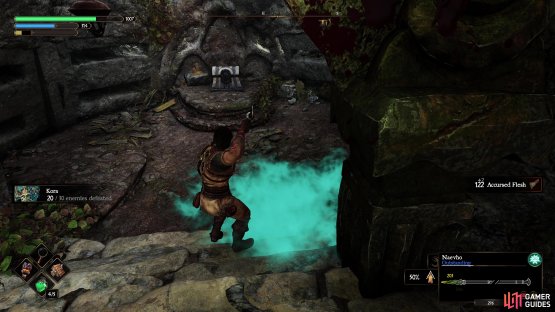
Life Criptex 5: Ancient Garden - Doyen Graves Vantage
Go right from the anvil to find a path leading into a cave and then a rope, take this rope up to the top and barge through the wall to find the chest.
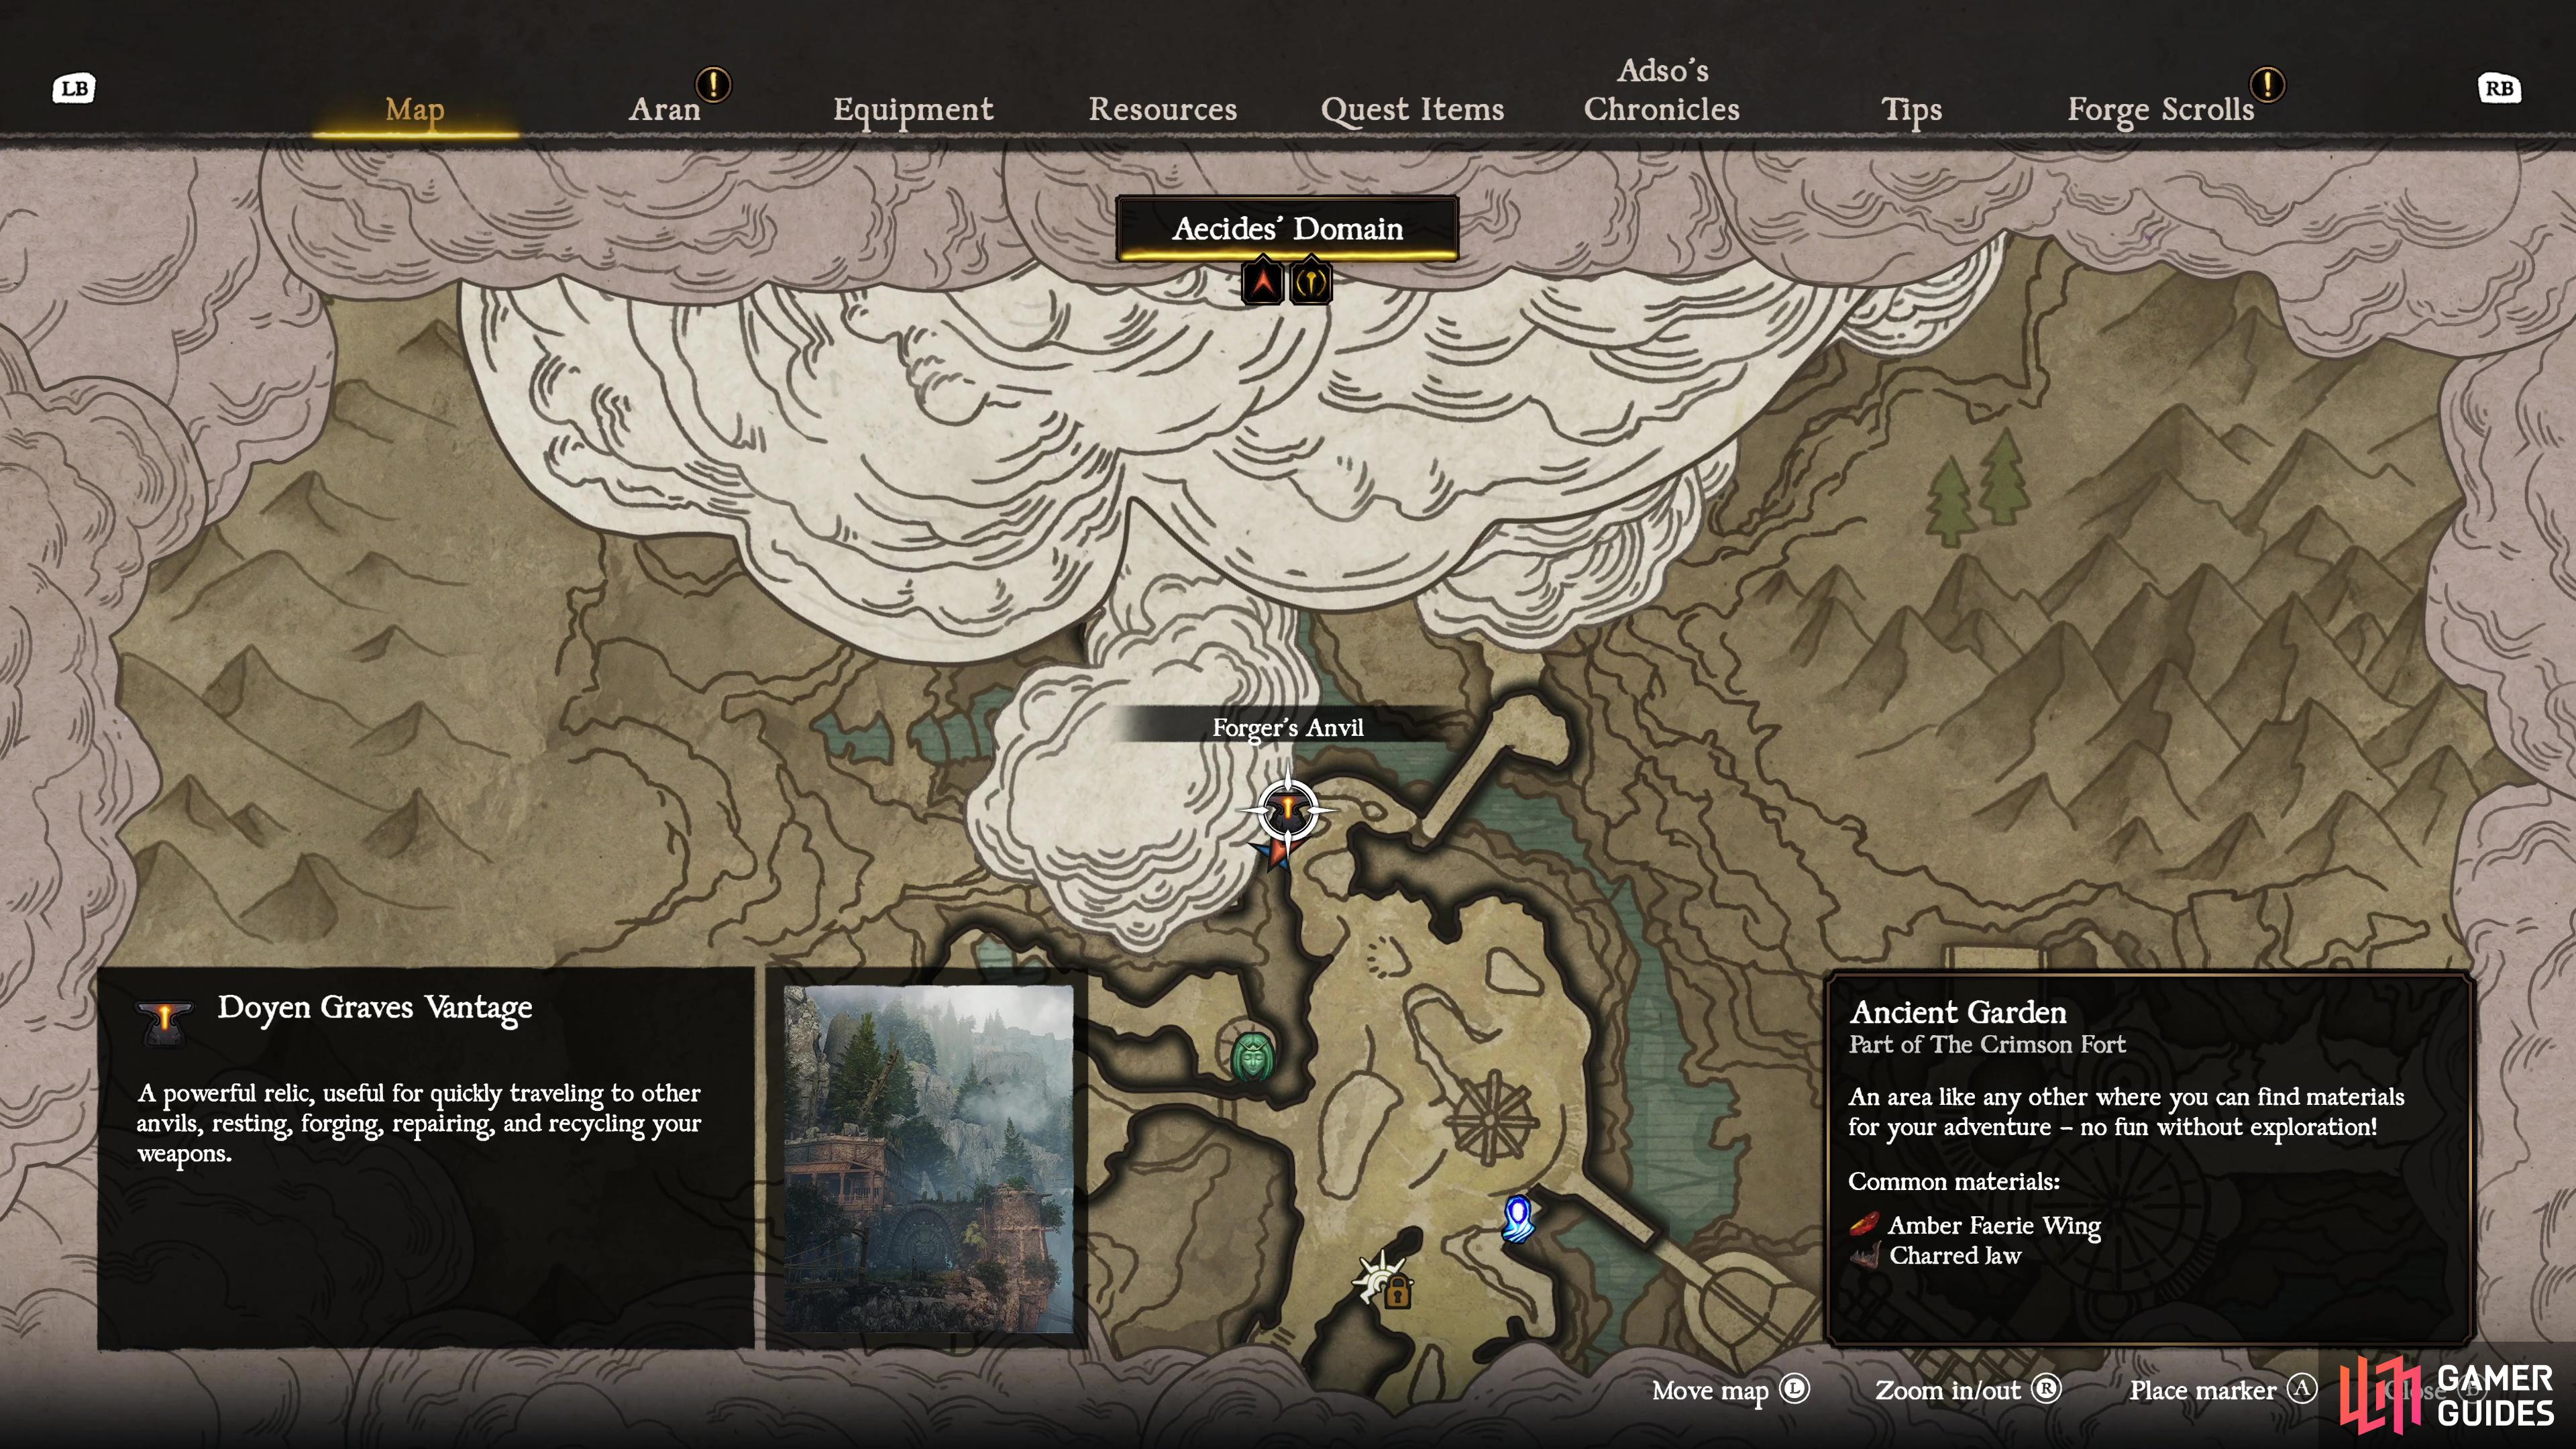

(1 of 2) Go down to the right of the Doyen Graves Vantage anvil to find a cave and a rope leading up.

Go down to the right of the Doyen Graves Vantage anvil to find a cave and a rope leading up. (left), Break through the wall at the top to reach the Life Criptex. (right)
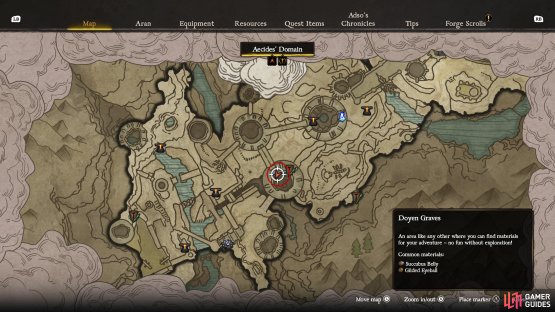
Life Criptex 6: Doyen Graves - Funeral Bridge
After going through the ![]() Phantom Key door to the south (down the slope with the patrolling Queens Hound), go into the cave ahead and defeat the Setanza, then go through the room to reach a tower. Go up the stairs to find a rope that takes you to the next floor, then keep going up to find the chest.
Phantom Key door to the south (down the slope with the patrolling Queens Hound), go into the cave ahead and defeat the Setanza, then go through the room to reach a tower. Go up the stairs to find a rope that takes you to the next floor, then keep going up to find the chest.
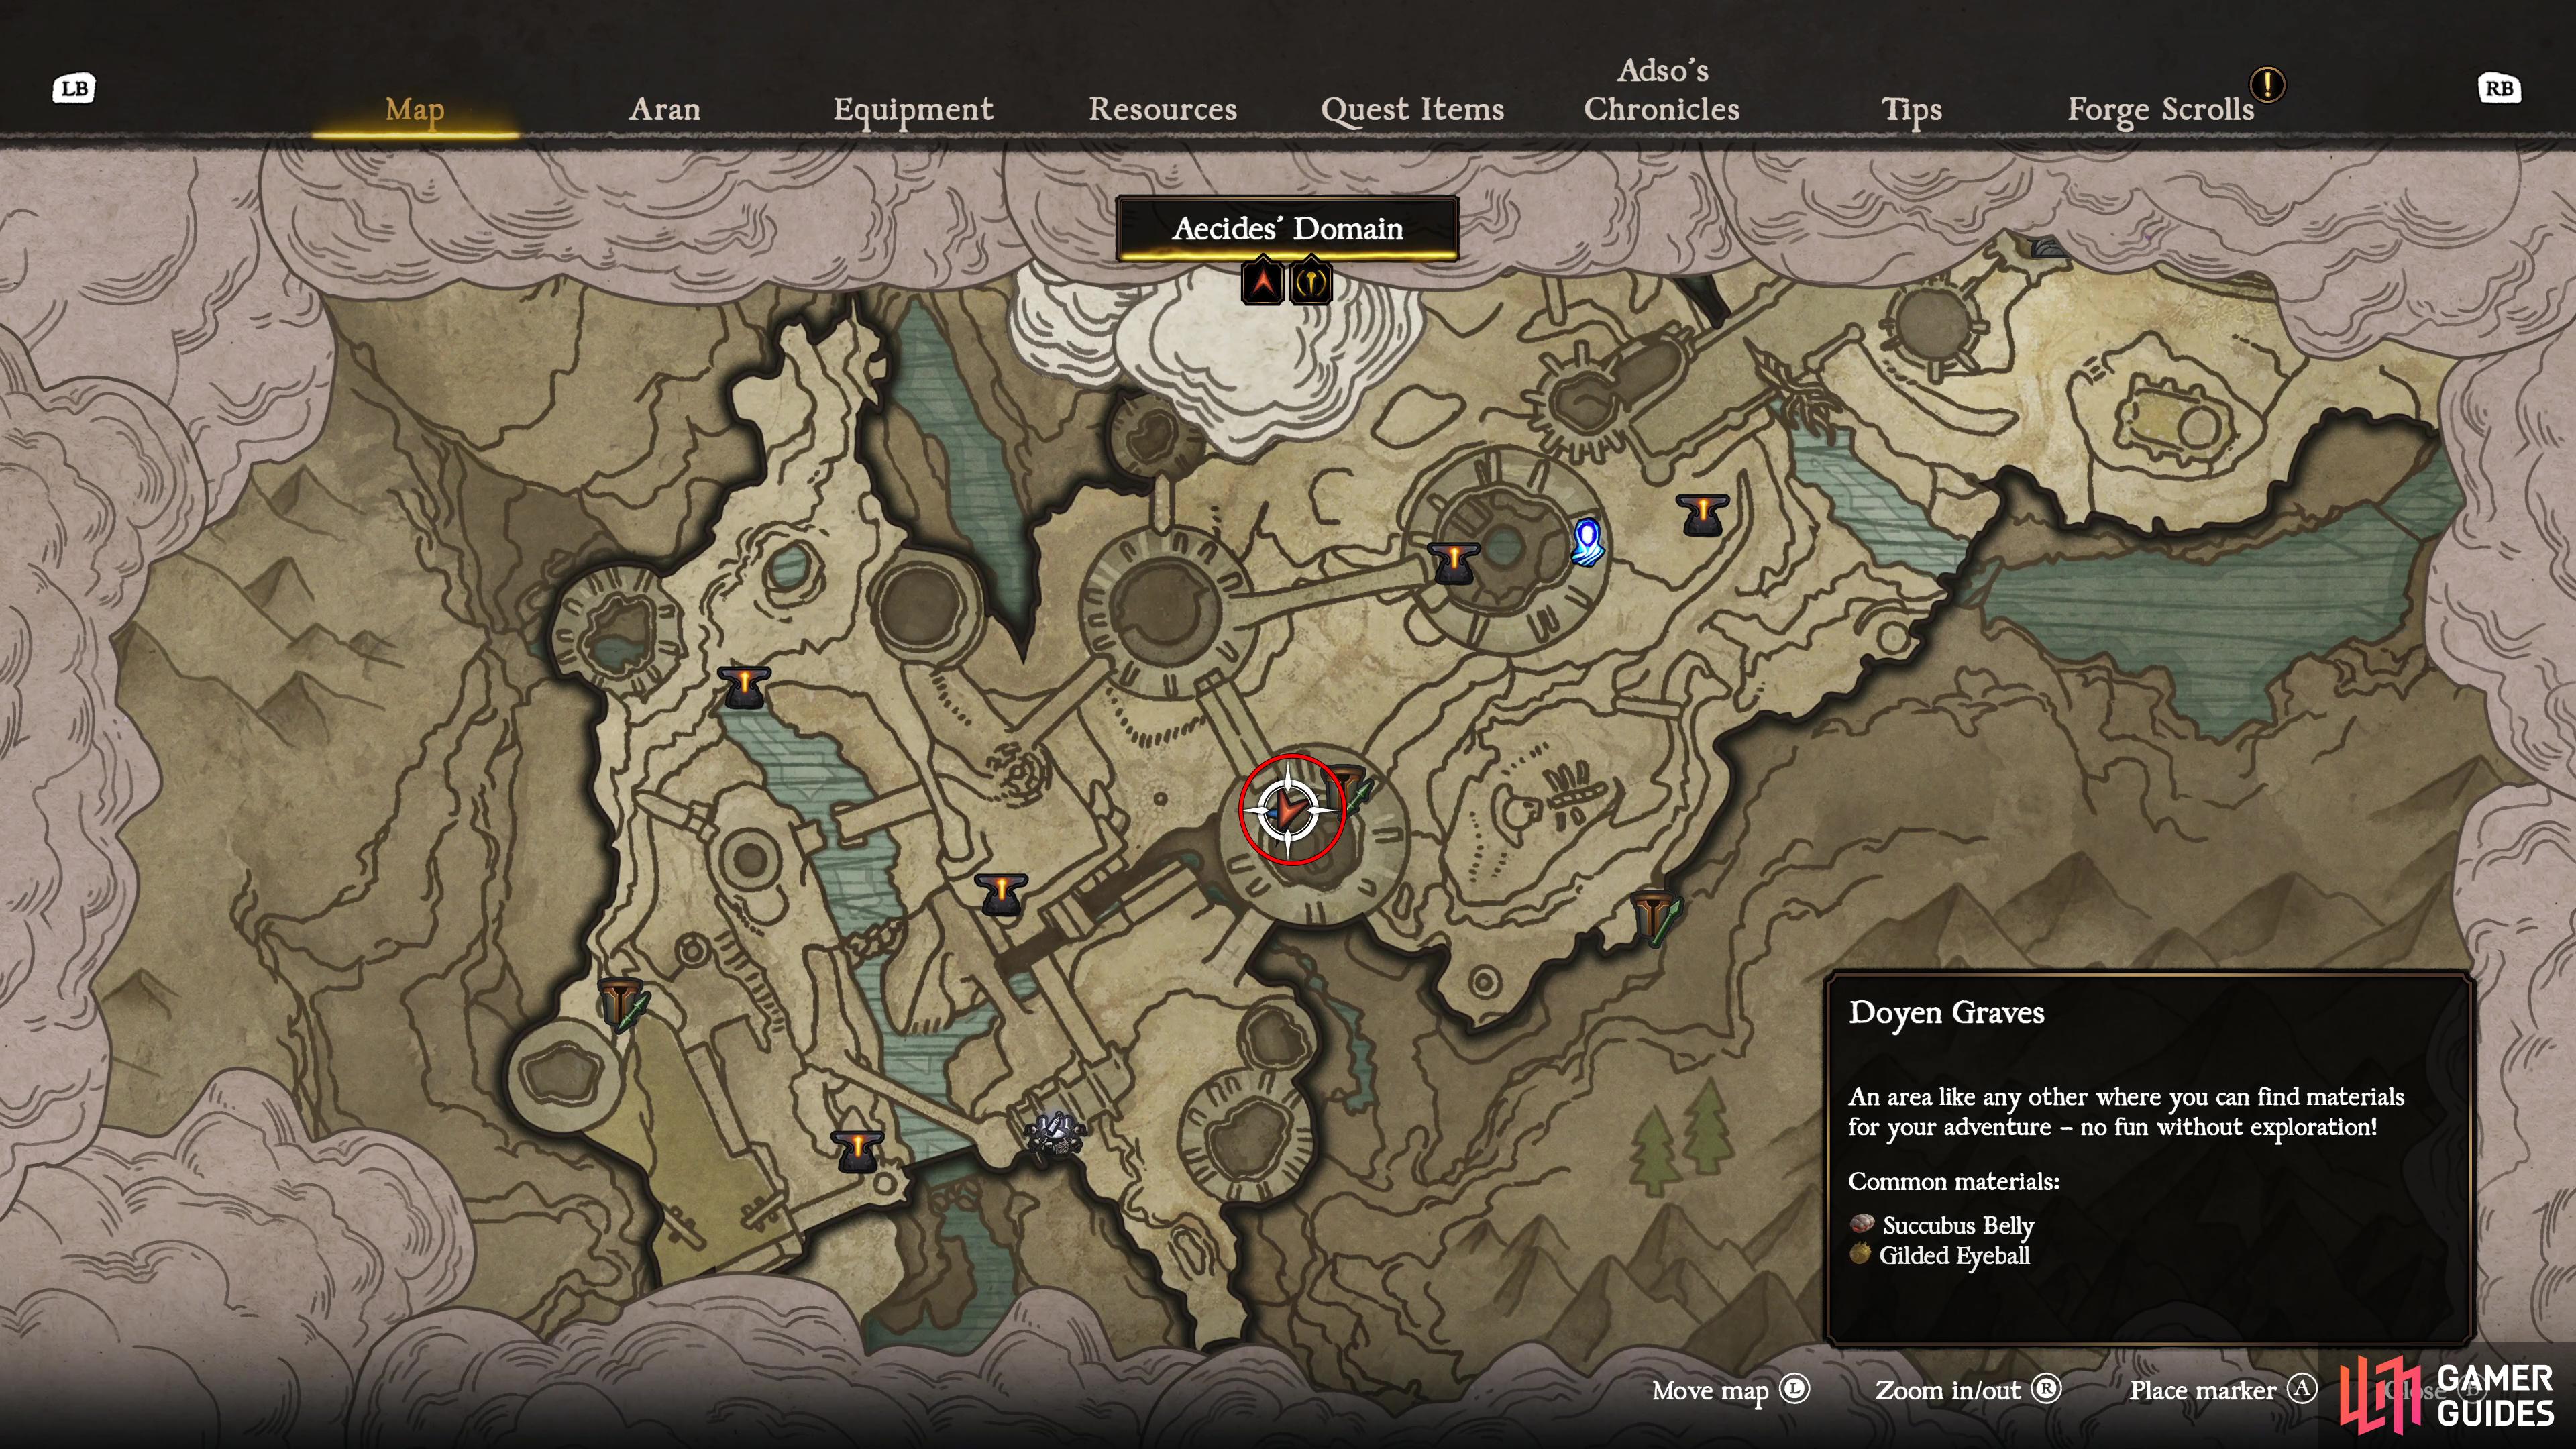
(1 of 2) Return to the Phantom Locked Door south of Doyen Graves’ Funeral Bridge.

Return to the Phantom Locked Door south of Doyen Graves’ Funeral Bridge. (left), Defeat the Setanza, climb the rope in the tower, and go to the top of the stairs to find the Life Criptex. (right)
Life Criptex 7: Doyen Graves - Cursed Bridge
Go through the gate near where the Automaton is and then take a right at the fork, the chest can be found inside the building at the end here.

(1 of 2) From the Cursed Bridge anvil in the Doyen Graves, go right at the fork after crossing the bridge near the Automaton.

From the Cursed Bridge anvil in the Doyen Graves, go right at the fork after crossing the bridge near the Automaton. (left), You’ll find a crypt with the chest holding the Life Criptex. (right)
Life Criptex 8: Kar-Lethel Swamp - Angel’s Cliff
After you go through the area with the Automaton to the west of Glinda’s hut, go to the northeast of this area to find a Vexer village where it can be found in a chest there.

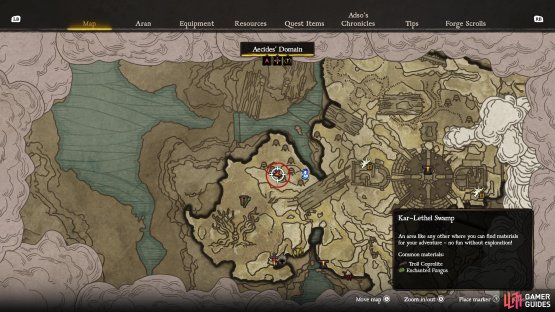
(1 of 2) Go to the west of Angel’s Cliff in the Kar-Lethel Swamp and to the Vexer village in the northeast.

Go to the west of Angel’s Cliff in the Kar-Lethel Swamp and to the Vexer village in the northeast. (left), You’ll find the Life Criptex behind one of the huts there. (right)
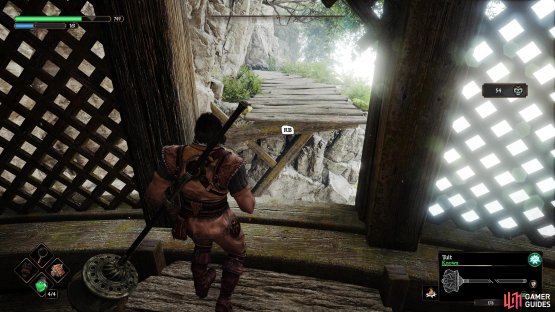
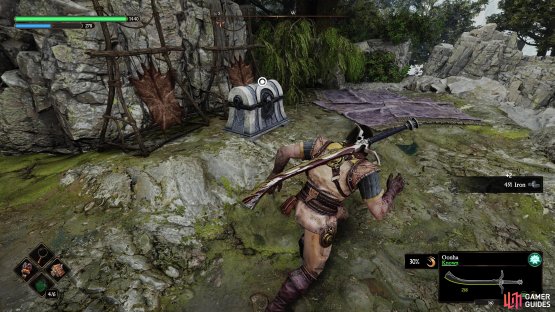
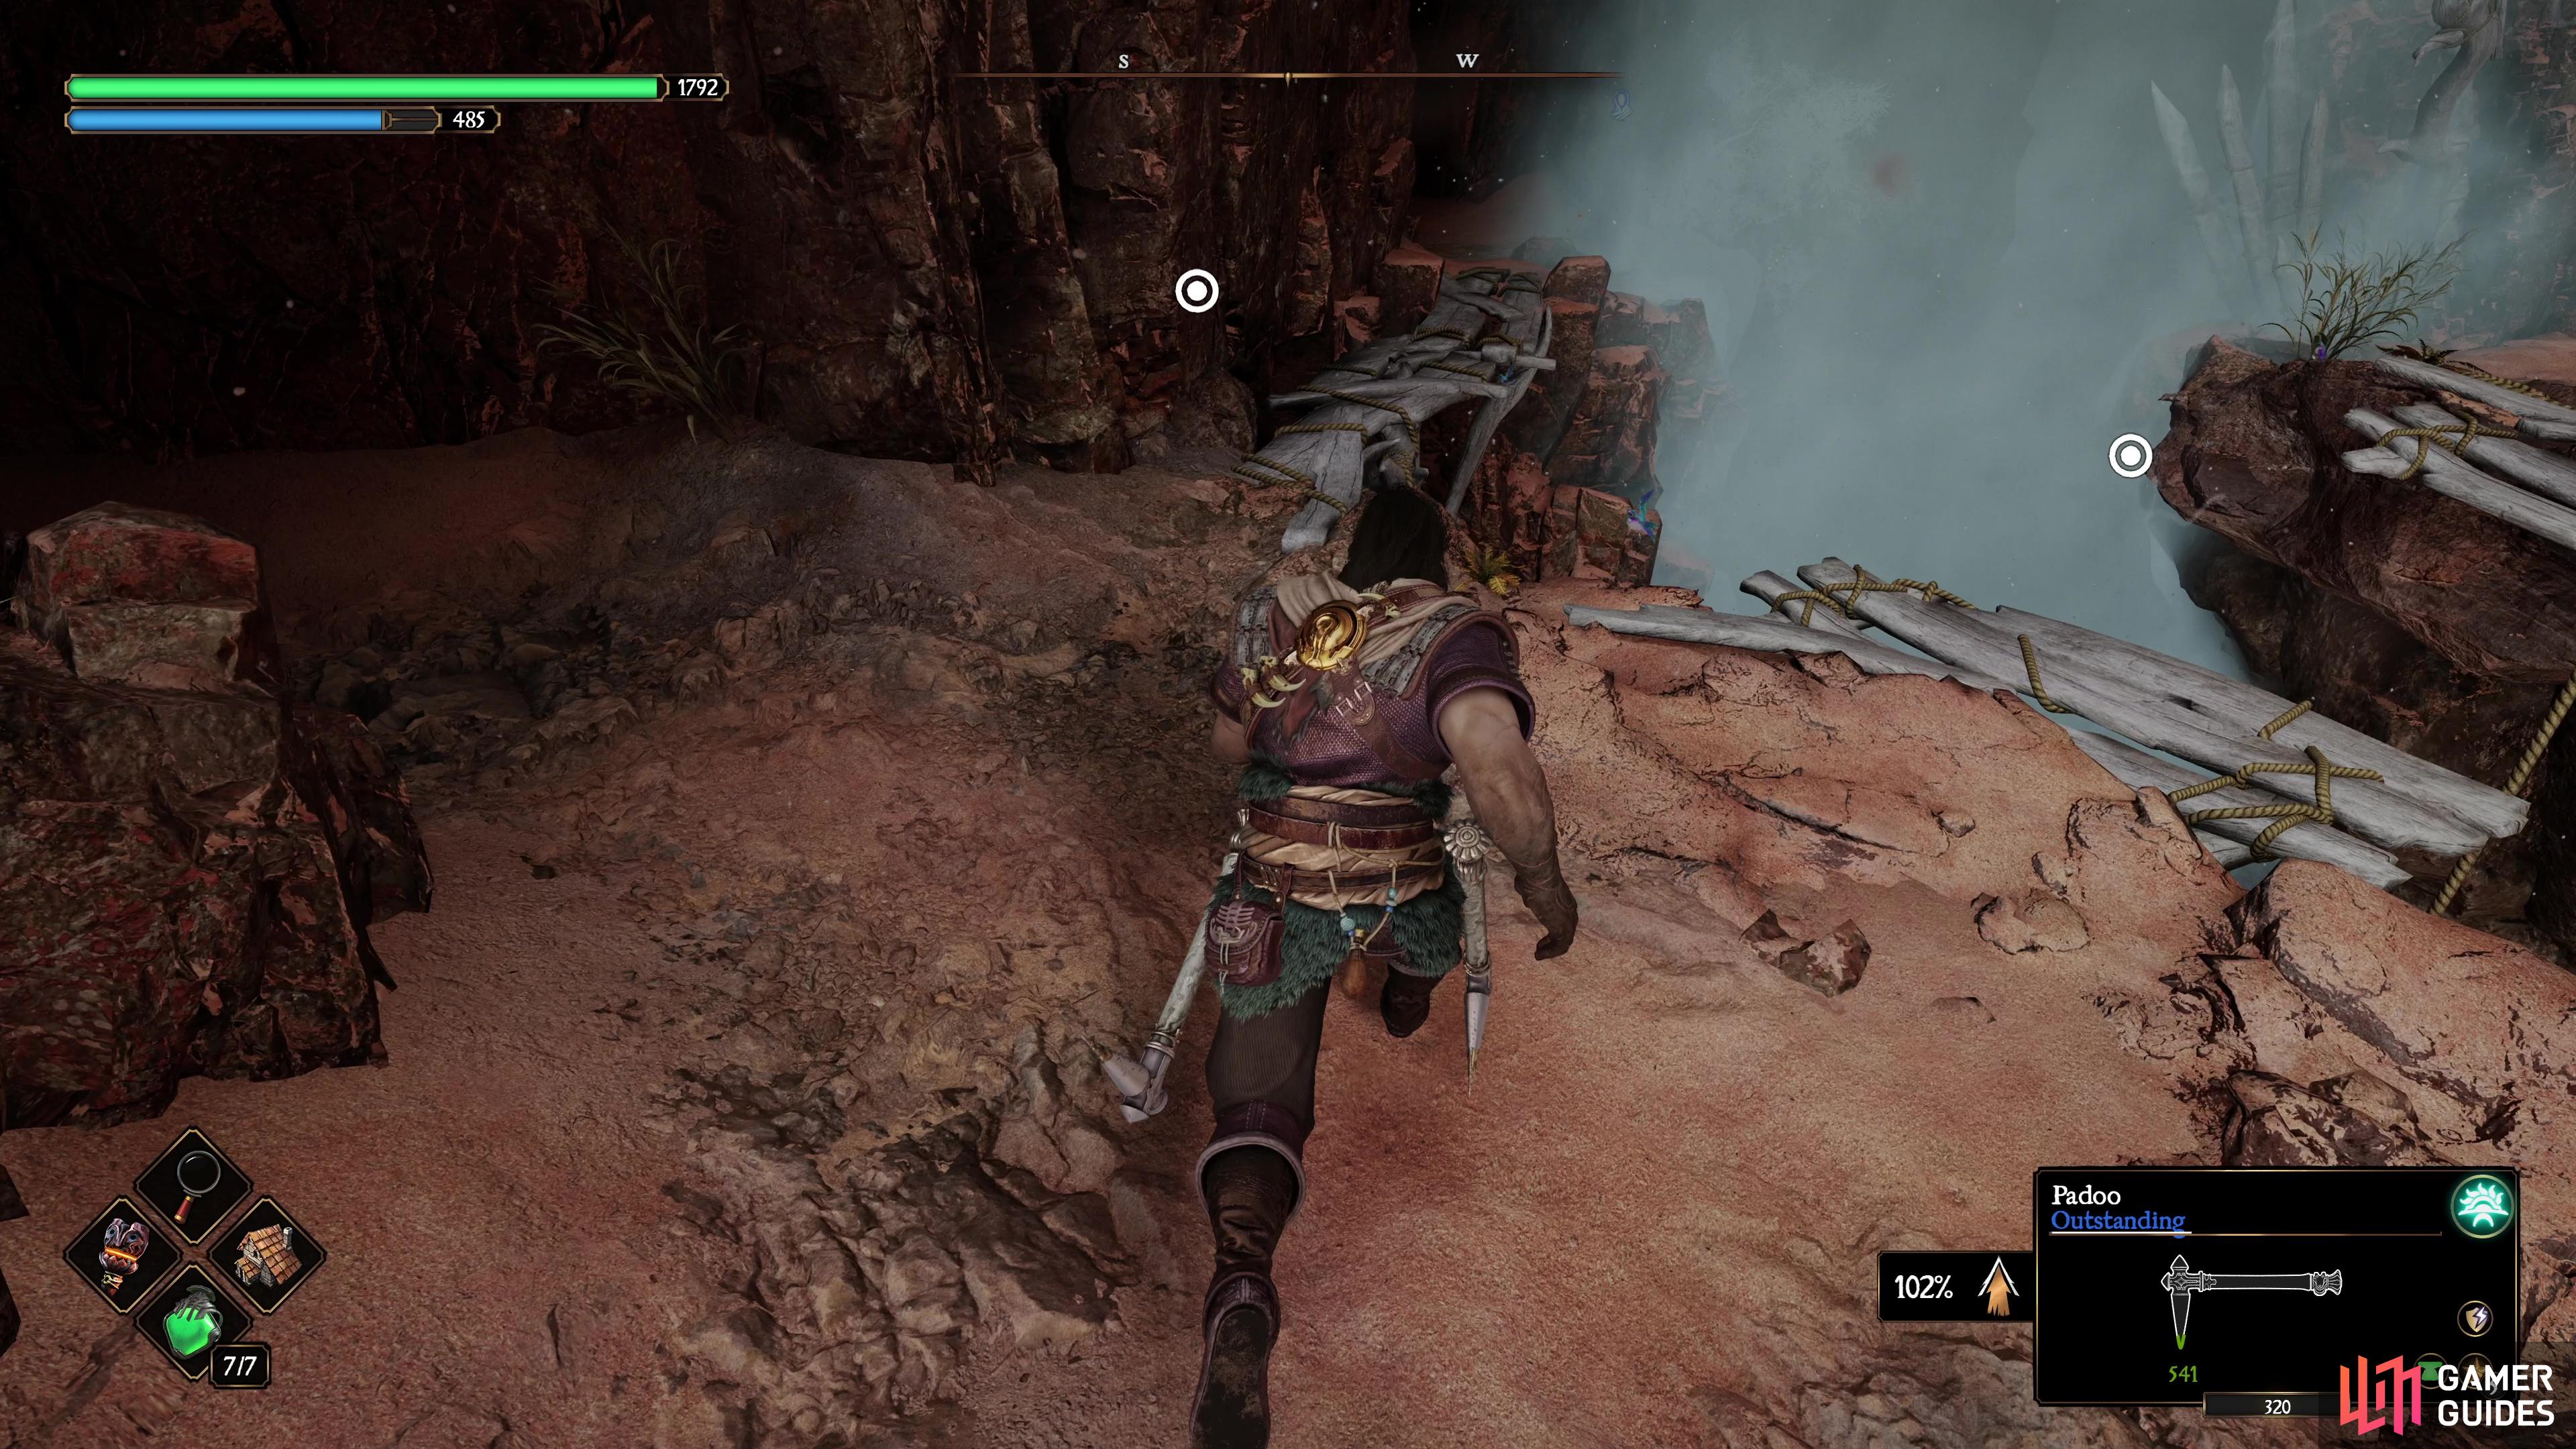
Life Criptex 9: Tok’s Kingdom - The Roggs Mountains
Located to the south of the ![]() Roggs Watch anvil (in the Long and Winding Road), you need to go around to the west of it by dropping off the lift on to another platform to your left and taking a rope down. From here, jump across a bridge to the east that takes you to this cave housing the chest.
Roggs Watch anvil (in the Long and Winding Road), you need to go around to the west of it by dropping off the lift on to another platform to your left and taking a rope down. From here, jump across a bridge to the east that takes you to this cave housing the chest.
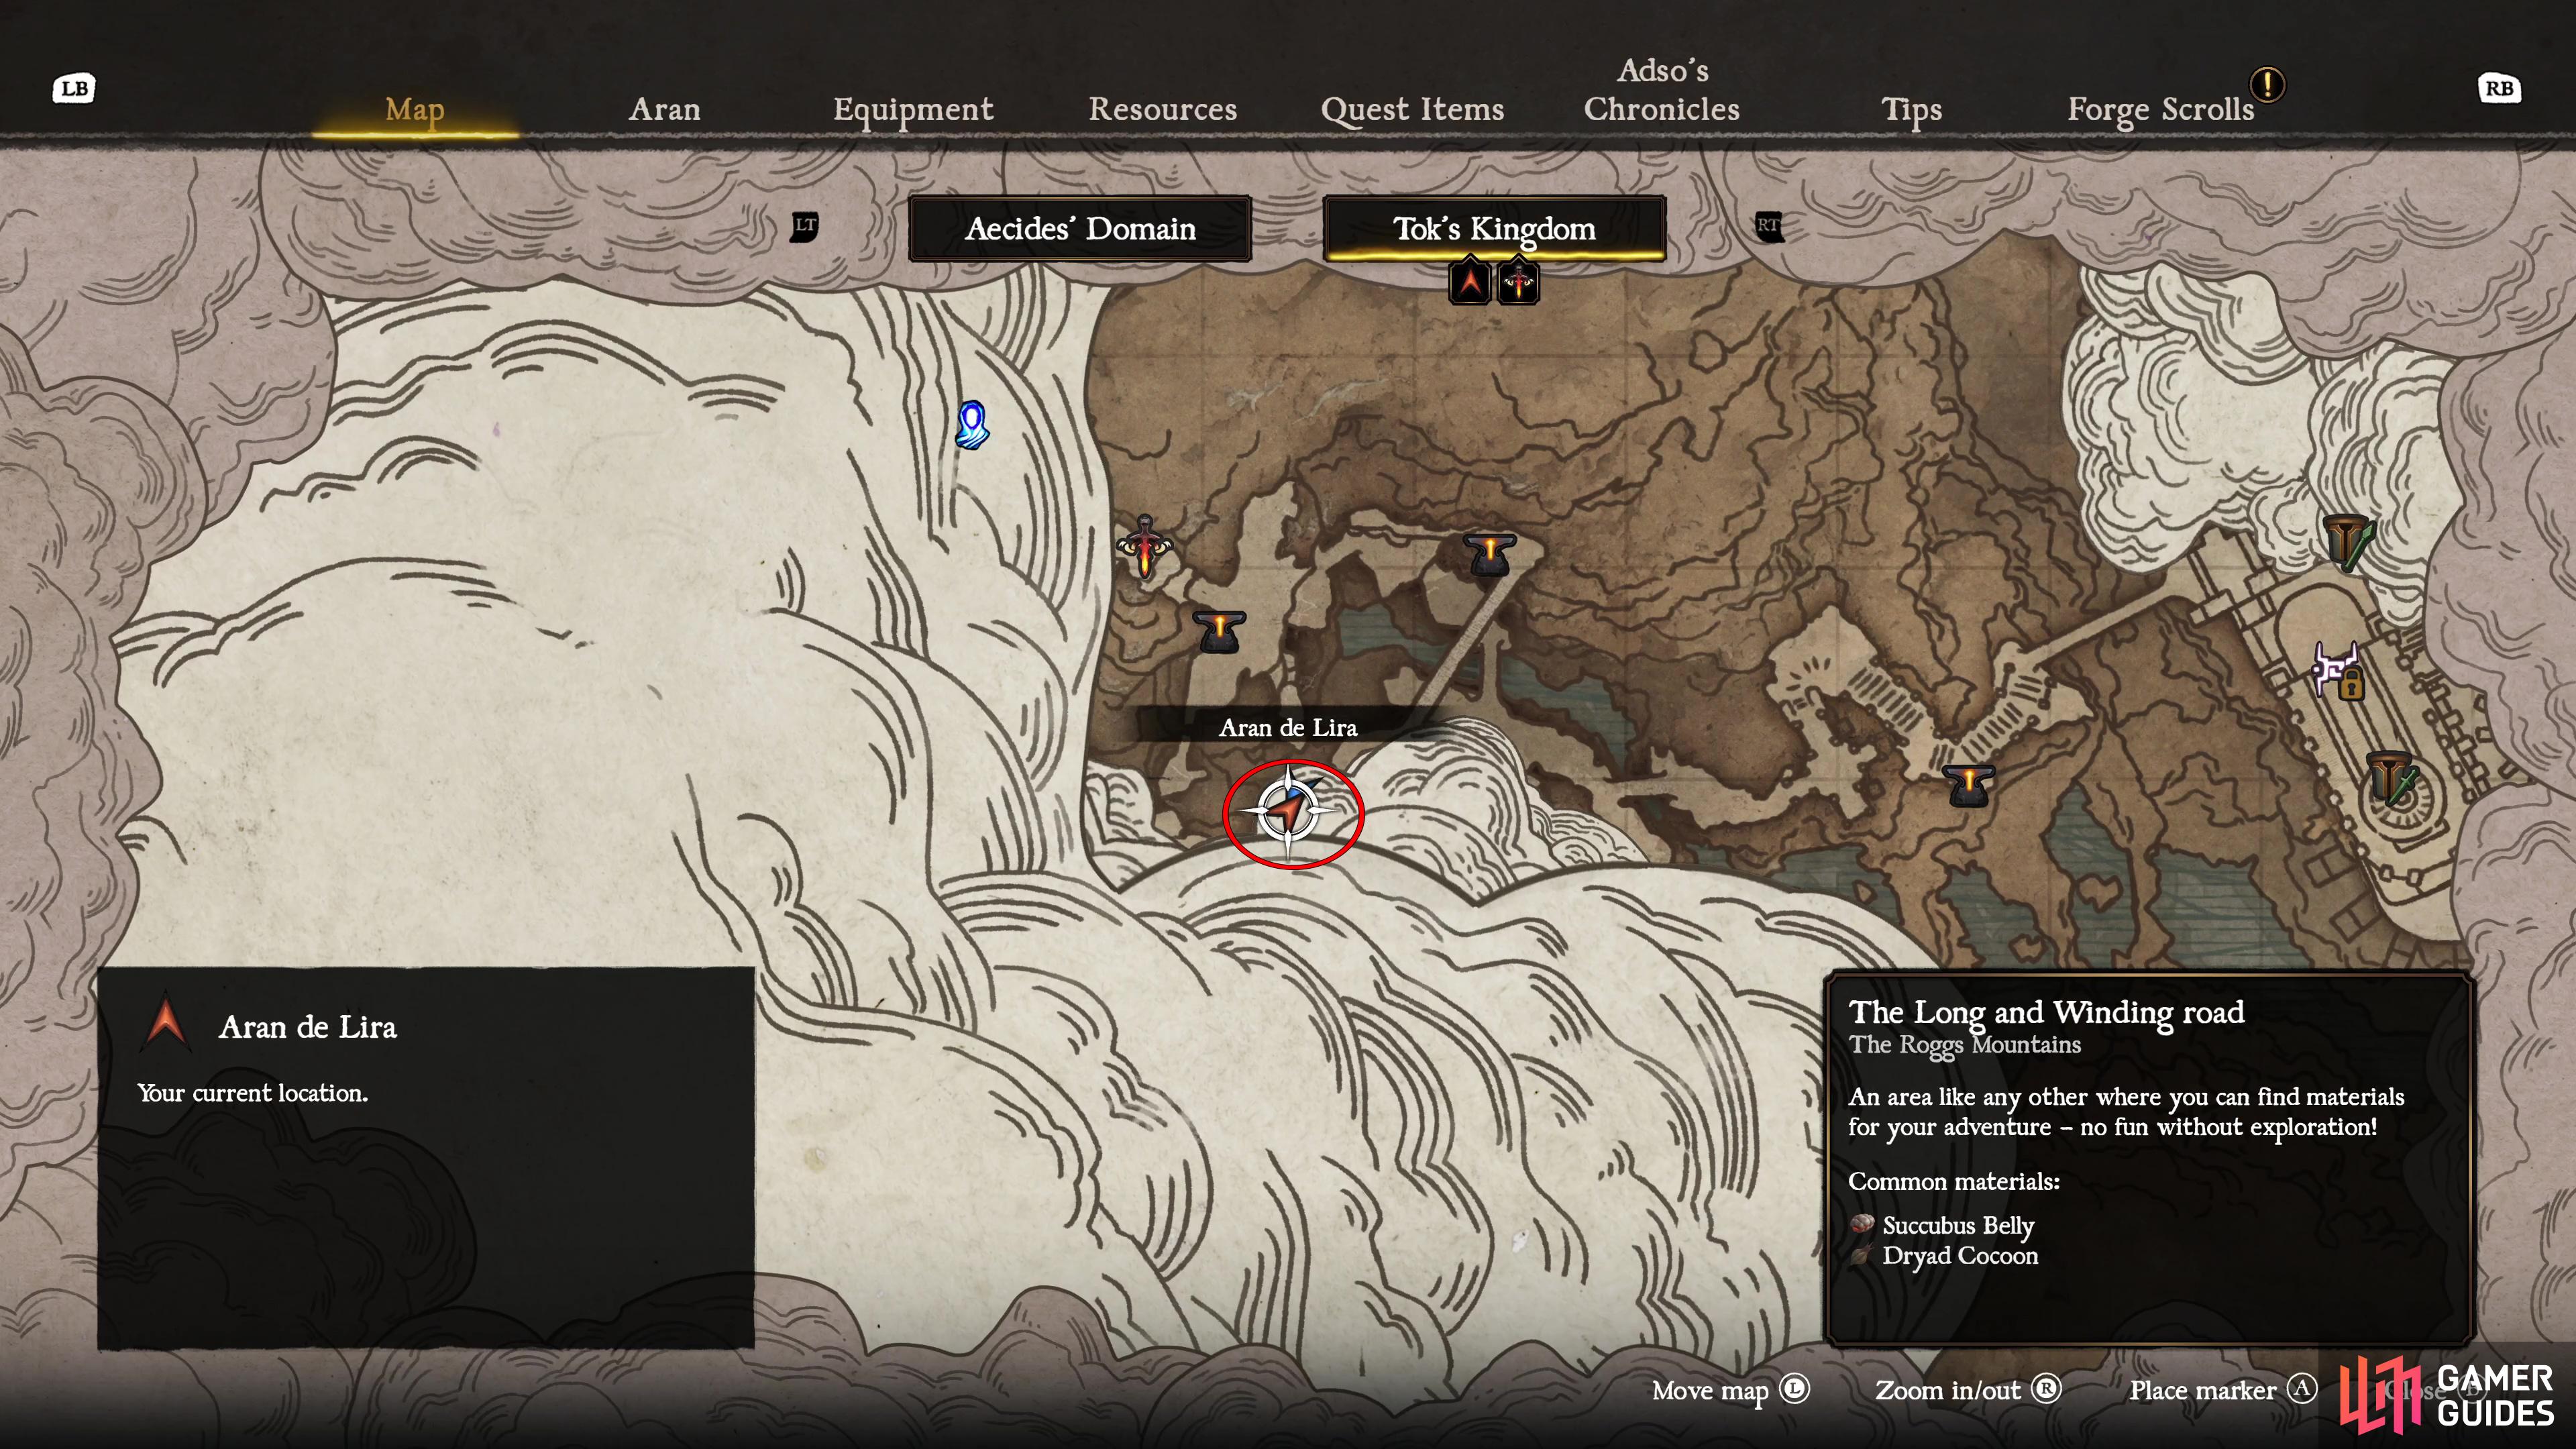


(1 of 2) Make your way south from Roggs Watch by dropping off the lift to your left.
Make your way south from Roggs Watch by dropping off the lift to your left. (left), Make your way across the gap here to find the Life Criptex in the cave. (right)
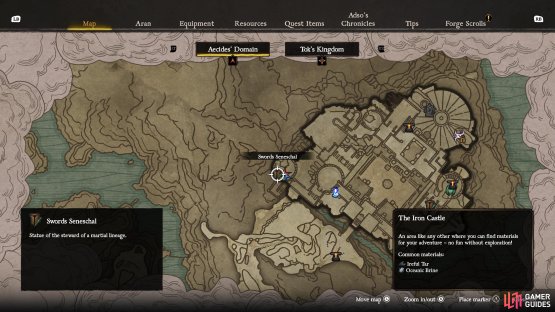
Life Criptex 10: The Iron Castle - Aecides’ Chapel Anvil
This Life Criptex requires the Light Rune to obtain. Unlock the Light Rune in the northwest corner of the ![]() Iron Castle and the chest can be found at the top of the southwest tower. To get there, you’ll need to follow the southern path until you go through the archway, then turn right and take the ladder on top of it. Follow the path and go under the rubble, then follow that path to the end and go up the tower to find the chest.
Iron Castle and the chest can be found at the top of the southwest tower. To get there, you’ll need to follow the southern path until you go through the archway, then turn right and take the ladder on top of it. Follow the path and go under the rubble, then follow that path to the end and go up the tower to find the chest.
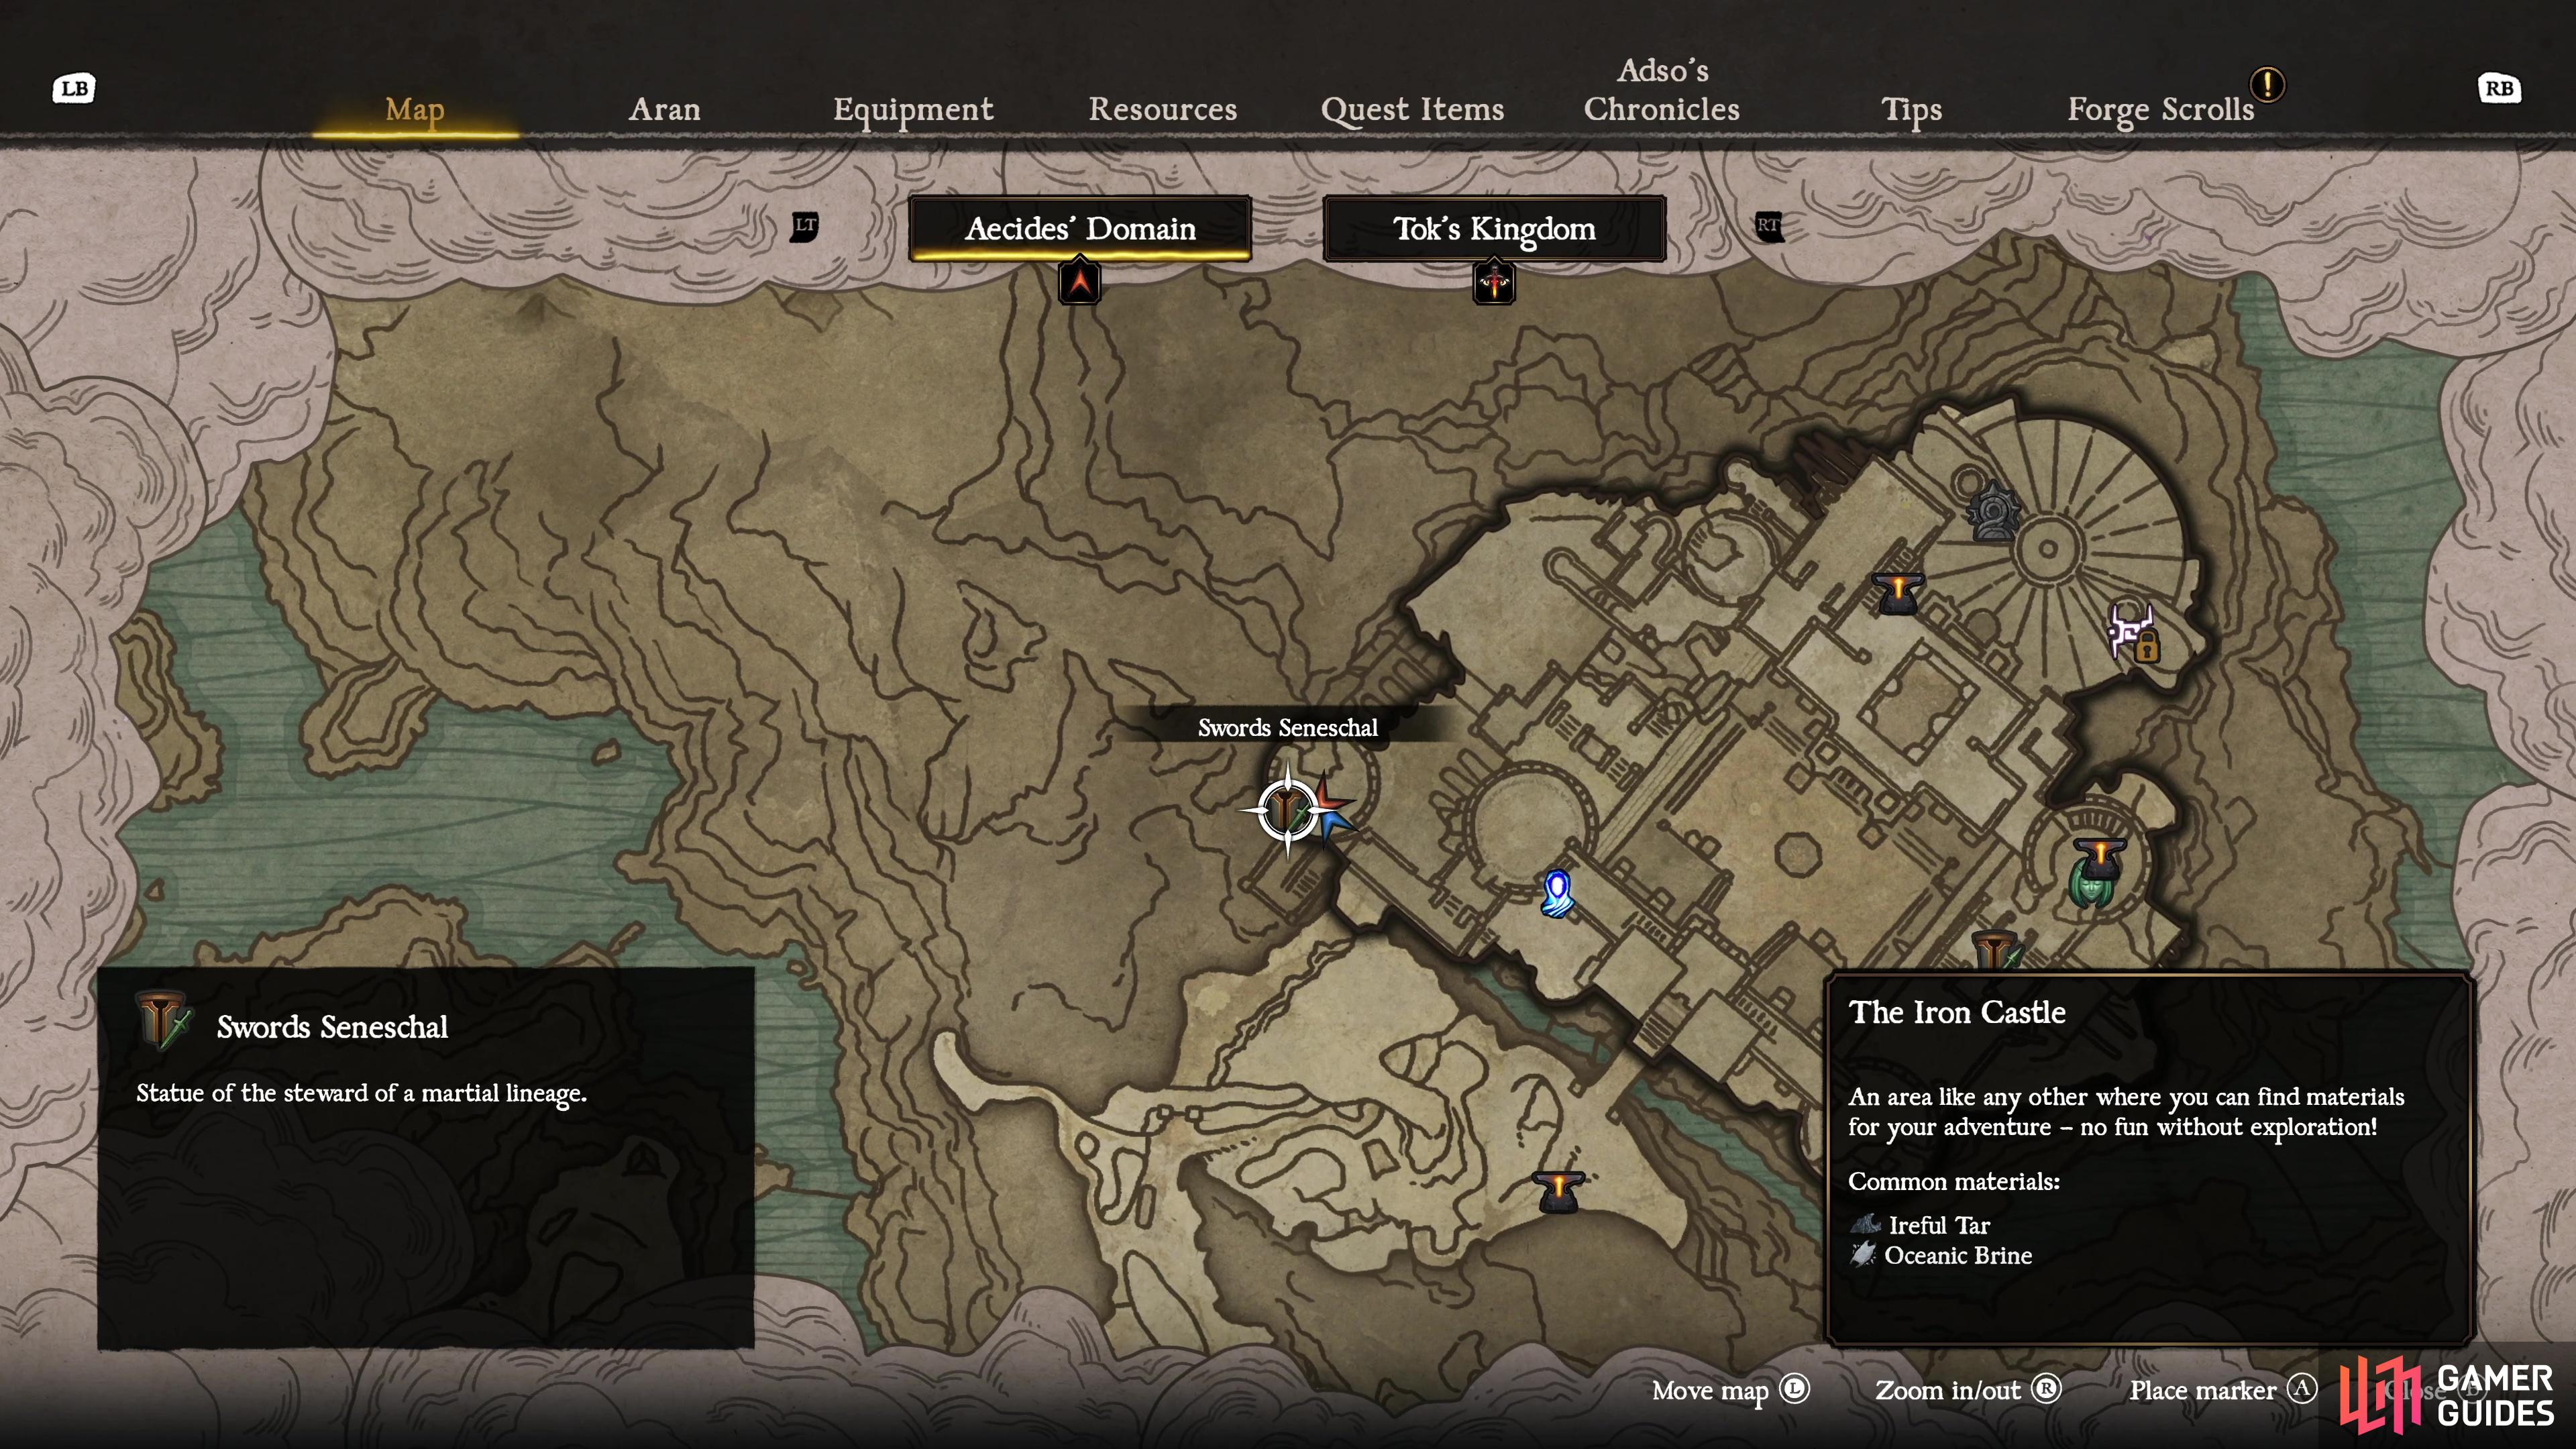
(1 of 2) Uncover the Light Rune in the northwest of the Iron Castle and follow the path.
Uncover the Light Rune in the northwest of the Iron Castle and follow the path. (left), You’ll eventually be able to climb to the top of a gate that leads to the southwest tower containing this Life Criptex. (right)
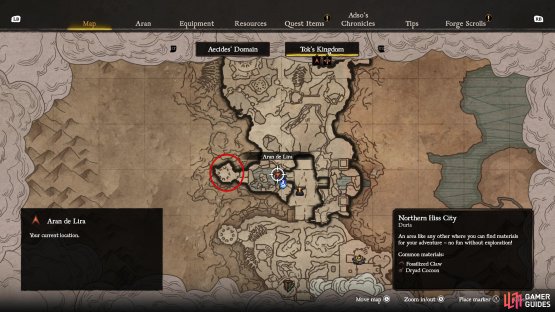
Life Criptex 11: Tok’s Kingdom - Northern Hiss City
Found to the west of the ![]() Central Hiss Hall (where the anvil is), you need to use the medallion on the Hurmuz statue on the western balcony and go into the area it opens to the west. To charge the medallion, go into the Light Rune area underneath to find the Forged Sentinels.
Central Hiss Hall (where the anvil is), you need to use the medallion on the Hurmuz statue on the western balcony and go into the area it opens to the west. To charge the medallion, go into the Light Rune area underneath to find the Forged Sentinels.


(1 of 2) Head to the Northern Hiss City and charge the medallion of Hurmuz.

Head to the Northern Hiss City and charge the medallion of Hurmuz. (left), Use this on the statue and go into the room it uncovers to find the Life Criptex. (right)
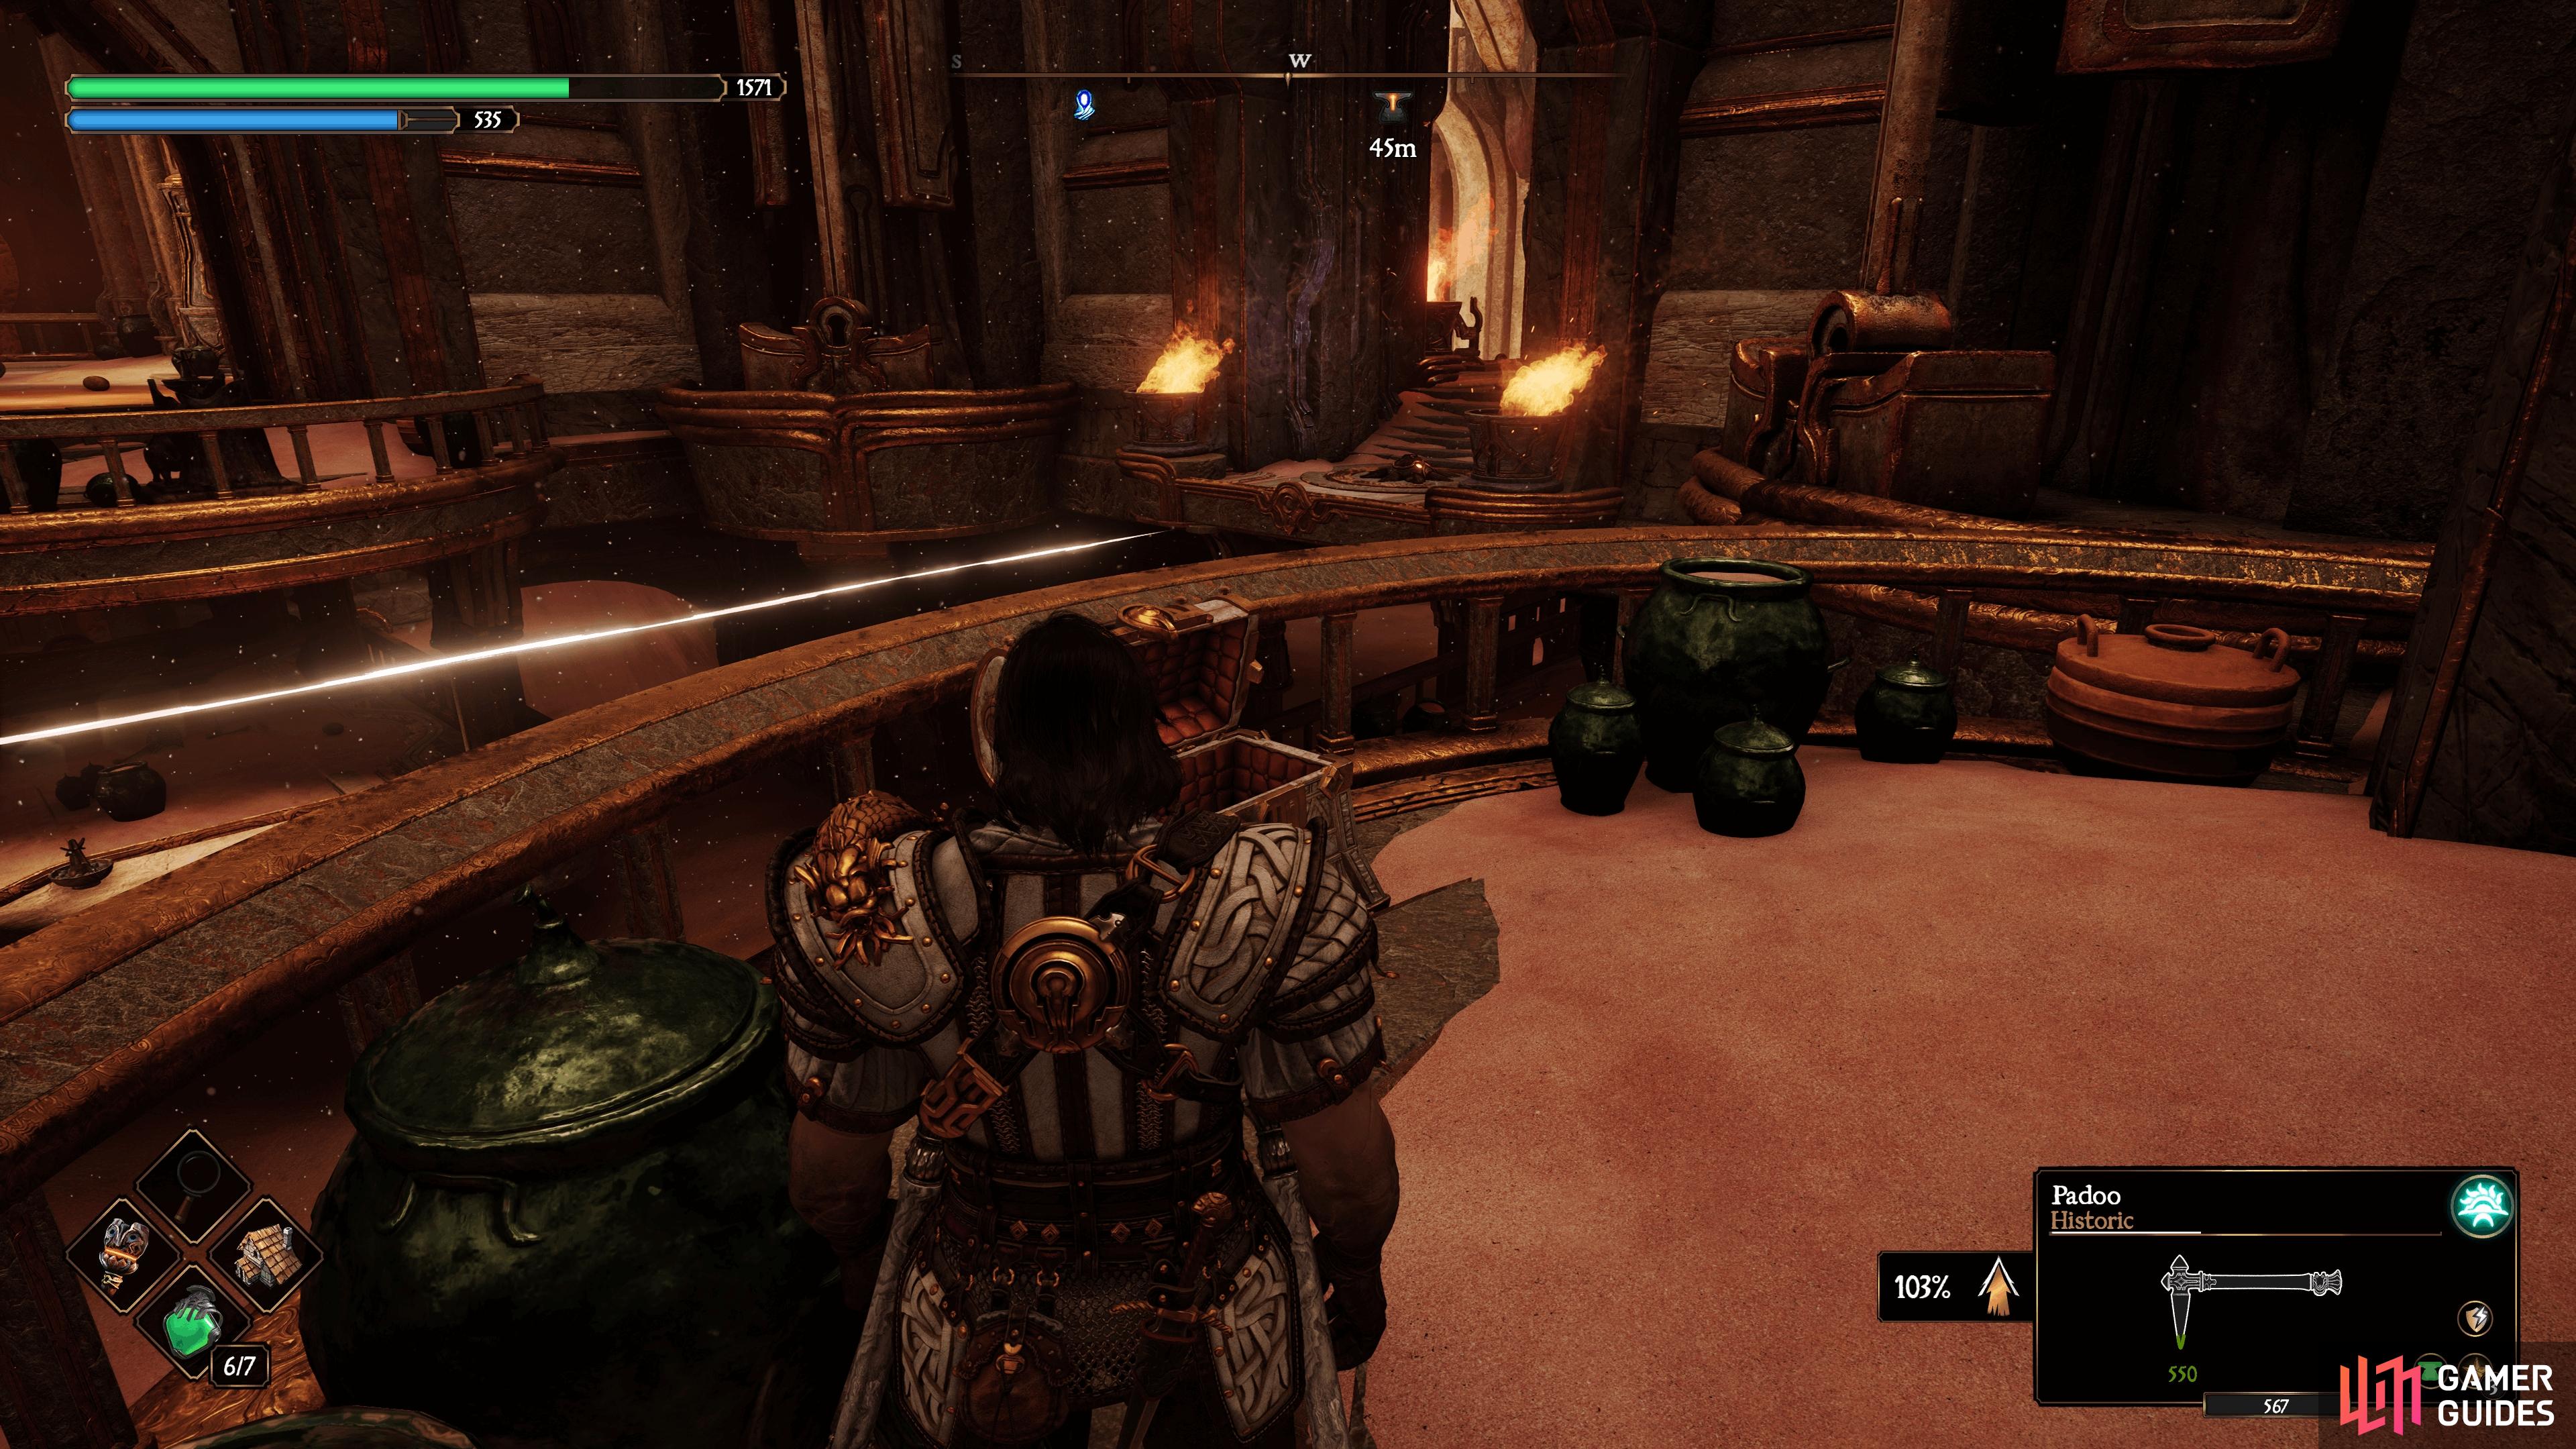
Life Criptex 12: Tok’s Kingdom - Citadel of Tharas-Munda
The final Life Criptex can be found by running the Blue Flame from the bottom all the way around to the end at the top (mind the sand traps) to create a bridge over to this chest. You’ll need to be quick about this, so it helps to clear out the enemies first before grabbing the flame.
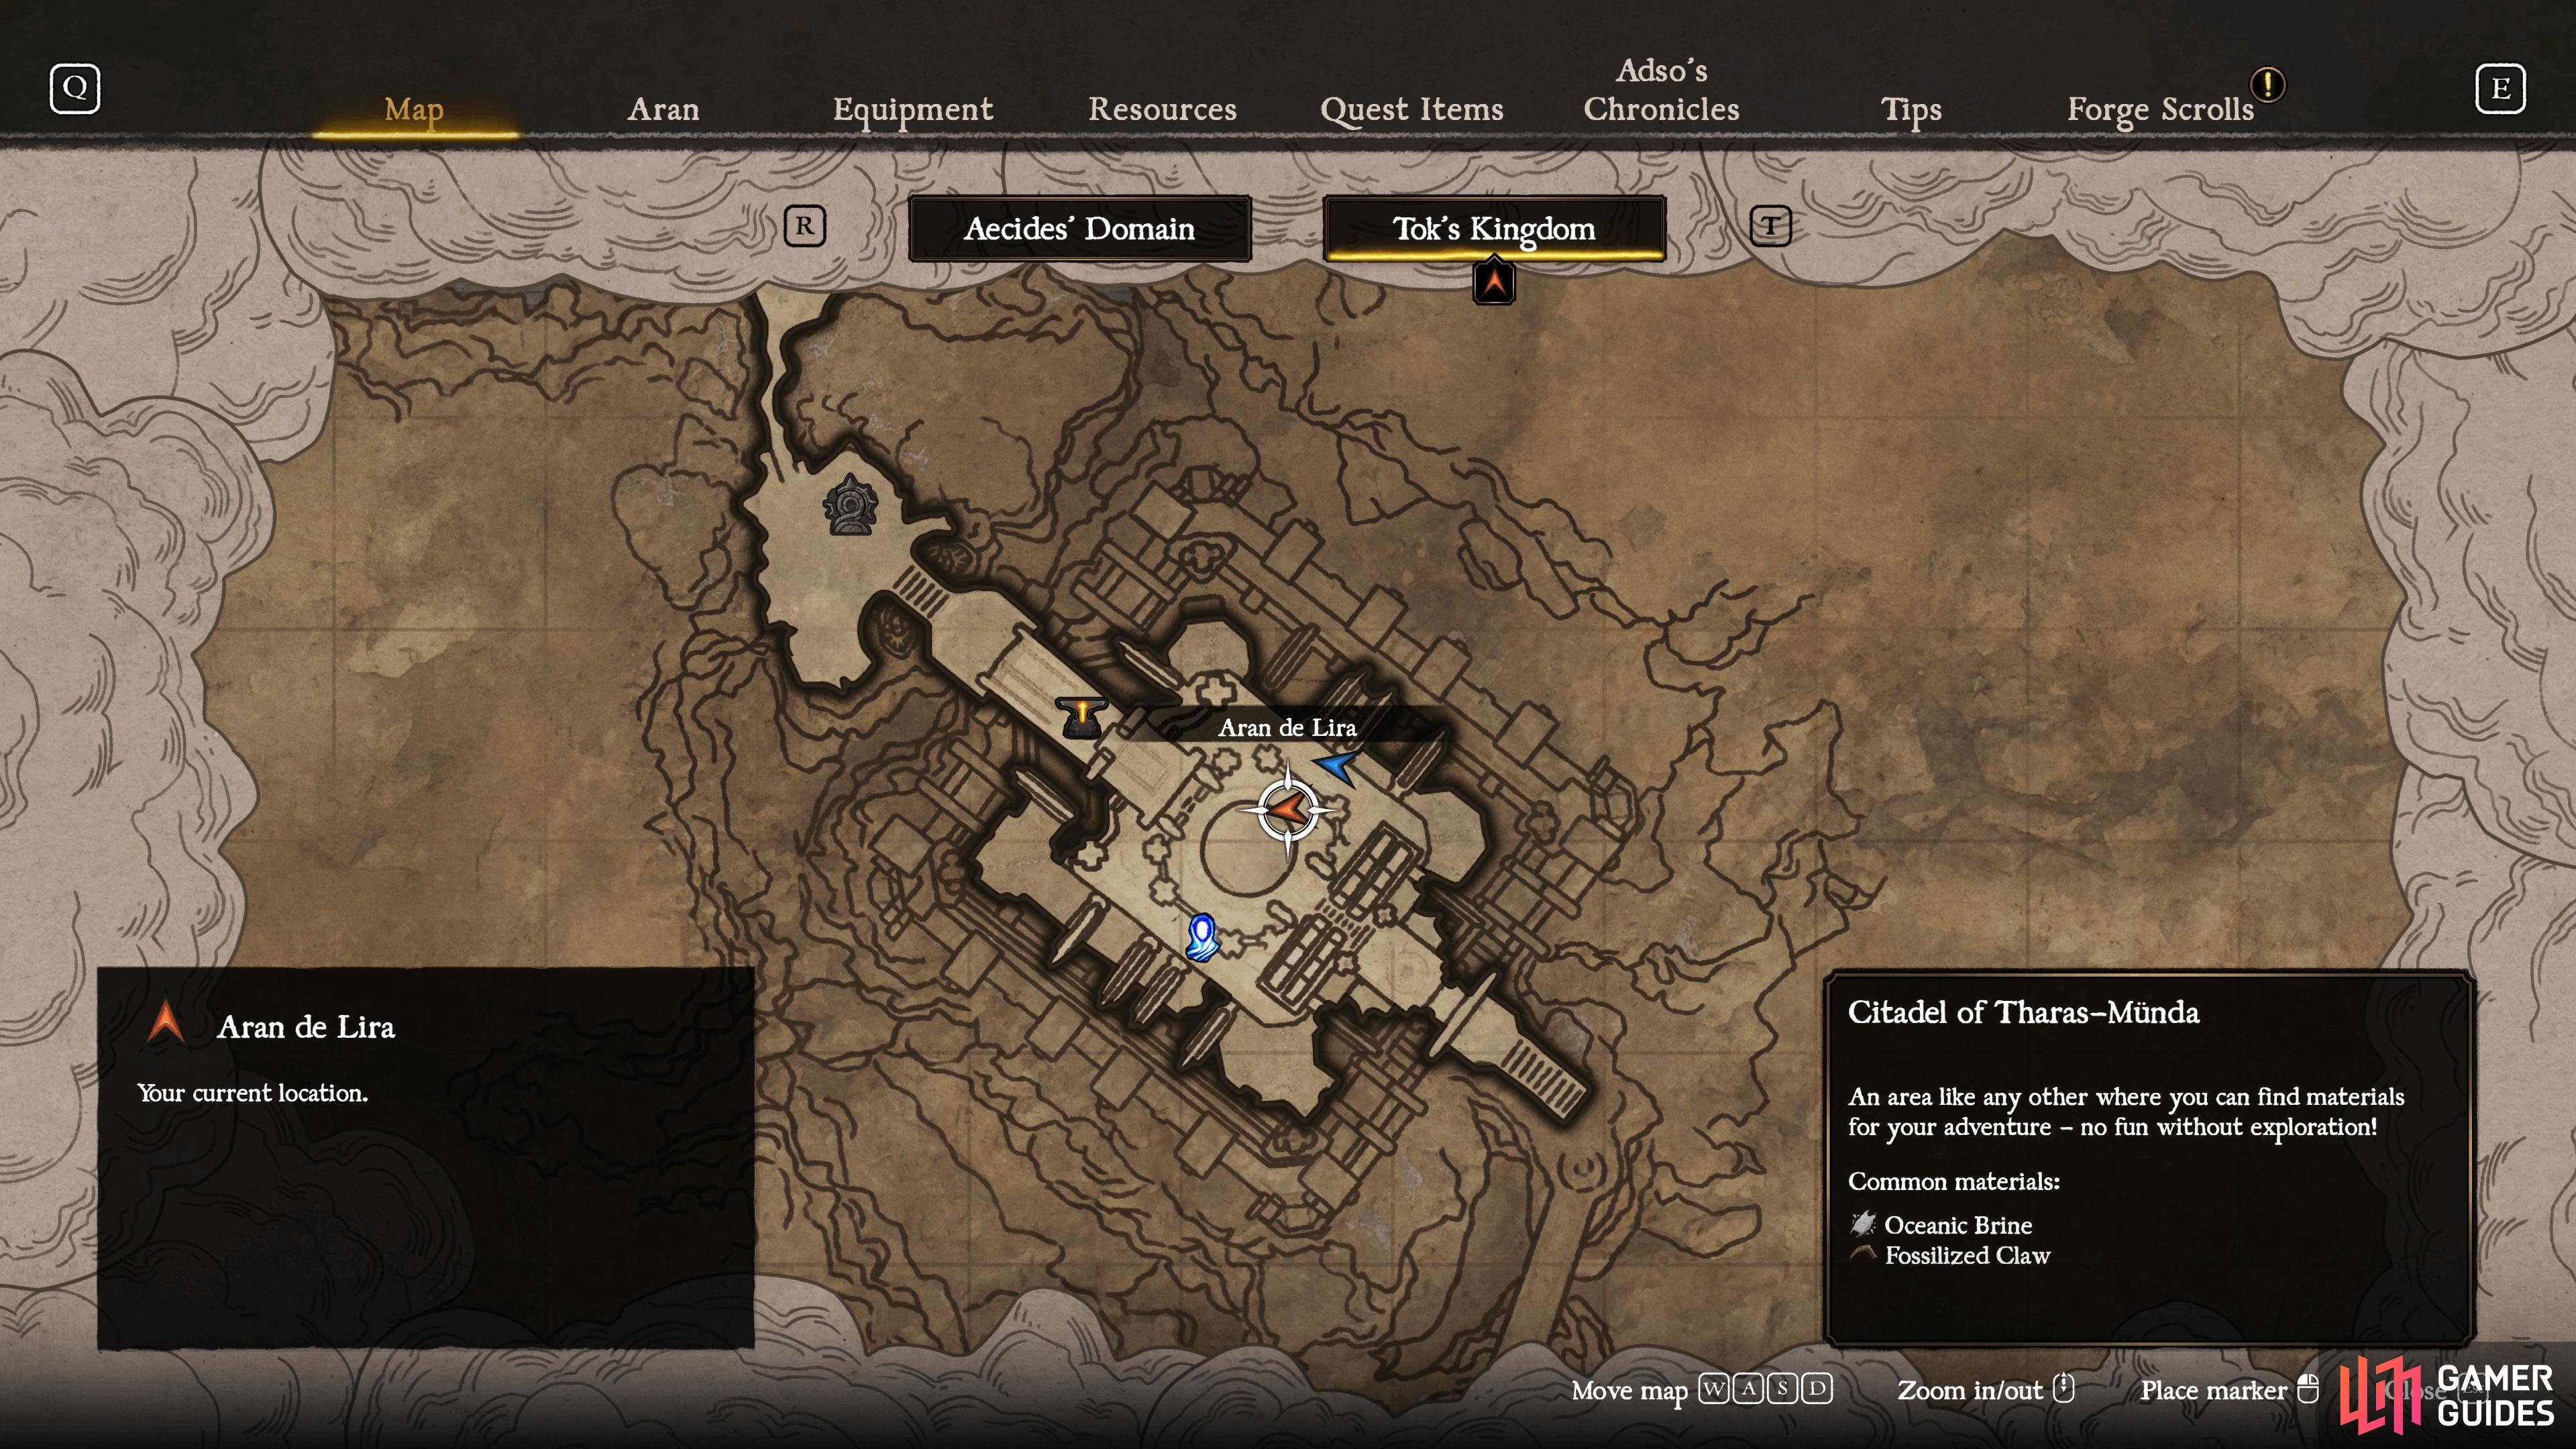


(1 of 2) You’ll make your way to the Citadel of Tharas-Munda as part of the story in Chapter 2.
You’ll make your way to the Citadel of Tharas-Munda as part of the story in Chapter 2. (left), Run the blue flame all the way to the end to create a bridge that leads to this chest. (right)
There you have it; you now know how to find all 12 Life Criptex in Blades of Fire so that you have access to seven flasks at any given time that heal a hefty amount.
No Comments