
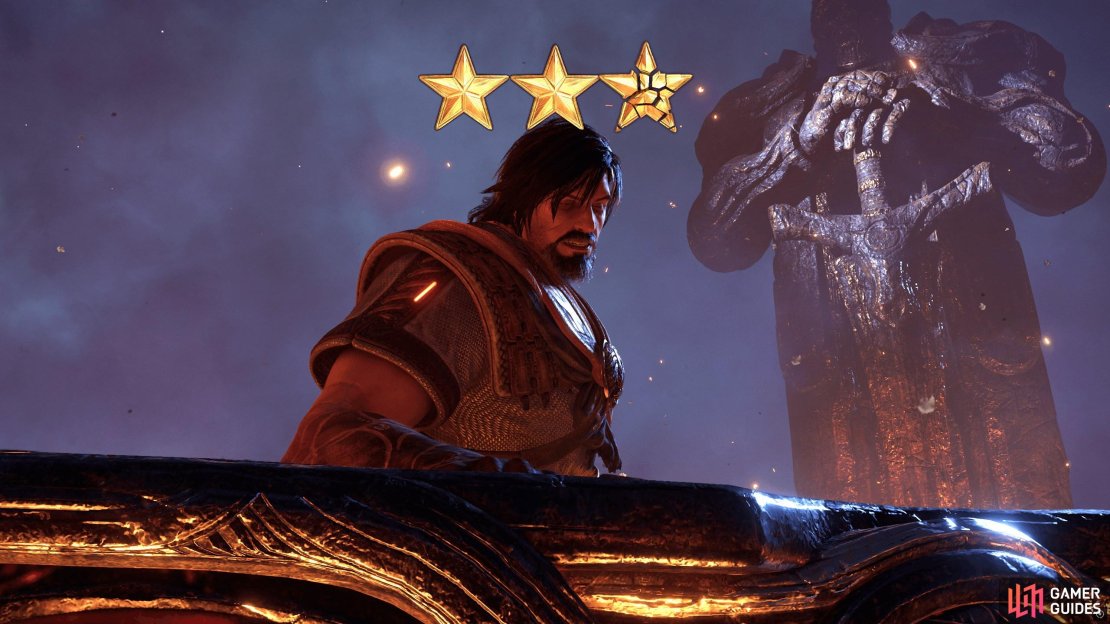
One of the main features of Blades of Fire is its in-depth forging system, where you’ll need to select what parts you want on each weapon, what materials to use, and then the forge process itself. Mastering the forge process allows you to maximize how many times you can repair a weapon, which is displayed as stars.
As you progress through the game, you’ll eventually be able to get 6-7 stars on each weapon, but to reach that, you’ll need to perfect how you shape the weapons. Read on to find out everything you need to know about Forging in Blades of Fire.
The Forge plays a massive part in the progression of your character in Blades of Fire.
Table of Contents
If you want to jump to a specific section, click on the links below.
| Quickjump |
|---|
| Accessing the Forge |
| Repair, Recycle, and Exchange |
| Unlocking Forge Scrolls |
| Seneschals |
| Obtaining Materials |
| Reshaping Weapons |
How to Access the Forge
You will learn how to do this at the start of the game, but to refresh your mind, you access the forge by going to any Anvil you’ve unlocked and selecting the “Go to Forge” option at the top. This will take you to a separate game space where all that exists is an Anvil and the Forging table opposite it. When you’ve done what you need to do there, interact with the Anvil in the center and select “Return to World” to go back to the previous Anvil in the main world.
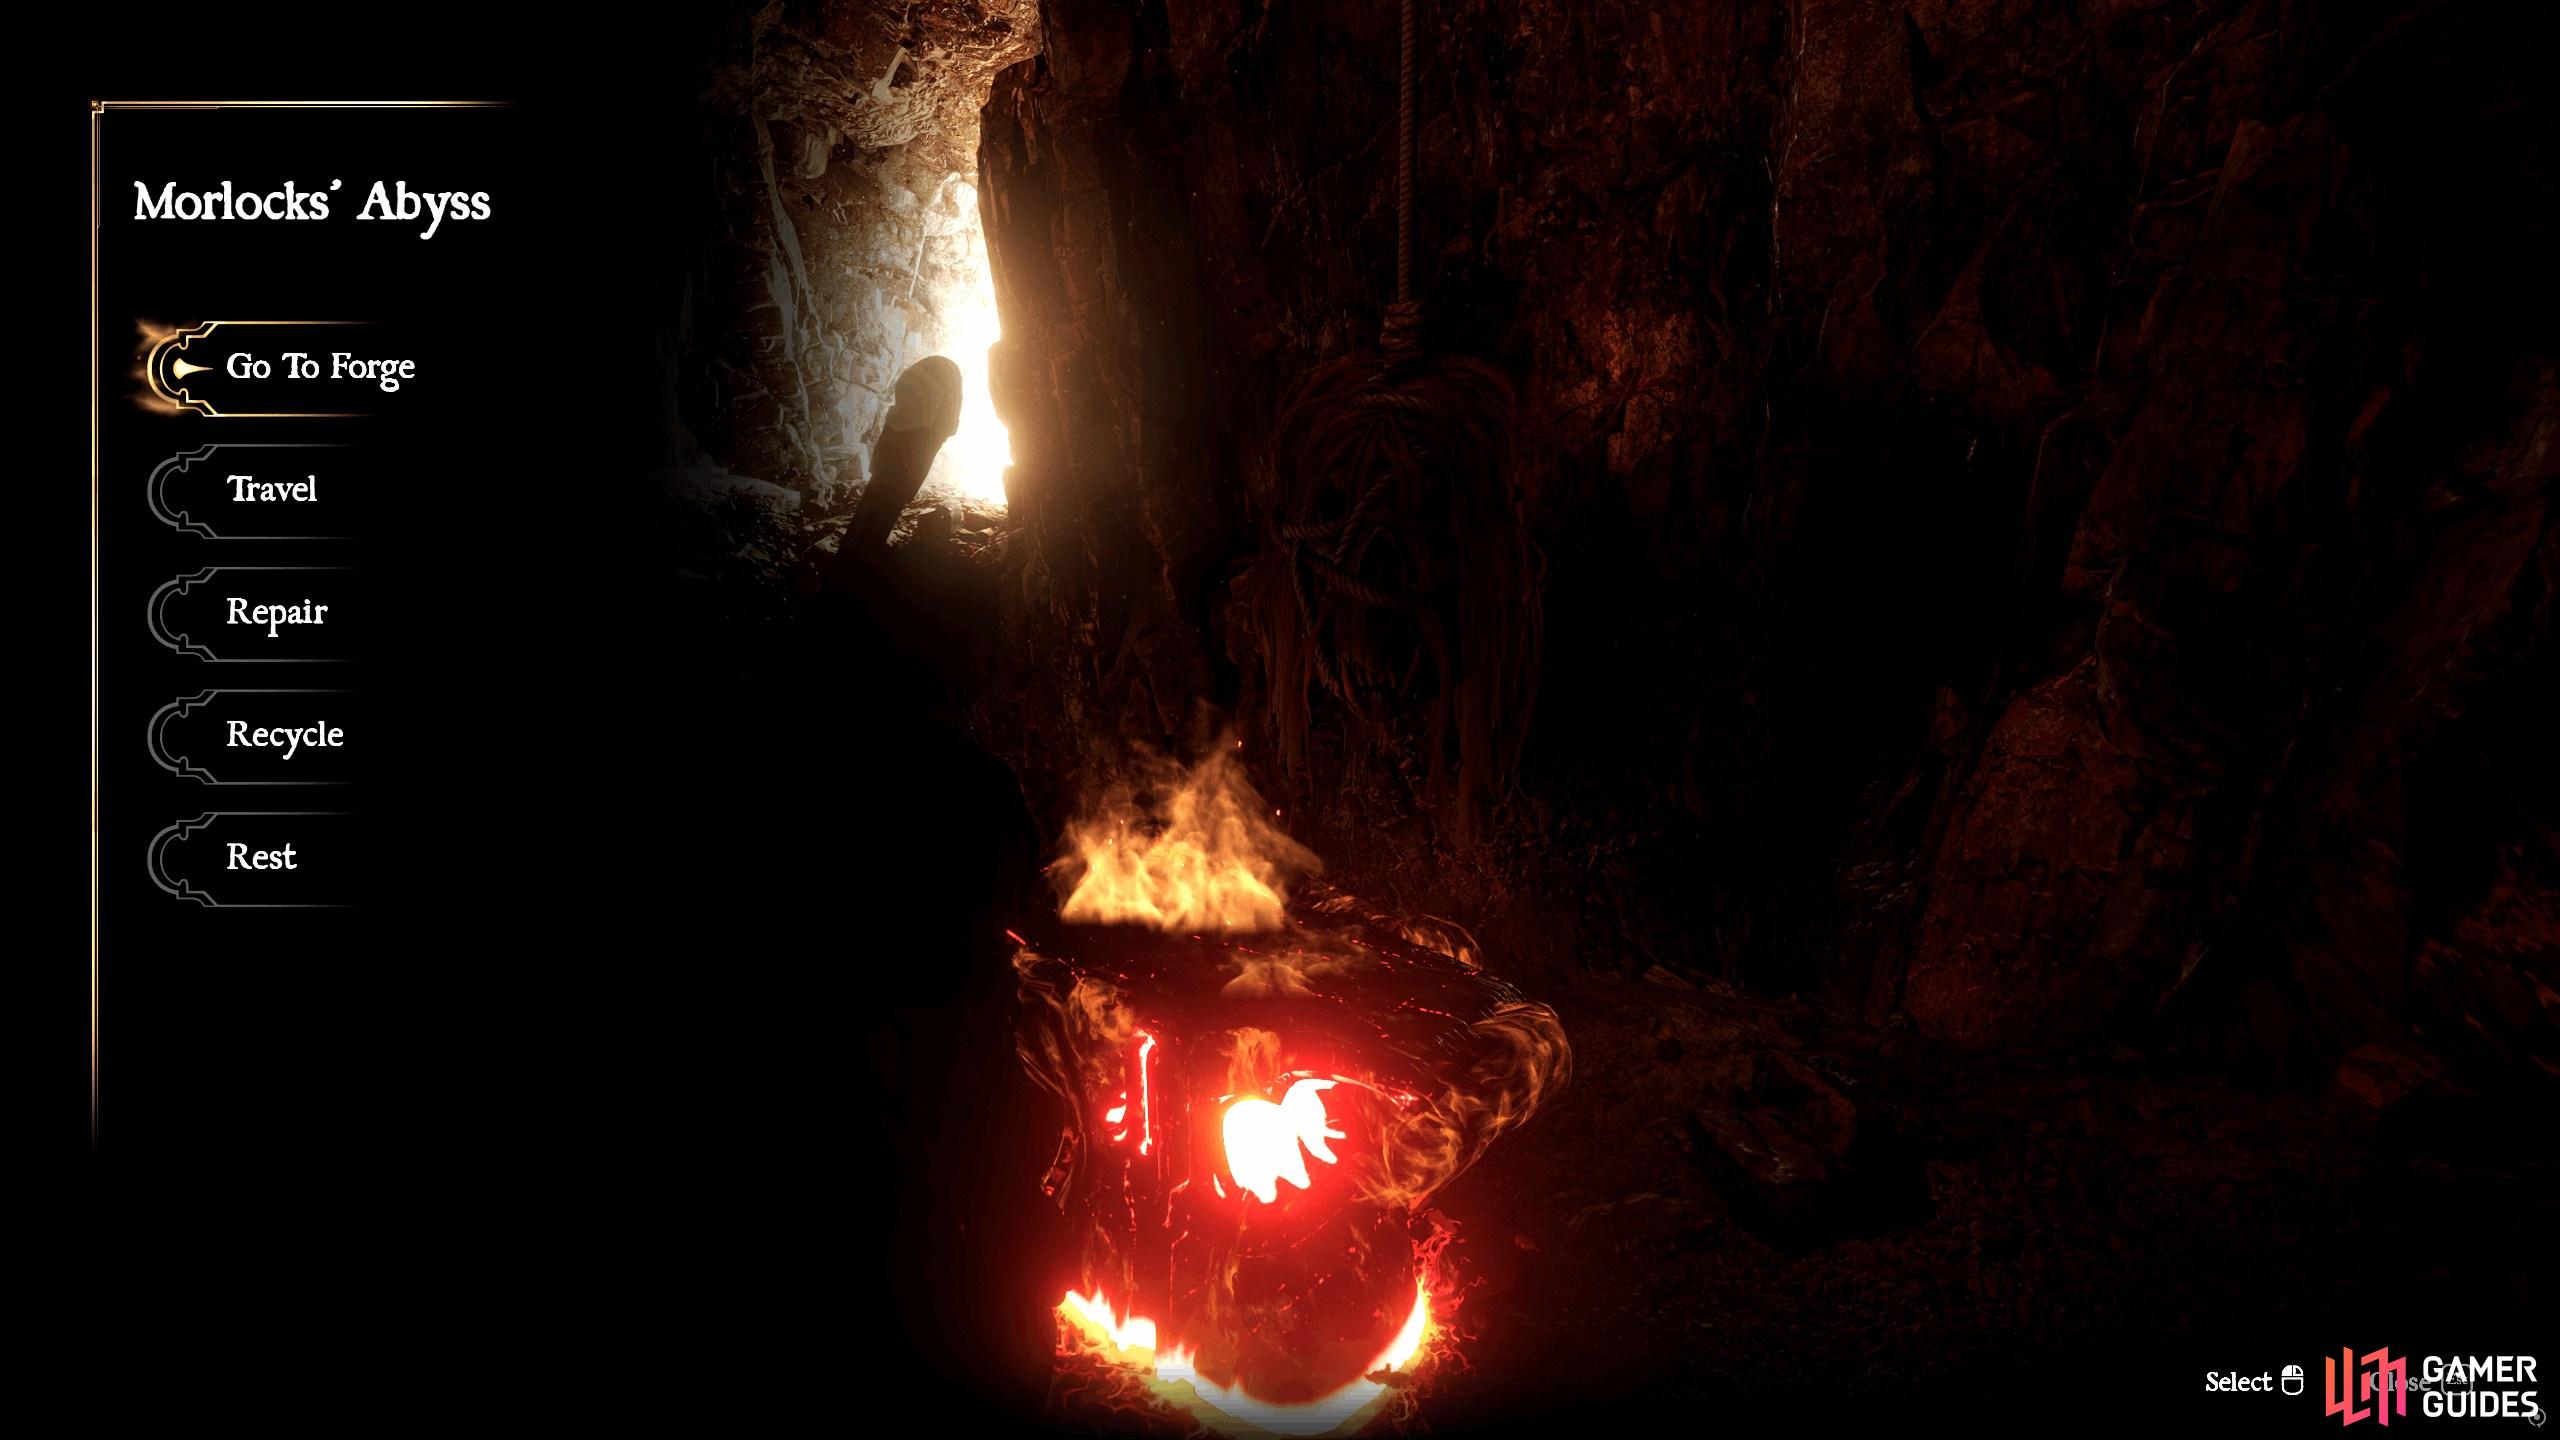
Interact with any Anvil and then select “Go to Forge” to enter the Forge game space.
Repair, Recycle, and Exchange
At any Anvil, you can choose to Repair the weapon or Recycle it. The former will be used throughout the game, while the latter you will barely use, with a few exceptions. The reason for this is that midway through Chapter 1, you will unlock an NPC who will trade for your weapons with materials in exchange, depending on the rarity of the weapon, which increases the more you use it.
This is a better way to rid yourself of unwanted weapons, as you’ll get more materials for it, and you can even choose what materials you’ll get in exchange. So, when do you use Recycle, you ask? Well, Recycle is used if you want to break down a weapon that you haven’t used, or weren’t happy with the outcome of the weapon after forging it. In general, if you have a weapon that has gained some fame, exchange it at the NPC; if it hasn’t been used, use Recycle.
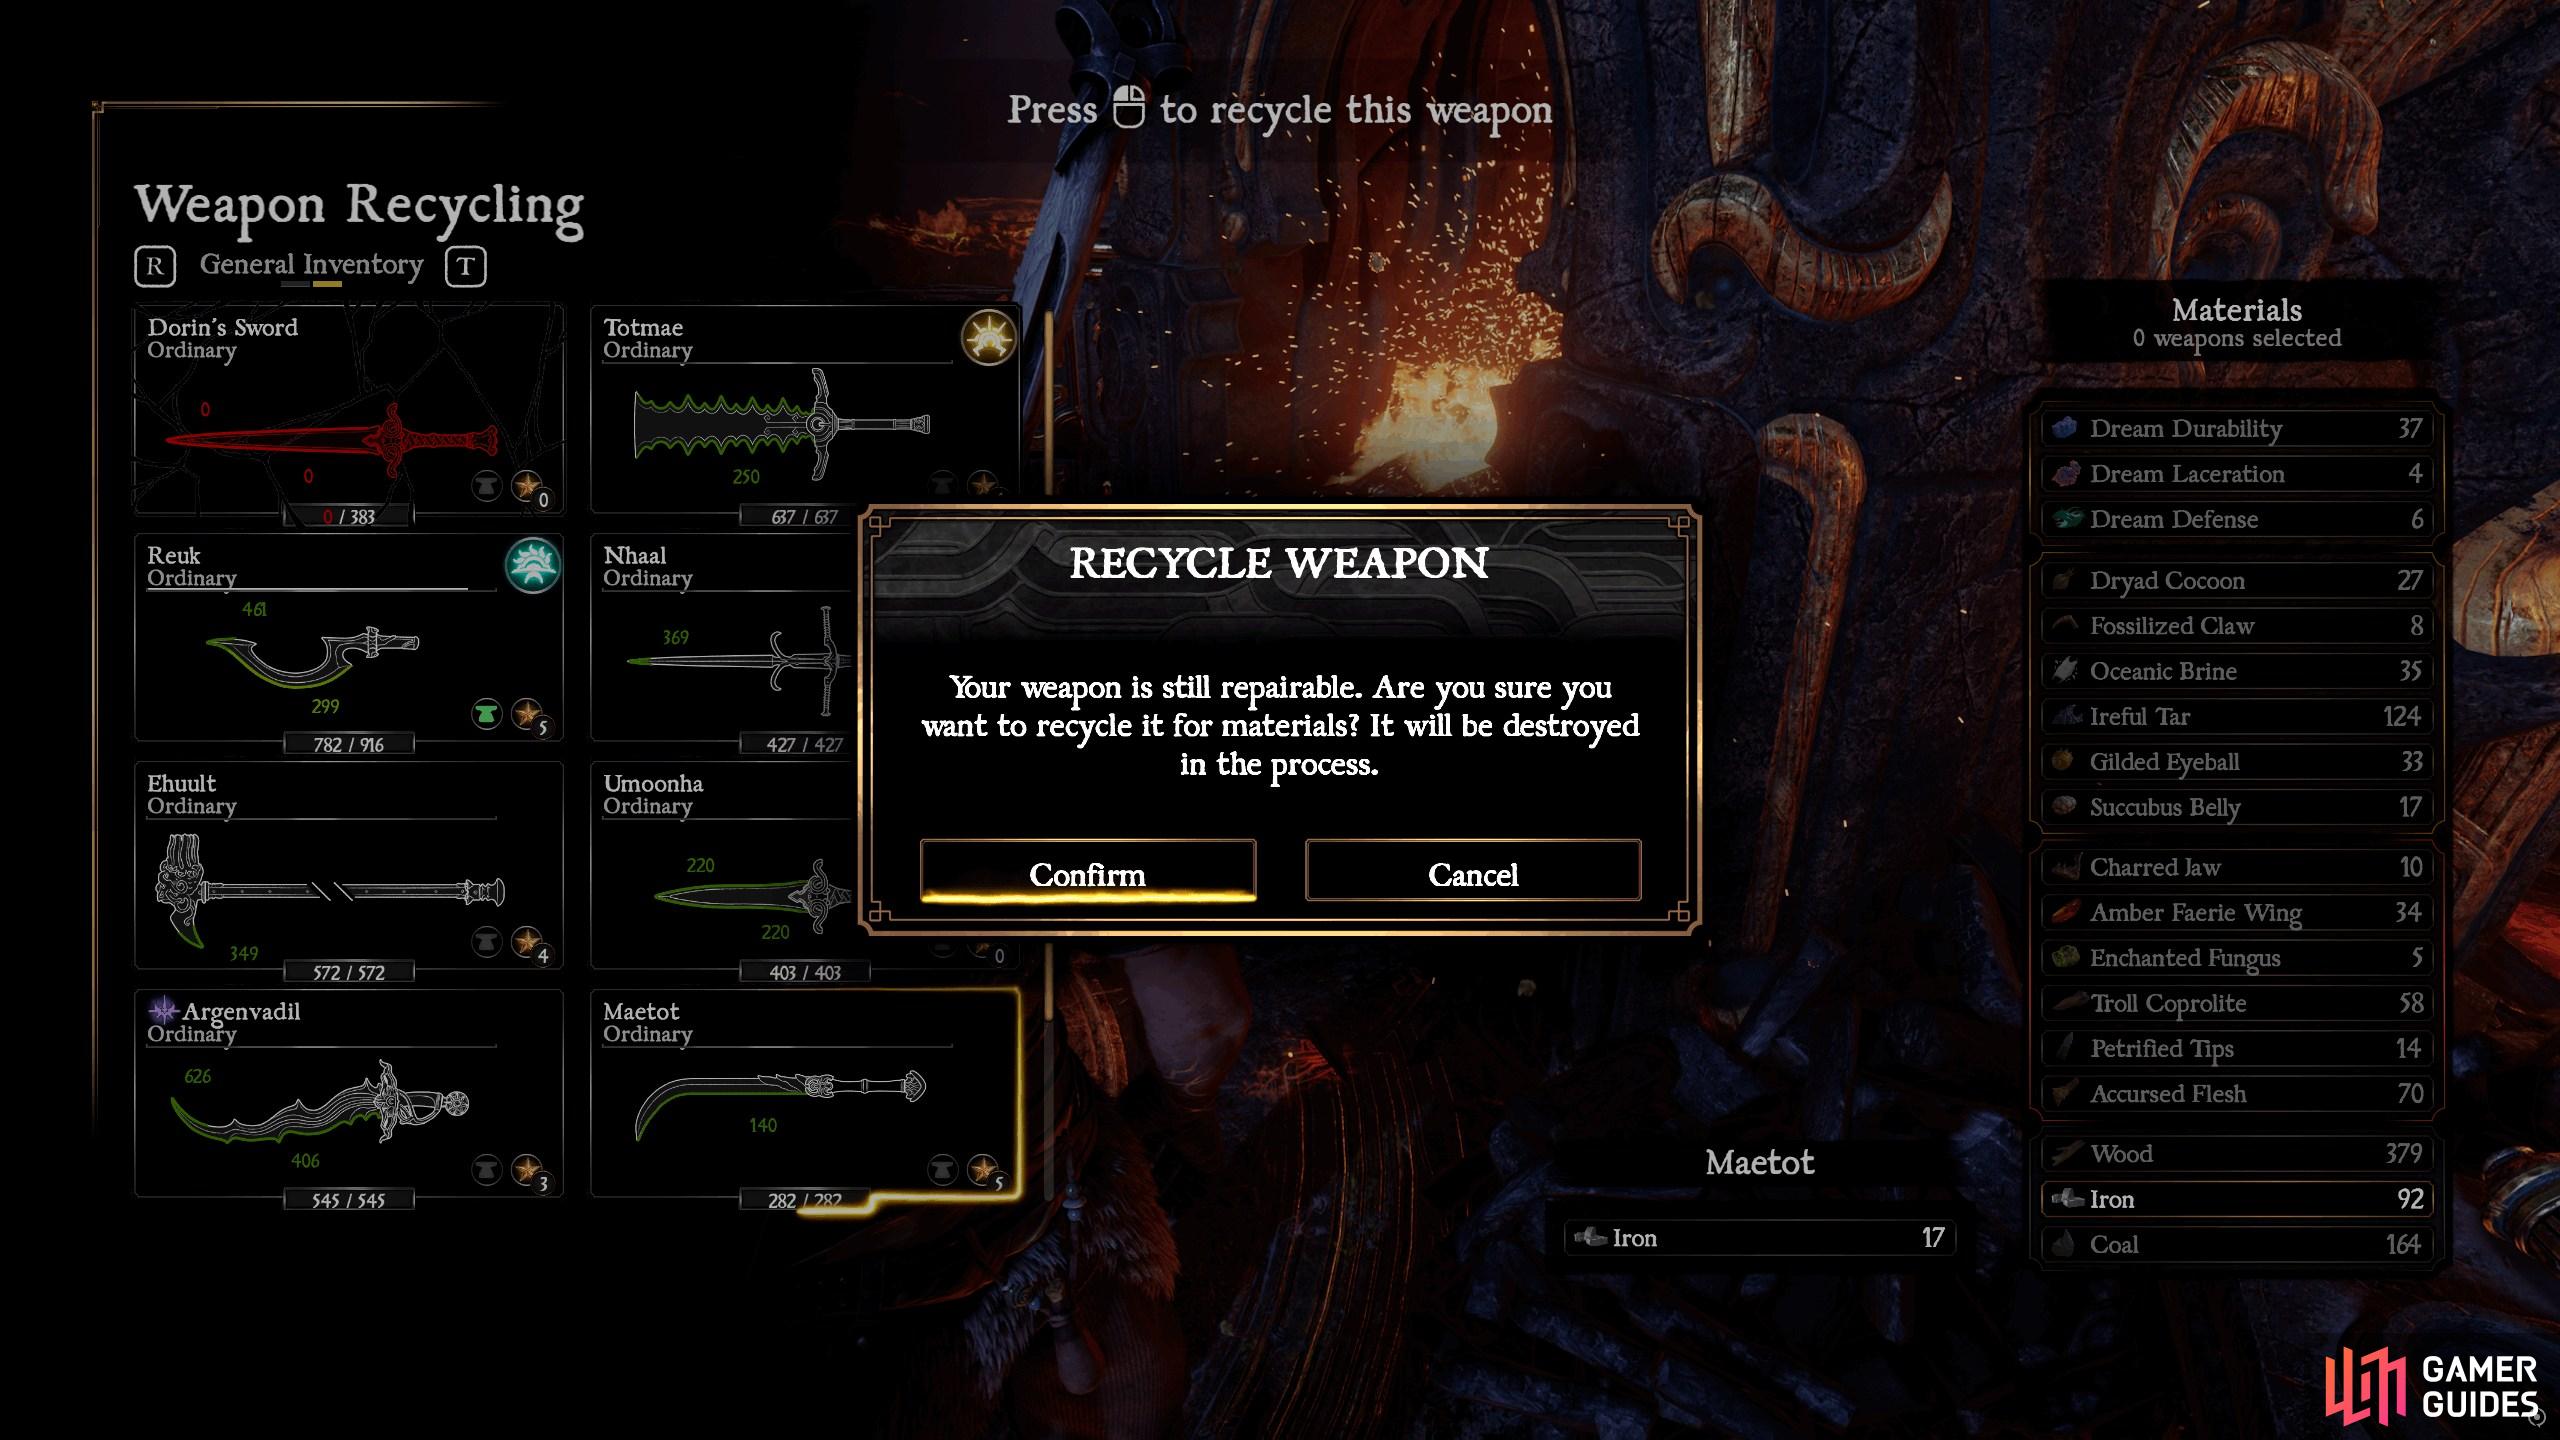
Recycling your weapon should only be used on an unused weapon or a weapon you’re not happy with.
To repair a weapon, simply interact with any Anvil and select “Repair”. However, you must have the required materials to do this, which you’ll find displayed on the bottom right of the screen, as well as at least one Star to repair the weapon.
Repair becomes more important later in the game, when you’ve unlocked most Forge Scrolls, and you start to use your favored weapons, especially the weapons built with the rarest materials. Before that, you can just craft a new weapon when the old one breaks.

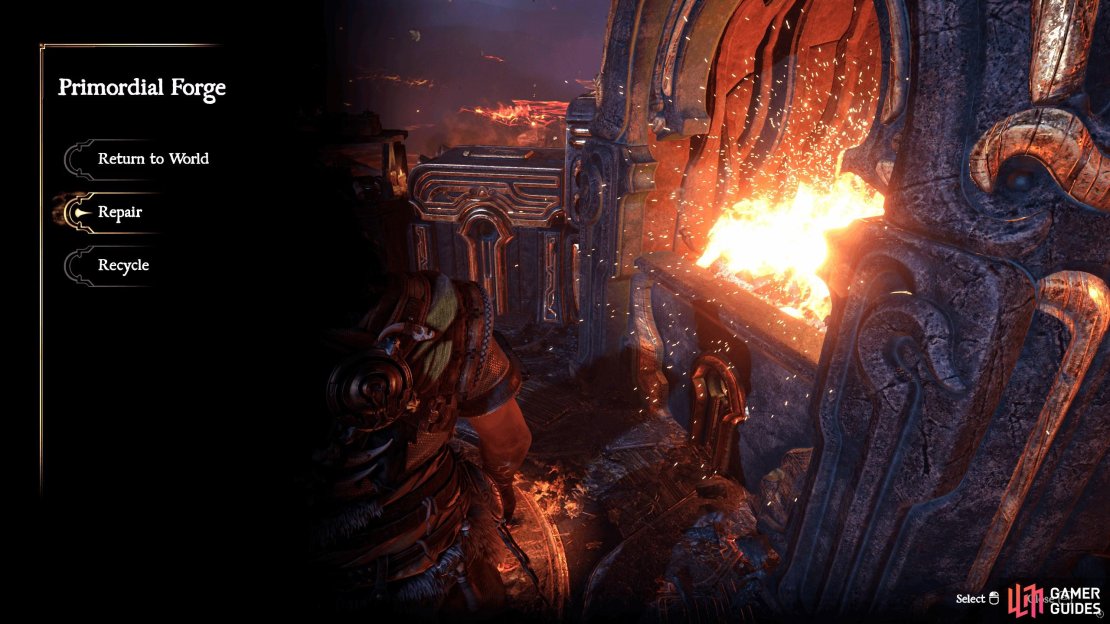
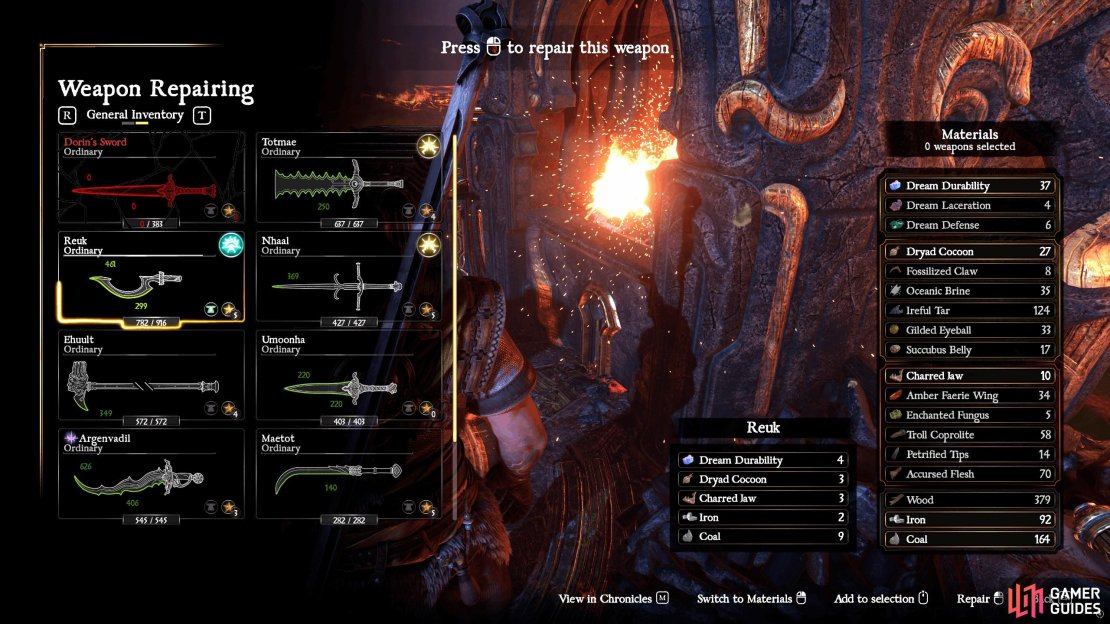
(1 of 3) Interact with any Anvil and select “Repair”.
Unlocking Forge Scrolls
Forge Scrolls are how you craft weapons in the game, and to unlock a Forge Scroll, you’ll need to defeat a specific type of enemy a specific number of times. As you progress through the game, you’ll encounter new enemies, and once you’ve defeated one, it’ll update the Forge Scroll menu, showing how many of that enemy you need to defeat.
Once you meet this requirement, the Forge Scroll will be available to craft at the Forge. There are seven weapon types, which are: Daggers, Twins, Sabers, Swords, Greatswords, Polearms, and Spears. Check out our Weapon Guides to find out each requirement to unlock the weapons. Each weapon type has five weapons to unlock for it, and then each weapon has at least 3 or more attachments to further customize how the weapon turns out.
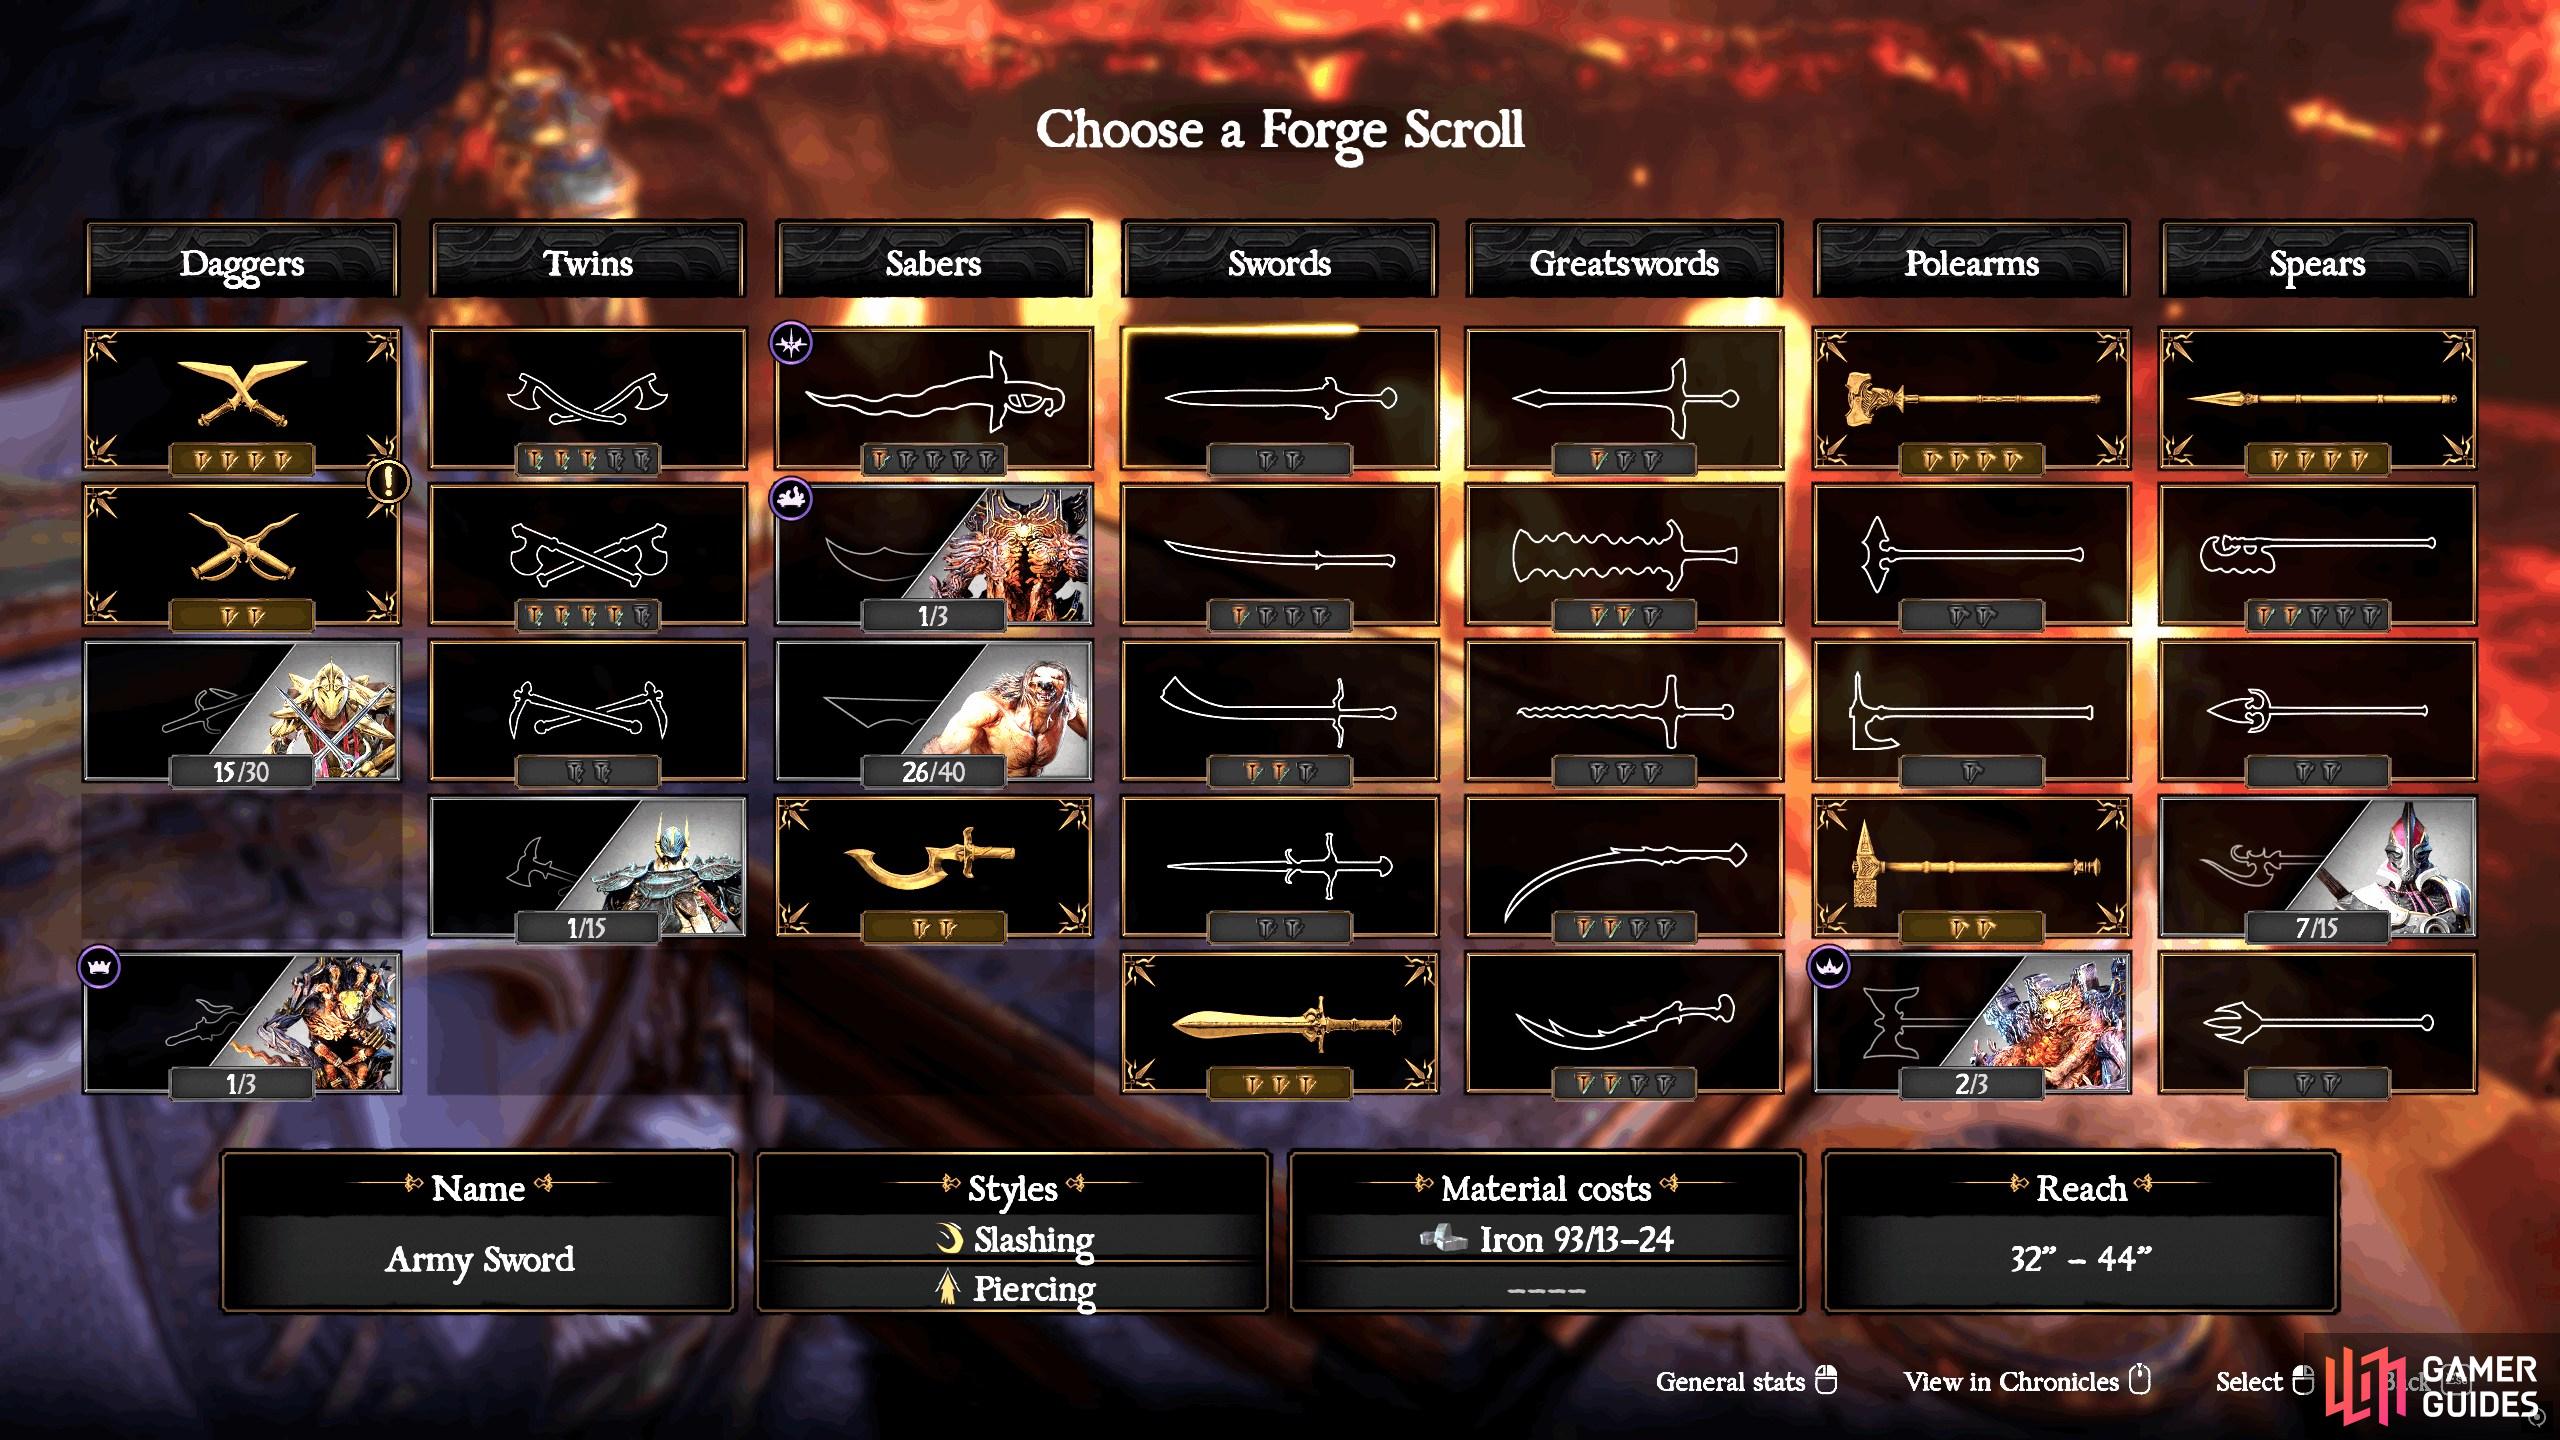
You’ll unlock Forging Scrolls upon defeating the required enemy a specific number of times.
Seneschals
Throughout the game, you’ll encounter numerous statues displaying a weapon type. Interact with them while equipping the same weapon type to unlock a part for one of the weapons in that weapon type. These are usually well-hidden, and you will be required to search every nook and cranny.
If you don’t have that weapon type on you, the Seneschal will appear on the map until you activate it, and then it’ll disappear. Note that if you have all parts unlocked for a weapon, you won’t be able to use the Seneschal until you unlock a new Forge Scroll in that weapon type, even if you have the weapon on you.
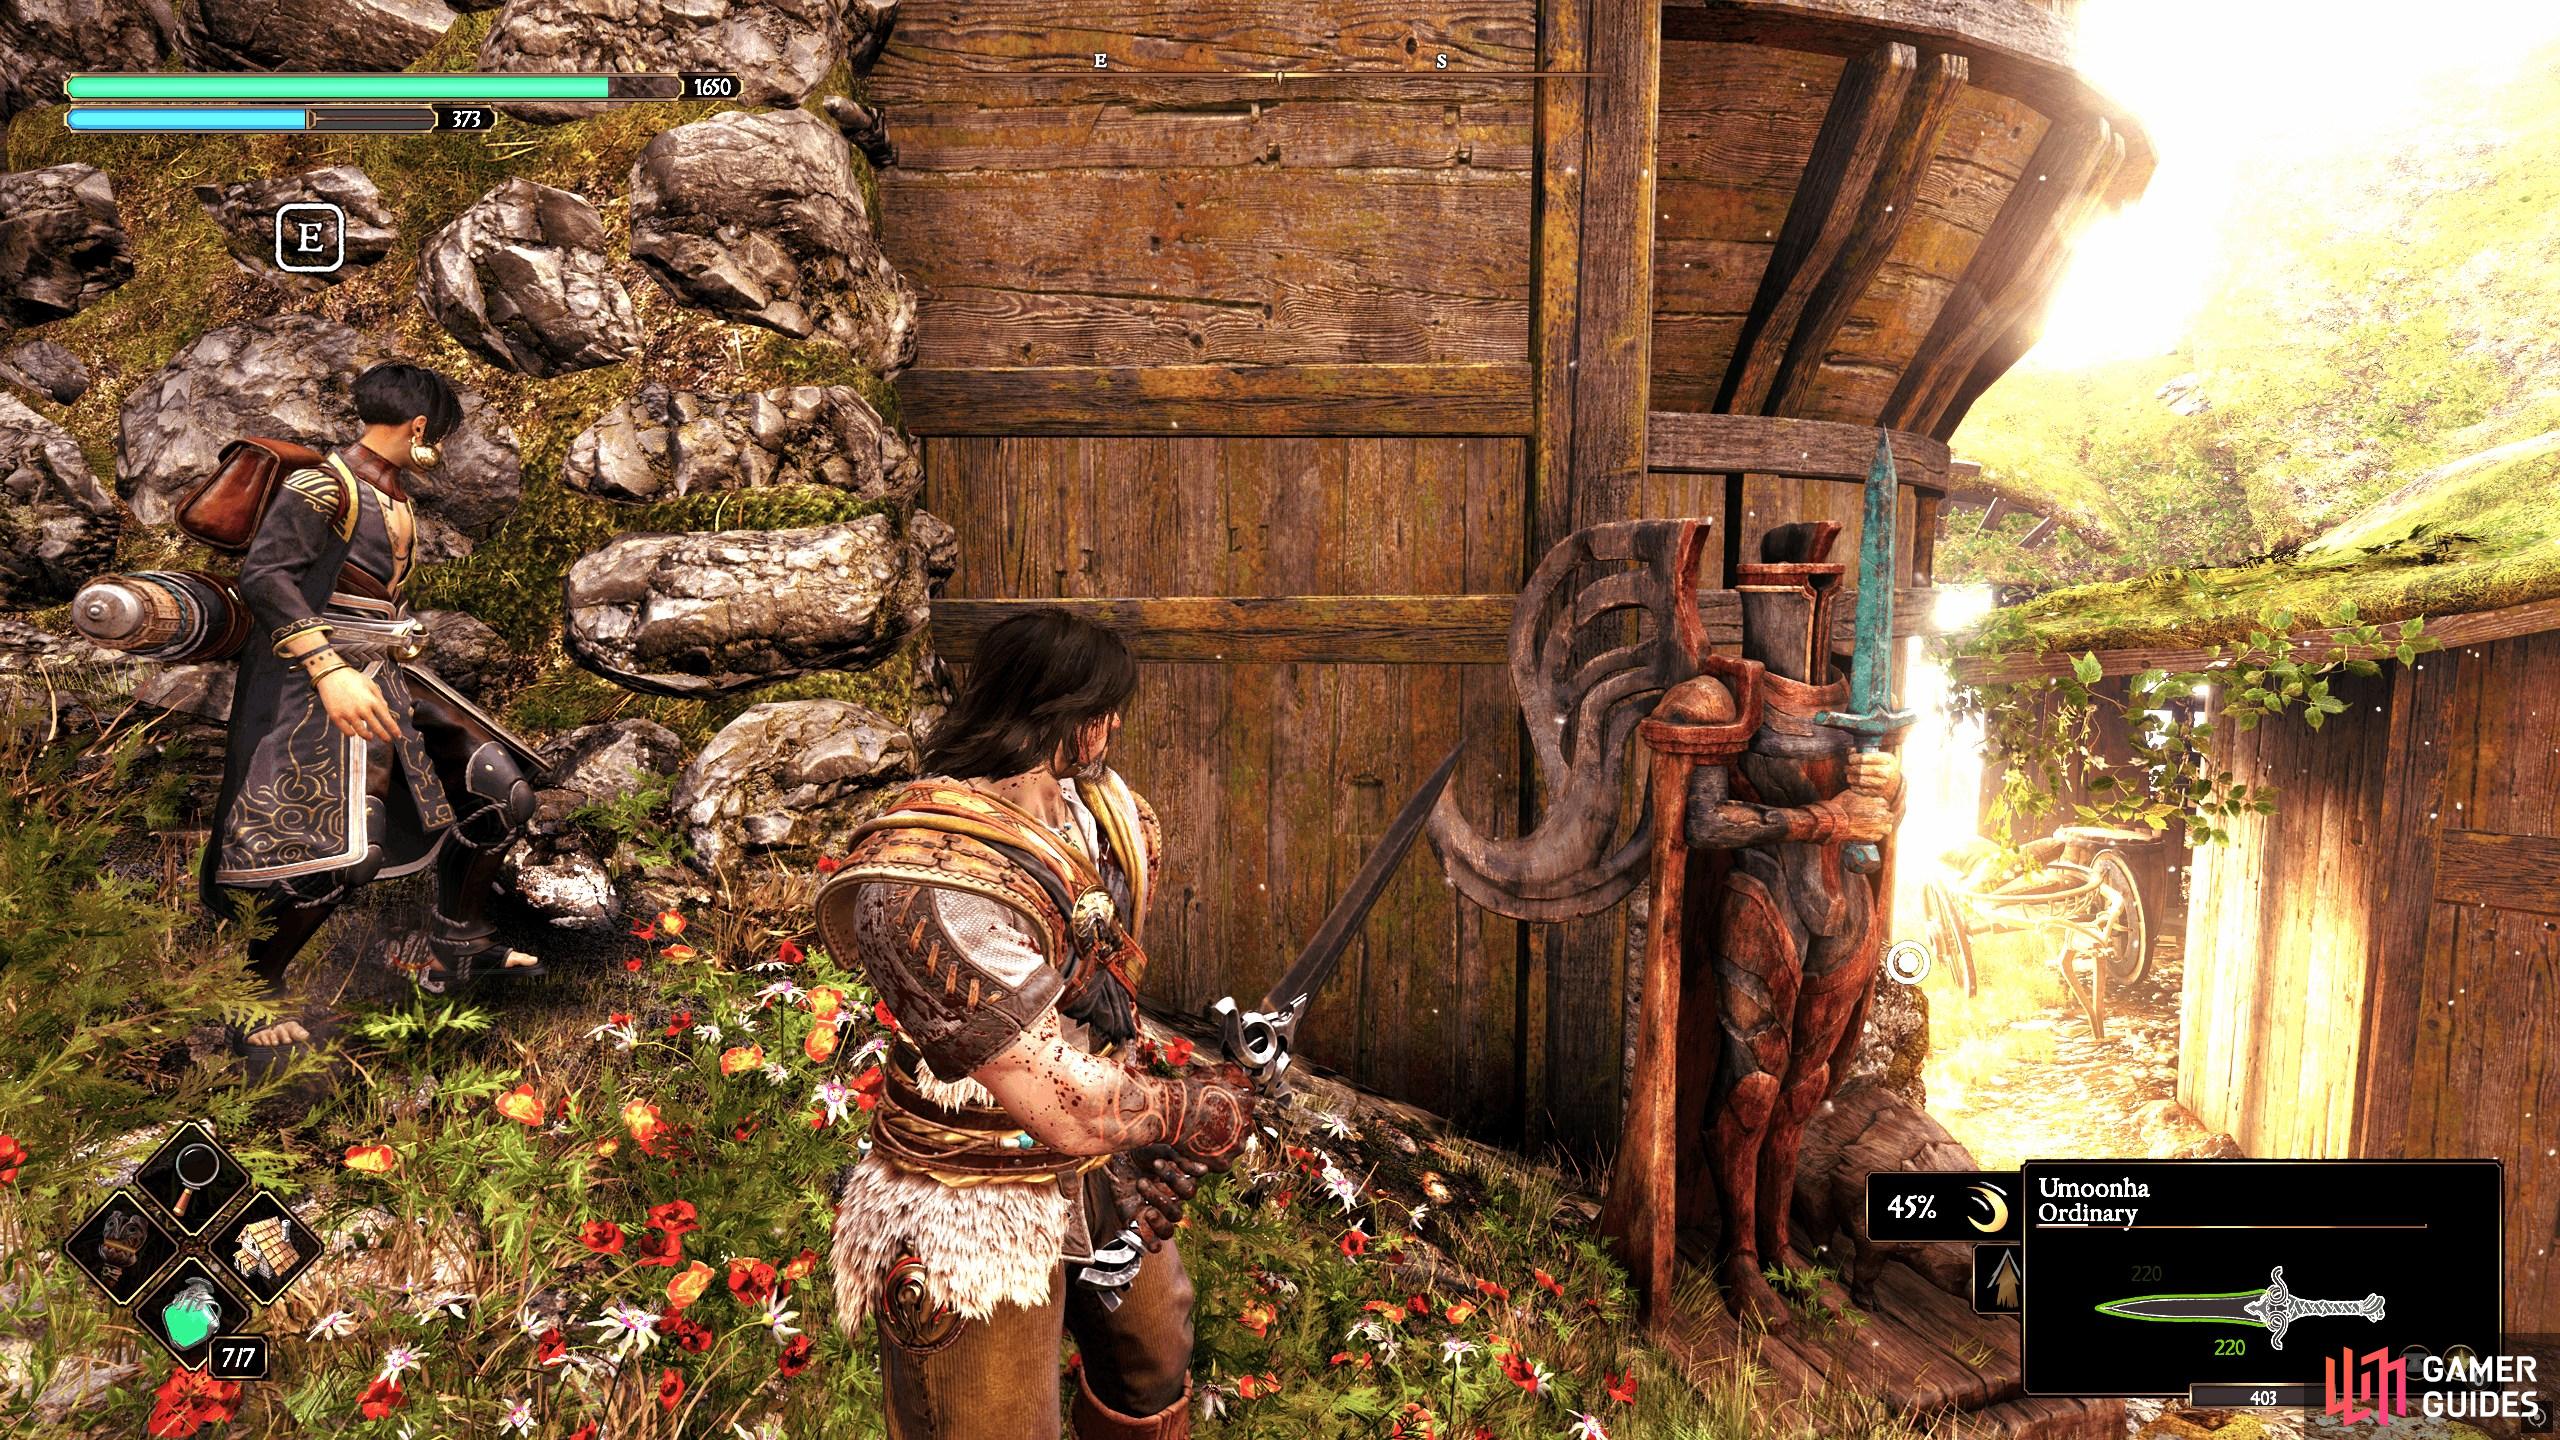
Seneschals are statues displaying a weapon. Equip the displayed weapon and interact with the statue to unlock a part for that weapon type.
Obtaining Materials
You’ll acquire materials by defeating enemies or breaking destructible objects like barrels, crates, and wooden chests. If you hover over the map, it will tell you what the common materials are for each location, making it easier to farm the required materials. Another option is to either exchange one of your famed weapons with an NPC you unlock later, or use the Recycle option.
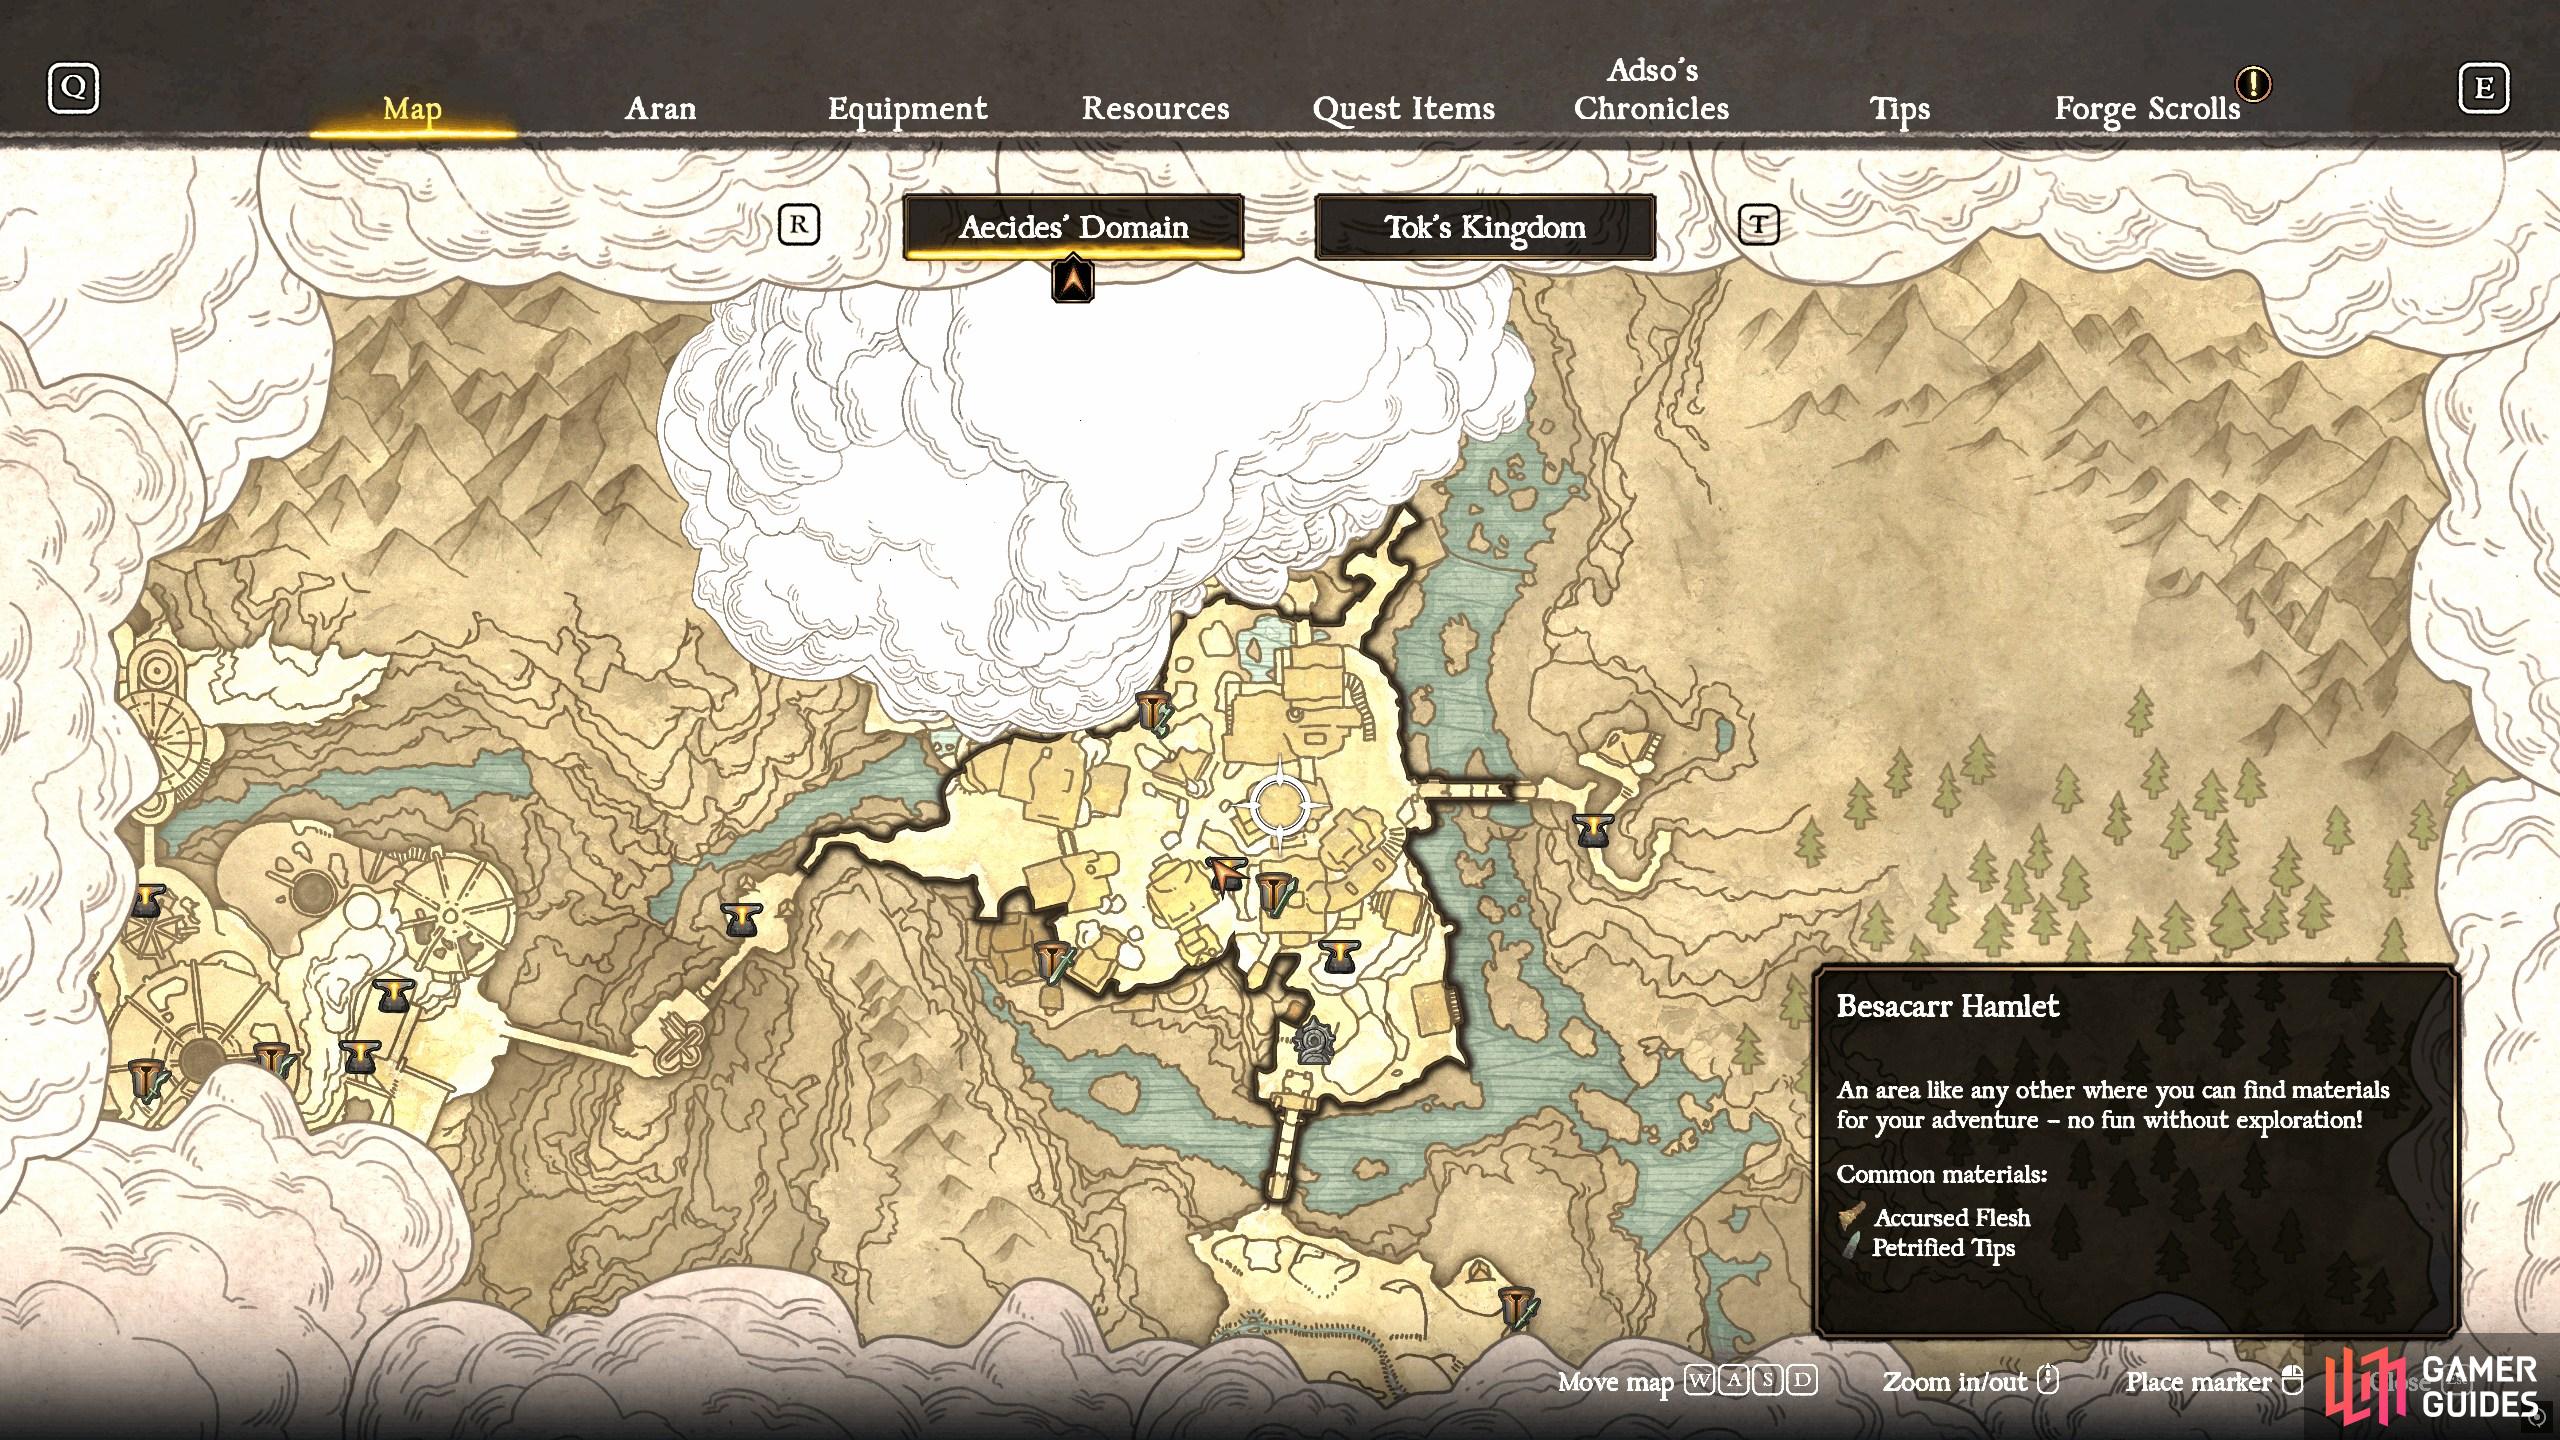
When you hover over a specific part of the map, it’ll display the common materials that you’ll find there.
Reshaping Weapons
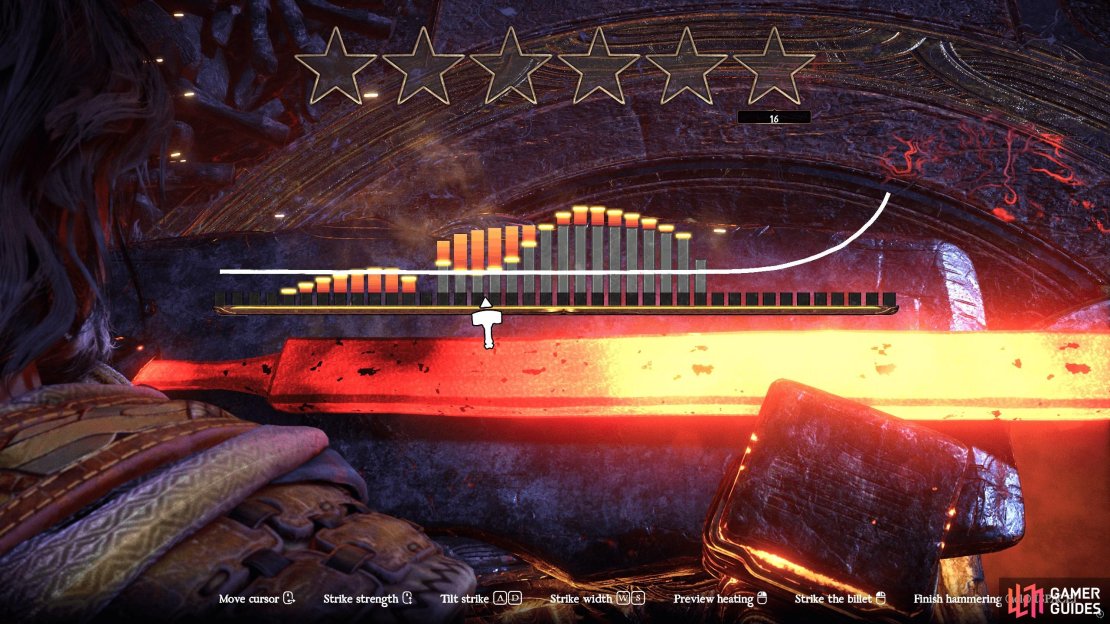
After you’ve selected the weapon, parts, and materials, you’ll be shown the Reshaping Weapon screen. The idea here is to get all the bars on the line drawn out from the schematic. The better you do this, the more Stars and repairs you’ll get. Before we get into the best method of doing this, let’s take a look at what tools you have available to you.
-
Strike Strength: This allows you to control how hard you hit that part of the metal, by pressing
 or
or  /
/ . This raises or lowers the bars so you can line them up to sit on the line.
 -
Tilt Strike: This allows you to aim in what direction your strike will hit, which is generally various degrees of left or right. Best used when placing the bars on a curving line. To do this, tilt the stick
 left and or press
  /
/ .
. -
Strike Width: This affects how wide your strike will be. In general, you’ll want a wider strike unless you need to make micro adjustments. You can do this by tilting the stick
 up and down or by pressing
  /
/ .
. -
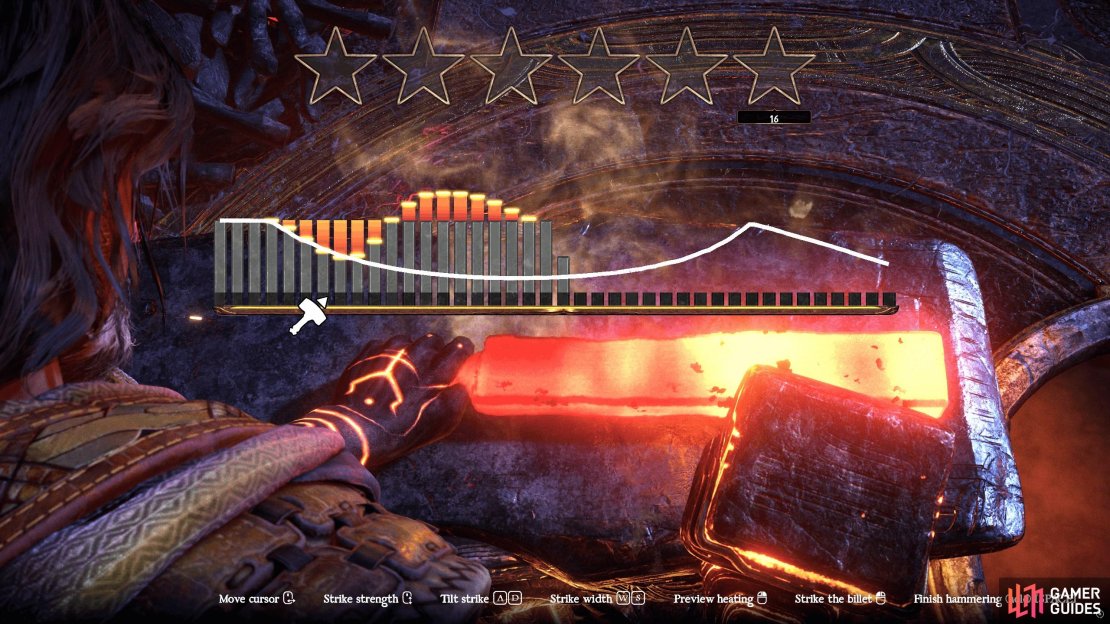
Preview heating: You generally won’t use this much, but if you press
 or
or  it’ll display what you will gain or lose when you strike the metal while previewing it. This will cost you five hits of that star and will only change the outcome a little. Best used to finish off a star or to make minor adjustments. You will want to strike the forge with
  /
/ while you are previewing the heat to use this action.
 -
Strike the Billet: When you’ve happy with how you’ve lined up the bars, press
/ to strike the forge. This will change the orange parts of the bars, either removing or adding a portion to the bar.
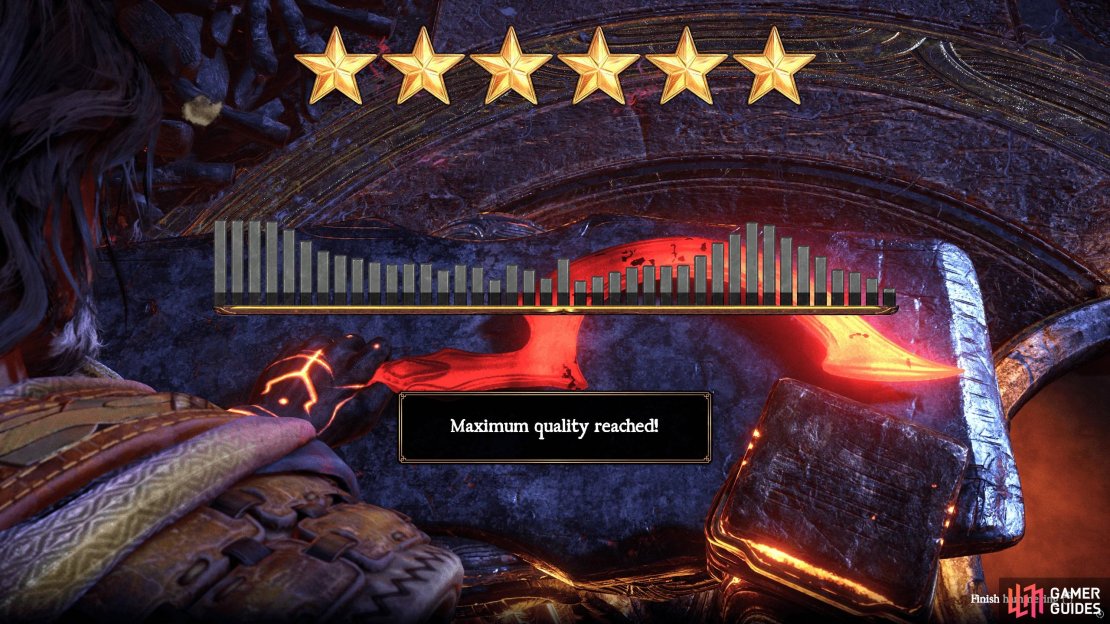
Under each star will be a number, and every time you use this action, the number will decrease by one. When the number reaches zero, you’ll have to finish the process, and you’ll be left with how many stars you’ve “unlocked”. If you fill the star up before the number reaches zero, you’ll start again on a new star. Keep repeating this process to accumulate as many stars as possible, so you’ll have more Repairs available for the weapon later on.

(1 of 3) Increasing the width of your strike will cover more of the weapon. This is best used at the beginning of the craft.
There’s no perfect method to reshape a weapon, as each weapon will have a different schematic and will require a different process. However, in general, you’ll want to use maximum Strike width unless you make minor adjustments, then you’ll want minimum Strike Width. Similarly, you’ll want max Strike Strength to start with and then use minor Strike Strength to make minor adjustments.
For the Tilt, only use this when the line is not straight. You’ll want to play around with how strong you want the strike to be, depending on the curve. Finally, only use Preview Heating if you’re at least three-quarters of a star, or you want to make a minor adjustment.
That’s it for Forging in Blades of Fire. As you can see, there is a lot to this system, and it plays a massive part in the game, where you’ll need to keep crafting weapons when you come across new weapons, parts, and materials.
No Comments