
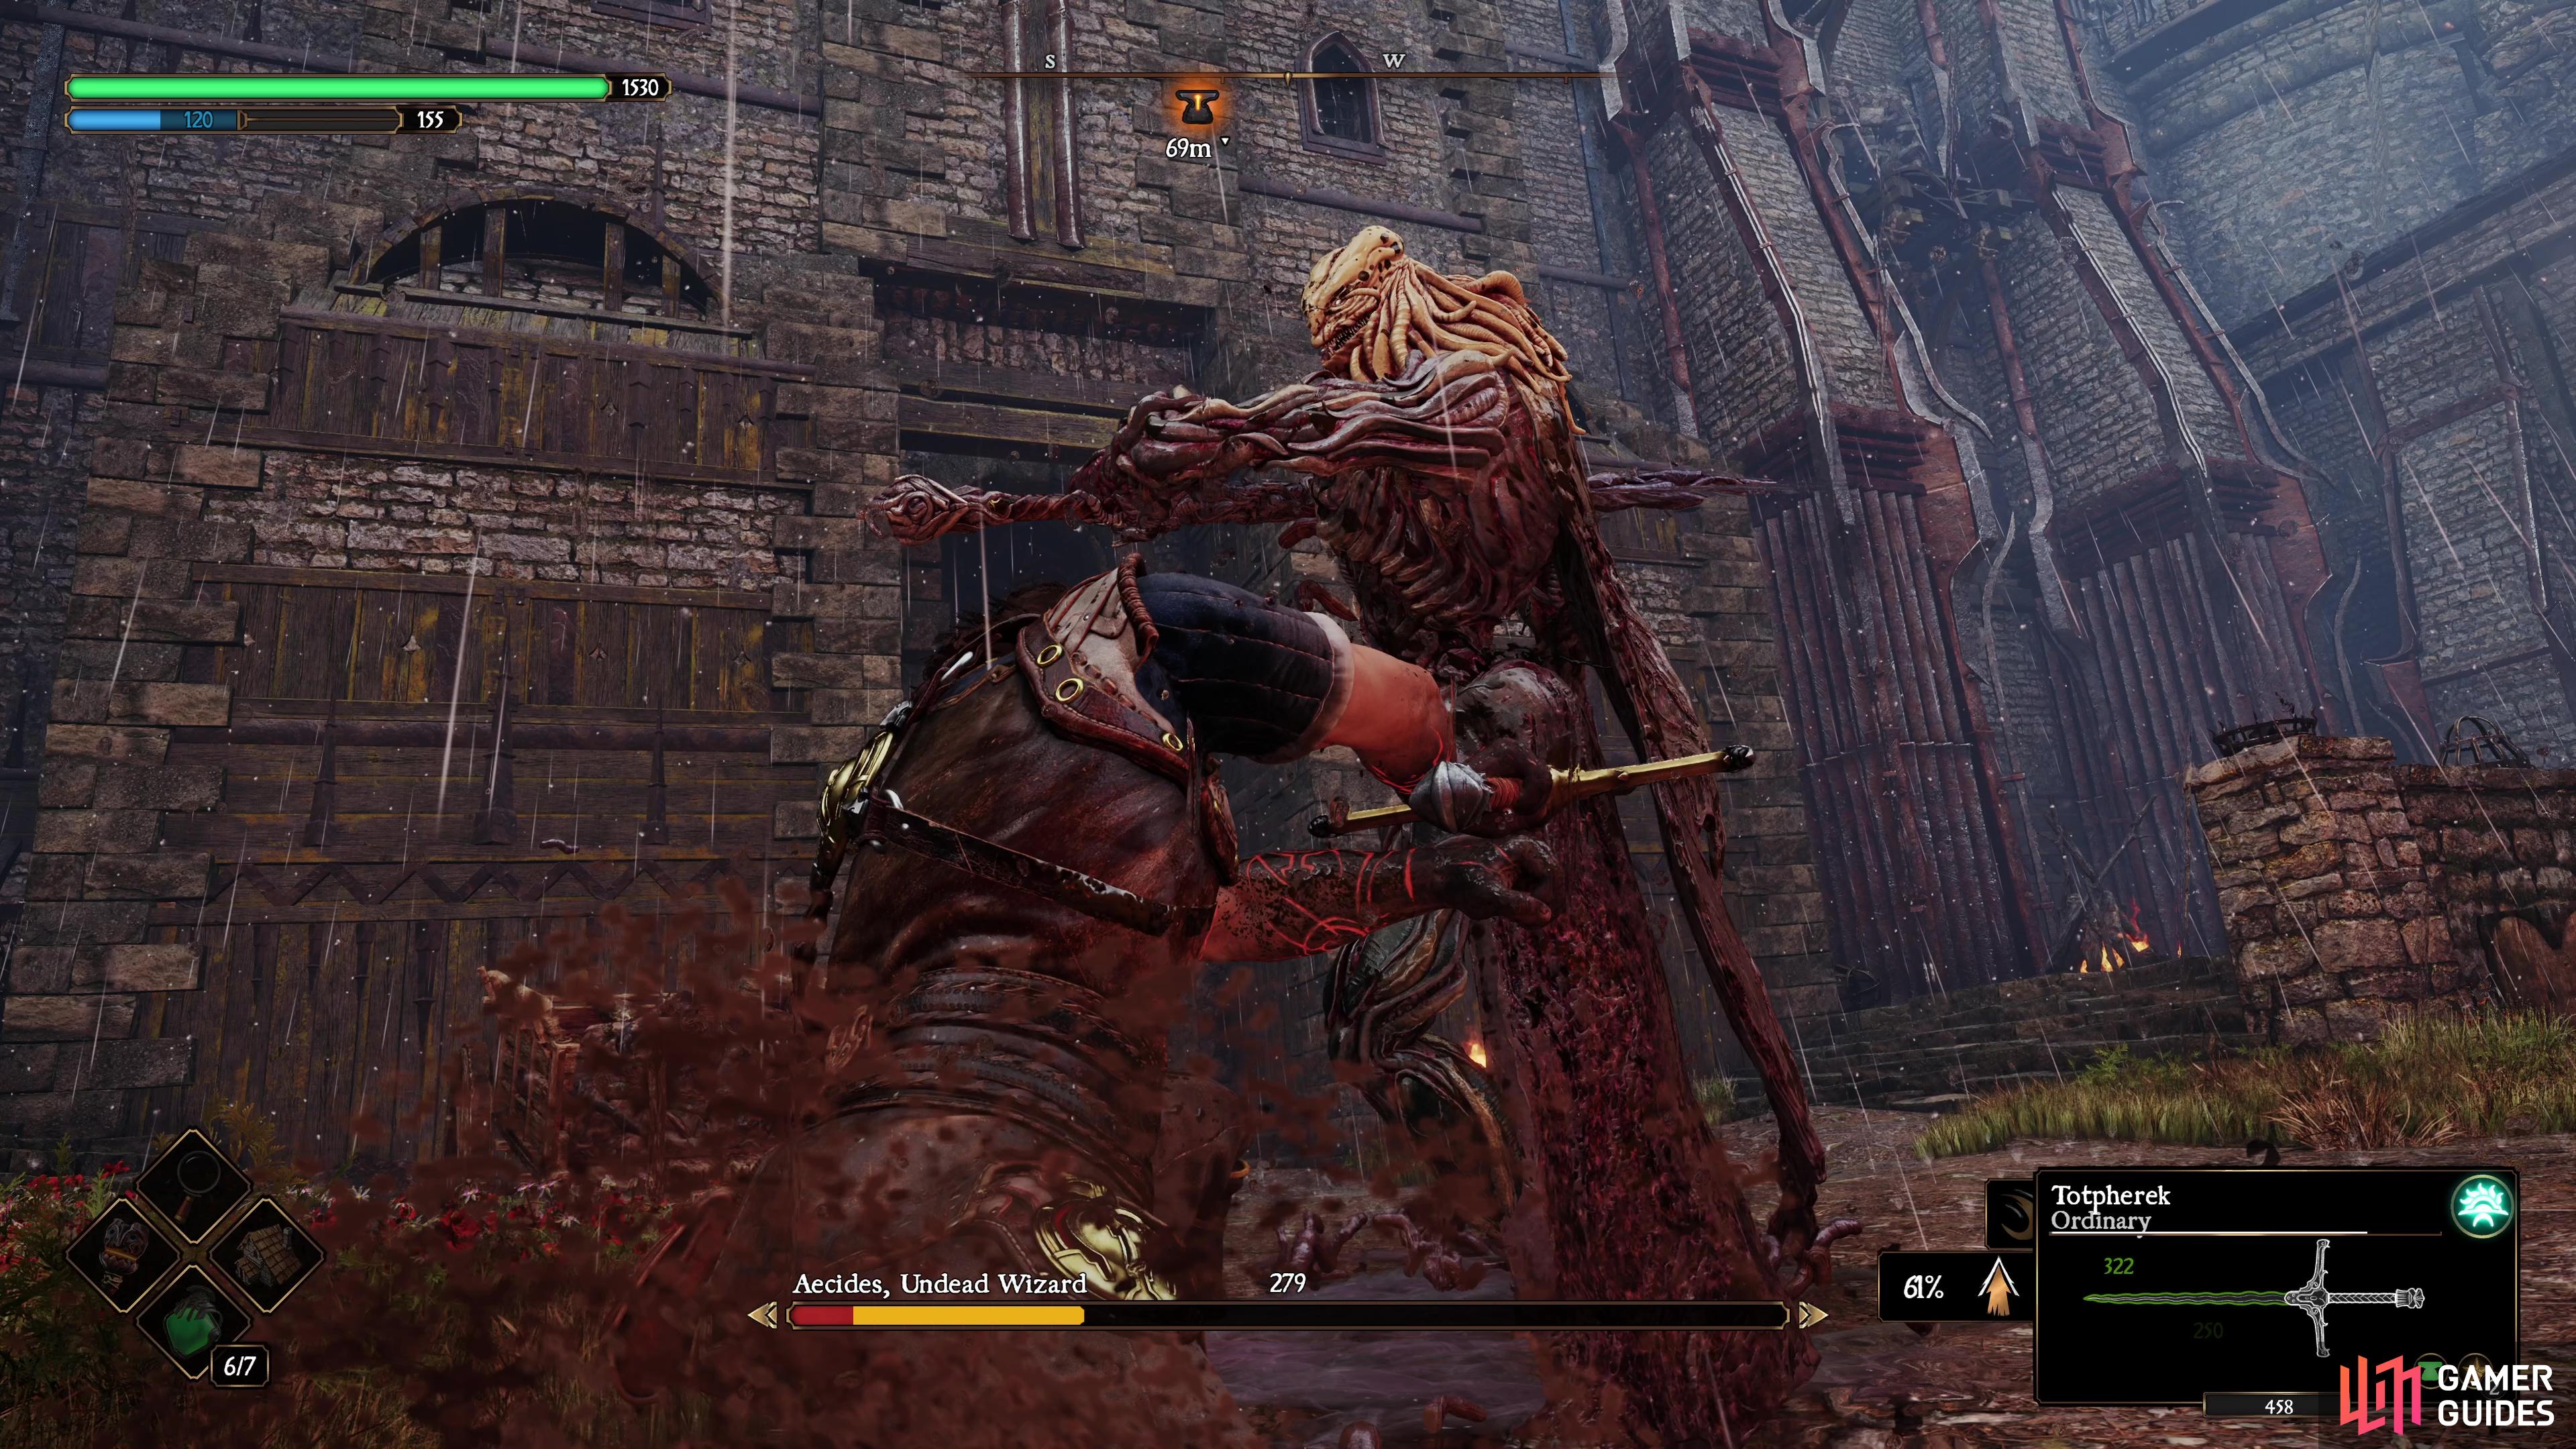
As you continue your adventure toward the Queen’s Palace in Blades of Fire, you’ll encounter many deadly adversaries and the first main antagonist of the first Chapter is ![]() Aecides, the undead lord of his domain. Defeating him is the last task of the game’s massive first chapter and there is a trick to defeating him. Keep reading to learn how to defeat Aecides and complete Chapter 1.
Aecides, the undead lord of his domain. Defeating him is the last task of the game’s massive first chapter and there is a trick to defeating him. Keep reading to learn how to defeat Aecides and complete Chapter 1.

Aecides is the final boss in Chapter 1 of Blades of Fire.
Table of Contents
If you want to jump to a specific section, click on the links below.
| Quickjump |
|---|
| Aecides Location |
| Aecides, Undead Wizard Preparation |
| Aecides, Undead Wizard Phase 1 |
| Aecides, Undead Wizard Phase 2 |
Aecides Location
For much of the first Chapter, there will be one name you will hear constantly, that of Aecides, an undead wizard who has been terrorizing his domain for many years and is seemingly unkillable. As you make your way through said domain, you’ll eventually reach the Iron Castle, far to the northeast of the region. Immediately upon entering the courtyard, you’ll trigger a scene with him and finally meet the Queen you’ve been hearing so much about.
Shortly after this, you’ll have to defeat a rather weak Aecides here in the courtyard. This should be relatively simple, however, especially if you keep your distance by using a ranged piercing weapon such as the ![]() Long Spear. Aecides in this state is slow and doesn’t have much HP. As soon as he falls, however, you’ll spot a swarm of flies disappear toward the south tower. At this point, you must make your way to the tower in time before he returns to the courtyard again, if you’re successful, a scene will trigger and Aran will get Adso to bring the people to safety.
Long Spear. Aecides in this state is slow and doesn’t have much HP. As soon as he falls, however, you’ll spot a swarm of flies disappear toward the south tower. At this point, you must make your way to the tower in time before he returns to the courtyard again, if you’re successful, a scene will trigger and Aran will get Adso to bring the people to safety.
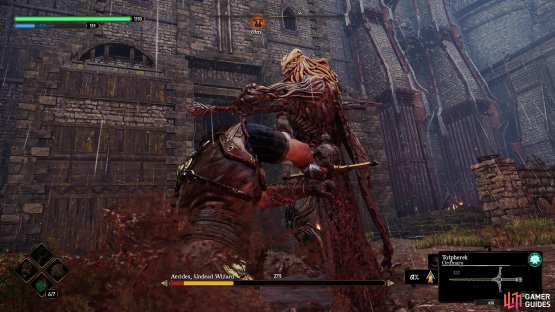

(1 of 2) Defeat Aecides in the Iron Castle’s courtyard.
Defeat Aecides in the Iron Castle’s courtyard. (left), Then follow the swarm of flies to find how he is regenerating and put a stop to it. (right)
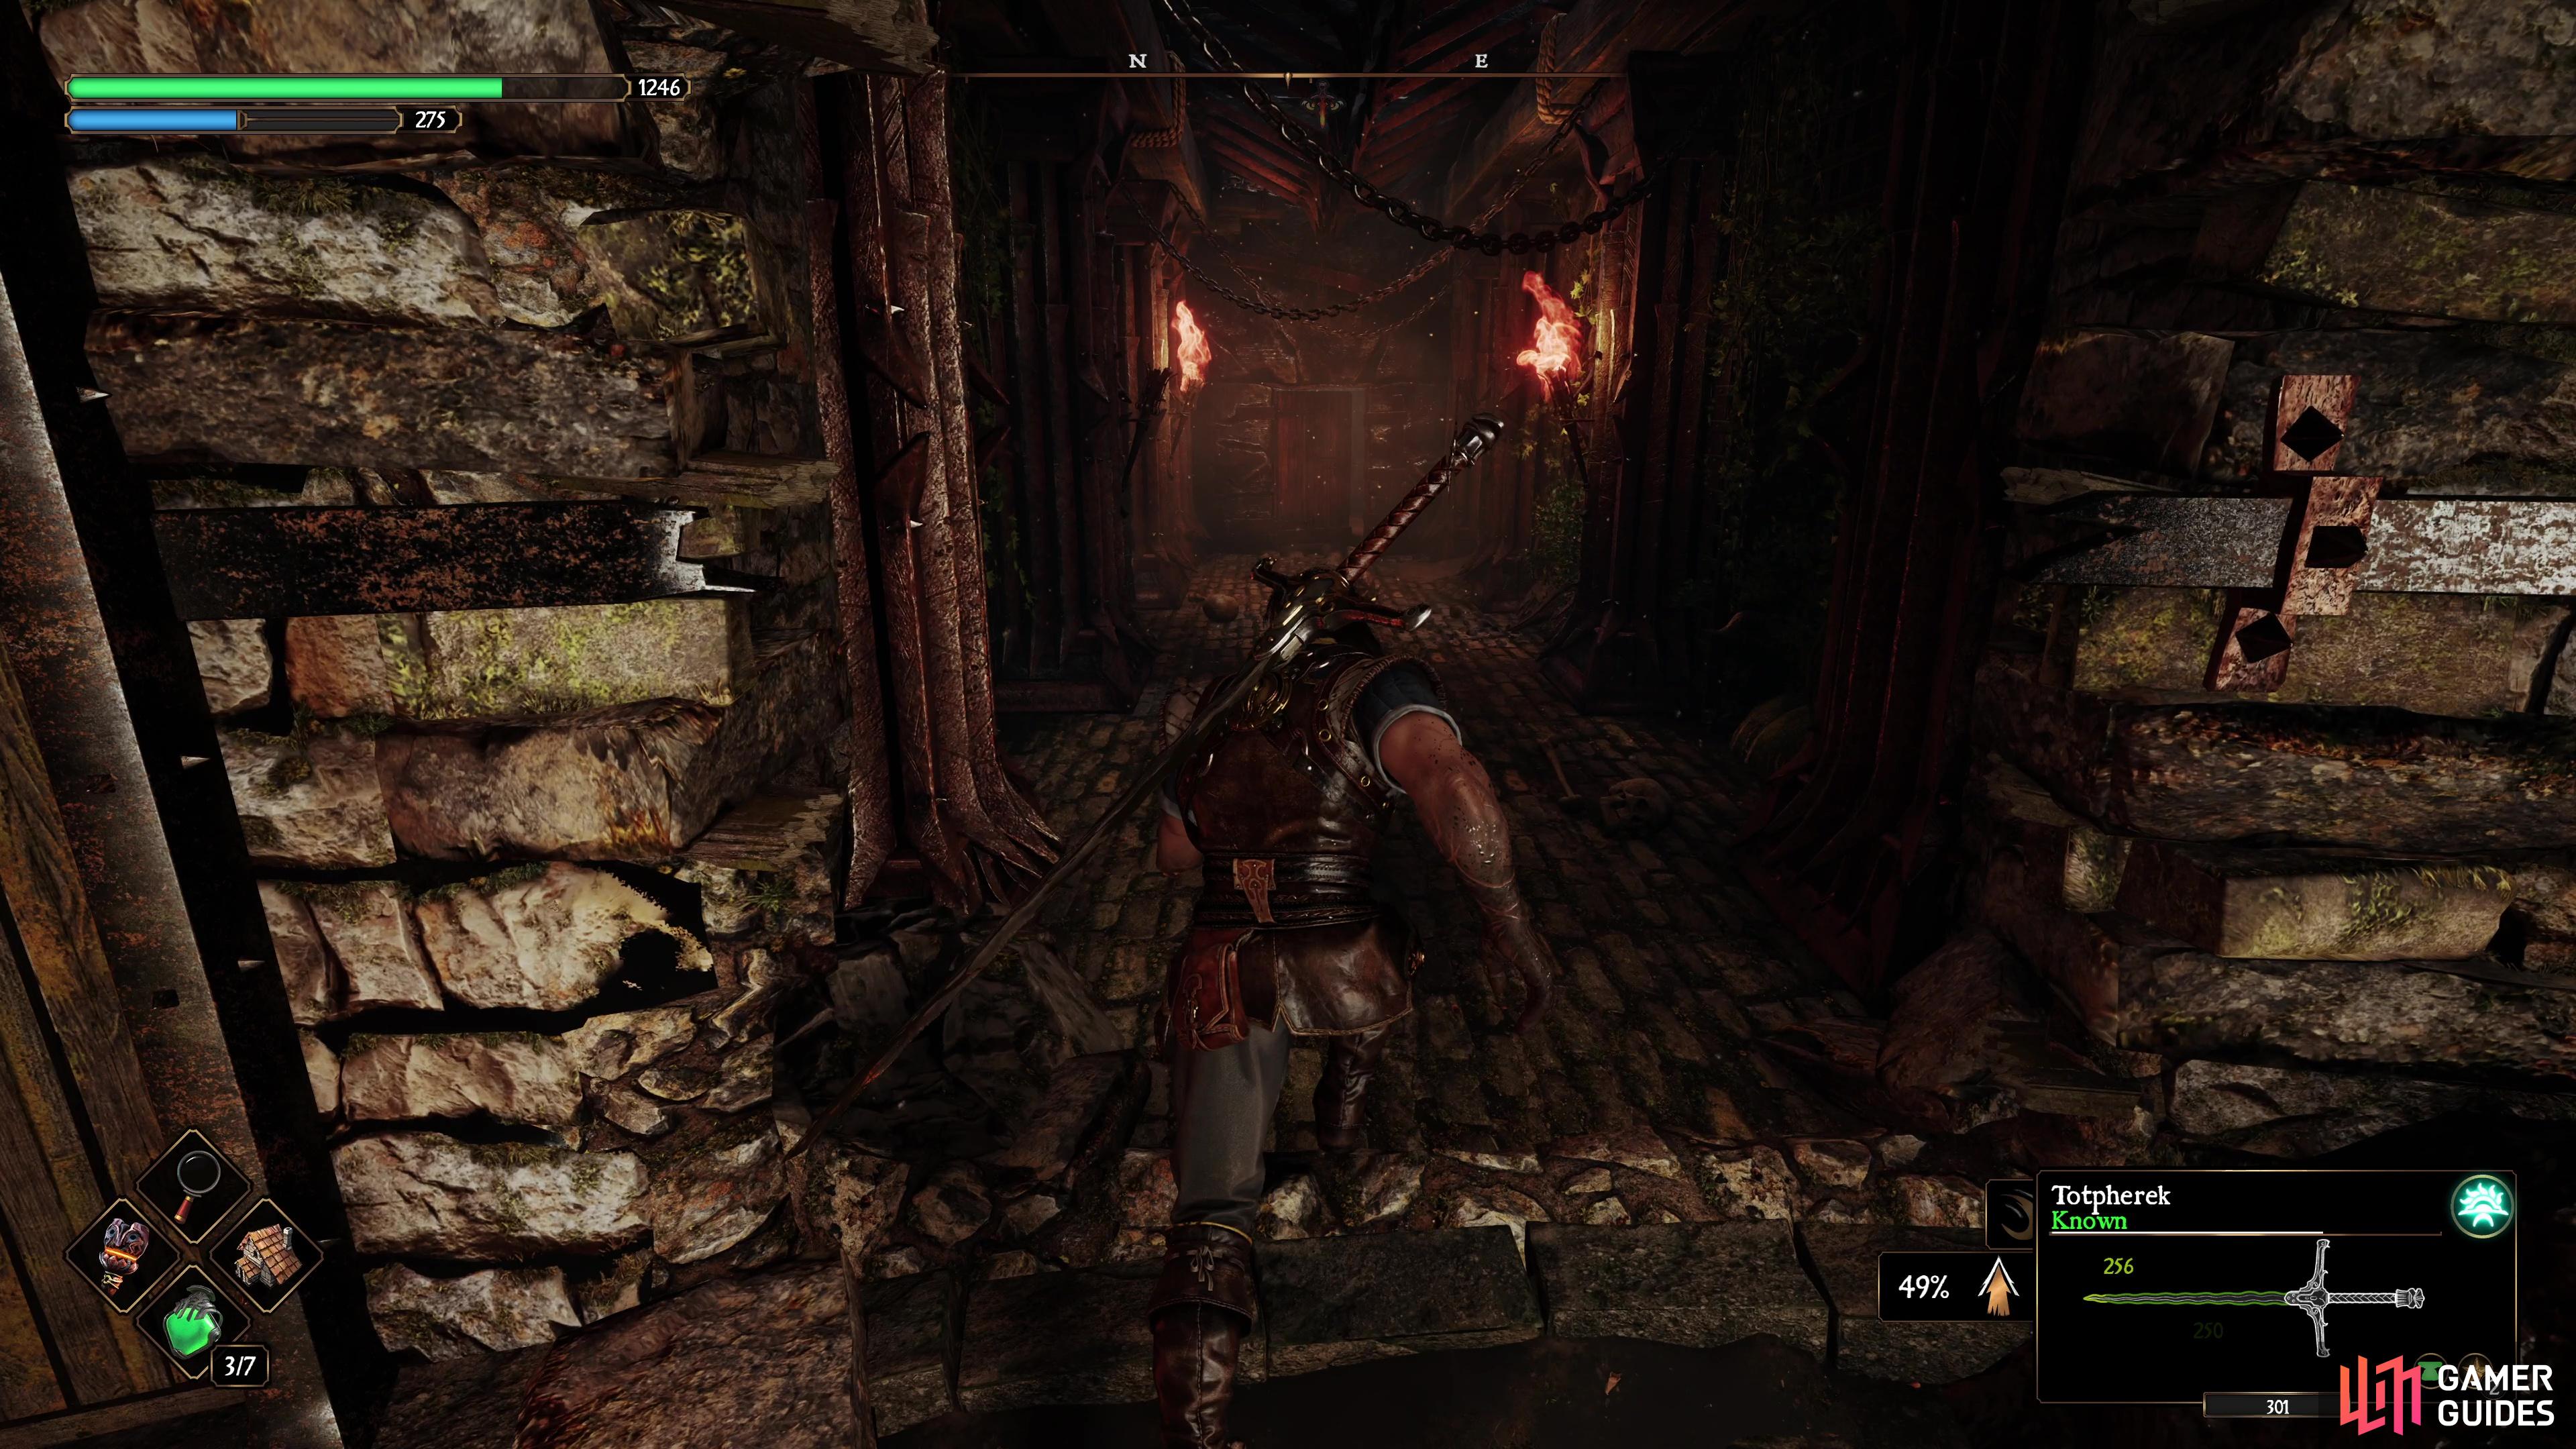
Once again, return to the courtyard to find and defeat Aecides again and a swarm of flies will take off in the direction of the northeast tower where you’ll need to get there in time once more to trigger another scene. Now, with Aecides’ ability to regenerate gone, he’ll retreat to the throne room of his castle and the west side will become available to explore once you defeat the Shunned Templar. You’ll eventually gain access to the Aecides’ Chapel anvil (Map Marker) where you can go north and take the rope down to fight him seriously.
Aecides, Undead Wizard Preparation
Before you get the battle underway, take the time to make sure you have at least one strong Blunt weapon in your arsenal, this is by far the most effective damage type to use against him. If you already have one in your possession, make sure you have plenty of durability on it and if needed, repair it at the anvil, you don’t want to have to switch weapons later in the battle. A high Block-rate on a Polearm is useful here, and any extra Stamina you can add to it is also useful.
When you’re ready, take the lift down in the throne room and you’ll trigger a scene under the trap door where Aran lets out Aecides’ soul, making the unkillable now killable as Aecides enters the throne room with some backup. This is another simple battle much like the courtyard battles so make sure you get through it without losing too much health, you’ll need it for what follows.
Defeat Aecides in his weaker form one more time to trigger the start of the true battle.
Aecides, Undead Wizard Phase 1
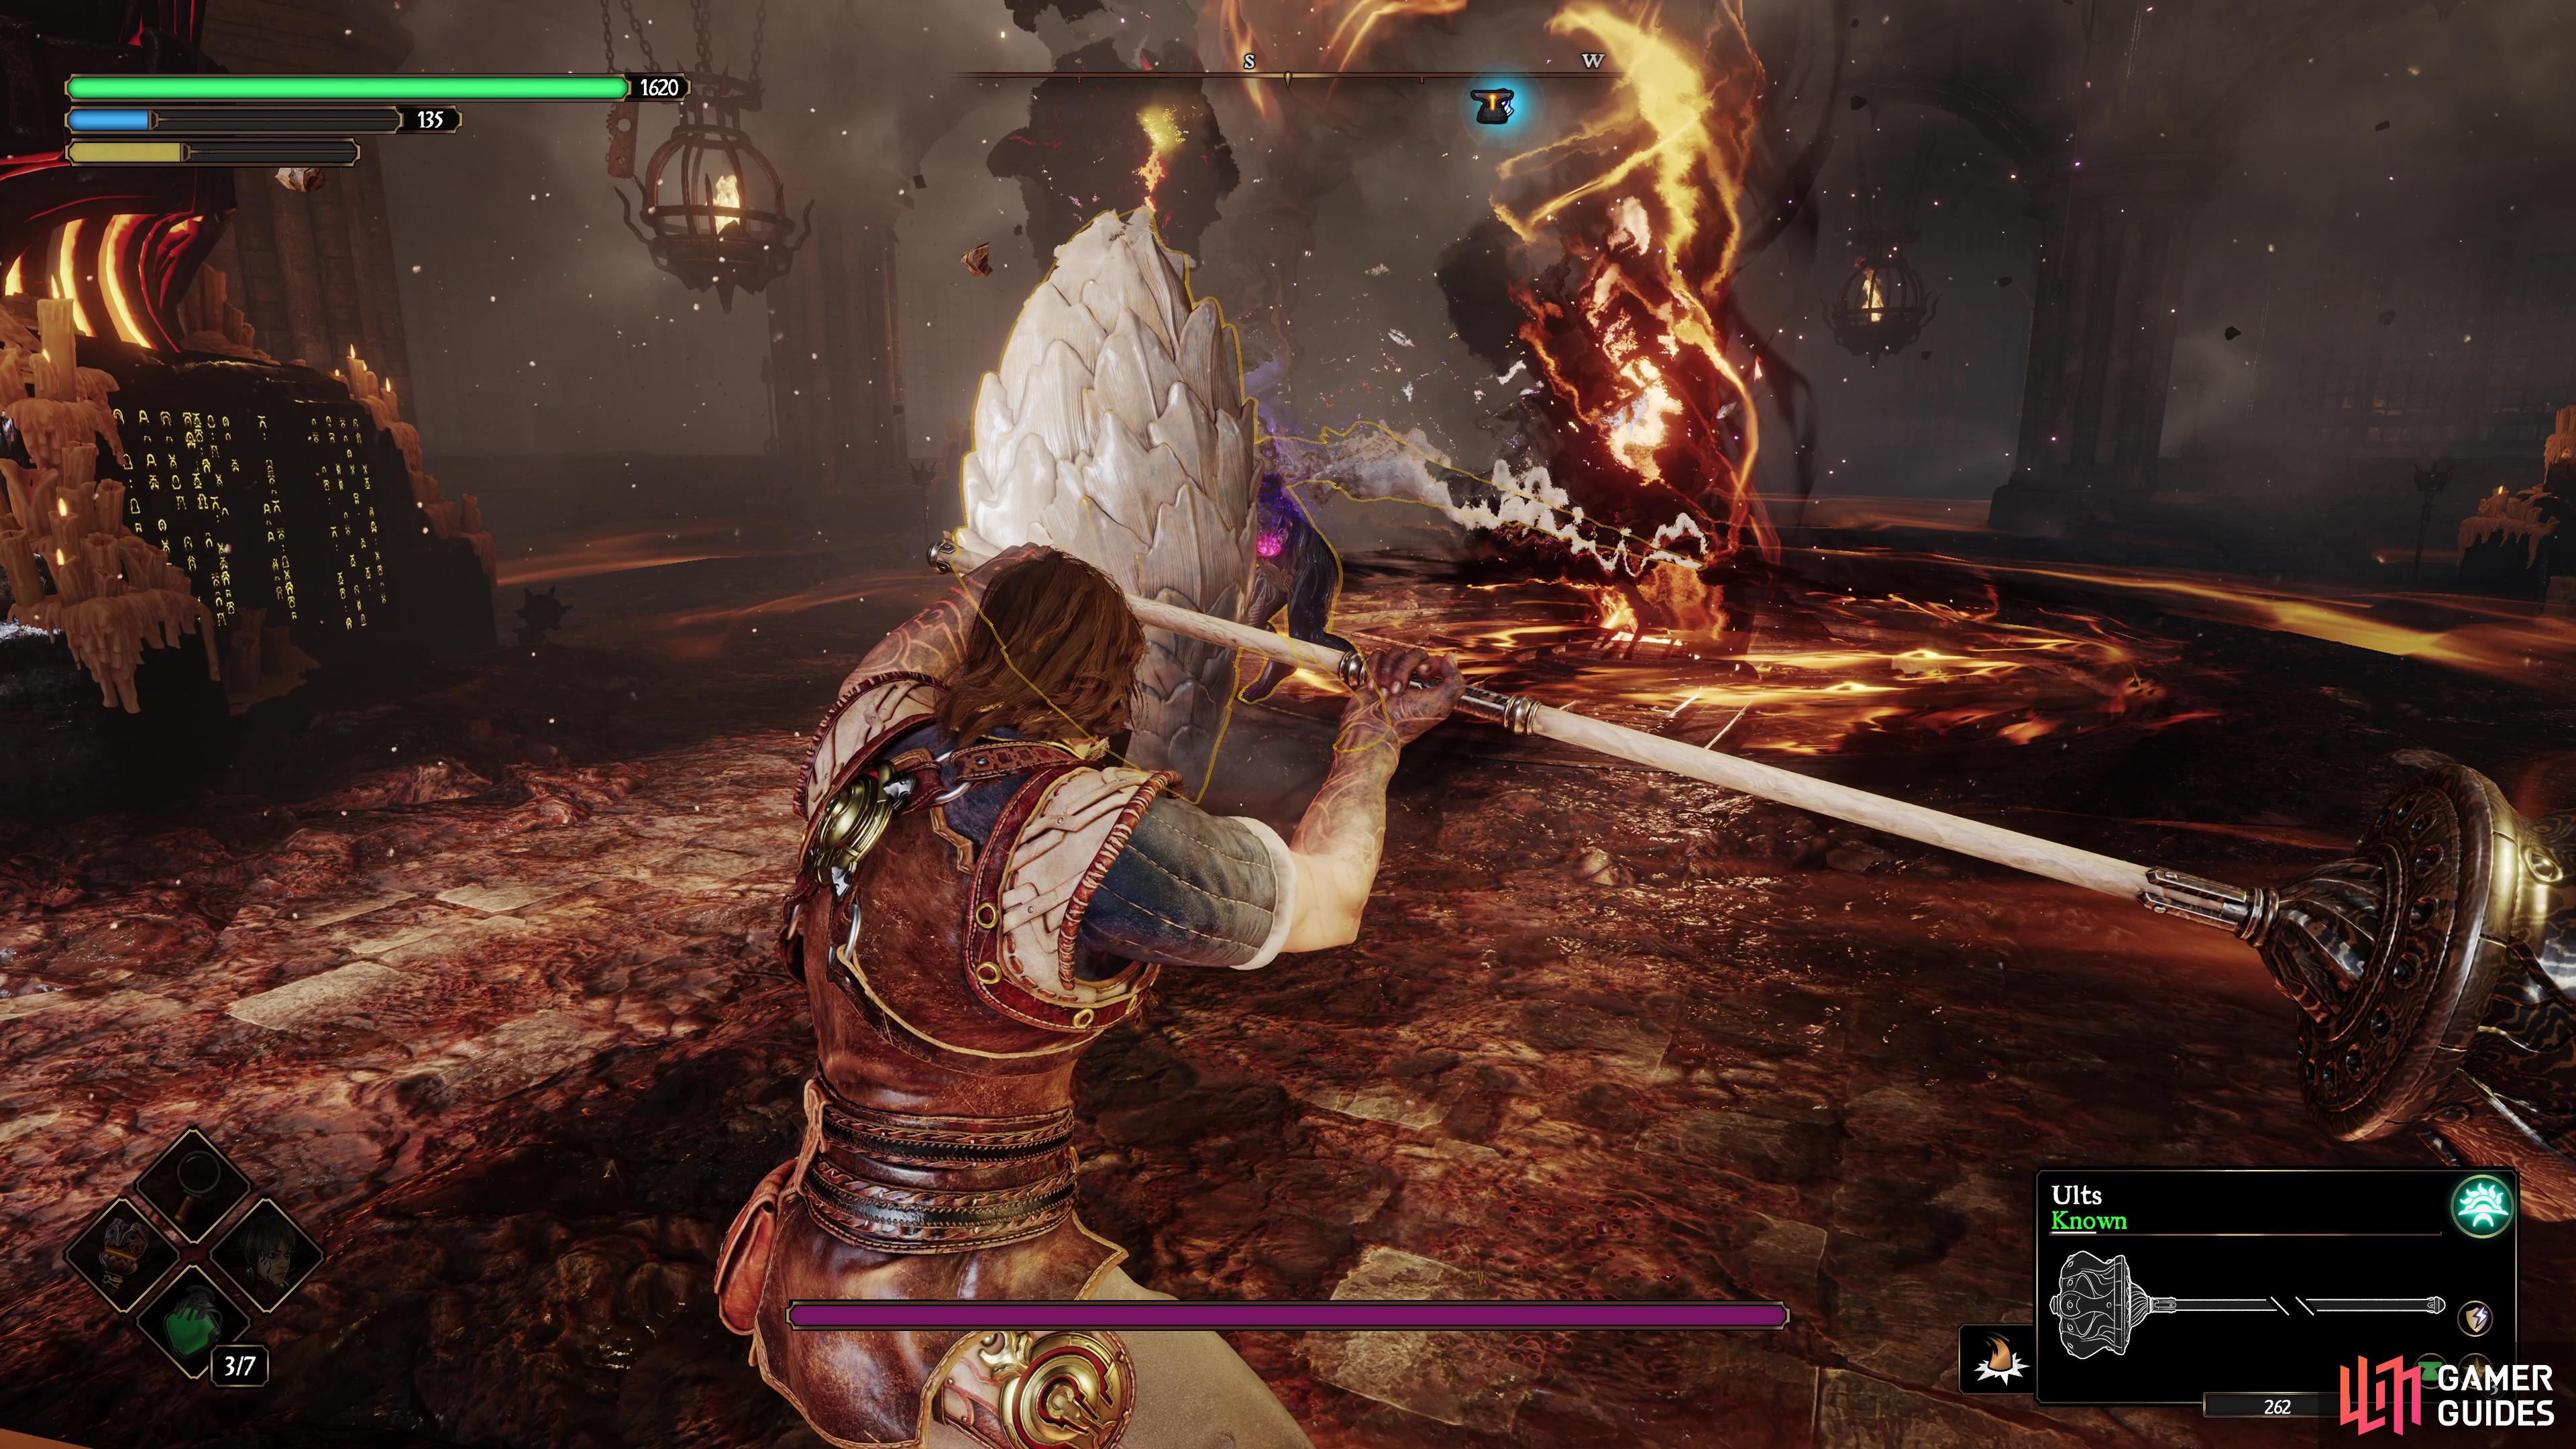
The first thing you should note about Aecides’ new form is that he’s clad in armor from head-to-toe, meaning that only Blunt damage is going to really help you here. The goal here isn’t to deplete his health, but instead buy enough time for Adso to summon the four sets of Runes and seal him once more. Still, that doesn’t mean you can hide away and waste time, as Aecides’ AoE attacks will hit Adso and thus, cause him to delay in summoning those Runes.
Every time you deplete his “health” gauge, you’ll cause him to hide behind his shield while he recovers, buying precious time for Adso to continue. Beware, however, that he will poke with his spear when you get close! Aecides has plenty of attacks to worry about, and you can learn about them all below:
Shield Charge
Aecides will hide behind his shield and charge toward you, knocking you over if it connects. This can then leave you completely open for deadly follow-up attacks, so keep locked-on and then dodge to either side to avoid this attack.

(1 of 2) Aecides will charge with his shield out, knocking you down if it connects.
Aecides will charge with his shield out, knocking you down if it connects. (left), Aecides will shoot out three sets of Rock Barrages that travel in a line, dodge to the sides to avoid them. (right)
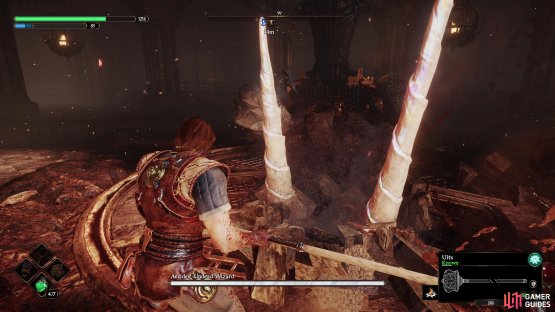
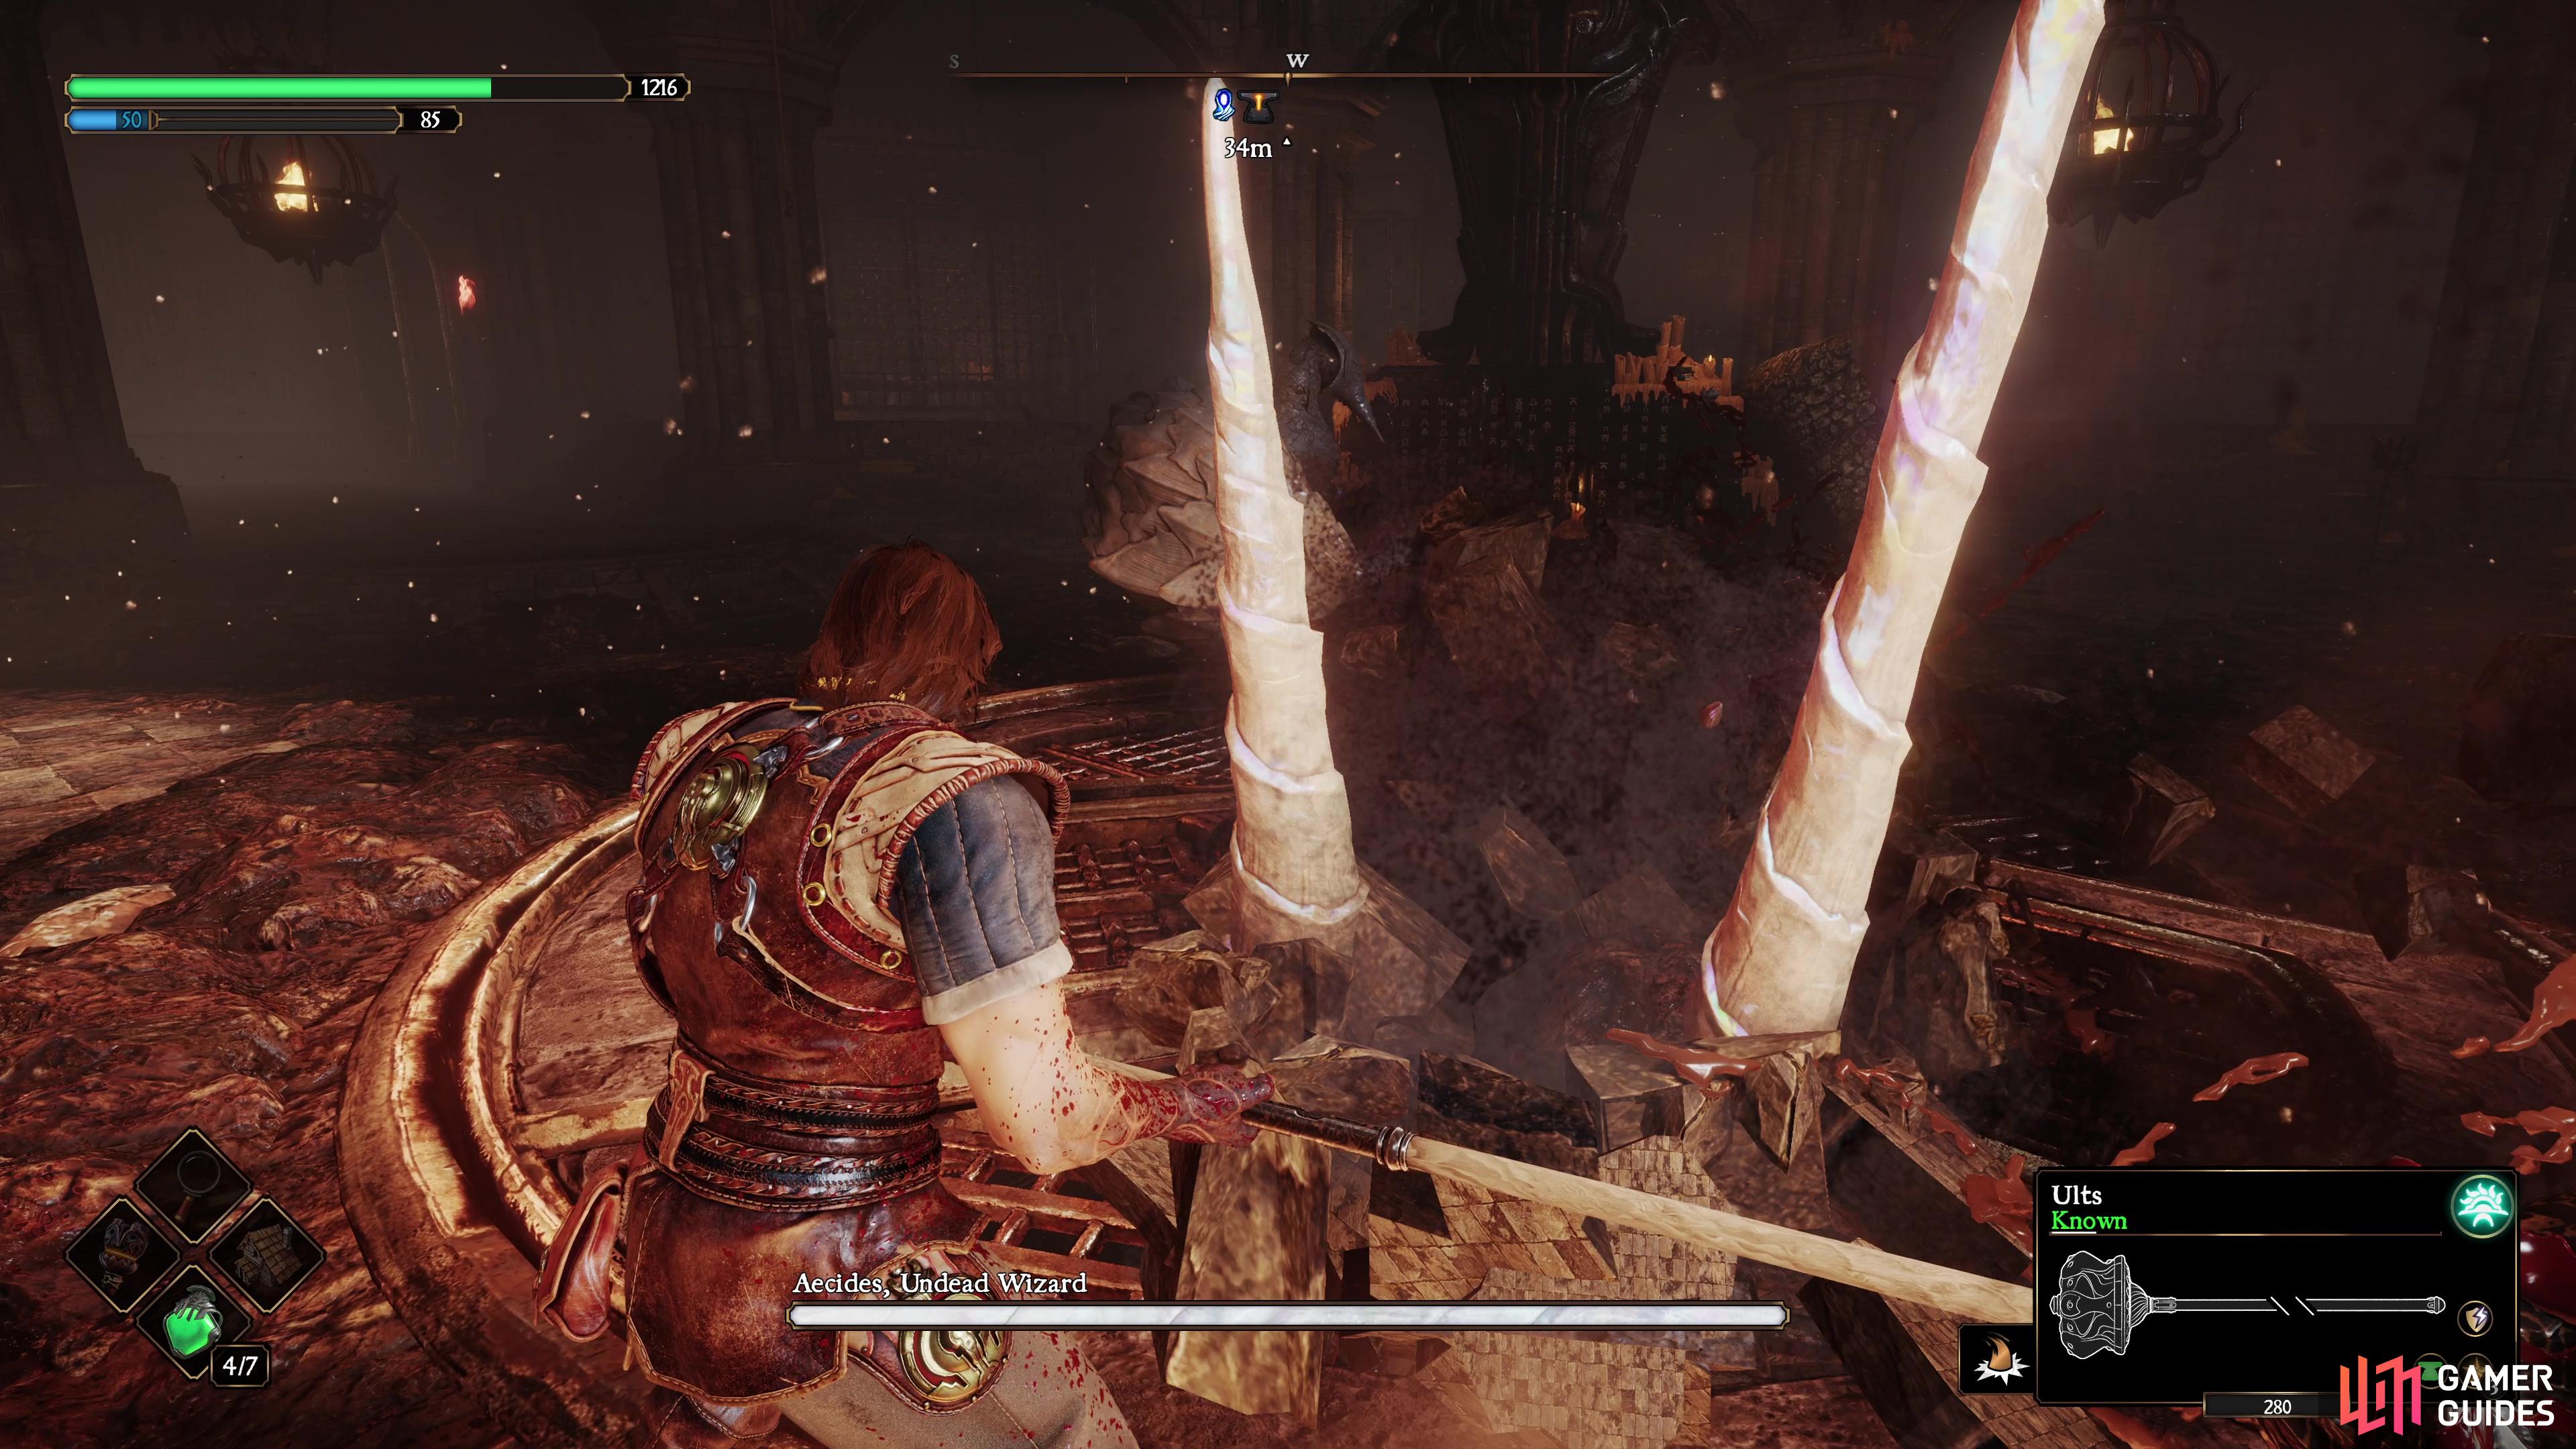
Rock Barrage
Aecides will plunge his spear into the ground and then shoot out a line of rocks that shoot up from the ground, he will repeat this three times. This tends to be used more when you keep your distance, so be ready and dodge from side-to-side to avoid it.
Spear Combo
Aecides will stab with his spear multiple times before winding up a stronger one that inflicts more damage. This is an easy attack to get caught in when you’re up close and once you’re hit by one attack, it’s hard to get out of them. Regardless, get ready to dodge away as soon as you can to avoid any follow-up attacks.


(1 of 2) Aecides can use a multi-hit thrust attack with his spear.
Aecides can use a multi-hit thrust attack with his spear. (left), This is usually followed up by his Drill Attack, this will deal massive damage if you’re caught in it. (right)
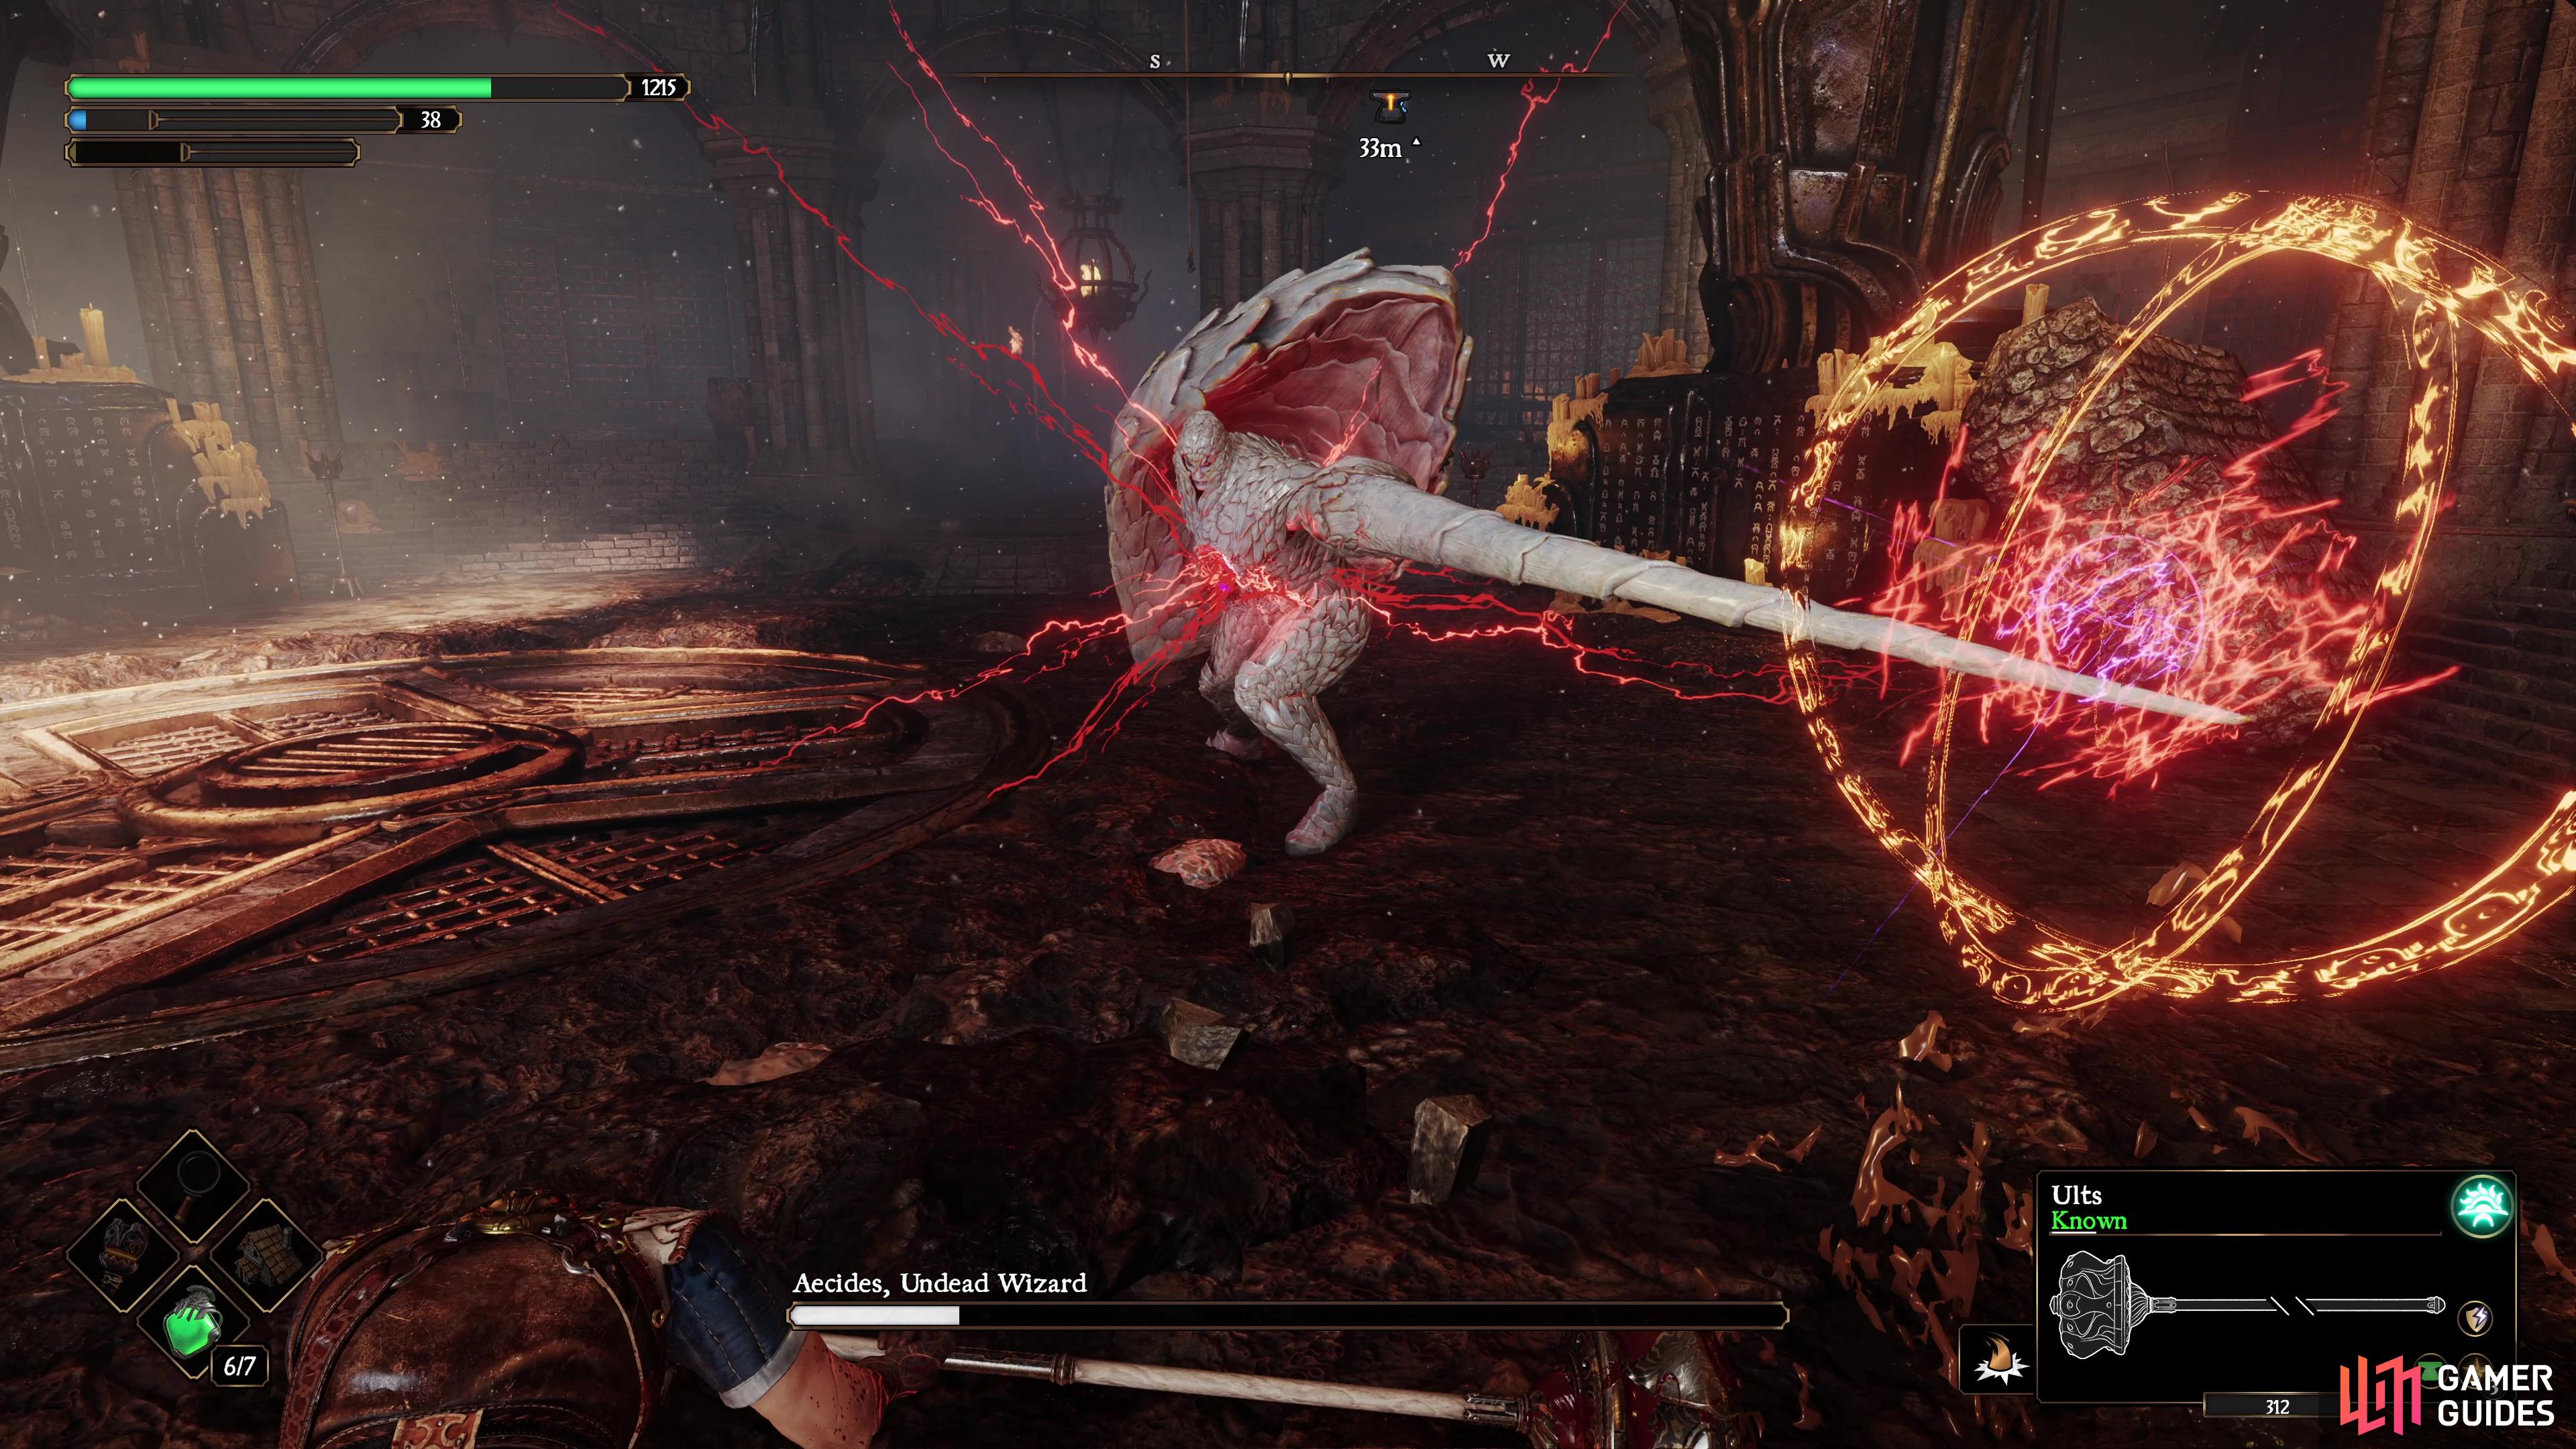
Drill Attack
Aecides will imbue his Spear with magical energy and thrust forward in a drill like motion that his a massive area in a line and deals major damage, this is his deadliest attack and usually follows his Spear Combo. Still, if you dodge around the side of him, this leaves him completely open during the duration of the attack.
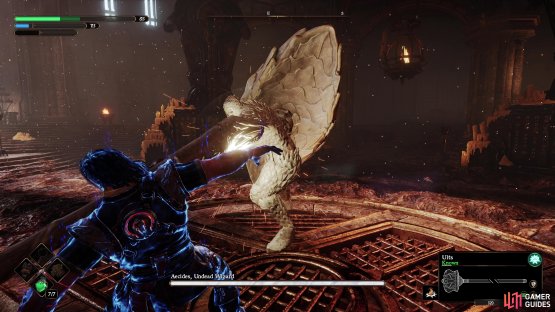
Energy Circles
Aecides will shoot out three large energy circles from the tip of his spear that will fly off in each direction, keep your distance and dodge to the side to avoid these.

(1 of 2) Aecides can shoot out multiple traveling energy circles.
Aecides can shoot out multiple traveling energy circles. (left), You must stun Aecides out of this Explosion charge or he will delay Adso. (right)
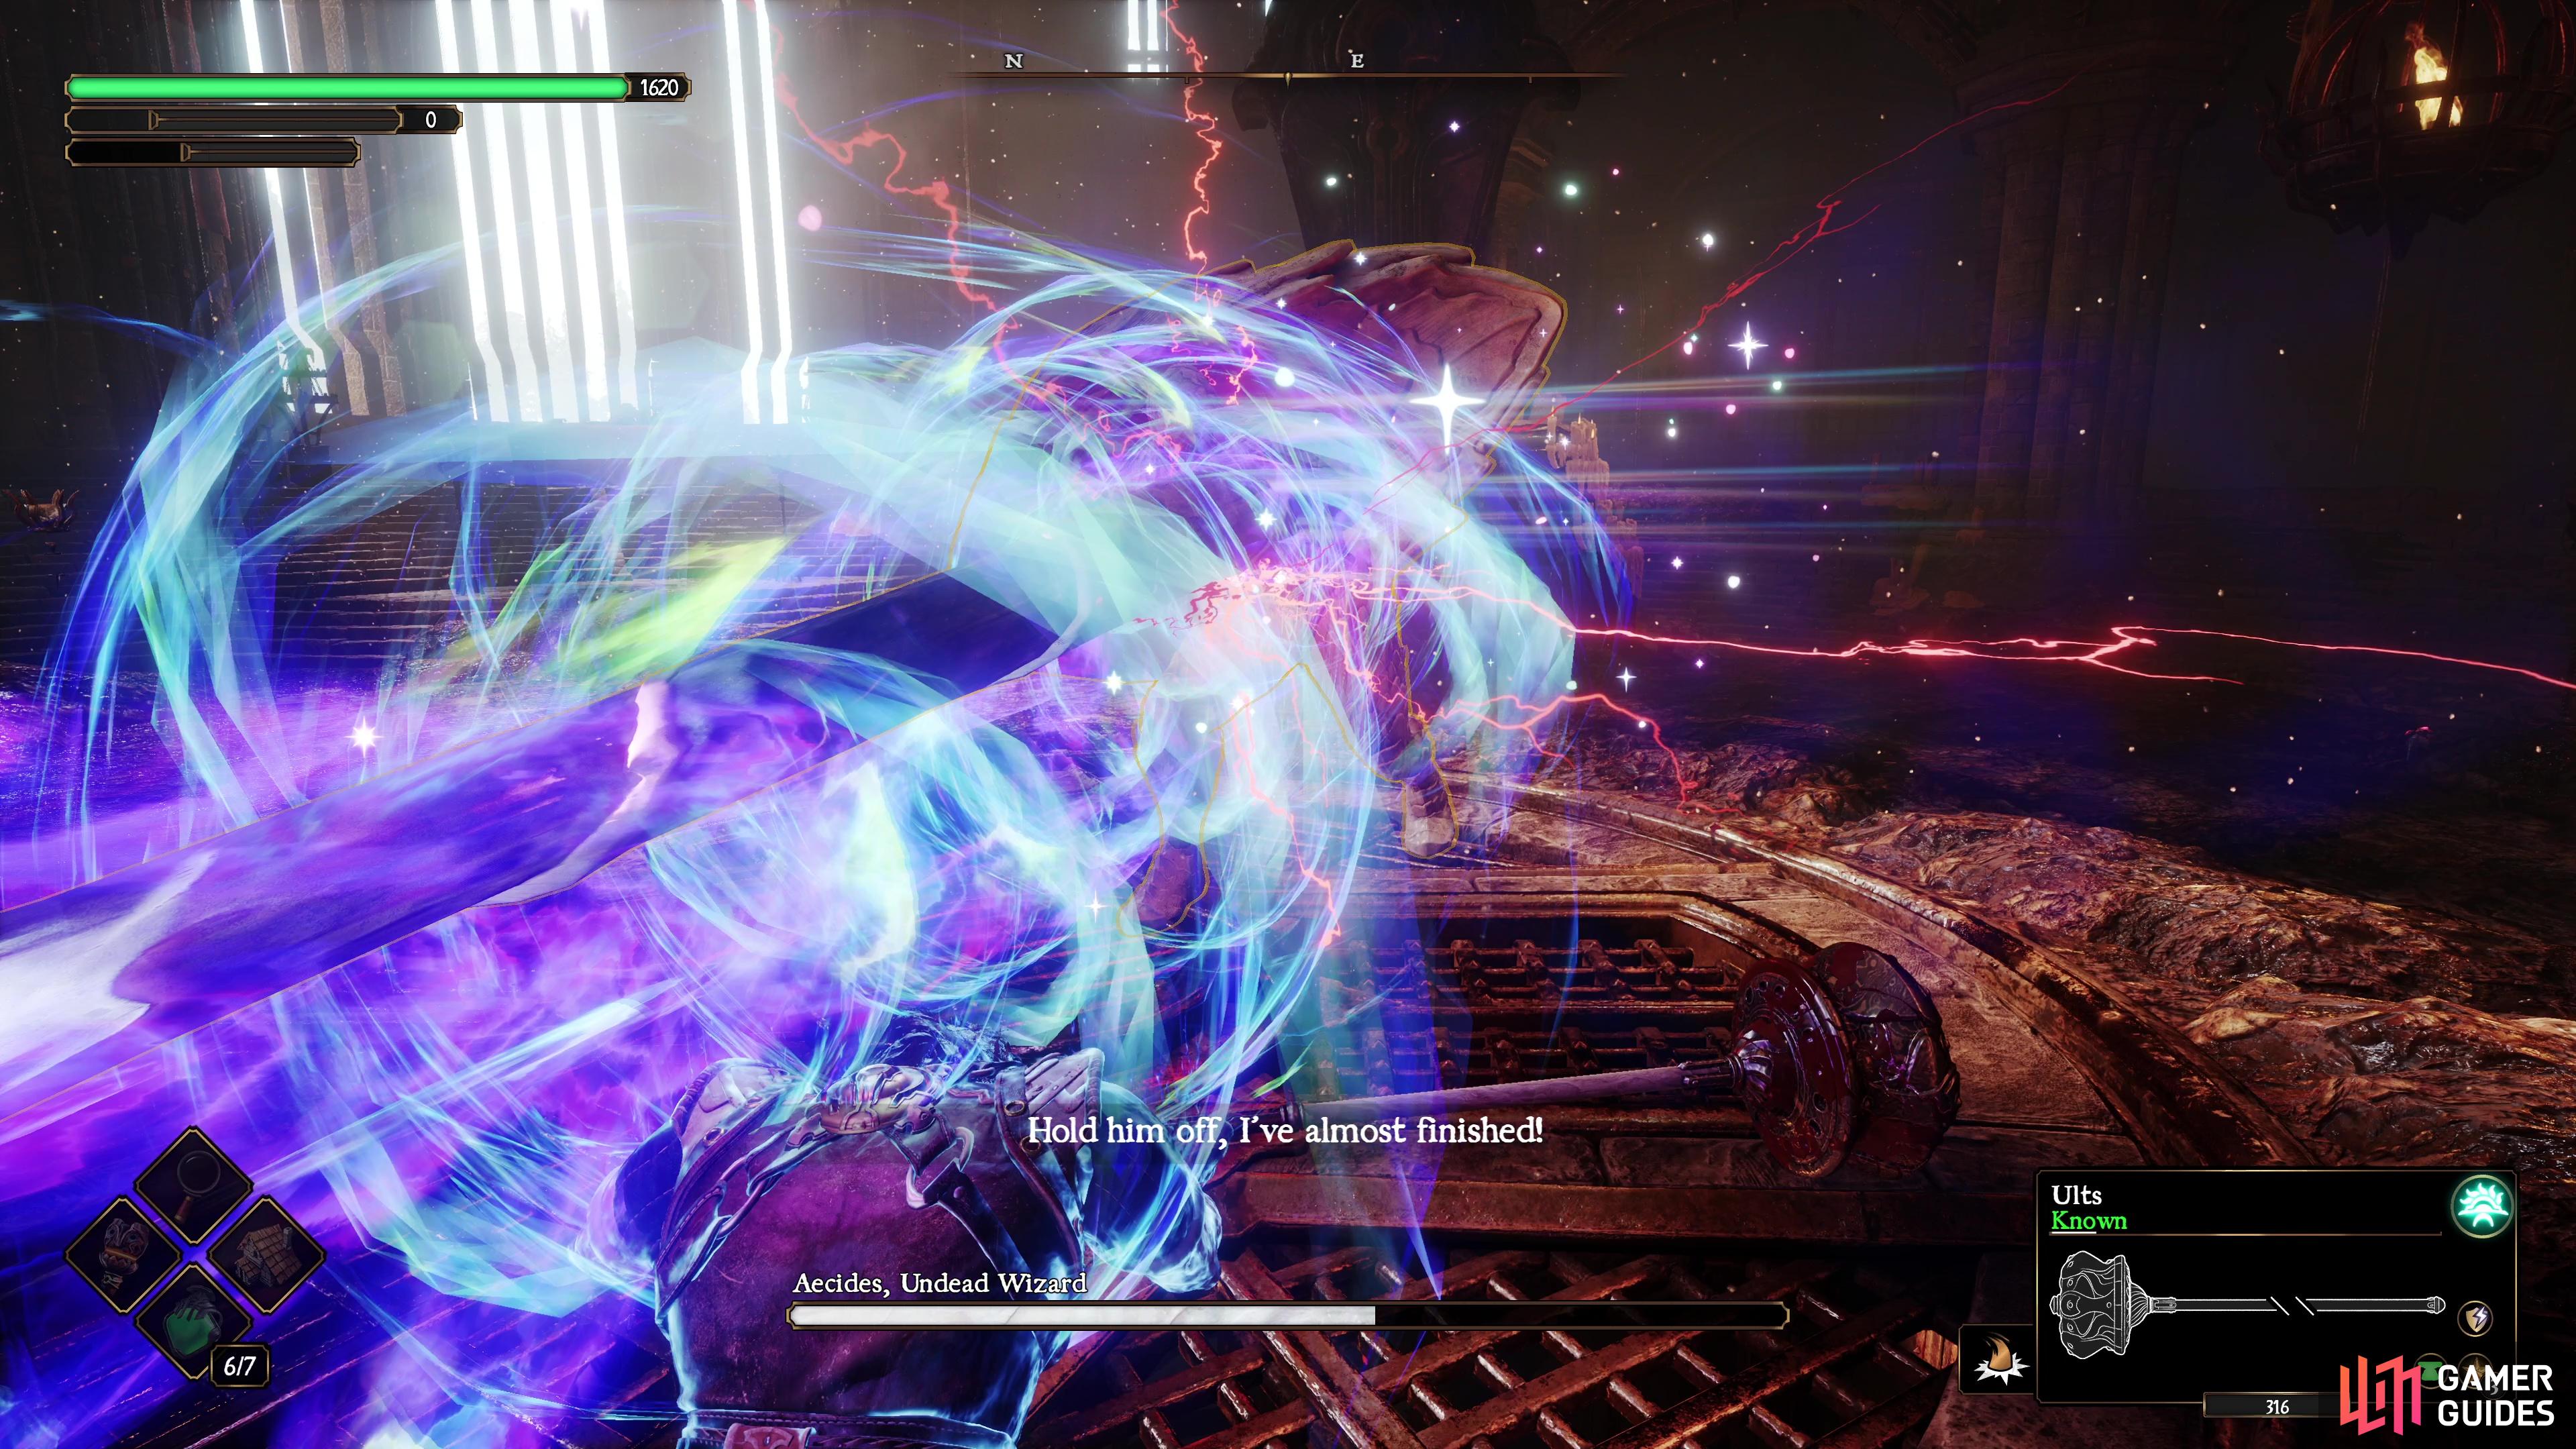
Explosion
When Aecides’ heart is exposed enough, he will begin charging an energy explosion and if you don’t stun him in time, he will let it off, dealing damage across the entire arena and delaying Adso for a while.
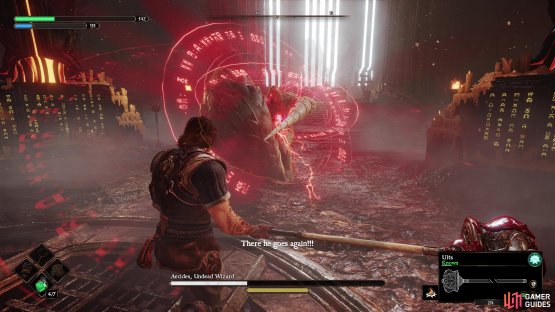
The first phase against Aecides involves you holding his attention until Adso has had time to summon the first three Runes from the statues, after which point a scene will trigger and Aecides will begin fighting the sealing process. During this time, you must strike Aecides to trigger a scene, otherwise he’ll eventually get free and you’ll have to wait for Adso to summon the third Rune again. Fortunately, hitting him once is enough to stop him and enter the second, and final, phase of the battle.
Aecides, Undead Wizard Phase 2
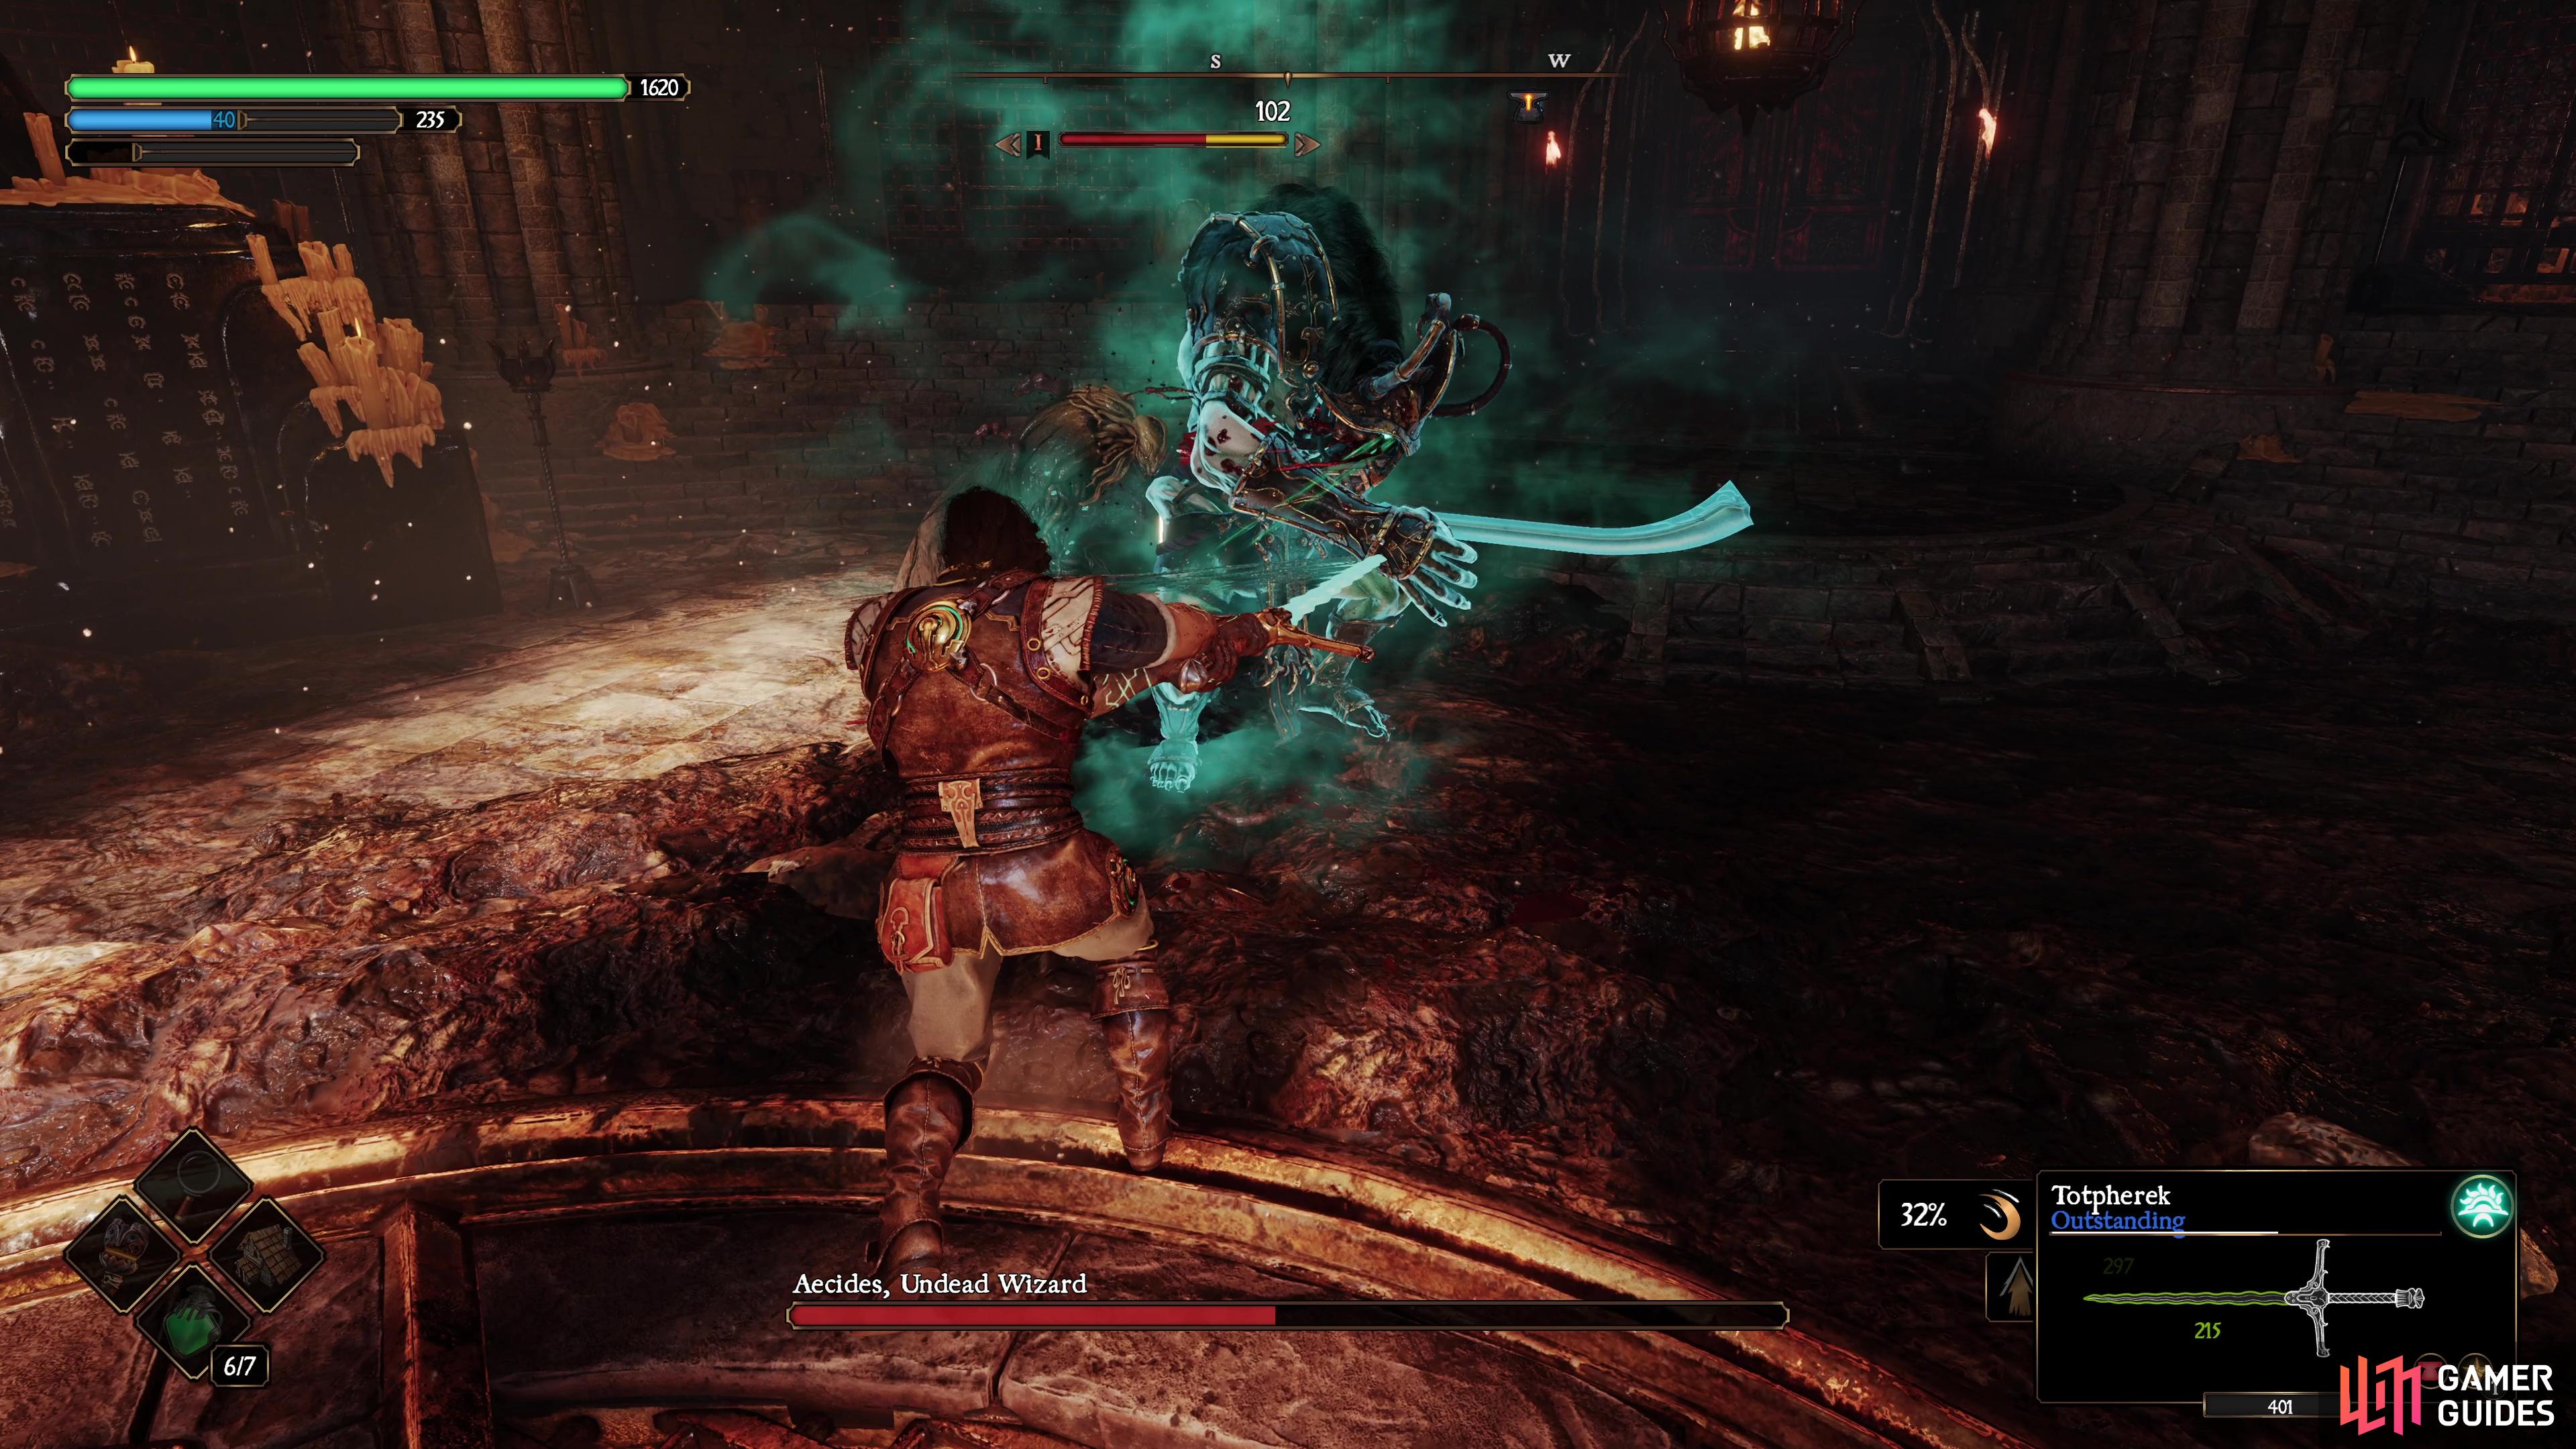
You’ll be fighting Aecides back in his original form, only this time, you won’t have much space in the battle arena. Aecides isn’t as much of a pushover as he is the other times you fight him in this form, and odds are, you may be running low on Flasks, so you don’t want to rush in without a care or you could find yourself losing and having to start the battle from the beginning of the first phase again.

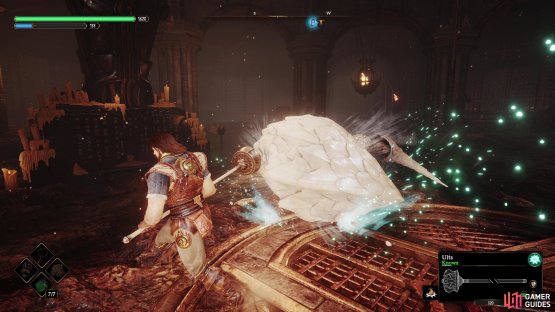
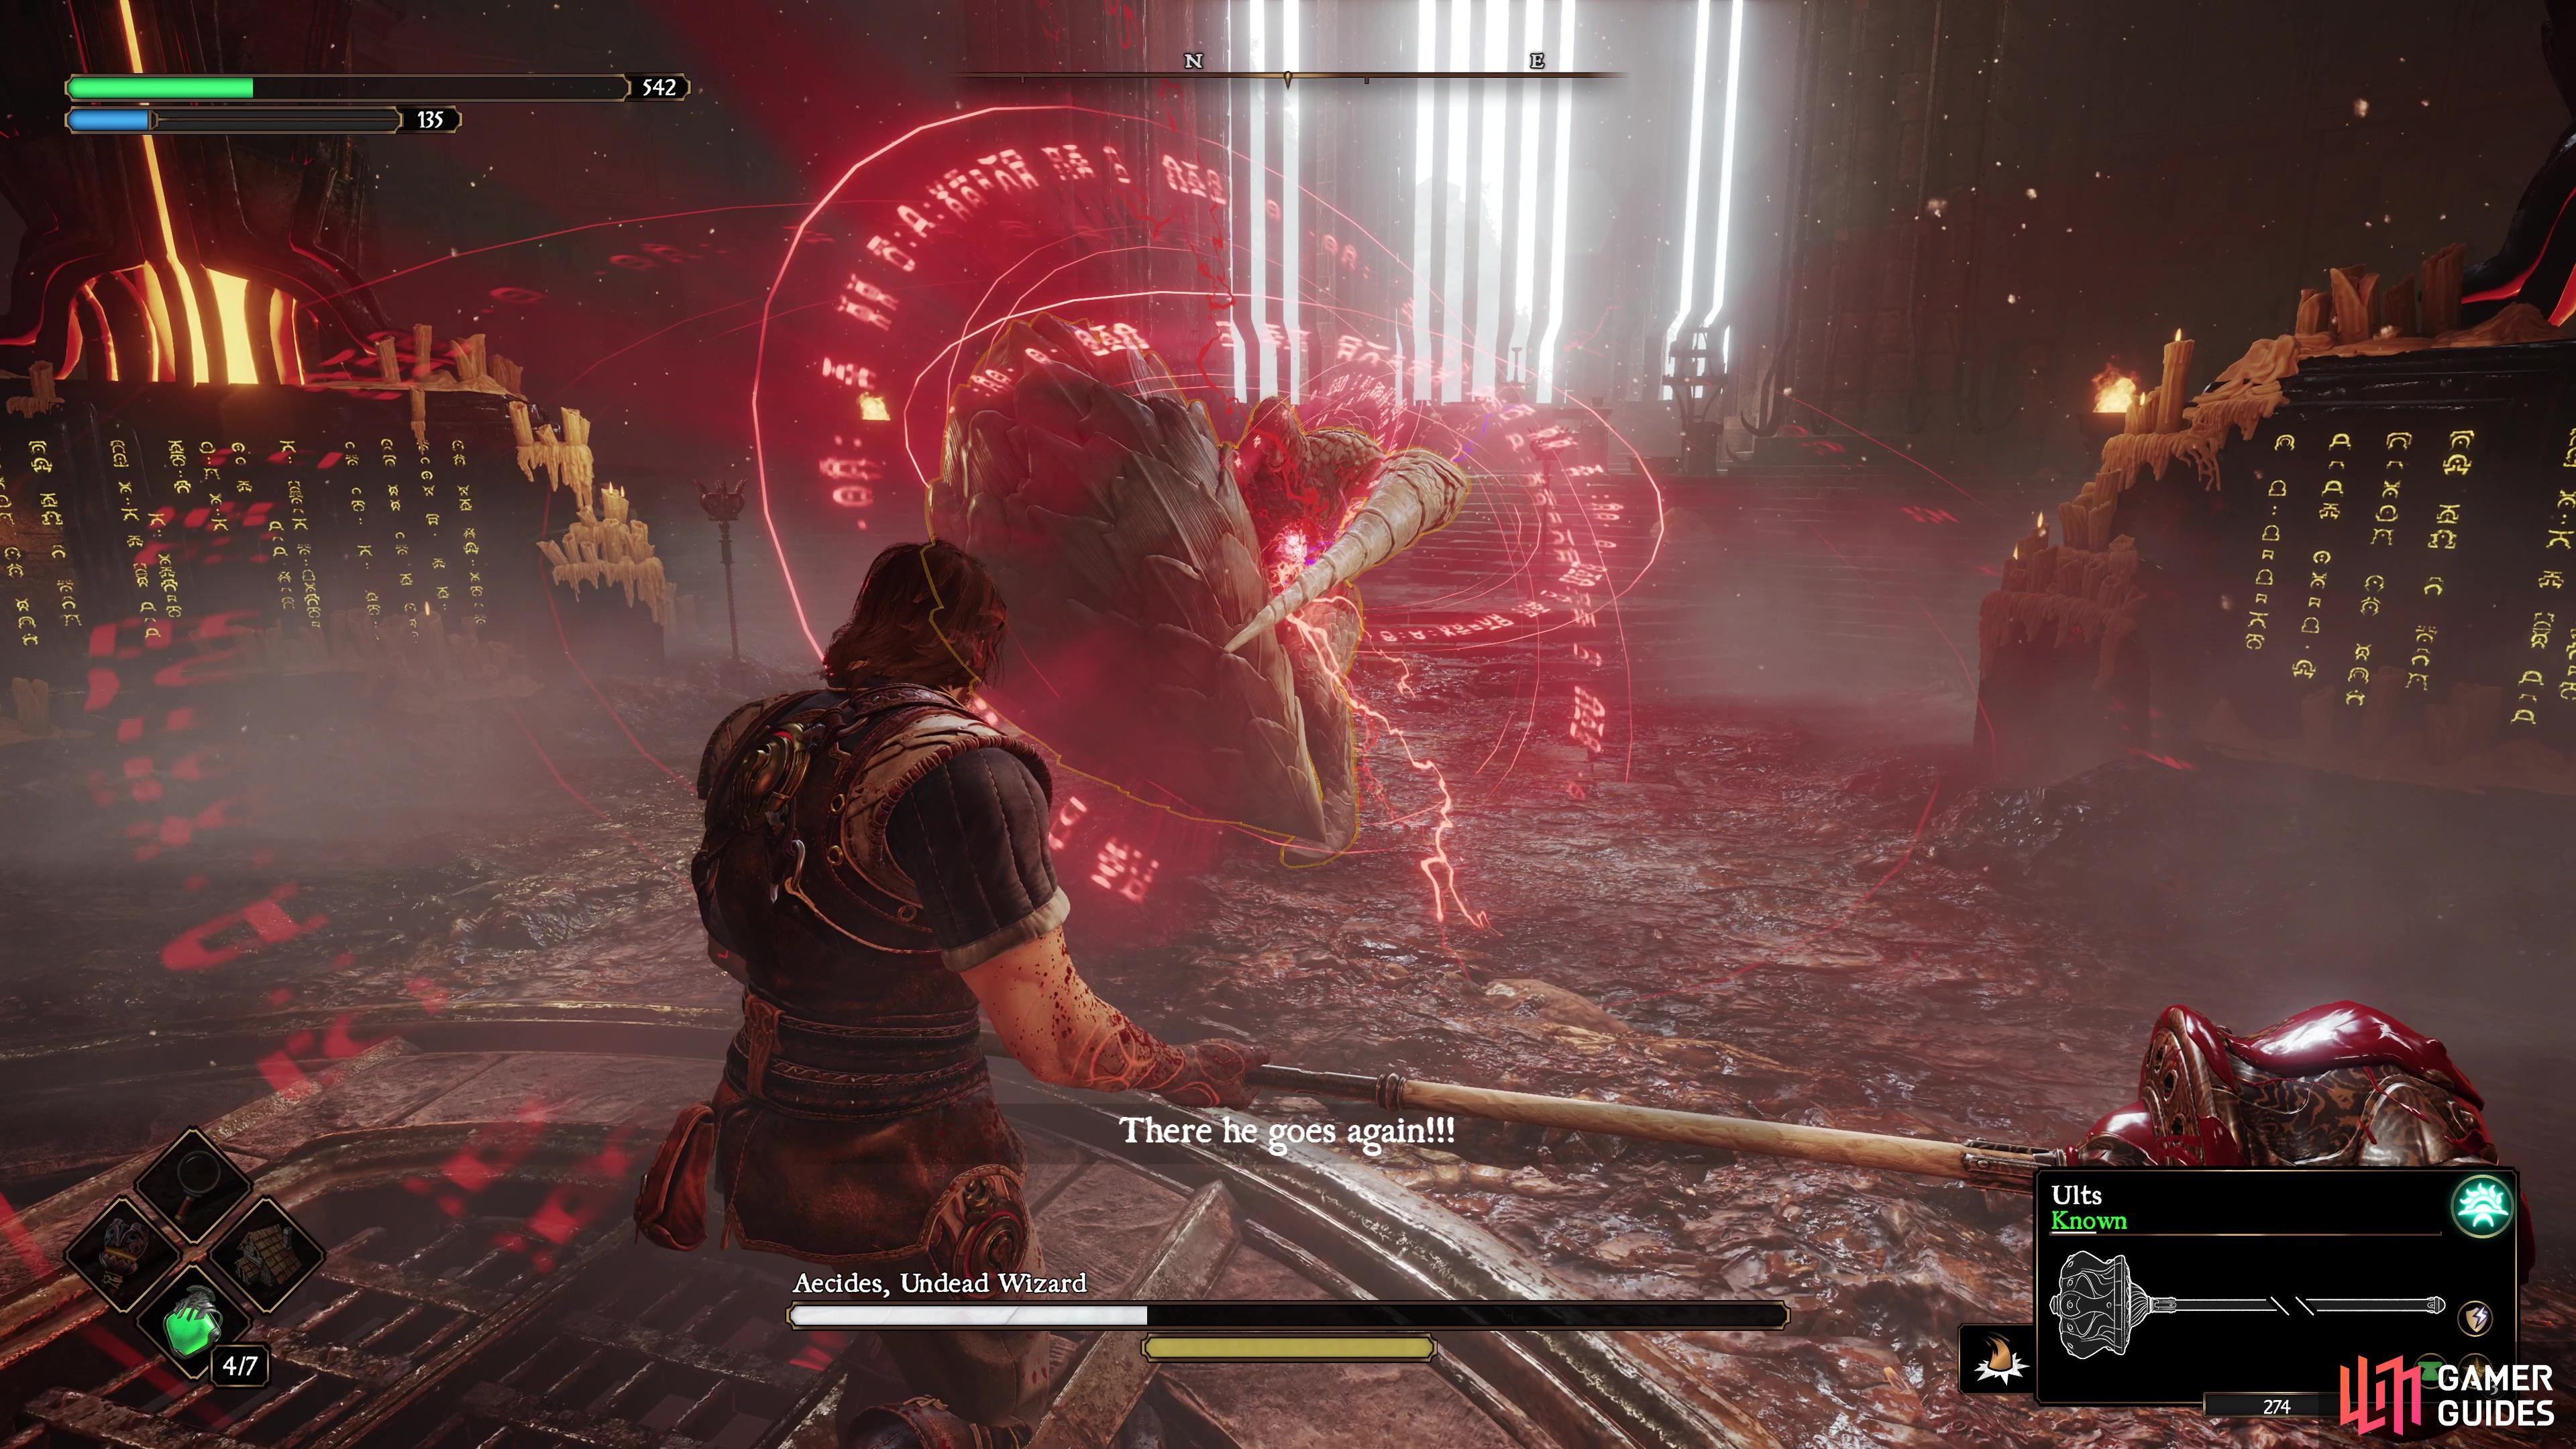
(1 of 2) You must strike Aecides once here to prevent him from breaking out.

You must strike Aecides once here to prevent him from breaking out. (left), In the final phase, prioritize survivability while getting in a few strikes to trigger a scene that ends the battle. (right)
At range, Aecides can now use his arms to attempt to grab you and pull you toward him, a simple block will make short work of that though. He will also use sweeping sword strikes that are slow, but powerful, so try not to get caught by any of them. Fortunately, you only need to get a few hits on him and eventually a scene will trigger, bringing an end to this lengthy battle and Aecides’ reign of terror.
No Comments