
![]() Aecides’ Domain is the first major area in Blades of Fire and forms the bulk of the game’s opening chapter. The woodland hillsides and rivers that wind through the
Aecides’ Domain is the first major area in Blades of Fire and forms the bulk of the game’s opening chapter. The woodland hillsides and rivers that wind through the ![]() Besacarr Hamlet high up in the mountains are filled with bosses, secrets, loot, and collectibles to find as you push towards The Queen. Each area in the game is huge, with many winding paths and optional areas that can make it hard to navigate.
Besacarr Hamlet high up in the mountains are filled with bosses, secrets, loot, and collectibles to find as you push towards The Queen. Each area in the game is huge, with many winding paths and optional areas that can make it hard to navigate.
However, this page is here to help you out by giving you a full breakdown of the area and where to find all the loot, items, and upgrades you will need.
Besacarr Hamlet Walkthrough
After you visit the camp, you will emerge out into the first village of Aecides’ Domain, which is connected to the camp via a bridge. Standing in front of the bridge is a regular guard, which can be taken down. Generally, your hammer, and any stabbing attacks with a sword will be the most effective. Two charged attacks will defeat them.
Defeating this guard will give you the ![]() Soldier’s Key, which you can use to open the door in front of you on the bridge.
Soldier’s Key, which you can use to open the door in front of you on the bridge.
After opening this door, there are several directions, you can go. However, we suggest clearing out the enemies in the are directly ahead, by the fire and some pots. There are three total guards here, alongside one with a flaming polearm, that can be taken out in the same way as the one you killed on the bridge.
Don’t forget that if your weapon becomes less effective, you need to sharpen it. You can find a Sword Seneschal here down the path in the middle of the open area. We will go over what these do at the next one, as you will have crafted a weapon for them by then.
On your right, you can find a staircase which leads up to a chest in a building that contains a ![]() Health Gem, which are used to boost your health with each upgrade.
Health Gem, which are used to boost your health with each upgrade.
After those enemies have been defeated, head to your left around the outer edge of the village, southeast. Along the wooden walkway, you can find another guard, as well as a pile of wood. Smash that pile and then interact with the gap in the wall to enter the building.


(1 of 2) Along the southeast edge of the village, you can find a walkway that goes around the buildings.
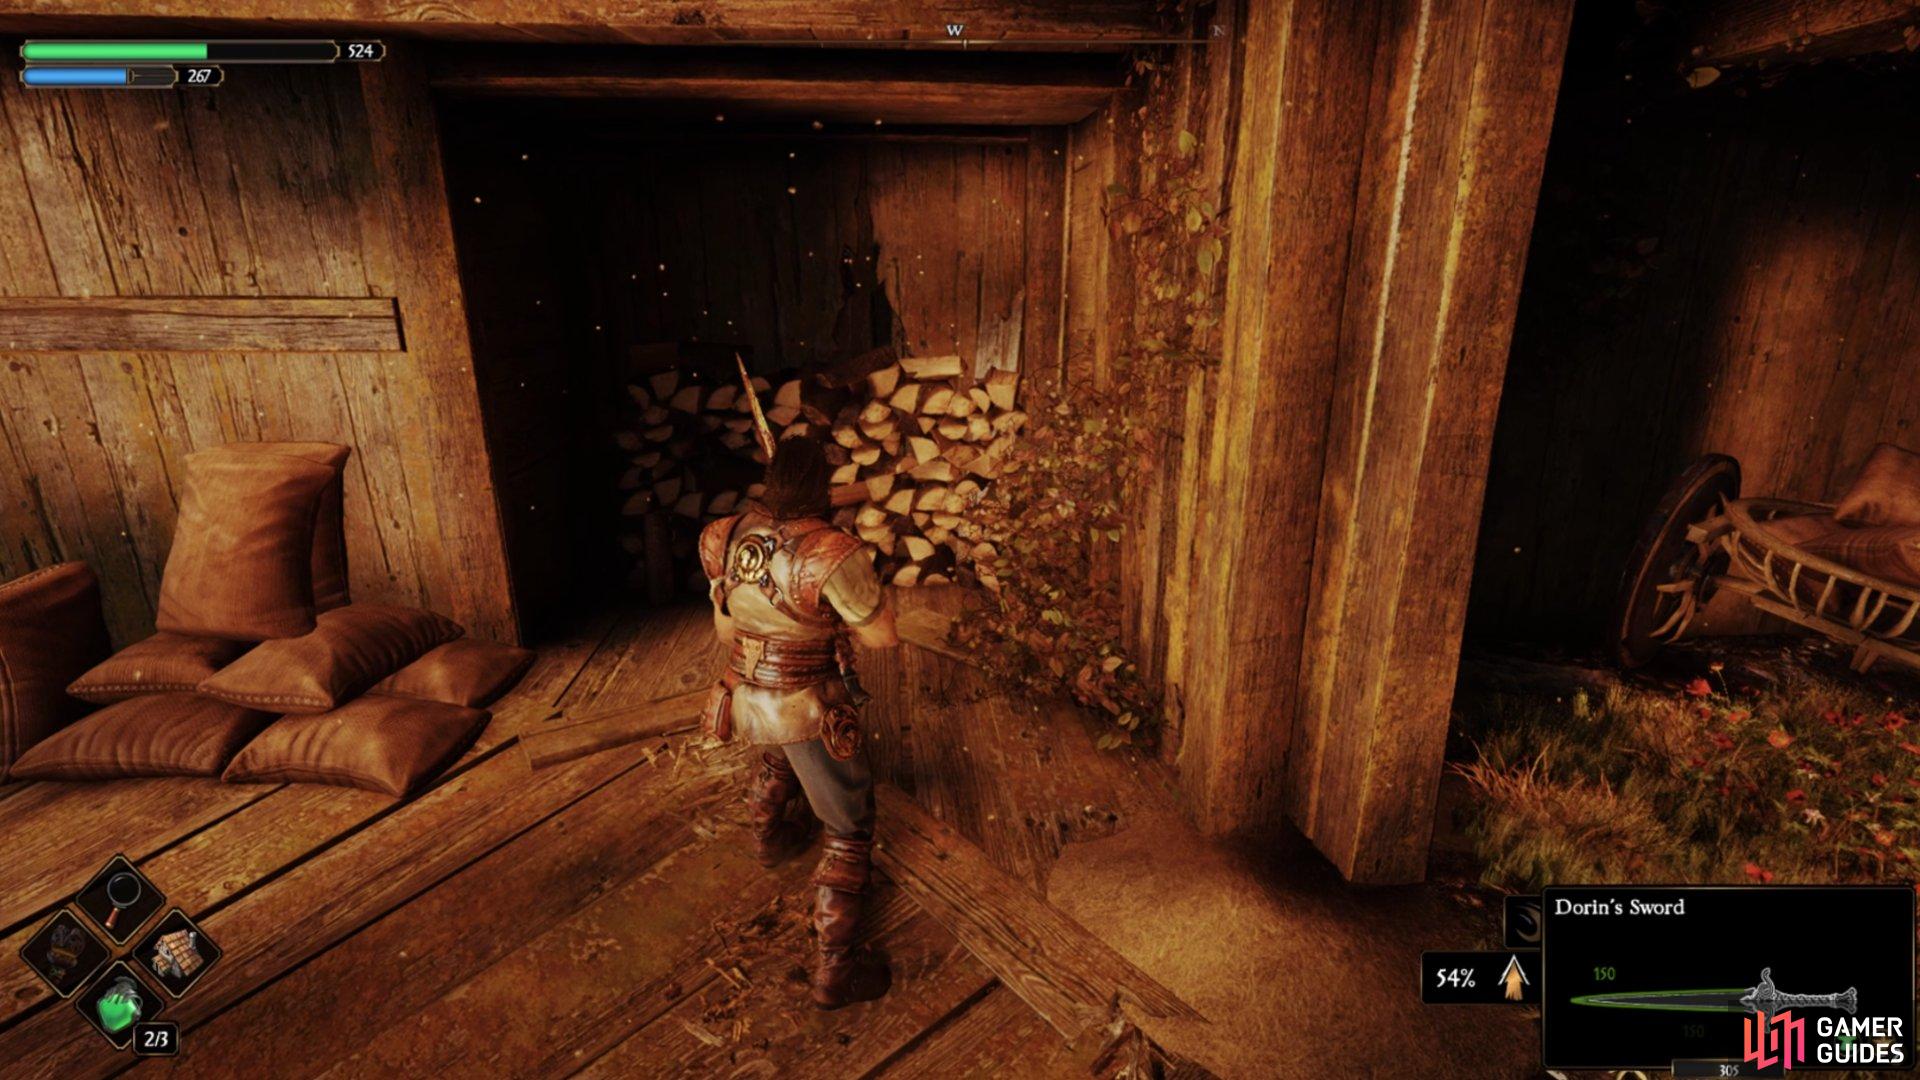
Along the southeast edge of the village, you can find a walkway that goes around the buildings. (left), A little way down that walkway, you will find some wood that can be destroyed, allowing you to enter the building. (right)
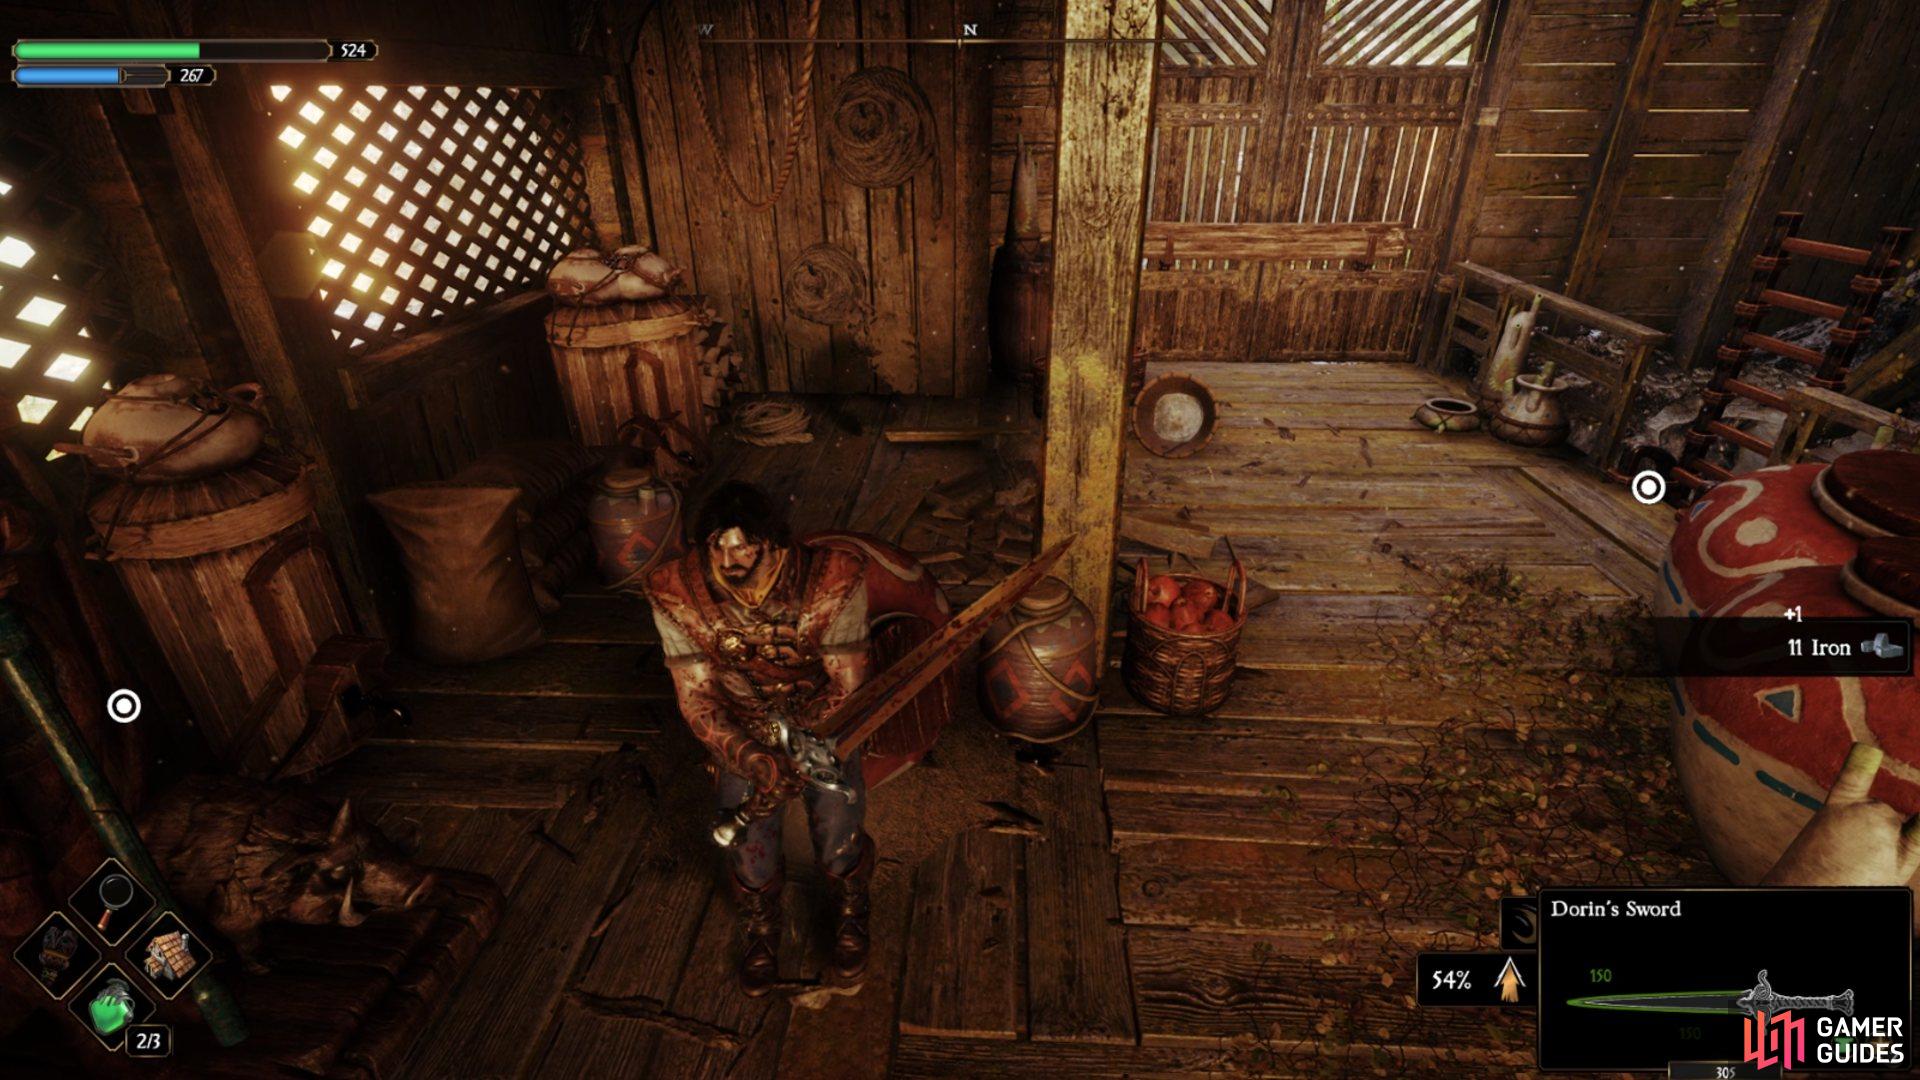
Inside the building, you can find some pots which you can destroy, as well as a door to your left to open, which takes you back outside. You can also find a Spears Seneschal which will give you some materials when you interact with the statue with a spear in your hand. If you don’t have one yet, pop back later.
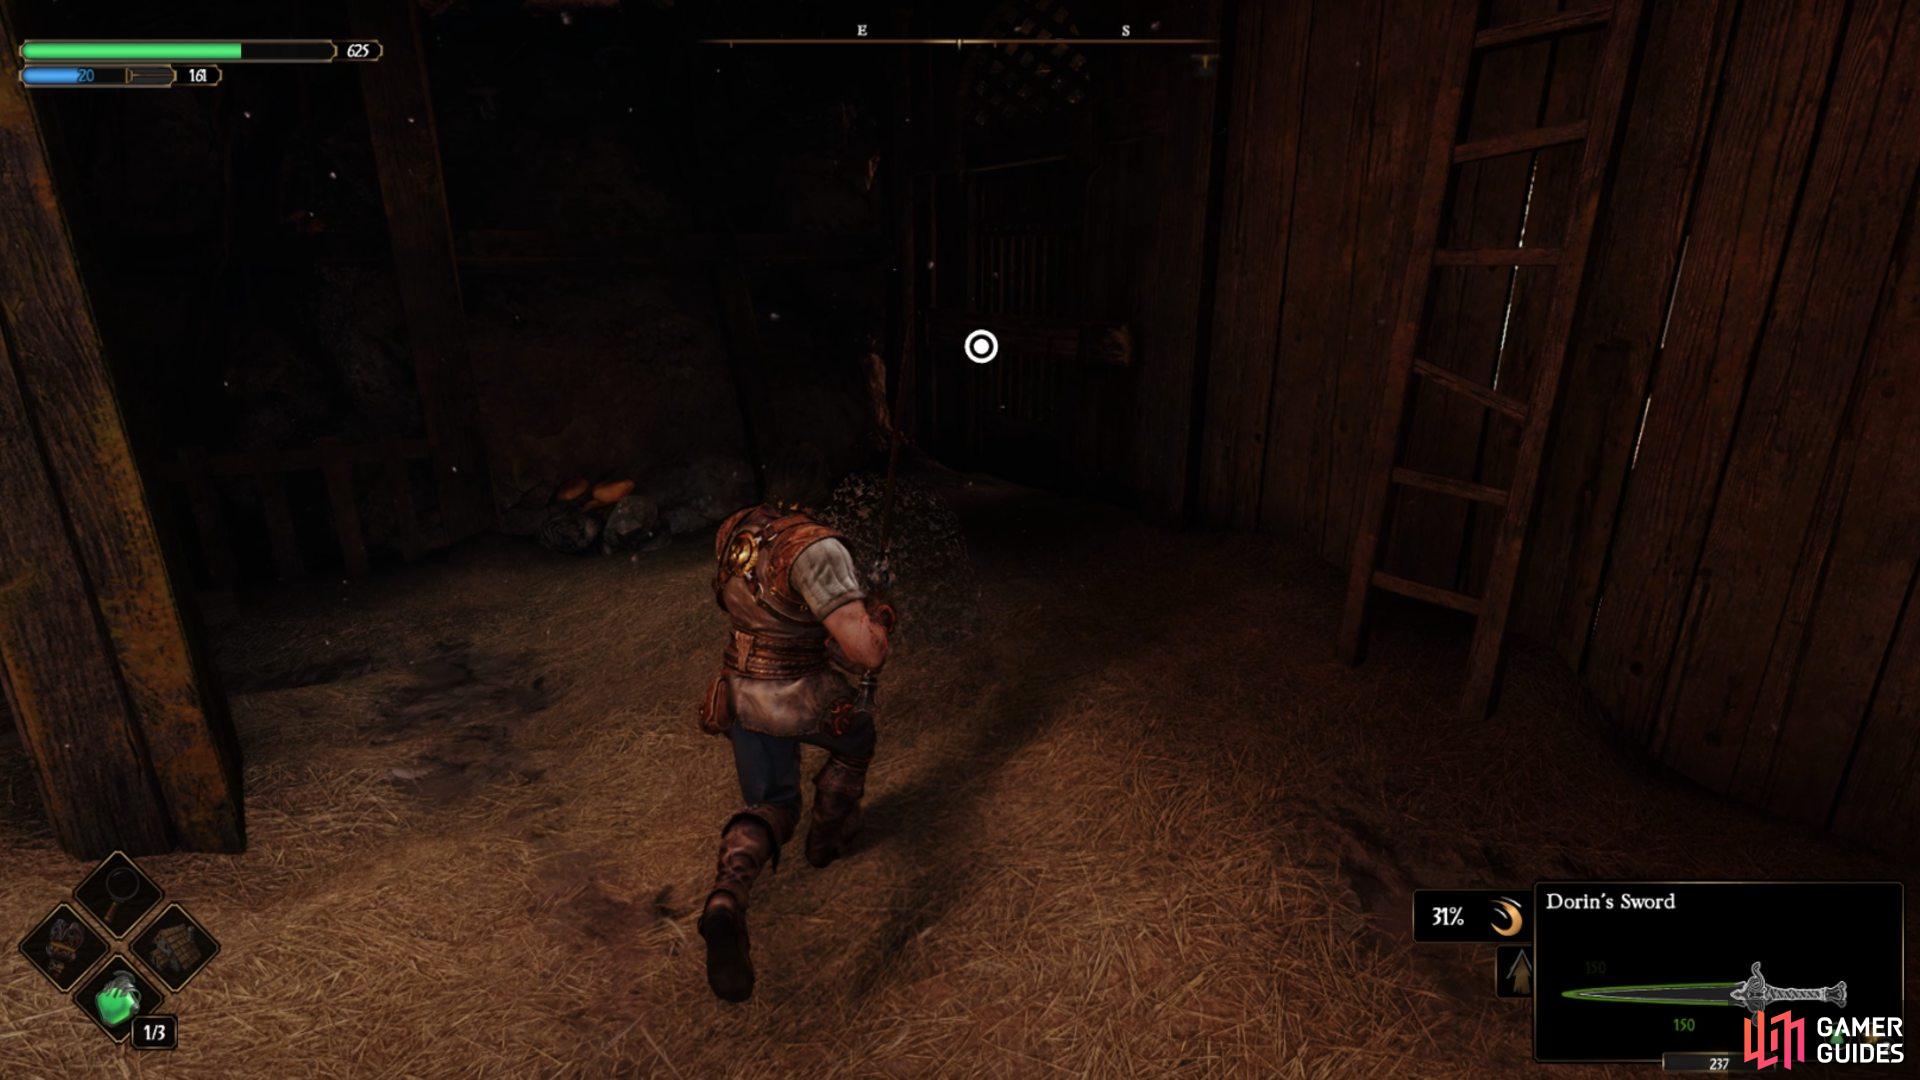
In the corner of the room, you can also find a cloaked marauder. This enemy is your first challenge in Blades of Fire. They lunge at you with their daggers and jump away, making it hard to land an attack in. However, you want to fight at a medium distance and prep a charged attack so that you lunge forward and stab/slam you cancel out their attack.
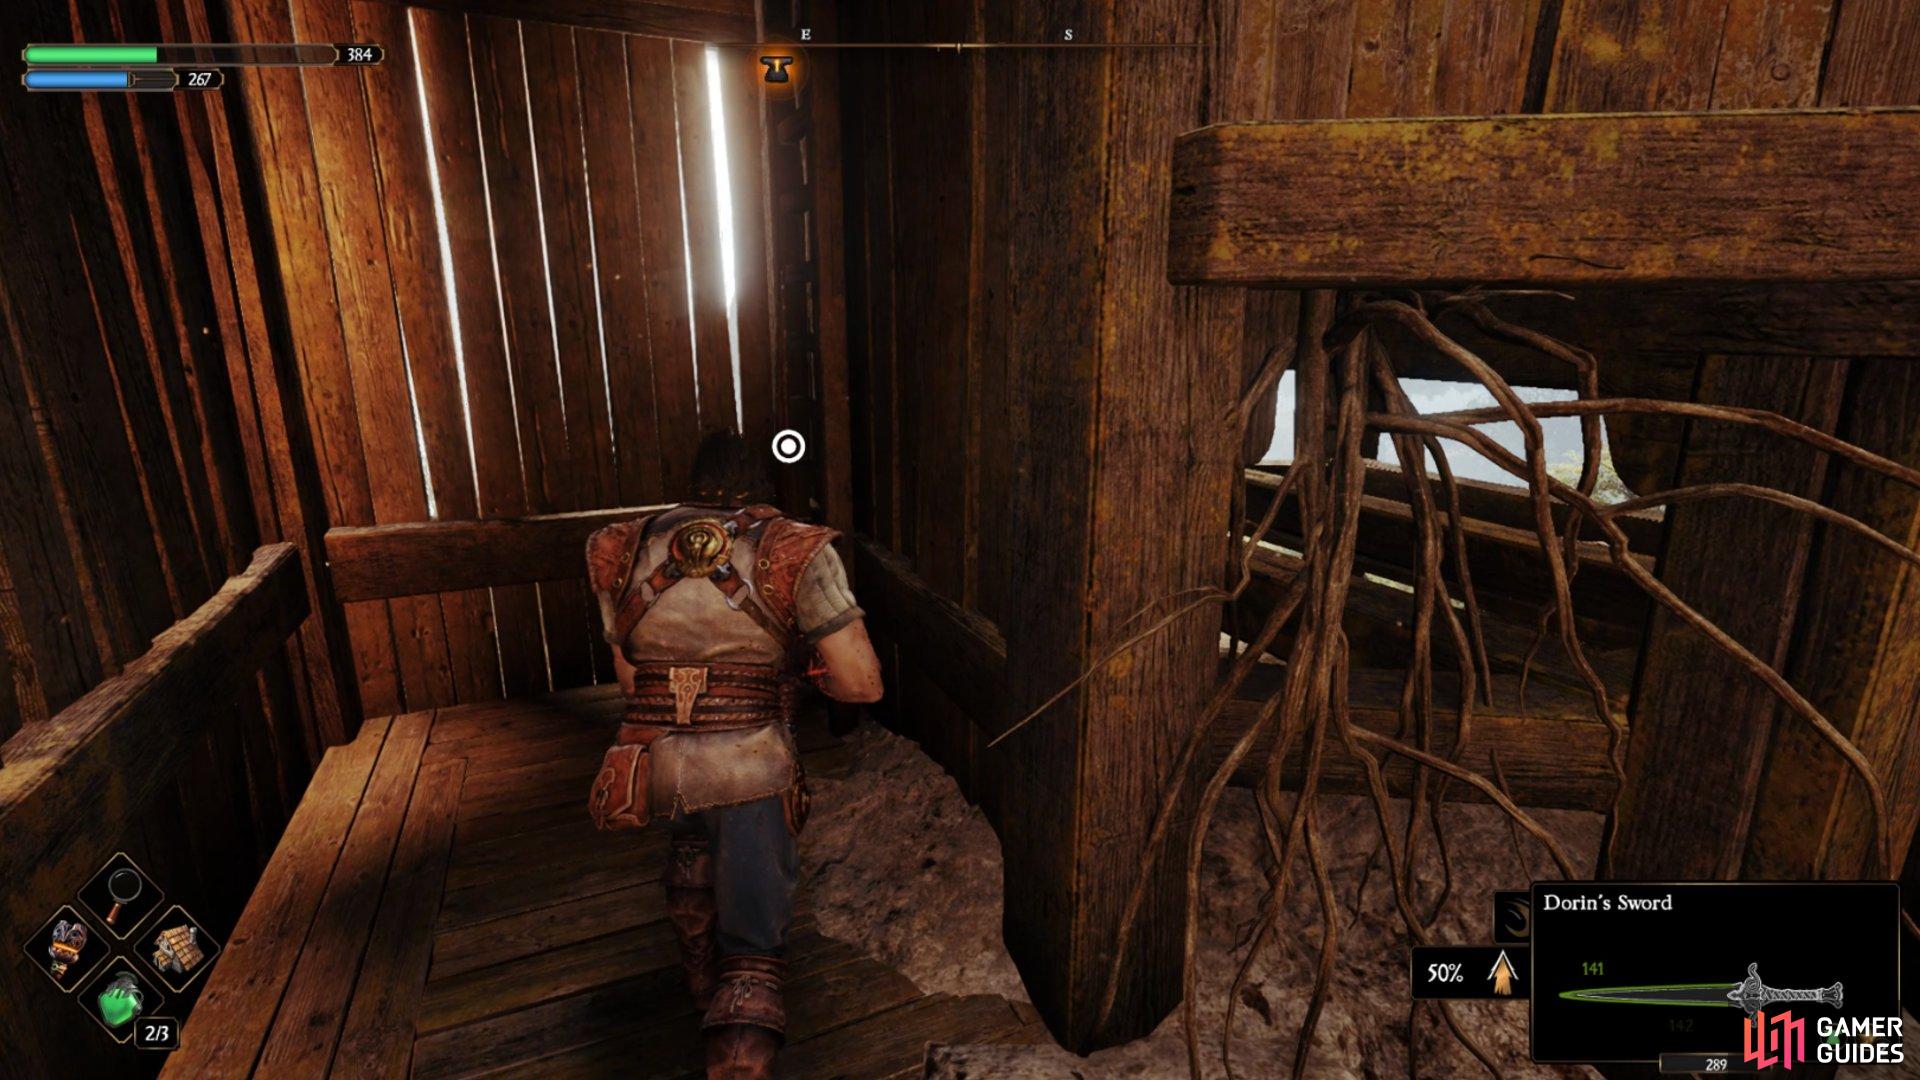
Additionally, on the right, you can find another door to open and a ladder to kick down. Take the ladder.
The marauder can easily catch you off guard and attack you from stealth if you aren’t paying attention.
At the bottom of the staircase at the base of the ladder, do a u-turn and look to the side of it to find a chest with a Forger’s Criptex. This acts as a mini skill tree of sorts, and you will find several as you play. You can also unlock the door at the bottom. This will bring you out below where you just where, which is great, as you can find a Anvil here to save and craft new weapons, like a Spear for the Seneschal.
If you head to the left, you can find what looks to be a dead end. However, behind a rock in the corner (past the building), you can find a blue ghost lady who will disappear. This is a larger secret, and it won’t be the last time you see her.

This blue ghost lady is one of many mysteries in the game.
To the right of the Anvil, you can find two paths. The way down heads to the next area of Chapter 2, but the way up leads back to the Hamlet. Take the way up and kill the guard ahead.
From there, you can go ahead through the gap in the gate, but it leads to a side boss. Instead, look to your left and climb the ladder and a set of stairs, leading to the wooden walkway above you.
The ladder leads back up to where you entered the last building.
At the top, you can find another Hamlet overlooking the building you just visited. It is towards the northwest. Before we head in that direction fully, cross the bridge on your left and head towards the large building in the north.
Most of the doors here are locked. But, you can kill the enemy by the broken staircase and then climb it.
The staircase leads inside this building, which is locked on all sides.
Along the walkway connected to the additional building here in the Hamlet, you can find two regular guards as well as a chest with a ![]() Stamina Gem. These do the same thing as the Health Gems, but boost your stamina.
Stamina Gem. These do the same thing as the Health Gems, but boost your stamina.
Once inside the building, jump down as there isn’t anything on the upper floor. You will be attacked by three enemies once you do jump down. However, they aren’t any different from the guards outside. Once they are dead, look in the southeast corner of the building to find a locked room. Open it to find a chest and another Health Gem. You can also open up the door here.
This door is easy to miss if you are running through this building quickly.
Now that you have done everything in this building, head out the back, to the north. Here you can fight an elemental who disappears and reappears in the water. Side attacks and piercing attacks are most effective against it.
To the east, you can find a Daggers Seneschal, the blue ghost lady and a path that leads to a few more enemies and a Stamina Gem in a chest. One more enemy and a Twins Seneschal can be found west of the area where you fought the elemental.
With this small section explored, head back to the Anvil by the bridge.
Just ahead, you can see a cart with some enemies. When you get close a Troll miniboss will pop out. This boss has several health bars and when that bar is depleted it will become exhausted. If you don’t attack with a charged attack while it is exhausted it will petrify and regain its health or limb if you have chopped one off.
Spears are great weapons against them, especially slashing damage.
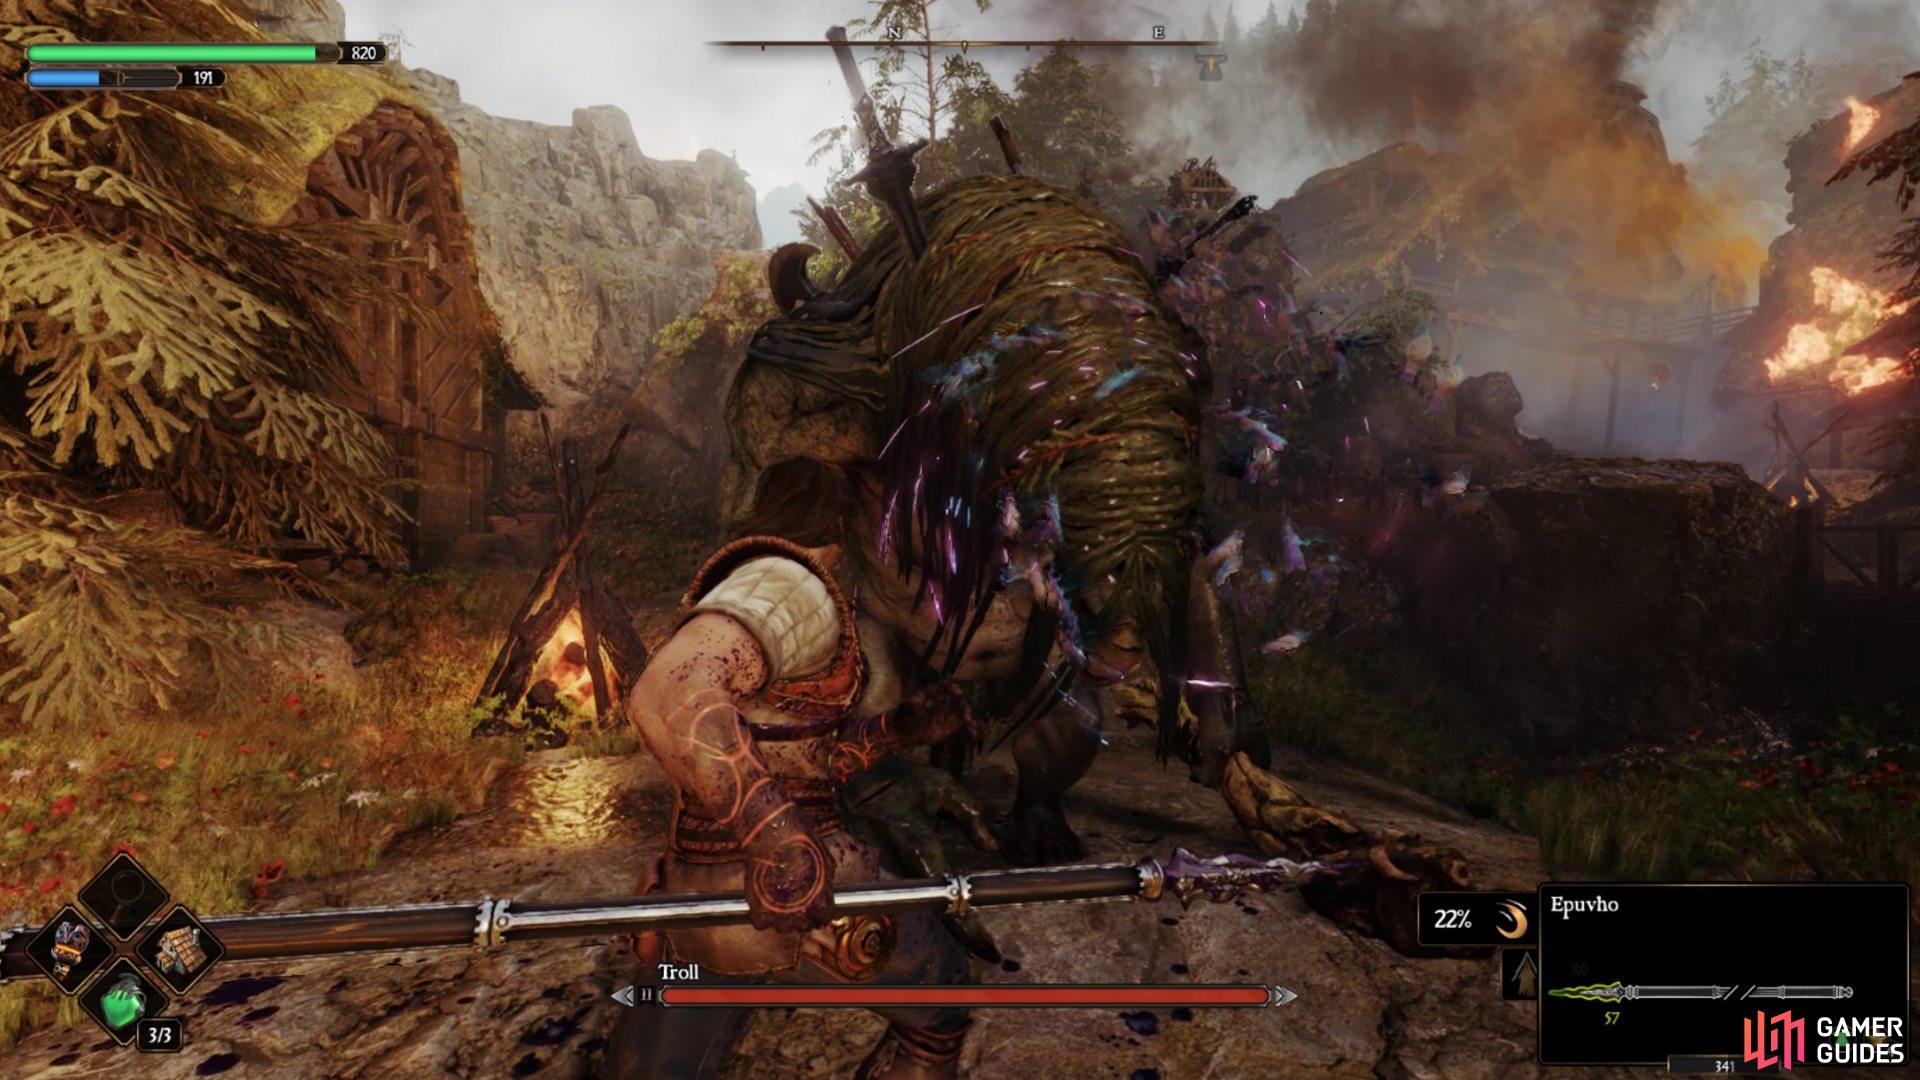
The troll can only be killed with two successful depletions of its health bar.
To the south, you can find a few more enemies and a hut with another Stamina Gem. Go back to the area where you fought the troll and take the path under the bridge. Follow it all the way down and kill the enemy by the metal fence. Next to him is a level that you can pick up and use on the gate mechanism.
Open it up and head through the forest area, killing the guards on your way. A hammer works best against them. Past those enemies, you can find another anvil and a miniboss: ![]() Mayhem Warmonger. This fight can be tough due to his second phase, where he has several combos. But, using your hammer, you want to land one charged overhead attack and then back off. Repeating this again and again.
Mayhem Warmonger. This fight can be tough due to his second phase, where he has several combos. But, using your hammer, you want to land one charged overhead attack and then back off. Repeating this again and again.
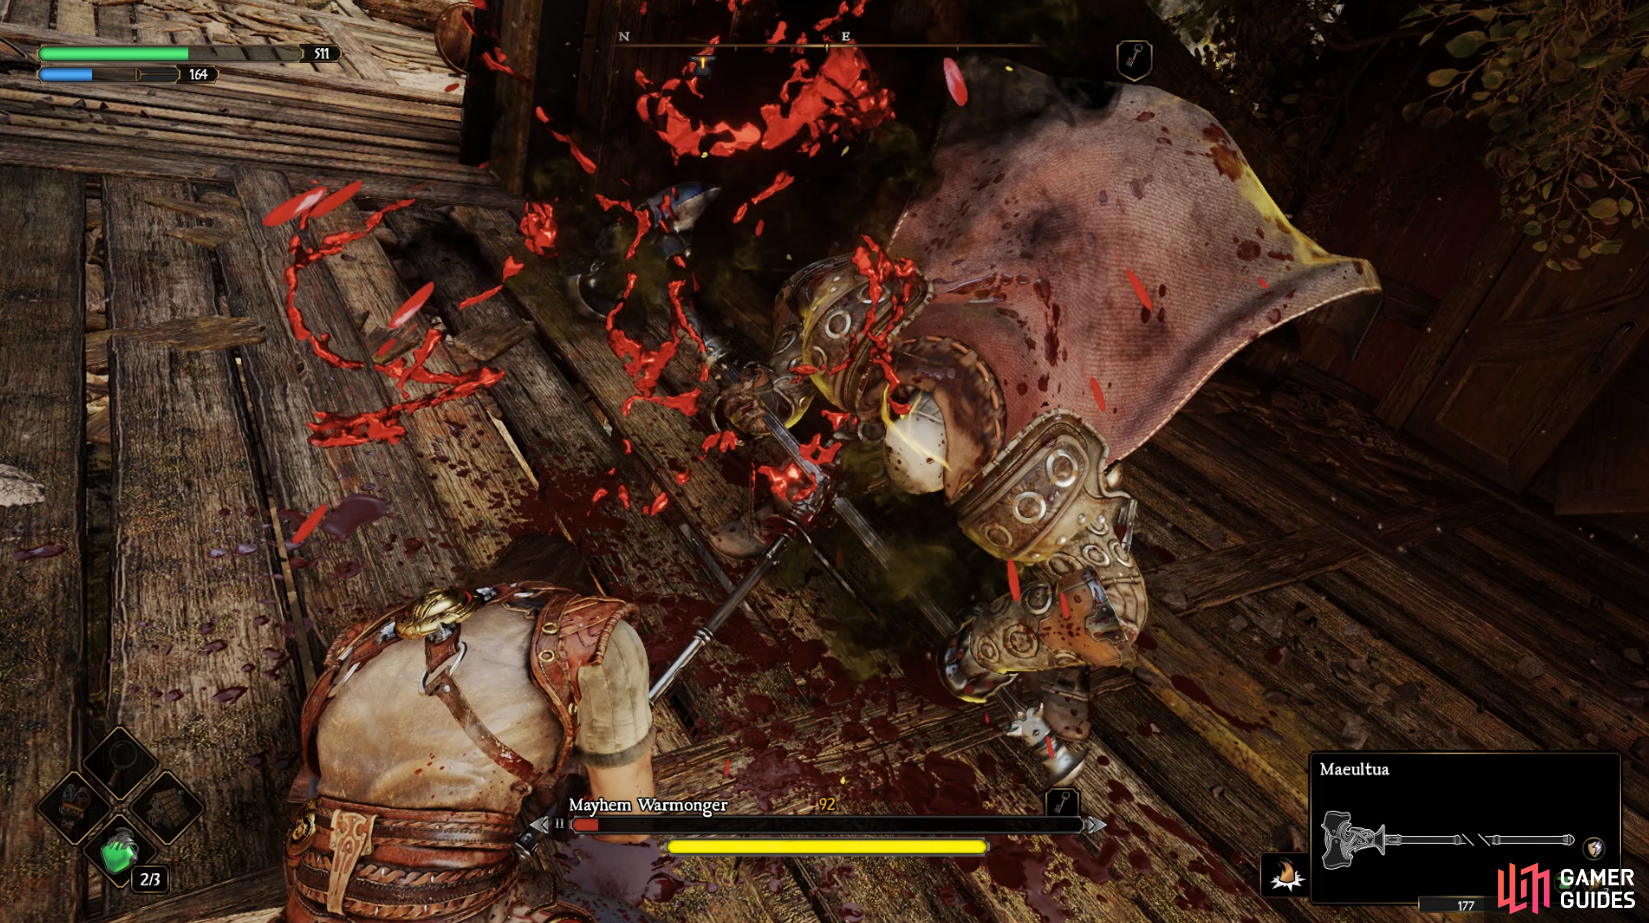
The Mayhem Warmonger is one of the tougher enemies during this opening area.
Killing him will give you the Soldier’s Key, which can be used to open the door at the back. Here you can find a Time Rune, which is used later on. Unfortunately, this is a dead end for now. Head back to the Anvil at Troll River.
This time, head down the slope and kill the enemies by the gate ahead. There is another Warmonger here. Killing him will give you another key which leads to the ![]() Kar-Lethel Swamp. But, before you head to the swamp, take a left down the slope. You can find two more enemies here and a Polearm Seneschal.
Kar-Lethel Swamp. But, before you head to the swamp, take a left down the slope. You can find two more enemies here and a Polearm Seneschal.
With everyone dead, open up the gate and make your way to the Swamp.
No Comments