
Avowed is filled with thoughtful side quests and Dawntreader is no exception. Tasked with investigating a temple run by a mysterious Godlike, you’ll encounter material threats and moral dilemmas as you look for a lost expedition. While we recommend getting Fine gear before this mission, you can clear it with early-game items. Here’s a step-by-step walkthrough of the Dawntreader quest in Avowed, complete with its final choices and outcomes.
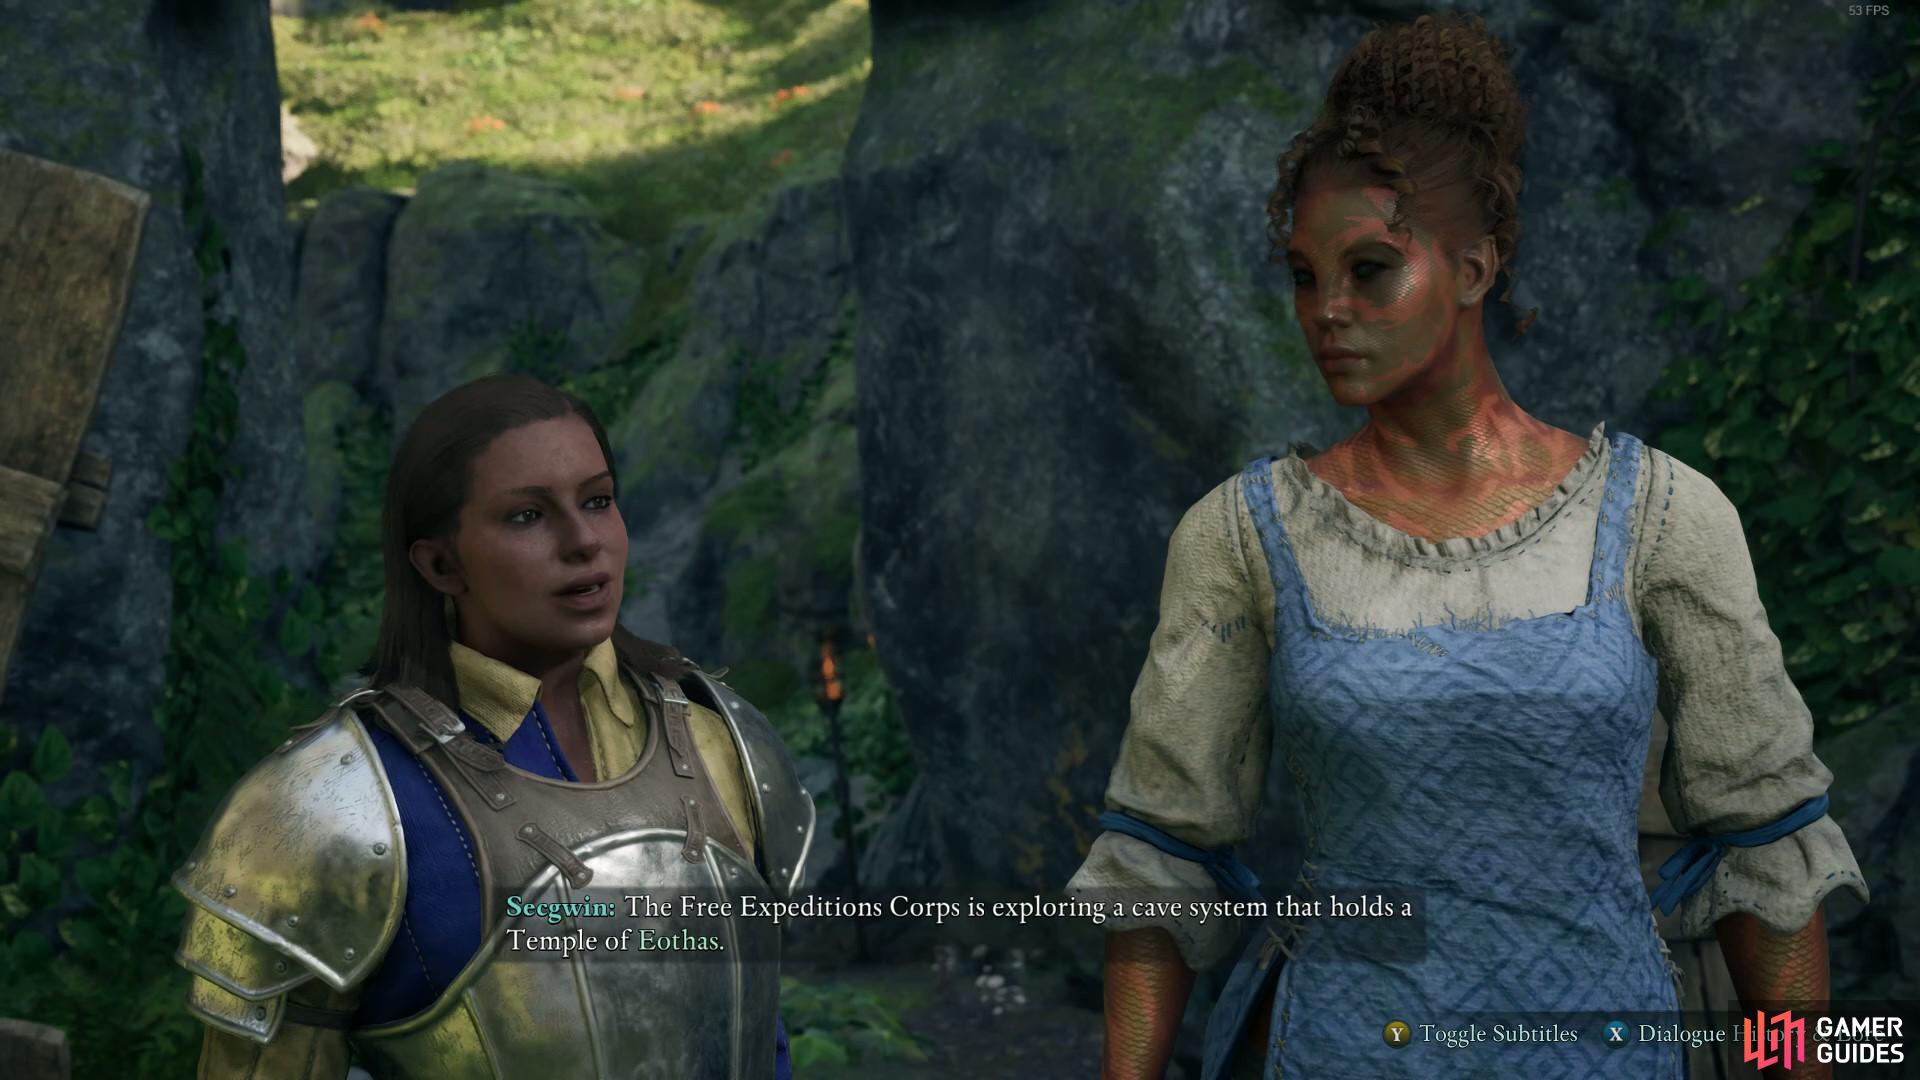
You’ll run into Secgwin and Kauia near the temple.
| Quickjump |
|---|
| Starting Dawntreader |
| Entering the Eothasian Temple |
| Retrieving the Splinter of Eothas |
| Finding the Aedyran Expedition Team |
| Oracle Choices and Consequences |
Starting Dawntreader
There are multiple ways of starting the Dawntreader quest:
- Speak with Secgwin and Kauia outside the Eothasian Temple in Dawnshore. They’ll be in a heated discussion on the Pilgrim’s Path, above some rocky outcrops north of the Northern Farms beacon.
- Meet Ofryc near the embassy in Paradis. He’ll tell you about his brother Caedmon being trapped in the temple. It’s where you report once the quest is done so check the final map on this page for its location.
- The quest is triggered even if you sprint past Secgwin and Kauia into the temple. Kai will automatically bring up the missing Free Expeditions Corps members.
In short, this expedition team set out to explore a cave system underneath the temple. An Oracle, who happens to be a Godlike, resides there. The expedition, led by their captain Gjeda, doesn’t go as planned and it’s been three days since Secgwin and Kauia have seen them. As the only heroic adventurer around who cares, you’ll need to head into the temple to discover their fate.

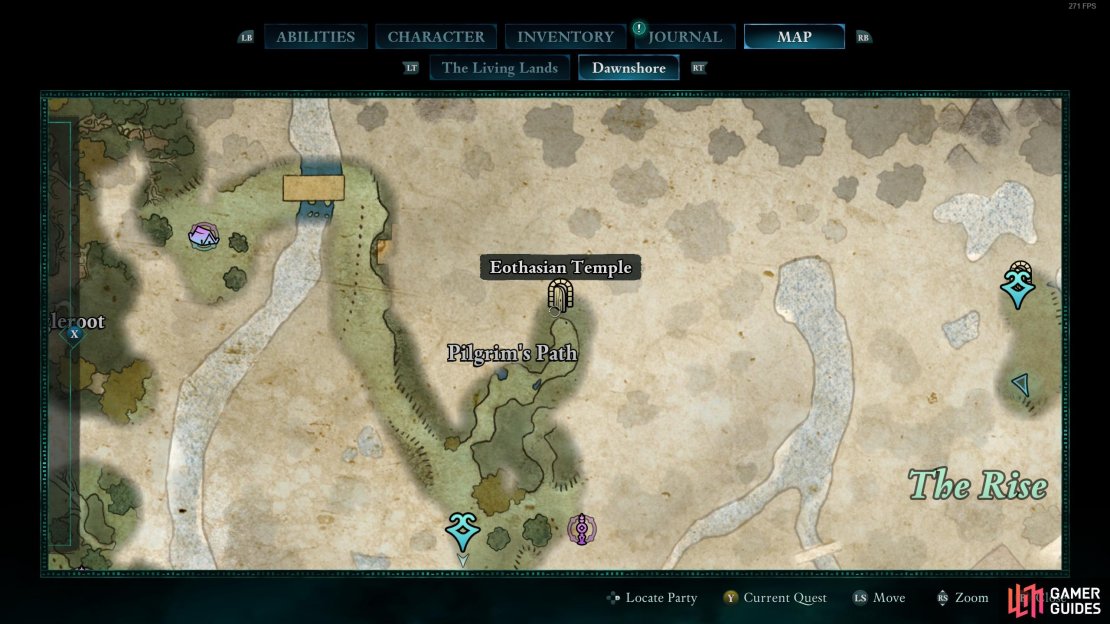
(1 of 3) This is where the quest takes place.
Entering the Eothasian Temple
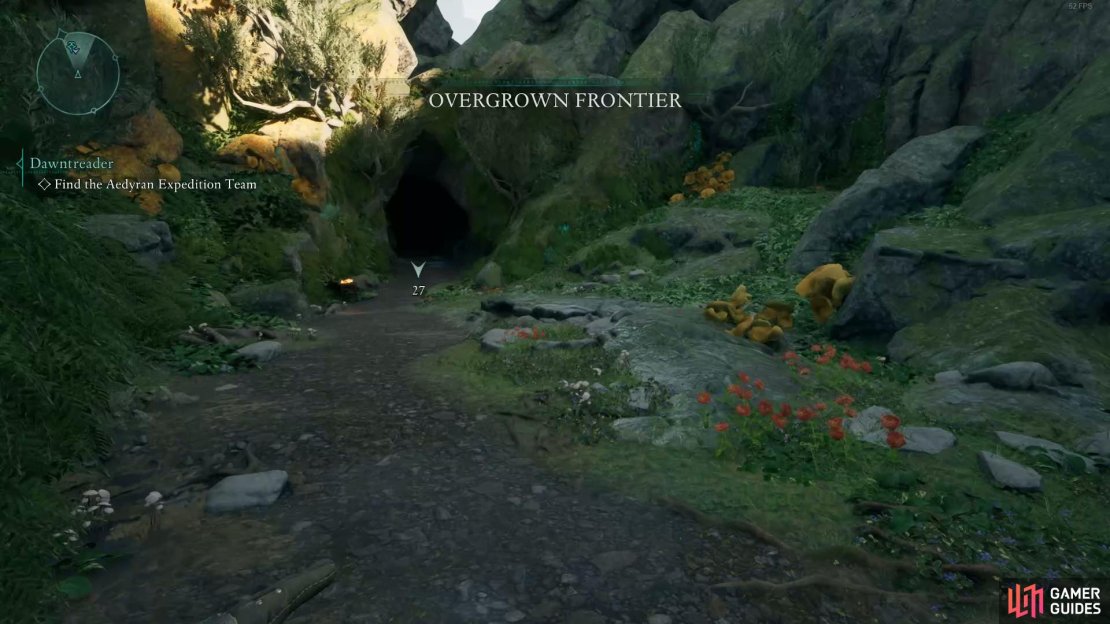
Head past Secgwin and Kauia and you’ll find a cave that leads into the Eothasian Temple. As you proceed, you’ll run into a forked path. To the left, you’ll see a locked gate with two shield symbols above it. It can be opened by throwing an electric grenade (like the Electric Lily Seed) on the contraption below the yellow shield. Walking through the gate will awaken some skeletons but they’re simple to beat. Once you do so and loot the area, head back and take the path to the right.


(1 of 4) The temple offers an incredible view along the way.
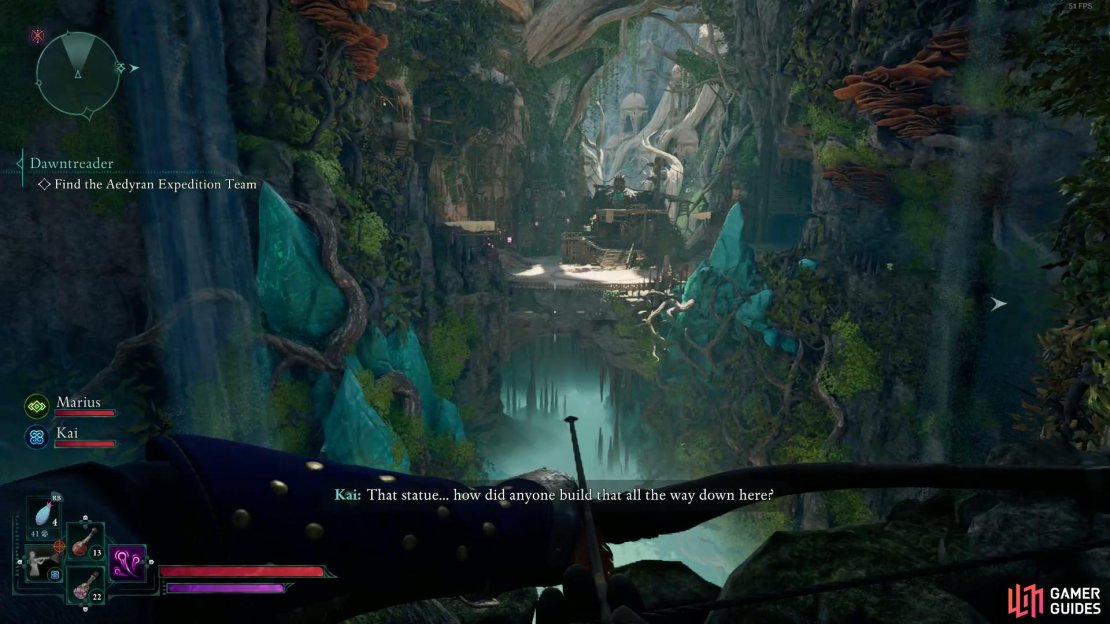
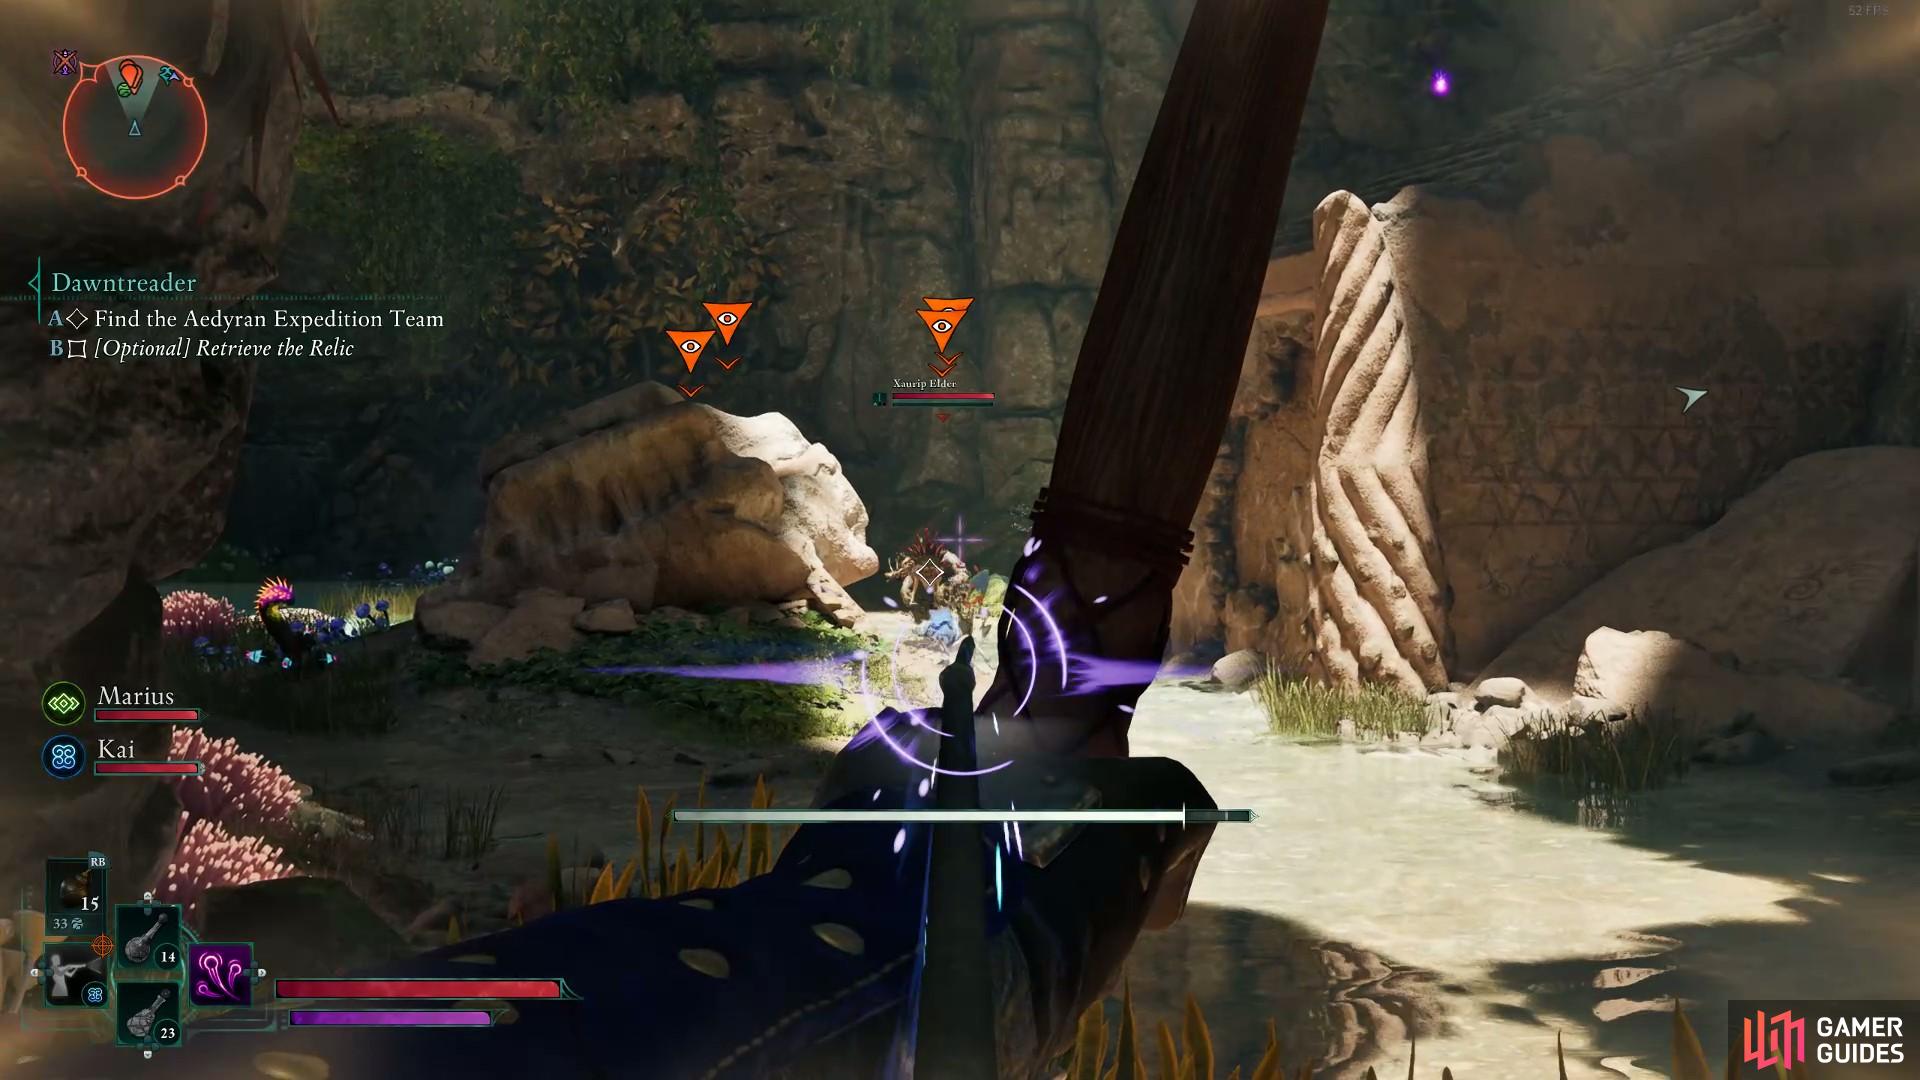
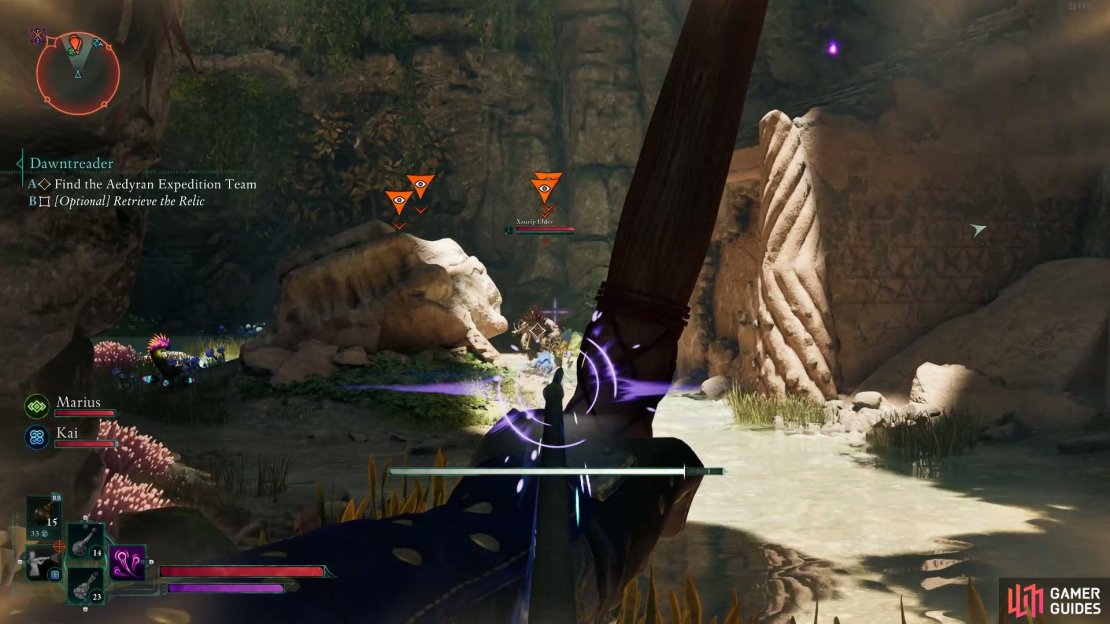
You’ll see a stunning underground cavern to the left, packed with forgotten structures. Work your way through this path with some parkour and you’ll run into lizard-like xaurips. You can either defeat them or sneak past them. To get past undetected, we recommend the path to the left of the first enemy. Once you evade or beat the xaurips, you’ll find yourself at a ledge near some strange purple light. You might also hear dialogue from an injured Caedmon, one of the members who went missing. Jump over the water that has electricity coursing through it and climb the staircase to meet him.
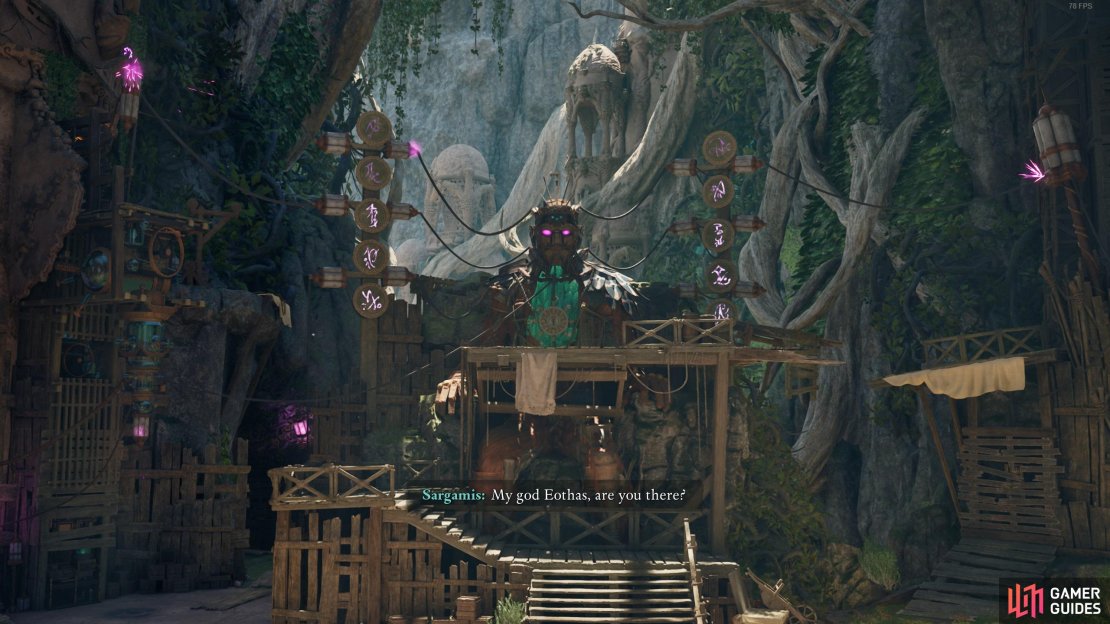
You can give him a healing potion via dialogue choices to remedy his injuries. While he doesn’t know what happened, he suspects his captain Gjeda to be infected with the Dreamscourge, a disease that drives people insane. The Oracle of Eothas is right past this section so head there for answers. Knock out a few xaurips and get some platforming done as you move towards the location marked on your map. You’ll reach a bridge that leads to the Oracle Sargamis and a large statue attached to wires and adra stone contraptions.


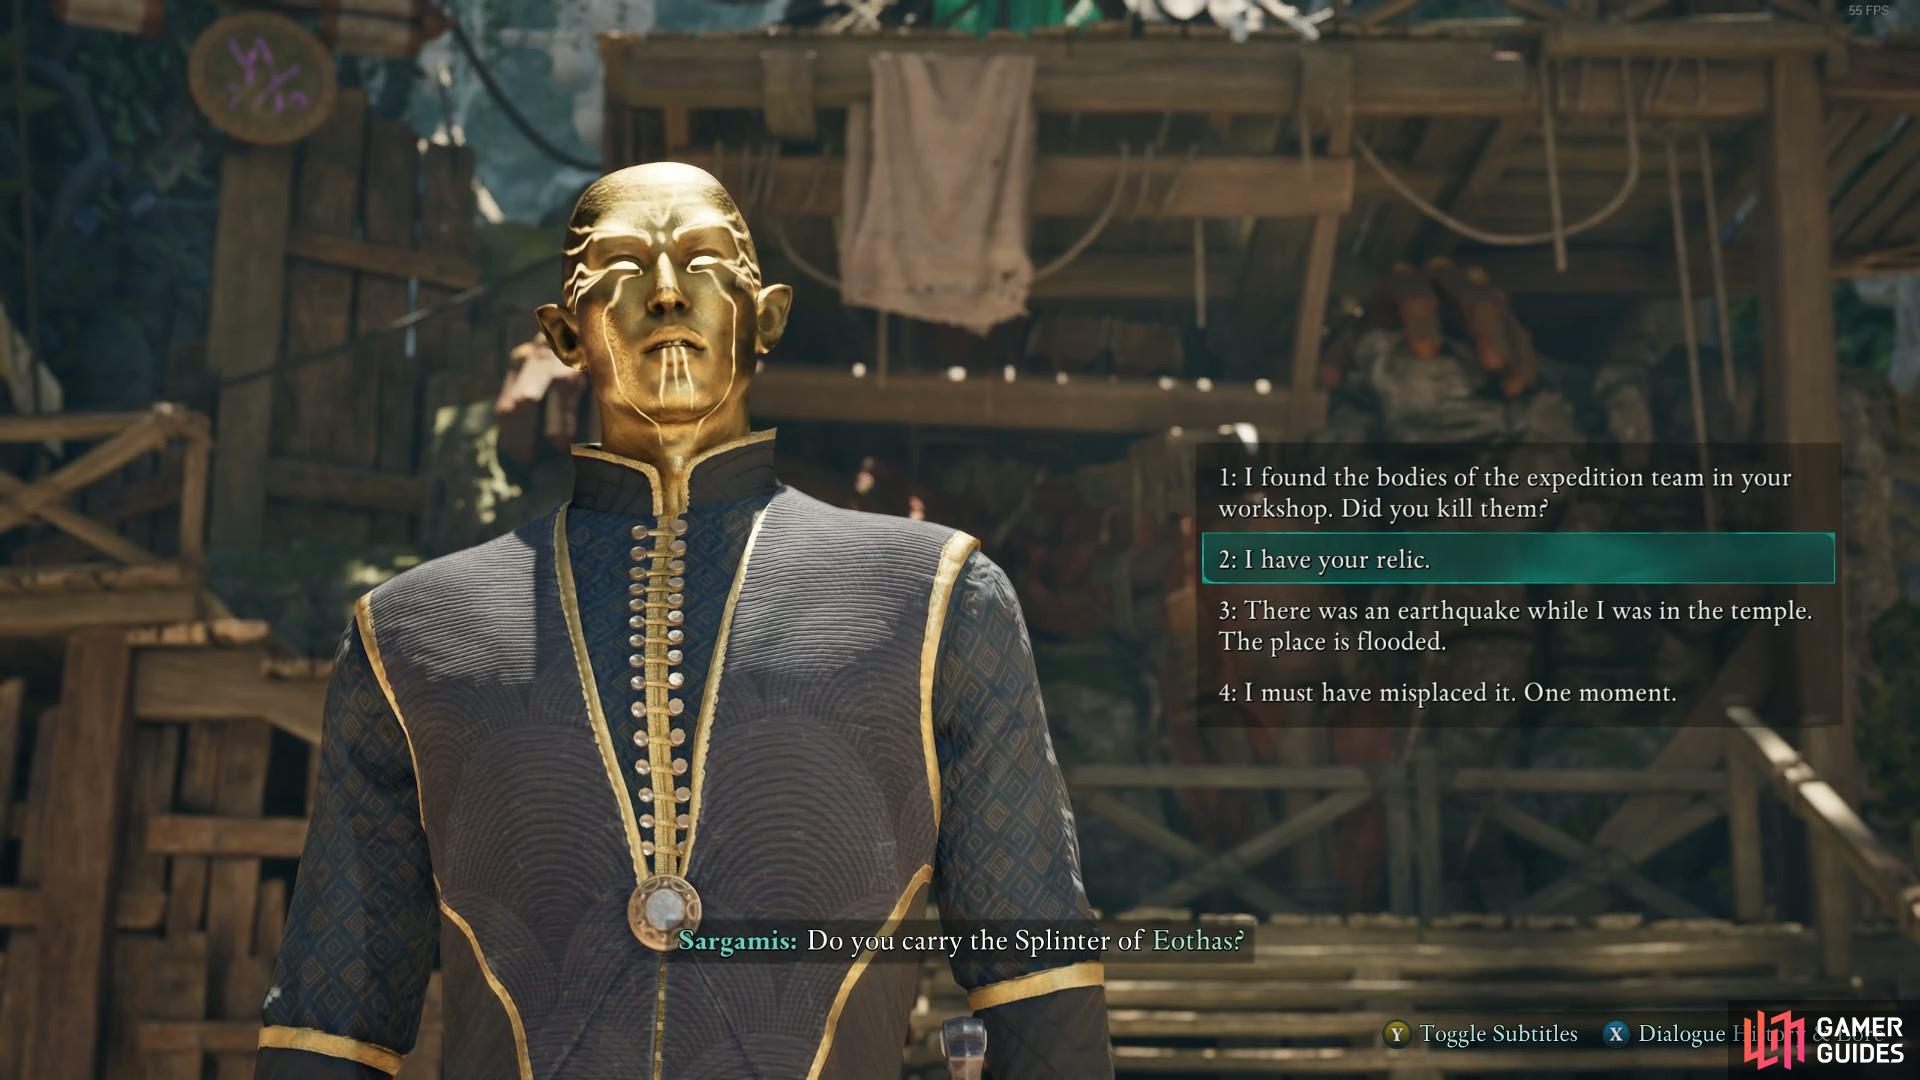
(1 of 2) Meet the Oracle Sargamis at the temple.

Meet the Oracle Sargamis at the temple. (left), He wants you to retrieve a relic. (right)
Retrieving the Splinter of Eothas
Speaking with Sargamis will give you a better understanding of his past. You can also choose to talk about your Godlike heritage. He tasks you with finding the Splinter of Eothas in a cave system underneath the temple. As for the expedition, he seems unaware of their arrival. Sargamis also warns you to stay away from the statue and the contraptions attached to it. This bit of information will come in handy once you’re presented with some impactful choices after retrieving the relic.


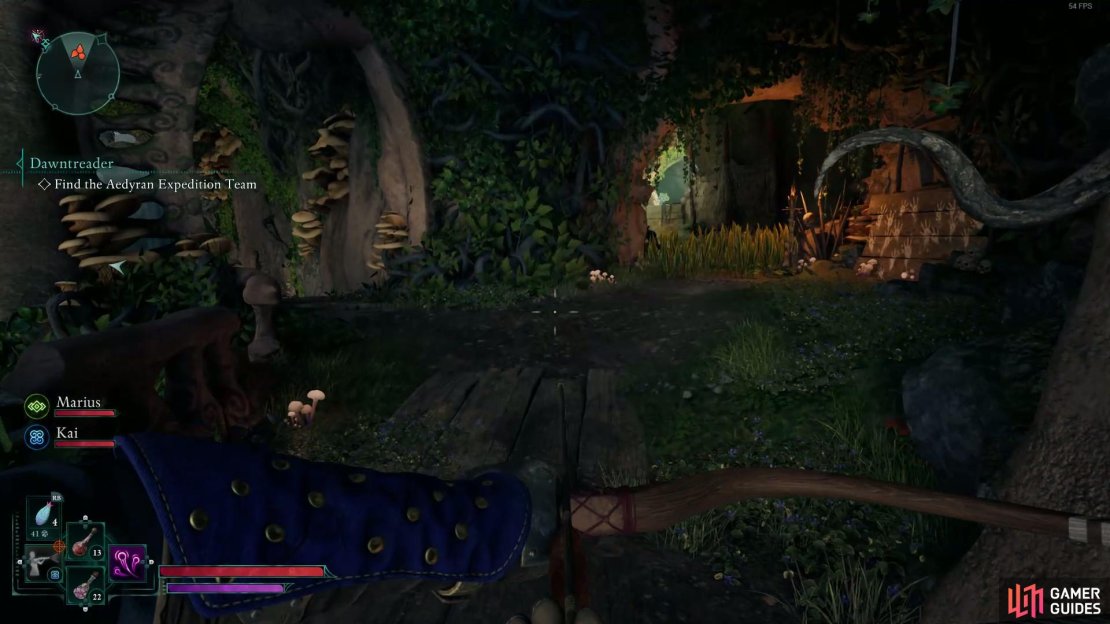
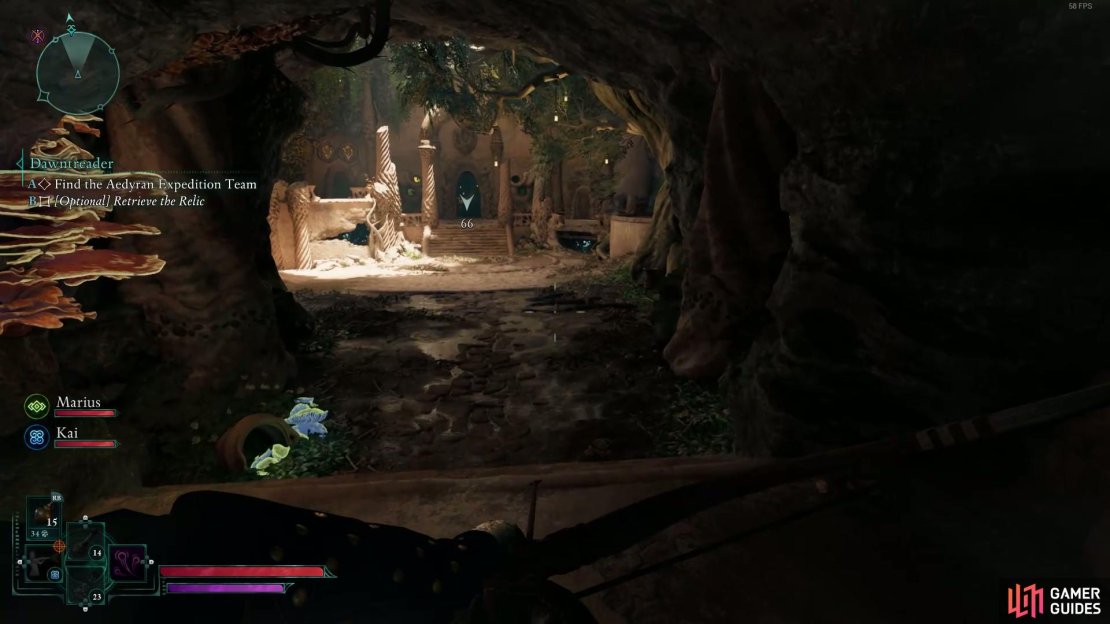
(1 of 4) Head into this chamber and then go right.
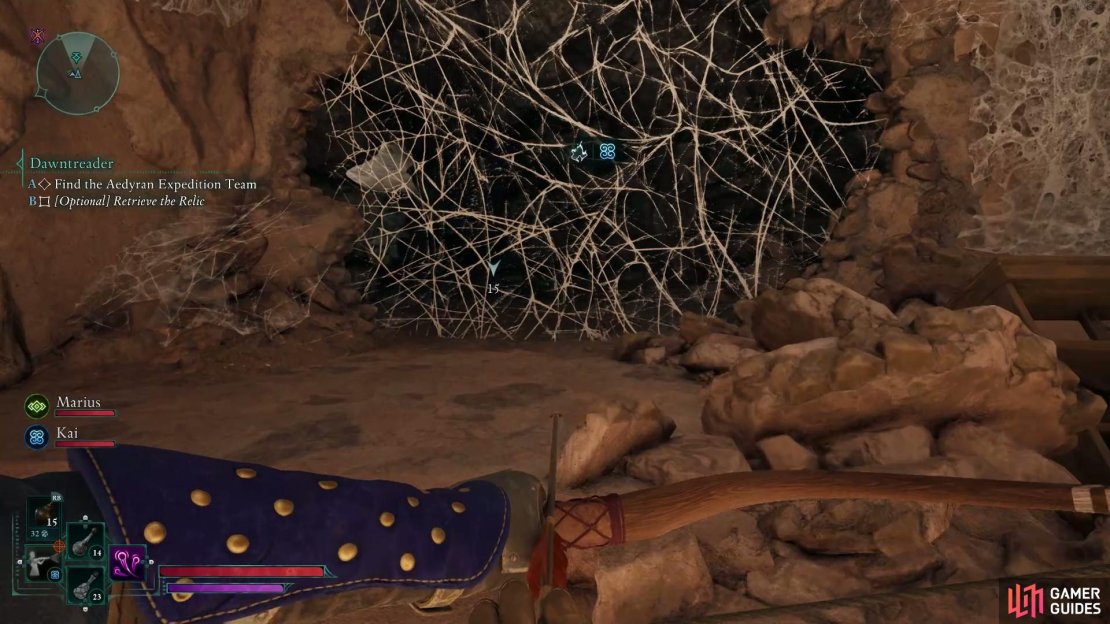
You now have two objectives: getting the relic and finding the expedition team. While only the latter is marked on your map, the relic is in a fairly obvious location. From Sargamis’ statue, head towards the objective marker and you’ll enter a new cave network. You’ll spot a locked door to the left, a broken bridge down the middle, and a path to the right. Don’t worry about the first two options for now and head right. You’ll find an underwater tunnel. Dive in and move forward to resurface at a library infested with spiders. Knock them out and clear the web with Kai’s ability or a fire weapon/grenade to head deeper into the caves.
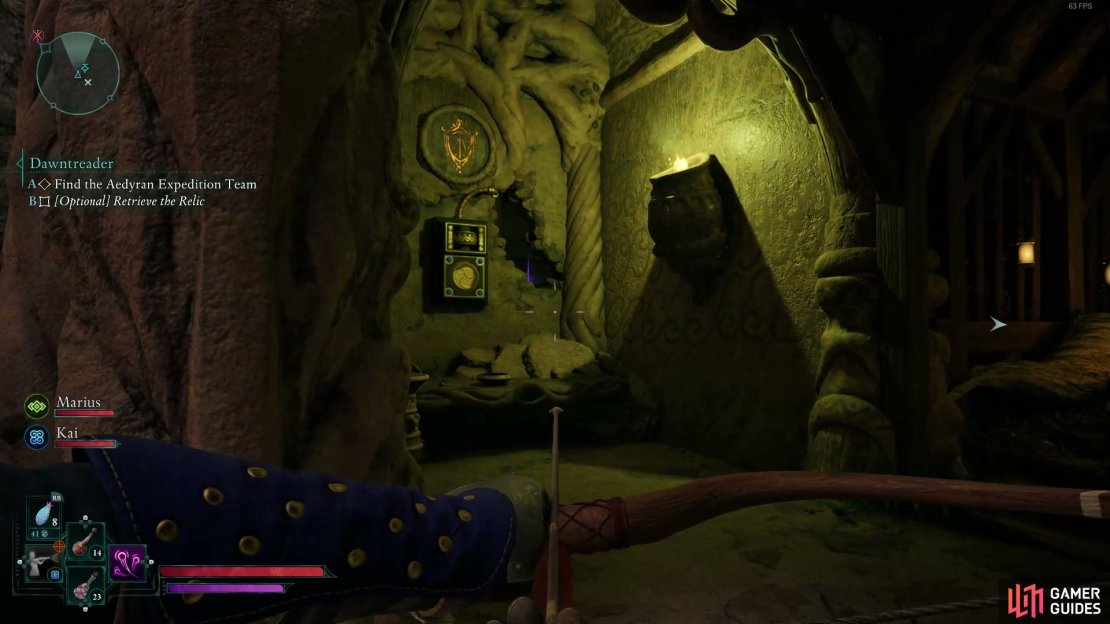
Keep going and you’ll run into more xaurips near a broken bridge. Defeat them and jump on the broken section of the bridge to hop to the next section. Move forward and you’ll find yourself at a sanctuary littered with bones that houses the Splinter of Eothas. Before you pick it up, use an electric grenade on the contraption to the left side of the relic. This opens a locked door to the left that holds a chest with valuable gems.
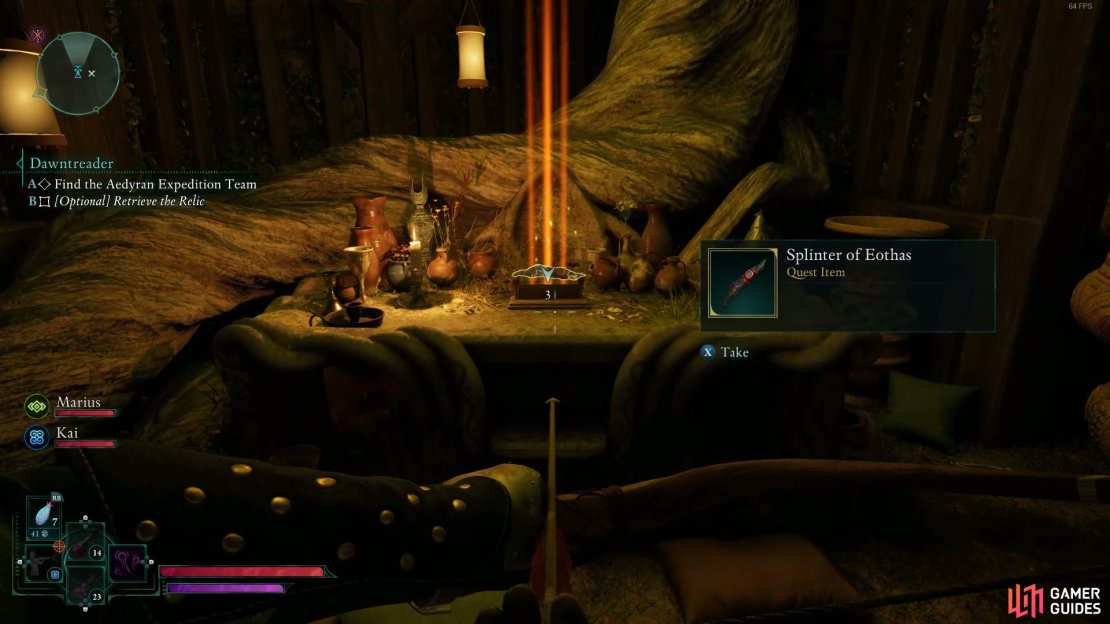
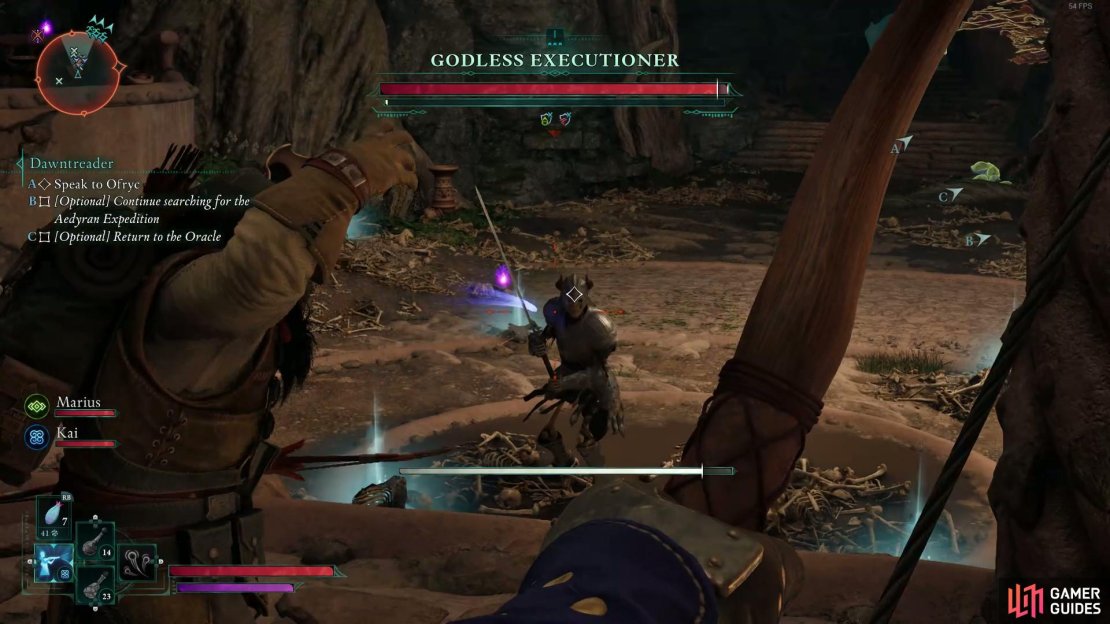
Save your game here because once you grab the relic, you’ll have to battle hordes of enraged skeletons led by the Godless Executioner, a mini-boss skeleton with a large sword. Keep an eye on your stamina as you dodge and block attacks. The cavern begins to crumble but it’s largely a visual effect so don’t worry about being caved in. Now that you’ve got the relic, you can return to Sargamis. On the way, you’ll find the expedition along with some answers.

(1 of 4) Climb on the large root to cross the bridge.
Finding the Aedyran Expedition Team
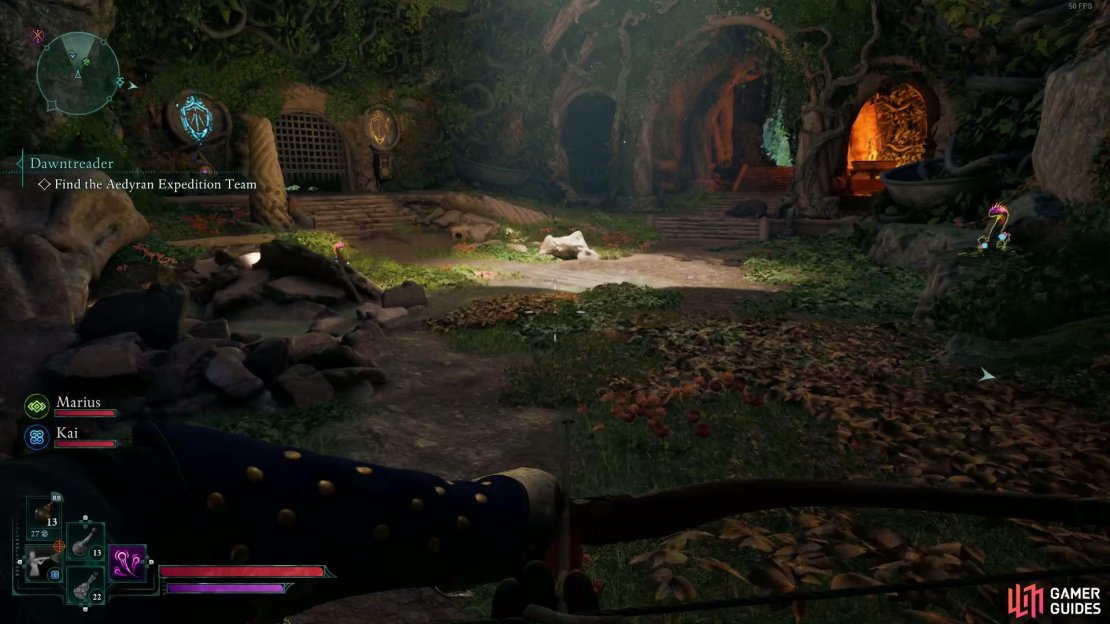
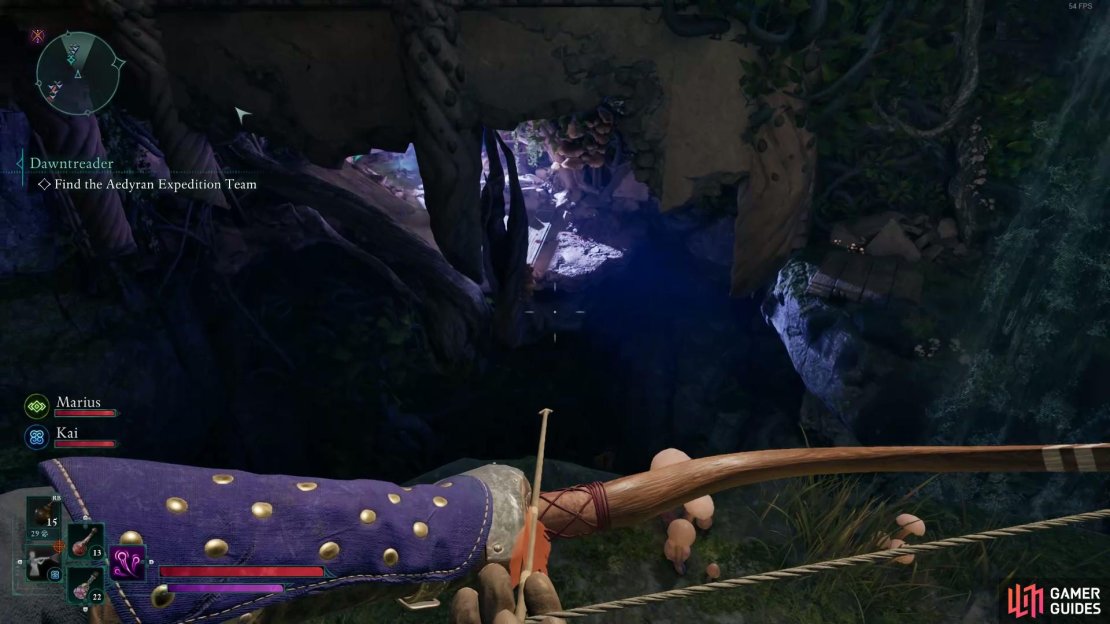
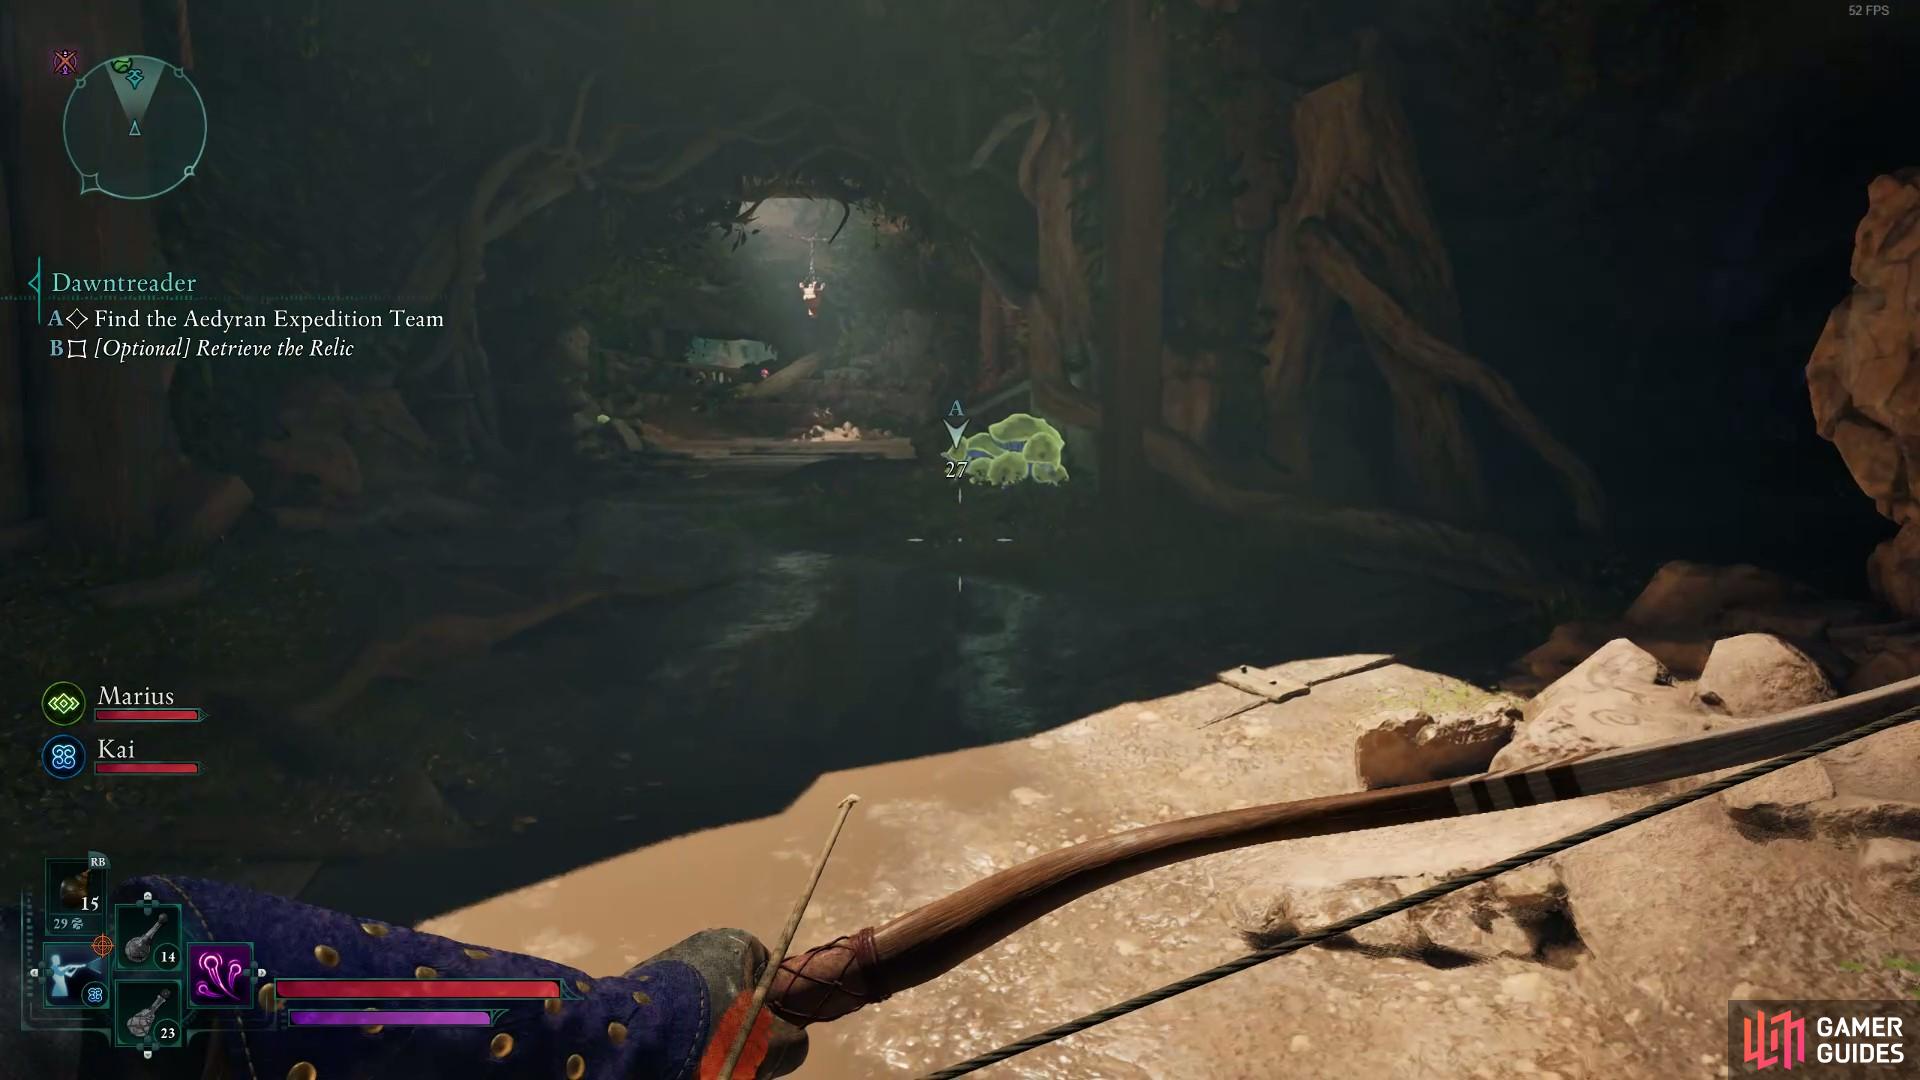
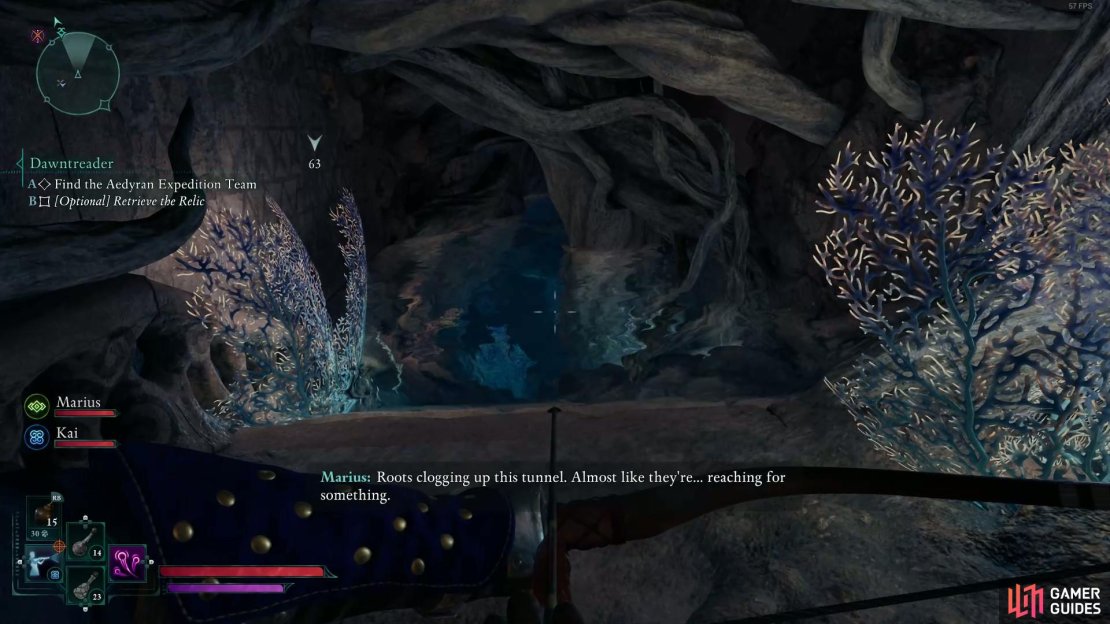
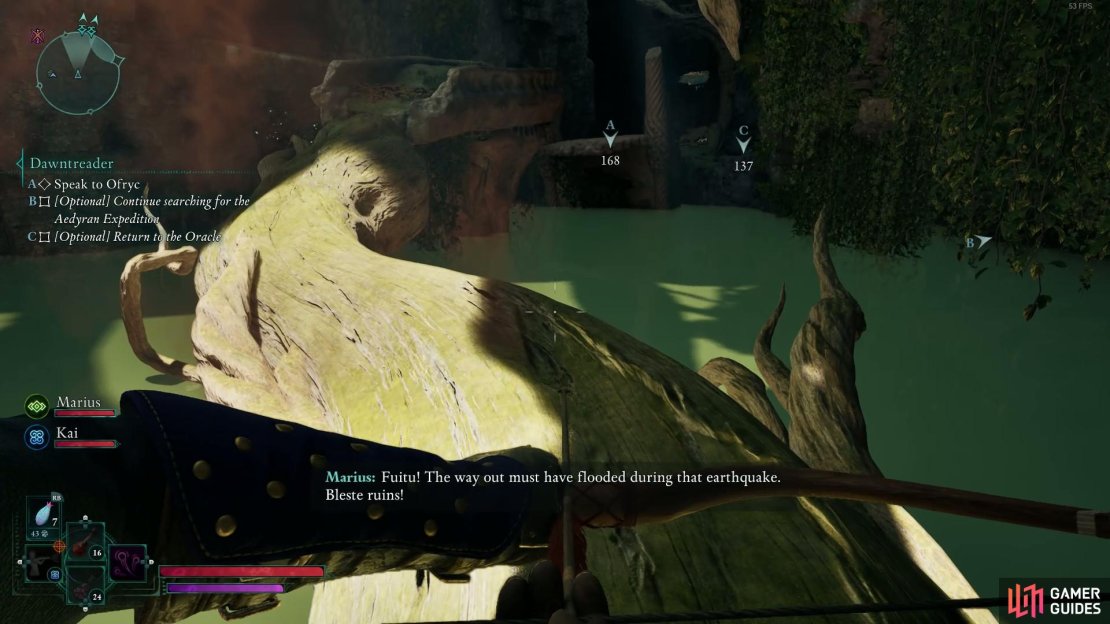
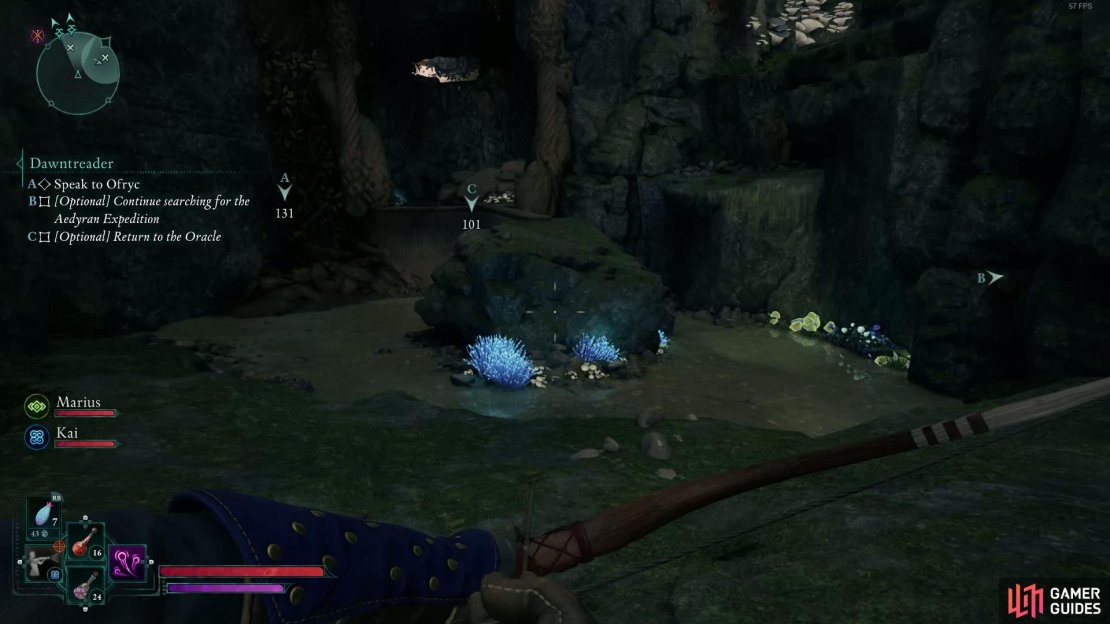
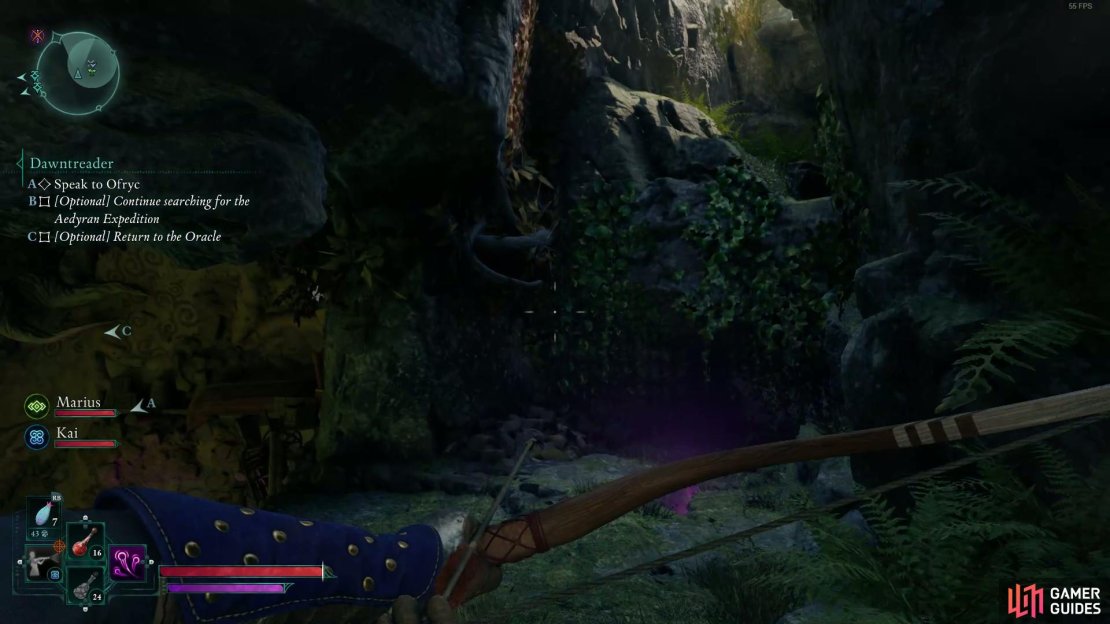
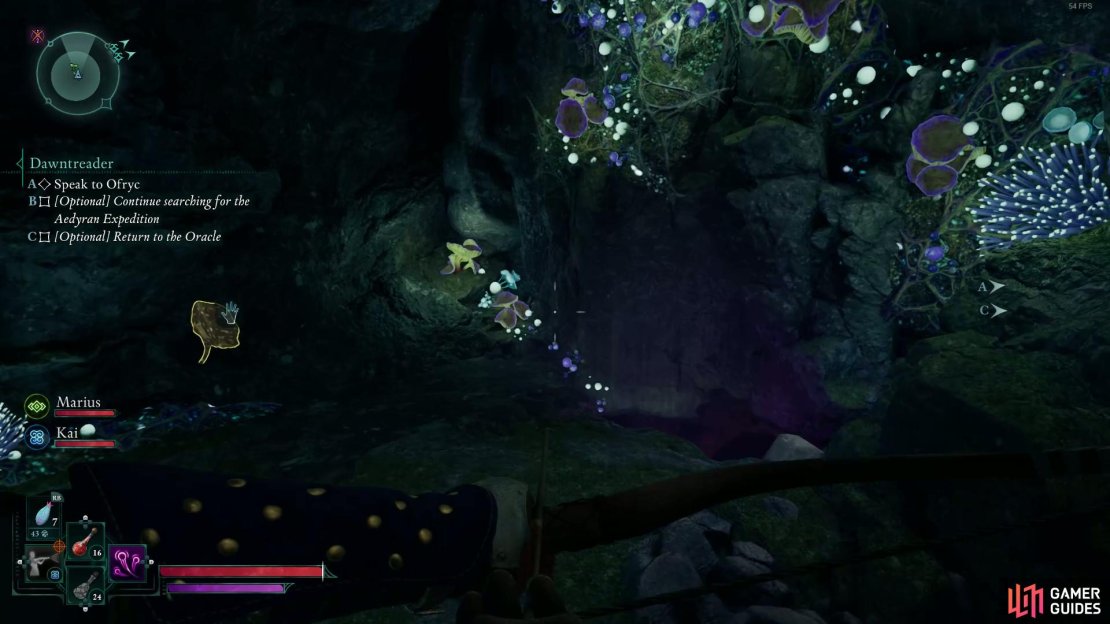
After defeating the mini-boss, retrace your steps and you’ll find the cave with the broken bridge flooded with water. A massive tree root forms a new path forward. How convenient. Cross the bridge once more but in the opposite direction. The path ahead is blocked. Look to the top left of your screen and you’ll notice a blue circle indicating the location of the lost expedition. It’s to your right so climb the rocky outcrops. Once you’ve done so, you’ll spot a large hole to your left and a glowing fissure to the right. Don’t head left just yet. Instead, head to the right and crouch to find a hole that leads downwards. Hop in and you’re treated to a grisly sight.
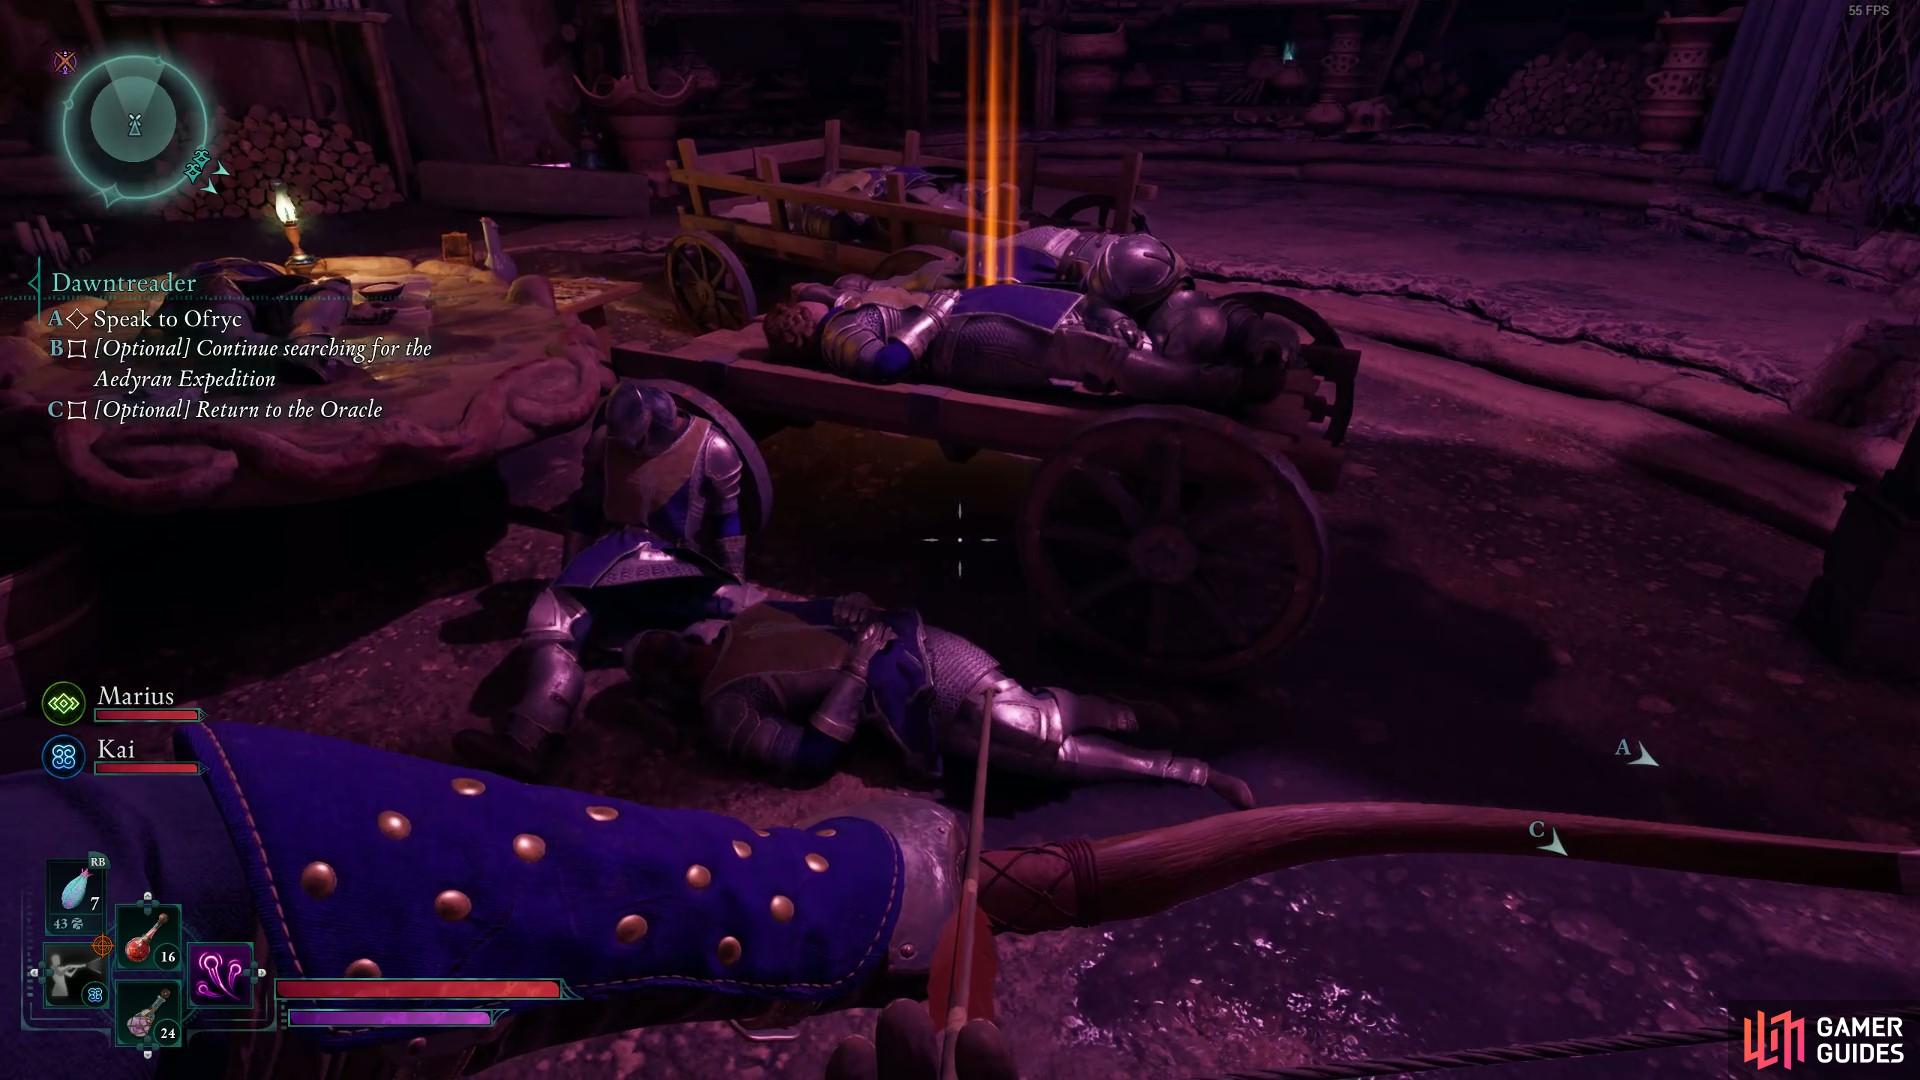


(1 of 4) A gruesome sight awaits you.
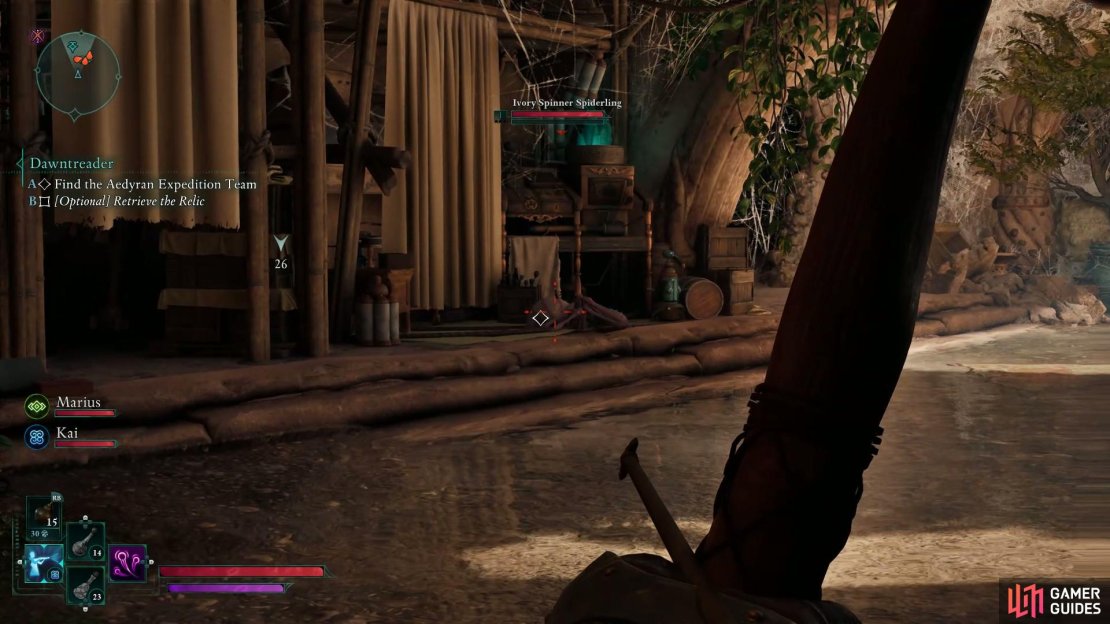
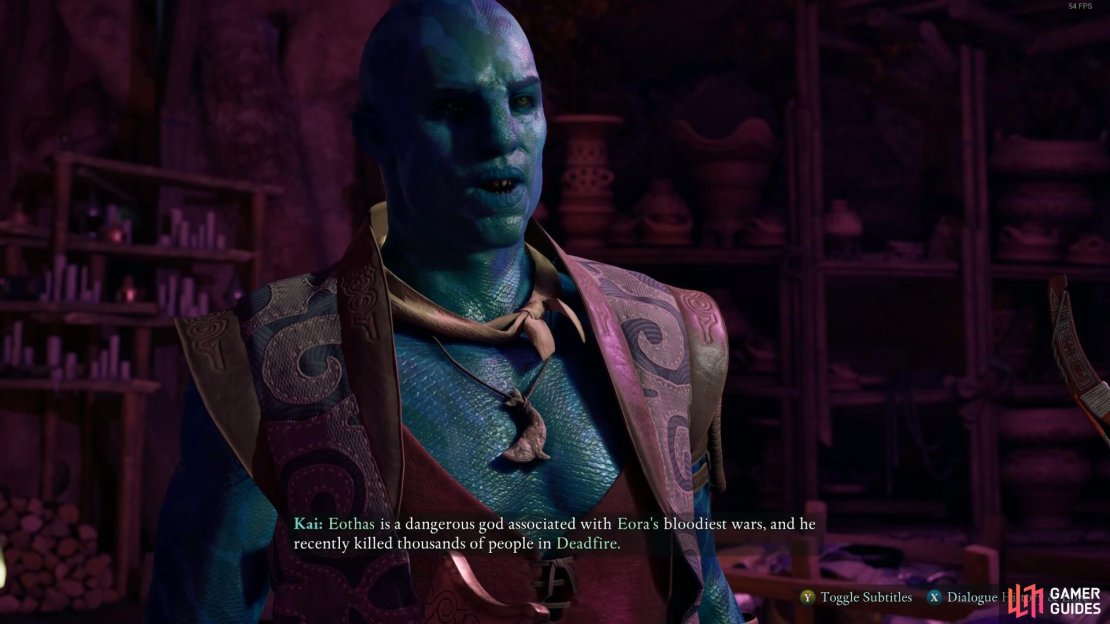
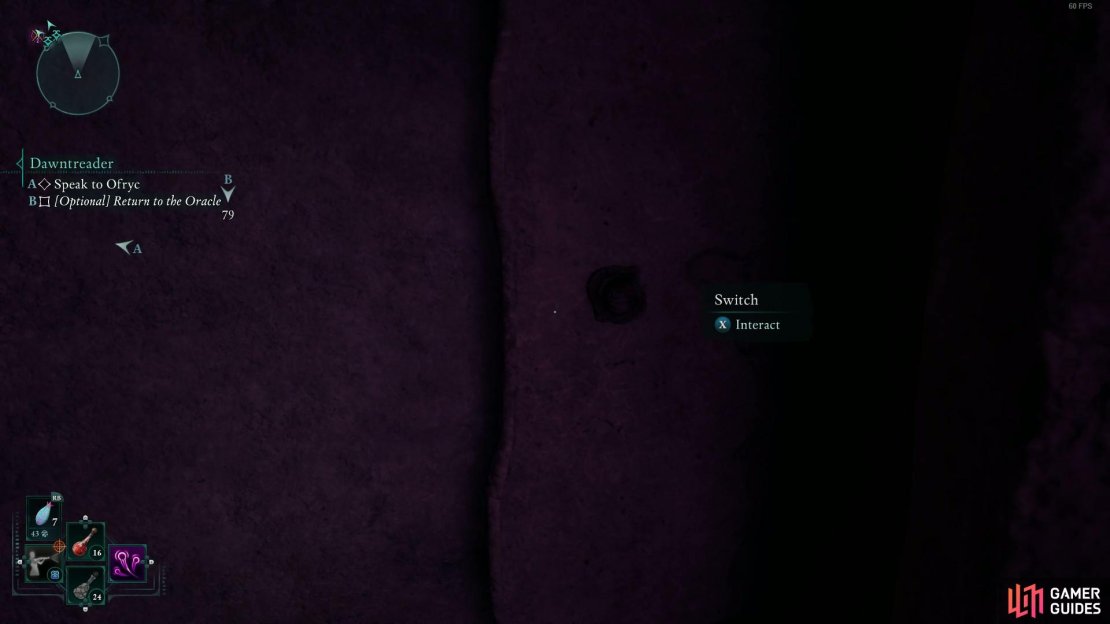
The expedition team is dead. But none of the bodies bear any visible wounds. Picking up Gjeda’s journal will help you uncover the true nature of their demise. It doesn’t indicate any signs of an addled mind. Close the journal and you’ll get to speak with Kai. He is unsure of what unfolded but reminds you that Eothas is a dangerous god. To leave this workshop, walk towards the curtains and keep going until you find the outline of a door. Interact with the switch near it to open the path forward. Keep going and unbar the door to return to the Oracle.


Oracle Choices and Consequences
When you speak to him, Sargamis reveals he captured the souls of the expedition team to put them into the statue. By placing the Splinter of Eothas in the statue, he wishes to trap his god’s soul along with the freshly captured ones to question Eothas. I had the same reaction as your companion Marius, who says “If I ever suggest helping some crazy nimdut bring a statue to life for religious reasons, please kill me then and there.”
Your interaction with the Oracle can play out in interesting ways with far-reaching consequences. Here are all the final Dawntreader choices in Avowed:
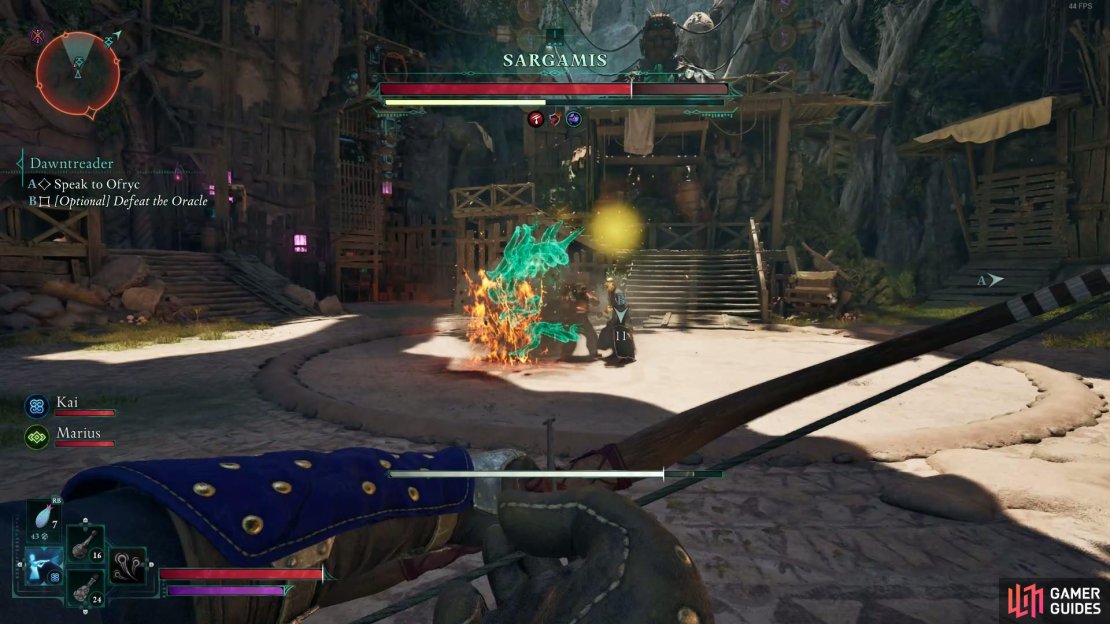
- Question Sargamis about the bodies of the expedition team in his workshop. Attack the Oracle after that to trigger a mini-boss fight. It’s no challenge if you’ve upgraded your gear to the Fine rarity. Watch out for the glowing Fire Blight Minions he summons and his magic attacks. Loot his corpse to get the Last Light of Day, a unique sword.
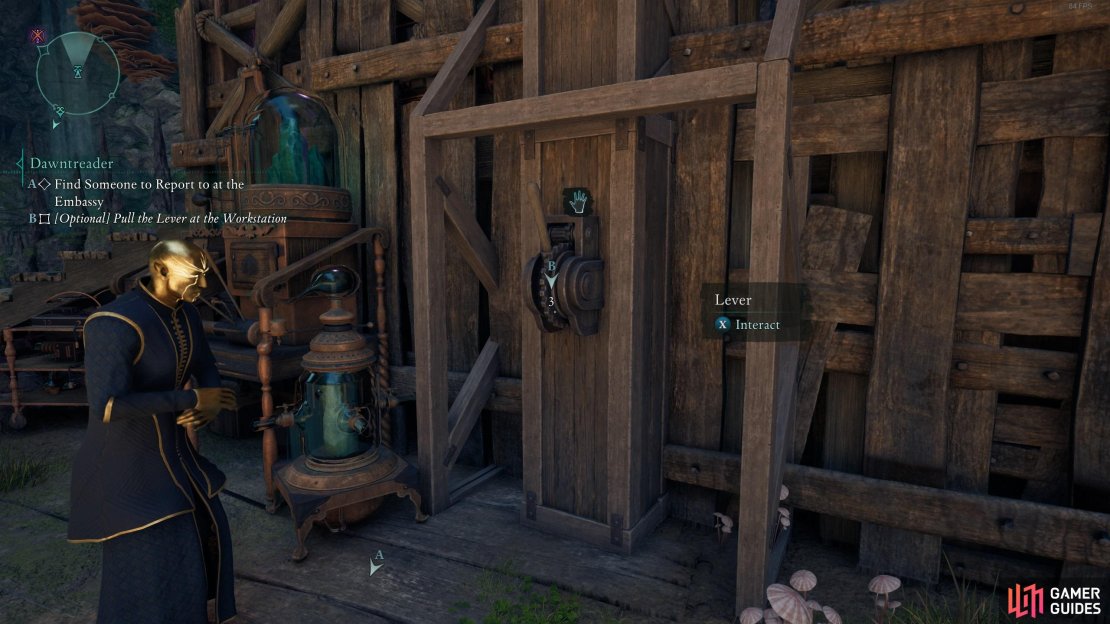
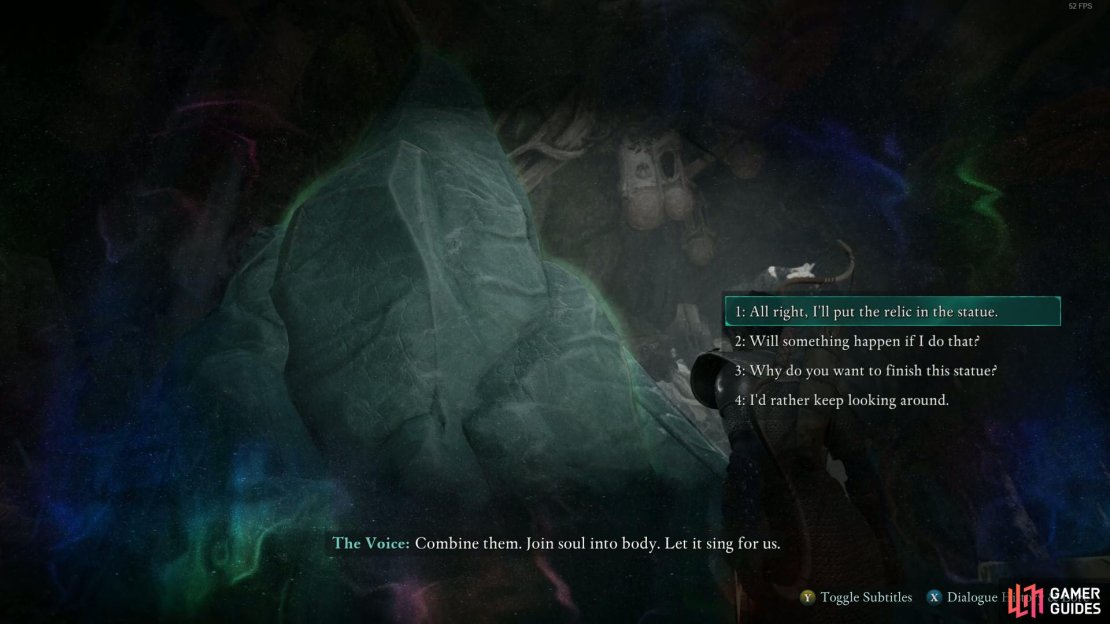
- Give in to Sargamis’ demands and place the relic in the statue. To activate the statue, you’ll need to pull a lever to the left side of the statue. Do so and you’ll watch energy course through the statue before it all fizzles out. The experiment fails and you have a chance to convince the Oracle to cease his experiments and reflect on his actions.
- If you defeat the Oracle or watch the experiment, the Voice in your head will wish to speak with you at a nearby Adra stone. They’ll ask you to place the relic in the statue and pull the lever for it to serve as a potential host. While doing so causes purple light to glow from the statue’s eyes, it remains dormant. Instead, you can ignore them and overload three contraptions connected to the statue with electric grenades, angering the Voice. This disables the statue for good.
- Walk past the Oracle like nothing happened. Sargamis doesn’t know you already have the Splinter of Eothas. So head over to the right side of the statue to find a lift that will take you outside the temple.
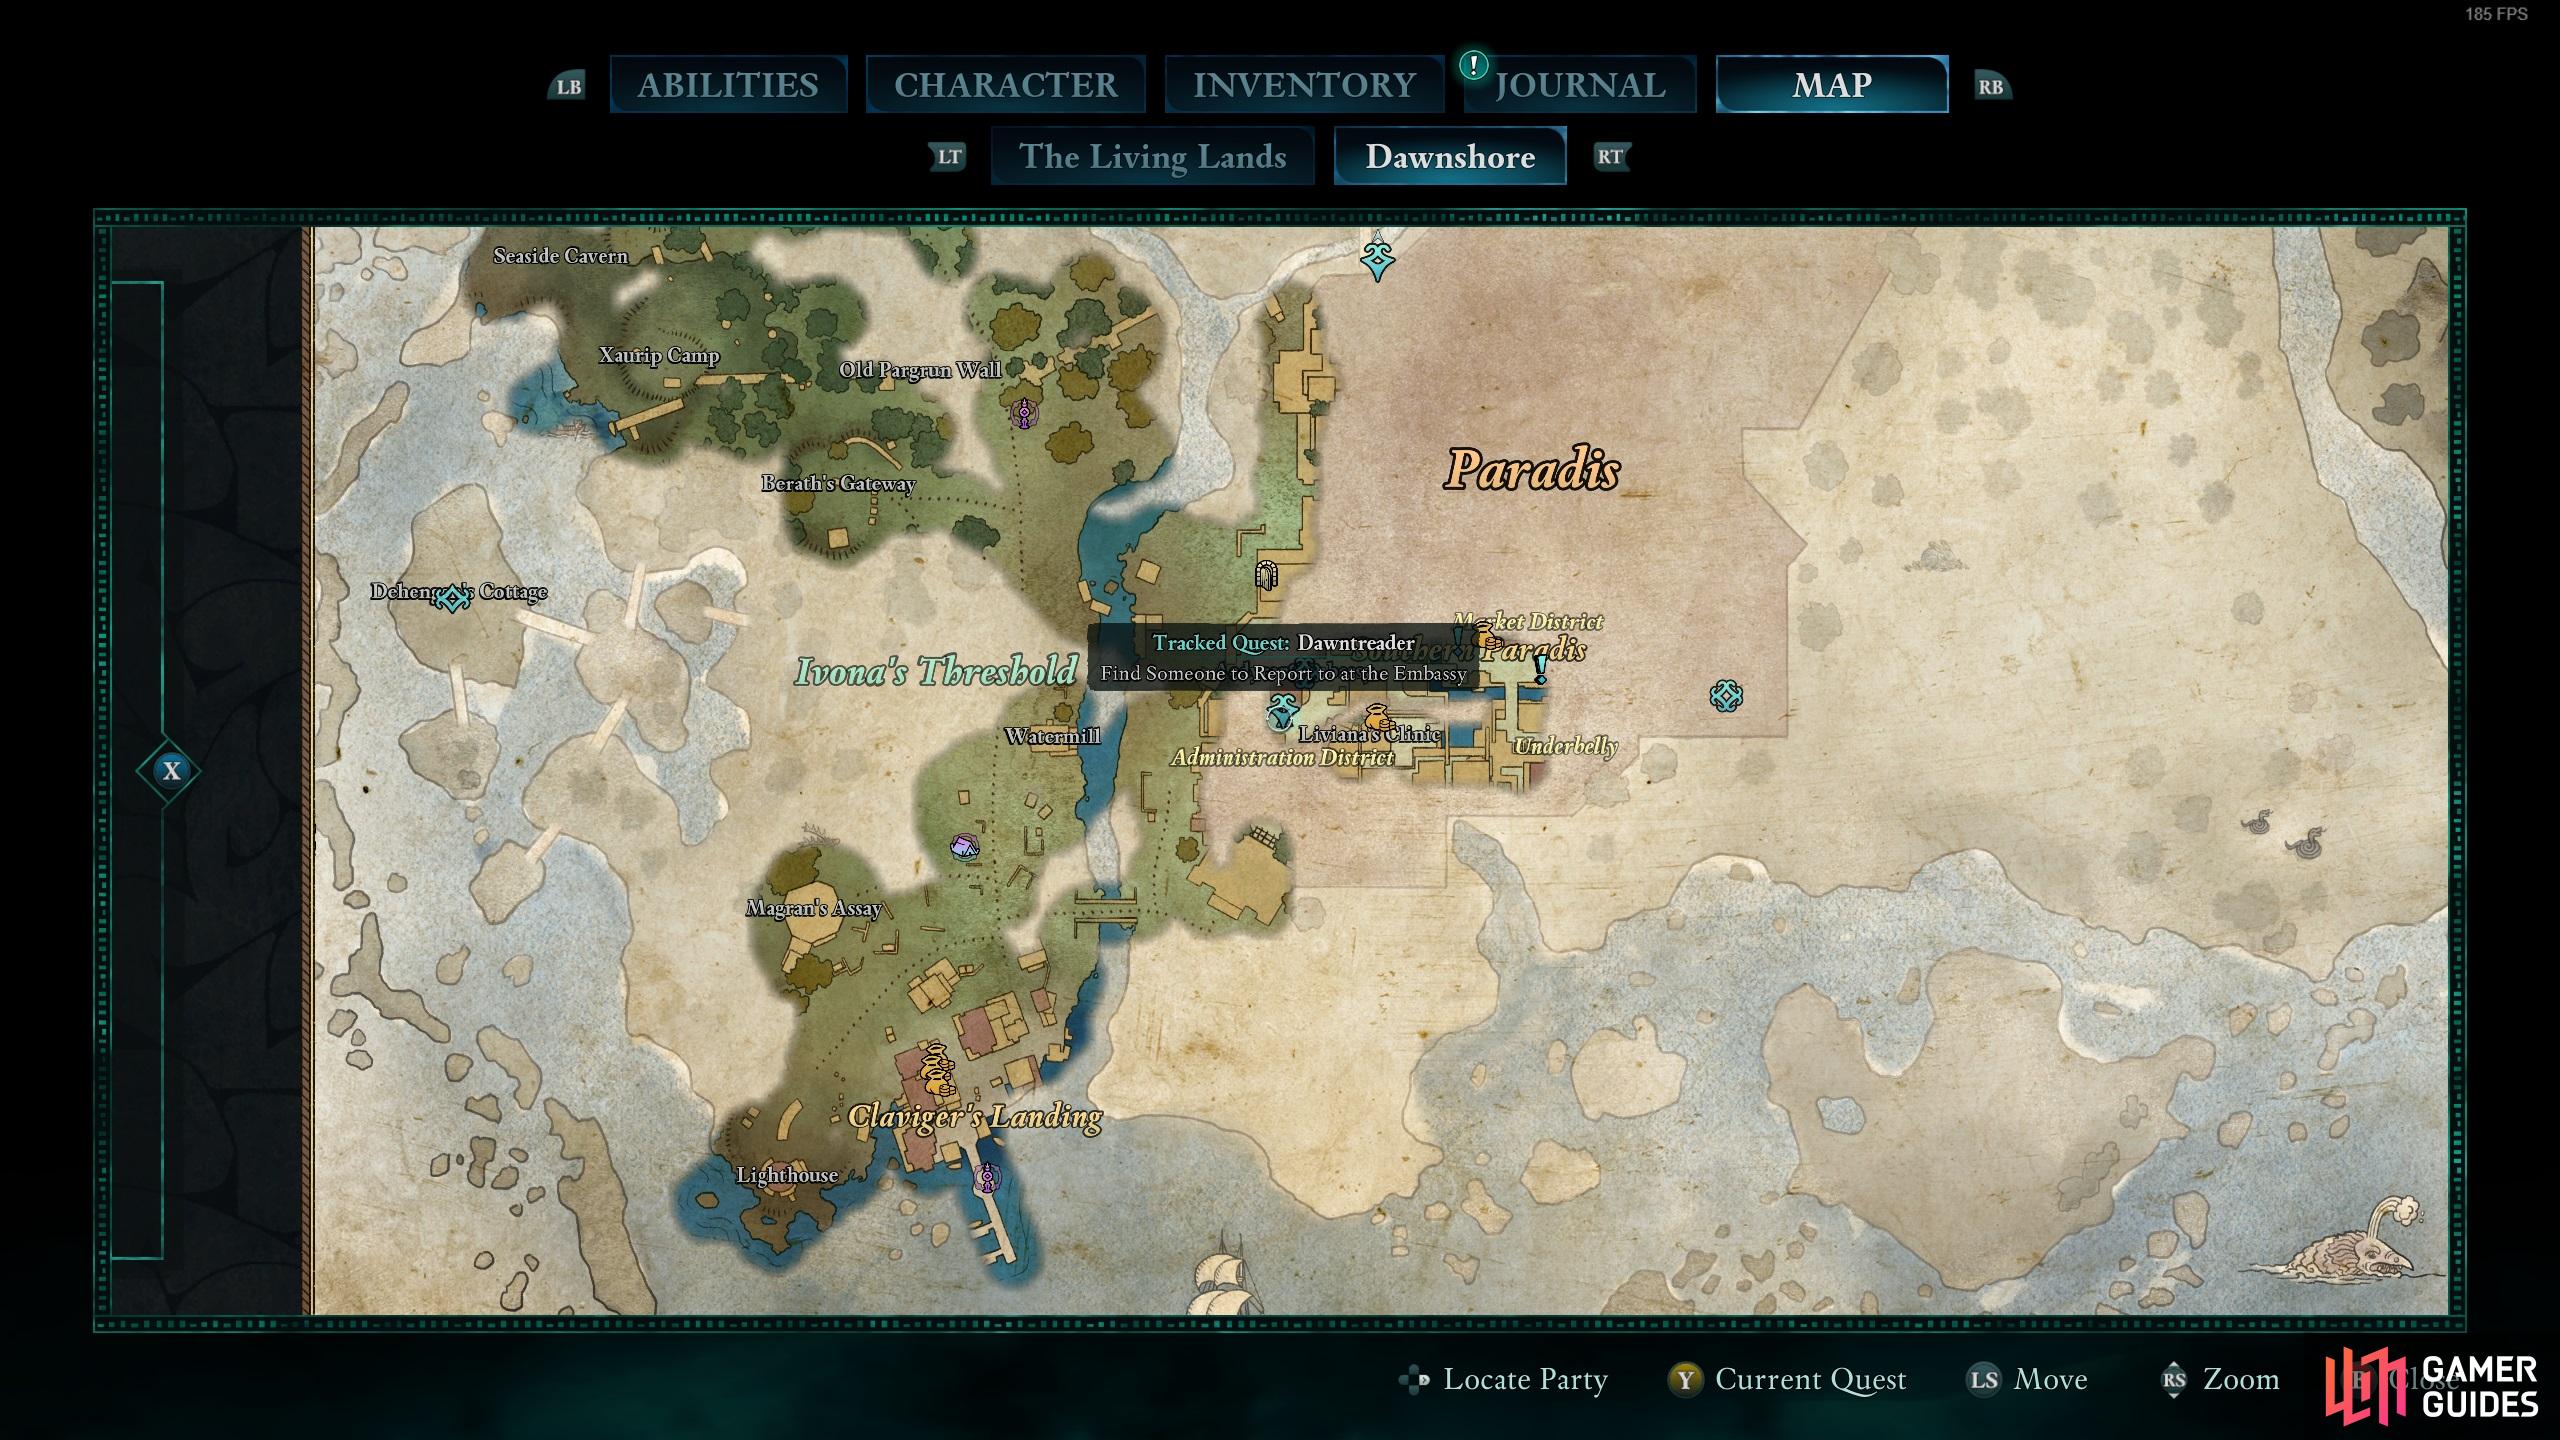

(1 of 3) Here is where you will find the embassy of Paradis.
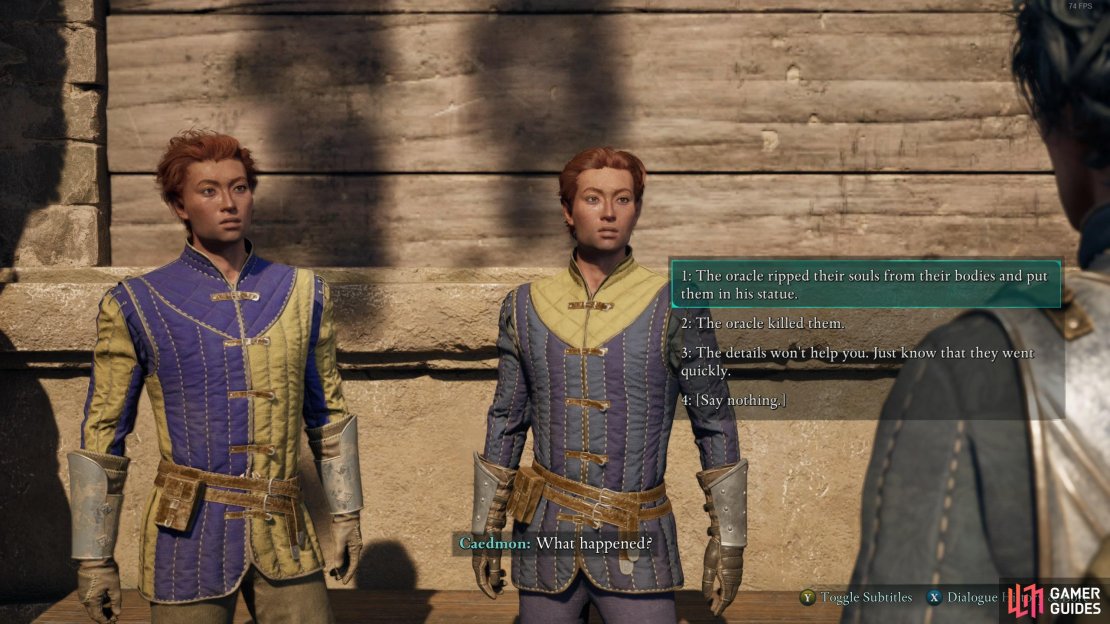
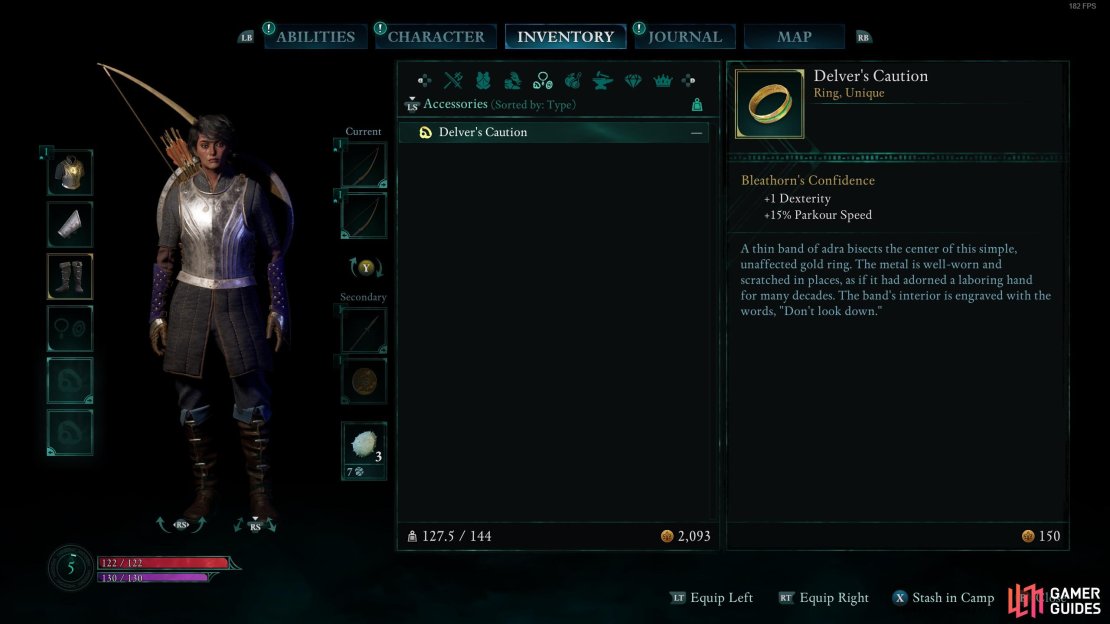
Regardless of your choice, you’ll have to head back to the embassy in Paradis to meet Ofryc and his brother Caedmon. You can share what really happened or spare them the details. Doing so ends the quest and grants you Delver’s Caution, a unique ring that improves Dexterity by +1 and parkour speed by 15%. That wraps up Dawntreader, one of the more interesting quests you’ll encounter in Avowed’s first region.
No Comments