
As you begin your journey in Avowed, you’re bound to run into Sanza’s Emporium in Paradis. His cartographers have a habit of going missing in action as they map the game’s regions so it falls on you to find them. Read on for detailed maps that cover all the cartographer locations you’ll need to visit to wrap up the Mapping the Living Lands quest in Avowed.

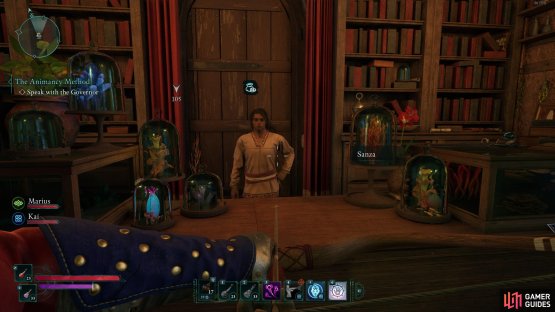
(1 of 2) Sanza resides in Paradis.

Sanza resides in Paradis. (left), Speak with him to begin this quest. (right)
| Quickjump |
|---|
| How to start Mapping the Living Lands? |
| Dawnshore Cartographer |
| Emerald Stair Cartographer |
| Shatterscarp Cartographer |
| Galawain’s Tusks Cartographer |
How to start Mapping the Living Lands?
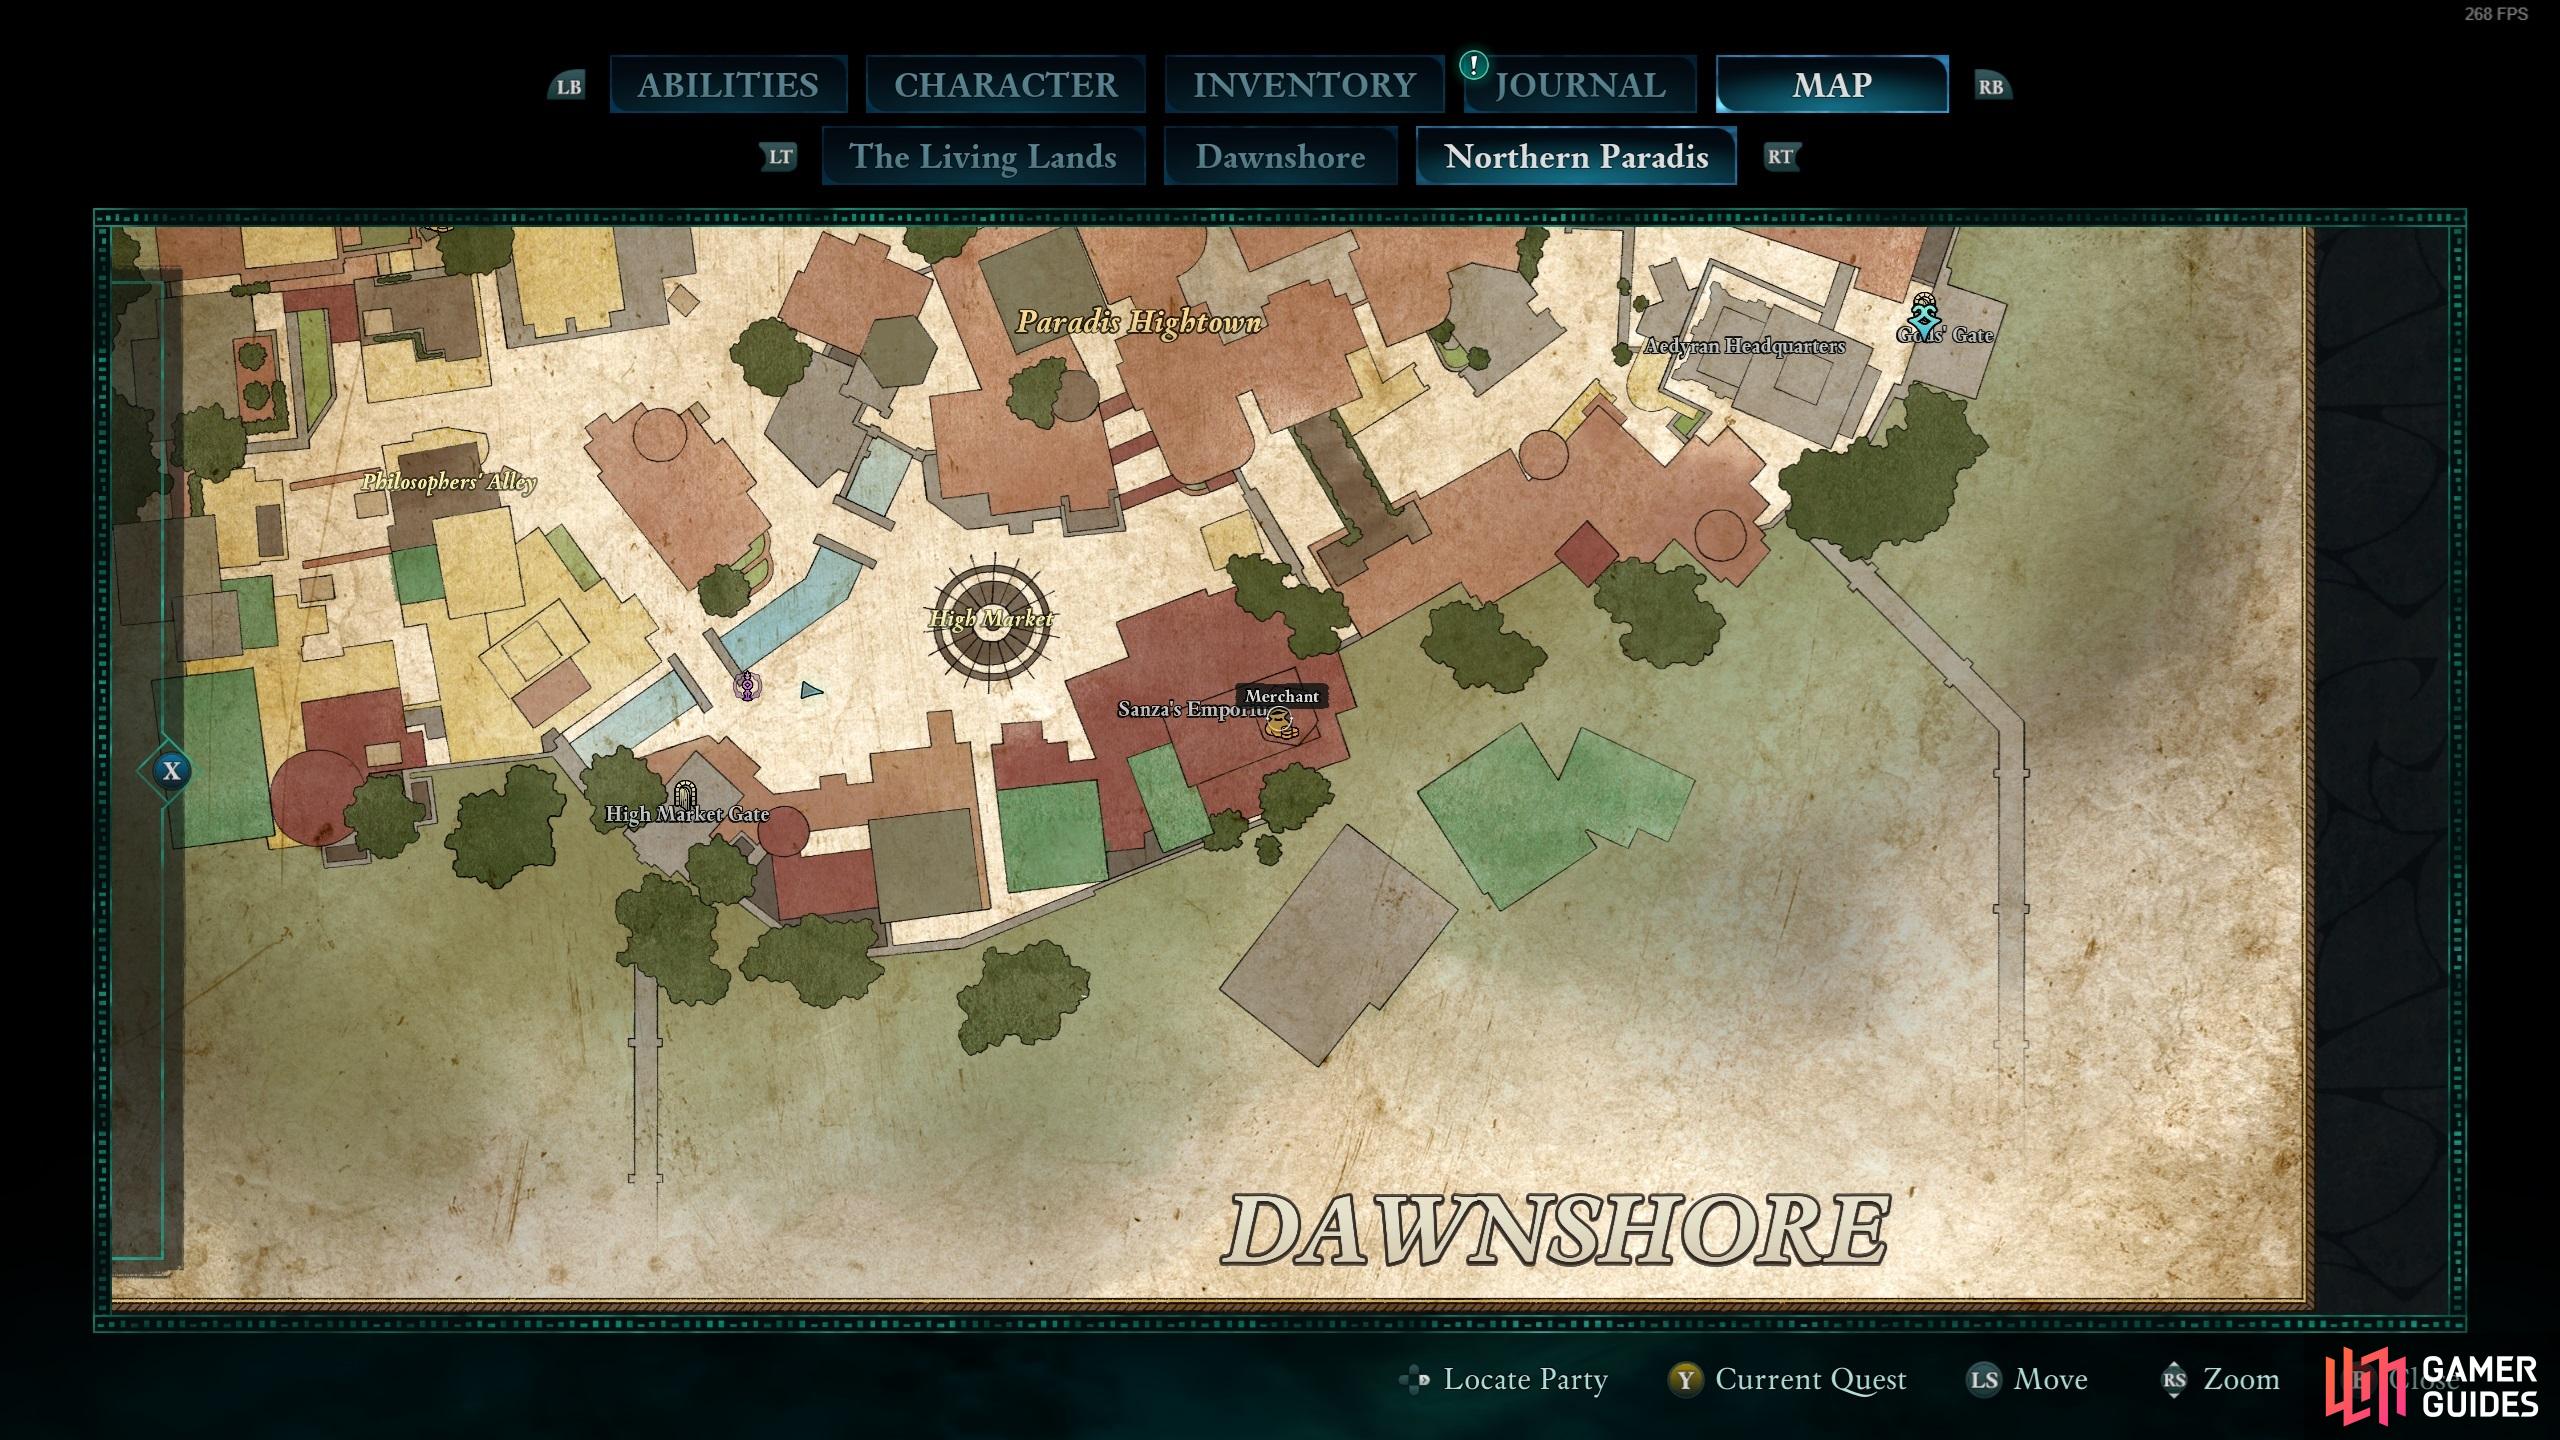
Begin the quest by heading to Sanza’s shop in Paradis’ Hightown. Alternatively, you can start Mapping the Living Lands by running into one of Sanza’s cartographers or whatever’s left of them. You’ll need to return here to turn in each map you find from the regions you visit in Avowed.
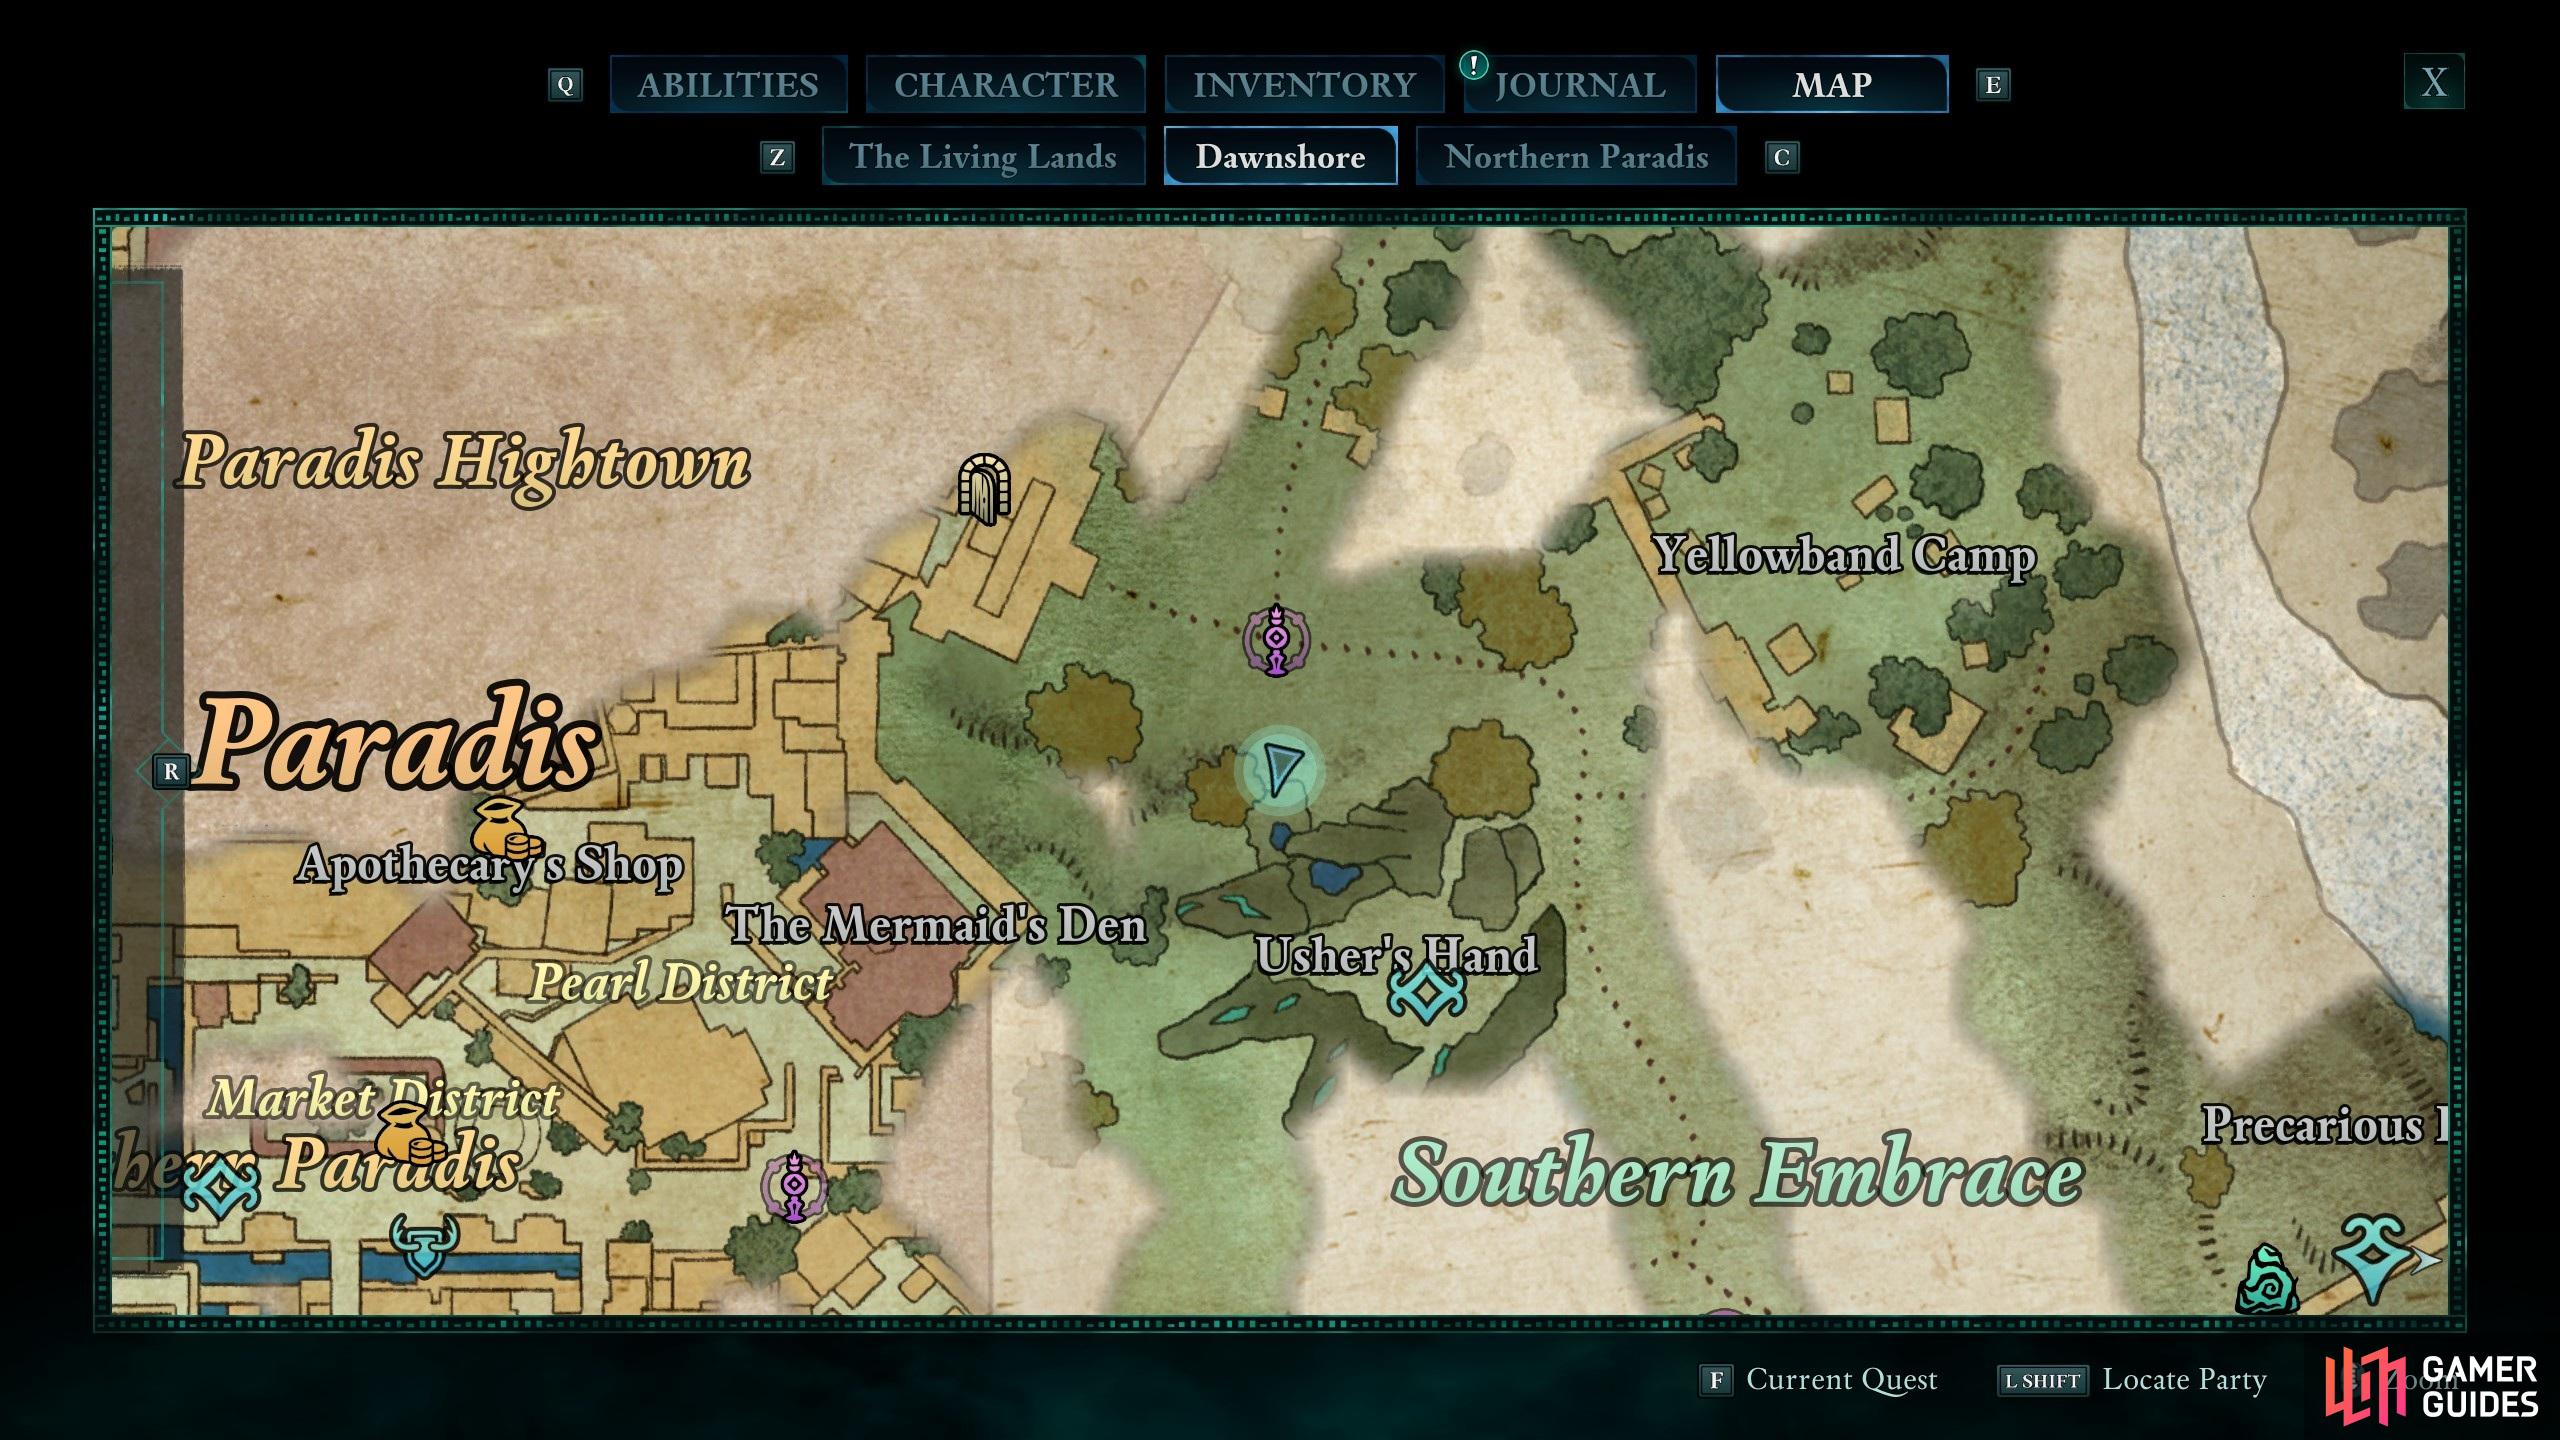

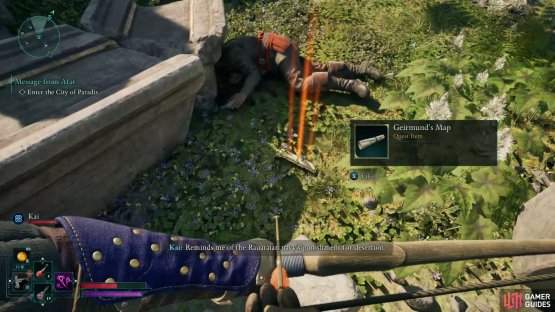
(1 of 2) Head south from the eastern entrance of Paradis.
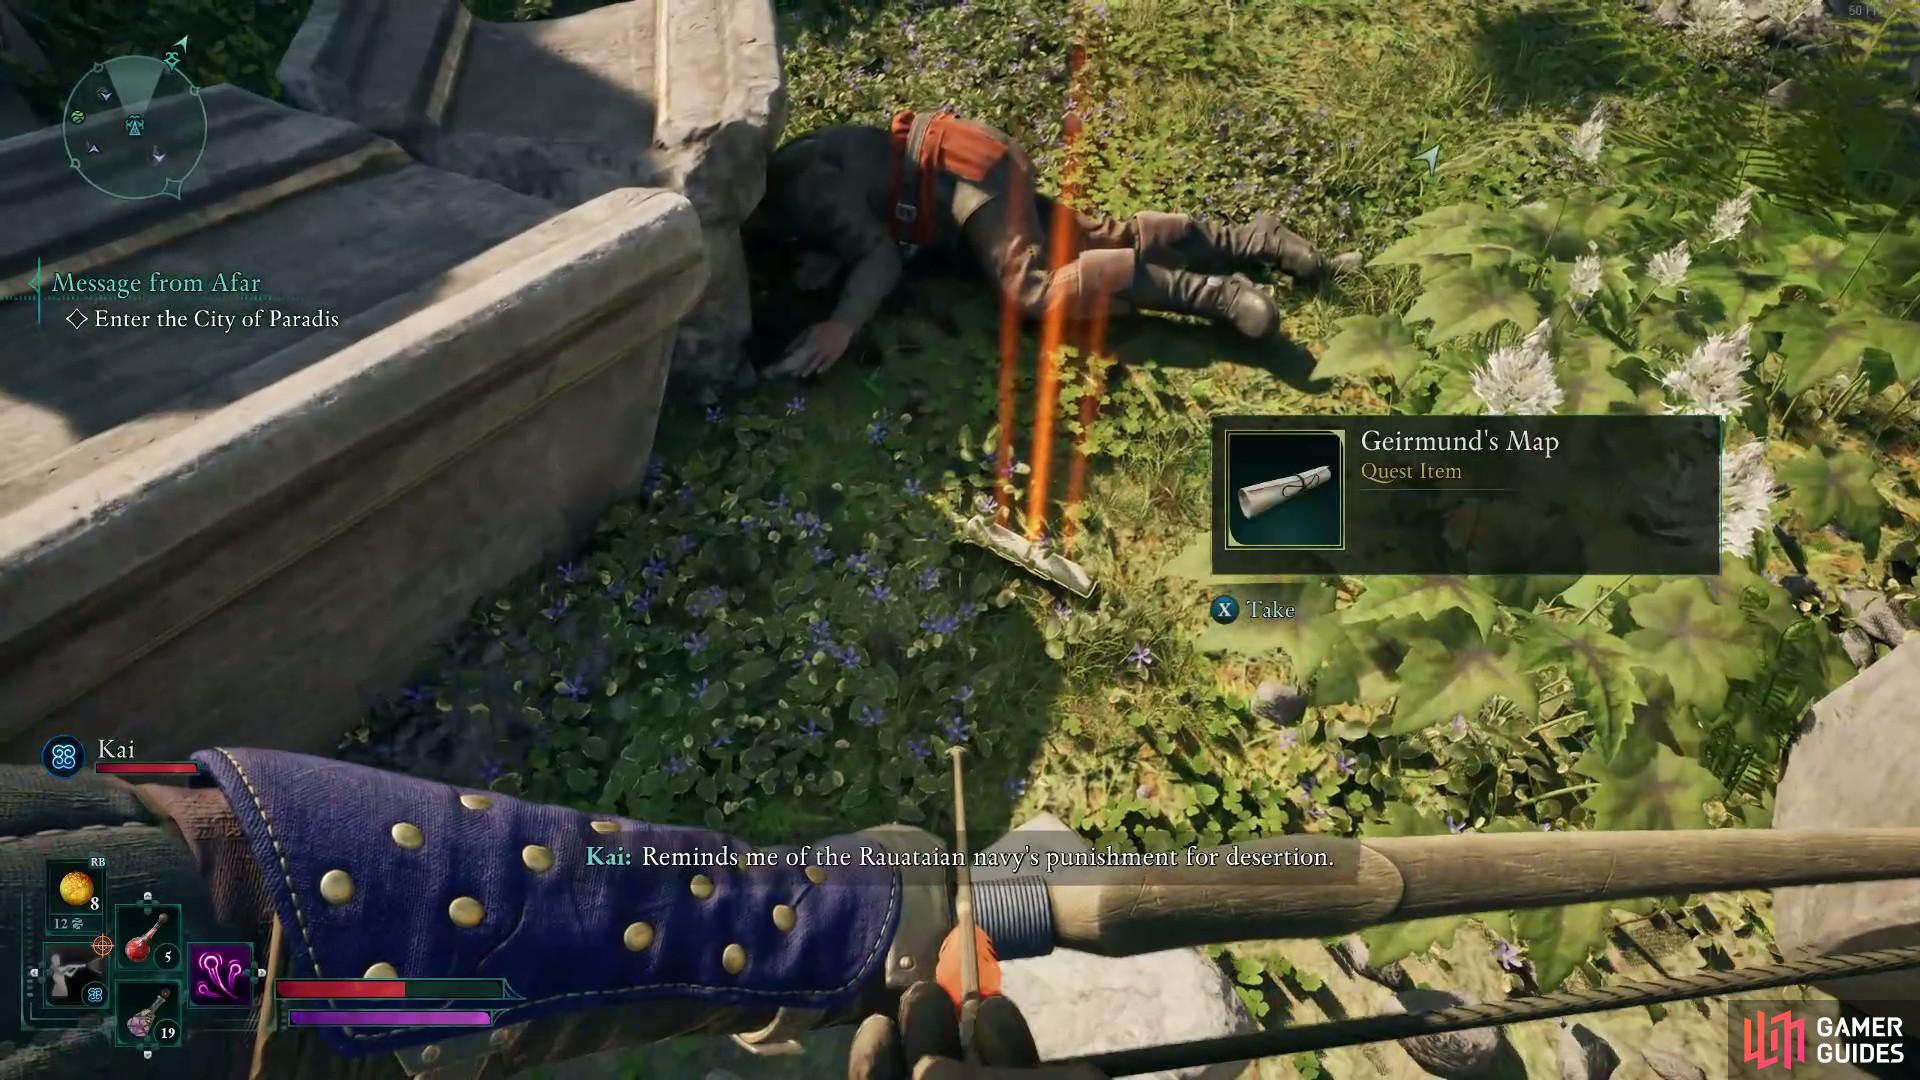
Head south from the eastern entrance of Paradis. (left), You will find the map next to a corpse. (right)
Dawnshore Cartographer
The first cartographer’s body can be found to the south of the Gods’ Gate fast travel beacon. Giermund’s map lies next to his corpse and some rubble near the eastern entrance of Paradis. Pick it up and return to Sanza for your first reward. Note that you can’t use the eastern entrance if you haven’t entered Paradis yet. As for why you’re locked out, it’s for plot reasons that will become apparent once you enter Paradis via the main entrance.
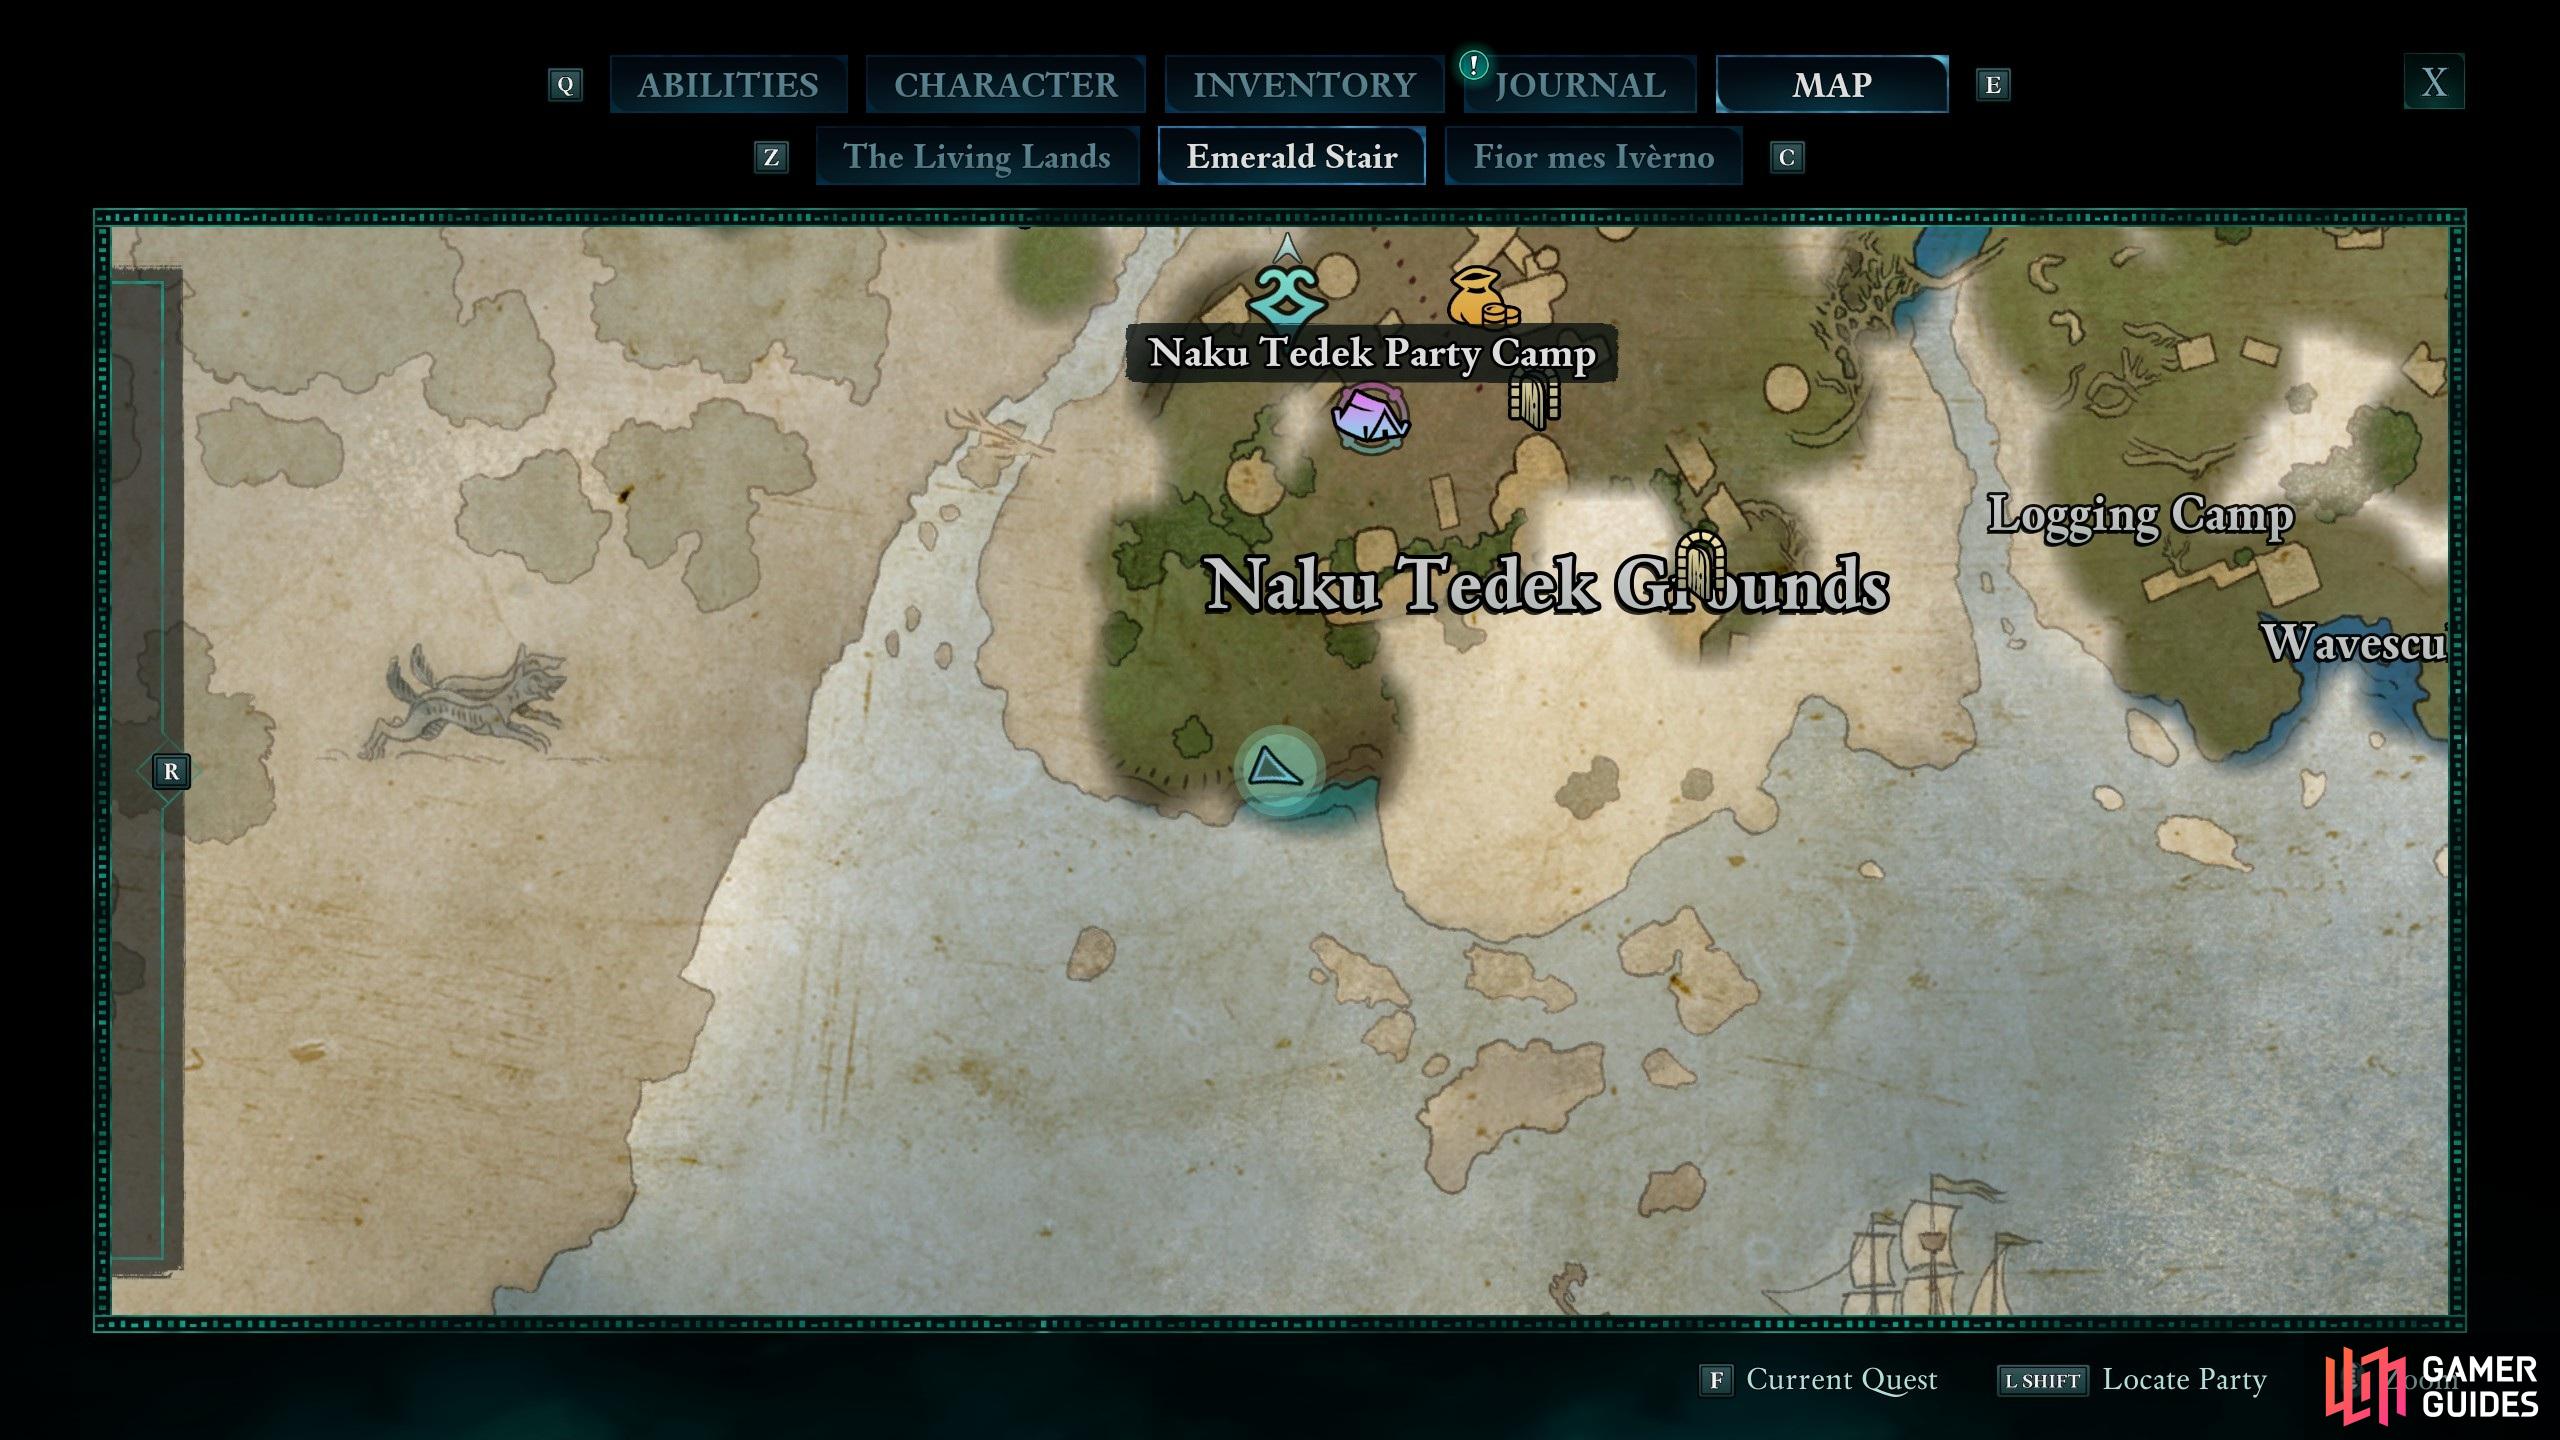

(1 of 2) Go south from the Naku Tedek Grounds.

Go south from the Naku Tedek Grounds. (left), Find the next map near another corpse. (right)
Emerald Stair Cartographer
In the second region, you’ll have to find Fleccia. They can be found to the south of the Naku Tedek Party Camp in Emerald Stair. Head to the southwest side of this area and go down the hill. You’ll find Fleccia’s map next to a potion and some crafting materials. Unfortunately, they’re dead too.

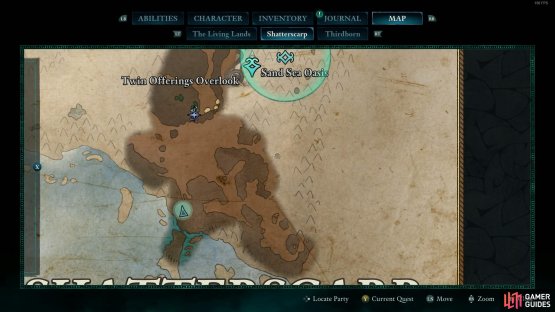

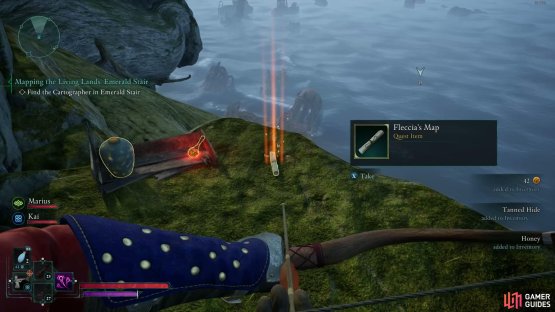
(1 of 2) Sprint south from the Sand Sea Oasis.
Sprint south from the Sand Sea Oasis. (left), The third map lies near a corpse. (right)
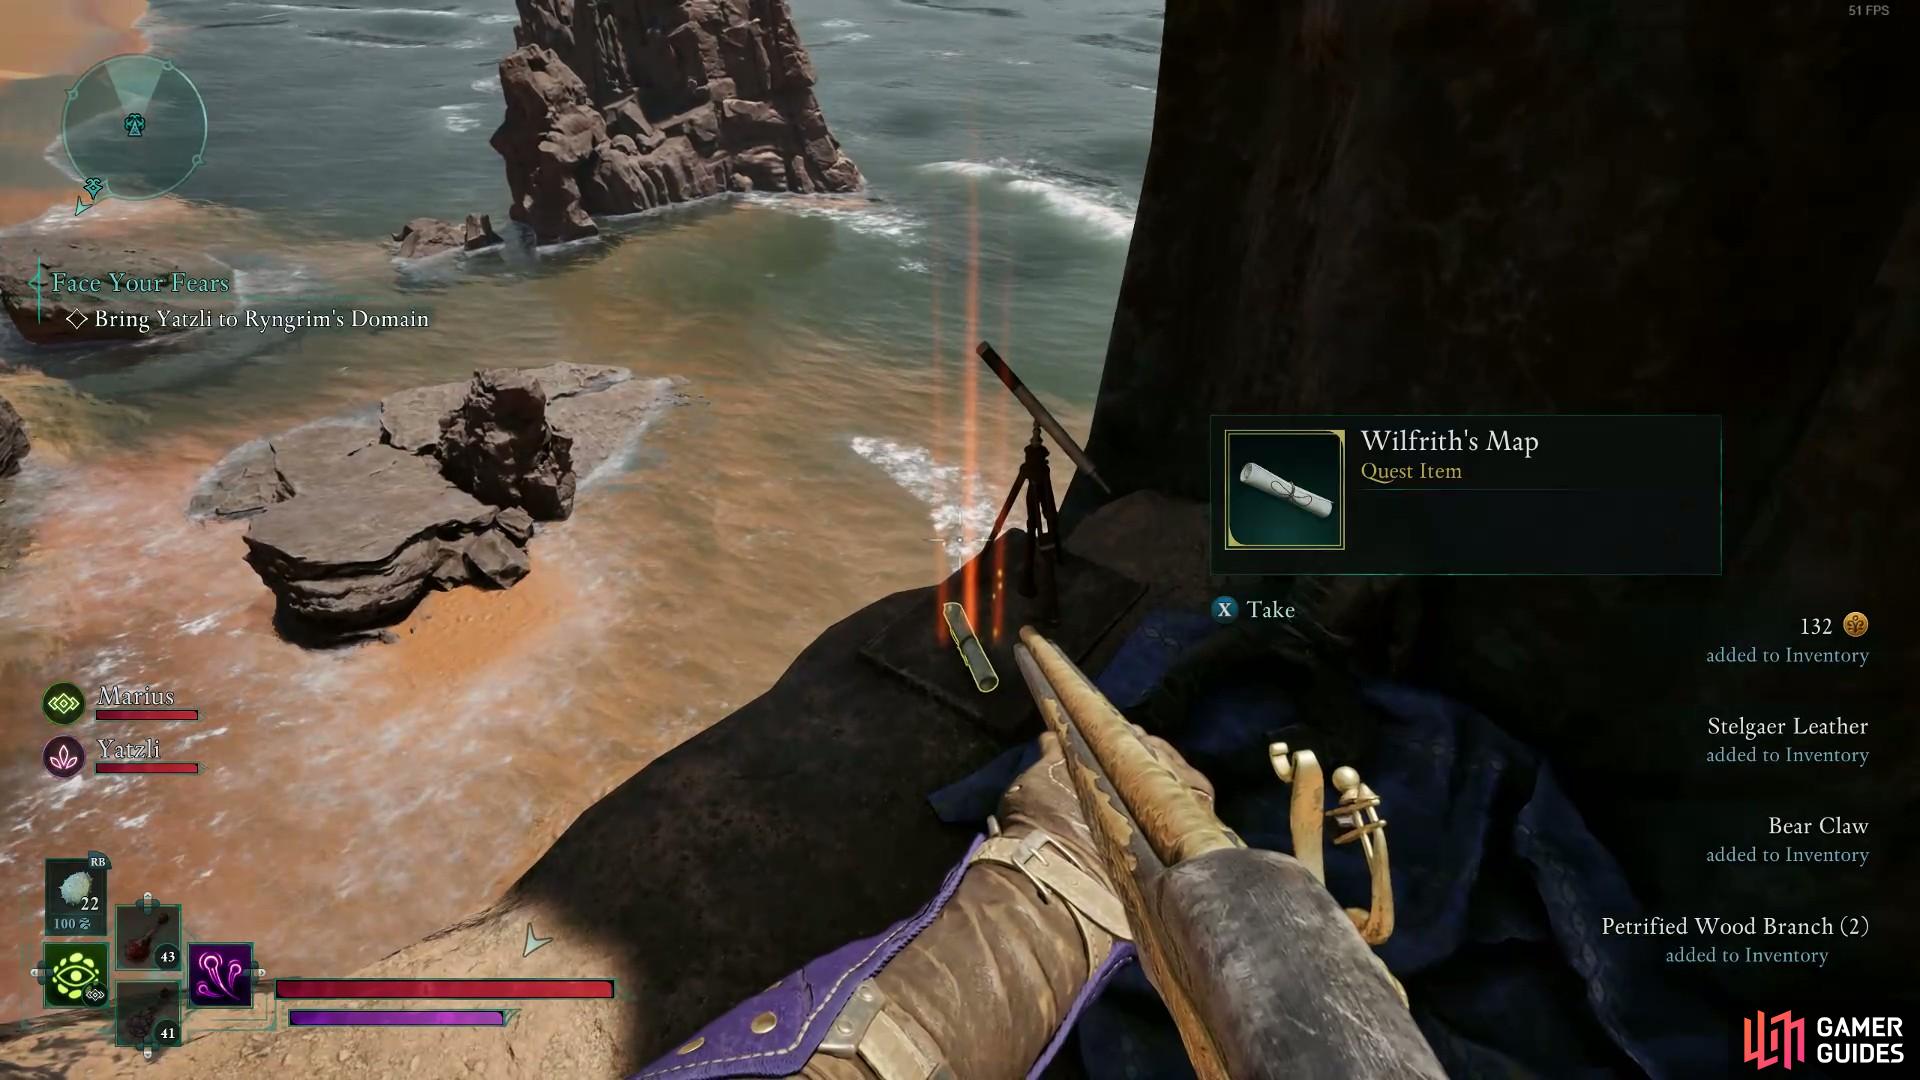
Shatterscarp Cartographer
To no one’s surprise, Sanza’s third cartographer Wilfrith has also gone missing. You can start this portion of the quest from the “Wilfrith’s Dispatch” note on the bounty board in Thirdborn. This time, you’ll need to head to the southeastern coast of Shatterscarp. Wilfrith can be found to the right of the Sailor’s Rest location. It’s a short hike south from the Sand Sea Oasis fast travel point. You’ll find a path that leads to a rocky pillar and ultimately, Wilfrith’s map next to, you guessed it, their corpse.


(1 of 2) Head outside Solace Keep for the final cartographer.
Head outside Solace Keep for the final cartographer. (left), Renato is alive and will hand his notes over to you. (right)
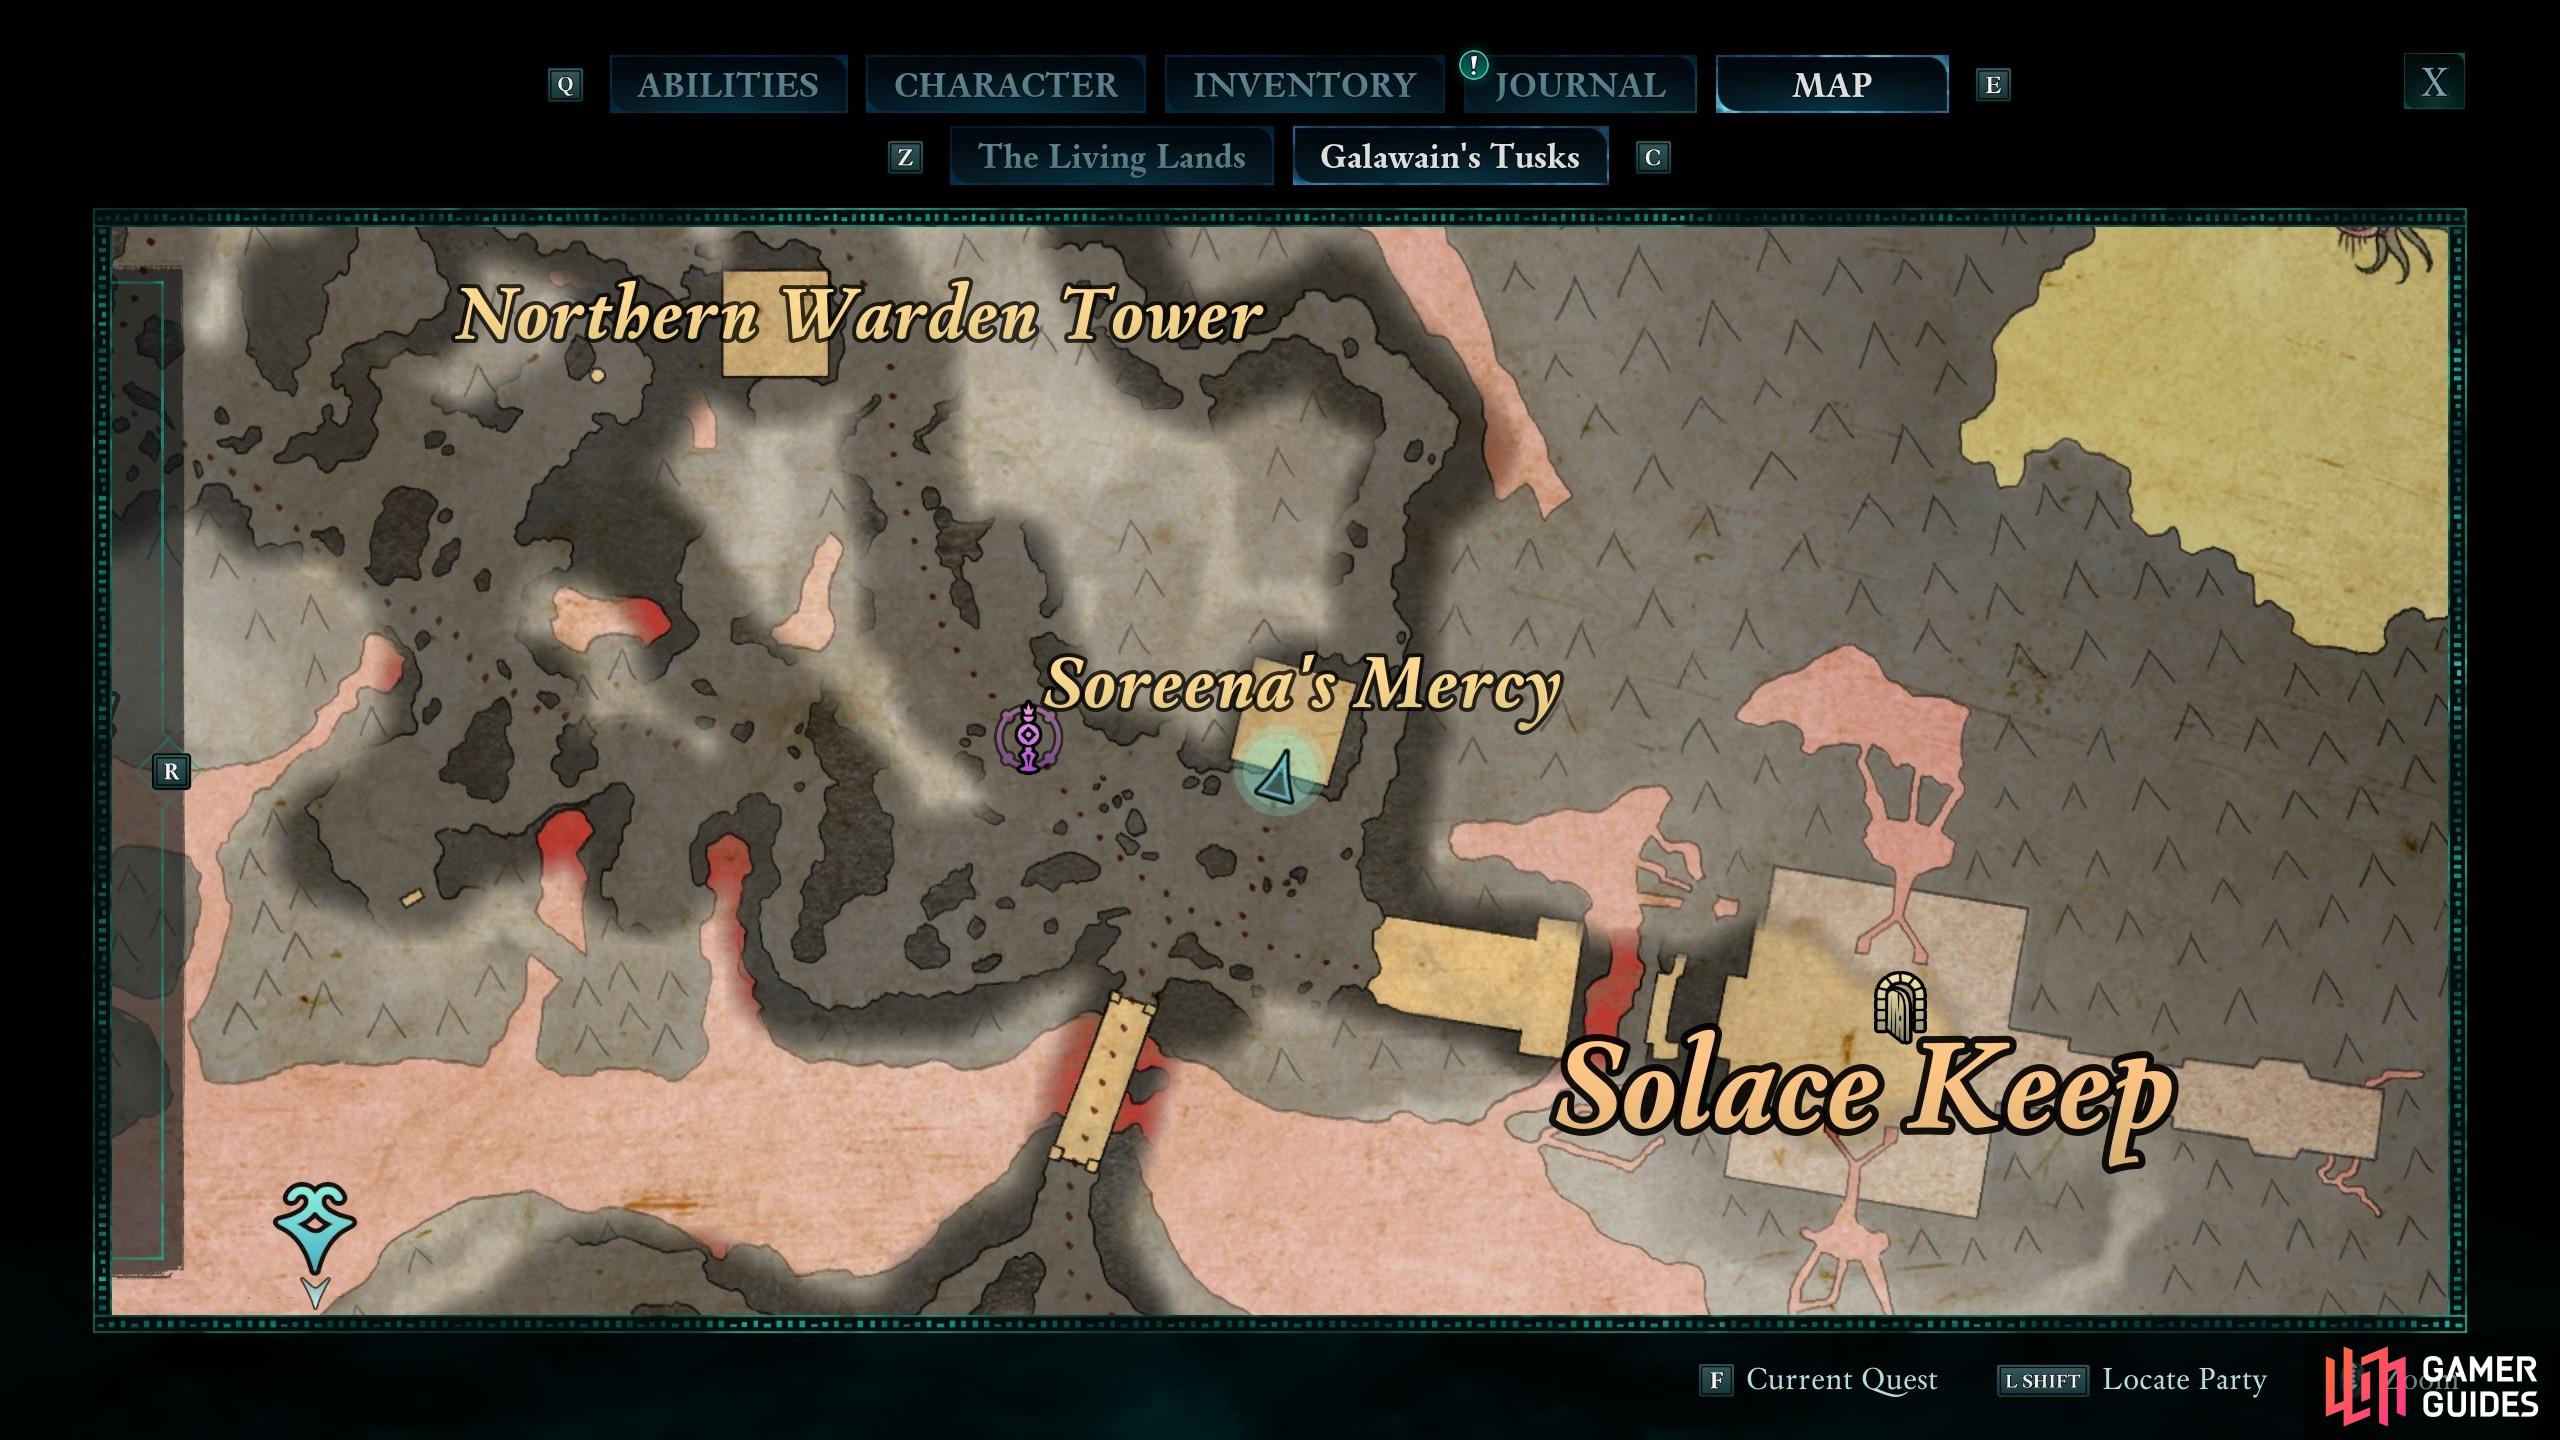
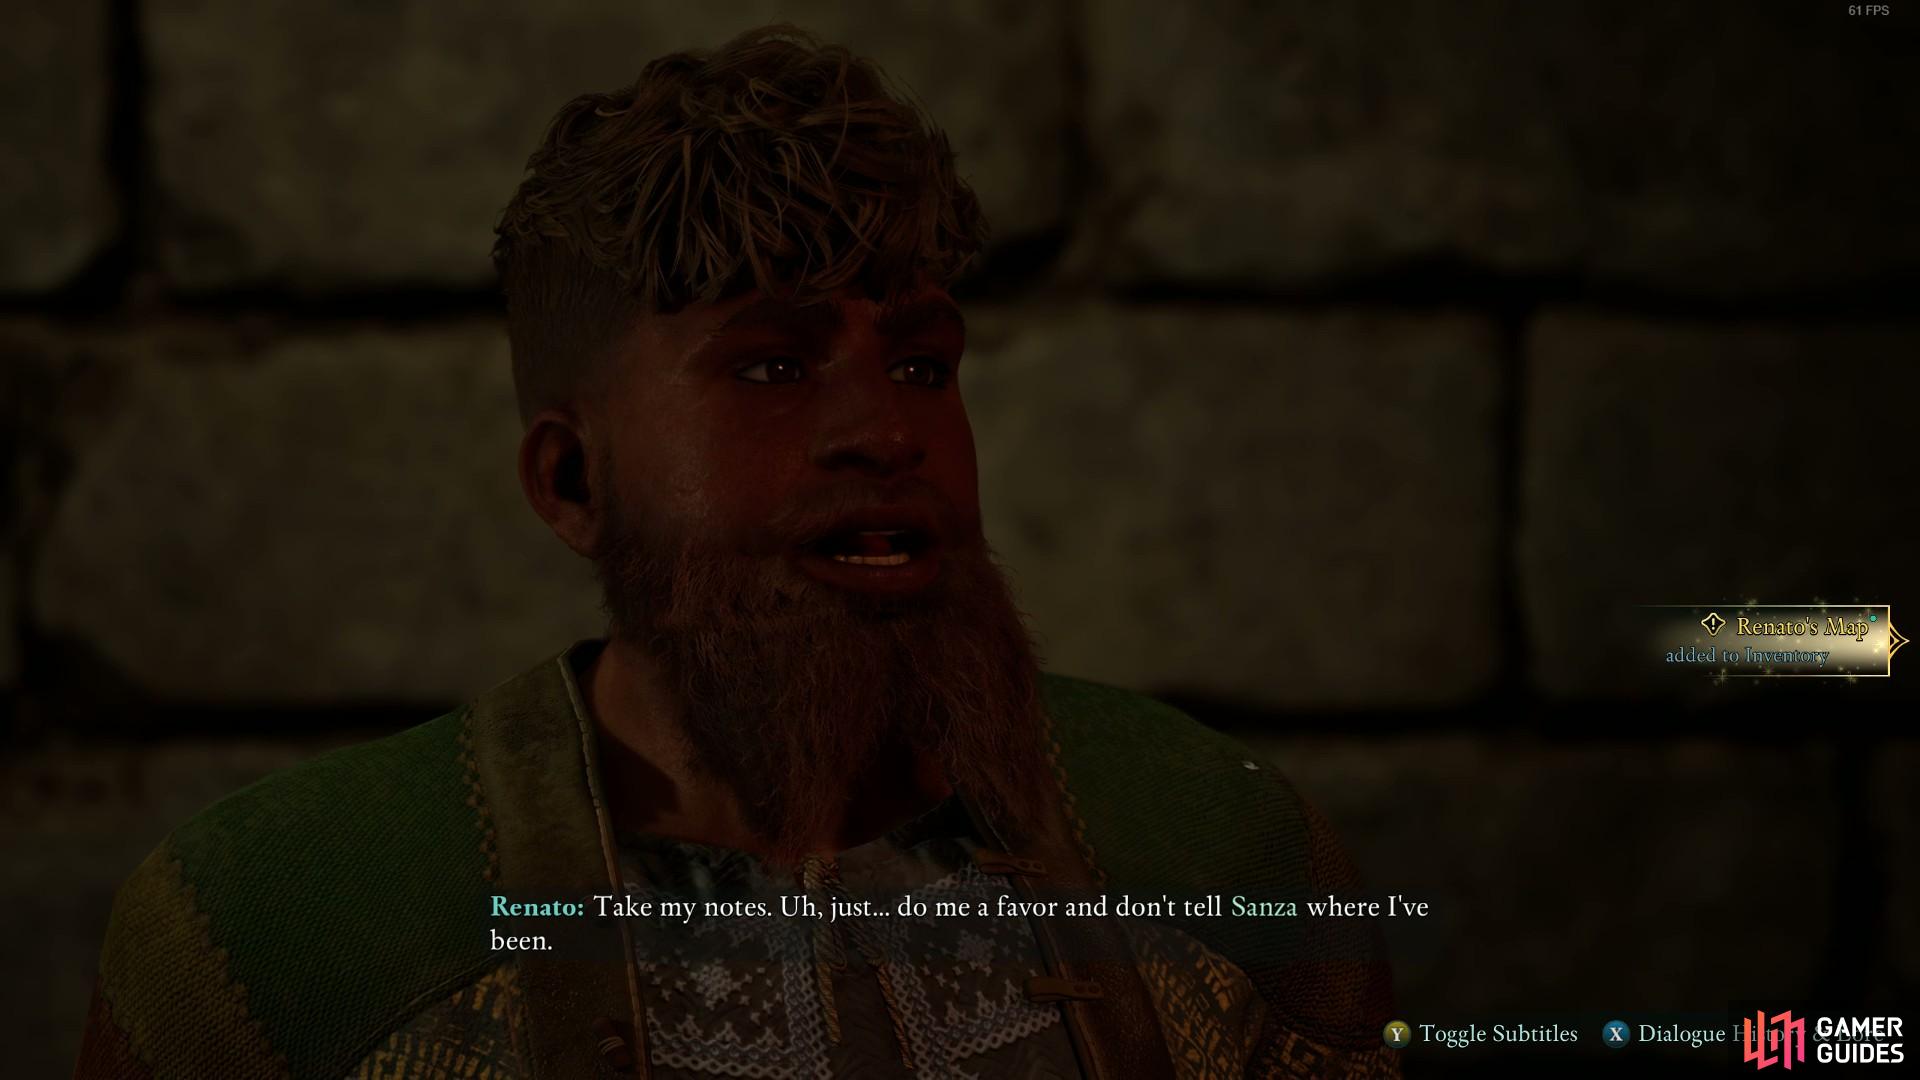
Galawain’s Tusks Cartographer
Unlike the other three cartographers, Renato is still alive in the Galawain’s Tusks region. He can be found in the Soreena’s Mercy prison right outside Solace Keep. Head to the second floor and you’ll run into a guard keeping Renato in a cell. Picking the “He’s learned his lesson. Let him out.” choice lets you free Renato without any dialogue checks. You can then choose to let Renato go or simply get his notes for Sanza. Return to Dawnshore and wrap up the last leg of Mapping the Living Lands in Avowed.
No Comments