
Like in campaign mode, Operations mode features four difficulty settings, and while it might seem sensible for them to be roughly comparable to each other, this is not the case, for a variety of reasons. Also unlike the difficulty modes in the campaign, in Operations mode the selected difficulty has higher stakes than merely satiating the player’s presumed desire for challenge - in Operations mode these difficulties are tiers meant to be sequentially ascended, offering up greater rewards for overcoming increasingly dire challenges. This page will discuss the differences between difficulty options on Operations modes, including how gameplay is rebalanced, enemy spawns and difficulty and the rewards you can earn in Space Marine 2.
Page Breakdown
| Quick Search |
|---|
| Operations Mode Difficulty Settings |
| Minimal |
| Average |
| Substantial |
| Ruthless |
Operations Mode Difficulty Settings
The campaign for Space Marine 2 is, for better or worse, designed to be a fairly straight-forward and balanced gameplay experience, with several difficulty settings that mostly serve to appeal to the player’s preference. There’s no real incentive for completing the campaign on one difficulty or another aside from, perhaps, a sense of accomplishment, and since there’s no progression system in the campaign, the differences between each difficulty mode aren’t terribly expansive.
In Operations mode, however, there is a progression system: you can level up your class and weapons, unlocking new weapon variants with different stats favoring certain playstyles, and you can customize both your character and their gear with perks to further entrench these playstyle preferences. That being the case, difficulty in Operations mode isn’t just a matter of personal fulfillment, but rather a means to gate your progression while simultaneously rewarding you for your triumphs.
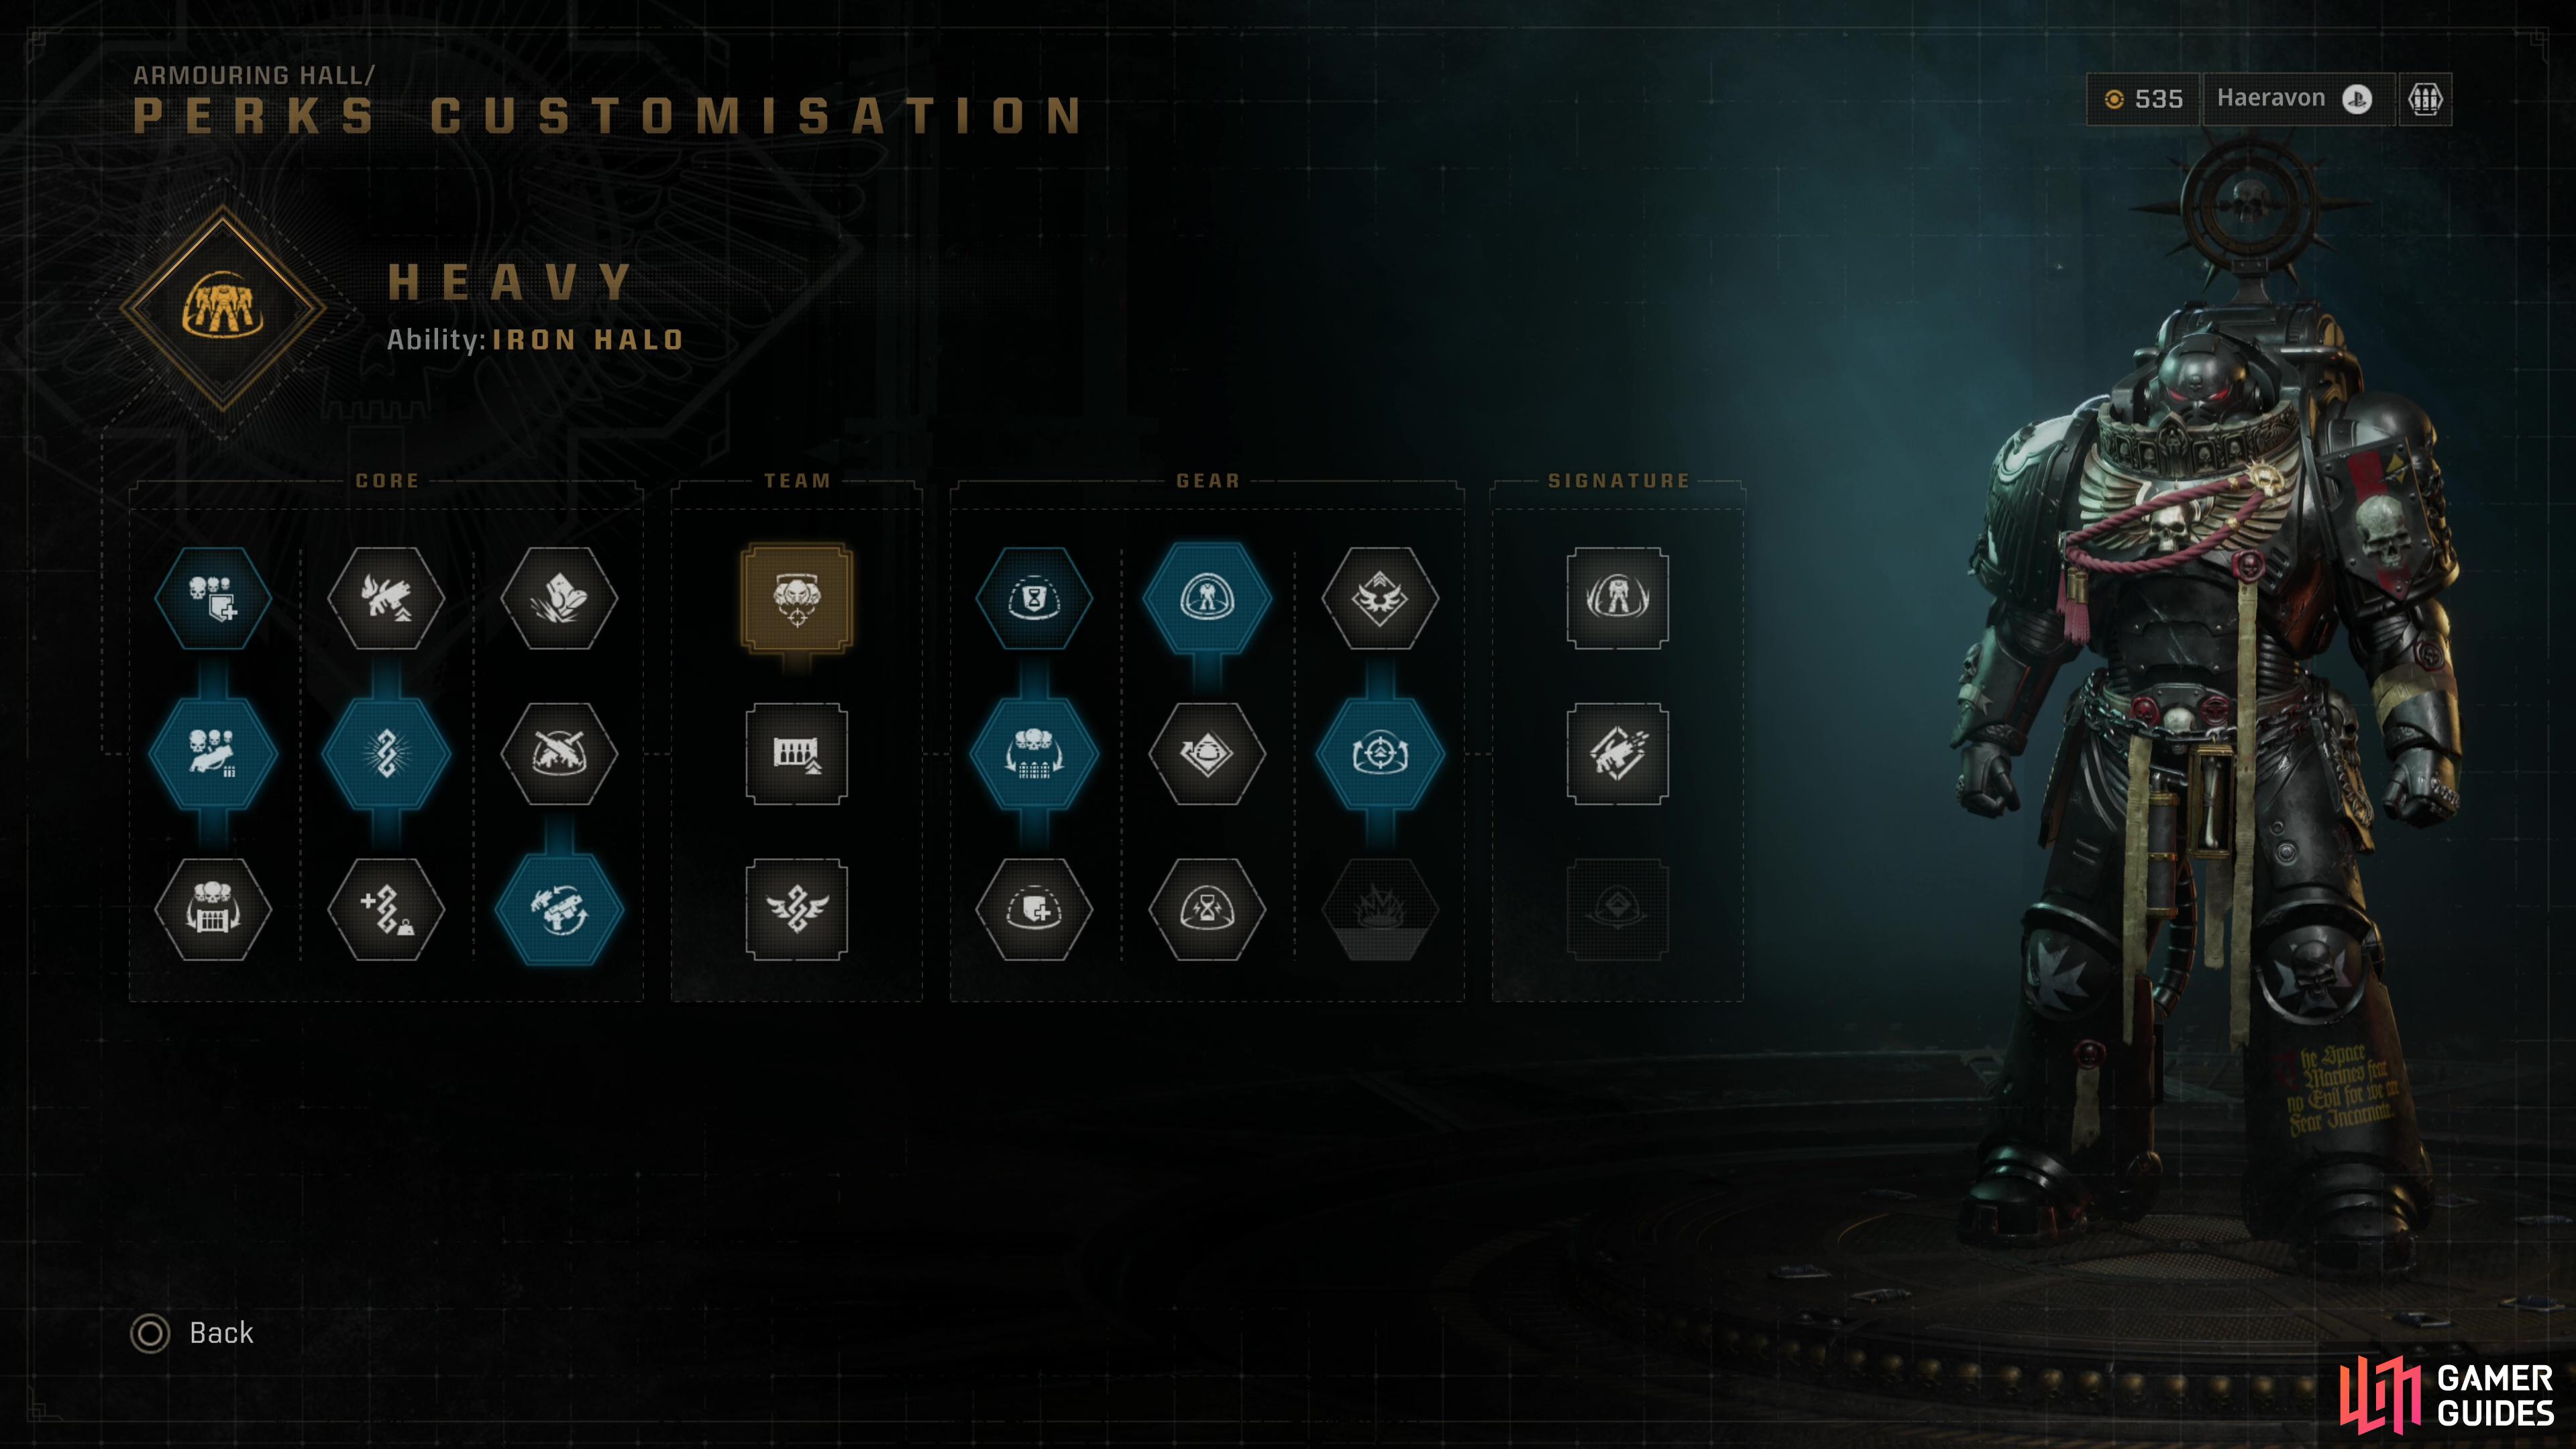


(1 of 3) Completing Operations will earn you EXP for your class, equipped weapons and weapon types, which you can use to unlock perks.
Generally speaking, enemies are more dangerous on higher difficulties, something that is achieved by not only reducing your resources (ammo, war gear pickups, health recovered from Medicae Stimms, quicker accumulation of Mortal Wounds, etc.,) but also by significantly increasing enemy stats. In the campaign tinkering with stats too much would have broken game balance entirely, but in Operations mode you’re expected to upgrade your gear to keep up to your difficulty - as well as your skills, to prove you’re worthy of those upgrades. At the lowest difficulty, Minimal, your run of the mill majoris-threat enemy might take 3-4 shots from a Melta Rifle, but that same enemy may weather 6-7 shots on Ruthless difficulty.

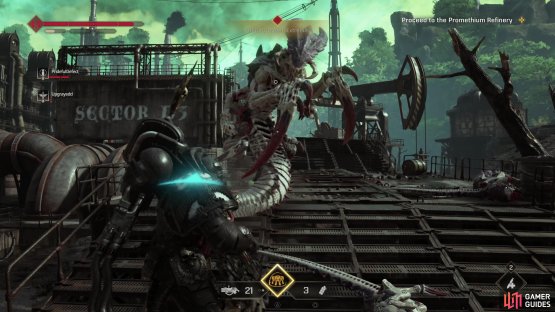

(1 of 2) Extremis-threat enemies can spawn unexpectedly during Operations mode missions,
Extremis-threat enemies can spawn unexpectedly during Operations mode missions, (left), and on Substantial and Ruthless difficulties, you’re almost guaranteed to encounter an terminus-threat boss! (right)
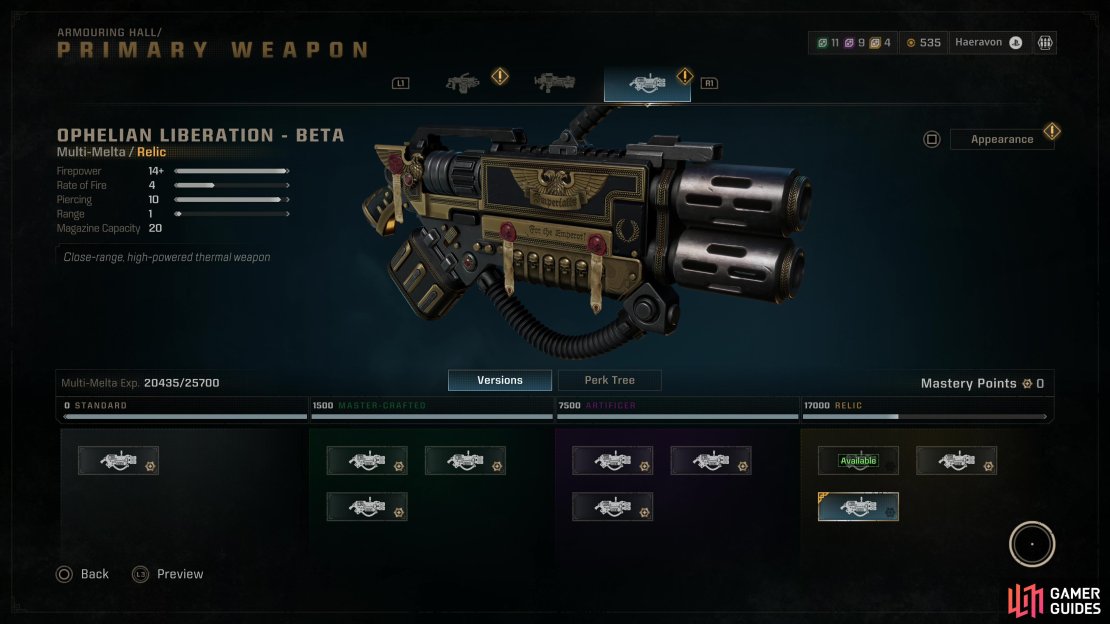
Completing Operations mode missions will earn the player Requisition (used to purchase class perks and unlock new weapons and cosmetics) and XP, which levels up their class, equipped weapons, and weapon types. You can also find servo-skulls carrying Armoury Data, which is required to unlock access to higher-tier weapons. In the case of Requisition and XP, higher difficulties just means faster accumulation, but higher-tier Armoury Data is gated by difficulty. If you want to get some of those juicy Artificer-tier weapons, you’ll need to find Artificer Armoury Data on Substantial difficulty. All this to say, difficulty modes are much more important in Operations mode, and they’re not really optional - they’re rungs of a ladder you’re meant to climb.
All the differences between the game’s various difficulty modes in Operations mode will be detailed below.
Minimal
The lowest difficulty in Operations mode, Minimal-threat Operations are roughly on par with Normal difficulty in the campaign. Again, this is a good choice if you want to learn a level’s layout, scope out Ammo Caches and objectives, hunt for Dataslates and/or earn the achievement for beating the mission without much fuss. That said, a fresh Operations mode character is generally less capable than the campaign squad, and you cannot find fully-stocked weapons lying around in Operations mode, which can make these missions feel somewhat more dangerous than the campaign. You will also have to contend with enemy waves periodically, but fortunately only extremis-tier enemies can randomly spawn, sparing you from encountering terminus-tier bosses that can show up in latter difficulties. You can find Master-Crafted Armoury Data during Operations mode missions on Minimal difficulty.
- Recommended Level 1
- Respawn time is 60 seconds
- Equipment drops are generous
- Enemies are moderately dangerous
- Extremis-tier enemies will spawn
- Armoury data: Master-crafted
- Your second Incapacitation inflicts a Mortal Wound
- 35 Requisition per mission
- 630+ EXP per mission
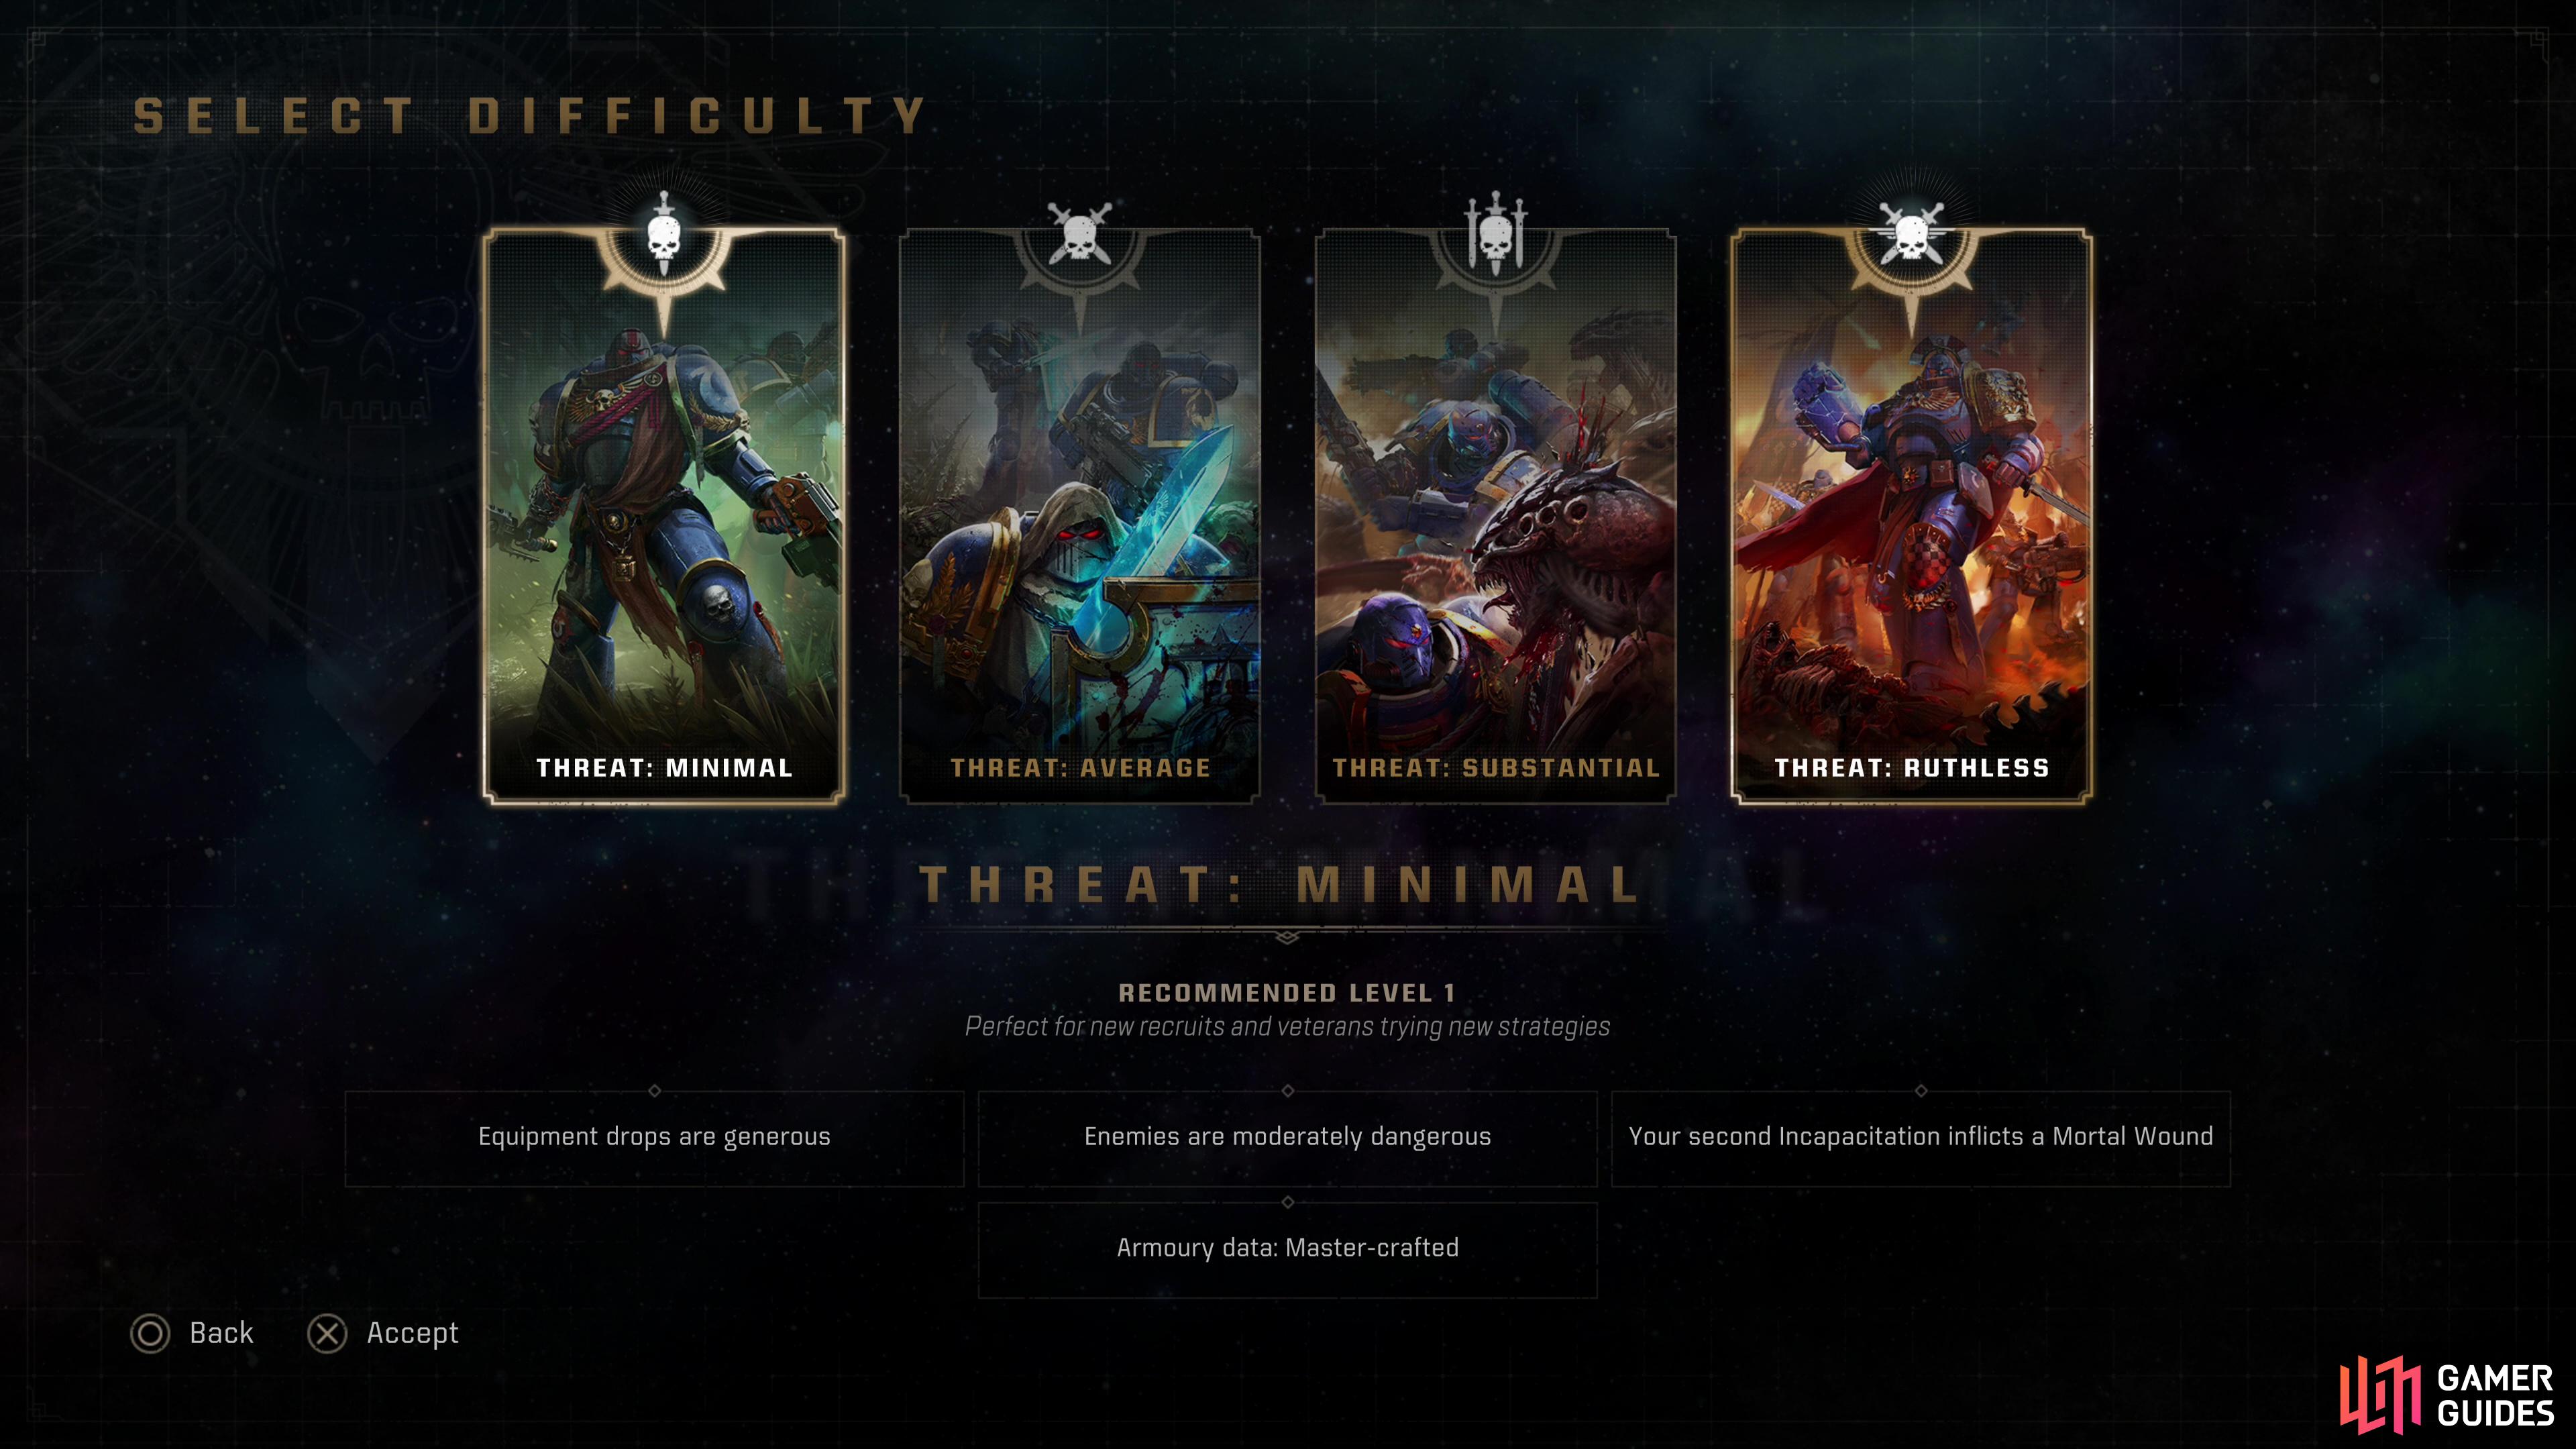
Minimal is the lowest difficulty for Operations - expect combat to be roughly as difficult as Normal difficulty in the campaign.
Average
A modest bump in difficulty over Minimal-threat missions, Average-threat missions don’t change much: enemies have more health and hit harder, but you’re still not seeing anything beyond extremis tier enemies, and servo-skulls still only yield Master-crafted Armoury Data. Probably the least compelling difficulty in the game, really - the rewards aren’t great enough to warrant playing it if you can handle higher difficulties, and if you want to hunt Dataslates or grind through missions faster, you probably want to play on Minimal difficulty.
- Recommended Level 5
- Respawn time is 60 seconds
- Equipment drops are reduced (moderate)
- Enemies are challenging
- Extremis-tier enemies will spawn
- Armoury data: Master-crafted
- Your second Incapacitation inflicts a Mortal Wound
- Medicare Stimms are less effective
- 35 Requisition per mission
- 945+ EXP per mission
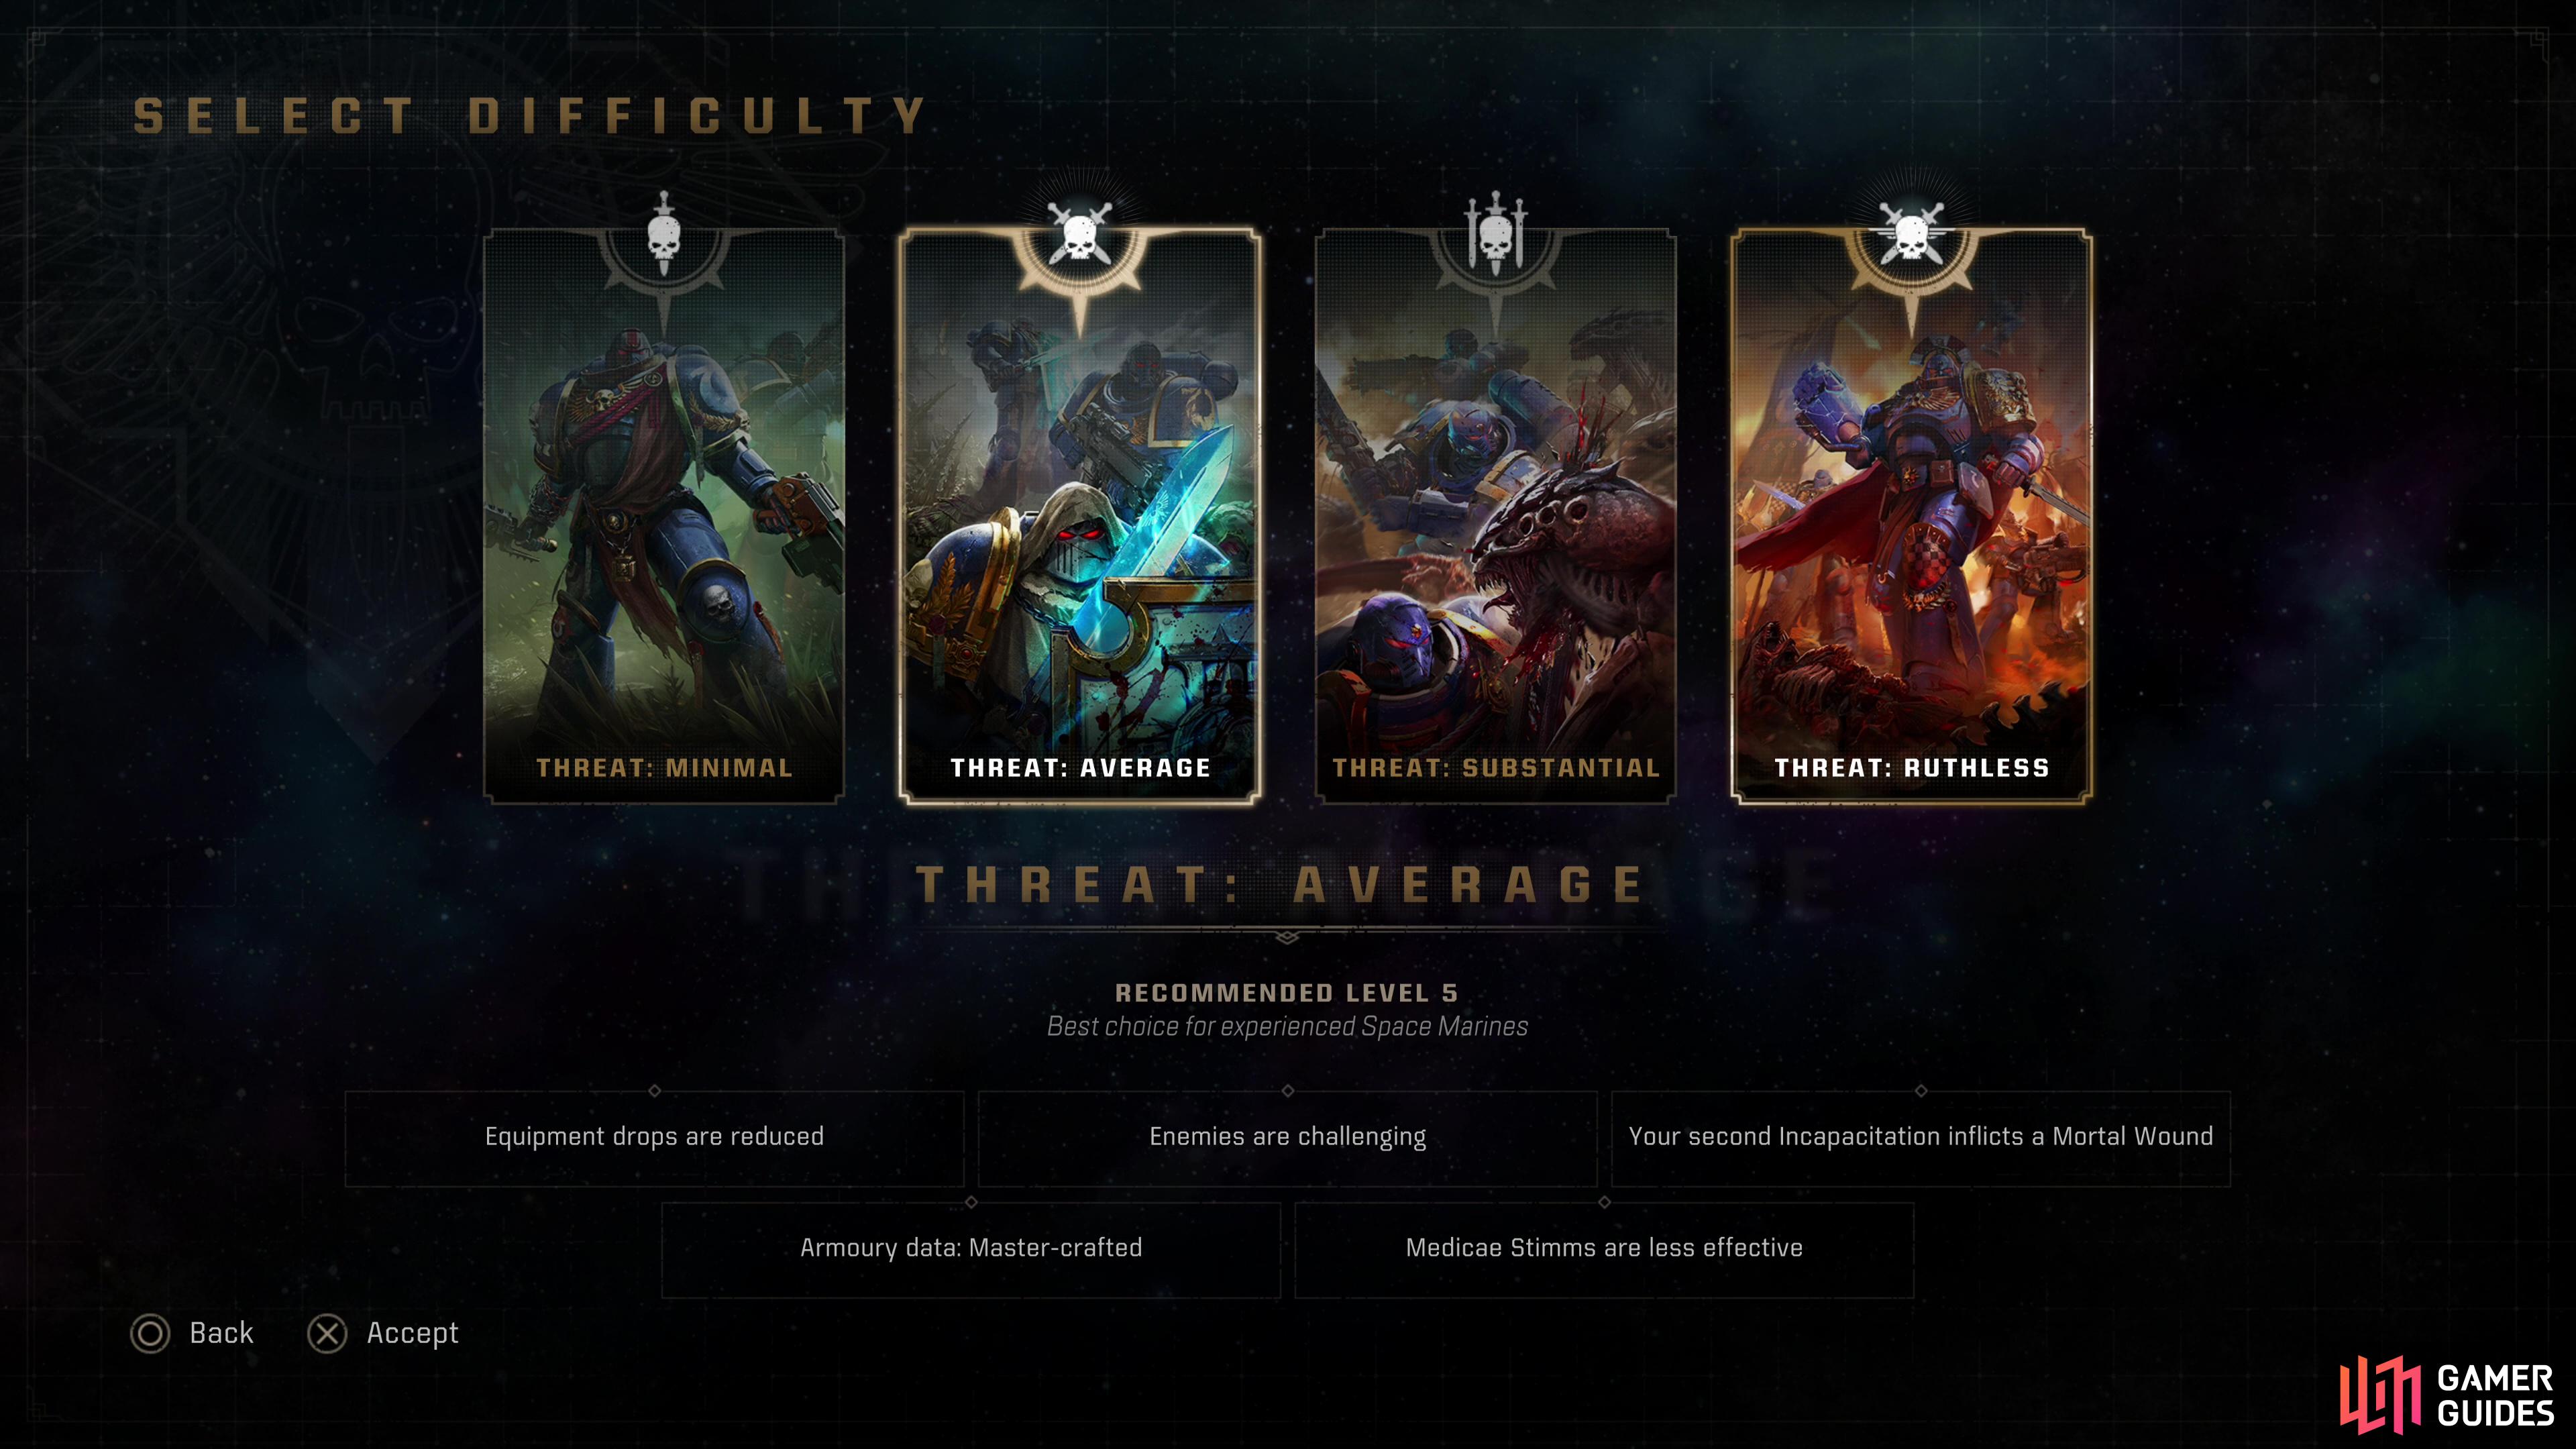
Average difficulty pleases nobody - it makes the enemies stronger, drops scarcer, and the rewards only somewhat more generous.
Substantial
Now we’re cooking with fire! The equipment drops are notably less frequent in this mode and ammo might - depending on your class and loadout - become a serious issue. Learning where Ammo Caches will spawn and meeting enemy waves there or hoofing it to the next elevator to bypass troublesome foes can be the difference between success and failure, so hopefully you’ve been learning the levels!
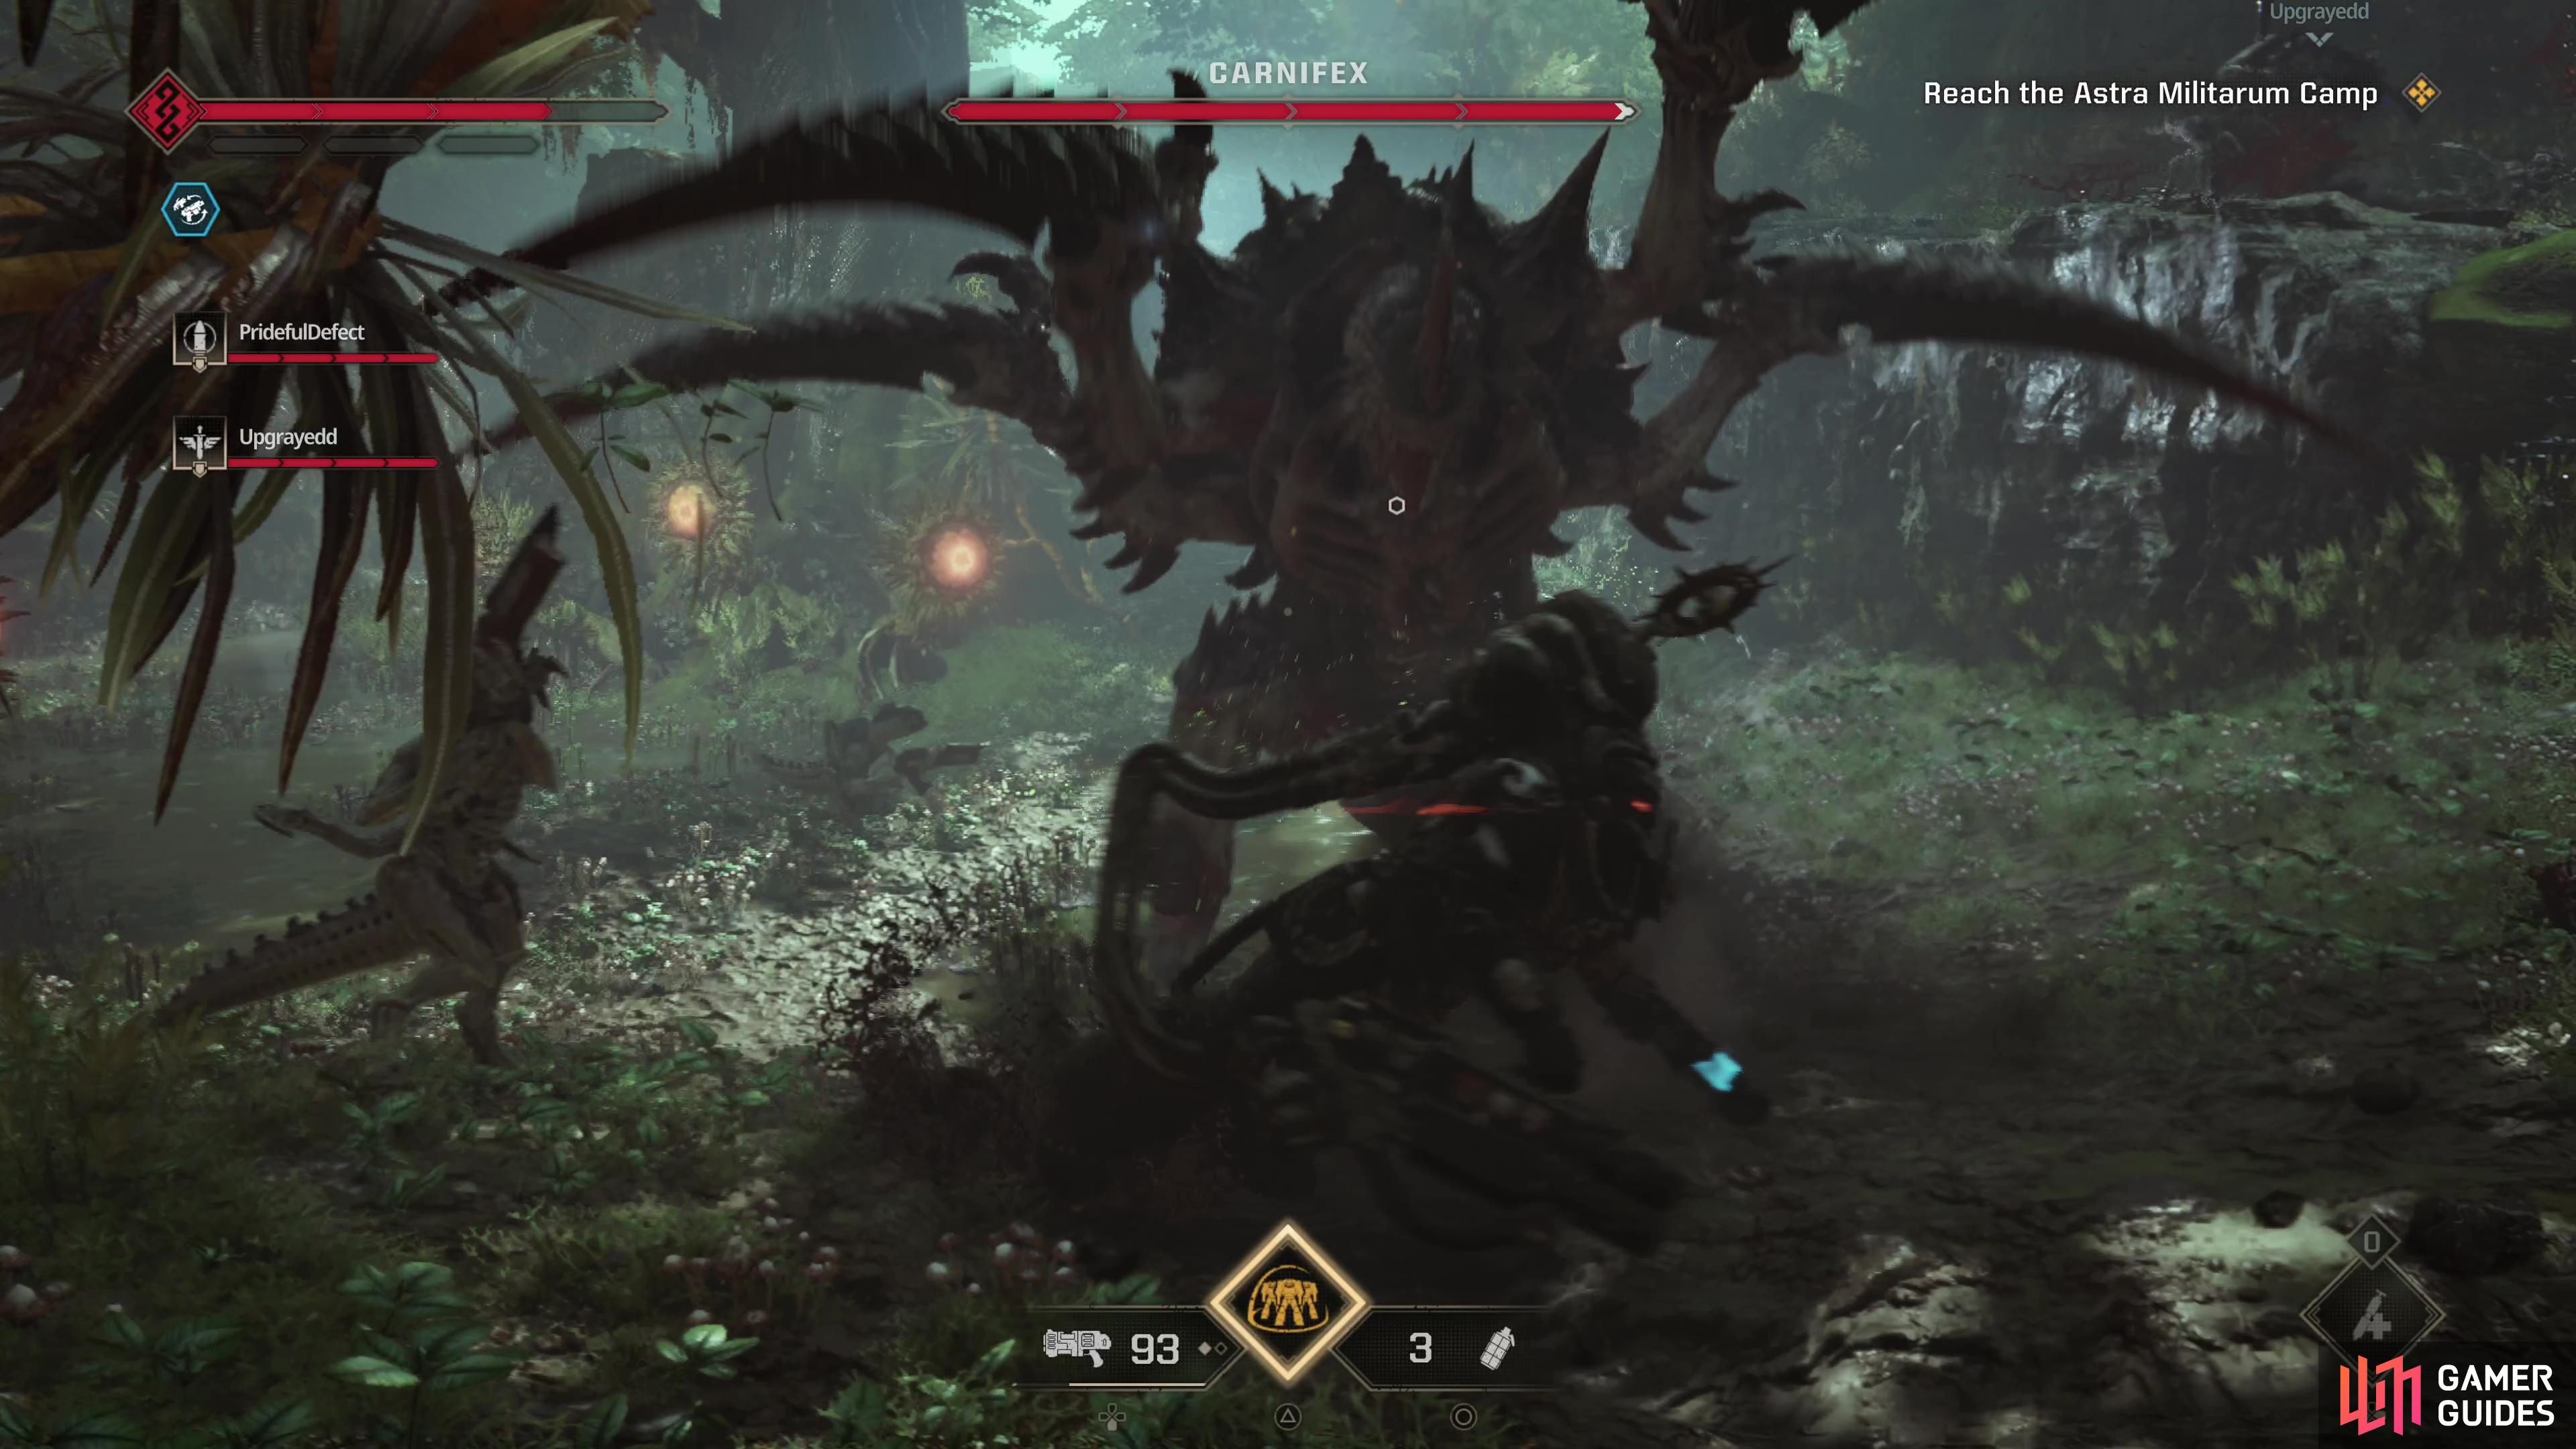
Enemies are quite strong, statistically, and their AI is also more aggressive, but worst of all you can expect a terminis-tier boss enemy to spawn somewhere in the level (Neurothrope, Carnifex, etc.). These add a good bit of challenge to each mission, but also reward you with Armoury Data if defeated. Servo-skulls now possess Artificer-tier (purple) Armoury Data, giving you access to a much more powerful tier of weapons… if only you can gut it out and clear one of these Operations! EXP and Requisition rewards are also higher, for what that’s worth.
Substantial difficulty is much, much harder than Average difficulty, and there’s a clear dividing line between players who have learned the game well enough to get over the hurdle here and those who haven’t.
- Recommended Level 10
- Respawn time is 60 seconds
- Equipment drops are reduced (low)
- Enemies are formidable
- Terminus-tier boss enemies will spawn
- Armoury data: Artificer
- Your first Incapacitation inflicts a Mortal Wound
- Medicare Stimms are less effective
- 95 Requisition per mission
- 1260+ EXP per mission
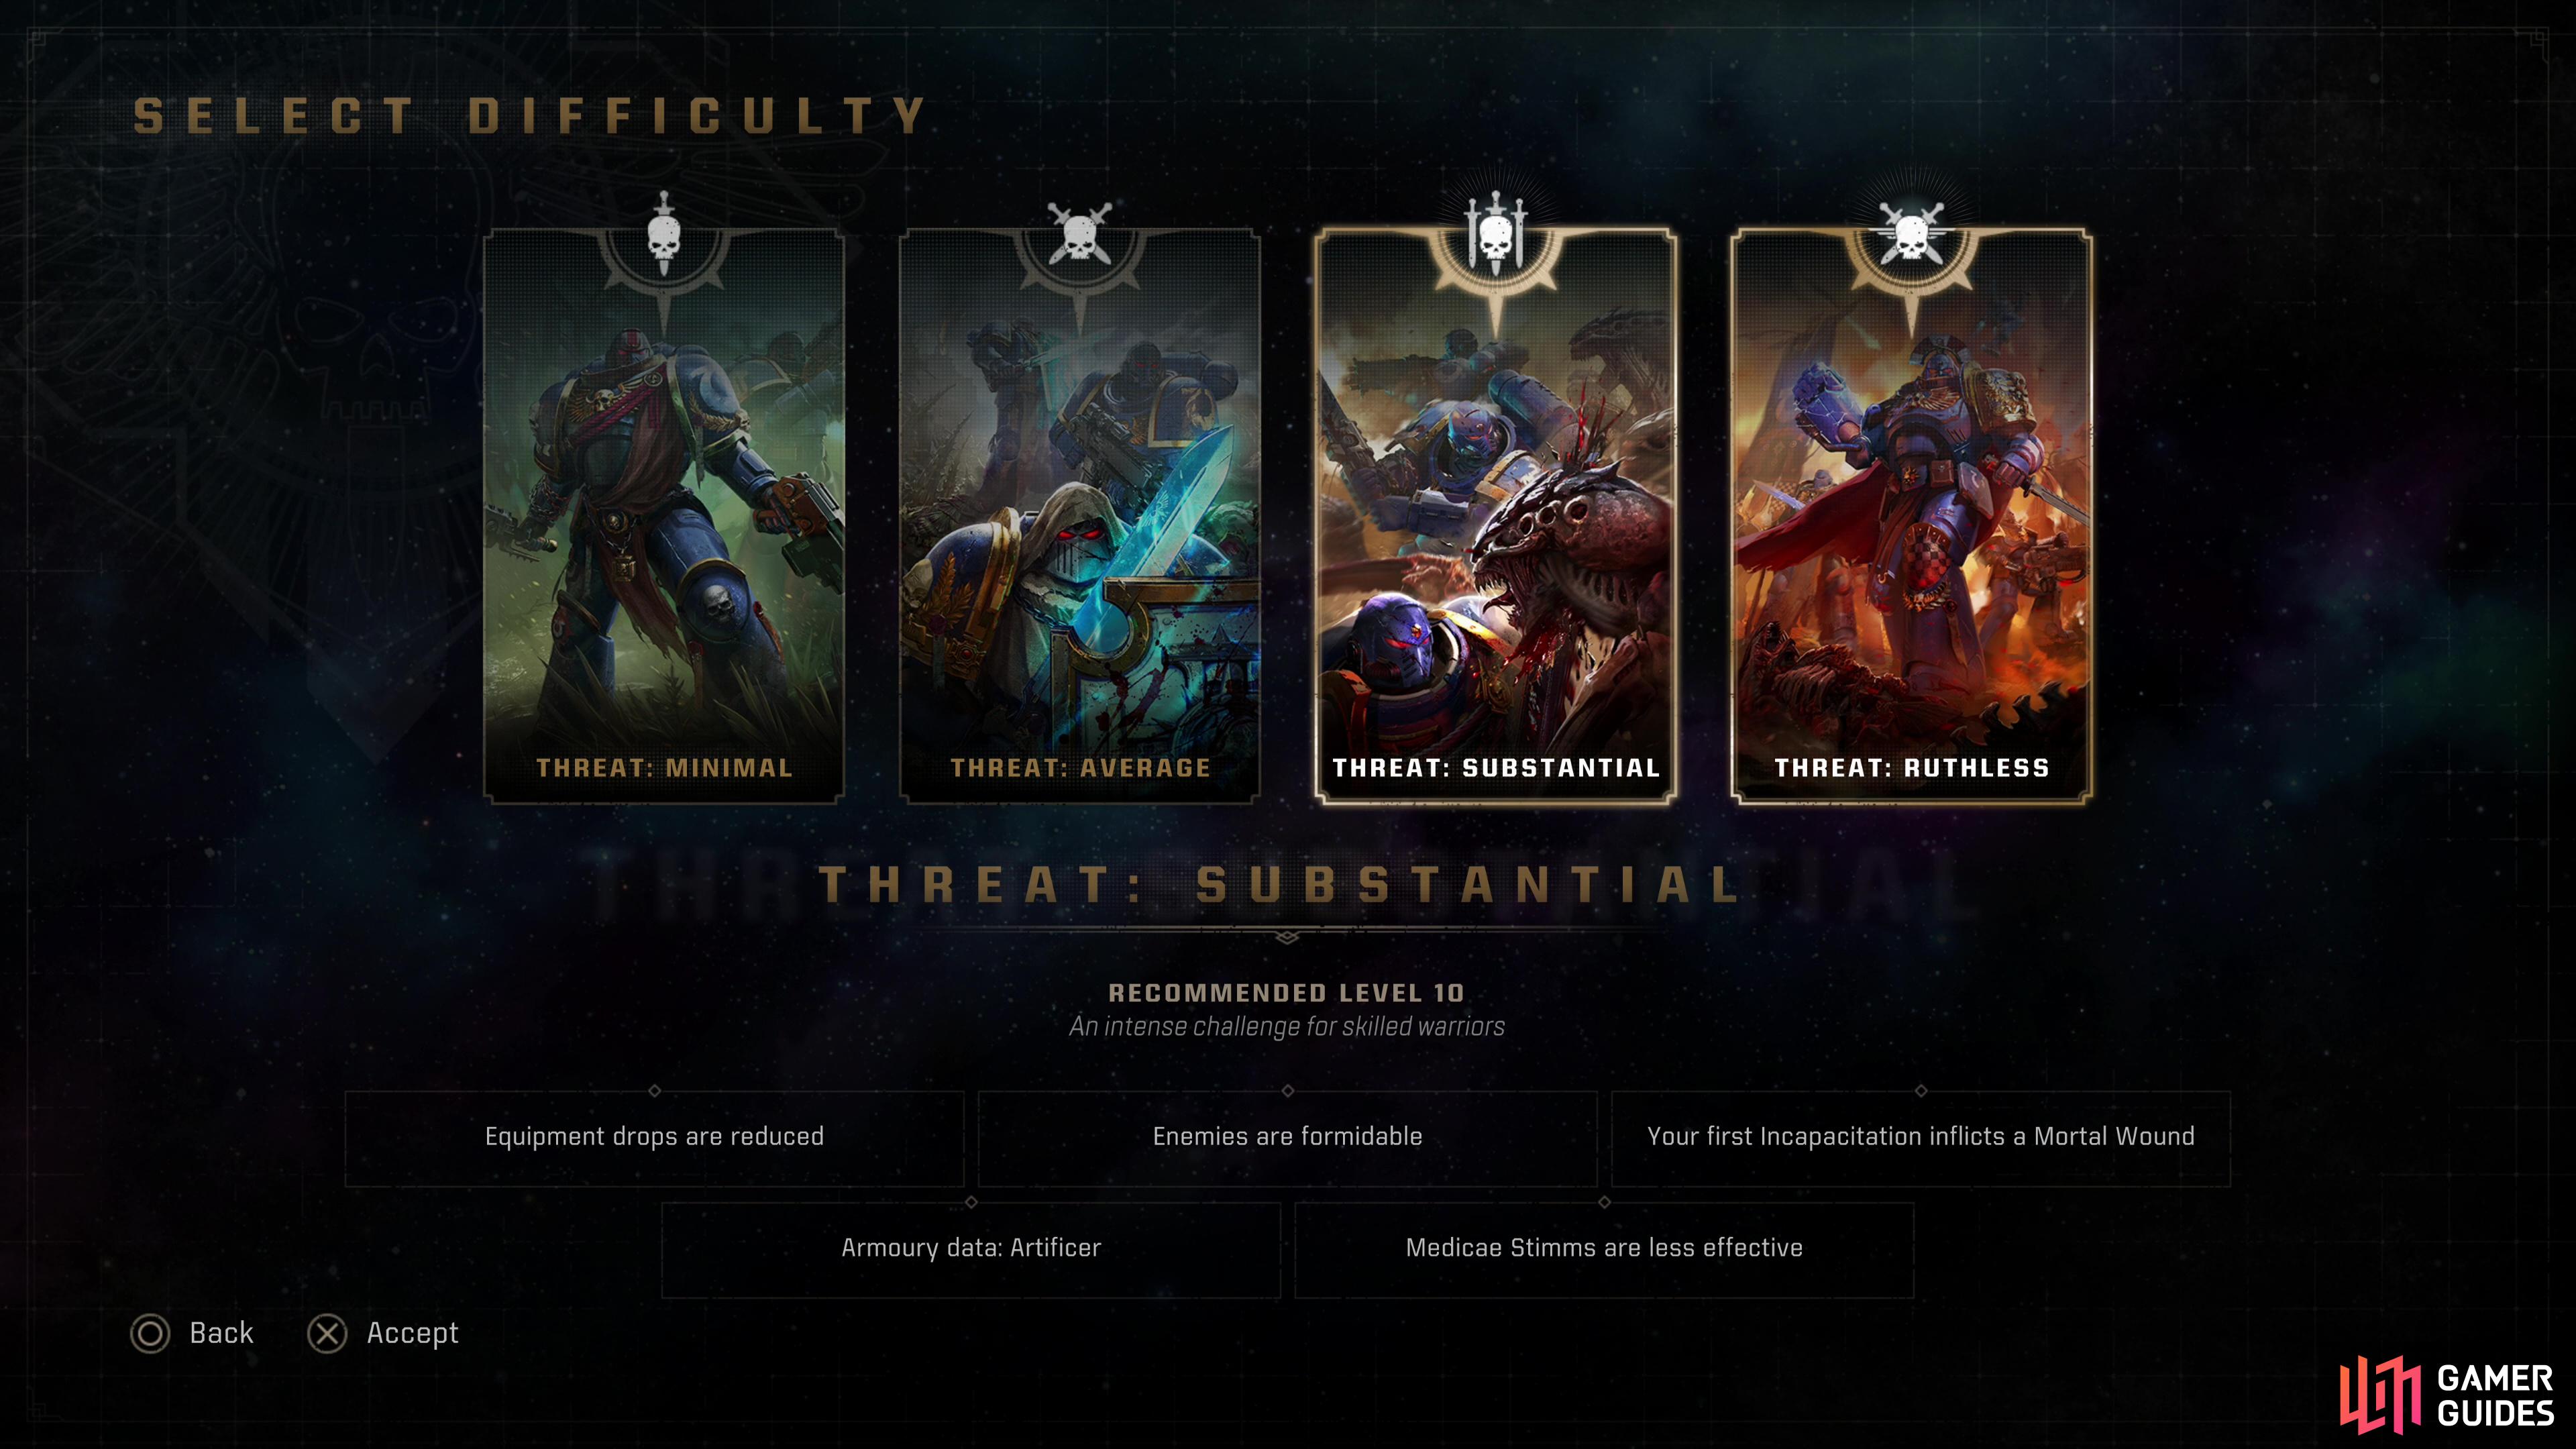
There’s quite a leap in difficulty from Average to Substantial - expect bosses, stronger enemies, fewer drops… but to compensate you’ll find Artificer-tier Armoury Data!
Ruthless
The most difficult PvE content in the game, Ruthless mode enemies have high stats and are very aggressive. Without Artificer-tier weapons and a fair number of class and weapon perks, these missions are quite difficult. Ammo is scarce and knowledge of likely equipment spawn locations and Ammo Caches comes in very, very handy. You’ll still encounter one terminus-tier boss spawn per mission, but this time these bosses and servo-skulls both reward you with Relic-tier Armoury Data, giving you access to the best weapons in the game. Such firepower will definitely come in handy, but compared to the leap between Average and Substantial difficulties, the jump between Substantial and Ruthless feels less profound… probably because the knowledge required to excel in Substantial difficulty also applies to Ruthless, leading to a shallower learning curve.
- Recommended Level 15
- Respawn time is 120 seconds
- Equipment drops are reduced (low)
- Enemies are deadly
- Terminus-tier boss enemies will spawn
- Armoury data: Relic
- Your first Incapacitation inflicts a Mortal Wound
- Medicare Stimms are less effective
- 165 Requisition per mission
- 1890+ EXP per mission
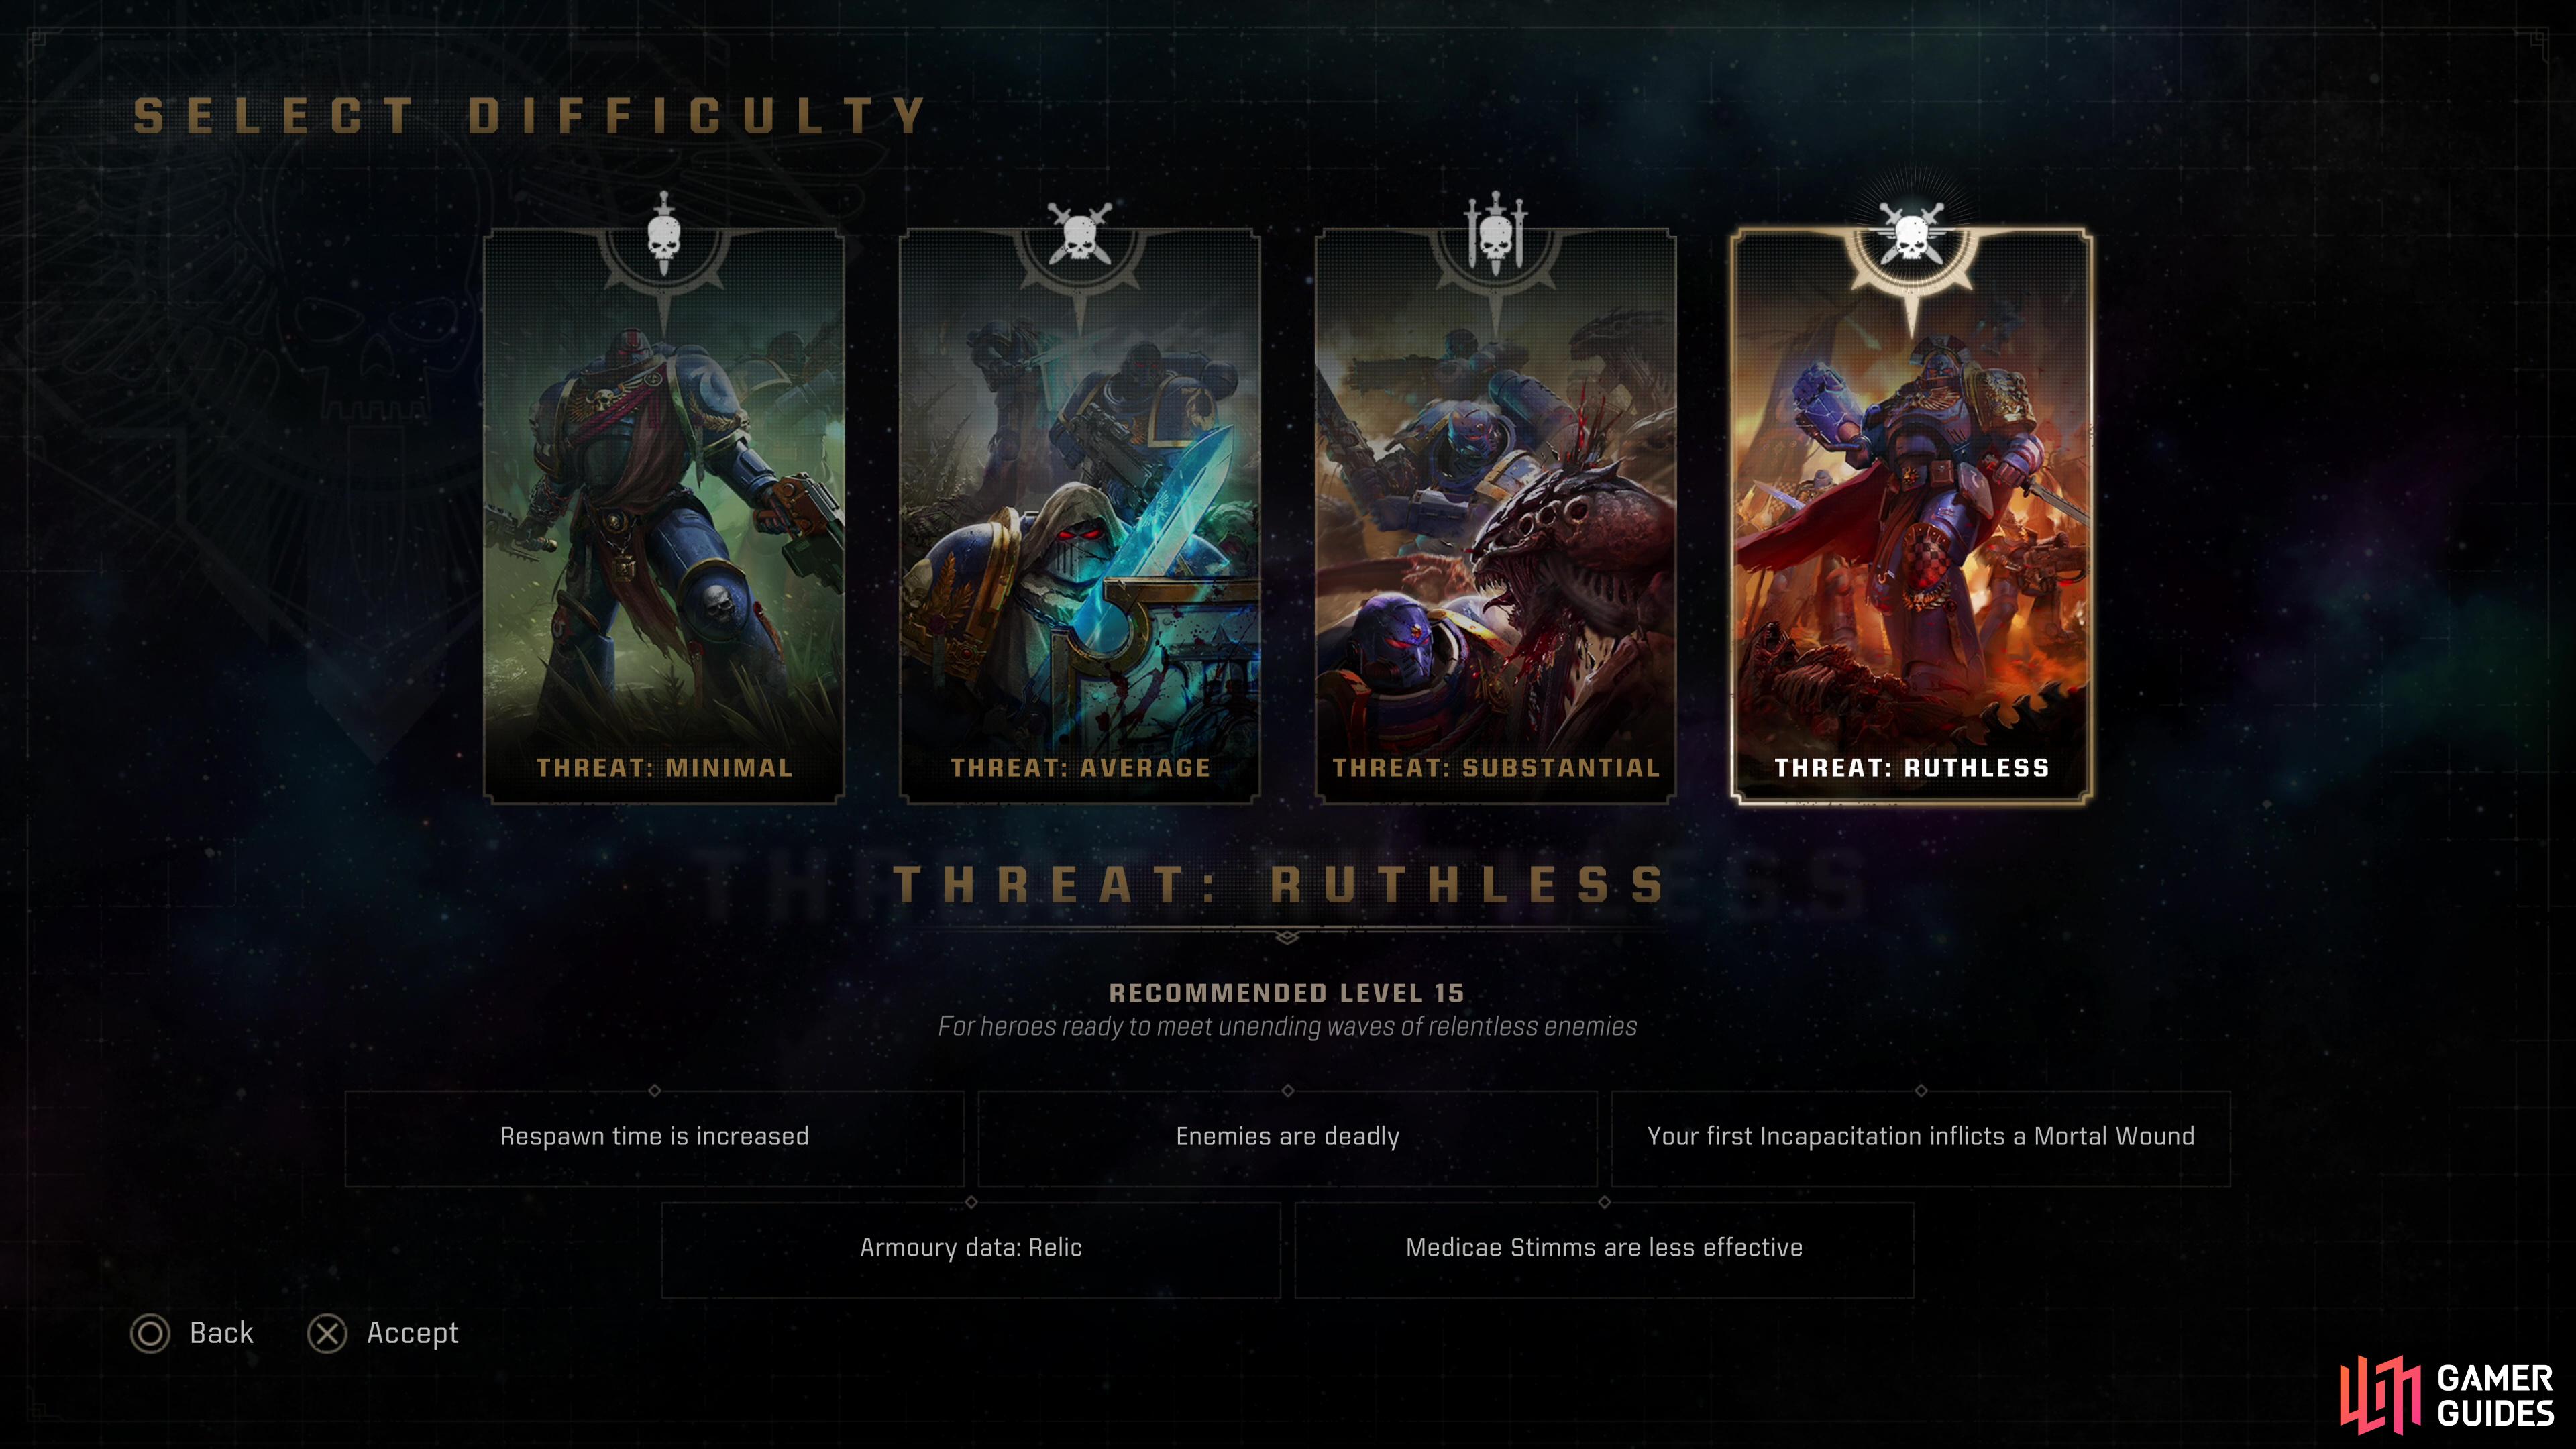
The highest difficulty is Ruthless-tier - climb the ladder, keep your gear upgraded and learn the level layout if you want to succeed here!
No Comments