
The penultimate mission in Space Marine 2, and only the third mission to house four Dataslates. Between its introductory Jump Pack sequence and two long mine sections, this is a lengthy mission, full of Thousand Sons enemies. If you don’t want to burn an hour looking for missed collectibles, this page will help you find all four Dataslates during the mission Dawn’s Descent in Space Marine 2.
d this page will ensure you find all four
Page Breakdown
Dawn’s Descent Dataslates
Finding all the Dataslates in this mission can be a bit tricky as there’s not as clear of a delineation between the end of this mission and the start of the next one, Bellum Sempiternus, inasmuch as you won’t be returning to the Battle Barge between these missions. A pair of cutscenes sandwiching a boss battle against a [Helbrute] serve as the transition between these two missions, instead.
The Dataslates in this mission aren’t generally hard to find on their own, but there are four of them, and this is an awfully lengthy mission. It can also start to blend together, after a while, as you’ll be fighting wave upon wave of Thousand Sons enemies, including Chaos Space Marines, Tzangors and Cultists. That said, there are some objective section breaks during this quest, including after you place the targeting transmitter, after going through the airlock into the mines, and while riding an elevator deeper in the mines. One Dataslate can be found shortly before and shortly after the targeting transmitter, another can be found in the mines before the elevator and the final one after the elevator.
Dataslate 01: Effects of Noctilith Exposure
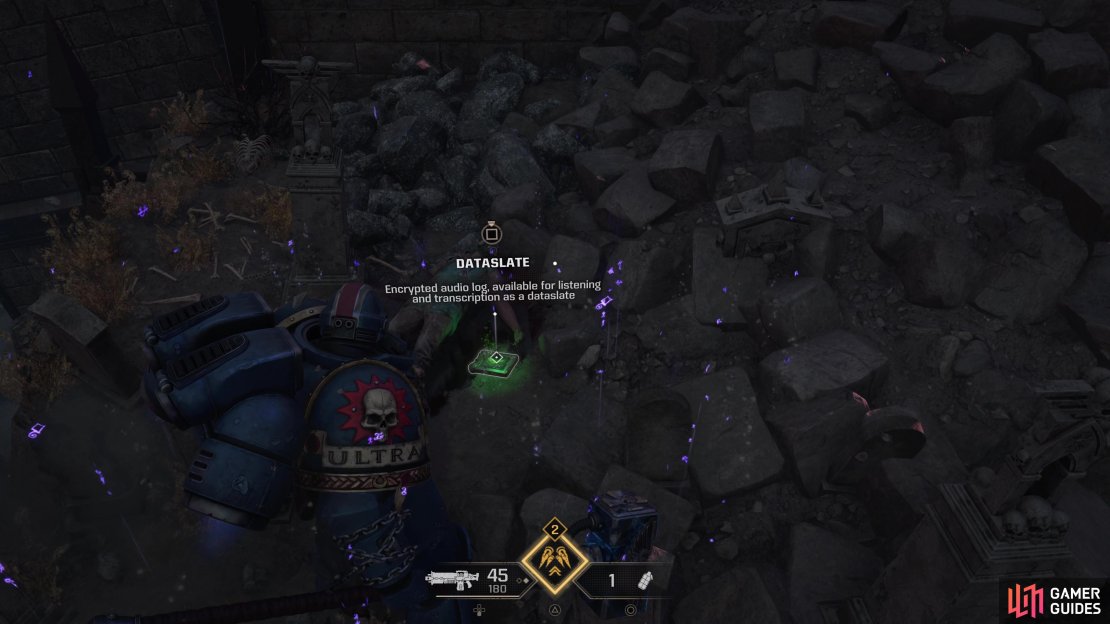
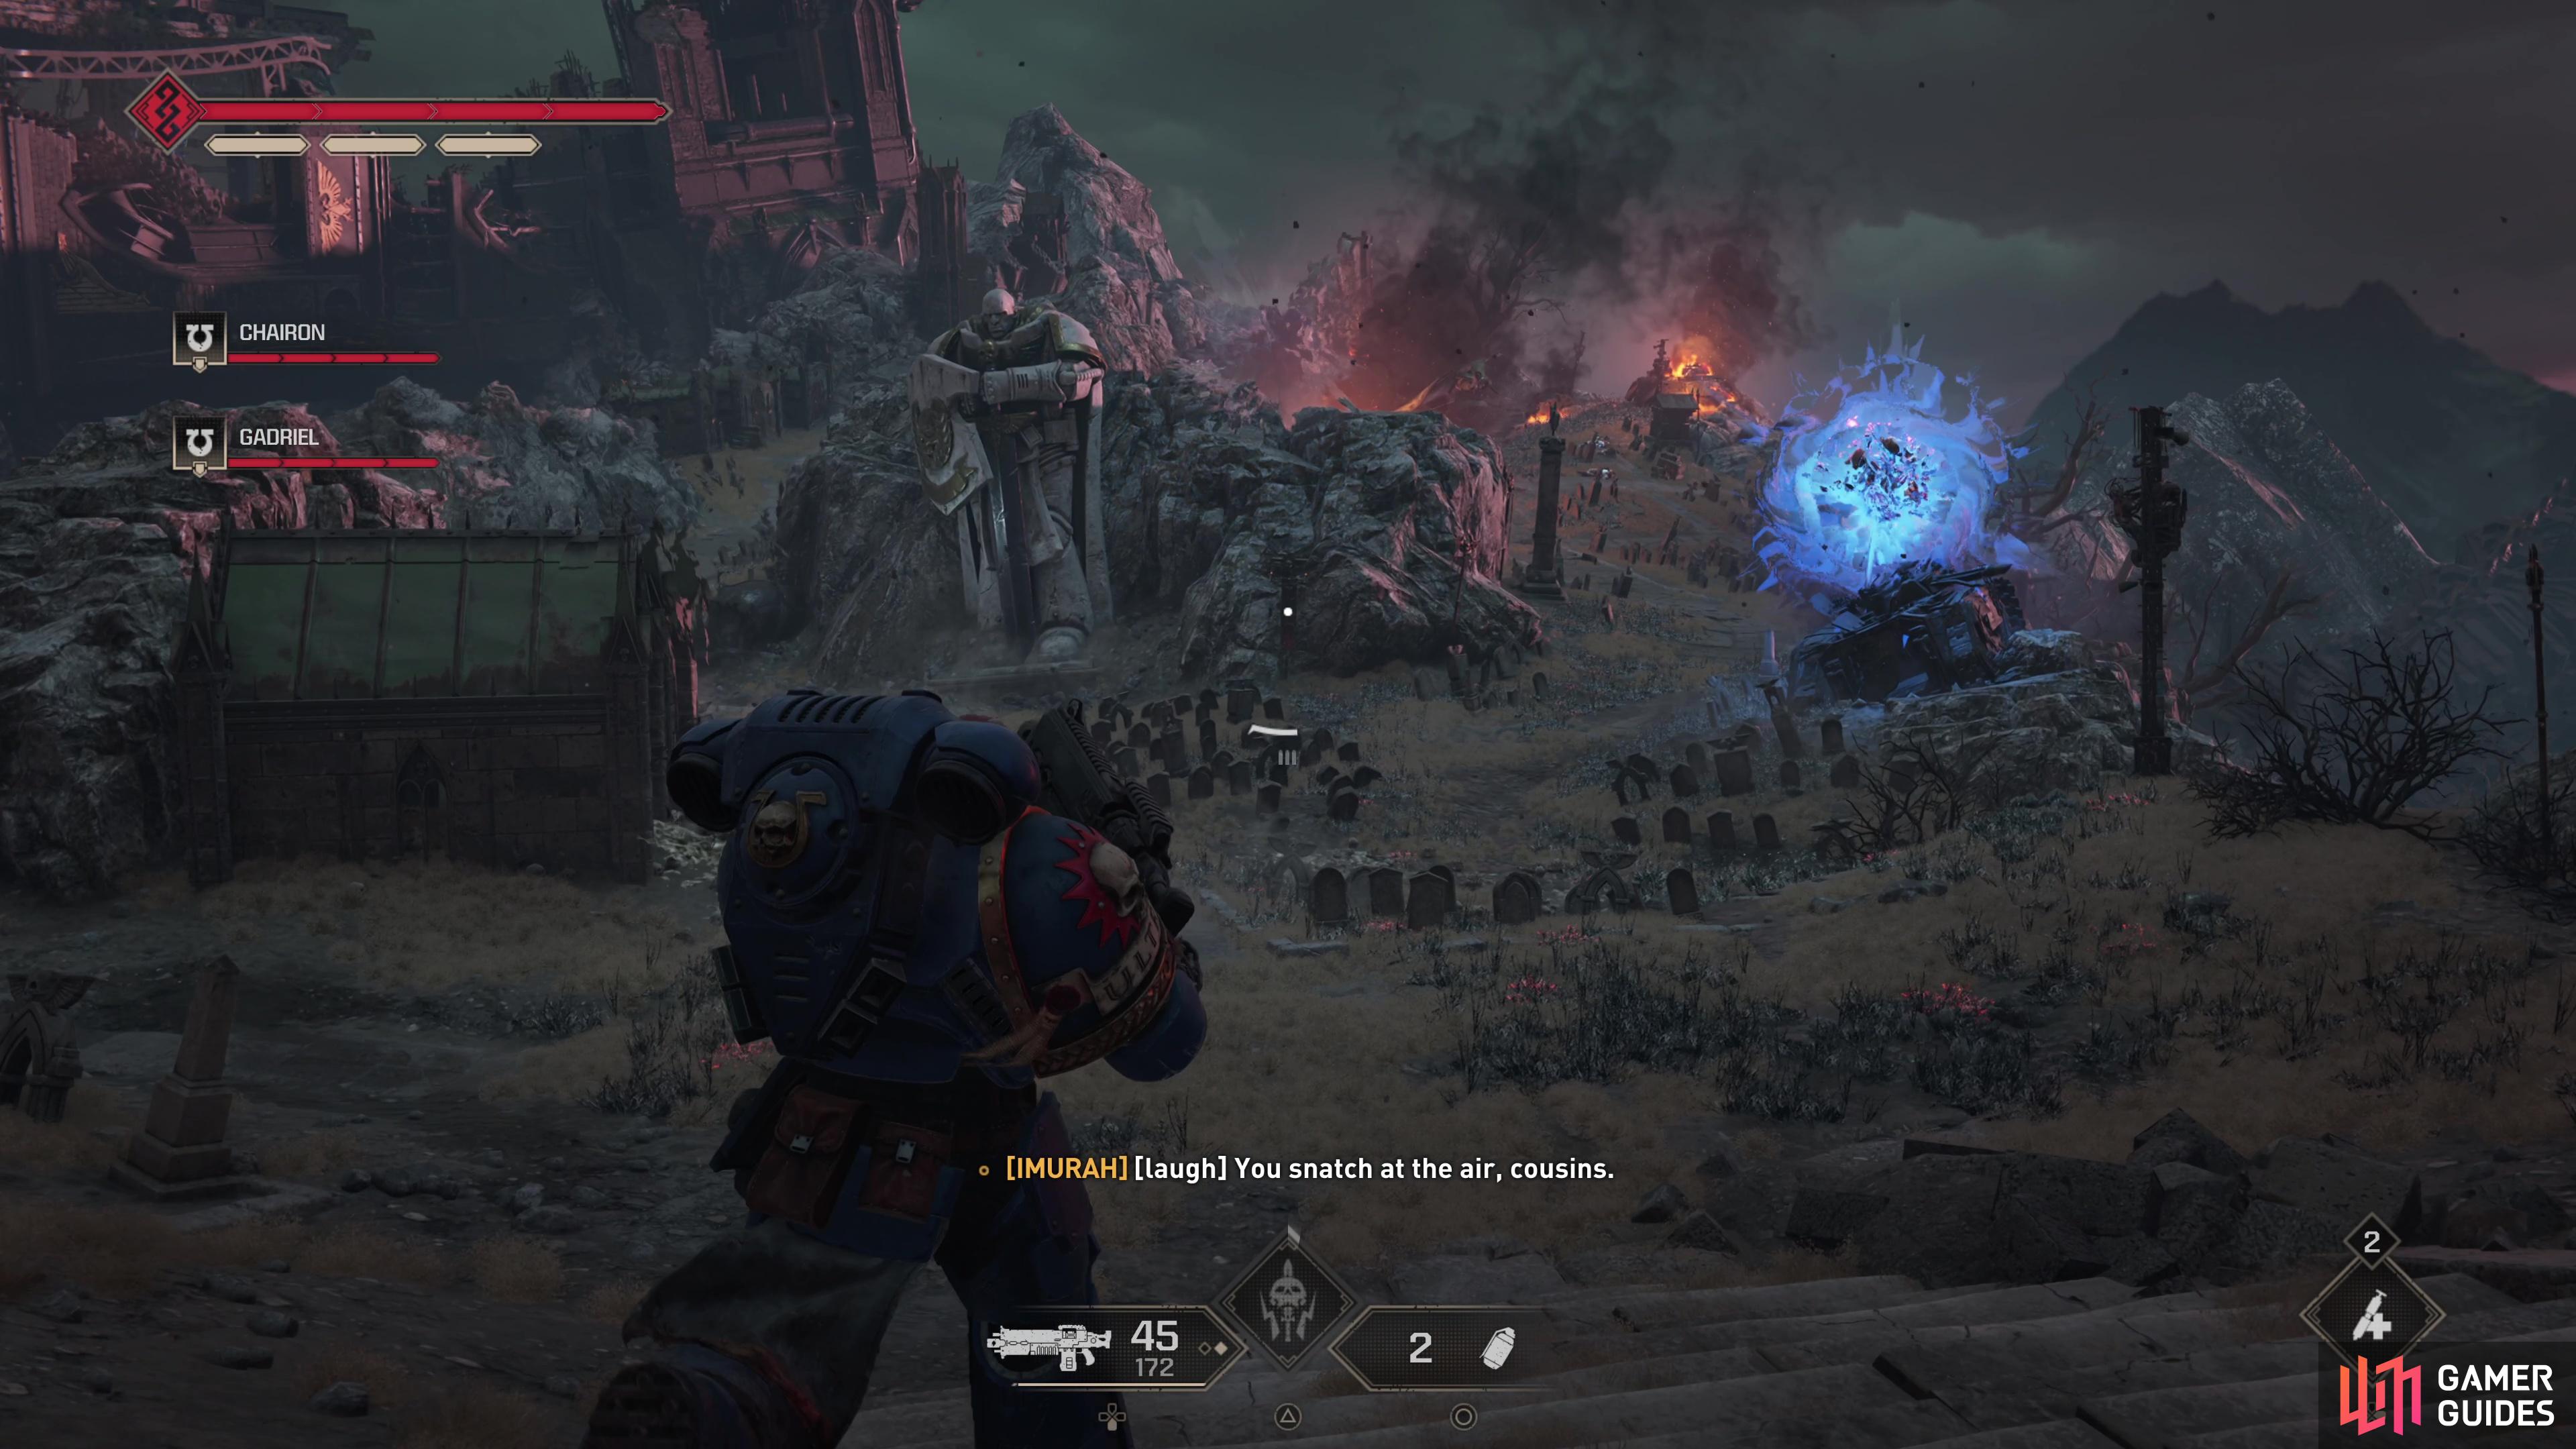
Dodge debris in space at the start of the mission, and when you land the rest of this level will play out in a somewhat more orthodox fashion. Equipped with a Jump Pack you’ll need to fight your way through several encounters with Thousand Sons until you trigger the objective ”Advance to the Cathedral”. At this point, jump between ruined grave islands until you reach one with a burning fire near an Ammo Cache. Once you reach this island, search the far end past the Ammo Cache to find a corpse lying amongst the gravestones and rubble. This Dataslate is on the ground nearby.
You will have to land on this grave island en route to the Cathedral, but if you keep advancing to the Cathedral - which, to be fair, looks like many of the ruins you’ve fought through up to this point in the level - you’ll find a grayed-out silhouette of the targeting transmitter you need to place. If you see this, you’ve gone too far - if you persist and place the transmitter you’ll trigger enemy waves (along with the objective ”Hold Until the Battle Barge Has Target Lock”), and once they’re all defeated you’ll checkpoint further into the level, putting this Dataslate out of reach.
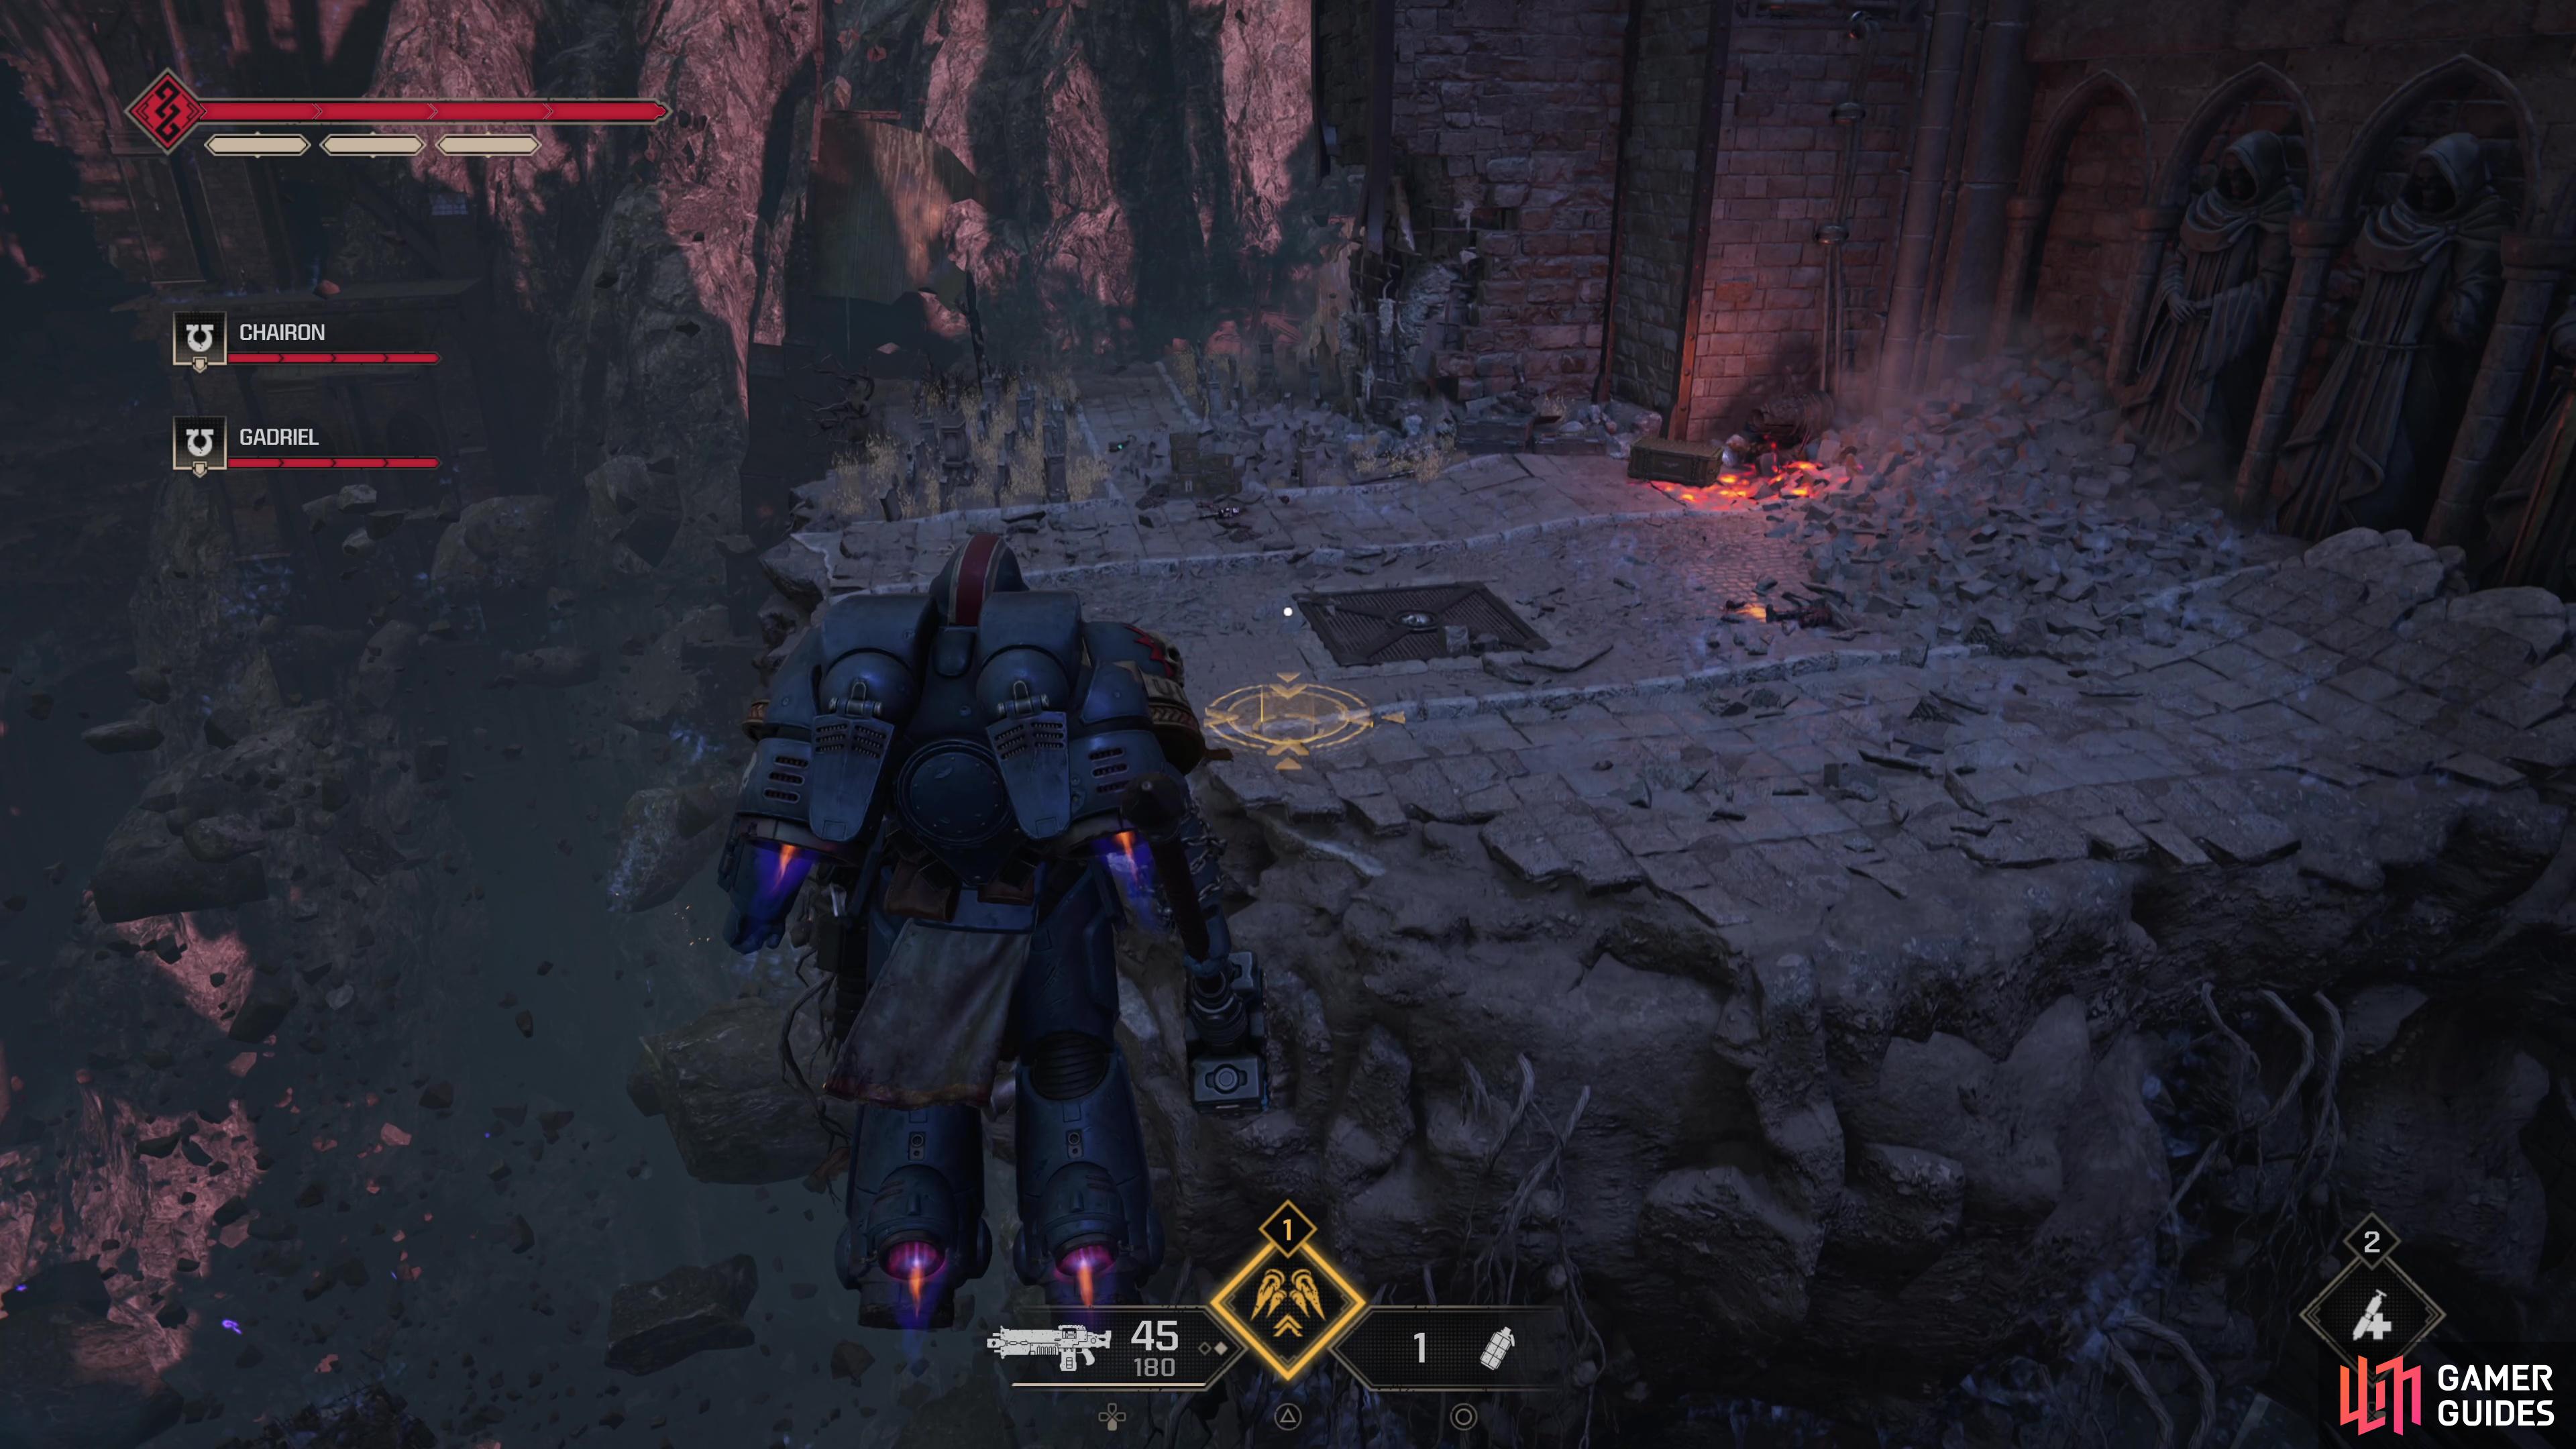
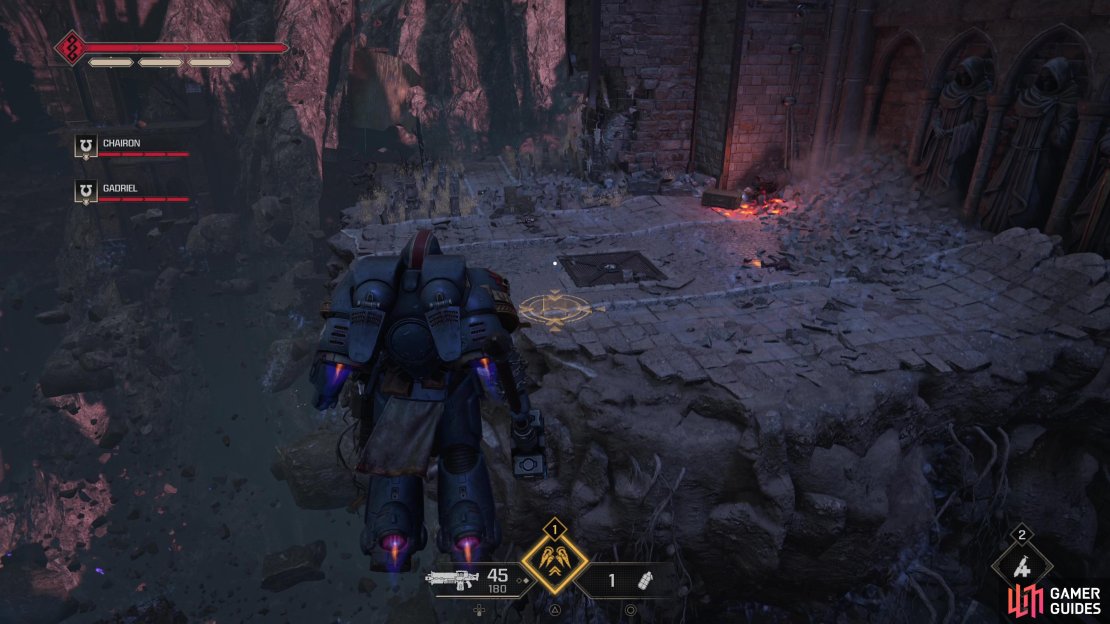
(1 of 3) Fight and jump your way through the start of the level until you find a grave island with a burning Ammo Cache on it.
Dataslate 02: Tomb Excavation, Analog Backup Log 8.6
Immediately after you complete the objective ”Hold Until the Battle Barge Has Target Lock” you’ll checkpoint further into the level and start the next objective ”Advance to the Mechanicus Facility”. The more things change… Your Jump Packs will be gone but the scenery remains familiar, and Imurah will appear, goading you down some stairs and uphill to the right. Follow the stairs and the road beyond, but don’t chase Imurah further - instead follow a path to the left. Note that after taking the stairs down you’ll see a large statue of a space marine in the distance - Imurah leads you uphill to the right of this statue, while you want to follow a path to the left well before you reach said statue.
Follow the aforementioned path past some mausoleums, after which the path will turn right. Keep following it and it’ll lead you downstairs, ending at a humbler statue of a robed figure. To the right of this robed statue is a small shrine in an alcove - the Dataslate is on top of the altar.


(1 of 2) Chase Imurah down some stairs and note the statue of a space marine in the distance.
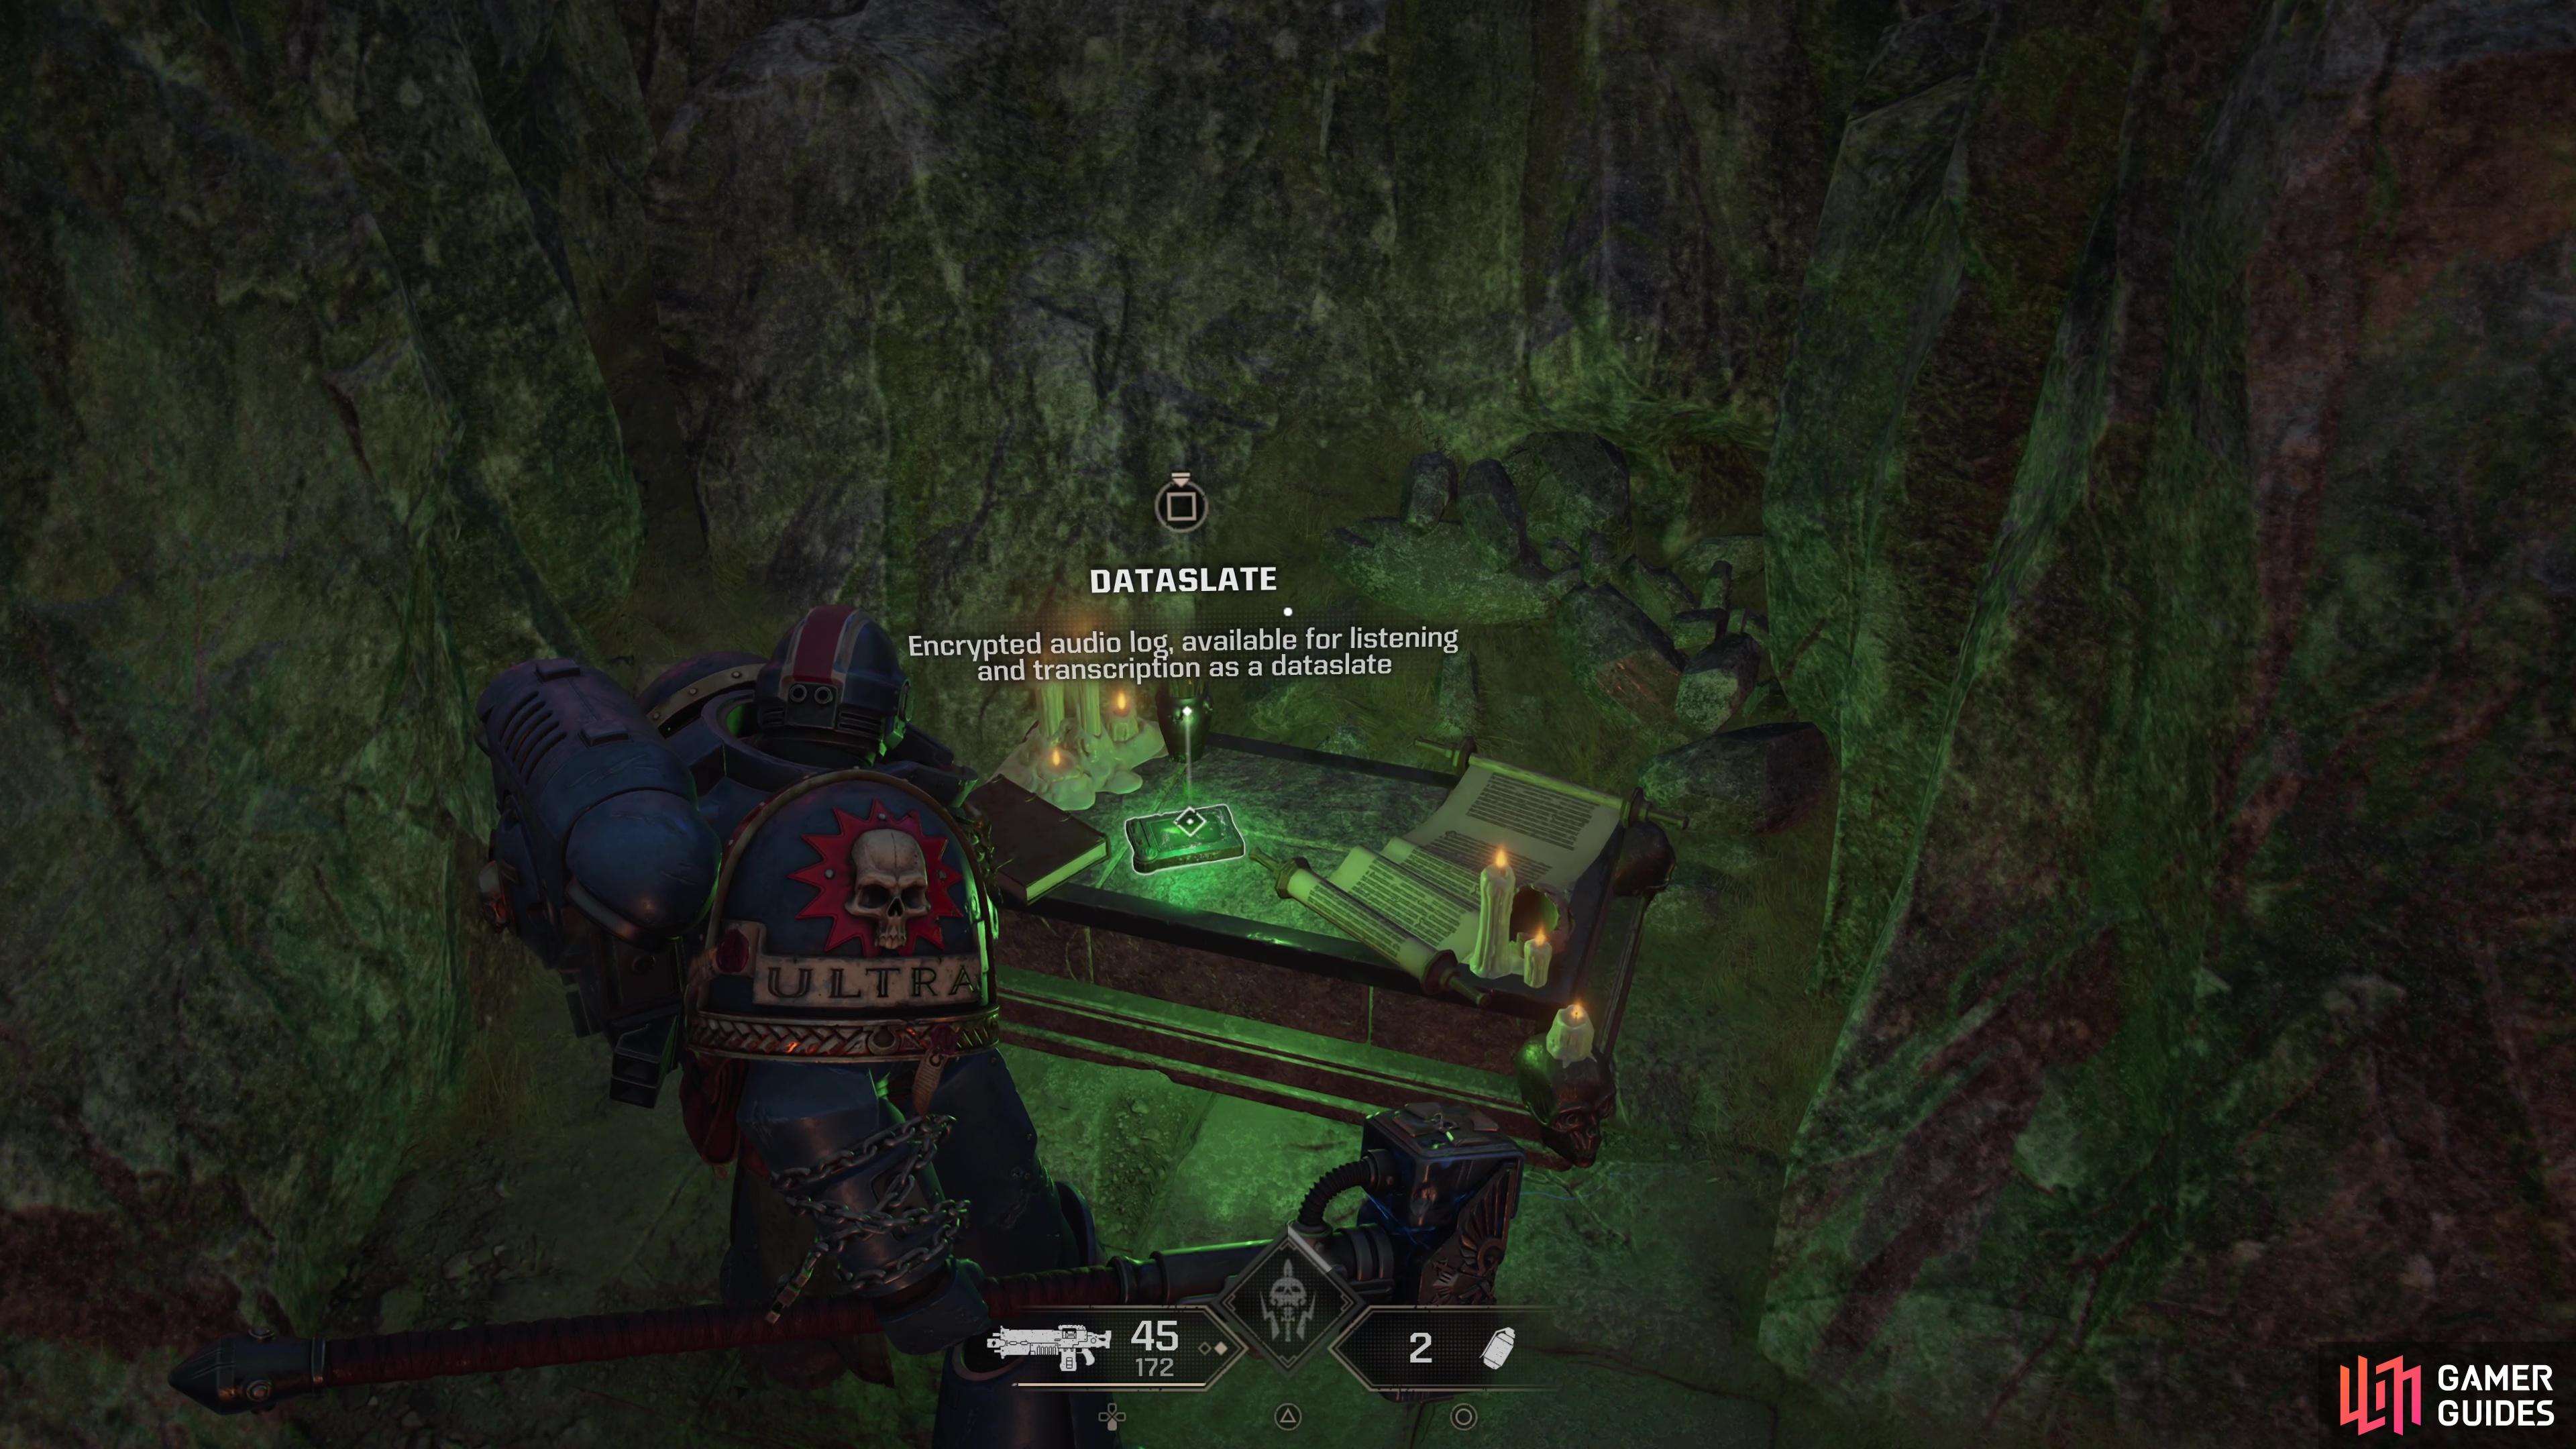
Chase Imurah down some stairs and note the statue of a space marine in the distance. (left), Take a side path to the left and follow it past some mausoleums and down a hill to find a robed statue. To the right of the robed statue is an altar bearing the second Dataslate. (right)
Dataslate 03: Tomb Excavation, Analog Backup Log 8.7
After the second Dataslate, advance the mission until you enter a mine - you’ll know when this happens as you have to enter a quarantine airlock and endure a sterilization process, during which the game will load up the next area and in-game time will advance by ten minutes, signifying an obvious change in segments.
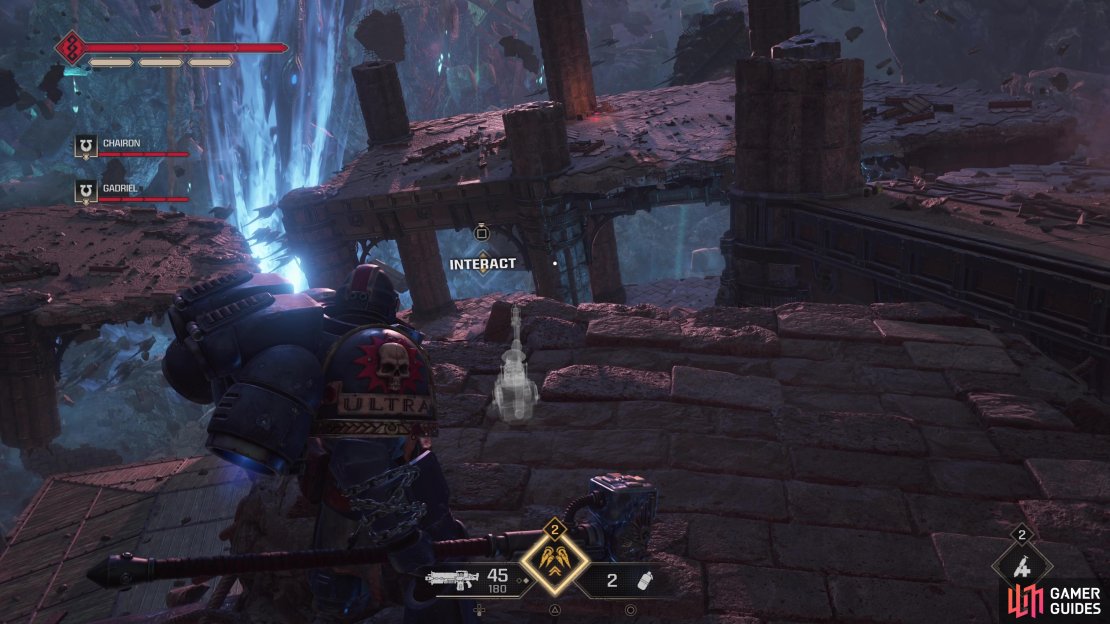
Once you’re done being sterilized, proceed through the mines, defeat the odd mob of Thousand Sons, move a barricade, drop down some ledges, and eventually you’ll reach a corridor lined by warp-emitting crystals. Beyond this some cultists are praying at an unholy altar - kill them and their masters, then smash the altar and continue on to find more illusory Imurahs leading you up some stairs. Follow this projection up the stairs and you’ll find yourself in a chamber lined by unlit braziers - the quest marker will demand you go right across a metal bridge, but before you oblige, head left past some rubble and down a different flight of stairs to find this Dataslate on the ground, near a Heavy Bolt Rifle.

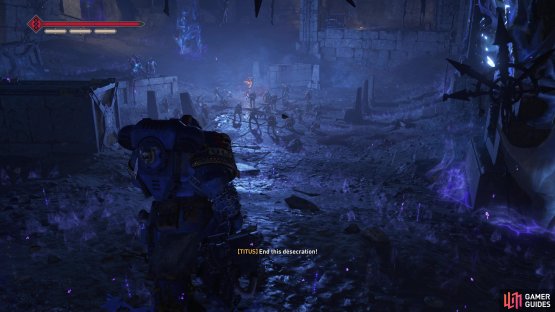
(1 of 2) Progress through the mines until you find some cultists worshipping an altar.
Progress through the mines until you find some cultists worshipping an altar. (left), Put an end to their superstitions, follow some of Imurah’s projections up some stairs, then turn left down some more stairs to find the third Dataslate. (right)
Dataslate 04: Tomb Excavation, Analog Backup Log 9.9
Continue delving the depths of the mines until you reach an elevator, and as should be expected, it’s just slow enough to serve as the excuse for another holdout set piece. Summon the elevator to start the objective ”Hold Until the Elevator Arrives” and defeat the mobs of Thousand Sons that assault you, then ride the elevator down. Like with the airlock, this will checkpoint you to the next section of the mission.
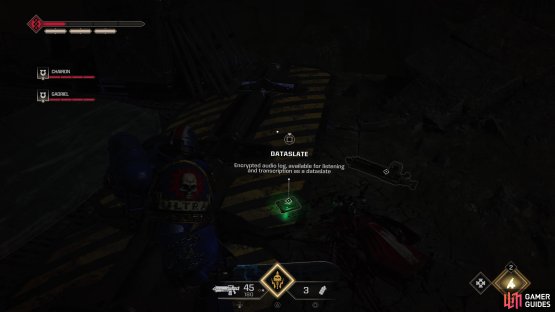
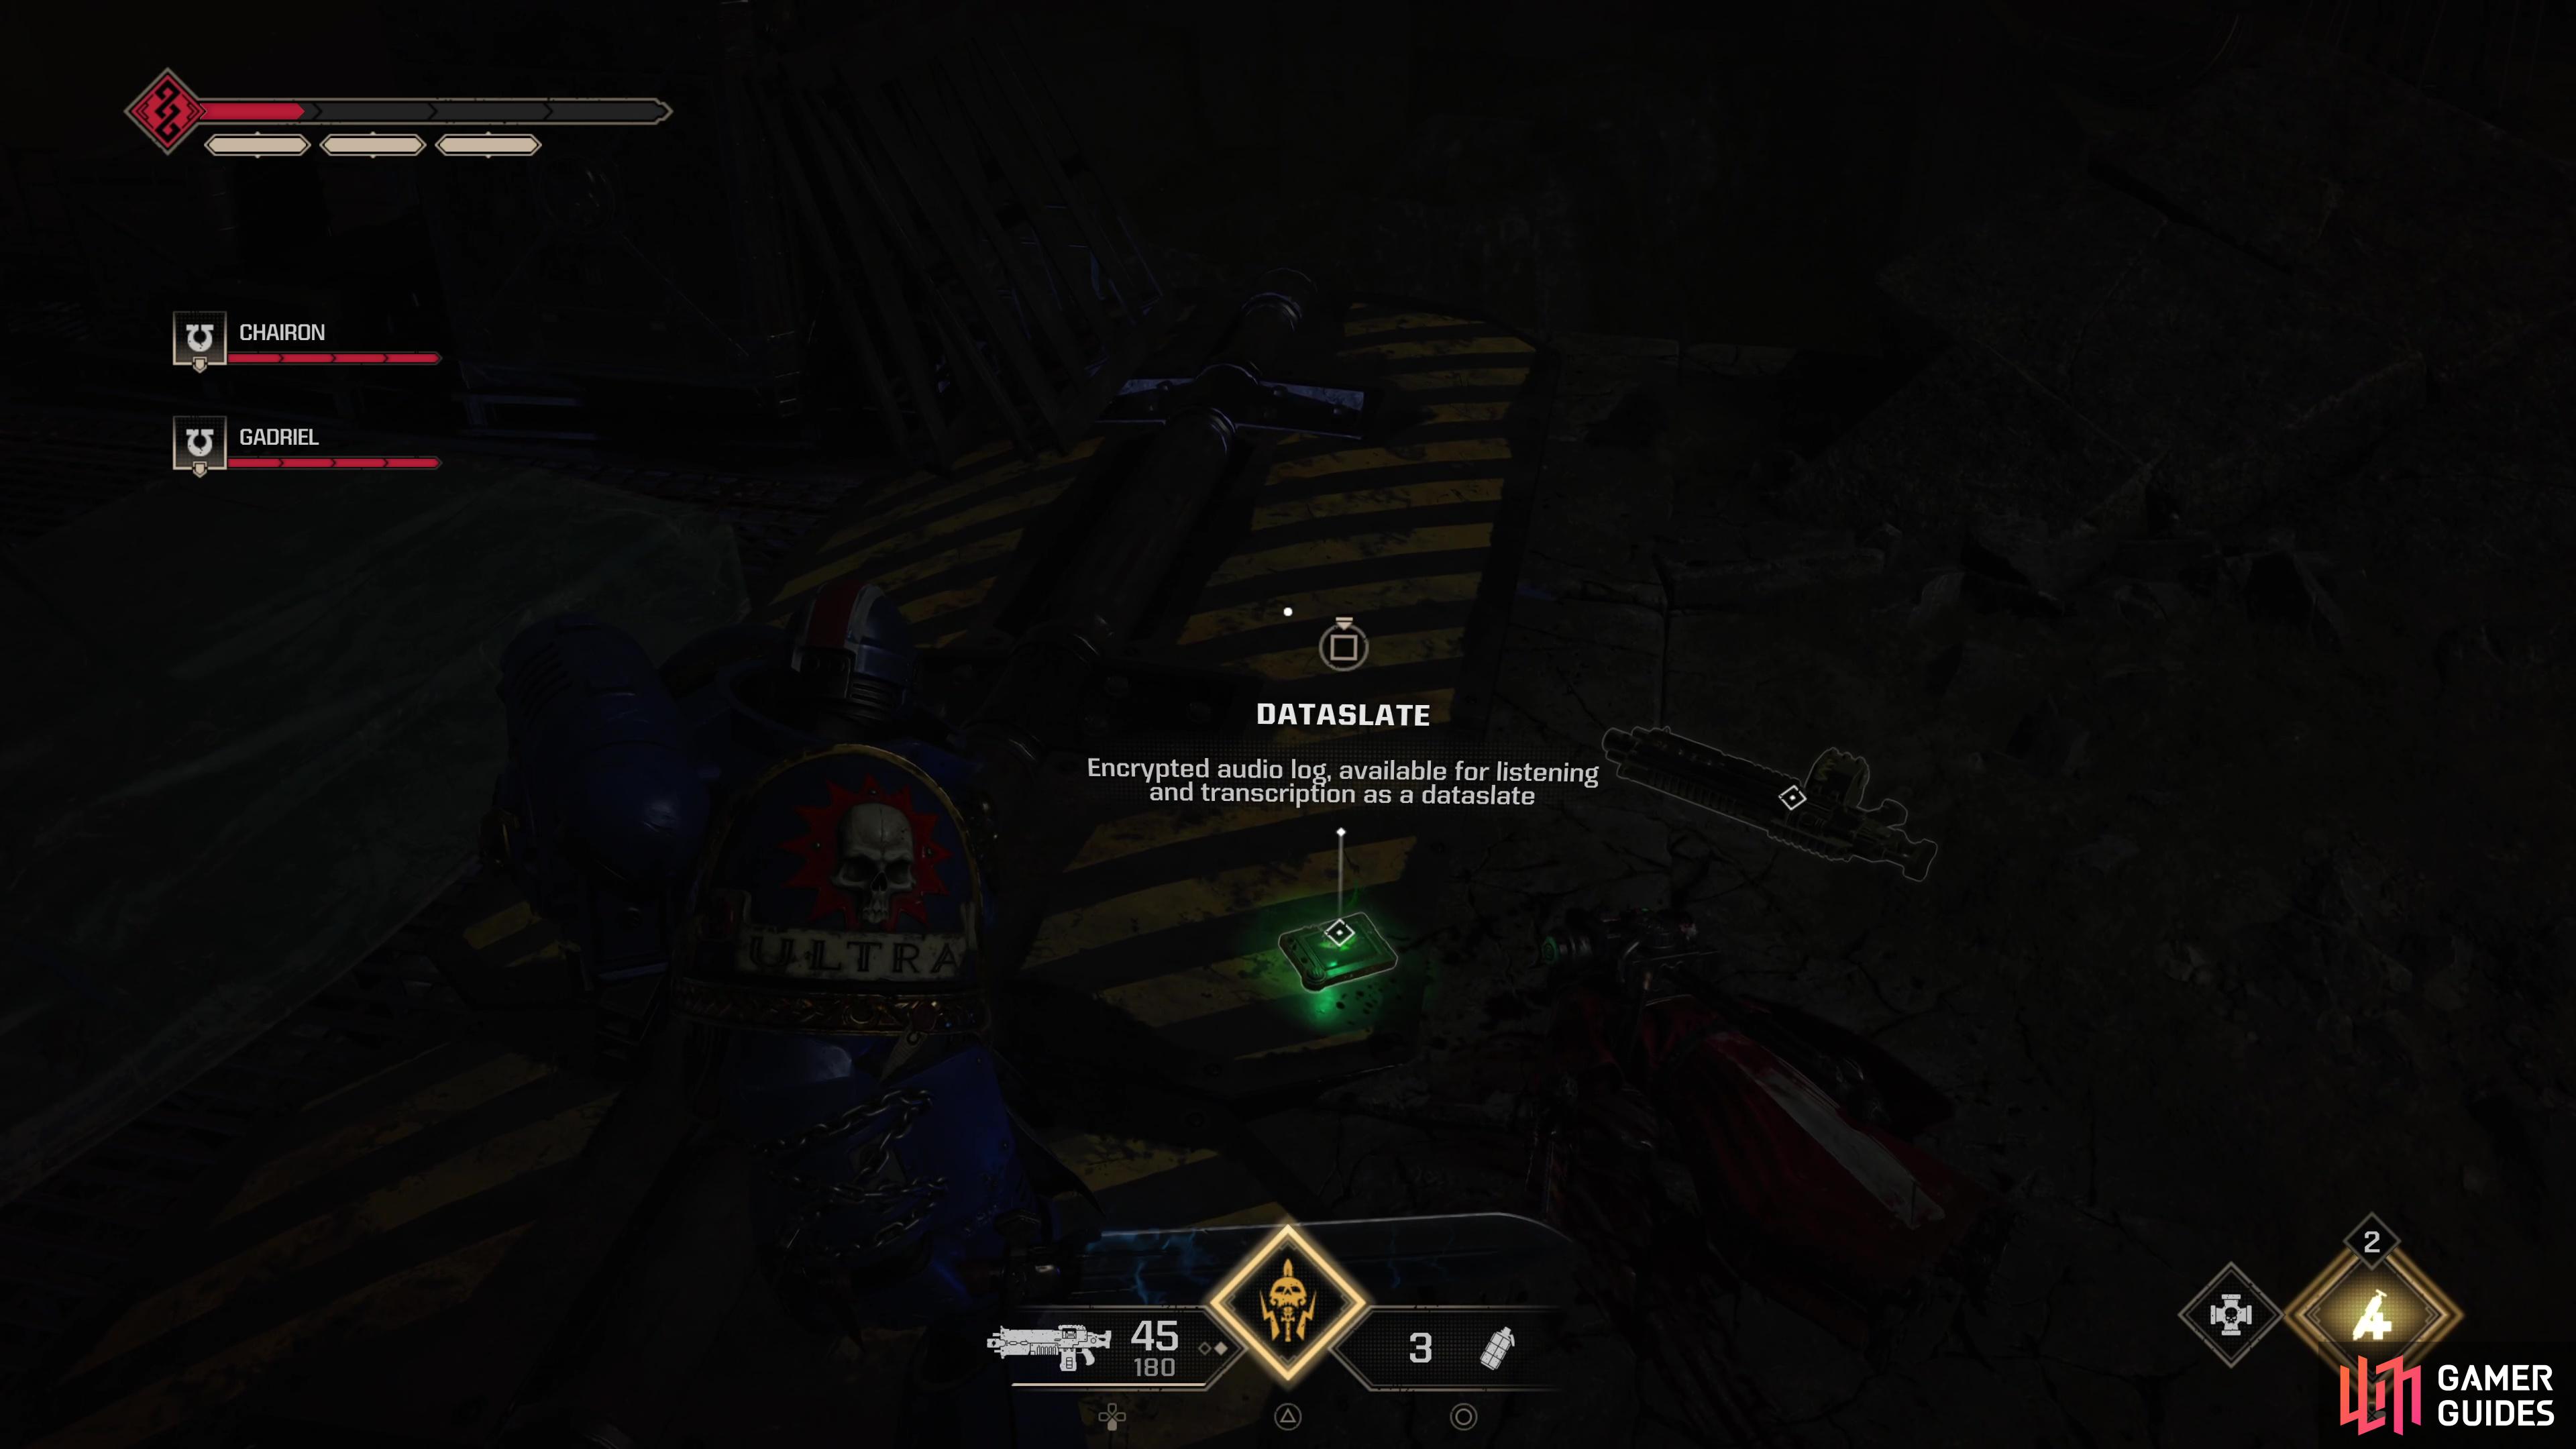
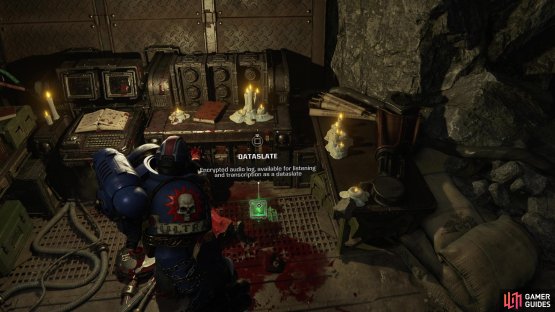
If there’s any difficulty in finding this Dataslate, it’s due to how repetitive these mines are getting. Endure Imurah’s taunts as you advance and kill more mixed mobs of Thousand Sons, Tzangors and culitsts until you’re forced to shove an obstacle out of the way. Kill yet more Thousand Sons and continue across a short metal bridge towards some ancient machinery the Adeptus Mechanicus unearthed. Gadriel should exclaim ”Why in the name of Terra were these things not destroyed?” at the sight of these machines. To the right of these ancient machines you’ll find the corpse of a Tech-Priest - this Dataslate is on the ground nearby.
Should you keep advancing past this Dataslate you’ll encounter more Thousand Sons (of course) including a Sorcerer. Eventually you’ll have to drop off a ledge, marking the point of no return for this Dataslate. Be sure you get it, as you’ll have to replay an awful lot of quest if you don’t.
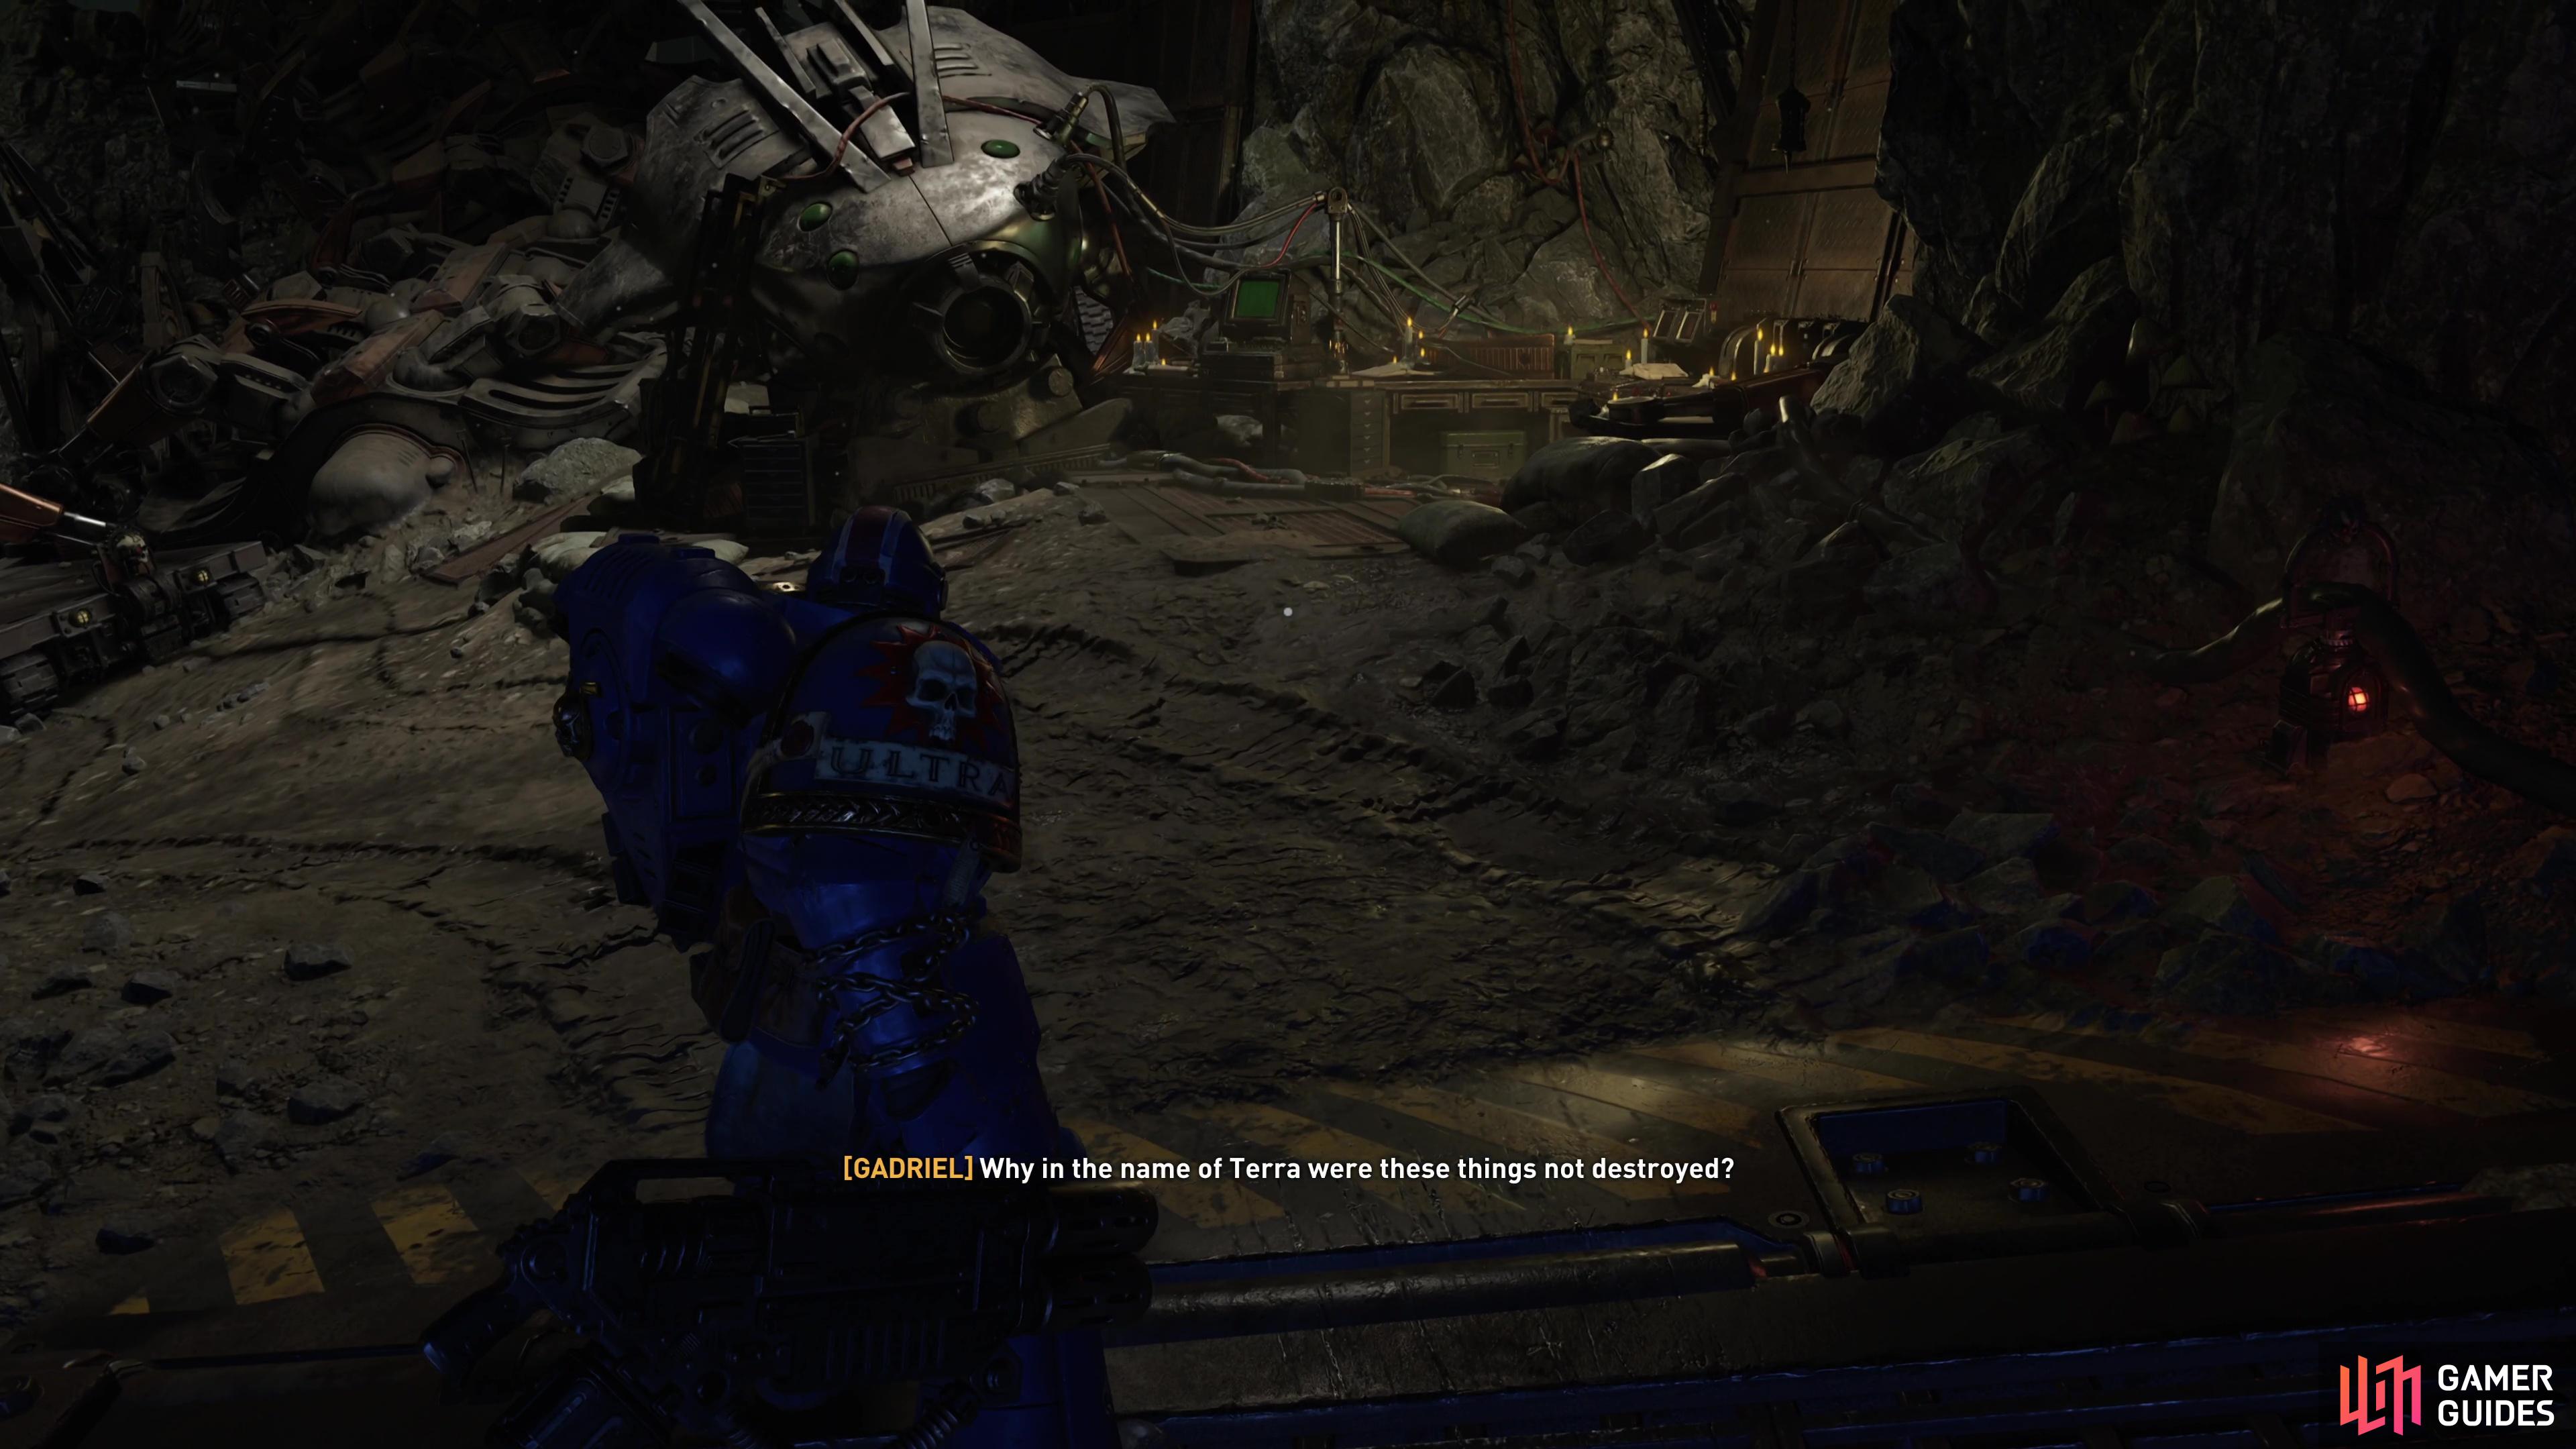
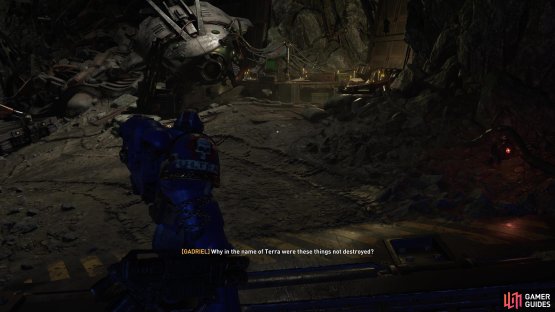
(1 of 2) Take an elevator down and fight through the second half of the mines until you cross a bridge and reach some machinery that causes Gadriel to do what he does best - complain.
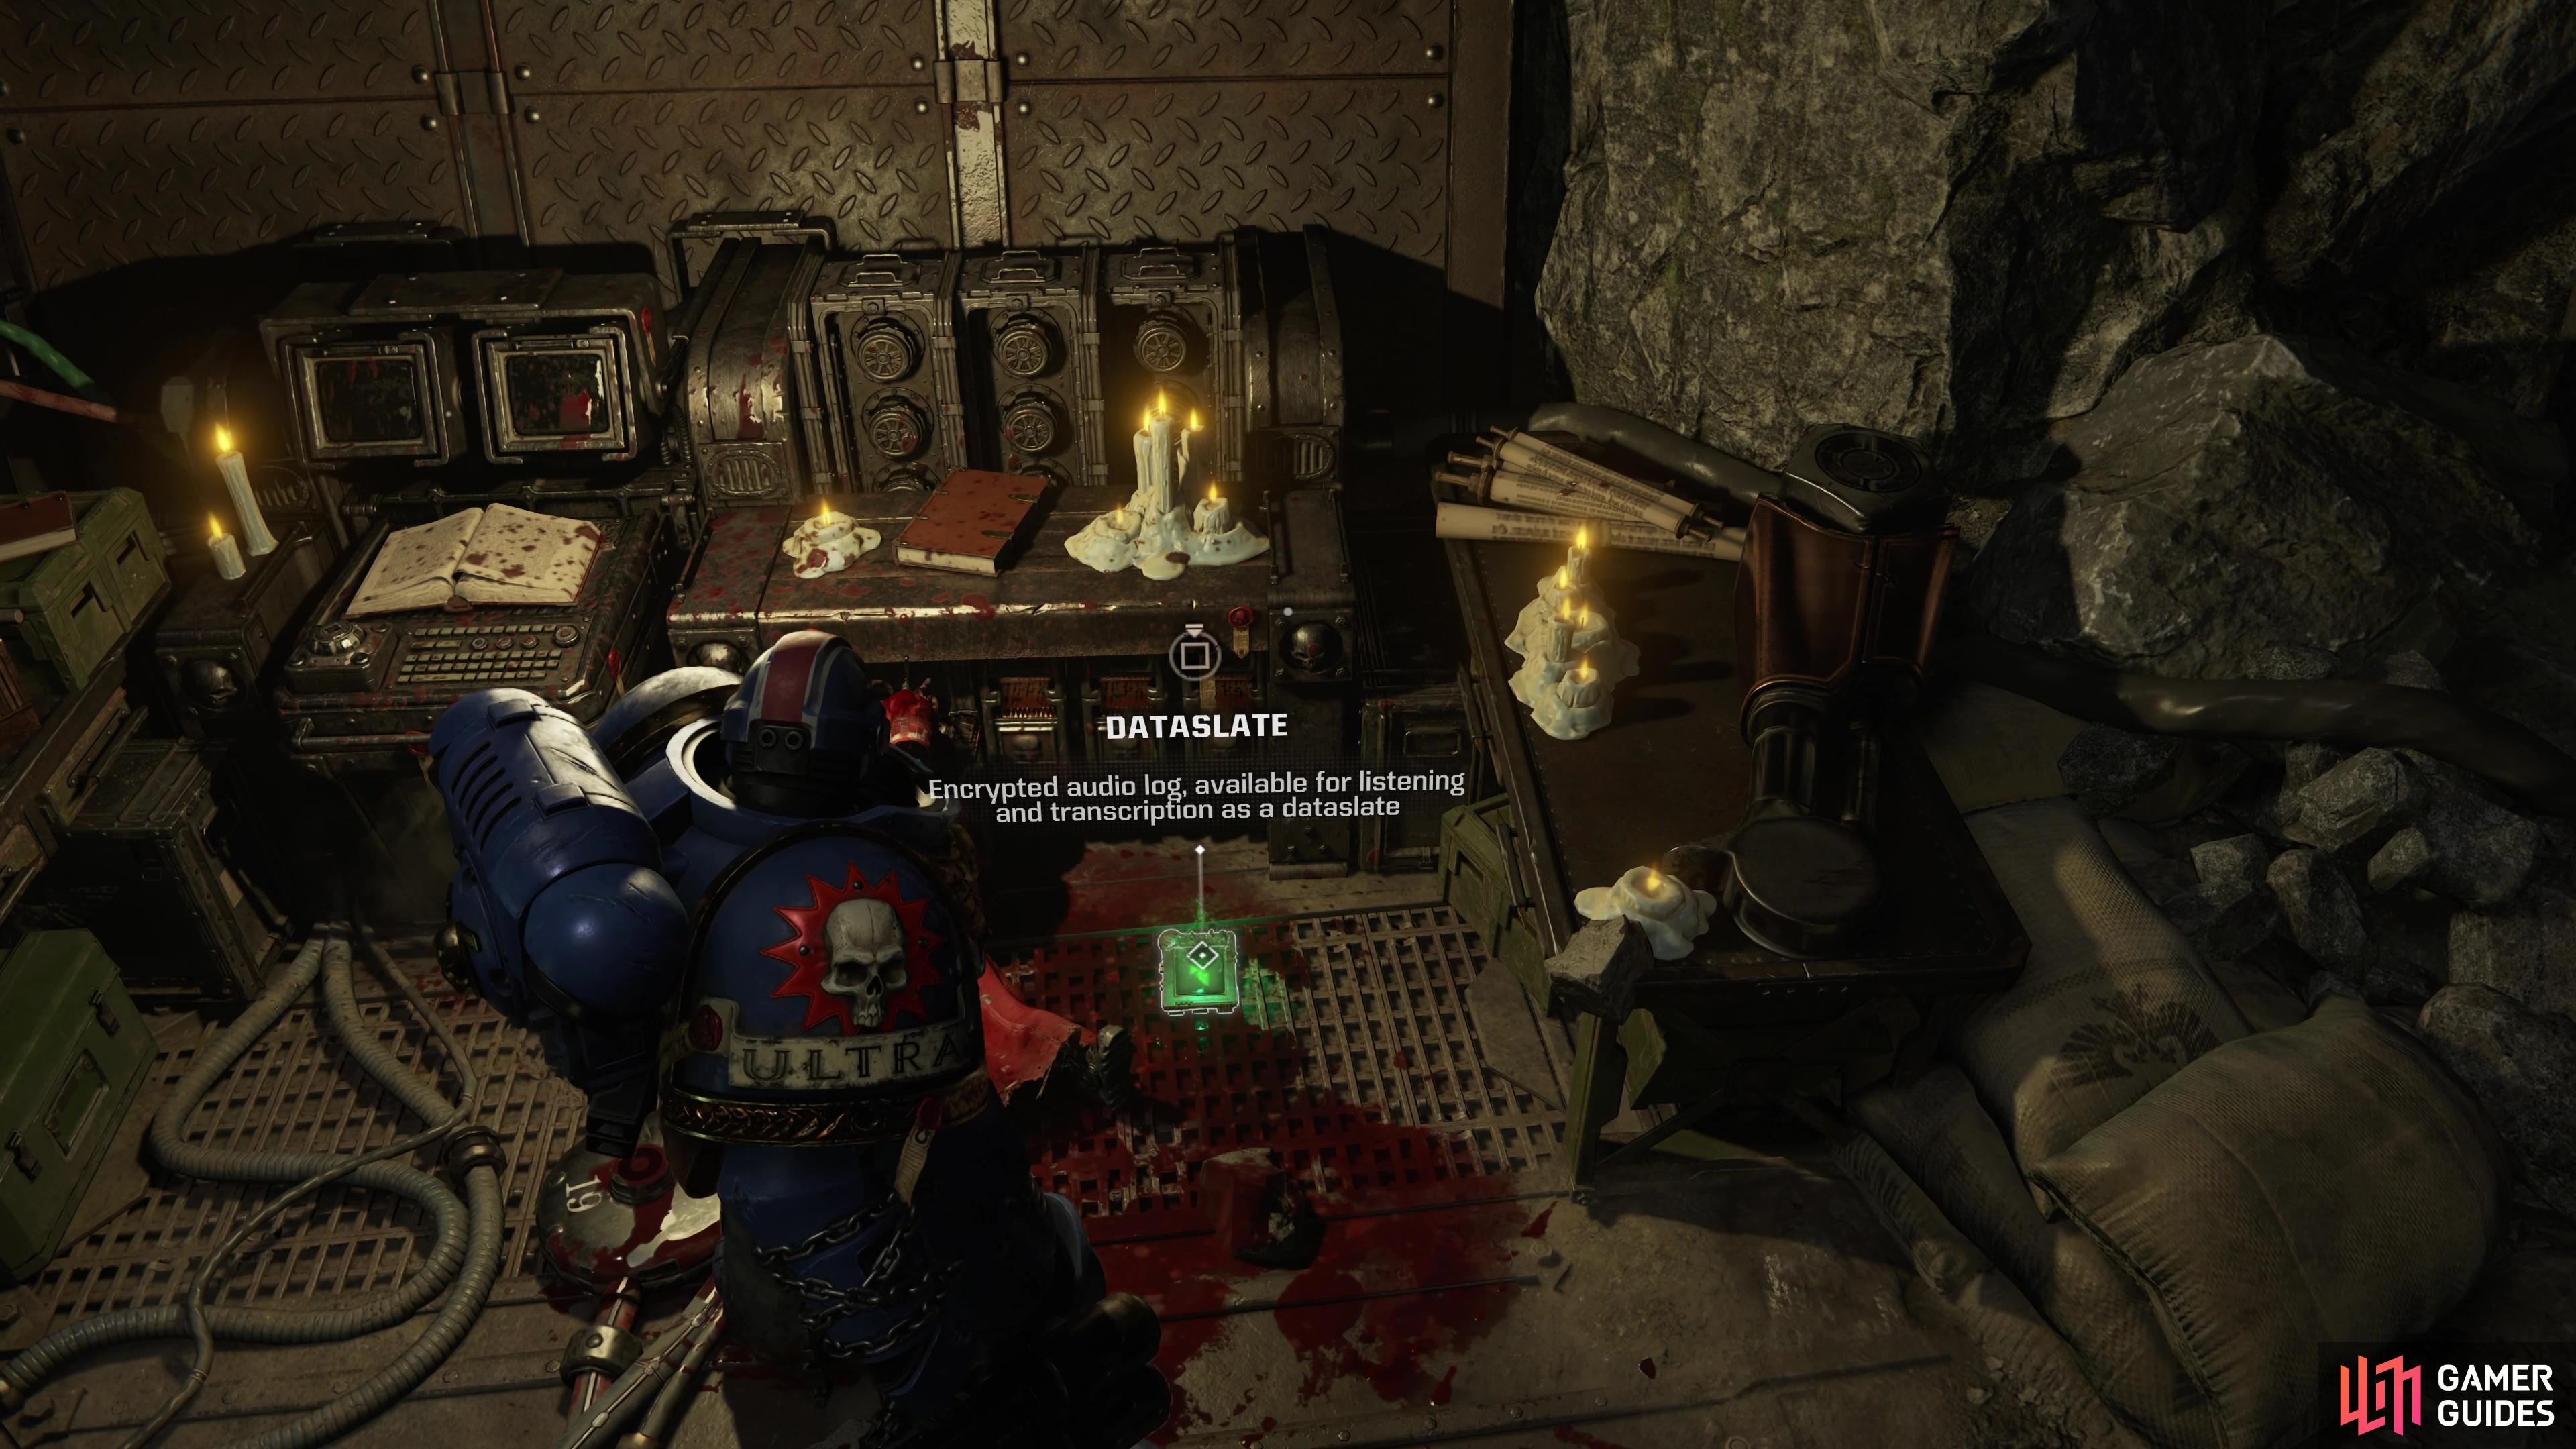
Take an elevator down and fight through the second half of the mines until you cross a bridge and reach some machinery that causes Gadriel to do what he does best - complain. (left), To the right of the ancient machinery that offended Gadriel you’ll find the body of a dead Tech-Priest, and near him is this mission’s final Dataslate. (right)
No Comments