
The second Campaign mission in Space Marine 2 features four more Dataslate collectibles for you to hunt down and gather. The stakes are higher this time around, as this mission, Severance, is more difficult and longer than the previous mission, Skyfire. Spare yourself some misery and use this page to find all the Dataslates in Severance in Space Marine 2.
Page Breakdown
Severance Mission Dataslates
Severance ups the ante significantly as compared to its predecessor Skyfire, featuring the first real boss battle of the game, an annoying hazard in Rippers, plenty of new weaponry, and a Jump Pack segment! The real pain with the Dataslates in this mission… well, it’s twofold, really. First the mission is rather long. Second, the Ripper segments in the middle are some of the least enjoyable content in Space Marine 2. Dataslate 02 can only be found after defeating the Lictor, Dataslate 03 is after the first Ripper segment in the Mechanicus Facility and Dataslate 04 is near the end of the mission, after you equip Jump Packs. Missing any of these necessitates a rather long replay, but the last Dataslate - one of the more well-hidden collectibles in the game - is especially painful to miss.
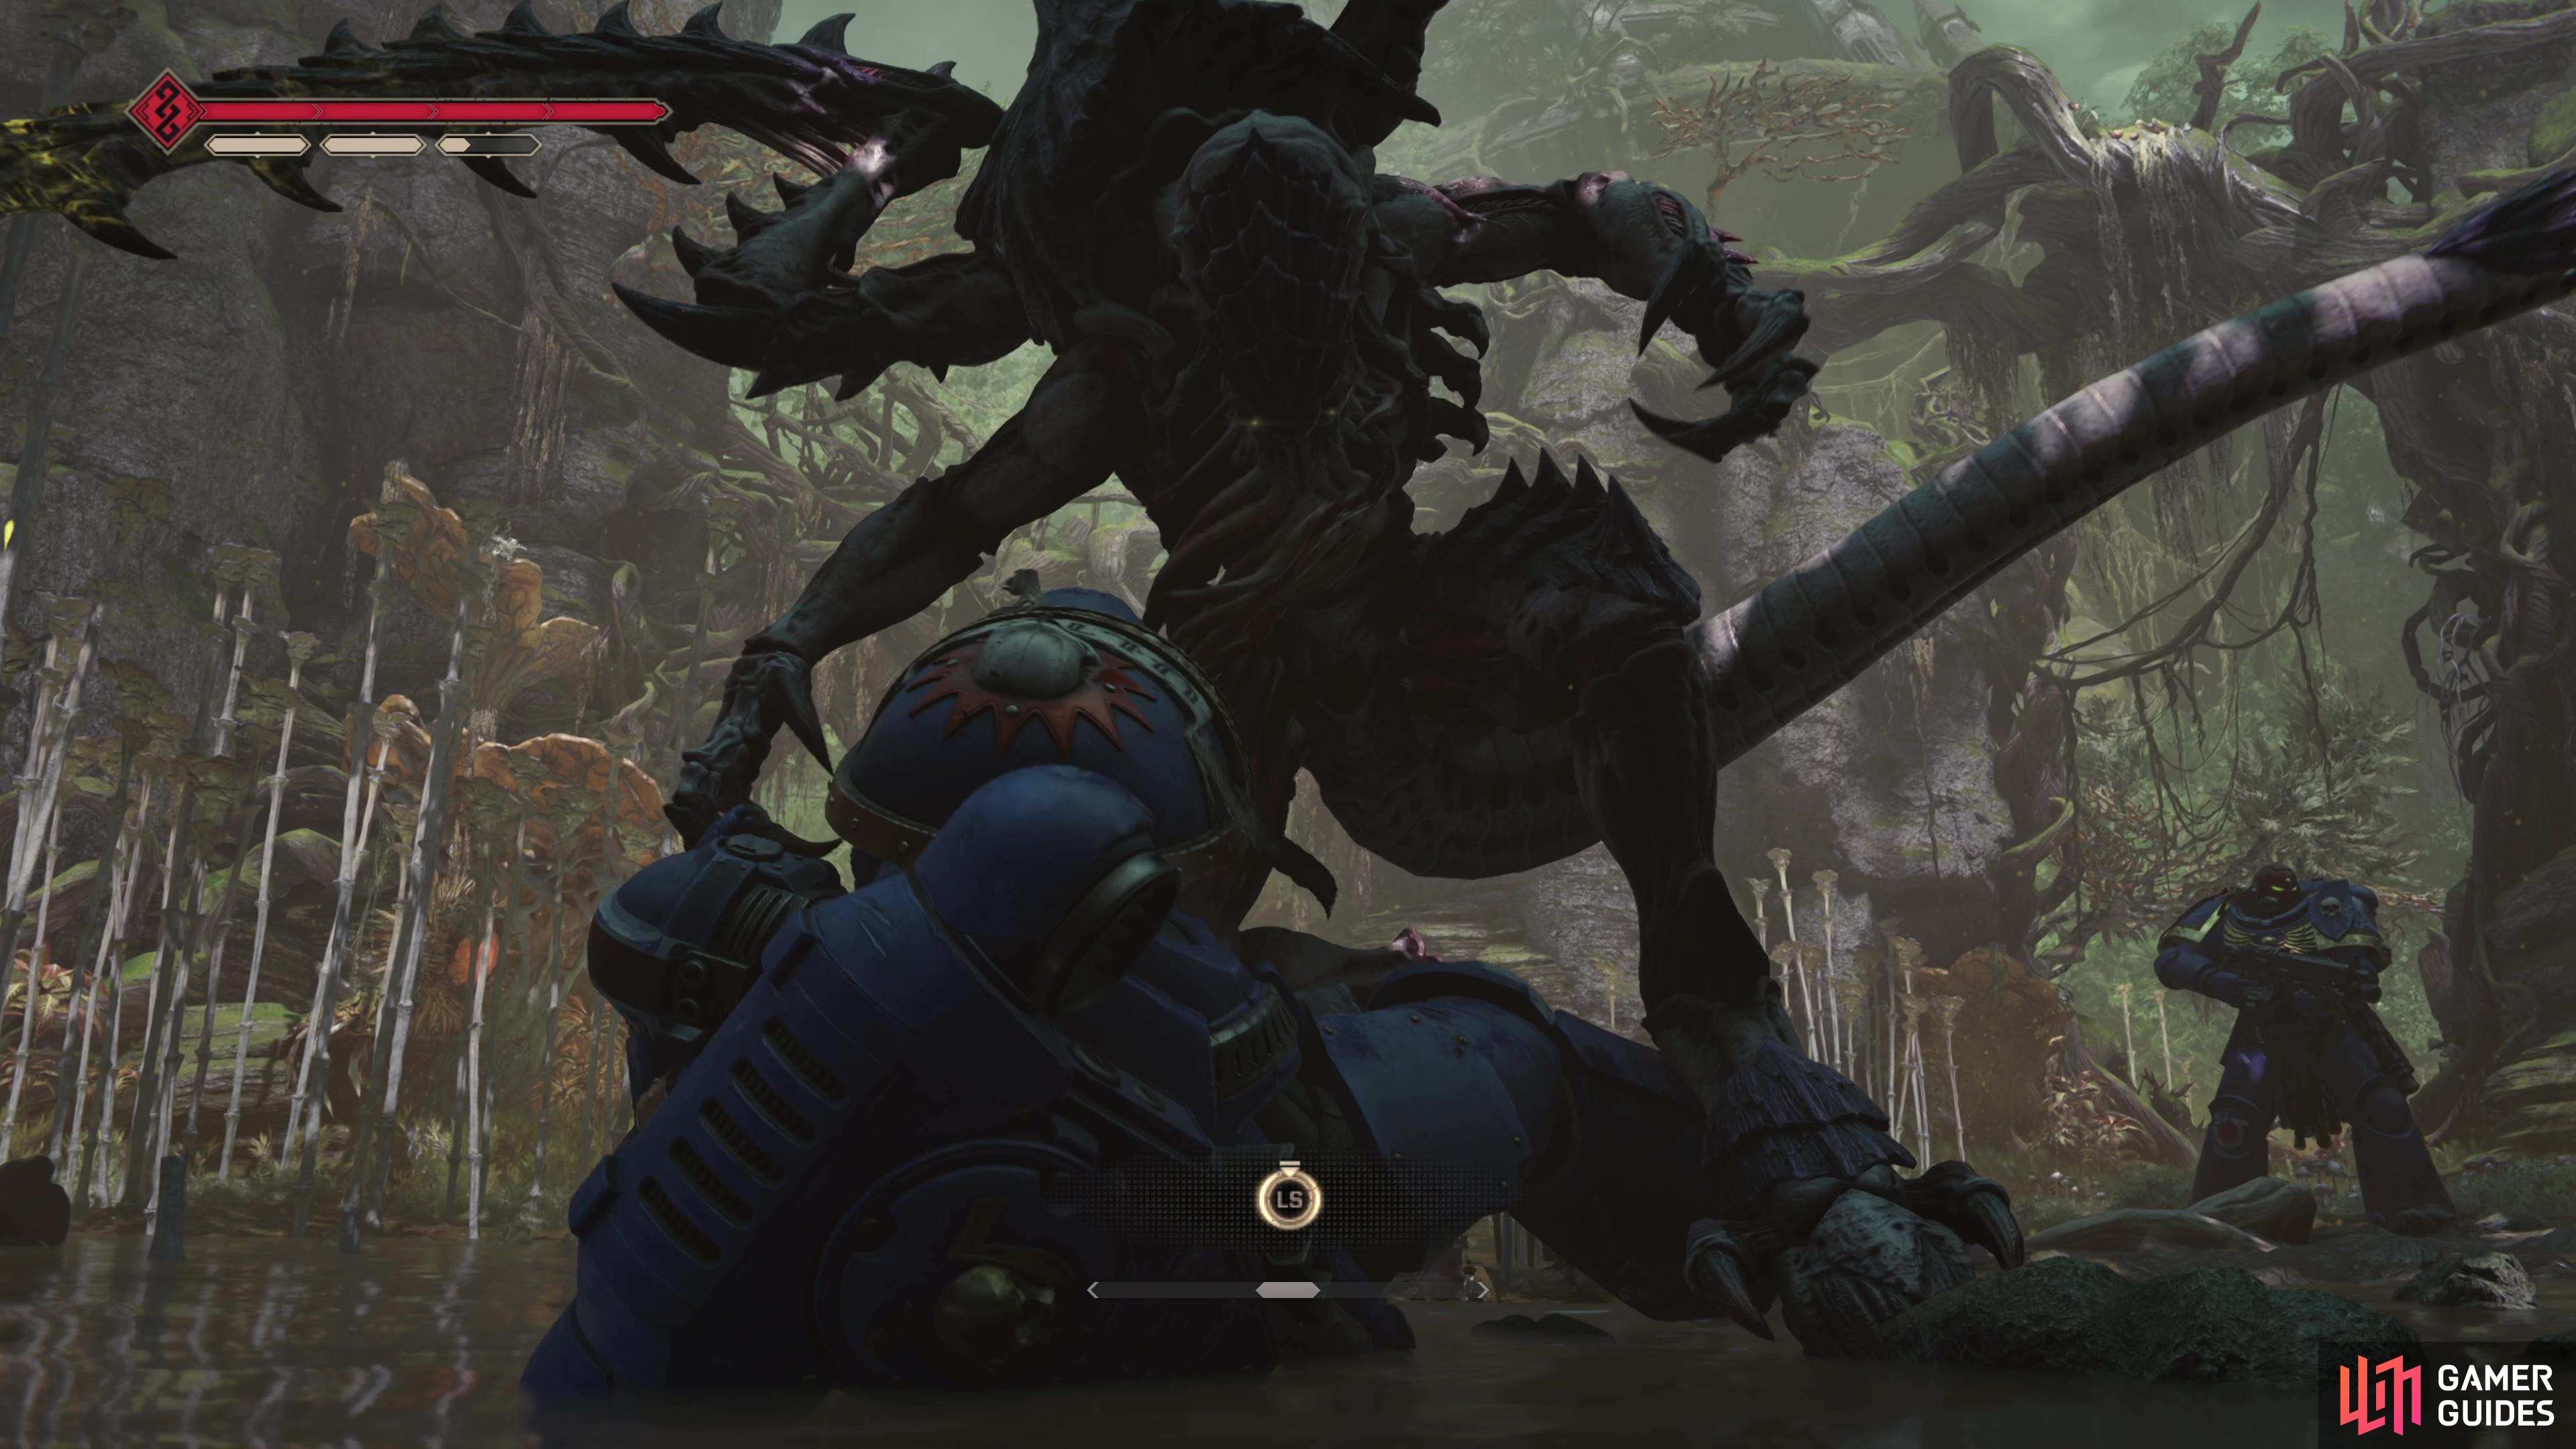
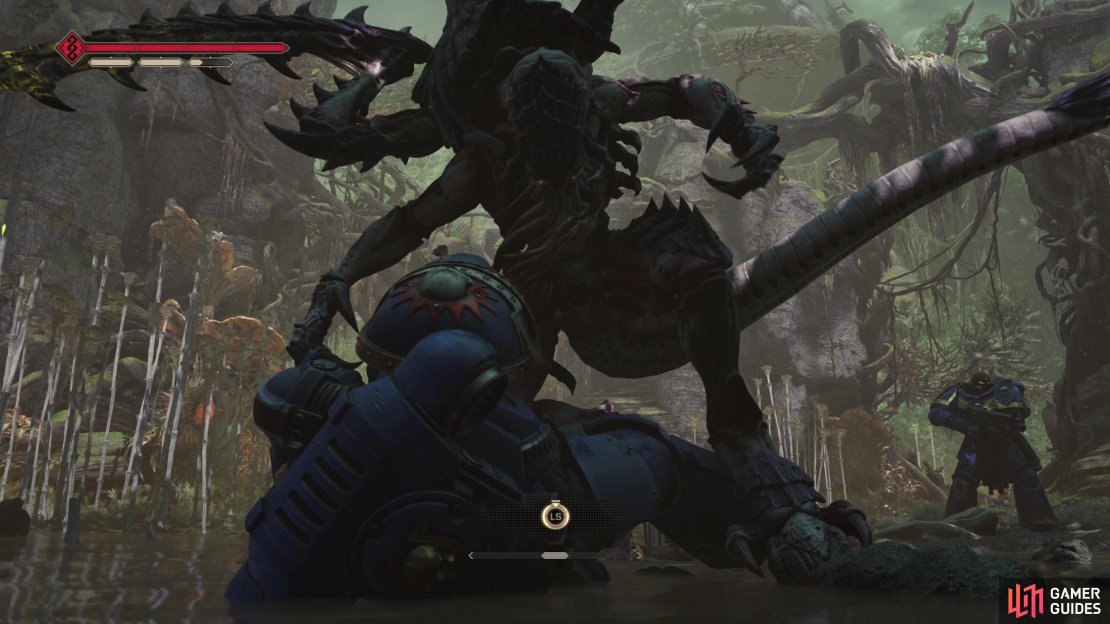
(1 of 3) Severance can be divided into three sections - the trudge through the swamps, culminating in a battle with the Lictor.
Dataslate 01: Conflict, Adeptus Astartes/Tyranid, Kadaku
From the start of the mission, advance through the swamp until you have to destroy a barrier, then pass under an intact bridge. Kill the Tyranids in the area and from under the intact bridge head uphill to the right to reach a fork. Going right will take you across the bridge and towards the Lictor boss battle, so go left instead and continue uphill until you find a destroyed APC. Search the front of the APC to find this Dataslate lying next to a corpse. There’s also a Bolt Sniper Rifle on the ground nearby.
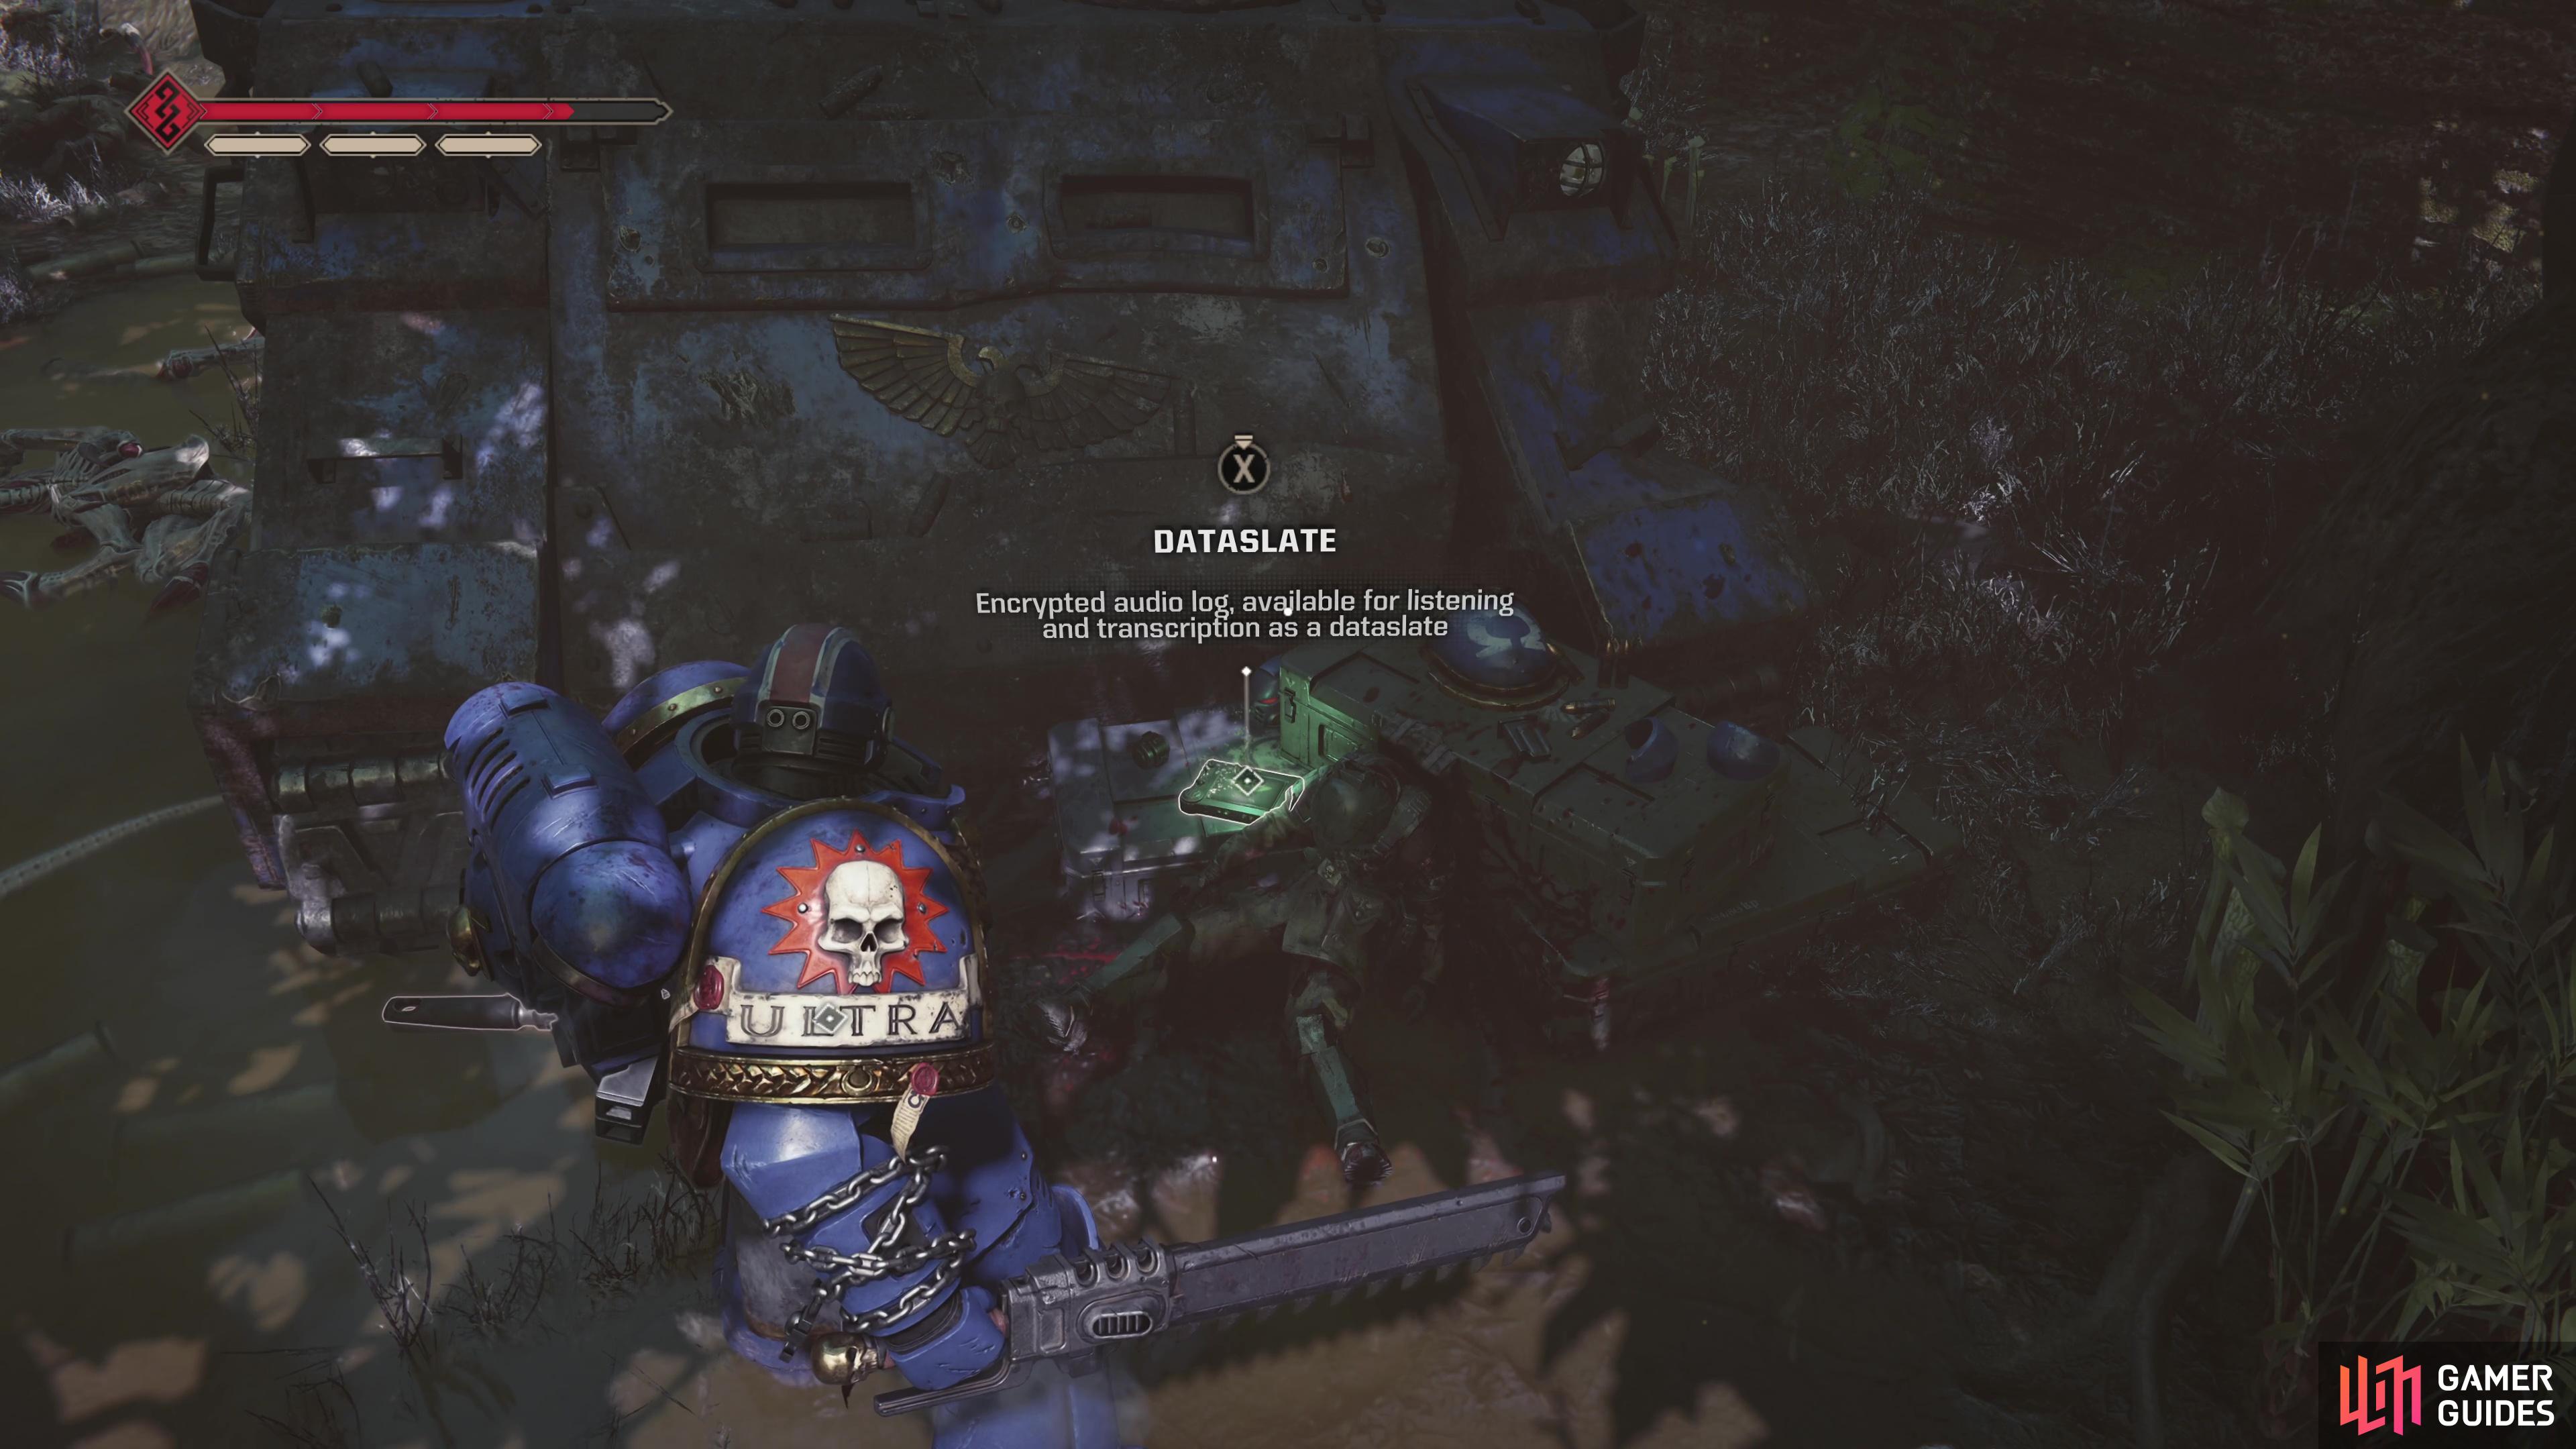
Head under a bridge, then take a detour to the left to find this Dataslate near an APC.
Dataslate 02: Tyranid Attack, Designation: Rippers, Kadaku
Defeat the Lictor boss and afterwards continue through the swamp until you reach a massive bridge leading to the Mechanicus Facility. Kill the Tyranids that await you across the bridge and enter the facility where you’ll be introduced to Rippers. Fortunately you don’t have to deal with them just yet. Ignore the elevator to the right (your current destination) and continue forward to find the remains of a barricade. This Dataslate is on the ground behind one of said barricades.

The second Dataslate can be found shortly after entering the Mechanicus Facility.
Dataslate 03: Lamentation of Sacred Machines
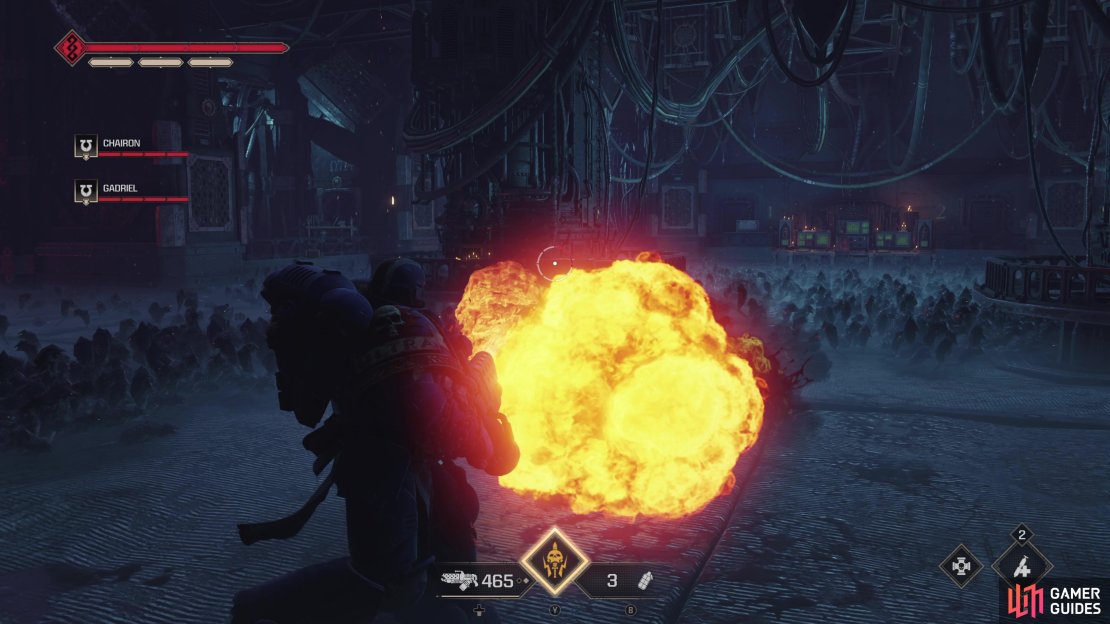
In the Mechanicus Facility, immediately after the first Ripper encounter. After you escape your first Ripper segment head forward through a large room and into a hallway. Turn left and go downstairs to reach another chamber. Kill the Tyranids within and activate a terminal to the left of the stairs you descended, then go through the doorway that opens, where you’ll find more Tyranids. Once they’re defeated, enter the room, take a right and follow a walkway until you find yourself standing in front of a large ventilation fan. The Dataslate is on the ground near the ventilation fan, next to the corpse of a Tech-Priest.
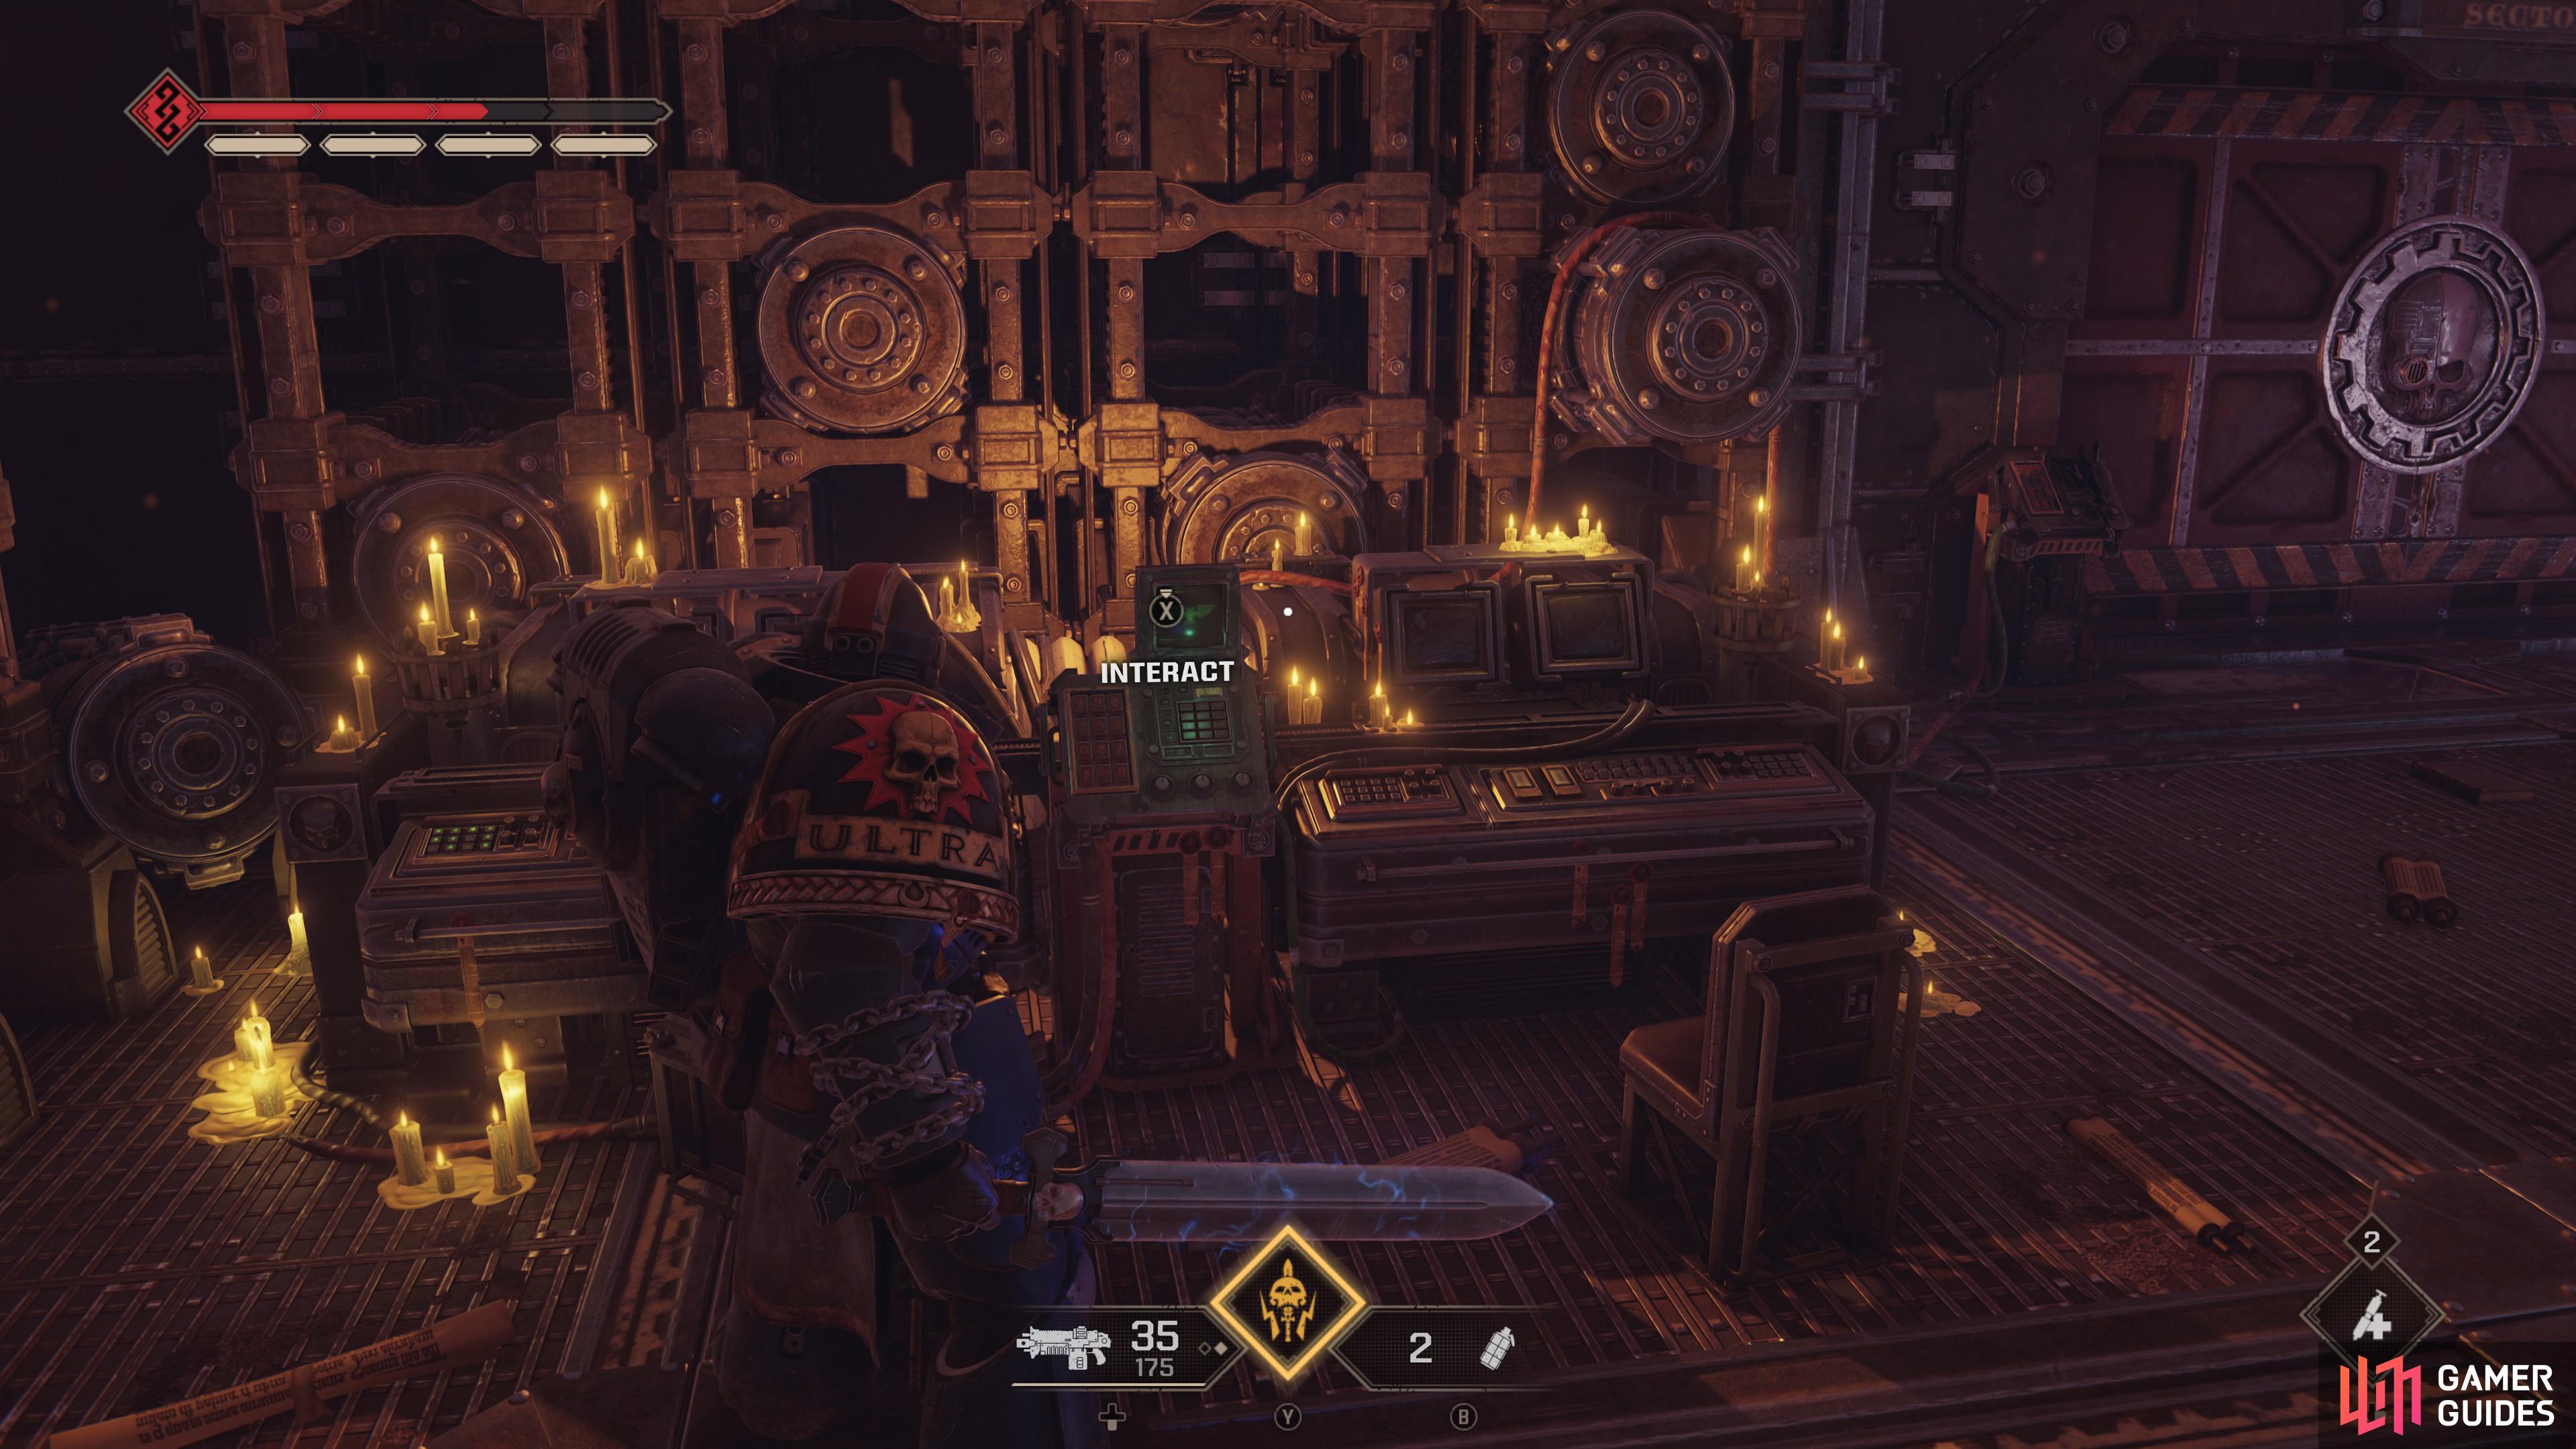
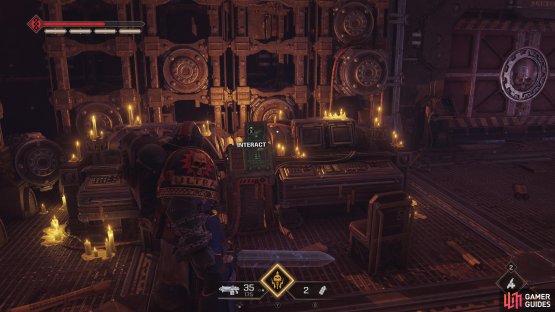

(1 of 2) After the first Ripper segment, activate an unmarked terminal to open a door,
After the first Ripper segment, activate an unmarked terminal to open a door, (left), then find this Dataslate near a large ventilation fan. (right)
Dataslate 04: Summary, Tyranid Invasion, Kadaku
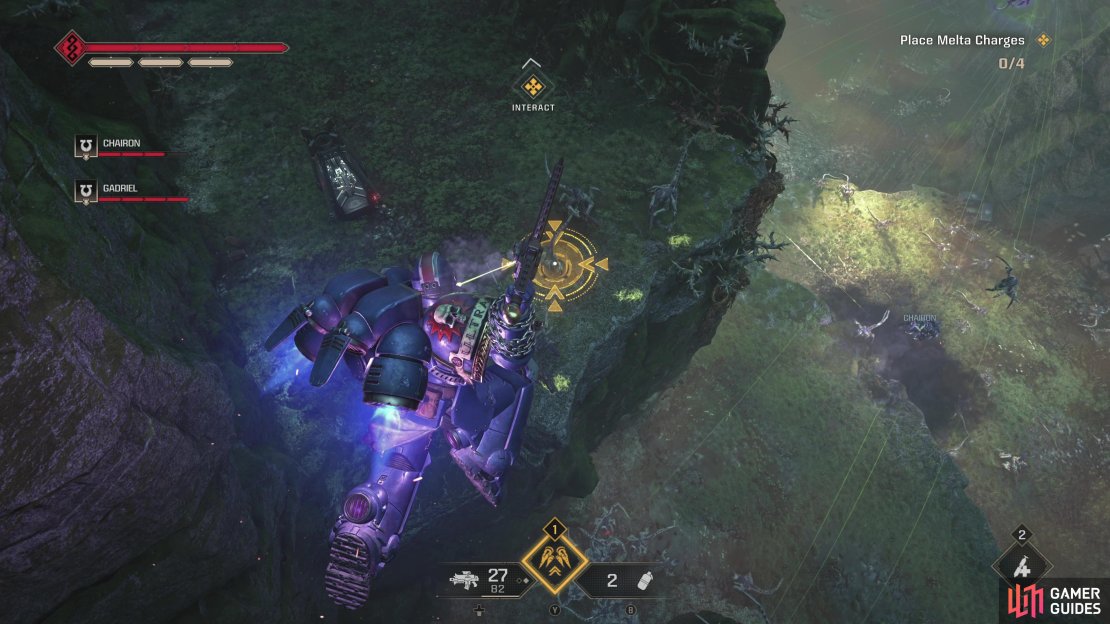
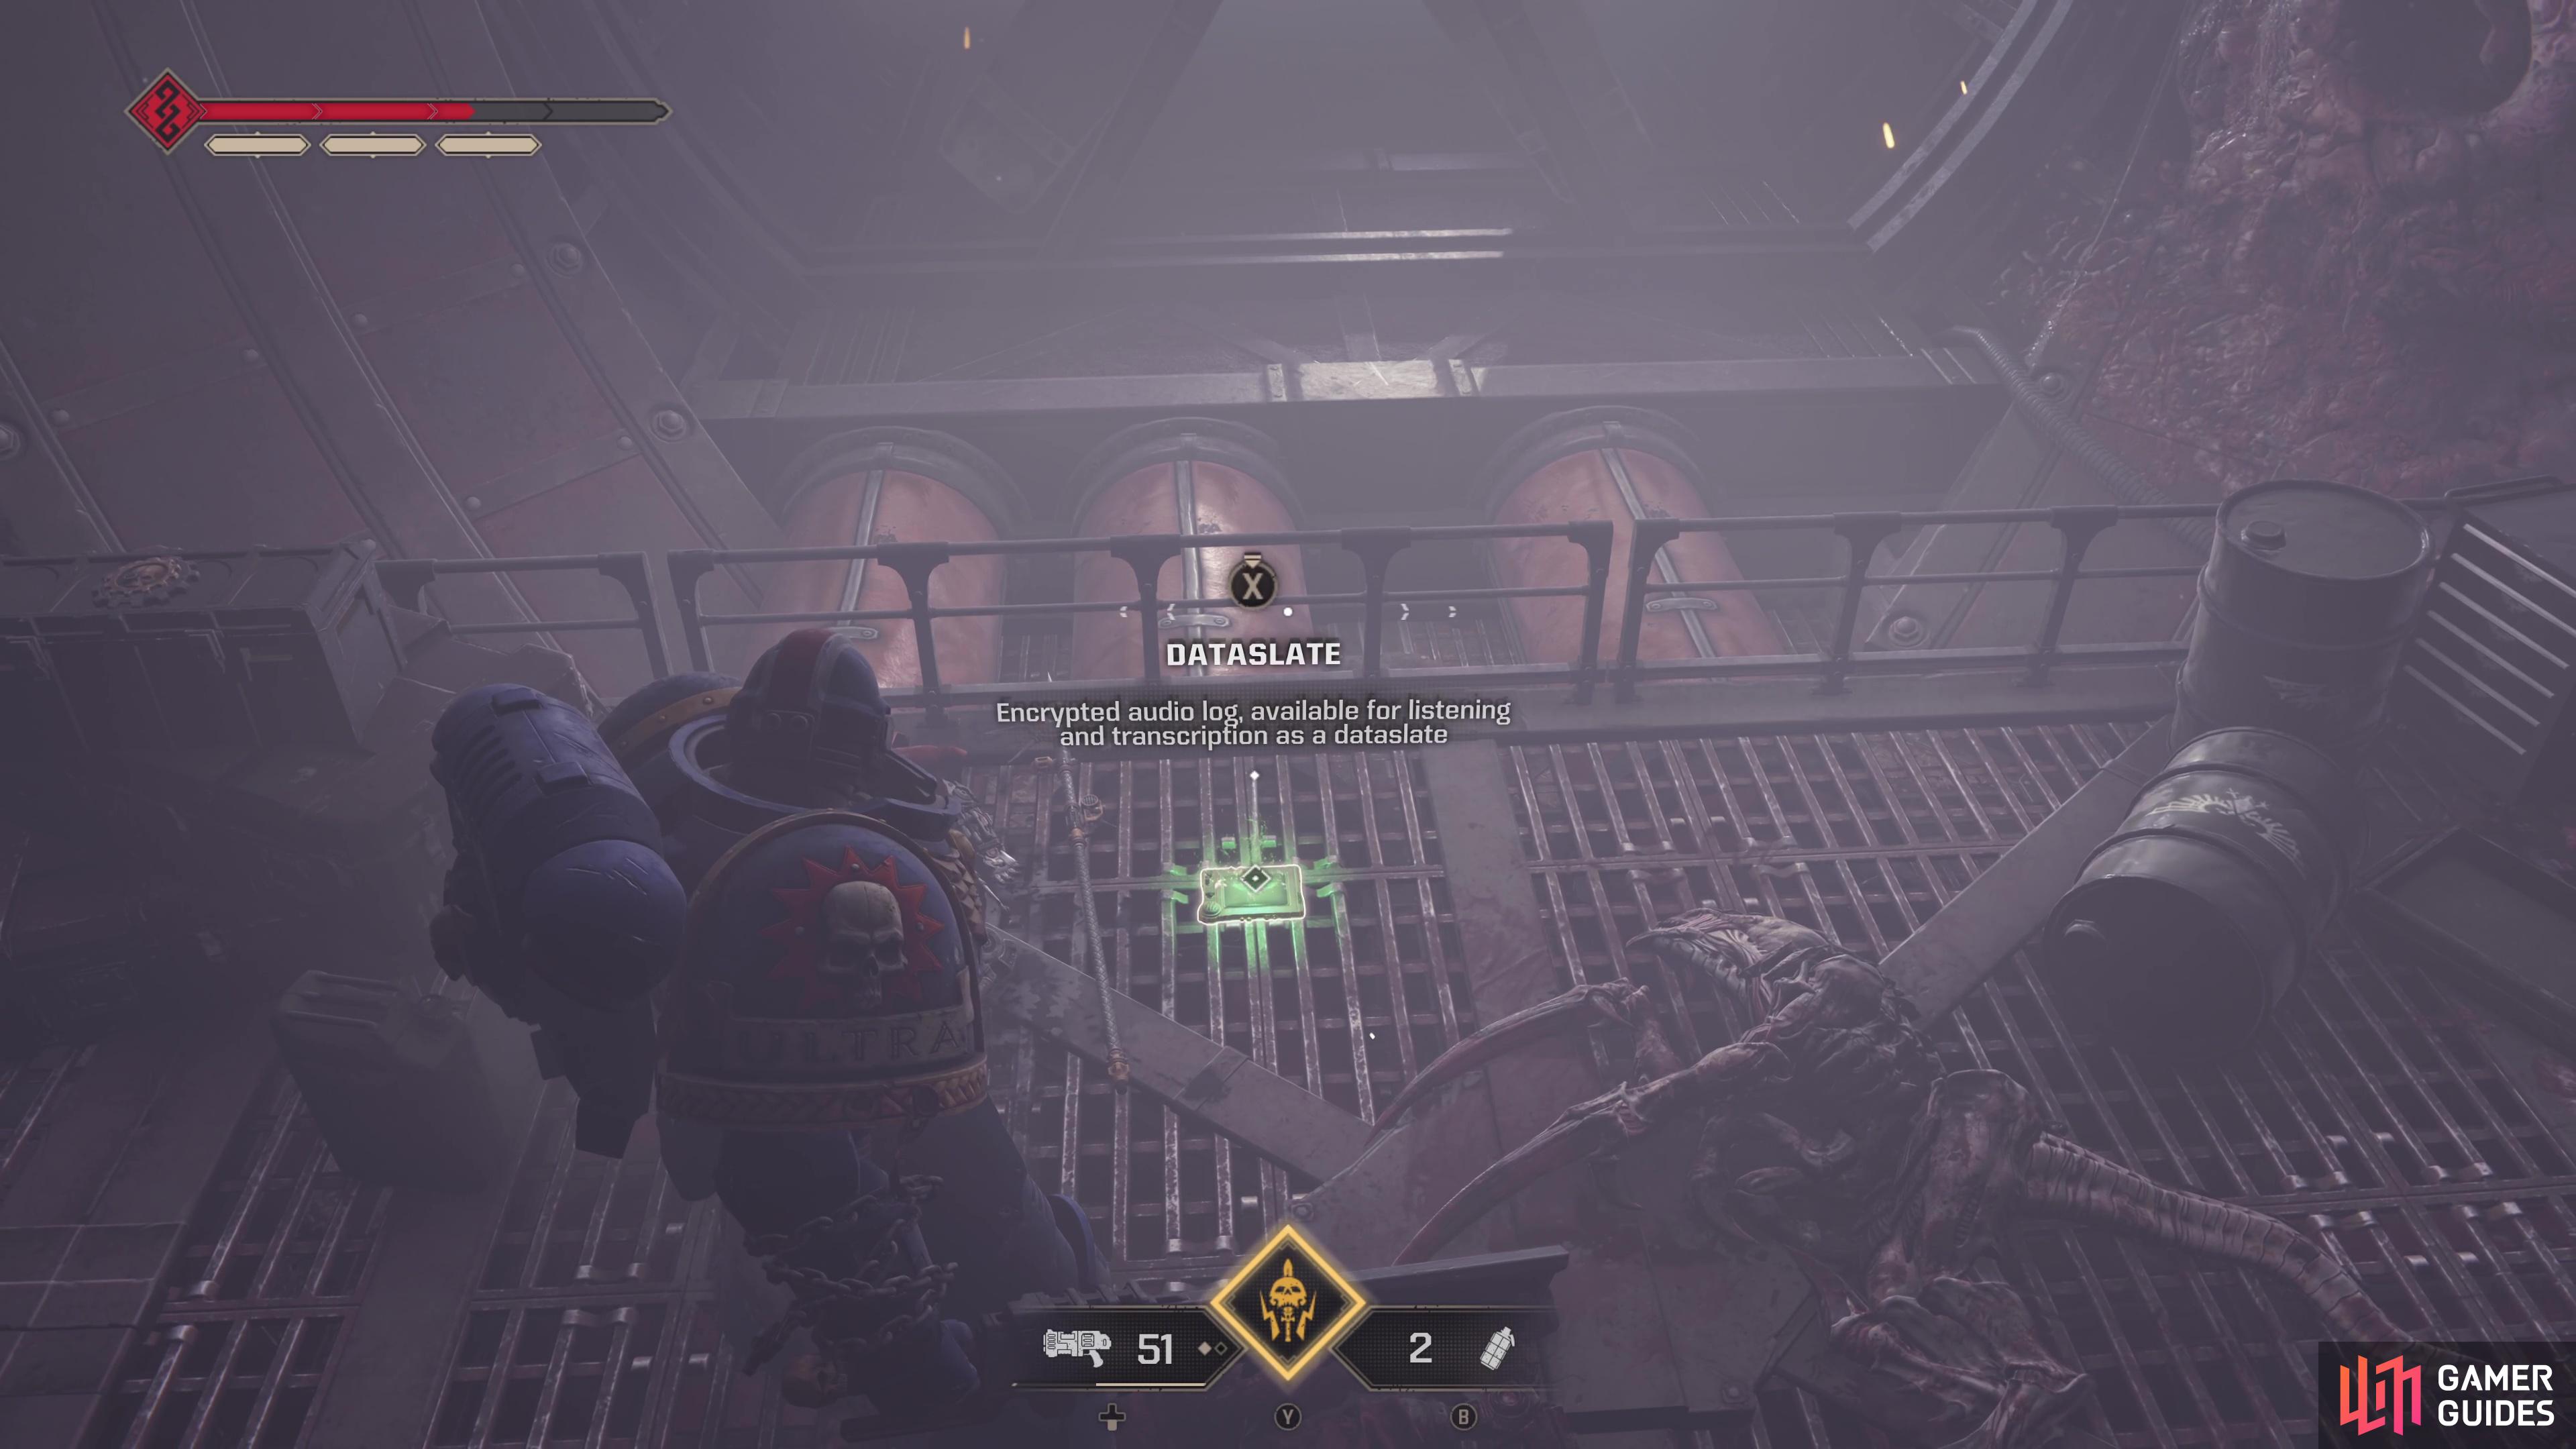
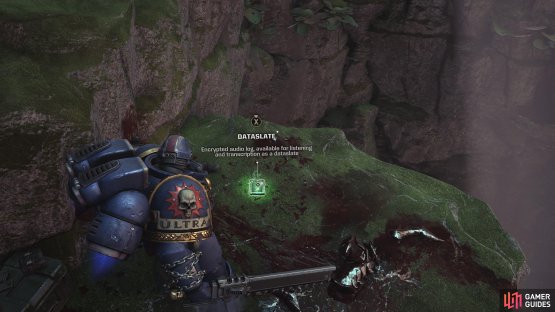
Complete your objective in the Mechanicus Facility, clear the third Ripper section and transmit the data to find yourself back outside. After some scenes you’ll be equipped with Jump Packs and tasked with reaching a crash site. Use your Jump Packs to navigate the enemy-free terrain ahead, hopping from ledge to ledge until you’re forced to enter a cave. As you enter the cave, look up and to the left and you’ll see a ledge you can reach with your jump packs. The Dataslate is on this ledge, near a mutilated corpse.

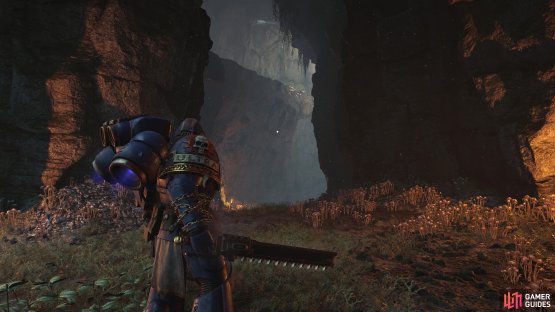
(1 of 2) After escaping the Mechanicus Facility you’ll equip Jump Packs - advance until you find a cave and note the ledge to the upper left.
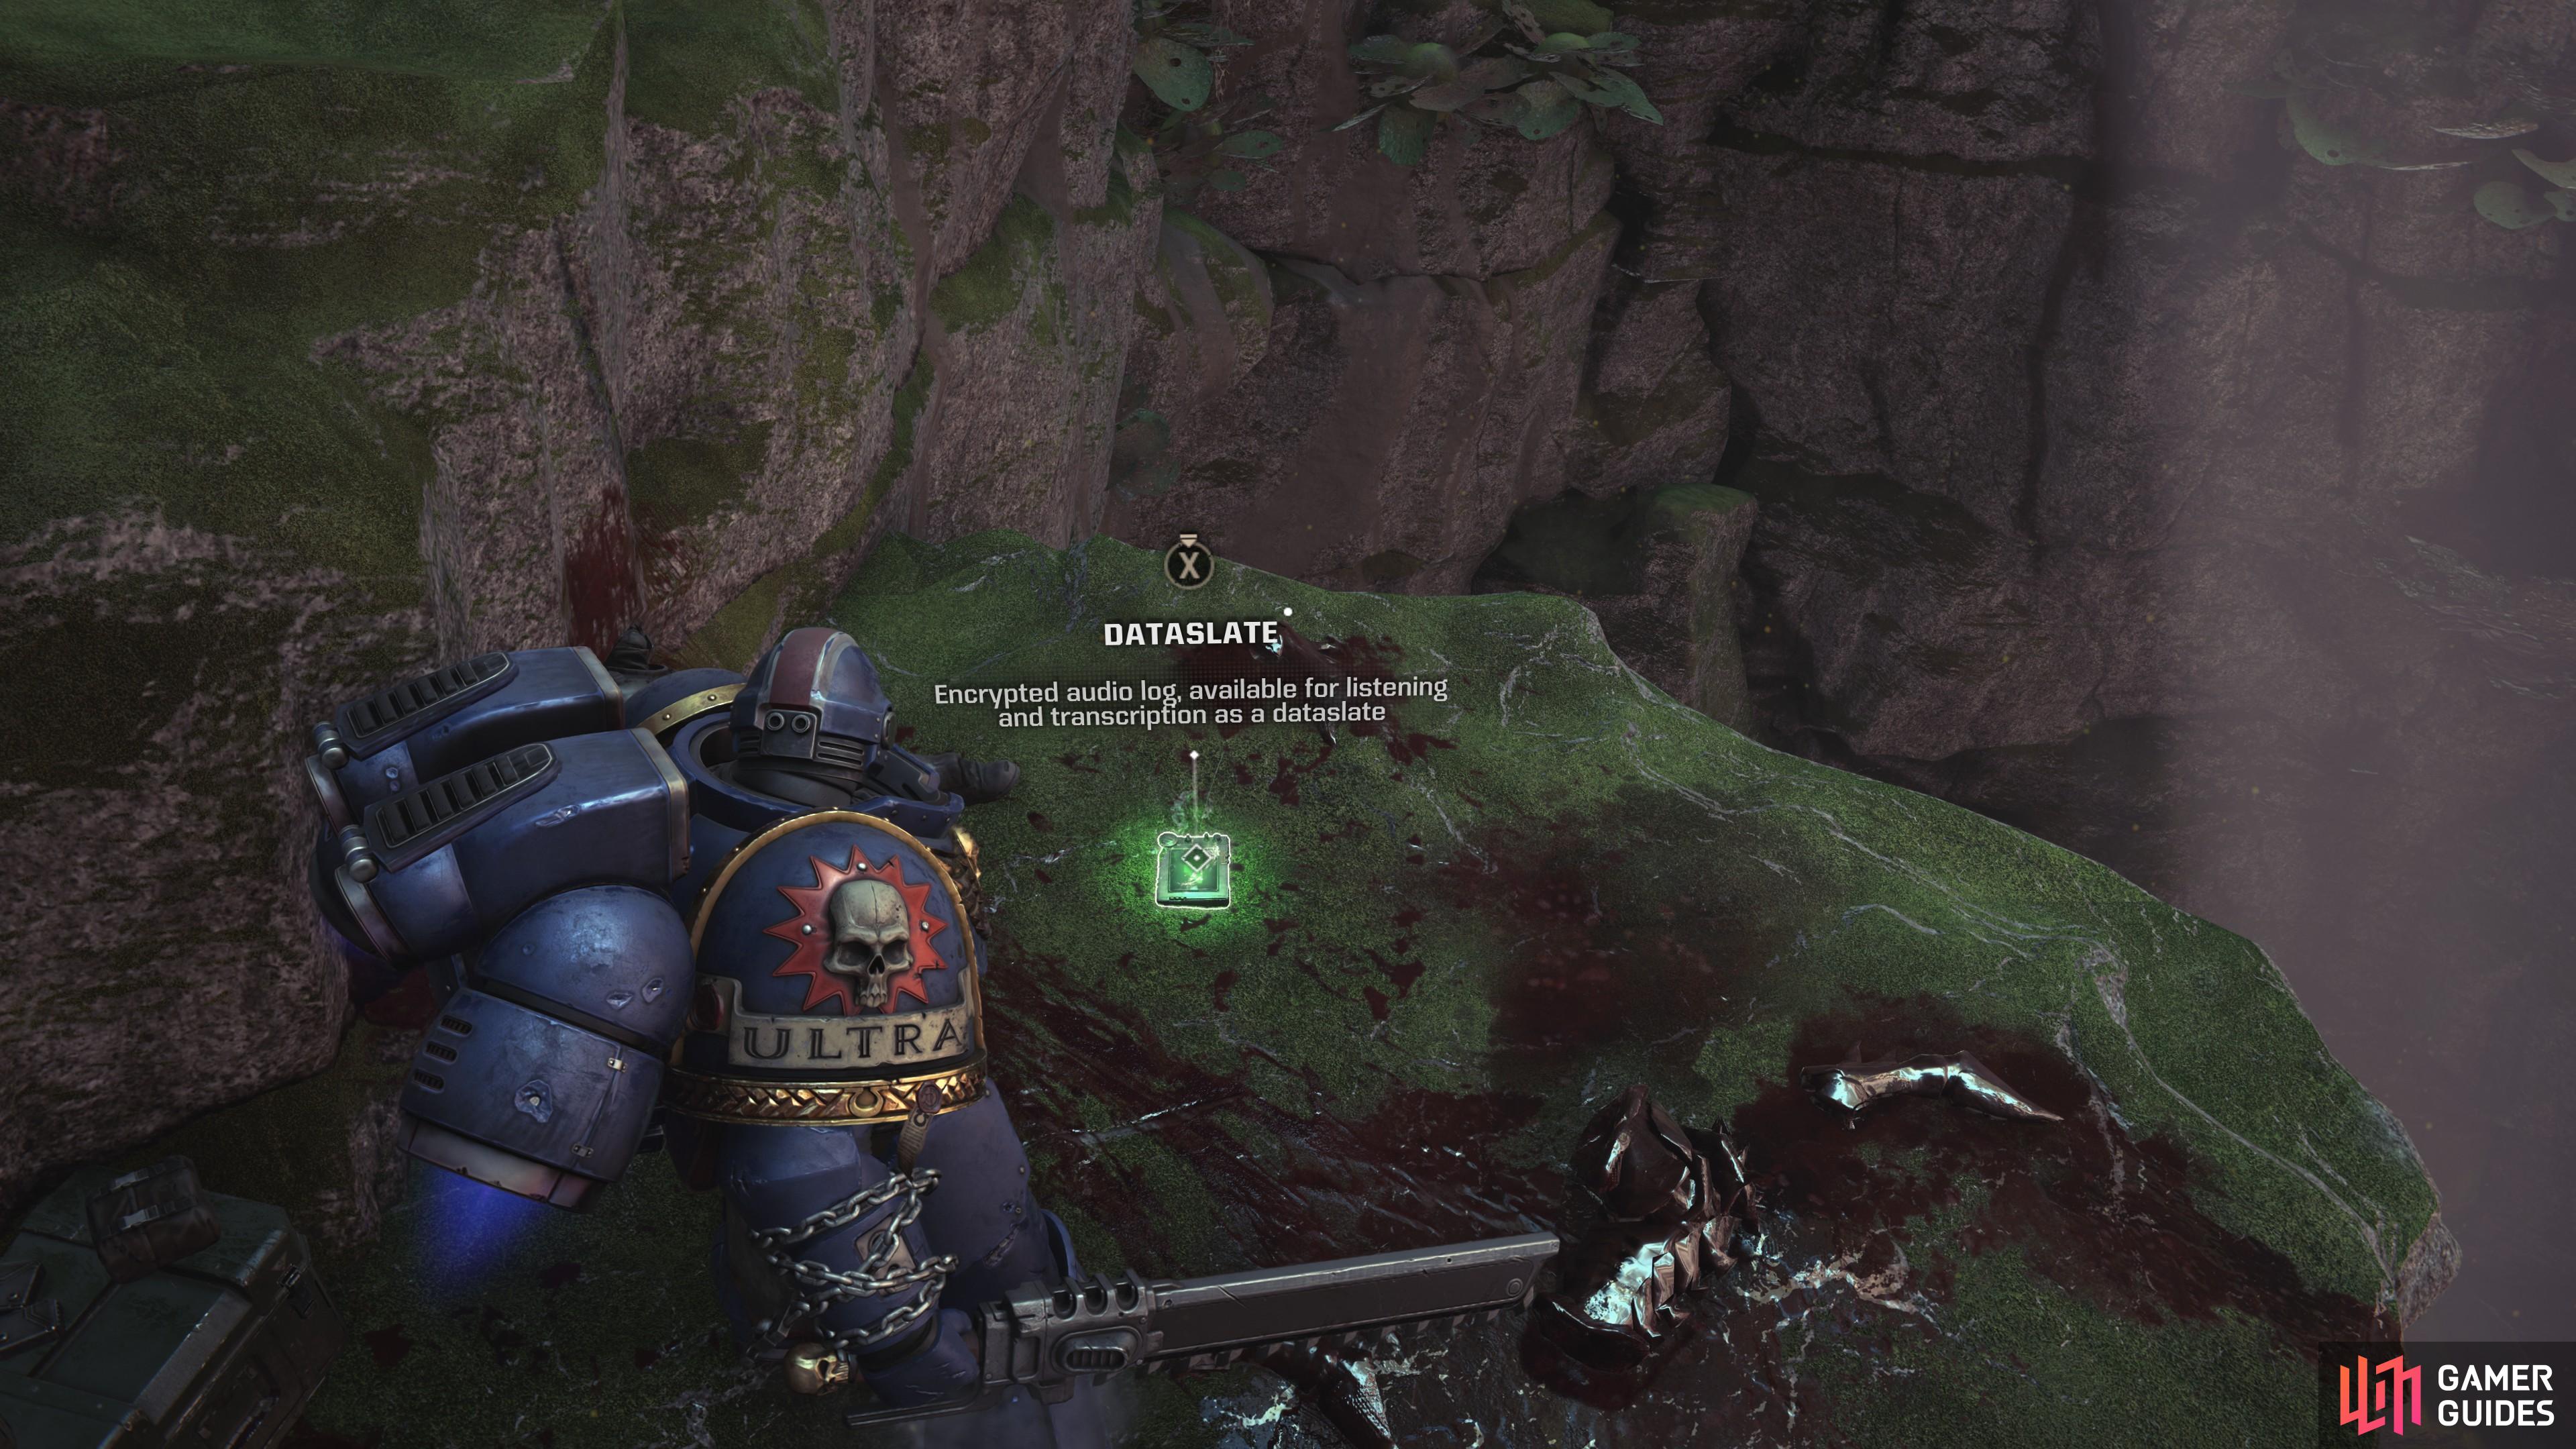
After escaping the Mechanicus Facility you’ll equip Jump Packs - advance until you find a cave and note the ledge to the upper left. (left), Use your Jump Packs to reach this ledge to find the fourth and final Dataslate in this level. (right)
No Comments