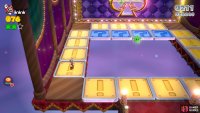
The rooms in this level are filled with Switch Panels that all must be flipped green in order to proceed, which is done by simply stepping on them. However, stepping on them when they’re green will cause them to revert to their original position, so you will need to balance going back and forth on the same panel. In the first room, turn all of the panels green, then move onto the second, where you will have some Stingbies buzzing around you. Utilize the jump pads here in the second room to touch all of the panels and make it to the next set of jump pads.
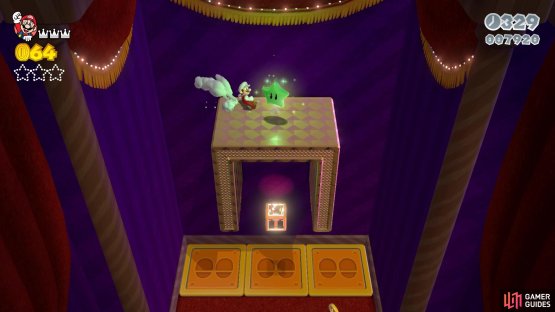
(1 of 2) The first Green Star is above the Warp Box
The first Green Star is above the Warp Box (left), The second Green Star is in the top left corner in the bonus area (right)
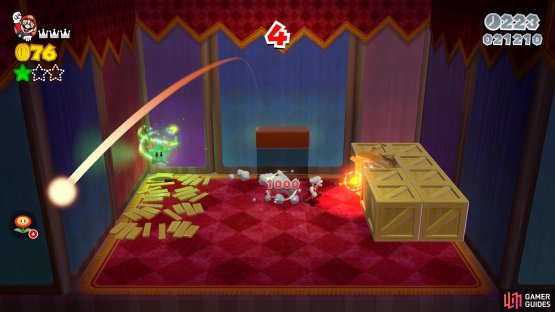
You see the Warp Box here, but don’t use it just yet. Instead, go to either the right or left side and use a jump pad, then wall jump to the top, where you will find Green Star #1. Now use the Warp Box to reach the Checkpoint Flag. The next area is filled with Switch Panels that must be flipped, but be careful with the Biddybuds. Beyond that, climb up the next cliff and use the Red Ring to collect eight Red Coins for a Power-Up. Head to the left side an into a Mystery Box to a room with a bunch of crates. Destroy the back left ones to reveal Green Star #2, then head to the next area.
(1 of 2) You’ll find the third Green Star in the final switch panel area with the Magikoopa
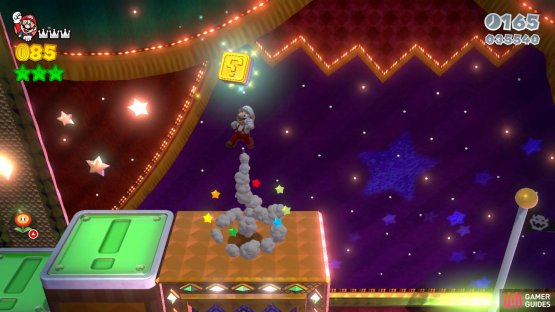
You’ll find the third Green Star in the final switch panel area with the Magikoopa (left), You can use a boosted jump to reach the Stamp if you’ve already lowered the platform (right)
Here, a Magikoopa guards Green Star #3 so you’ll need to run through the center and defeat it. Run around the edge to collect some clocks, then make your way to the cannon. Launch your way to the final area, where you will find some more switch panels. Hitting all of these will make the ledge in the back lower, allowing you an easier time in touching the top of the flagpole. If you have the Cat Suit, though, you can simply climb up to the top of the platform and grab the Stamp in the air. Once it’s lowered, though, you can perform a higher than normal jump by timing a jump after performing a Ground Pound, which should be just enough to get it. After collecting the Stamp, leap to the Goal Pole to finish.


No Comments