Upon entering this area you will see two gun turrets, one horizontal and one vertical. You should see a faint beam of light leading away from the turret; this is its line of fire. If you stand in the laser sight for more than a couple of seconds, the gun will tear our hero to shreds. To get past this next section we need to get rid of the horizontal gun.
To do this, jump across the gap and over to stand in the beam of the vertical turret. Before either gun starts shooting, quickly jump back across the gap and stand on top of the horizontal turret. The vertical turret will move back and forth across the ceiling, when its laser is above the horizontal turret, stand in the beam so it shoots. It will return back to its original position and then come back again, once more get the turret to fire at the horizontal gun and it will be destroyed.
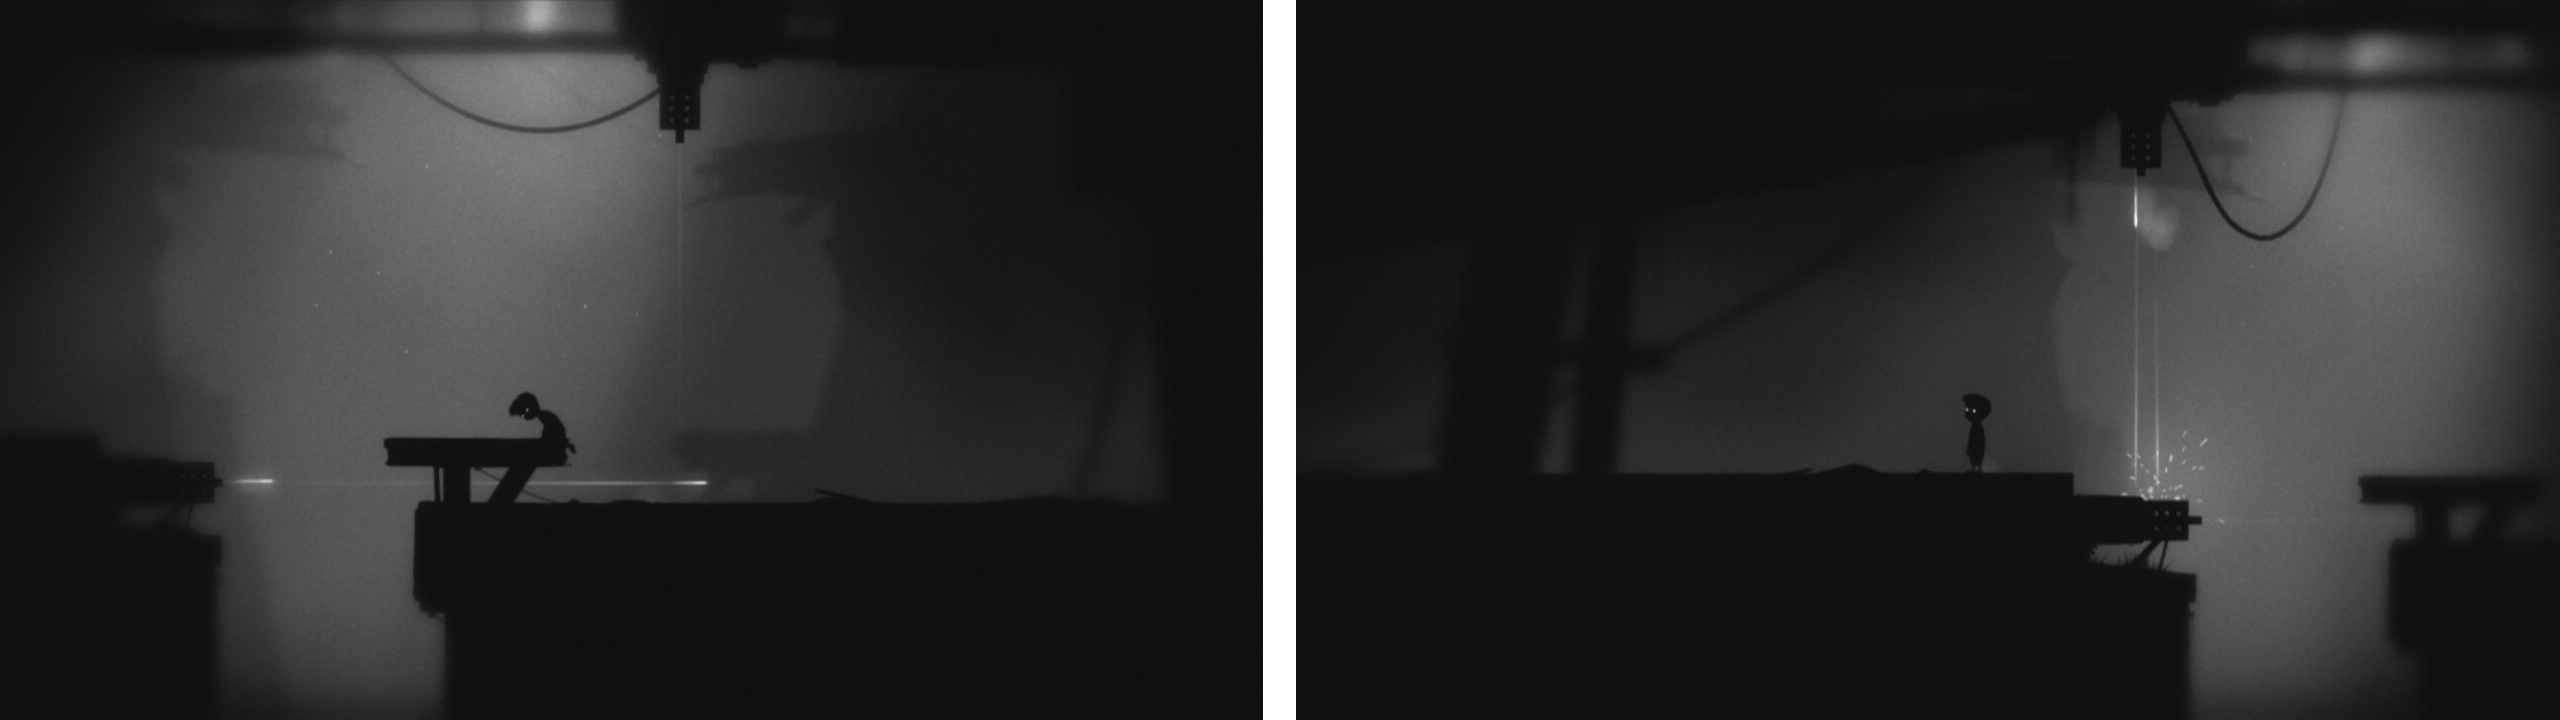
Activate the vertical turret (left) and lead it back to the left. Activate it again above the horizontal turret to destroy it (right).
With that obstacle removed, we can now jump across the gap and continue to the right.
Continue down the ramp and drop into the room below. Push the farthest crate to the right and you will come across a pressure switch which will invert gravity on the left hand side of the room. Ignore this for now and push the box up the slope on the right side of the room. When the gravity is back to normal, give the box one more push, then run and jump over the button. Run up to the second crate, push it a little and then jump back up to the slope above. Wait for gravity to right itself again and grab the crate before it slides down the ramp again and place it beneath the ladder at the top.
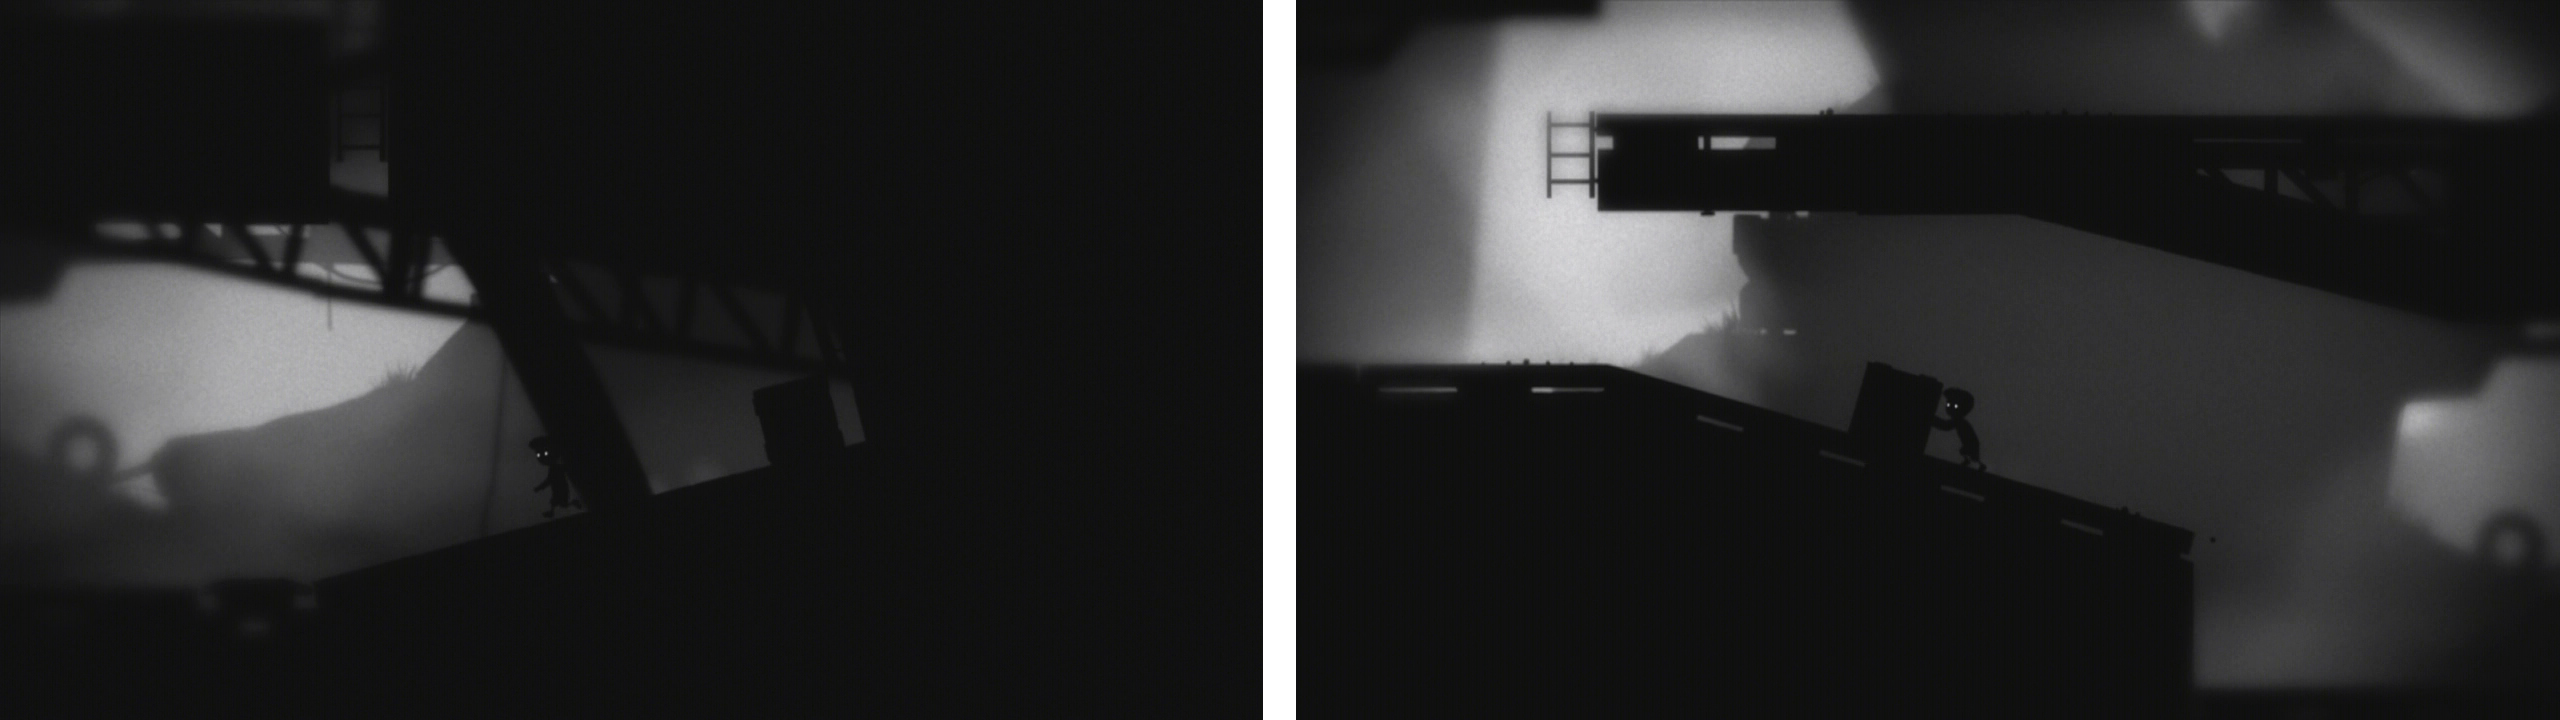
Push one crate up the ramp so it will slide down onto the gravity switch (left). Use the box to jump up to the ledge on the right and then grab the crate when gravity rights itself (right).
Jump up the ladder and continue to the right a little bit. Climb down a second ladder here. This will extend down into the pressure pad room below. Climb down the ladder. Once again, push the crate up the slope, and as it makes its way towards the button, run back to the ladder, climb to the top and head to the left, by the time you reach the end, the gravity should have been altered and you will see the other box hanging just off the edge of the platform. Pull it onto the main platform.

Climb down the ladder and push the box up the ramp again (left). Climb back up the ladder and grab the other crate whilst gravity is inverted (right).
When gravity corrects itself, push the crate so it sits just below the upper platform on the right side. One final time, climb back down the ladder and push the crate up the ramp again. Quickly climb the ladder and jump onto of the crate. As gravity goes nuts, jump across to the now open platform above.
No Comments