When you reach another crushing trap, look beneath it to see a raised piece of ground. This is a safe zone. So jump to this section and then over to the other side. The second crushing trap you see moments later is the opposite. The raised piece of ground will activate the trap, so jump over it.
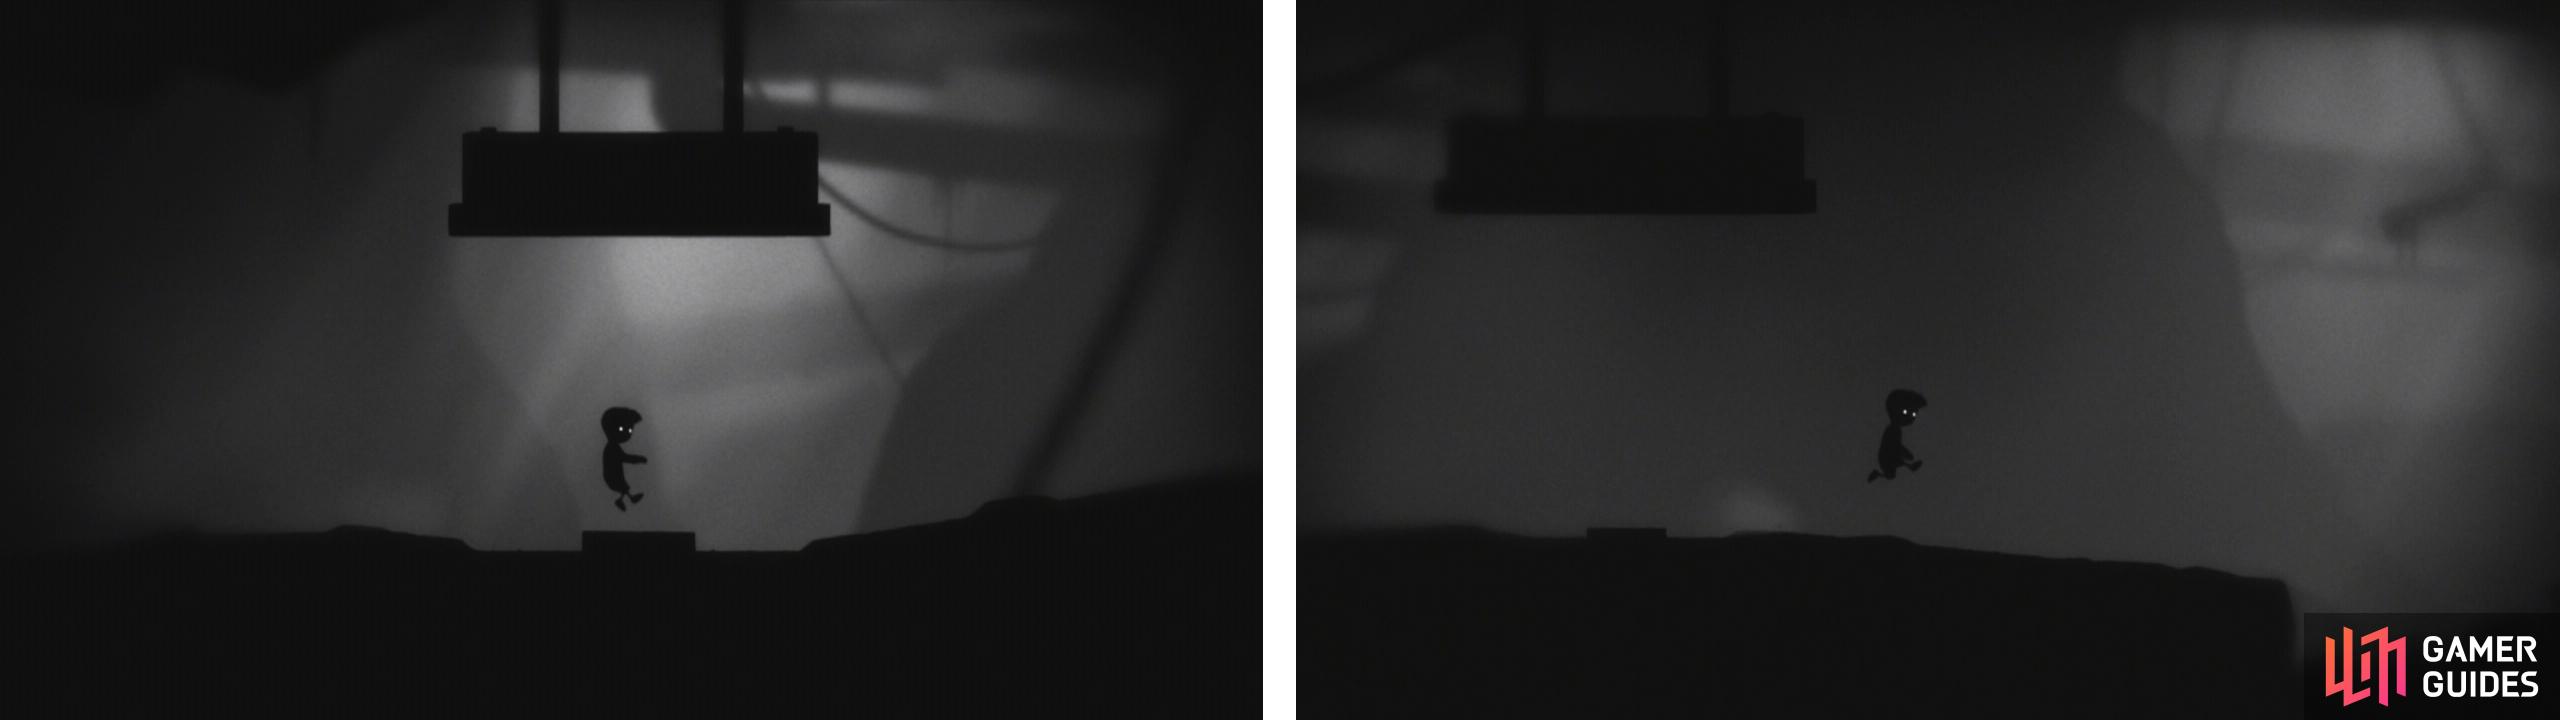
The raised section of ground beneath the first trap is the safe zone (left) but conversely it will trigger the second trap, so use the ground around it (right).
Following the crushing traps, jump across the spike pit. As you do, the camera will pan across a bit to show three shadowy figures with blow darts. Stand still and they will kill you, so quickly jump back across the spike pit and past the two crushing traps (remember the safe spots!). The pit and the traps will take care of your pursuers.

Once you see the three shades, jump back over the pit and through the pair of traps (left). Once they have been set off, you can safely head back to the right (right).
Once the three shades are dead, work your way back over the top of the activated traps, continue across the spike pit and keep on moving to the right.

 Sign up
No Comments