With King Hoppy not bouncing around anymore, exit Floeberg Waters and you’ll appear on the world map. There is an area you can go into just to the west, but there’s nothing there. In fact, there is really nothing on this portion of the world map, so just go south to find a cave entrance in the entrance, leading to the next dungeon.
Archimell Ruins
| Enemies |
|---|
| Black Flapper, **Magiconda*** , Snecter, Woot-Hoot |
*Magiconda is a Spritnite-Eaten monster
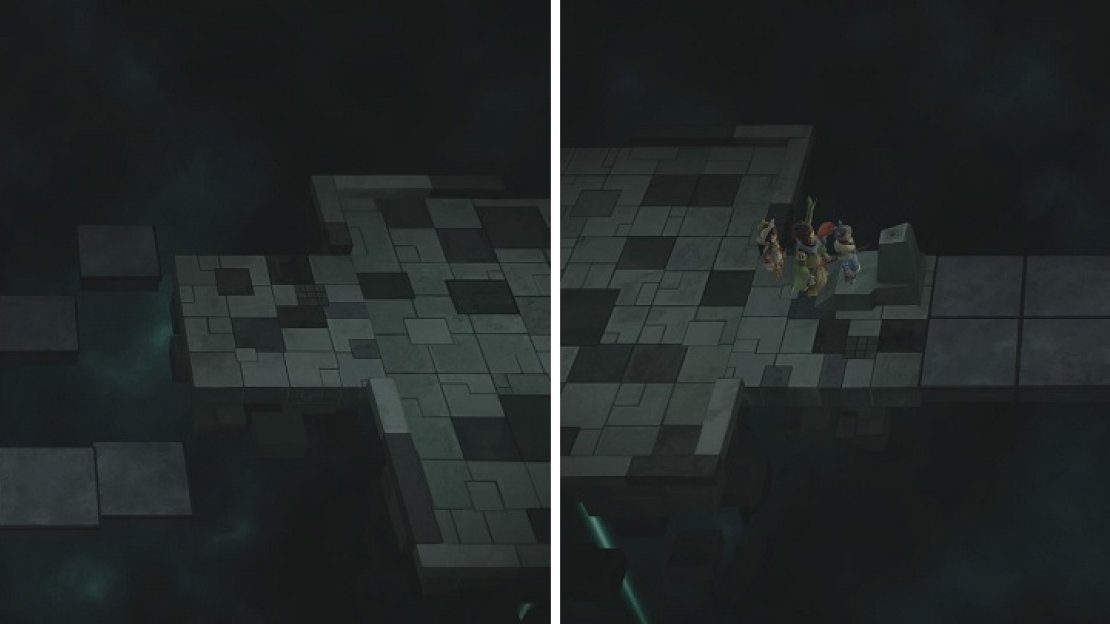
This is a pretty long dungeon, so it’s a good idea to be very prepared for its arduous trek. The insides may look a bit familiar if you entered the Apparth Ruins earlier (the big tower). For now, move straight north and use the button to get teleported inside of the ruins. There will be another pedestral to your east, so hit the button there to make some dormant floating blocks move into place, making yourself a path to lead further into the dungeon.
Continue west and then south, down some stairs, and up some more stairs to find another pedestal. Use it to create another bridge and cross it, then go straight south for another pedestal. Cross the bridge to the south and move down the eastern set of steps to find a chest ( Counterstrike Talisman ). Return to the area just before the created bridge and head west this time. You should see some stairs going south, as well as another set heading west.
The switches inside the ruins will create bridges for you to cross.
Take the western set to find another chest at the north end of the small area ( Blue Frost weapon for Endir ). Return to the split and take the southern stairs to another pedestal. Trek back to the first bridge you made and head south, then west, following the path laid out for you to reach a new area within the ruins. In this new area, go west first to hit the pedestal, then south to gain access to the bridge.
Continue along this path until you come to a cutscene, where Endir and Nidr get transported to another place. There’s really nothing to do here, other than listen to the conversations that happen as you move to the north. Eventually, you’ll be back in the dungeon and will be able to move again, so take the teleporter to your west. Head north and ignore the western path, as it just leads to another locked chest and at the next split, go north to open the chest you find there ( Elixir ).
Keep going south and you’ll encounter a three-way fork not that far past the bridge you pass underneath. The eastern path just leads to an inactive teleporter, so ignore it for now and take the southern road for now. It’s a short one, leading straight to another pedestal to hit, creating a bridge along the western path. Take the western path now and here will be a chest on the eastern end of the small area ( Magic Seal Talisman ), so grab it and head south to end up in another area.
Follow the path here to come to another three-way split in the road. Going straight south leads to a dead end for now, where you will find a save point, so use a Tent/Cabin if needed. Each of the other two paths will eventually bring you to pedestals that activate the two sets of stones to form a bridge just south of the save point, as well as another to create a shortcut back to the central path. It’s also a good idea to explore the areas to find chests, with the western path one containing Hi-Potion x4 and the eastern one netting you a new weapon for Setsuna ( Ribbon Chakram ). With the bridge formed, go south from the save point to come to a boss.
BOSS - Reaper (3)
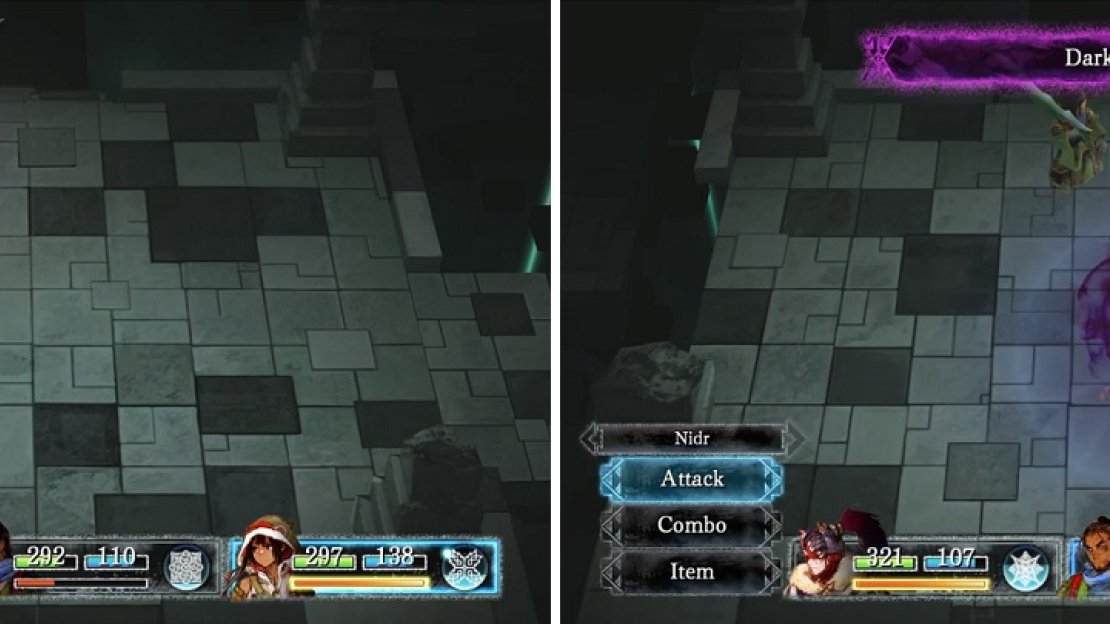
He is back and is pretty similar to the last fight, except stronger and with two new tricks up his sleeve. He still has Dark Mist and Helix Slash from the previous battle, so you should know what they do by now. His new skill is called Cursed Slash and it deals some pretty good damage, as well as the chance to inflict Sap. Get rid of this with an Antidote or by using a Momentum’ed Aura with Endir. At around 50% health or so, Reaper will use Absorb to buff himself with the ability to absorb both HP and MP.
Cursed Slash can inflict Sap on whoever it hits (left). When Reaper uses Absorb, he will gain HP and MP back whenever he attacks you (right).
Although he doesn’t absorb too much when it triggers, it’s still annoying to have to keep prolonging the fight. At the beginning of the fight, buff up with any you have, especially Protect and Wall (Momentum to hit all) if you have the characters in your party. Techs that inflict status ailments on Reaper are ideal to use, especially Endir/Nidr’s Blowbeat or Aeterna’s Dream Shatterer. You should be able to defeat him pretty easily as long as you keep your health up and keep attacking.
Reaper will escape once more after defeating him, allowing your party to finally leave this dungeon via the teleporter nearby.


No Comments