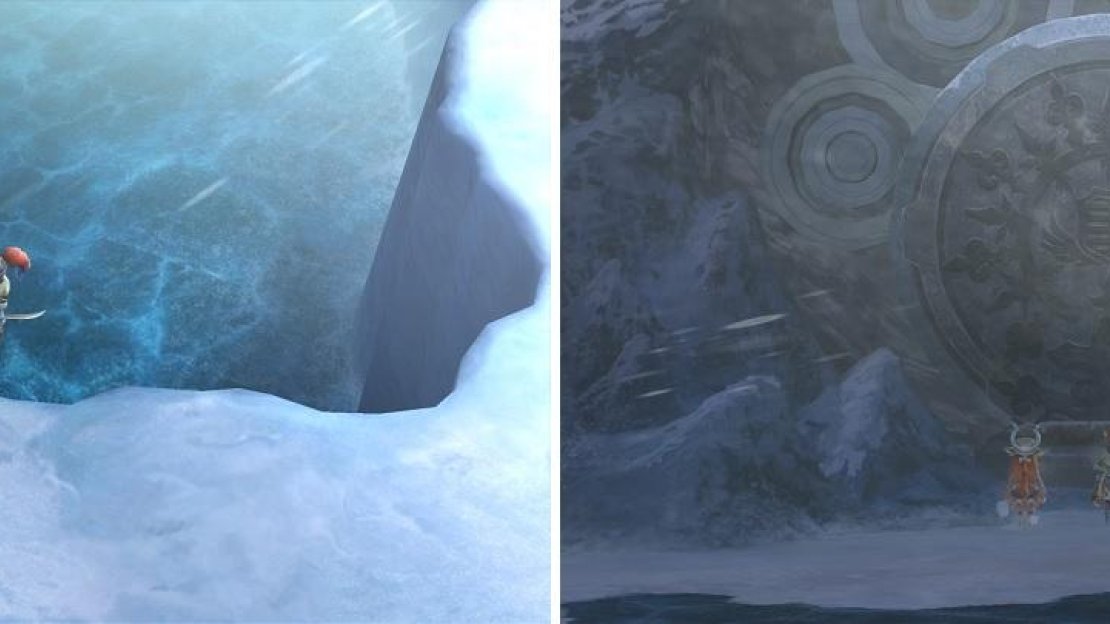
Well, things have taken a turn for the worse, with the path blocked to the Last Lands, as well as both Julienne and Aeterna becoming unavailable to use. For now, climb back down the Fridging Heights and return to Gatherington. There’s nothing new to buy, so restock on any items you might need and head to Sayagi’s house to learn of a clue. When you exit her house, it dawns on you that the man Sayagi was talking about is Akash, the shipwright.
Ask the lumberjack by the village’s entrance to learn that Akash went to Magna Valley. This place is northeast of the village, past where the barrier used to be, so you can get to it by exiting the village to the north.
Magna Valley
| Enemies |
|---|
| **Crystal Shroomback*** , Shroomback, Vulpara |
*Crystal Shroomback is a Spritnite-Eaten monster
From where you entered, head straight east to find Akash hiding in a corner, next to a chest ( Astral Lance ). The Spritnite that Akash is looking for might be inside Ithees Ruins, which is nearby, but the entrance is blocked. As you head north, be careful of the Spritnite-Eaten Crystal Shroomback on the northeastern path. The northwestern path houses a chest ( Elixir x2 ) and where both converge, you will be able to continue to the north.
This will lead to another area, where you find a gigantic gate that blocks the entrance to what must be Ithees Ruins. Akash will appear as you try to exit to the northeast, who mentions you can get back to Royburg by going in the direction you were before he decided to appear. In the new area, go northeast at the split to find a chest with a new Spritnite, Final Comeback .
Be careful of the Crystal Shroomback, as it is very powerful (left). You’ll need to do a bit more to open the big door blocking your progress (right).
There’s nothing else in the area, other than a locked chest, so explore until you happen upon the exit, bringing you back to the world map just south of Royburg. Upon entering the village, the knights say that the monsters are attacking relentlessly. You decide to help them, but before anything happens, they ask you to check on the children hiding inside of Julienne’s house. Go ahead and check out the merchants, then go inside the house to watch the scene.
When you exit, some monsters will start attacking the village. You’ll have to fight through three waves of enemies, consisting of Empys and Rainbow Flappers. After the third wave, a fourth shows up, only to be defeated by a returning Aeterna. Before celebrations are thrown, the head honcho shows up, so get ready for a boss battle!
BOSS - Stout Sheep
You will find that this boss presents another challenge to you and your party, as he is quite strong and with things going its way, he could possibly one-shot some of your characters. One of the biggest annoyances with this battle is that you can’t use food against it, since you fight some scripted battles before it. You don’t get a chance to heal either, since you are thrown right into the battle without any warning that the boss is coming.
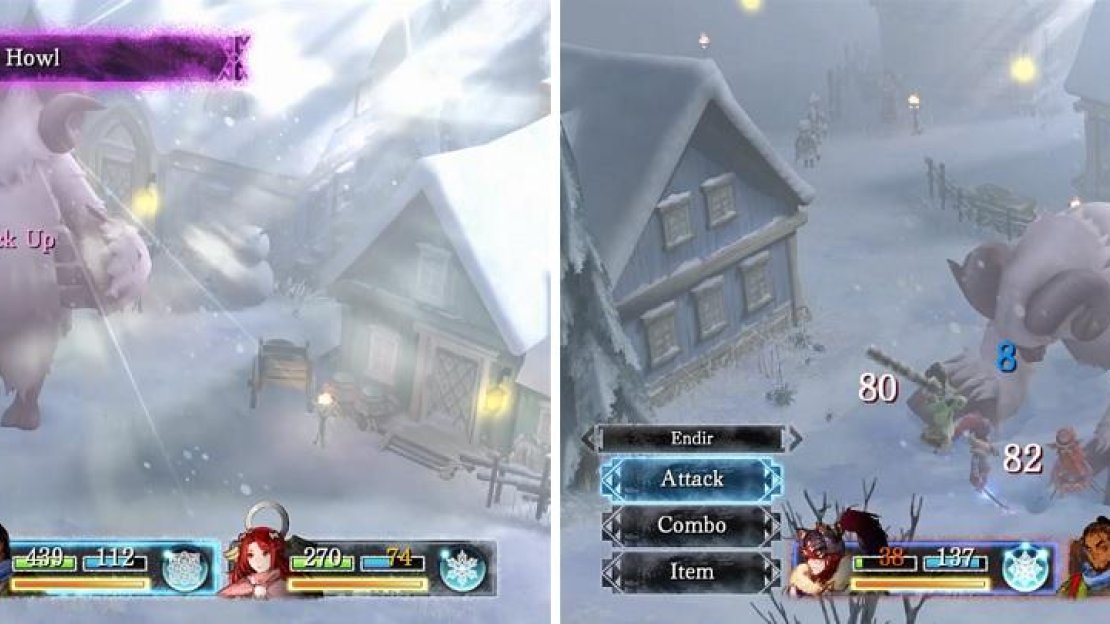
Thankfully, Stout Sheep is a little bit slower than the past few bosses, but he can pack a punch with his attacks. To make matters worse, the boss can use Sheep Howl to raise his own attack and if this is followed by Angry Stamp, it’s highly likely that your lesser HP characters will die, especially if all of the hits connect. While they do some good damage, Ferocious Charge and Horn Toss only hit a single character.
As the fight drags on and the Stout Sheep’s health gets lower, you might see him use Hibernation. While it looks like he falls asleep, the animation is just a bit long and he’ll recover 999 HP at the end of it. There is one more move it can use to heal itself, called Huddle, which is more of a regen effect than a straight heal, but it can heal him for a close 800 per tick. It’s probably better that you see the one-time heal with Hibernation than the over time one with Huddle.
Depending on your party, this fight can be quite difficult. Setsuna should definitely be included, as Cure II is invaluable in keeping everyone’s health at its max. You will also want to include Cure in her Spritnite, since all but one of the boss’ attacks hits a single target. Debuffing the boss is ideal here, with Paralysis working wonders to keep him from healing, as well as decreasing his attack, especially if he manages to increase it with Sheep Howl. The battle basically boils down to keeping your health at max, reviving when necessary and debuffing the boss to keep him from doing certain actions or limiting his strength.
Sheep Howl (left), followed by Angry Stamp (right) will do some major damage to your characters.
The Stout Sheep has fallen and the village is back to being safe for now. After you celebrate your victory, go back inside Julienne’s house and have the children sing you the song from earlier. It seems there’s some hidden meaning in this song, so you set off to ask the researcher in the northwestern home, who says there’s a connection with the Ithees Ruins. However, to get inside, you need Julienne’s help, who went off on her own. As you exit the researcher’s home, Cornelius and Akash appear.
They tell you that Julienne is in Magna Valley, but she’s not in the right state of mind. You find out the reasoning for her ruthlessness and decide to find someone to heal her, so it’s time to return to Gatherington to ask Sayagi. Pass through Magna Valley, ignoring Julienne at the Ithees Ruins gate, and return to Gatherington. Make sure you equip Cure or Cure II on Setsuna before talking to Sayagi, who mentions a spell for Setsuna in helping with curing Julienne. However, in order to power the Spritnite for it, you’ll need to fight her.
This isn’t really a boss battle, as you simply need to survive Sayagi’s attacks and heal up whenever needed. Don’t even waste turns attacking (Sayagi takes 0 damage from everything) at all and save them for healing. Eventually, the battle will end on its own, with you gaining Luminaire for Setsuna. You can now return to Julienne to heal her, after which, she will open up Ithees Ruins.


No Comments