
Dragonspring
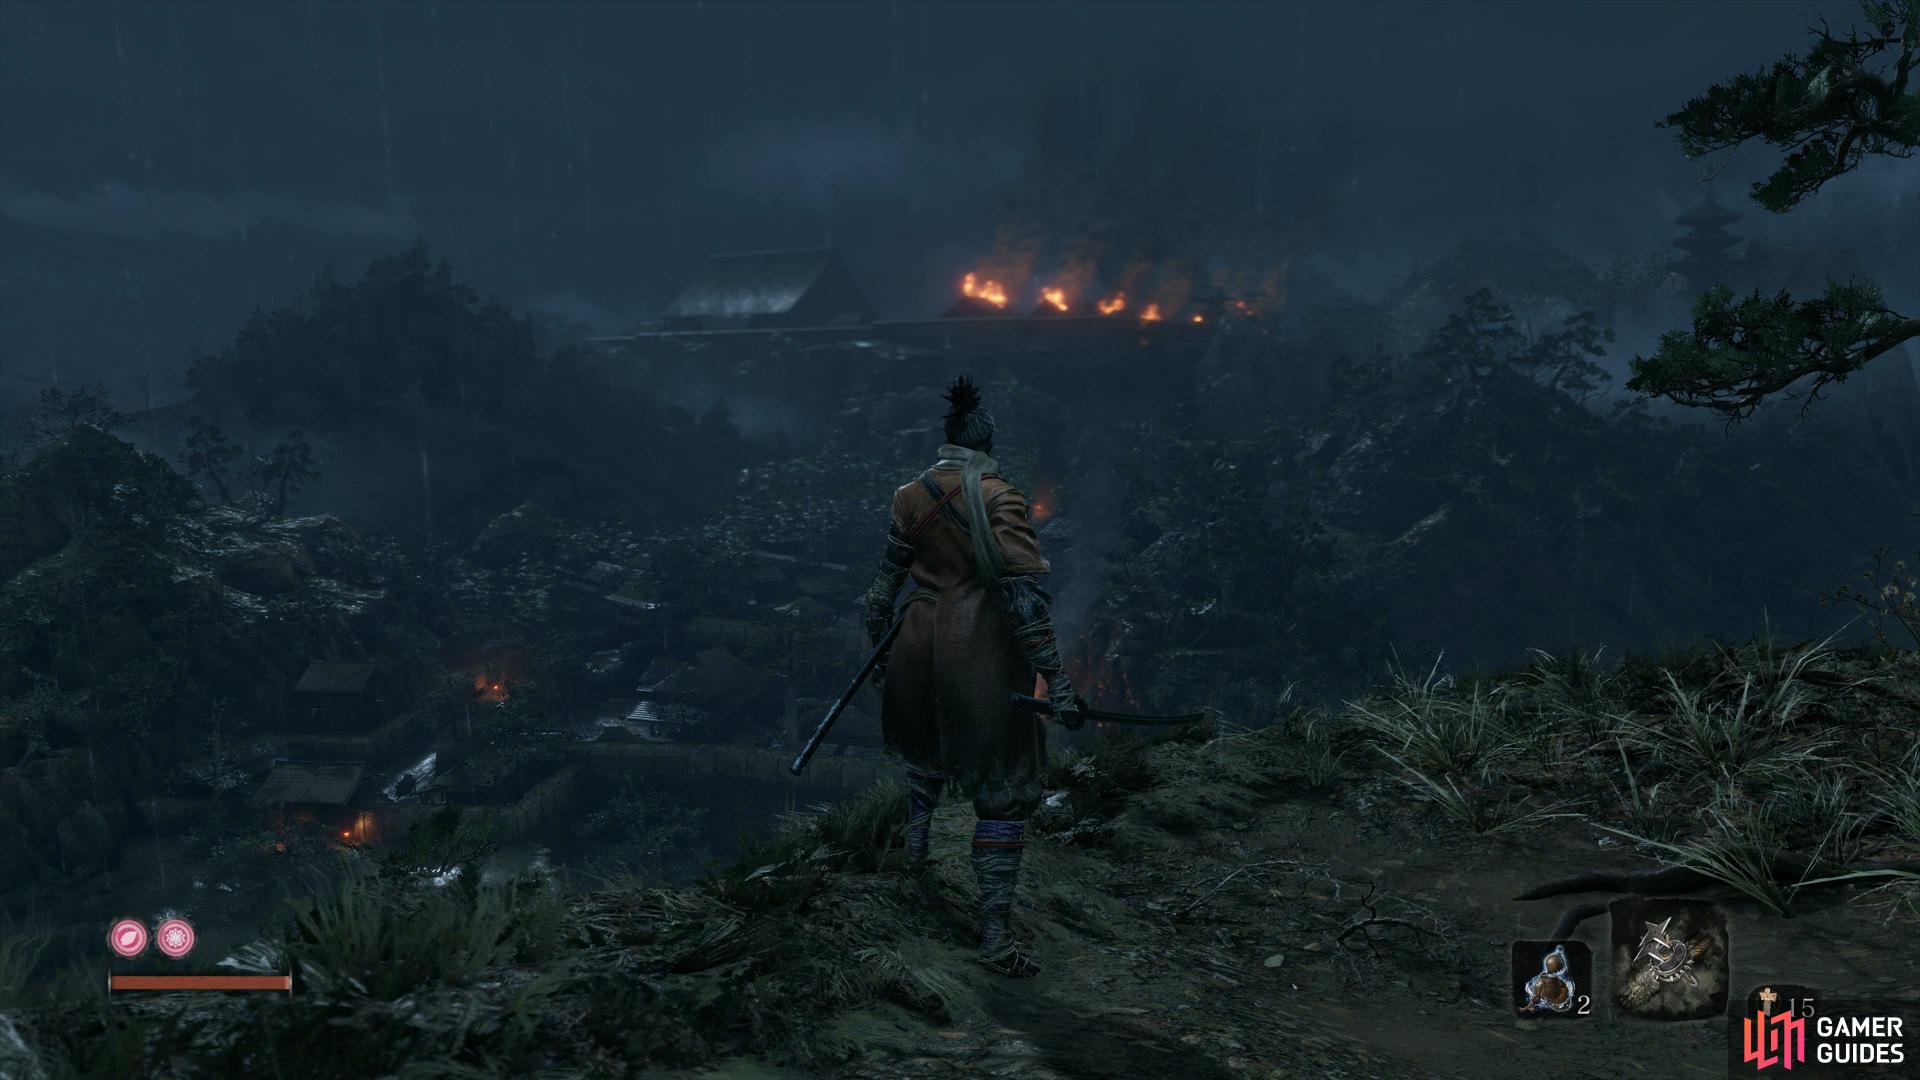
You find yourself in the past of three years ago, in the Hirata Estate. Make use of the nearby Sculptor’s Idol and then look behind you to find some Pellets before looking off to the edge of the cliff at the burning estate in the horizon. The only way down is to leap off the edge of the cliff and grapple to a nearby branch followed by another shortly after it.
Up ahead from where you land, you’ll find some Fistful of Ash and an injured man, speak to him to learn that you are in fact in the past, due to the memories the bell has invoked. Head to the edge of the cliff and jump off towards the left of the bridge, ignoring the Samurai for now. Past the wagon and barrels you’ll find some Dousing Powder, a consumable that allows you to recover from the Burn Status and grant resistance to the build up of it.
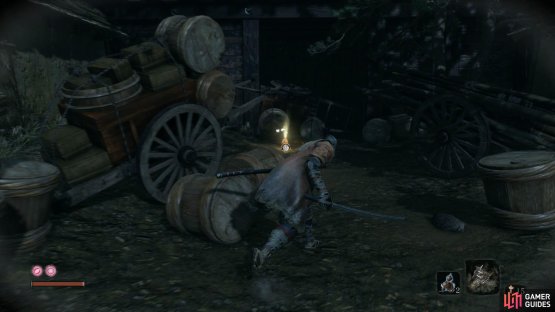
(1 of 2) Search the left side of the bridge for some Dousing Powder


Search the left side of the bridge for some Dousing Powder (left), then wait for the guards to turn their back and backstab them. (right)
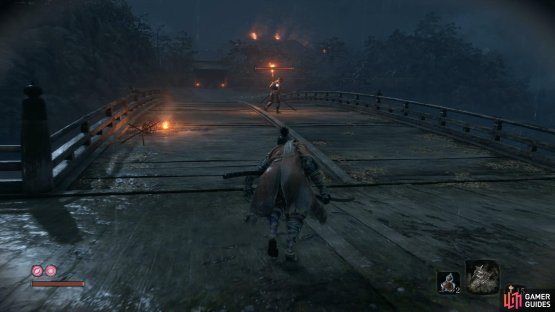
Turn your attention to the bridge now and wait for the nearby Samurai to turn his back to you, allowing for a backstab. Some of the Samurai here wield a torch that, when swung at you, will build up the Burn Status. Should you find yourself inflicted with it, make good use of the Dousing Powder you picked up a short moment ago. Another regular Samurai patrols the length of the bridge too, take him out in the same manner and then head forward to deal with one more at the end of the bridge. This will trigger the final Samurai near the gate and three Dogs, take a step back and use Shuriken on each of the Dogs before taking down the final Samurai.
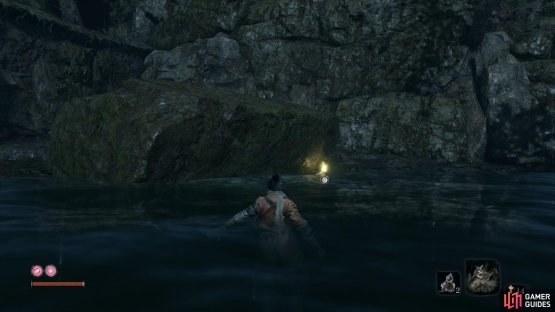
With this area clear of enemies, turn back around to face the bridge and leap off the right side and into the water. Wolf can swim above on the surface of water and even use his sword to strike enemies. For now, swim over to the far side of the bridge and on the right, in the water, you’ll discover your first Treasure Carp Scale. These items act as a currency for a being you’re due to encounter very shortly.
Swim over to the other side of the bridge and you’ll encounter your first Treasure Carp on the surface near the bank, quickly swim to it and strike it to obtain another Treasure Carp Scale. Should it get away, retreat a distance away and come back to have it reappear again. Continue along the right side of the lake here to find three more Treasure Carps for you to kill rewarding you with another three Treasure Carp Scales.
(1 of 2) You’ll find a Treasure Carp Scale along the rocky path
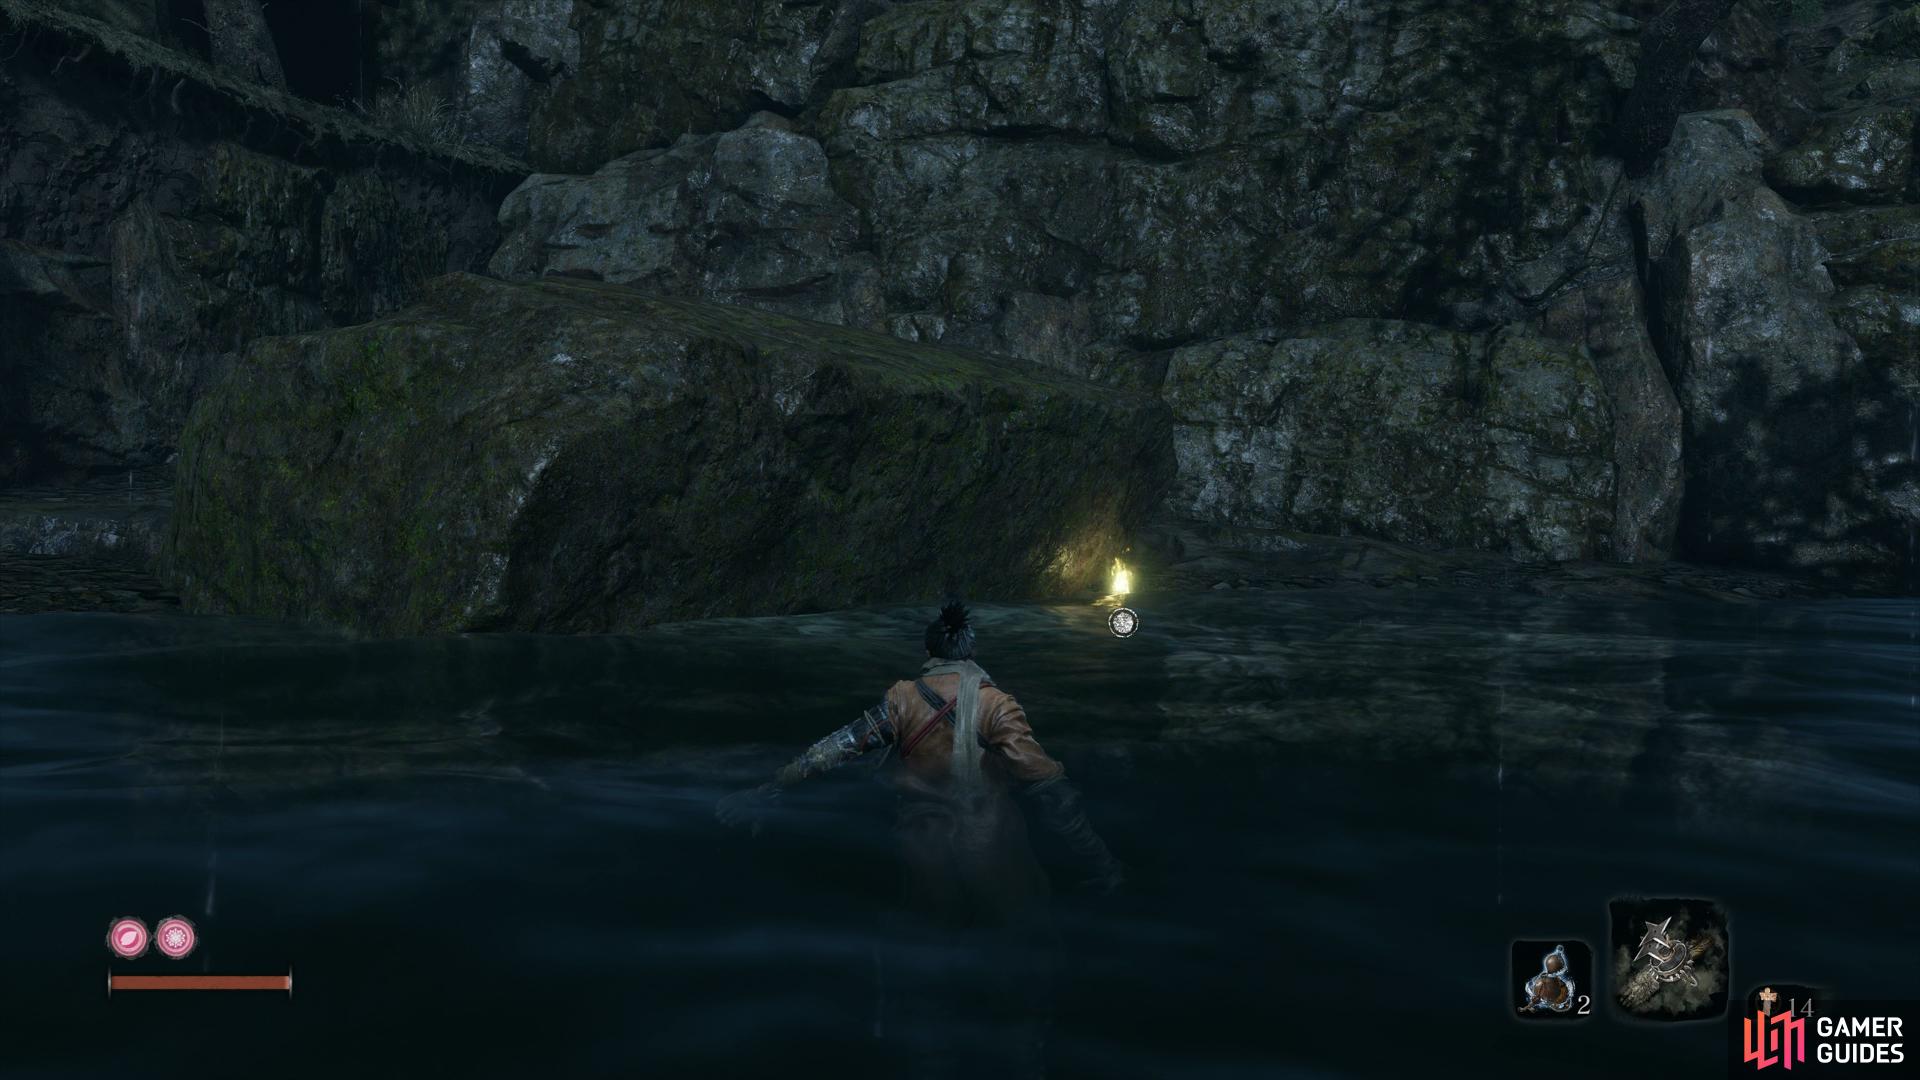

You’ll find a Treasure Carp Scale along the rocky path (left), stay and persevere with the hard to reach Treasure Carps, the Combat Skill is useful. (right)
With your fishing expedition over with, climb on to the rocks in the center and loot the Light Coin Purse. Head along the rocky path here to encounter a rather strange talking pot. This is Pot Noble Harunaga and he’s a merchant that will sell you items in exchange for your Treasure Carp Scales.
| Items (Quantity) | Cost (Treasure Carp Scales) |
|---|---|
| Divine Grass | 1 |
| Withered Red Gourd | 2 |
| Mask Fragment: Right | 7 |
| Floating Passage Text | 5 |
The most useful item here is by far the Floating Passage Text, this will unlock an extremely useful Combat Art that allows Wolf to unleash a flurry of attacks on an opponent. As mentioned previously, it’s worth taking the time to defeat the harder to hit Treasure Carps here and purchase this skill. The next item on your agenda should be the Withered Red Gourd, this acts just like your Healing Gourd (it recovers uses when you rest) and acts the same as a Dousing Powder. The Mask Fragment: Right won’t come into play until near the end of your journey so hold off on it for now.
With your new Combat Art, enter the Equipment Menu and equip it to the slot next to your Prosthetic Tools. You can only equip one Combat Art at a time and your initiate them by pressing the [L1]/[LB] + [R1]/[RB] buttons. With this particular skill you can keep pressing the attack button more for strikes after the initial flurry.
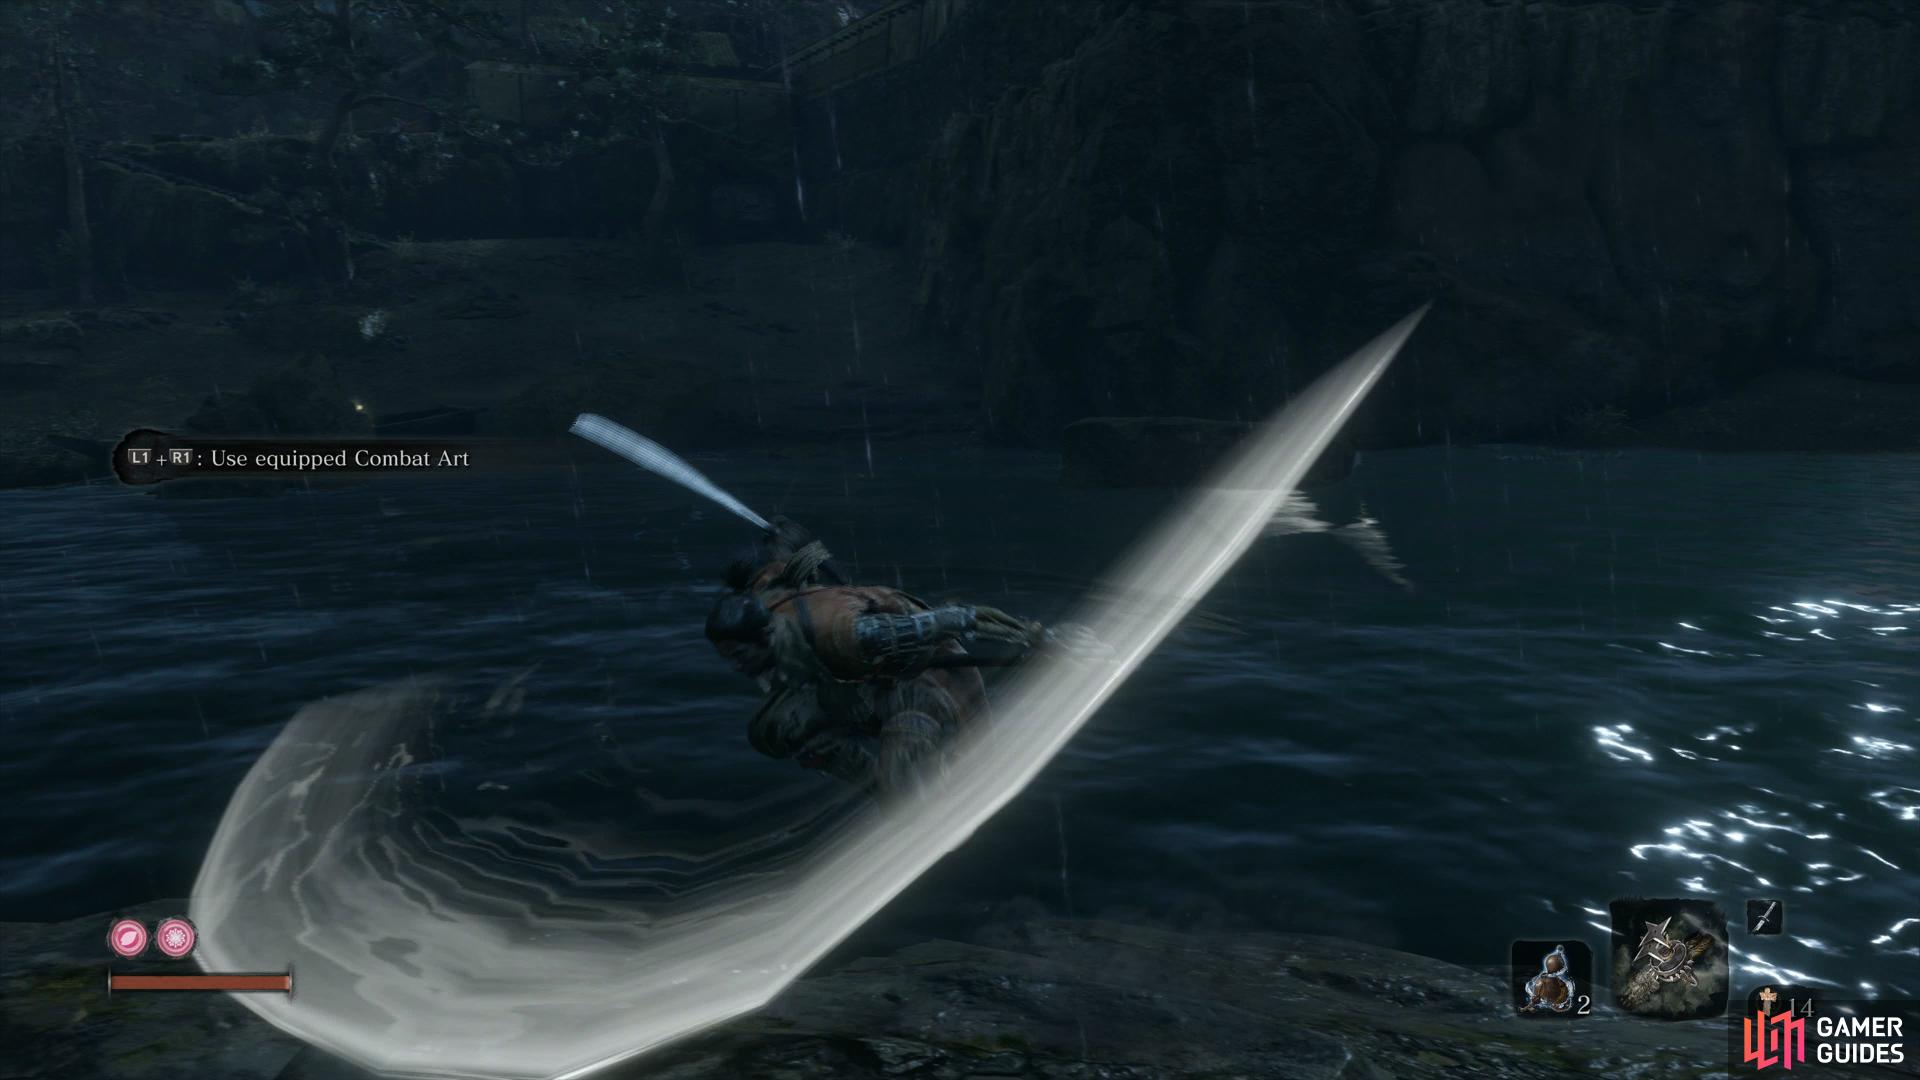
This Combat Art is incredibly useful to have early on.
Swim over to the other side of the bank now to loot a Mibu Possession Balloon on the rowboat, like the other Balloon consumable, this will increase the items that drop as loot from enemies. You’ll also need to take care of a Dog and a lone Samurai here, use the Shuriken on the Dog before focusing on the Samurai. With the area fully cleared of enemies, grapple back up to the gate and then again to the roof. Drop down and loot the Ceramic Shards before communing with a new Sculptor’s Idol.
Estate Path
Upon refreshing your status at the Idol, hug the nearby wall and wait for the Guard to walk away before backstabbing him. This will alert the nearby Archer so quickly toss three Shurikens to take him out and then retreat to the wall near the Idol. Scale the wall here and drop down to the left of the tower, following the grassy path to the end where you’ll find some Ungo’s Sugar. Climb the wall at the end of this path and look down to find an unsuspecting Samurai, Air Deathblow him and then grab the nearby Fistful of Ask before dealing with the last Samurai here.
Head along the outside wall to find this item.
Scale the wall here to the right of the locked gate to spot another three enemies to take care of. Head along the wall back towards where the Idol sits and drop down behind the house to find an Ako’s Sugar. You won’t be able to use Stealh on all of the enemies here so pick a target and perform an Air Deathblow before taking on each of the others, your new Floating Passage skill can be put to use here.
With the area clear of enemies, search in the ruins of the house to find some Pellets and then grapple to the branch to the right of the closed gate to survey the next area. There’s an Archer on a nearby roof, followed by a torch Samurai patrolling with a Dog. Down near the bonfire you’ll find another three Samurai followed by a drunken one behind the nearby house. Finally, there’s another torch Samurai at the far end waiting to pounce.
The best way to approach this is to use Stealth and take care of the Archer on the roof by sneaking across the rooftops. Be sure not to alert anyone and then focus on using an Air Deathblow on the patrol once it passes by your initial branch. Follow this up with a quick Shuriken to the Dog before anymore of the enemies become alert to your presence. Head behind the houses now and slowly make your way around to one drunken guard before looting more Ceramic Shards.
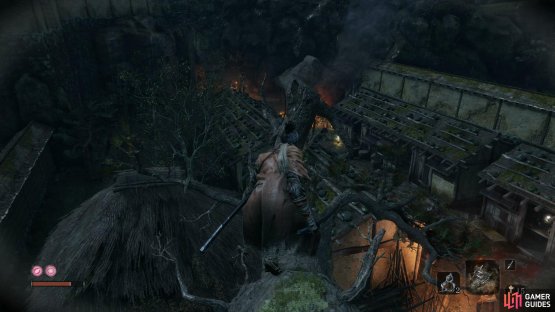
(1 of 2) This branch provides a good overview of the area ahead


This branch provides a good overview of the area ahead (left), the ultimate reward for this encounter is the Flame Barrel in the fire. (right)
Another drunken guard can be found a bit further down the path and you’ll end up just before the bonfire. You’ll have no chice but to take them on here so even the odds a little by climbing to one of the rooftops and using an Air Deathblow on the guard with the axe. You’ll still have three enemies to take care of as the other guard at the end will come rushing in. Stay locked on and take them down one at a time, retreating to the rooftops if you become overwhelmed. If you’re struggling, you can attempt to run away and lost the alert status before picking them off one at a time with Air Deathblows.
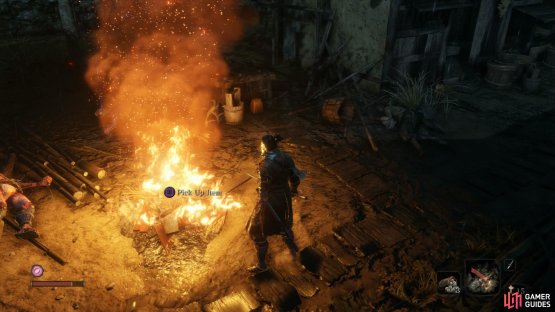
Regardless of how you take care of the enemies here, head back towards the bonfire to loot some Pellets, a Mibu Balloon of Wealth and a Dousing Powder. Turn your attention to the bonfire itself next and you’ll spot an item you can interact with in the center of it, loot it to obtain the Flame Barrel, another Shinobi Tool. Finally, search behind the house where the Archer was to find more Fistful of Ash to clear the area of all items.
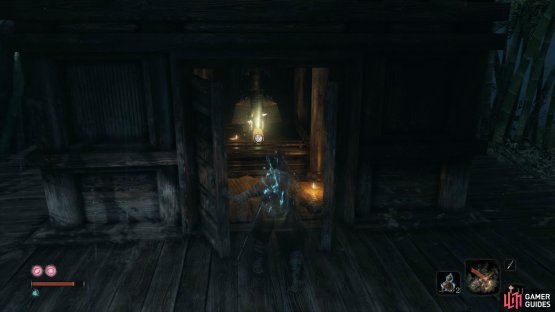
Take the stairs up at the back and dispatch another Samurai and then you’ll chance upon a dying man to your right. Speaking to him reveals a hint about an axe nearby, something that may be useful to a Shinobi. Turn to face the wall to your left and jump up to grab and climb to the roof. You’ll be able to Eavesdrop on the two guards and once done, use an Air Deathblow on the axe guard before taking out the other. Open the temple door following their defeat to find the Shinobi Axe of the Monkey, yet another Shinobi Tool. Before leaving this small area, search around the ruins of the house next to the temple to find another Light Coin Purse.

Inside the temple by the two guards is the tool for the Loaded Axe.
Head back over the wall to the main pathway and then scale the wall in front of you. You’ll see a Chicken waiting for a Deathblow, oblige and then take out two more in the pen to the right. Loot the Pellets in the pen after and then head around the back of the large house to take care of two more Chickens. Check out the house after to find some Ungo’s Sugar and then climb on to the roof of this house to find another Light Coin Purse.
Return to the main pathway once more and head back towards where the locked gate was, you’ll find a Gokan’s Sugar, a consumable that reduces Posture damage for a short time. Unlock the gate now and make your way back to the Idol at the beginning of the estate. You should have enough Skill Points to learn the Mikari Counter by now and save the rest for the moment as you travel back to the Dilapidated Temple.
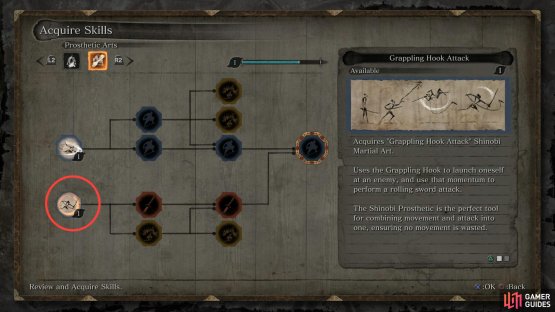
With the Mikari Counter skill now unlocked, Hanbei will have a new training regimen unlocked for you, make good use of this to learn how to use this skill effectively, it’s a skill you’ll need to master. Once satisfied, head to the Sculptor and have him fit the Loaded Axe and Flame Vent tools you picked up a moment ago. For fitting more than three tools, the Sculptor hands over the Prosthetic Esoteric Text that will unlock another new Skill Tree. If you still have at least one Skill Point on hand, purchase the Grappling Hook Attack from the Prosthetic Arts tree, it will be useful for some upcoming boss battles.
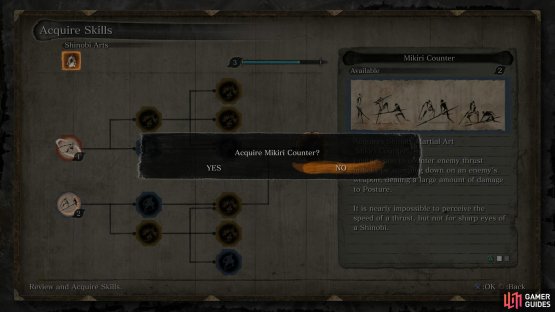
(1 of 2) You’ll be making use of Mikari Counter very shortly


You’ll be making use of Mikari Counter very shortly (left), this skill should be your next priority. (right)
Your two latest tools are very useful and will become a mainstay of your Shinobi toolset. The Loaded Axe is slow but splits the shields of any enemies while dealing large posture damage. During difficult battles, if the opportunity arises, add the Loaded Axe into your tactics. The Flame Vent on the other hand does large Burning damage and is especially useful against beasts and any enemies with Red Eyes. You can enhance the damage further by tossing some oil at the target before unleashing it.
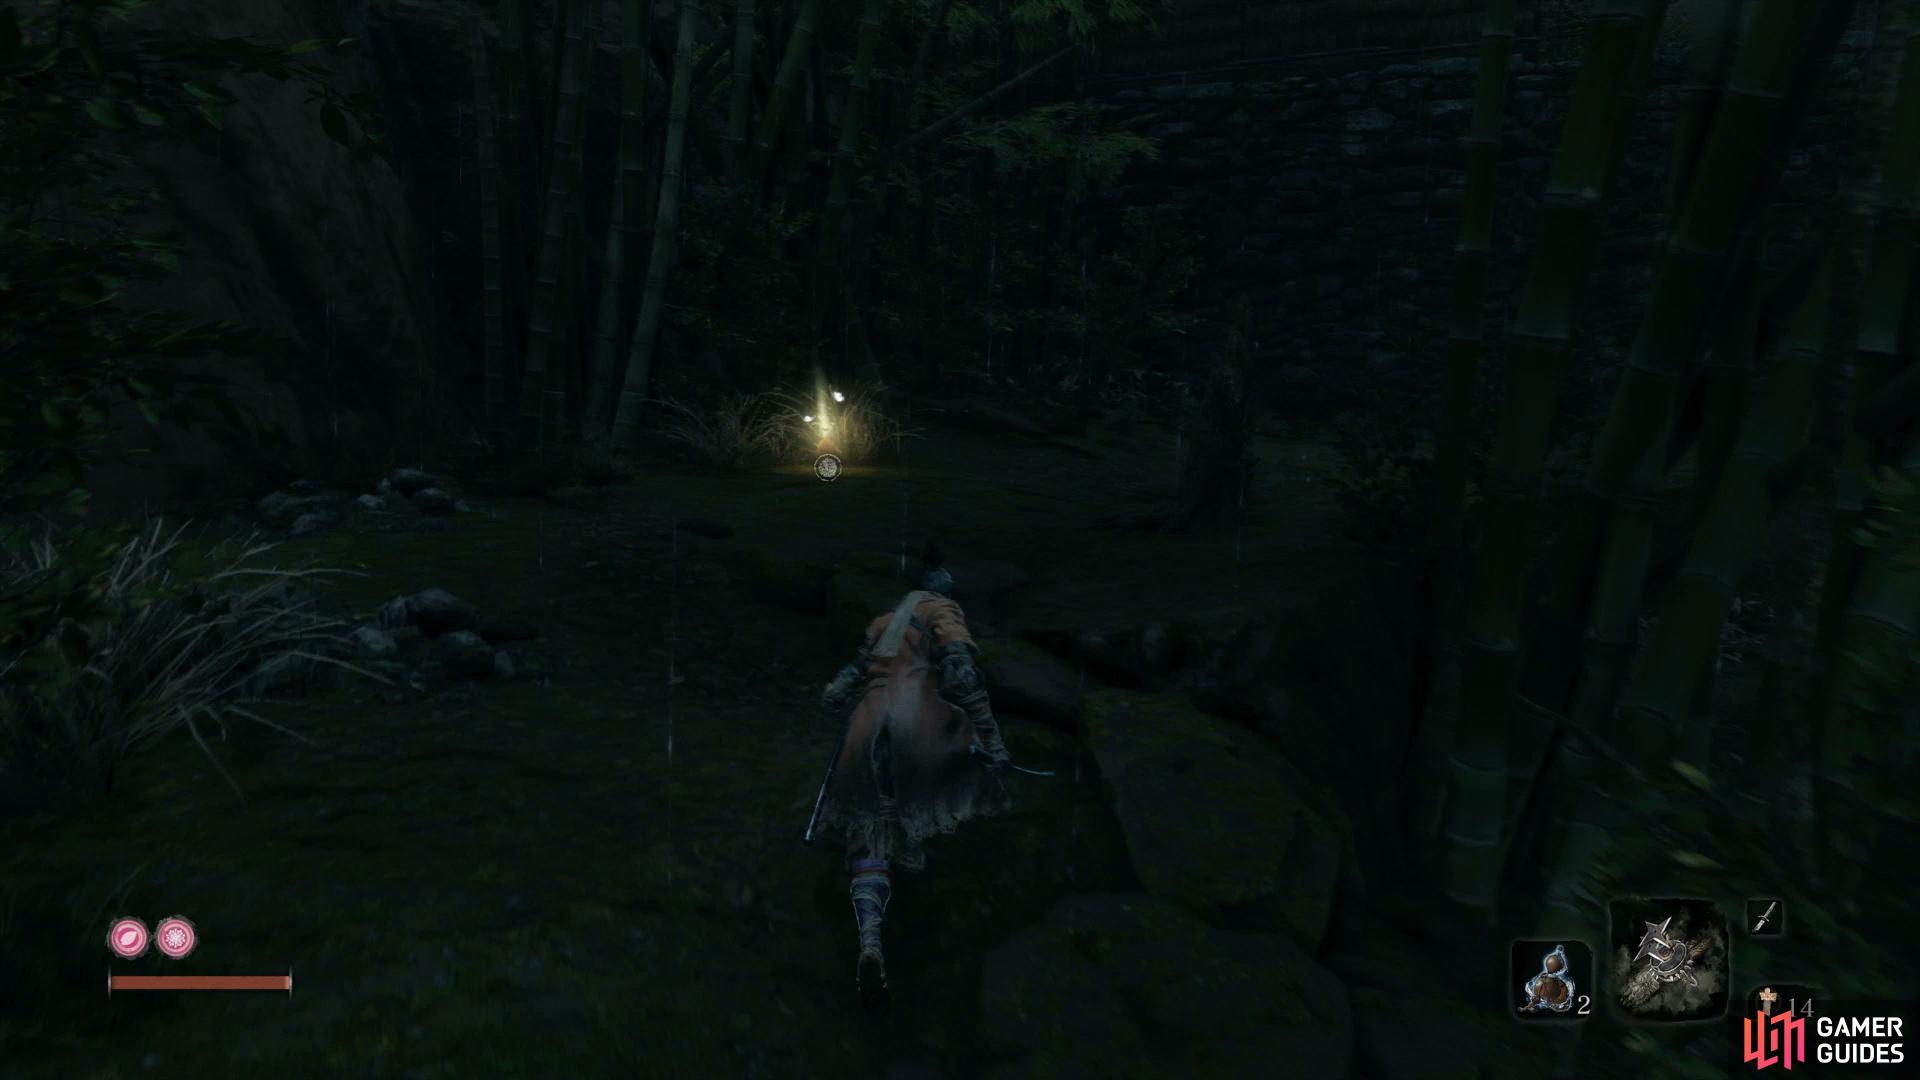
Return to the Estate Path and use the previous shortcut that you created a moment ago to return to where you were previously. Proceed up the path and when you see the two enemies at the gate to the right, climb the wall to your left and drop down. Speak to the nearby looter to discover that it’s in fact Anayama (didn’t he mention about “that night”?) and will give you a hint about a three-story pagoda and possible treasure. Grapple up to the roof behind him and drop down, following the bamboo path to loot another Bundled Jizo Statue.
(1 of 2) You’ll find this valuable item in the path behind Anayama


You’ll find this valuable item in the path behind Anayama (left), the Loaded Axe will split shields in half and present a Deathblow opportunity. (right)
Return to the main path by way of a rooftop and Eavesdrop on the two men there. One is an axe user while the other has a torch so pick whichever one you struggle with the most and Air Deathblow him before taking out the other. Grapple on to the roof of this gate now and Eavesdrop on the nearby house to learn about a Shinobi Hunter, another difficult foe that you’ll soon encounter.
Drop down to the houses here, there’s no enemies so you can forego stealth for now. Speak to the woman in the window to your left to obtain some Antidote Powders and then return to the main path once more. On the nearby stairs is a patrol, try to lure him to you without alerting the shield guards at the back and dispatch him. Just above here are your first encounters with the shield guards who, provided you have Spirit Emblems to burn, go down with a swing of the axe followed by a Deathblow.
At the bridge, you’re presented with two paths you can take, the first being across the bridge and dealing with a difficult Mini-boss. The other sees you taking the river upstream and following a path there towards your main objective. For now, be sure you have the Mikari Counter skill (if not, go back now and purchase it) and grapple up to the top of the nearby tower. Stay crouched and look over at the area in front of you to survey it.
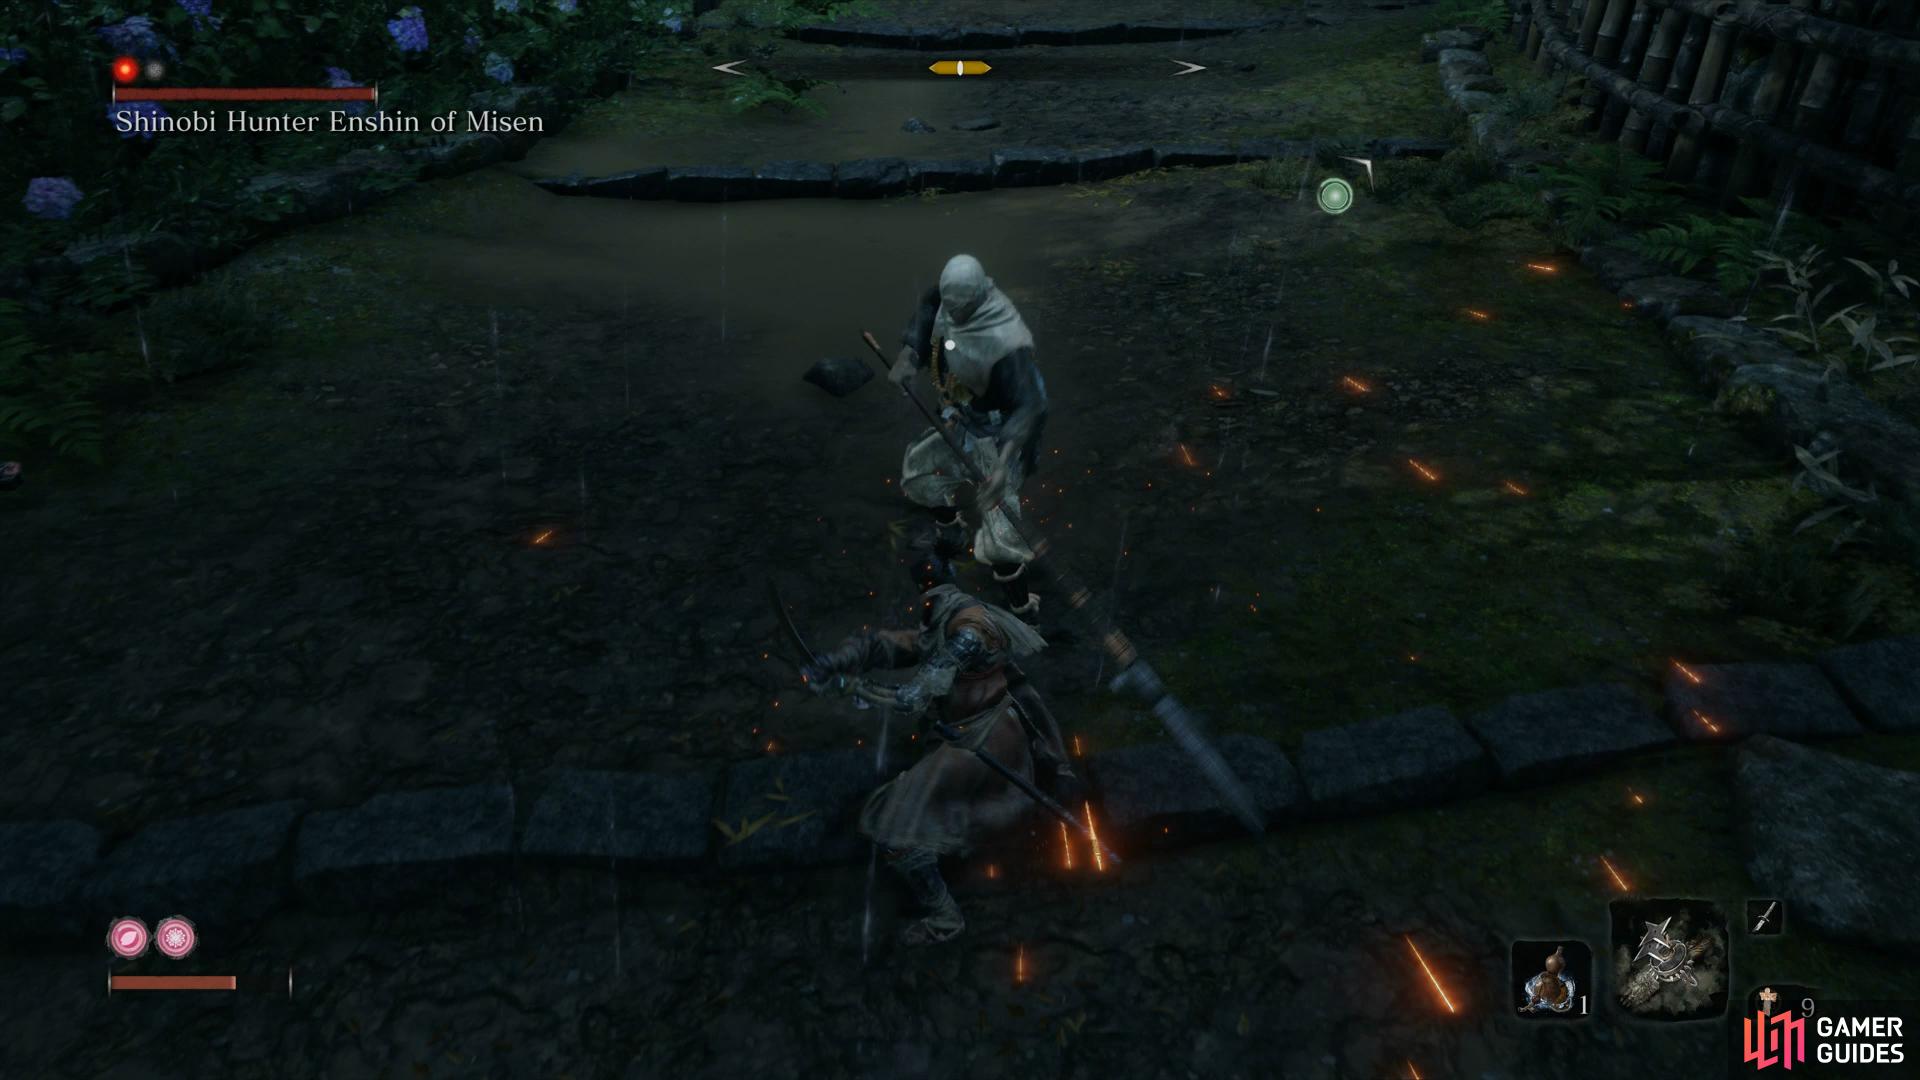
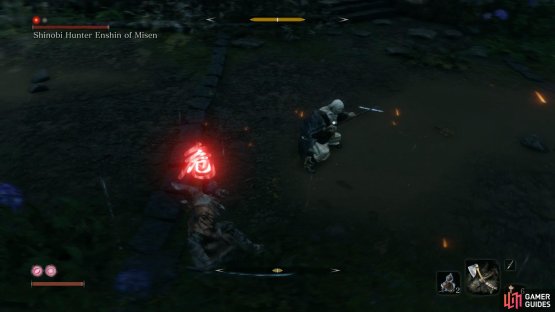
Mini-boss: Shinobi Hunter Enshin of Misen
As you may have noticed by now, nearly all Mini-bosses are accompanied by multiple regulard enemies and, seeing as the Mini-bosses are difficult on their own, you’ll want to take out the reinforcements before the main event. Indeed, a lot of these encounters almost work as a puzzle, working out how to take care of these reinforcements are part of the battle.
To begin with, Enshin himself is the spear wielder at the back while you’ll find a nearby torch guard patrolling under the roof you’re at. There’s another guard between Enshin and this first one while two more can be found on the raised area to the right of them.
Begin by performing an Air-Deathblow on the patrolling guard and then toss three Shurikens to deal with the Archer that will become alerted just up ahead. Wait for Enshin to turn around and then grapple over to the branch to take out the other two guards. This will alert Enshin so get away and lose the alert status and wait for him to reset his position. Sneak back up via the last branch you grappled to and perform an Air Deathblow on Enshin to take away one of his Circles.

(1 of 2) Take the time to cull the other enemies


Take the time to cull the other enemies (left), to make it possible to score a stealth Deathblow on Enshin. (right)
As for the battle itself, Enshin is a very tough encounter and the first where you really need to learn how to effectively use the Mikari Counter. Due to him wielding a spear, he has long range and his Perilous Attack is a thrust of the spear, this is your cue to use the Mikari Counter. Once you see the Red Symbol appear, press the [CIRCLE]/[B] button to counter and gain the chance to use the Loaded Axe immediately after to deal large posture damage.
Beware however, that’s not Enshin’s only Perilous Attack as if you see him charge his weapon by pulling it back, jump away to avoid the Rising Thrust attack that is hard to avoid. Finally, he also has a Perilous Sweep attack that you can avoid by jumping into him and performing a jump kick to damage his posture. He also regularly attacks with the butt of his spear, you can deflect these with careful timing although the sweep will normally follow this.
Enshin is best tackled by baiting him into his Perilous Thrust attack and using the Mikari Counter, this is the safest way of handling him. He is a difficult battle and will most likely take you several attempts to get him down, take the time to learn each attack and counter effectively. Your reward for taking down this fearsome foe is another Prayer Bead.

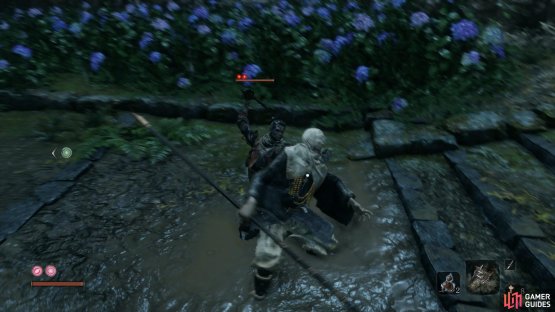
(1 of 2) A Sweep follows if Enshin starts with his spear behind him


A Sweep follows if Enshin starts with his spear behind him (left), Mikari Counter the Thrust attacks to deal large Posture damage. (right)
With Enshin down, loot some Pellets in the corner by the gate along with a Mibu Possession Balloon behind where Enshin was. Head through the gate to find a new Sculptor’s Idol, one you’ll want to rest at to recover from the battle with Enshin. Consider saving your Skill Points until you have four so you can purchase the Emma’s Medicine: Potency skill from the Prosthetic Arts tree, the extra healing will be welcome.
Bamboo Thicket Slope
From this Idol, you’ll have two paths you can take and for now, take the path leading up the slope. Grapple to the branch to your left and wait for the patrol to pass you by to use an Air Deathblow on either of the two enemies here. This will also alert another Archer at the back, lock on and toss Shurikens at him to take him out.
Grapple up to where that Archer was and then grapple up to the branch to your left to find some more Dousing Powder. Under this ledge are two more enemies to dispatch, drop down and backstab one before taking out the other nearby. Up ahead of you is one more patrol followed by three pesky Archers, target them from distance and toss Shurikens at them to slay them before killing the guard patrolling. At the back of this encounter you’ll find Oil to loot along with a Giant guard standing on the bridge.
Enter stealth here and creep along to the left edge of the cliff, you should be able to leap and grapple to the branch without the Giant guard spotting you. Jump up to the ledge here and you’ll find yourself behind the Giant guard, and two shield guards, you’ll only be able to take one of them down without the others becoming alert so sneak forward and backstab the Giant. The two shielded guards should provide no problems provided you have the Loaded Axe to use and split their shields.
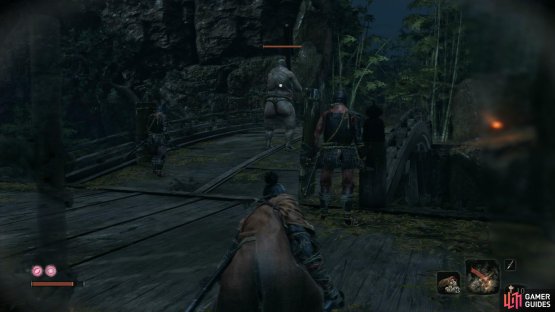
(1 of 2) Opt to take out the Giant man first


Opt to take out the Giant man first (left), then retrieve the key from Owl up ahead. (right)
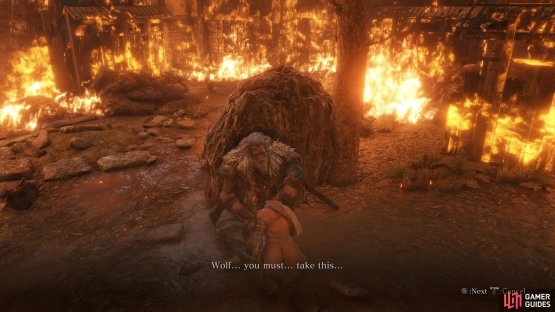
Snag the Fistful of Ash that sits on the edge here and then follow the path to the burning estate up ahead. Inside, you’ll find the fallen Owl who bestows the Hidden Temple Key upon you and to get to the Divine Heir. Grapple to the tree, then the tower and finally a branch along the otherside of the tower to escape. The grapple points here take you to the other path mentioned by Owl however there’s some unfinished buisness to attend to first so drop into the river below.
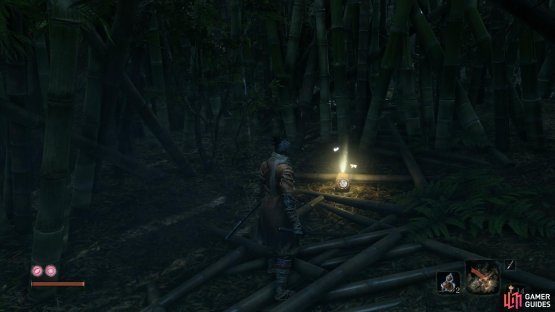
Return to the last Idol and make your way back up to the previous bridge and look over to your right. You’ll see a ledge you can climb here so drop into the river and swim upstream to take out another Treasure Carp for it’s scale before returning to the ledge. At the end of this path you’ll find some Contact Medicine and a bamboo doorway you slash open. Before you head further in the cave, be sure you’re at full health and equip the Firecrackers.
Proceed through the small passage and perform consecutive Wall Jumps to reach the top. The pathway at the top leads fo the three-story pagoda that Anayama mentioned earlier however there’s a fearsome foe awaiting you here. You can choose to battle him or ignore him and open the doors to obtain the Mist Raven’s Feathers. If you do decide to face the Elite Shinobi, don’t even think about fighting him head on as you’ll take too much damage from his attacks and will only deal scratch damage yourself. Instead, retreat and wait for the alert to finish before returning to sneak up and backstab him (you may need to use a Gachiin’s Sugar to help you here).

(1 of 2) Ignore the Elite Shinobi and loot the Mist Raven Feathers


Ignore the Elite Shinobi and loot the Mist Raven Feathers (left), it’s better to avoid this foe for now and come back later. (right)
Regardless if you stick around to defeat him or flee, be sure to get the Shinobi Tool and then return to the Bamboo Thicket Slope Idol once again. Rest up and then head back to the bridge before Enshin and leap down to the river there, following it upstream to a branch that will take you to a new area.
Stay in stealth as you head around the corner of the house and backstab the torch guard. Ignore the cave to your immediate right and stay agains the left wall as you head towards an Archer at the far end waiting for another backstab. Turn to face the cave now and you’ll notice many enemies, backstab the shield guard and then take down the easier guards that attack one at a time following this.
With the area clear, ignore the cave for the moment and, in stealth, slowly creep down the path to the left of the Archer you killed. You’ll notice a Spearman patrolling the stairs, wait for him to turn his back and backstab him, leaving you with one more to deal with at the bottom. Treat this Spearman like the Enshin encounter and Mikari Counter his thrusts to take him out with ease. Once both are defeated, loot the Mibu Balloon of Soul and some Pellets in the clearing before returning to the cave.
Pass through the cave and at the end, put your consecutive wall jumps to good use again to reach the burning estate once more. Pocket the nearby Oil and then activate the Sculptor’s Idol to add a new fast travel point to your growing list. This is a good point to leave off your exploration of the Hirata Estate as the bosses up ahead are a lot tougher than the game’s intended first boss in the Ashina Outskirts. This guide will assume you’ll return to the Ashina Outskirts but if you wish to go on ahead, skip ahead to the Hirata Estate - Second Visit page.

No Comments