
Ashina Castle Gate
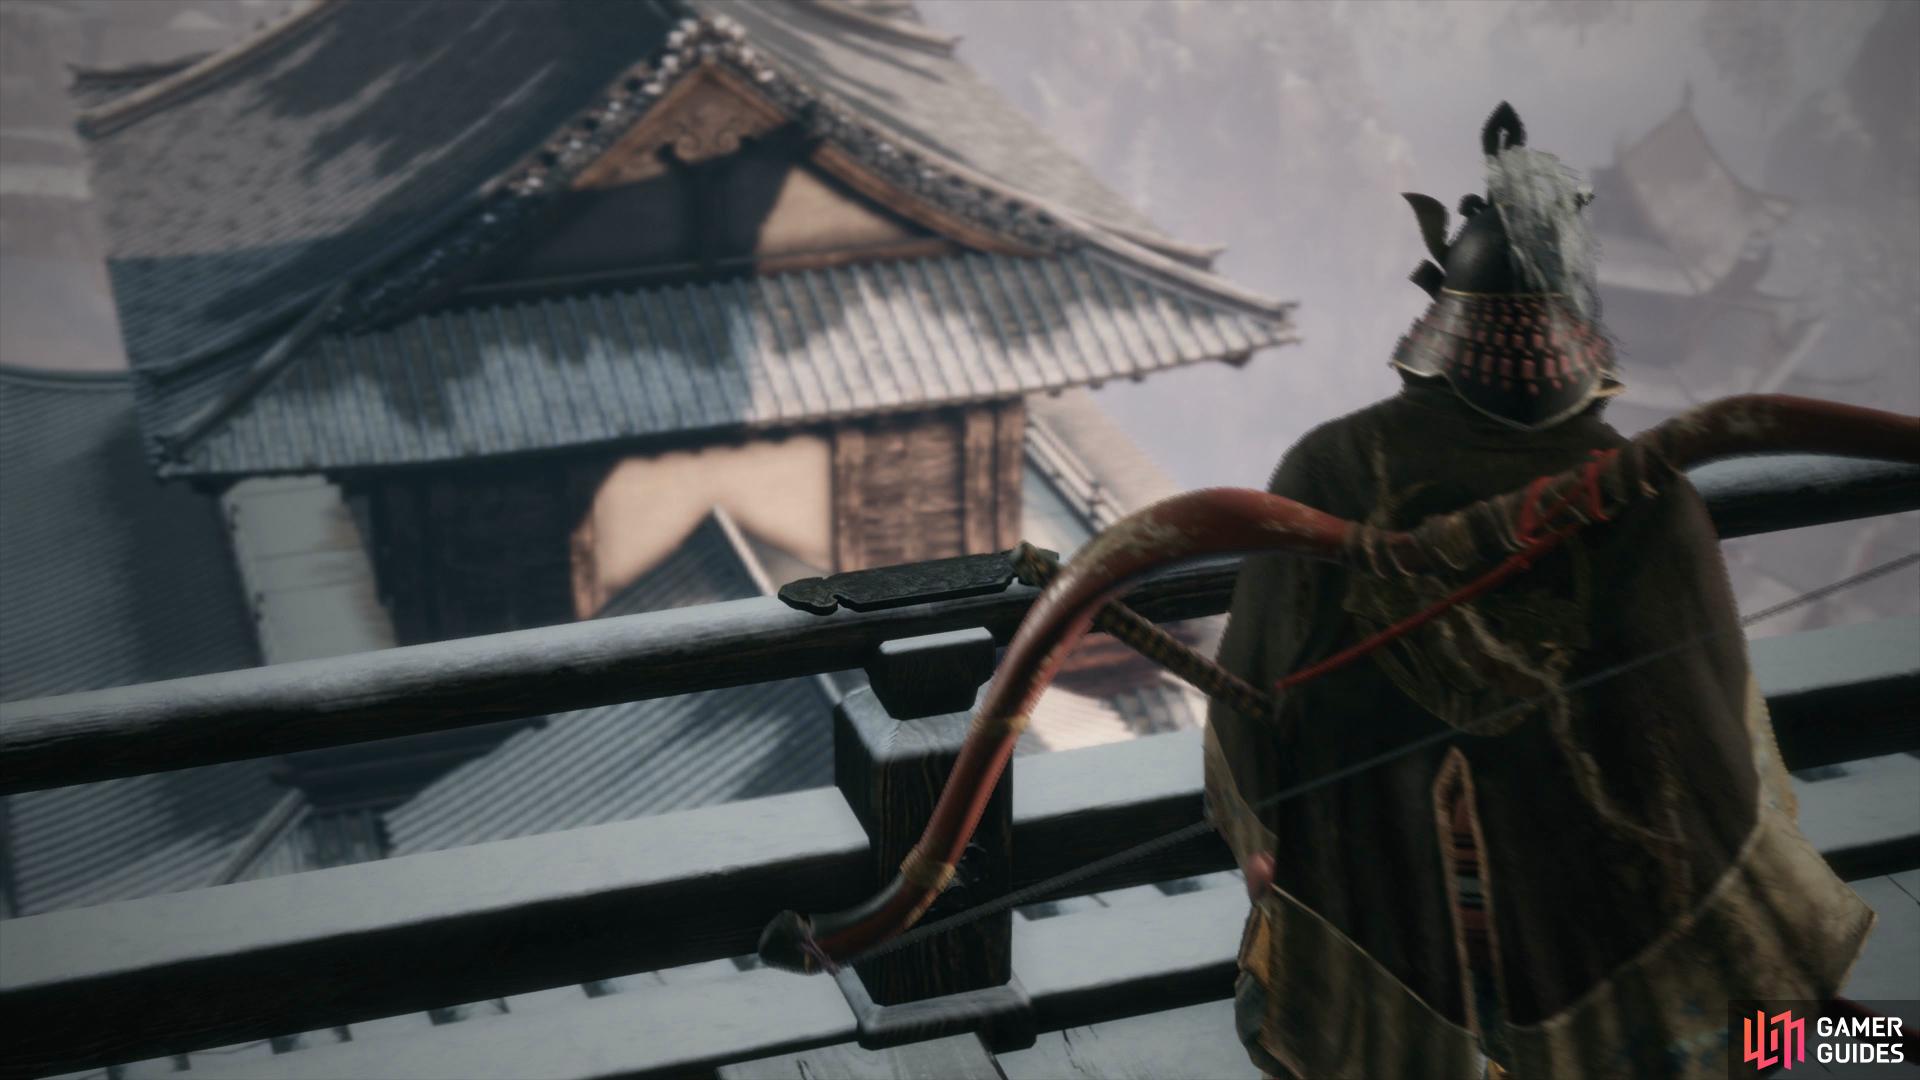
Return to where you defeated Gyoubu and open the large doors in front of you to reach the Ashina Castle region at last. Make your way up the stairs and you’ll spot a guard at the top of the stairs, ignore him and instead look to the left to spot a platform you can grapple over to. Grapple from here to a branch and then climb over the wall to take out two unsuspecting guards.
Hide to the wall as the clashing of swords will most likely alert a Marksman from the building behind you, wait for him to inspect the area and backstab him. Climb the wall in the direction of where the Idol is and follow it around the an area you can drop down to with a Rat hiding by a tree. Get behind him and put him out of his misery before Eavesdropping on two more Rats by the next tree. Backstab one of these and then take out the other by conventional means to complete the Tengu of Ashina’s task.
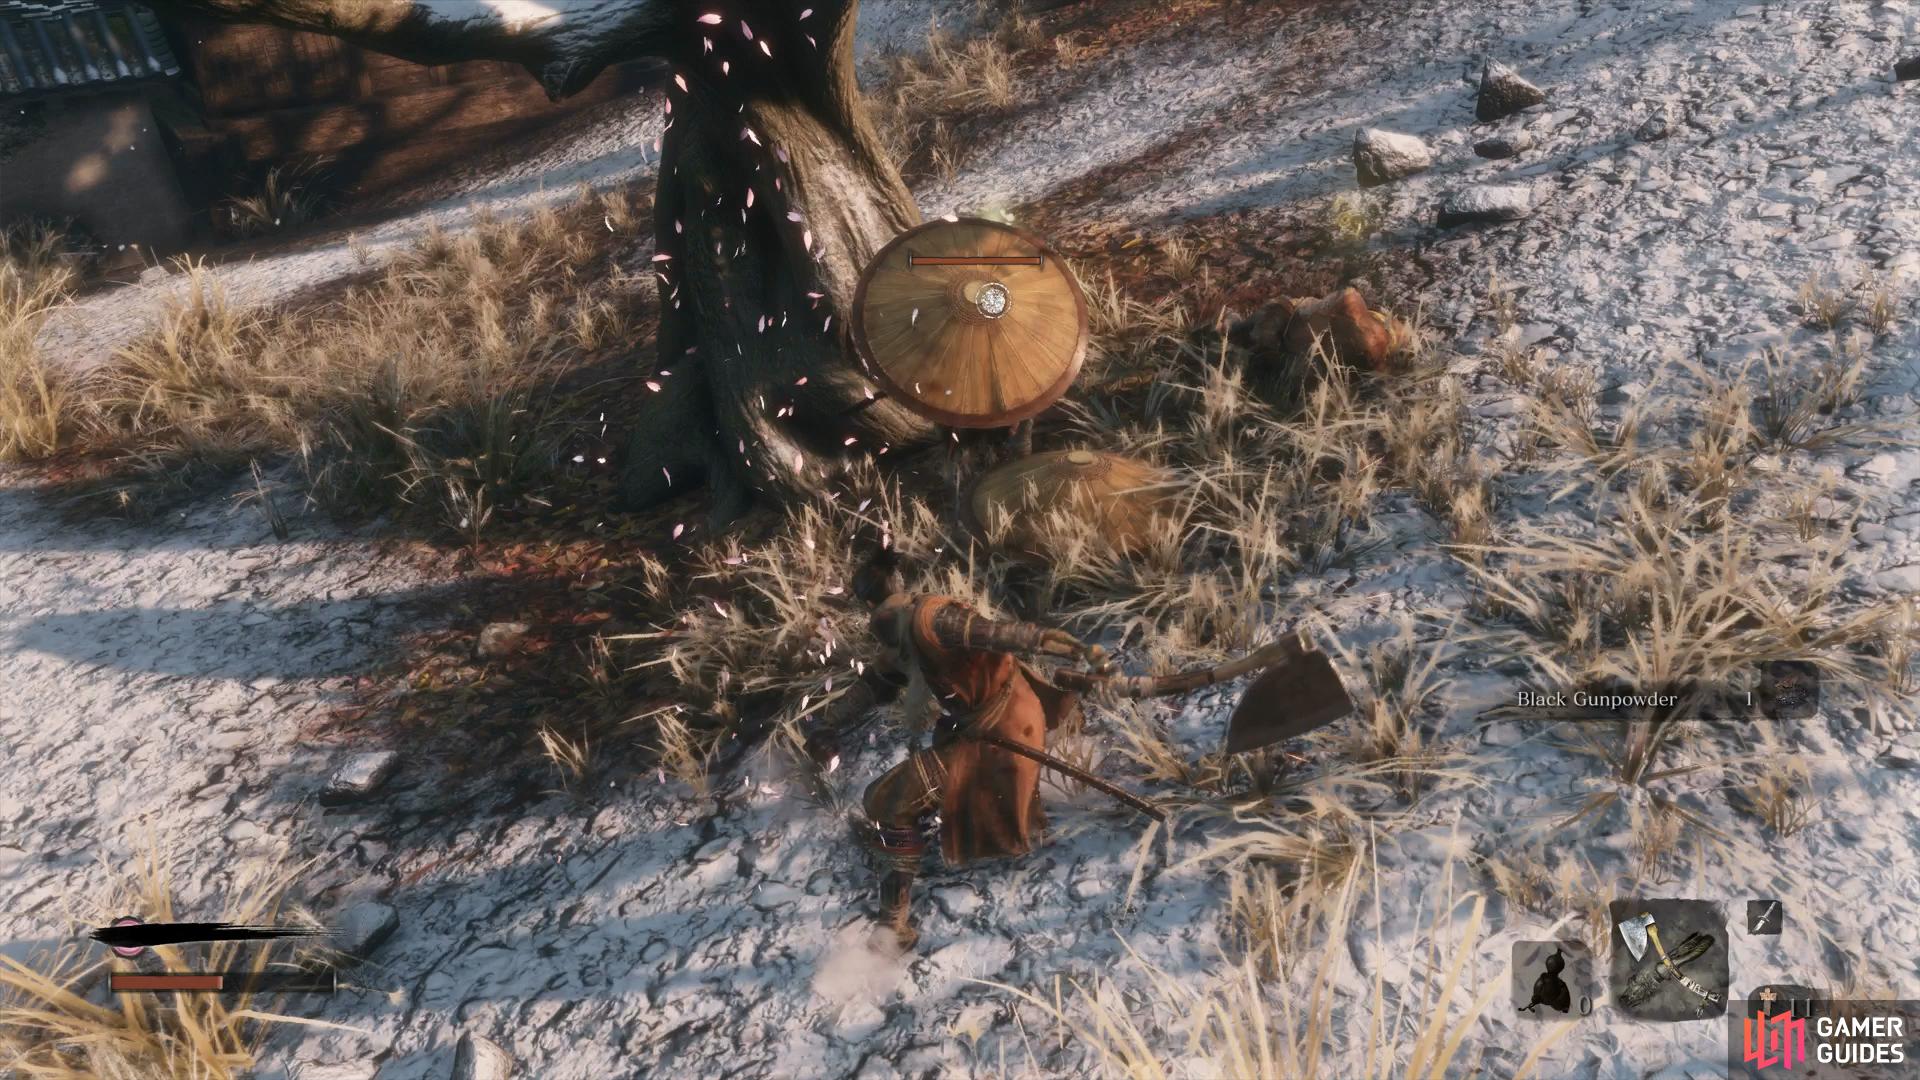
Use the Loaded Axe to split their Shield Hats and cause an instant Deathblow.
Once they’re defeated, pick up the Pellets near the tree and then head to where the broken wall is behind you to dispatch another guard and three Dogs. Grab the Cermaic Shards just past them and then grapple to the roof behind you to get behind the Marksman from earlier and take him out. Return to the Idol here and rest up if you need to recover your Gourds from the battle with the Rats.
Return to where the Tengu of Ashina is, up the stairs behind you, and inform him that your task is complete. In return, he hands over the incredibly useful Ashina Esoteric Text which unlocks the Ashina Style skill tree. Return to the Idol once again and take a look at these skills now, Ichimonji should be your first purchase after obtain the Breath of Life: Light skill from the Shinobi Arts tree. Ichimonji and it’s follow up skills are arguably one of the best in the game at dealing large posture damage to enemies.
Make your way back across the platform to the left and over to the wall, grappling up to the rooftop this time. Drop down to the outer wall and follow it to the left before dropping down to a ledge on the outside to loot some Ako’s Sugars. Grapple back up to the wall and look to the area ahead, you’ll spot a two Giant Men, along with a guard in the long grass nearby and another in front of the Giant Man.
A second Giant Man hides to the right of this one.
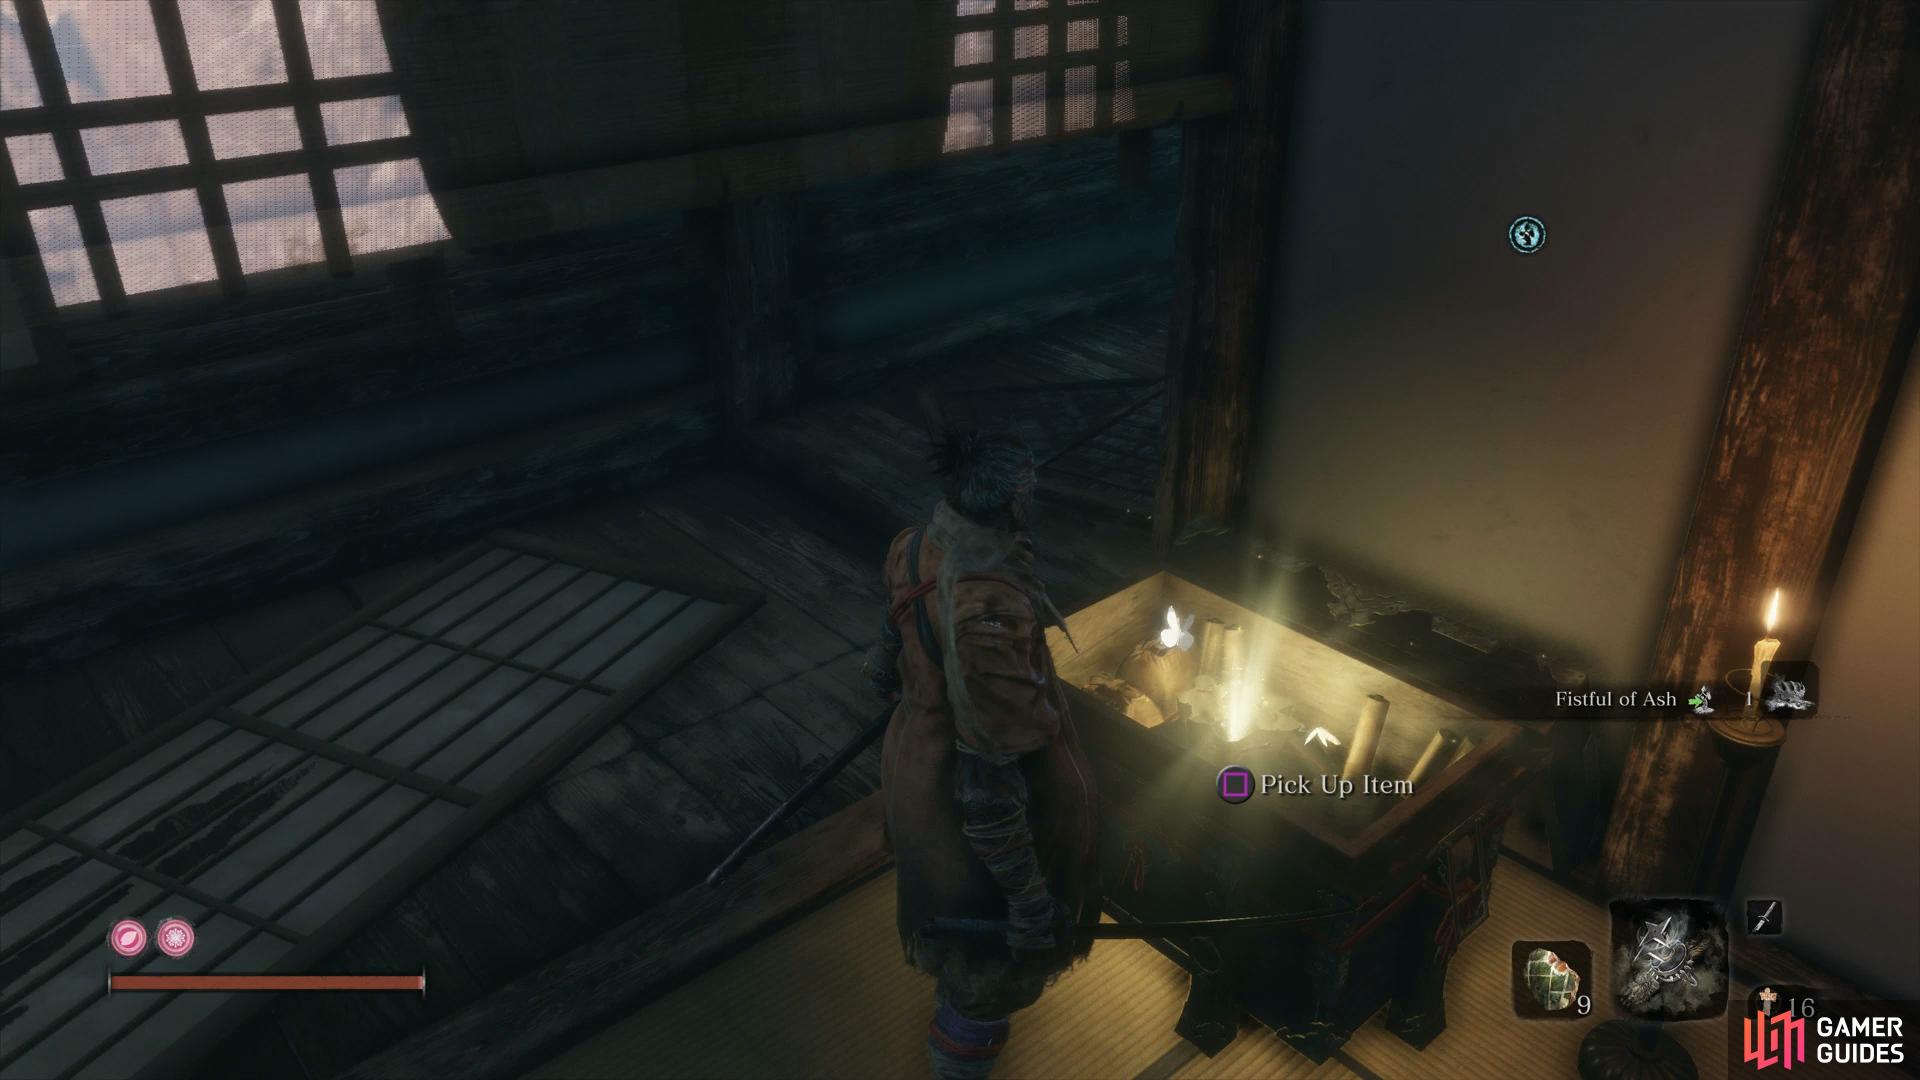
Drop down to the long grass in front of you and backstab the guard here before waiting for the Giant Man to turn around and backstabbing him also. This will most likely alert the other Giant Man and guard so retreat and wait for the Alert to pass before returning and taking them out. With the area clear, head forward and up the stairs to your left to find some Fistful of Ash near the tree and a Scrap Iron behind the house.
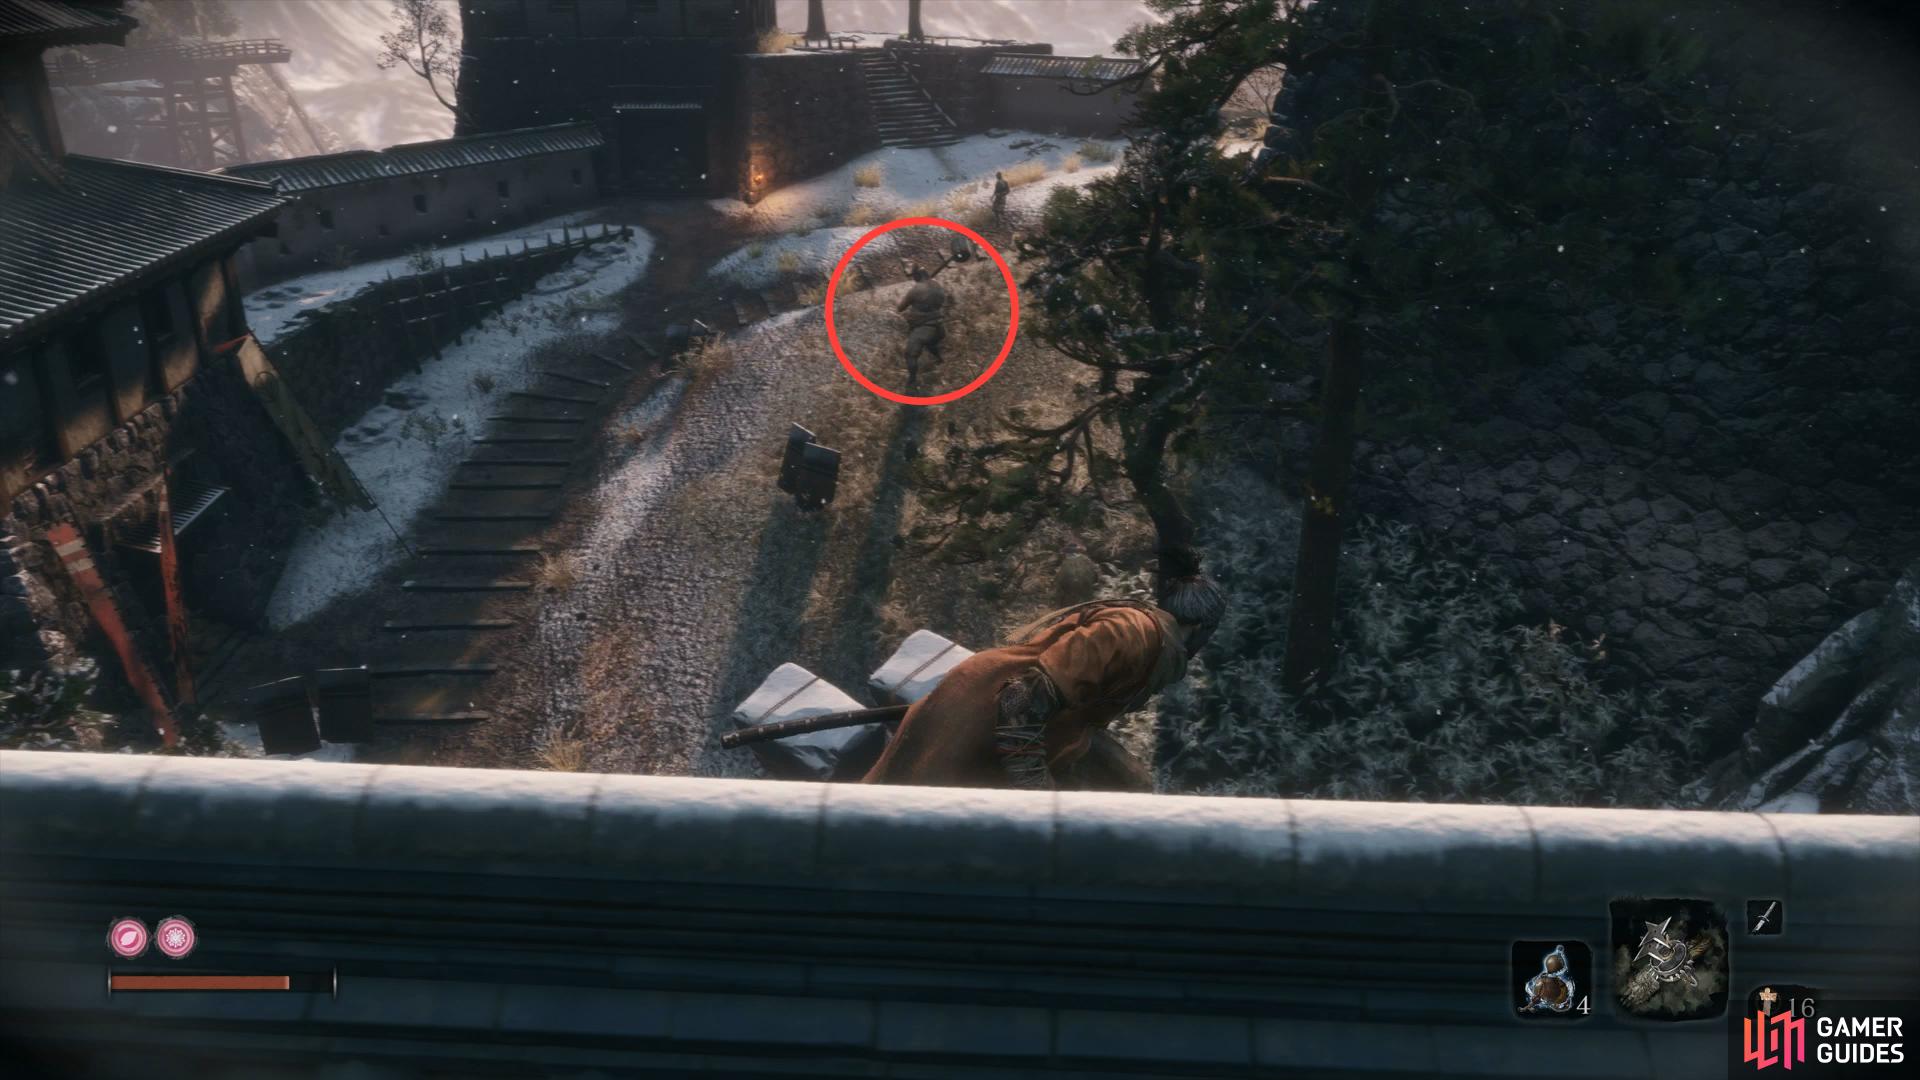
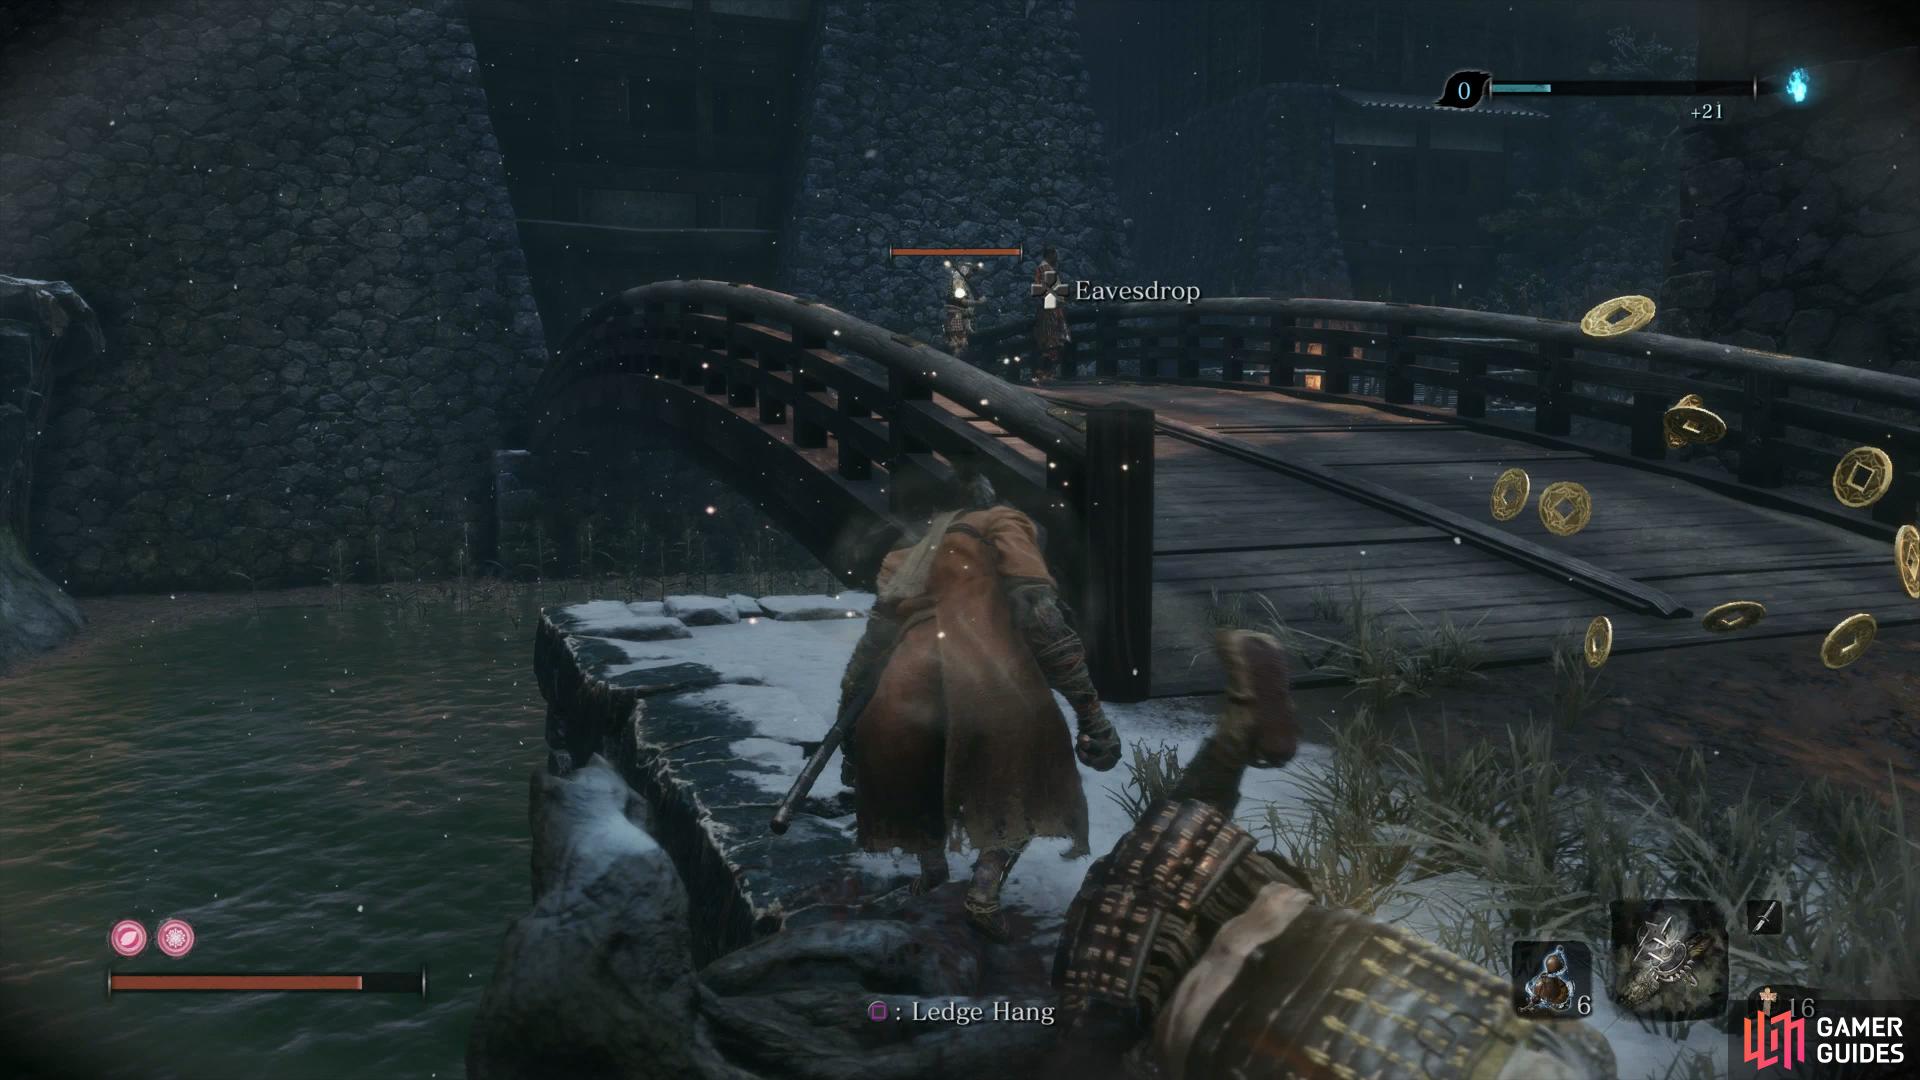
Grapple up to the gateway before the stairs leading up to the right and Eavesdrop to gain some insight about an upcoming foe. Ignore these guards for now and head up to the roof to your right, inside the room you’ll find a Light Coin Purse. Drop down behind the two guards on the stairs now and backstab one before defeating the other. Before you head through the door at the top, make sure you have a full selection of healing items, as you pass through the gate and take out the first guard, an unexpected foe bursts through.
Mini-boss: Blazing Bull
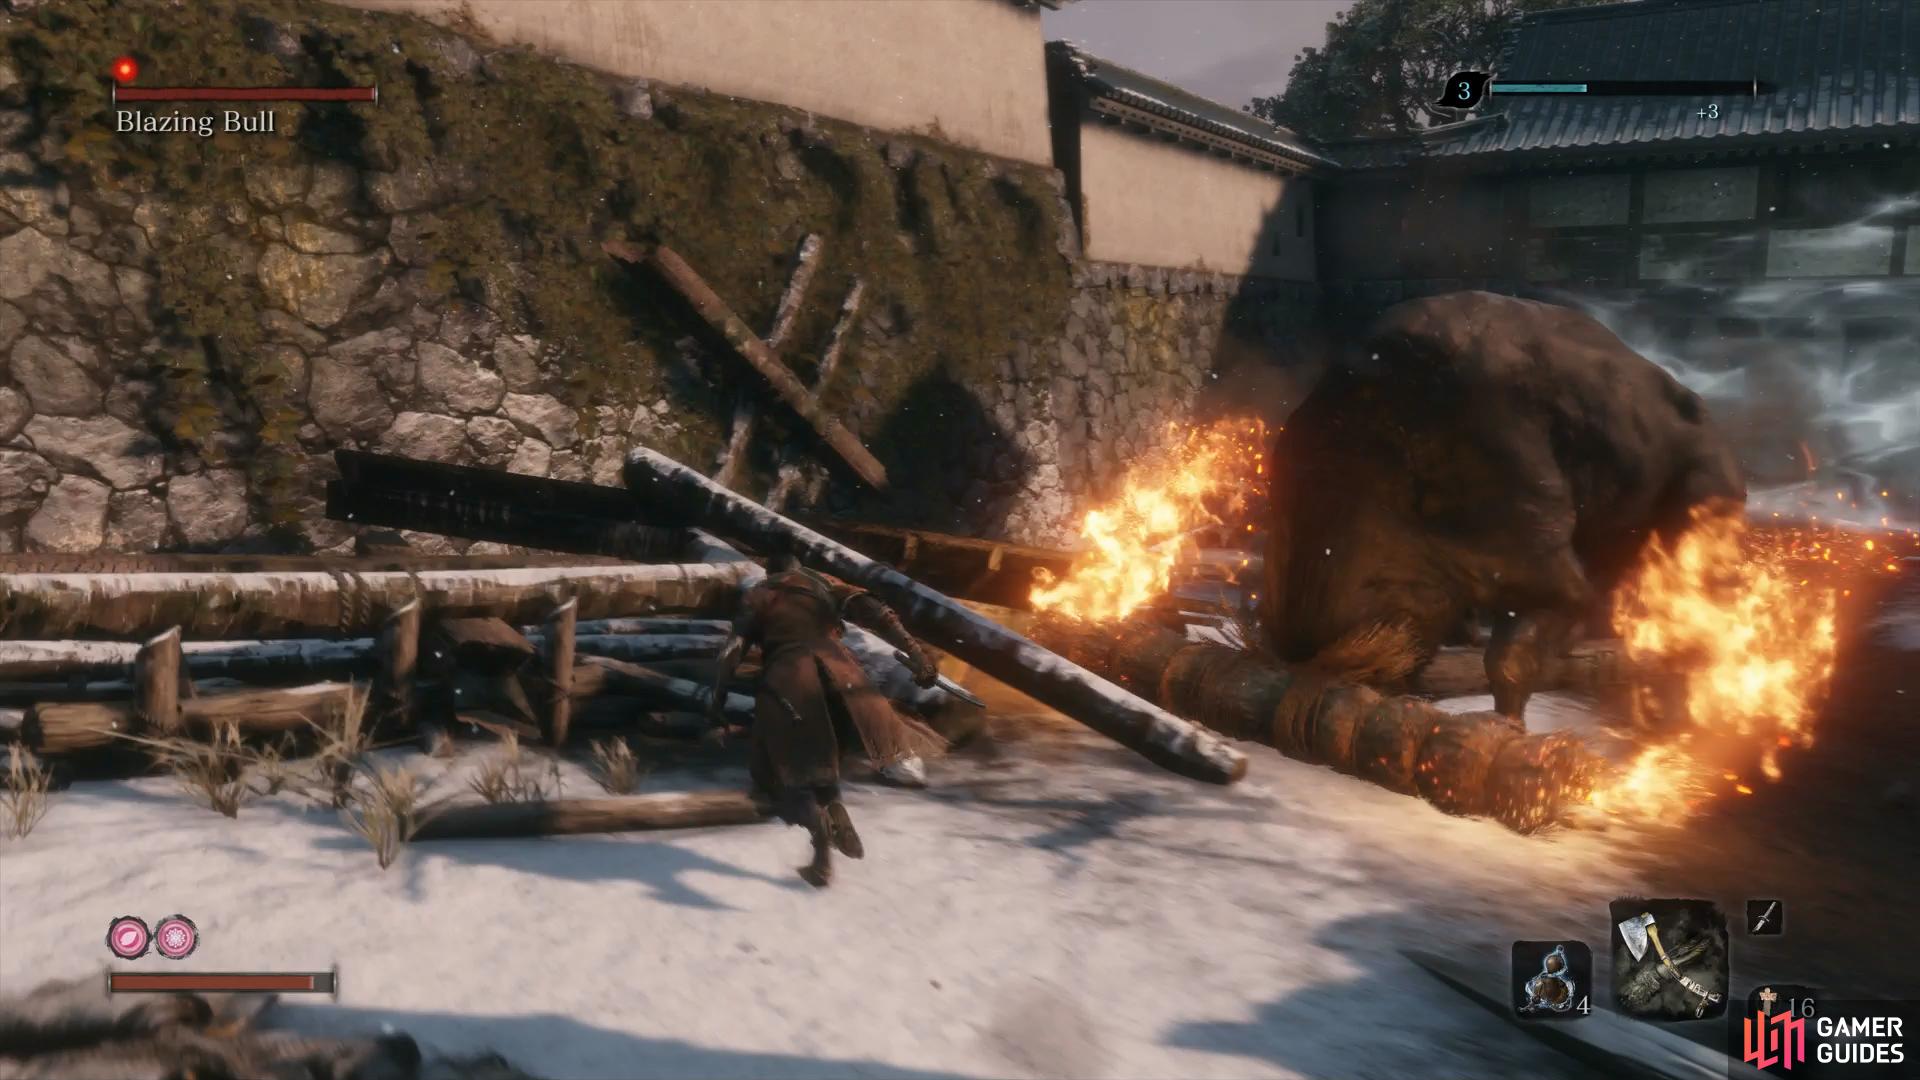
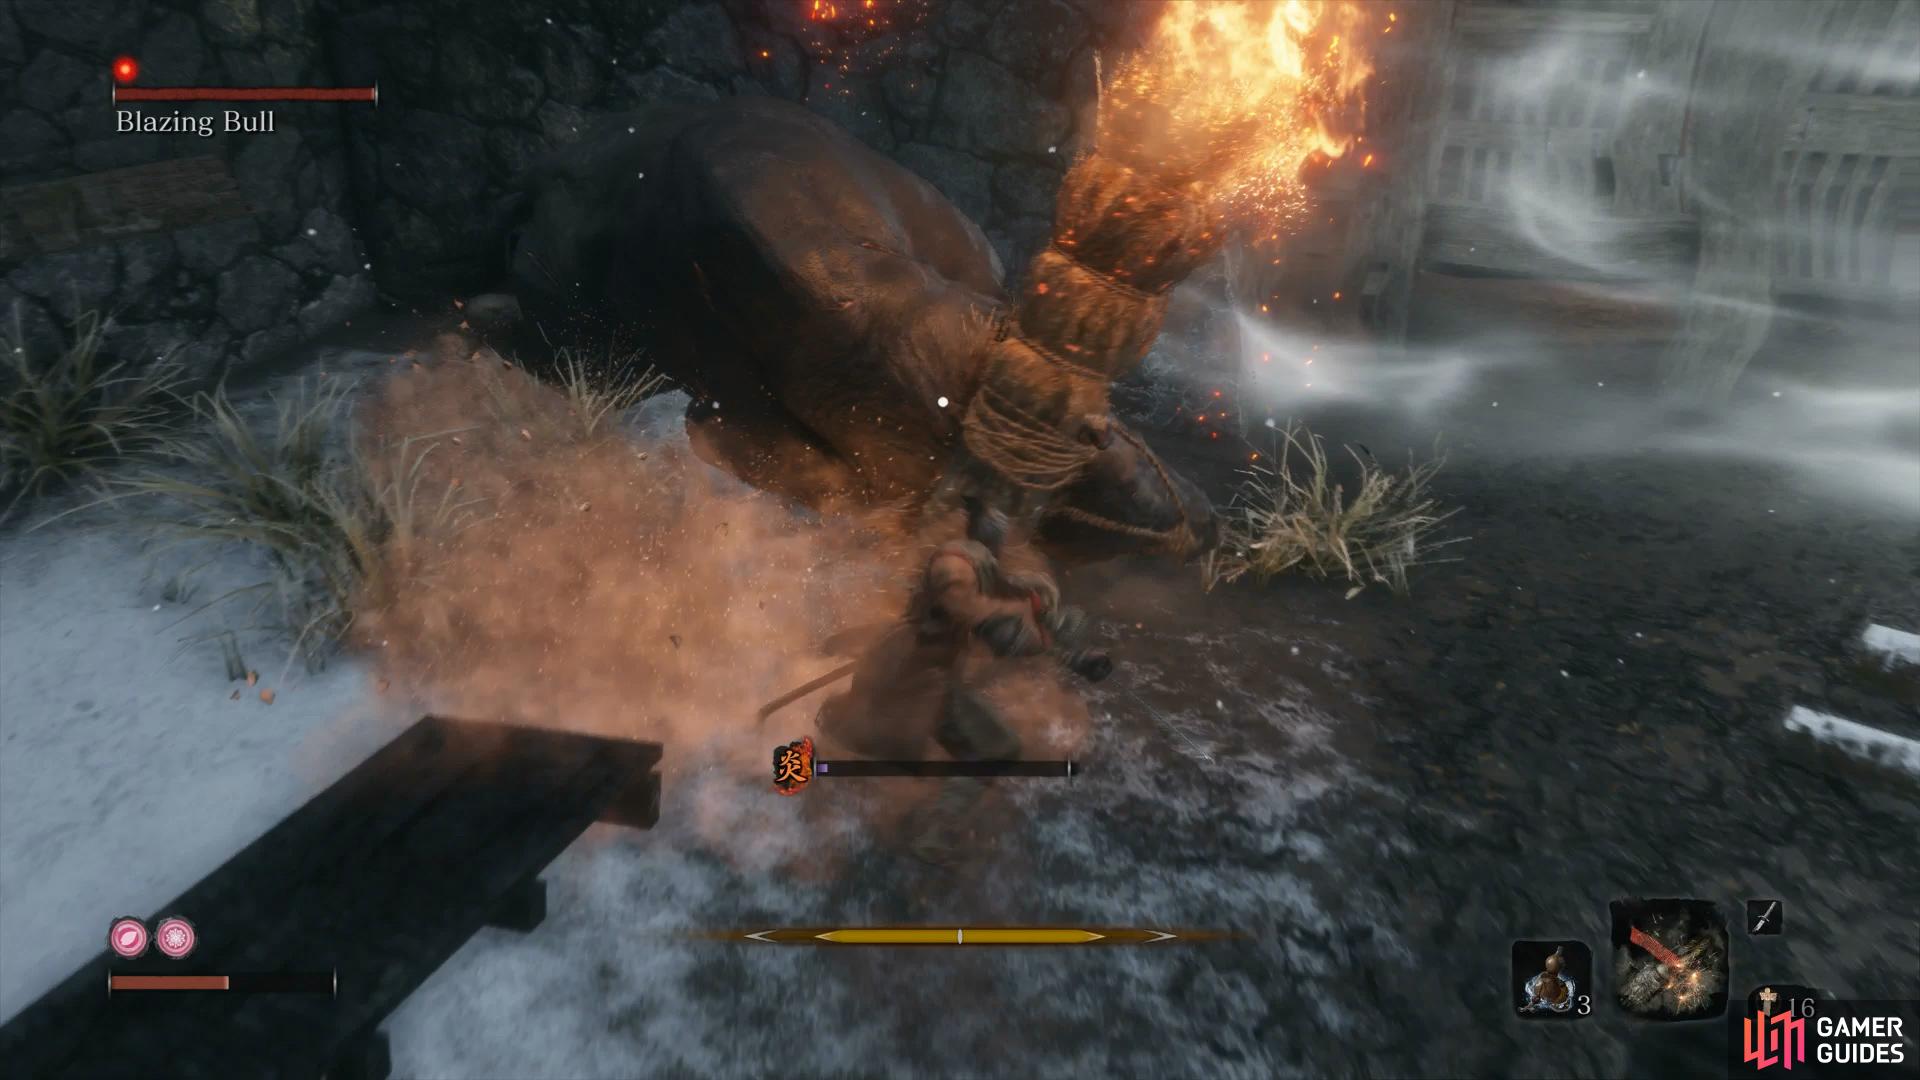
This flaming beast is a lot more intimidating than he needs be however you’ll have to go about a different skill set to defeat it. The Blazing Bull has a few simple attacks to avoid but they come at such a pace that it’s better to just dodge altogether rather than attempt to parry. It will run around the arena at speed at you, attempting to ram you with it’s flaming head however you can turn the tables on it and chase it instead. You have infinite stamina and as such, can run after the Bull, sticking to it’s side or behind and strike it a few times before retreating and chasing again.
Like all beasts, the Blazing Bull is weak to the Firecrackers and, should you catch him with them, will stun him for a short period allowing to score some more easy strikes. Provided you take no risks in attacking the Bull and jump away if it get’s too close, you’ll find this a foolproof way of defeating the Blazing Bull.
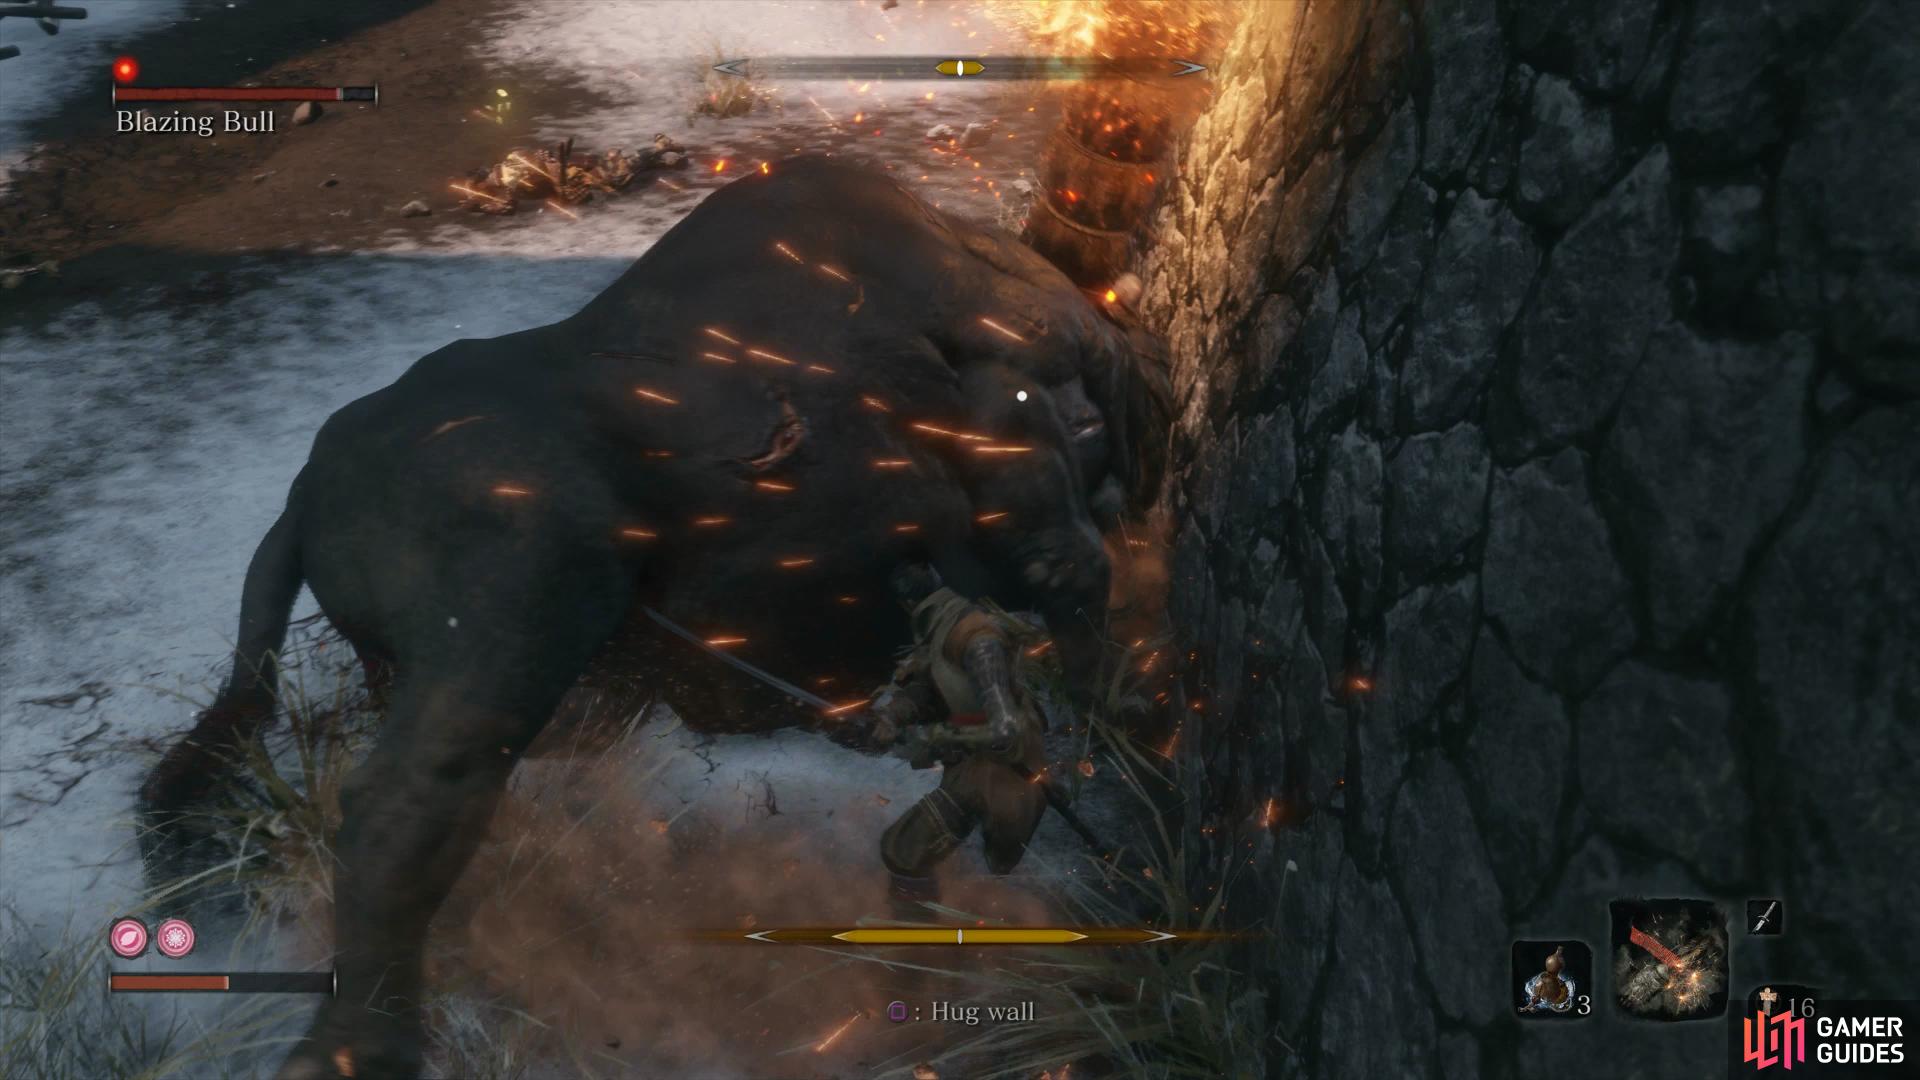
(1 of 2) It’s weak point is it’s head
It’s weak point is it’s head (left), try to keep to the side of the Bull to avoid most of it’s attacks. (right)
If, instead, you decide you want to go a bit more hands on, you can tackle the boss head on. You can deflect the Blazing Bull when it charges at you and, if performed perfectly, will build up large posture and vitality damage. This is the quickest way to defeat the Bull due to the head being it’s weak spot but you’ll need to keep an eye on your Burn status build up and heal as needed.
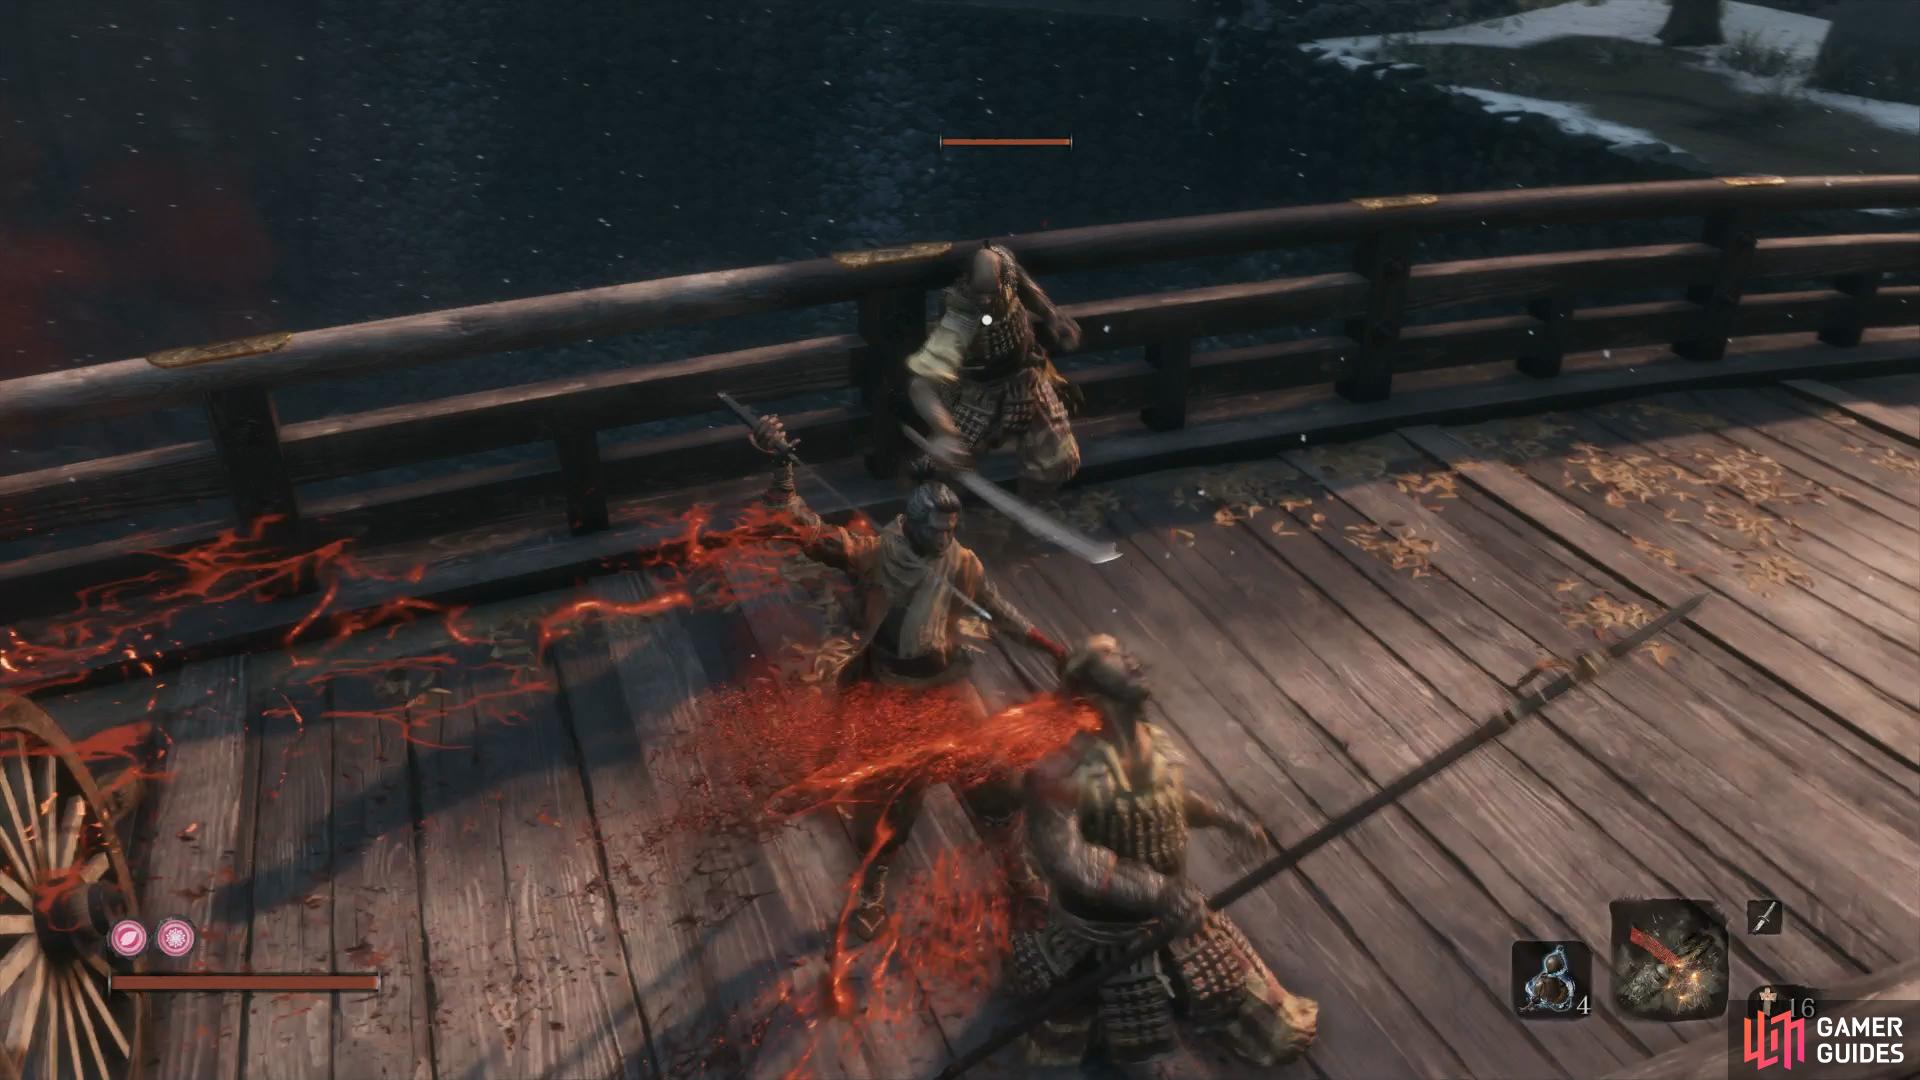
Regardless of your method to defeat the Blazing Bull, you’ll be awarded a Prayer Bead and the Shinobi Medicine Rank 2 skill. The battle’s not over there however as two guards will open the large gate and rush you, take the sword user out first before focusing on the more deadly spear wielder. With the way free at last, head through the large gate and speak to the Old Woman here to learn a bit more about the surrounding area and then make use of the Sculptor’s Idol.
Ashina Castle
You should have enough Prayer Beads to create a second Prayer Necklace by now to increase your physical attributes. Ignore the main route through the center for now, there’s a detour that’s worth taking that will lead to more items.
Head over to where the Old Woman is praying and jump and grapple over to the branch. Go left and through the small doorway to find a Light Coin Purse and then Eavesdrop on the guards up ahead before dispatching them and obtaining the Gatehouse Key. Looking down from here, you’ll discover that you’re actually on the bridge above the reservoir from the start of your journey, this is your next destination but before hand, head across the bridge towards the large gate.
(1 of 2) Defeat this guard to obtain the Gatehouse Key
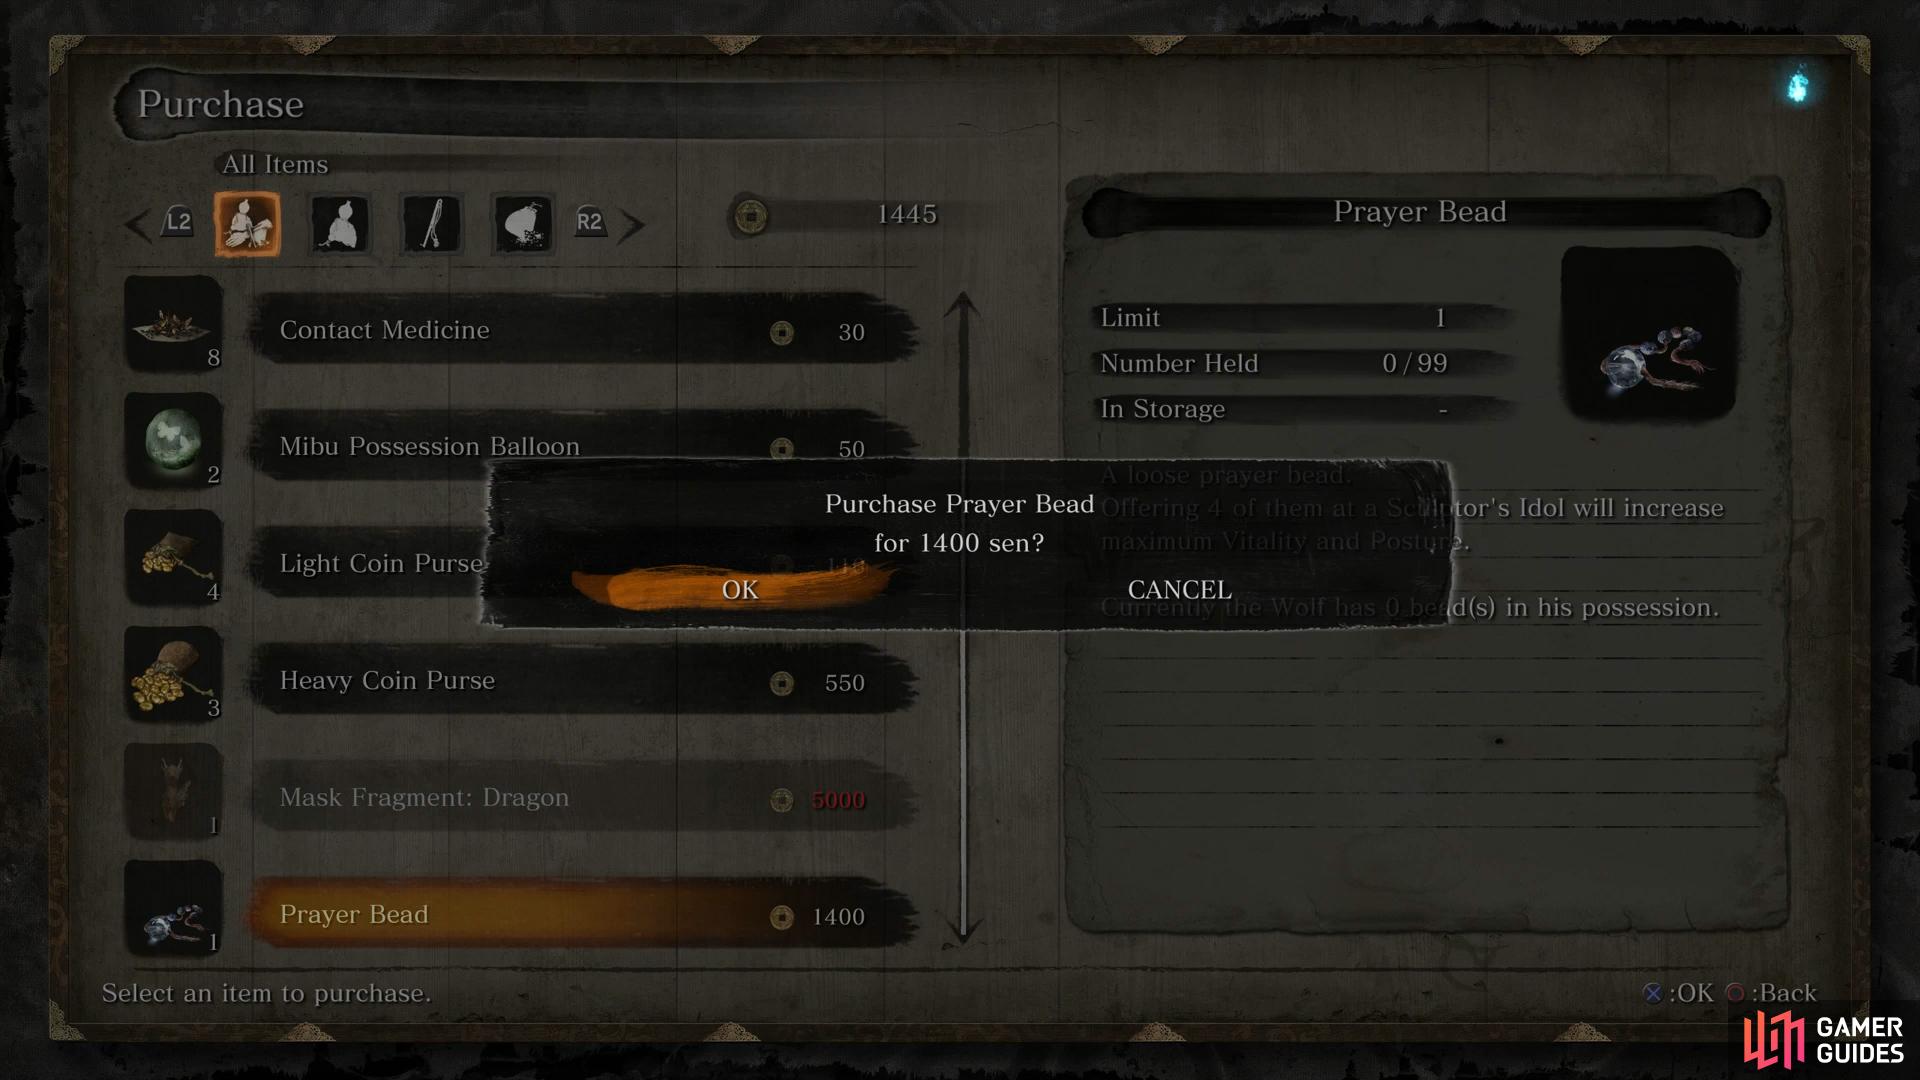
Defeat this guard to obtain the Gatehouse Key (left), be sure to purchase the Prayer Bead from the Memorial Mob. (right)
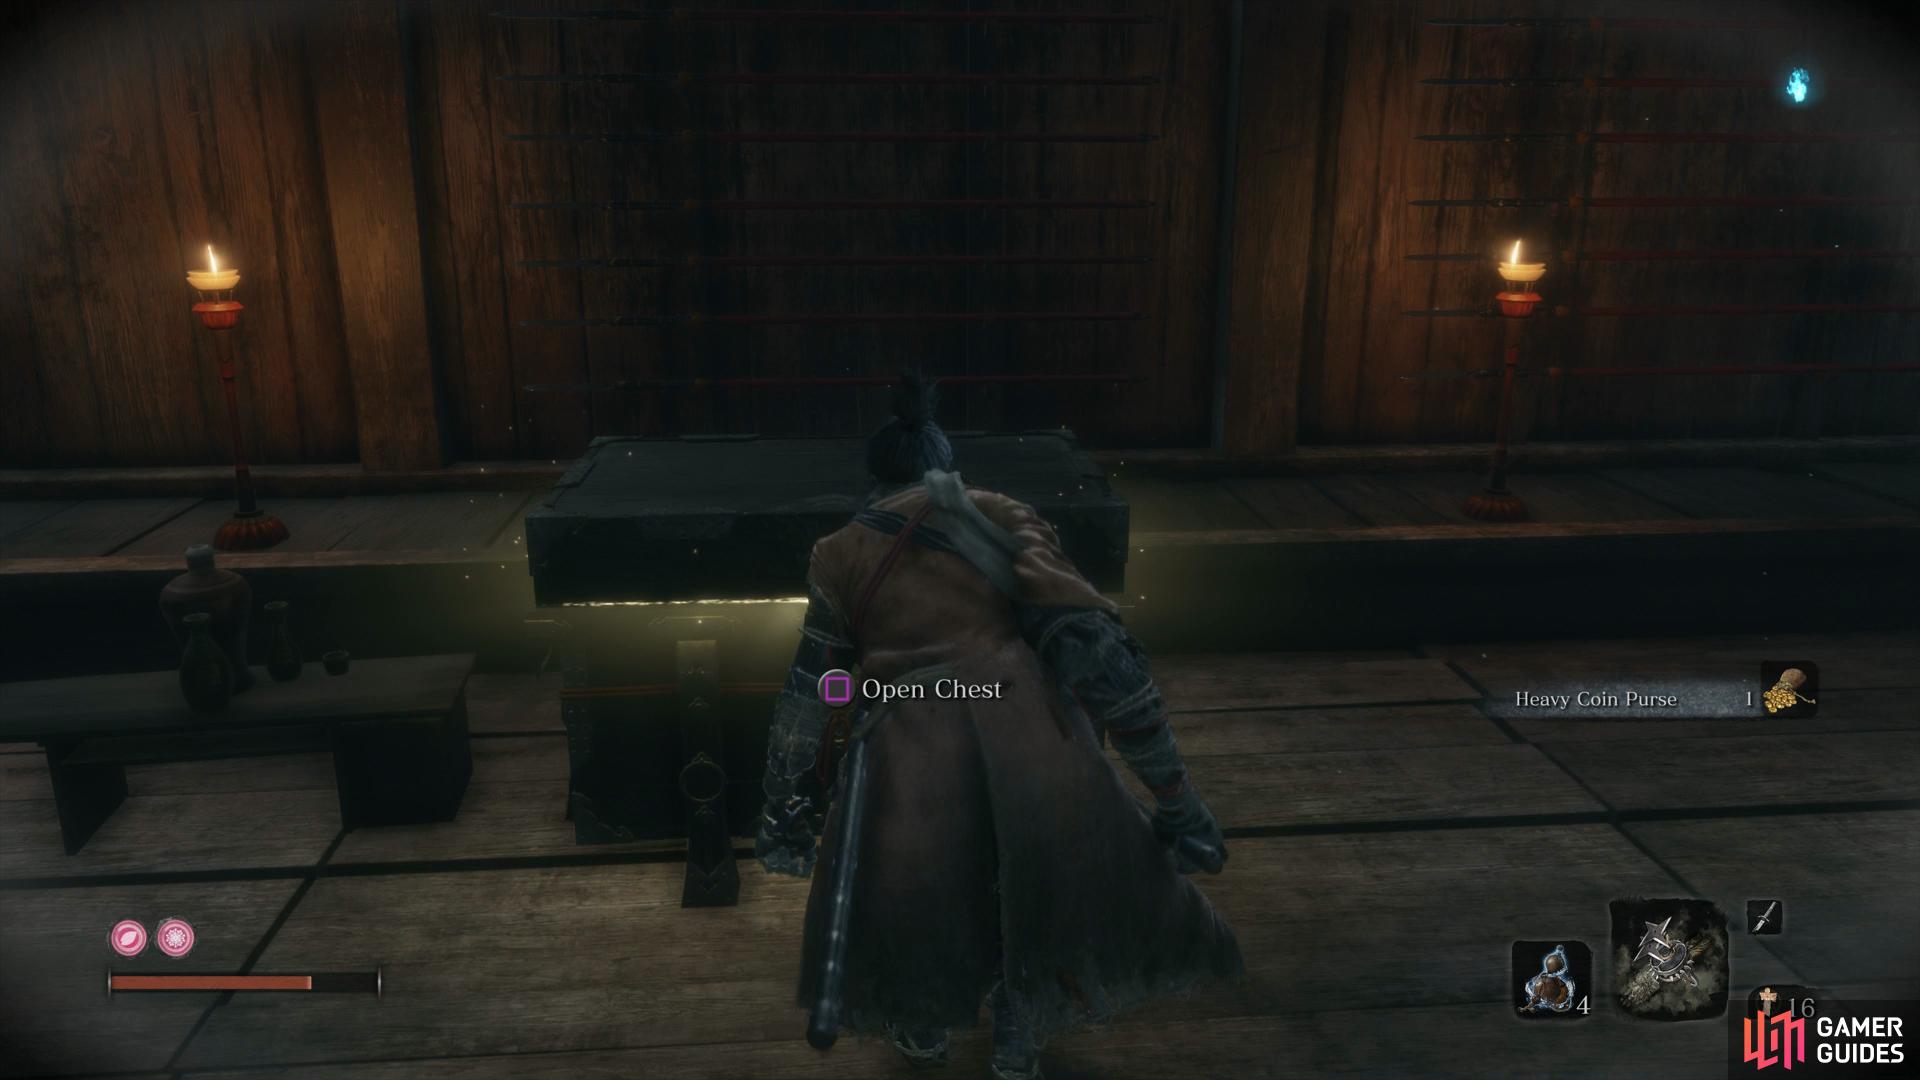
Grapple to the roof of the gateway and toss a Shuriken at each of the Dogs to defeat them, leaving you only the Giant Man. Retreat and wait for the Giant Man to walk back to his starting position and score an easy backstab on him and obtain a Scrap Magnetite. Pocket the Black Gunpowder behind the Giant Man and then head through the doorway to find a Heavy Coin Purse behind the wheelbarrow. Continue through to find a new Sculptor’s Idol to activate followed by another of the Memorial Mob.
| Item (Quantity) | Cost (Sen) |
|---|---|
| Pellet (4) | 80 |
| Dragon’s Blood Droplet (1) | 180 |
| Contact Medicine (8) | 30 |
| Mibu Possession Balloon (2) | 50 |
| Light Coin Purse (4) | 110 |
| Heavy Coin Purse (3) | 550 |
| Mask Fragment: Dragon | 5000 |
| Prayer Bead | 1400 |
Once again, the Mask Fragment is the high ticket item but, like the previous, you won’t have any use for this until near the end of your journey so pass on it for now. The Prayer Bead on the other hand should be purchased right now, make use of any Coin Purses you may have or sell unwanted items to obtain your next Prayer Bead.
The path ahead leads to the Abandoned Dungeon, an area you’ll be visiting later in your journey. For now, head back to the bridge you just crossed and drop down to the right as you’re heading back towards the Castle. Drop down to the ledge and then take out the Rats as you make your way around to a Heavy Coin Purse and some Scrap Iron. Look down to the bottom from here to spot another Rat, Air Deathblow him and then pocket the Mibu Balloon of Spirit next to him. Make your way to the right and grapple back up and follow the path to another branch to your left as you make your way around the corner and to another Sculptor’s Idol.
Ashina Reservoir
Just up ahead from the Idol are two guards you can Eavesdrop on regarding a certain Shinobi around the area. Air Deathblow the guard on your left from the ledge before quickly taking out the other and tossing Shurikens at the Dogs. Ignore the main gateway and use the branch nearby to grapple over to another to your right, giving you access to the wall ahead.
Climb over the wall and drop down on the other side to sneak up on a guard and backstab him before repeating the same to the Marksman just ahead. Avoid the stairs down for now and head up to the door ahead to unlock it with the Gatehouse Key, there are no enemies inside but you’ll find a Heavy Coin Purse in the corner along with a chest containing Gyoubu’s Broken Horn which will unlock the Loaded Spear Shinobi Tool back at the Sculptor.
Unlock the door with the Gatehouse Key to find the Loaded Spear.
Back out of the gatehouse and head under it by crouching to find some Ceramic Shards in the corner before heading out the other side to backstab another guard. Use the long grass to head further down and backstab another before heading back under the house and to where you took out the previous Marksman. Sneak down these stairs and backstab another Marksman before making your way to the tree to your left to kill another.
This leaves the two Giant Men in the center and another guard facing a wall (for some unknown reason). Grab the nearby Fistful of Ash and then wait for the nearest Giant Man to turn his back and backstab him, if you alert the other, back off and wait for it to finish before doing the same to him and the other guard. Loot the Pellet in the courtyard here and then head forward and drop down to take the hidden path you took once before to reach Lord Kuro, there’s a tough Mini-boss up ahead and you’ll want every advantage you can use.
Mini-boss: Seven Ashina Spears - Shikibu Toshikatsu Yamauchi
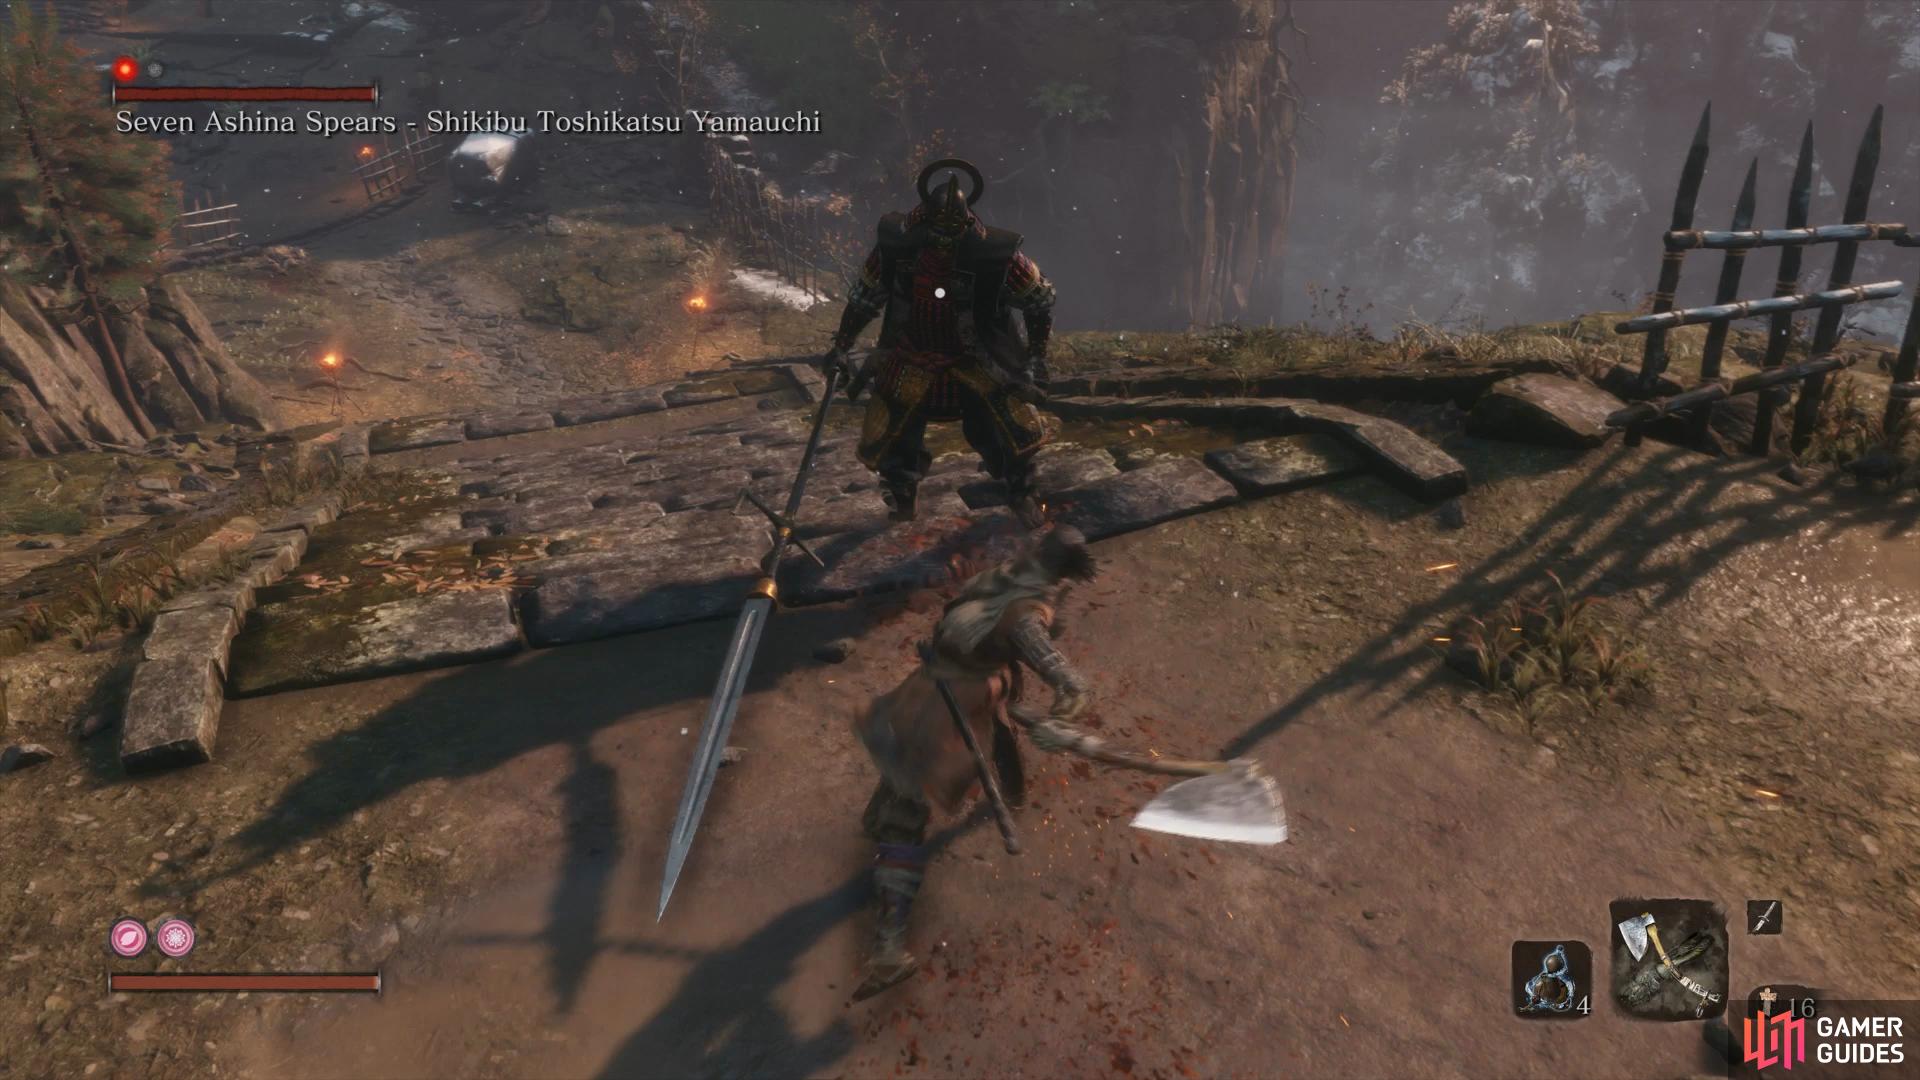
That name is as intimidating as your foe itself and by heading through the Tower that Lord Kuro once resided in, you’ll be able to get up behind him and start the battle with a Deathblow.
Yamauchi is one of the most deadliest foes you’ve fought yet, even more so than Gyoubu and you’ll need to try to mitigate damage as much as possible as a few hits will most certainly spell death from his lethal spear. As you may expect of a spear wielder, he has great range and, on top of this, is speedy despite his frame. It’s almost foolish to attempt to face him head on and instead, wait for openings to score a few strikes and retreat again.
To begin with, you’ll want to pull him back down to the courtyard you just cleared out, this gives your more space to dodge in and eliminates the threat of falling off the cliff. Yamauchi has two Perilous Attacks at his disposal, the first is a Rising Uppercut that will most likely instantly kill you unless you’re at full health, if you see him charging than back up at all costs to avoid the attack.
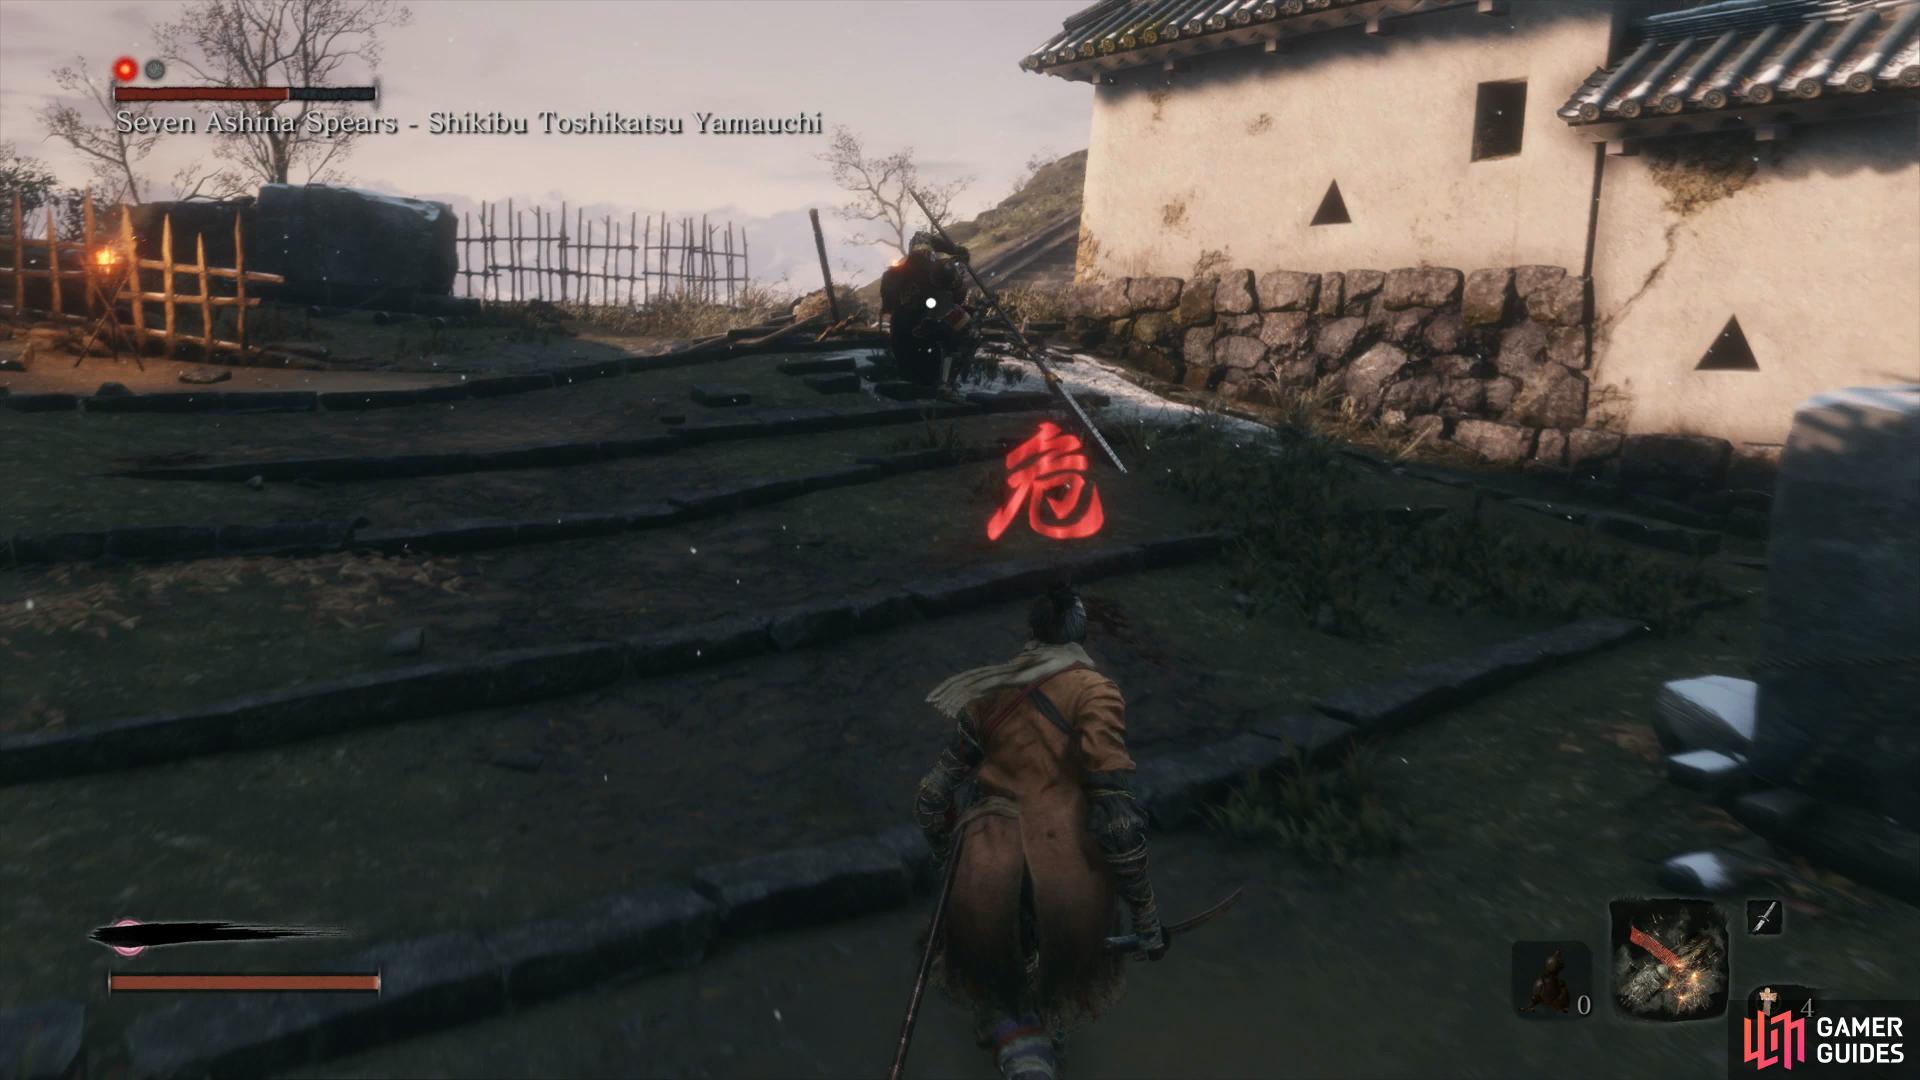

(1 of 2) If you see him charge at you, get back to avoid the Rising Strike
If you see him charge at you, get back to avoid the Rising Strike (left), meanwhile if he starts in this position, expect a Thrust. (right)
The second is the typical spear thrust and, like always, can be countered with Mikiri to deal large posture damage. On top of this, he has large sweeps and regular thrusts as part of his three-to-four hit combos that he performs. You can use the sweeps to your advantage and leap over them to jump kick him and deal large posture damage and the Loaded Axe works wonders for when you create an opening.
The Firecrackers, like most battles in Sekiro, also work well to temporarily stun him and allow you to get a few cheap strikes before retreating again. This is a battle of attrition and patience is rewarded here, rush in haphazardly and you could be defeated in seconds. Your reward for another tough battle is a Prayer Bead and at the top of the stairs to the right, a Scrap Iron sits by the tree.
Return to the previous Idol and rest up to replenish your Healing Gourds and Spirit Emblems. Make your way to the left of the Idol and grapple to the branch to make it to the other side without alerting the nearby guards. Climb the wall and then head to the long grass again but this time, grapple over to another area to the left. You’ll encounter Jinzaemon Kumano who will mention the sound of a shimasen that led him here and for now, you’ve not. This is the start of a rather long quest line and there’s two outcomes, head to his page to find out which one you’ll want to reach.
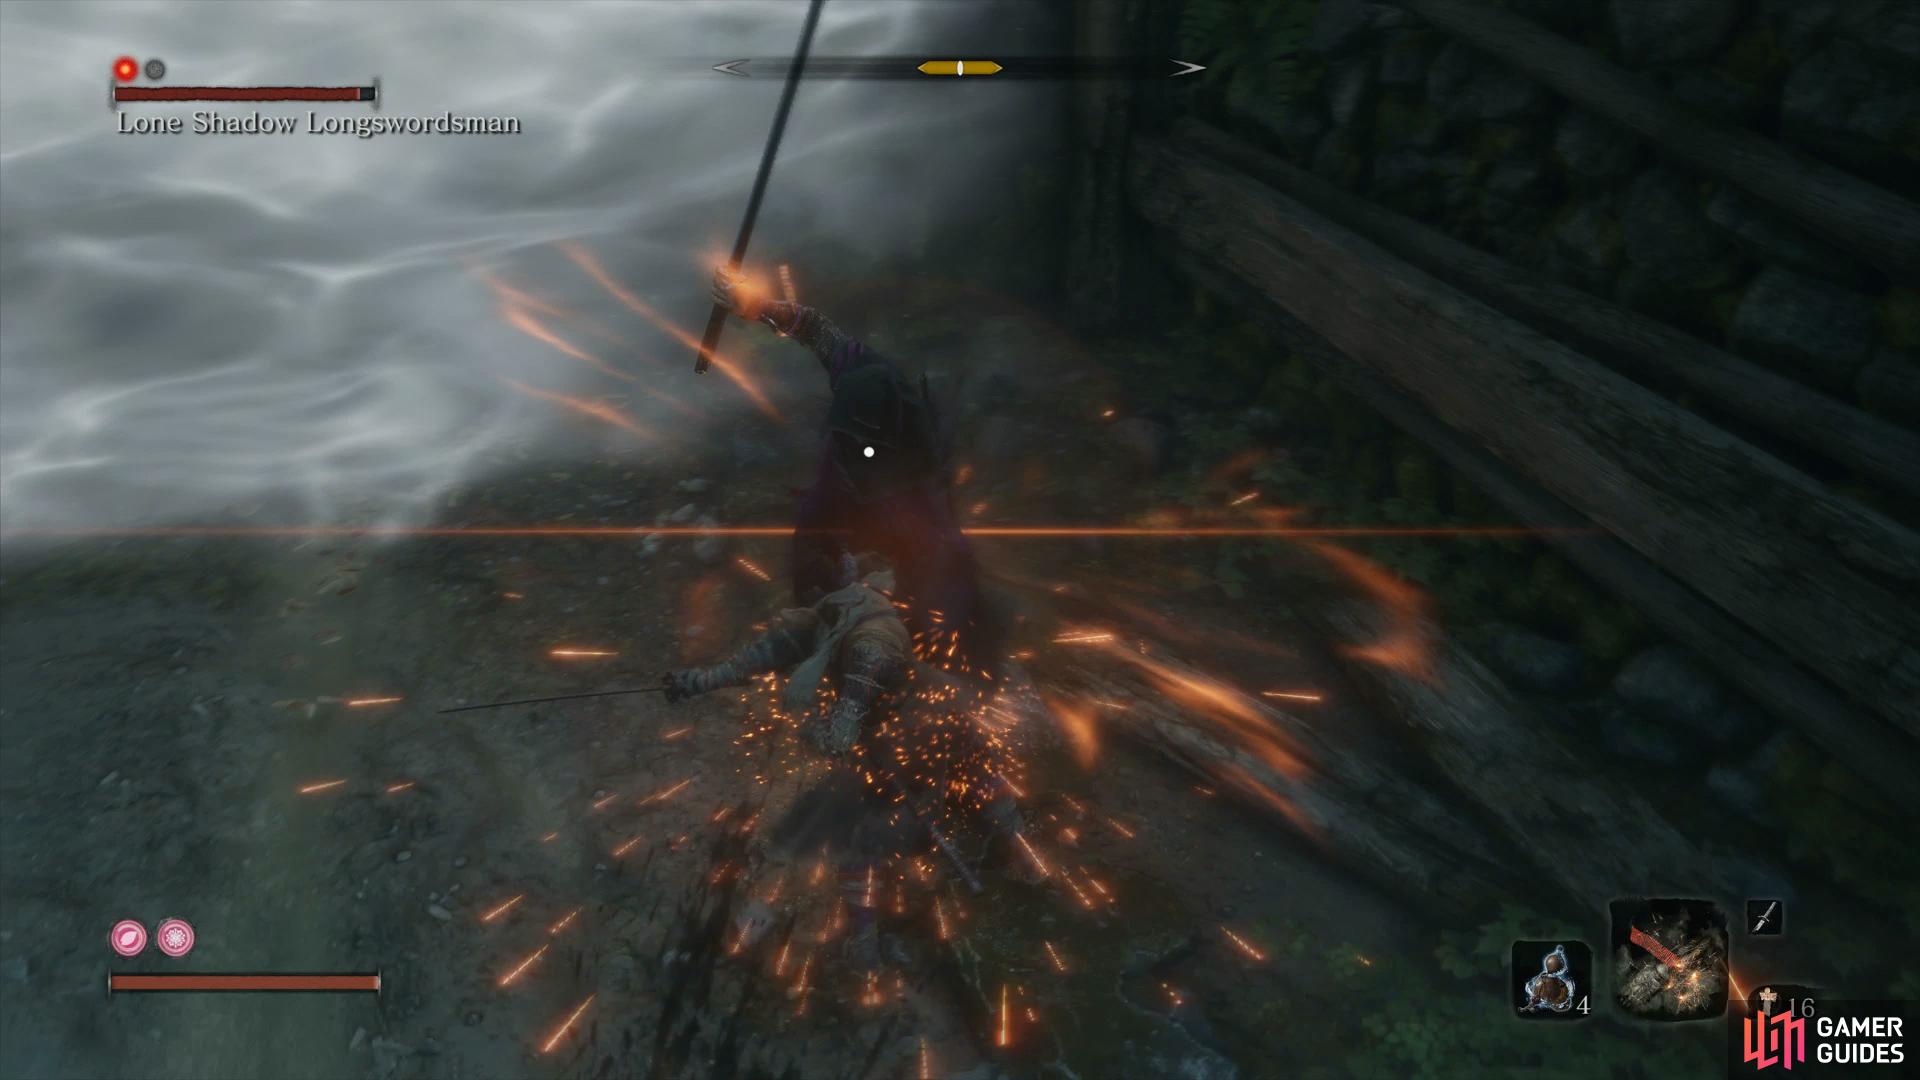
Mini-boss: Lone Shadow Longswordsman
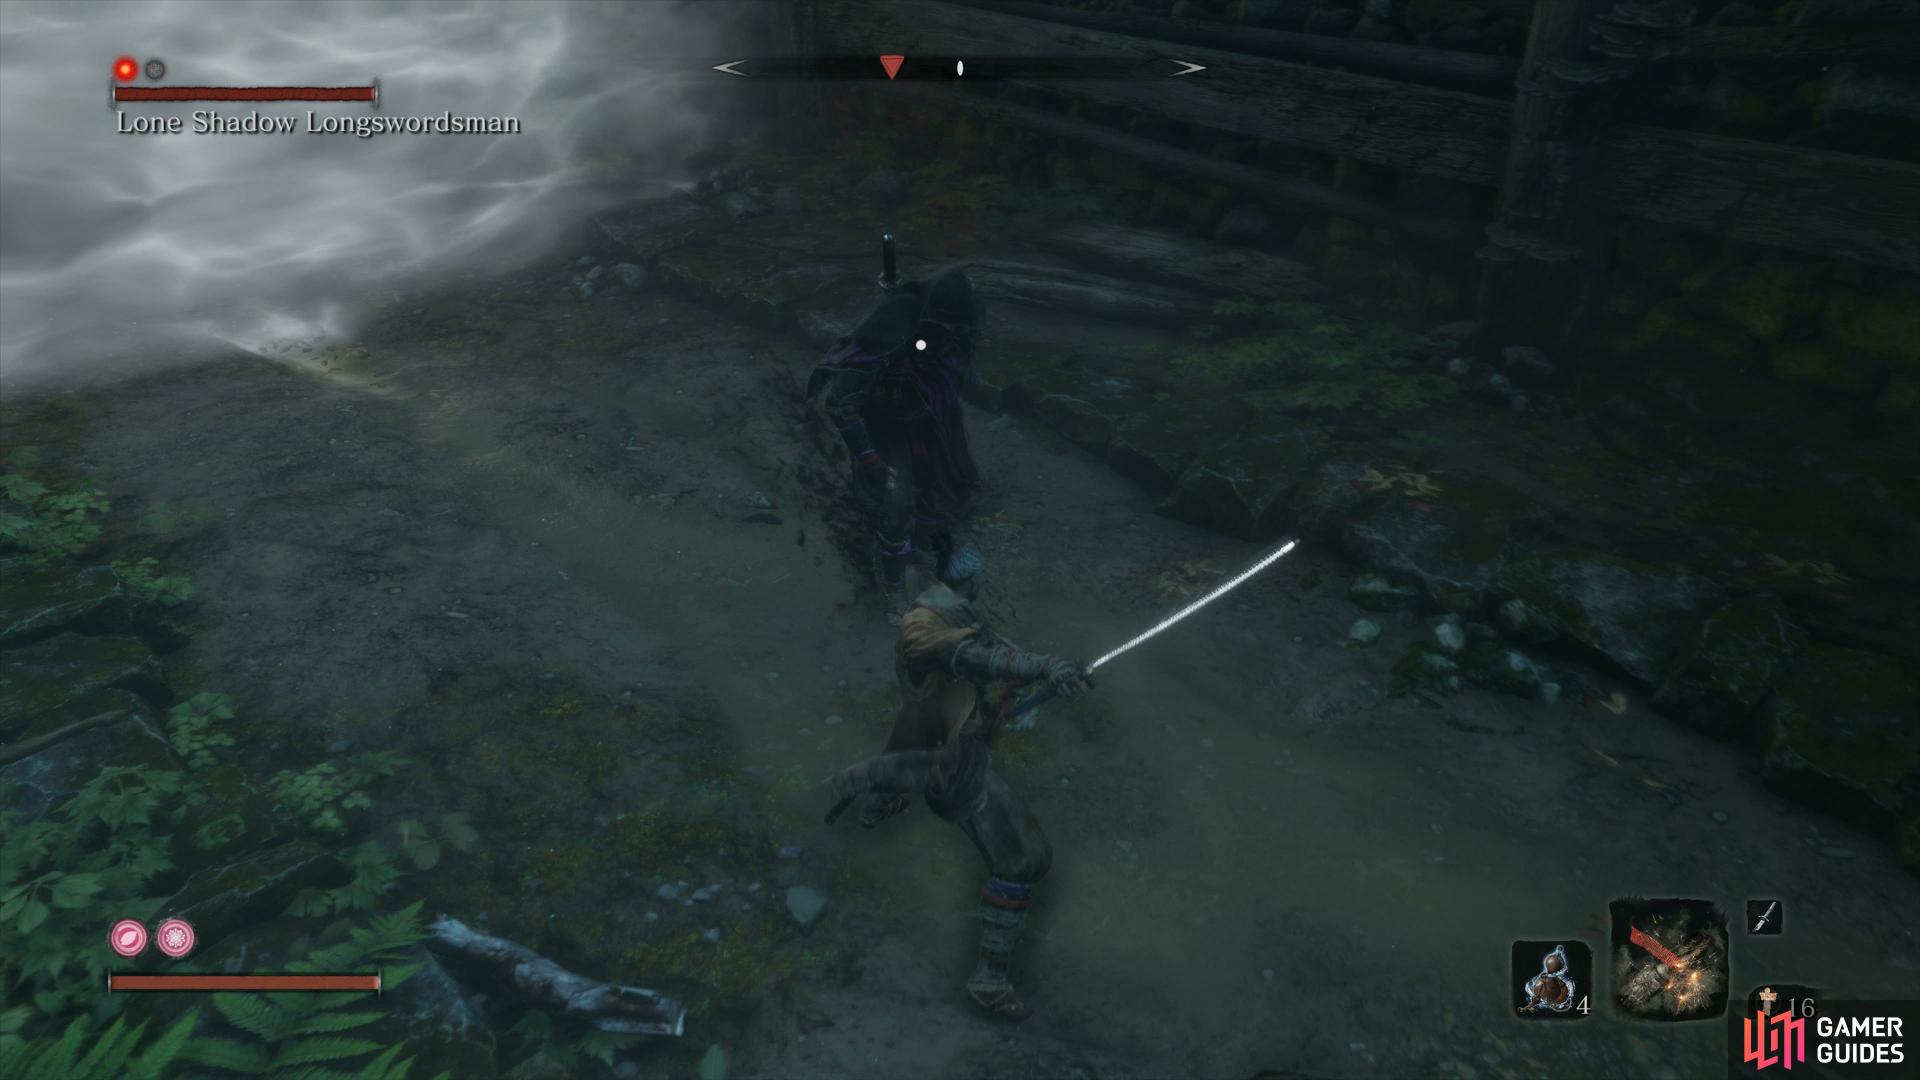
Head to the end of the path here and look down through the whole to spot a Shinobi waiting to pounce. This is a difficult encounter as you’ll have to battle not only Lone Shadow himself but also the camera as you’ll be fighting in an enclosed space. Regardless, starting the battle from here allows you to begin with an Air Deathblow which you’ll want to make use of.
Once the battle begins, you’ll notice that Lone Shadow attacks very quickly with a series of quick slashes and kicks. All of these can be deflected for posture damage and even when he attempts to jump in the air, so long as you move the camera to remain locked on, you can deflect these too.
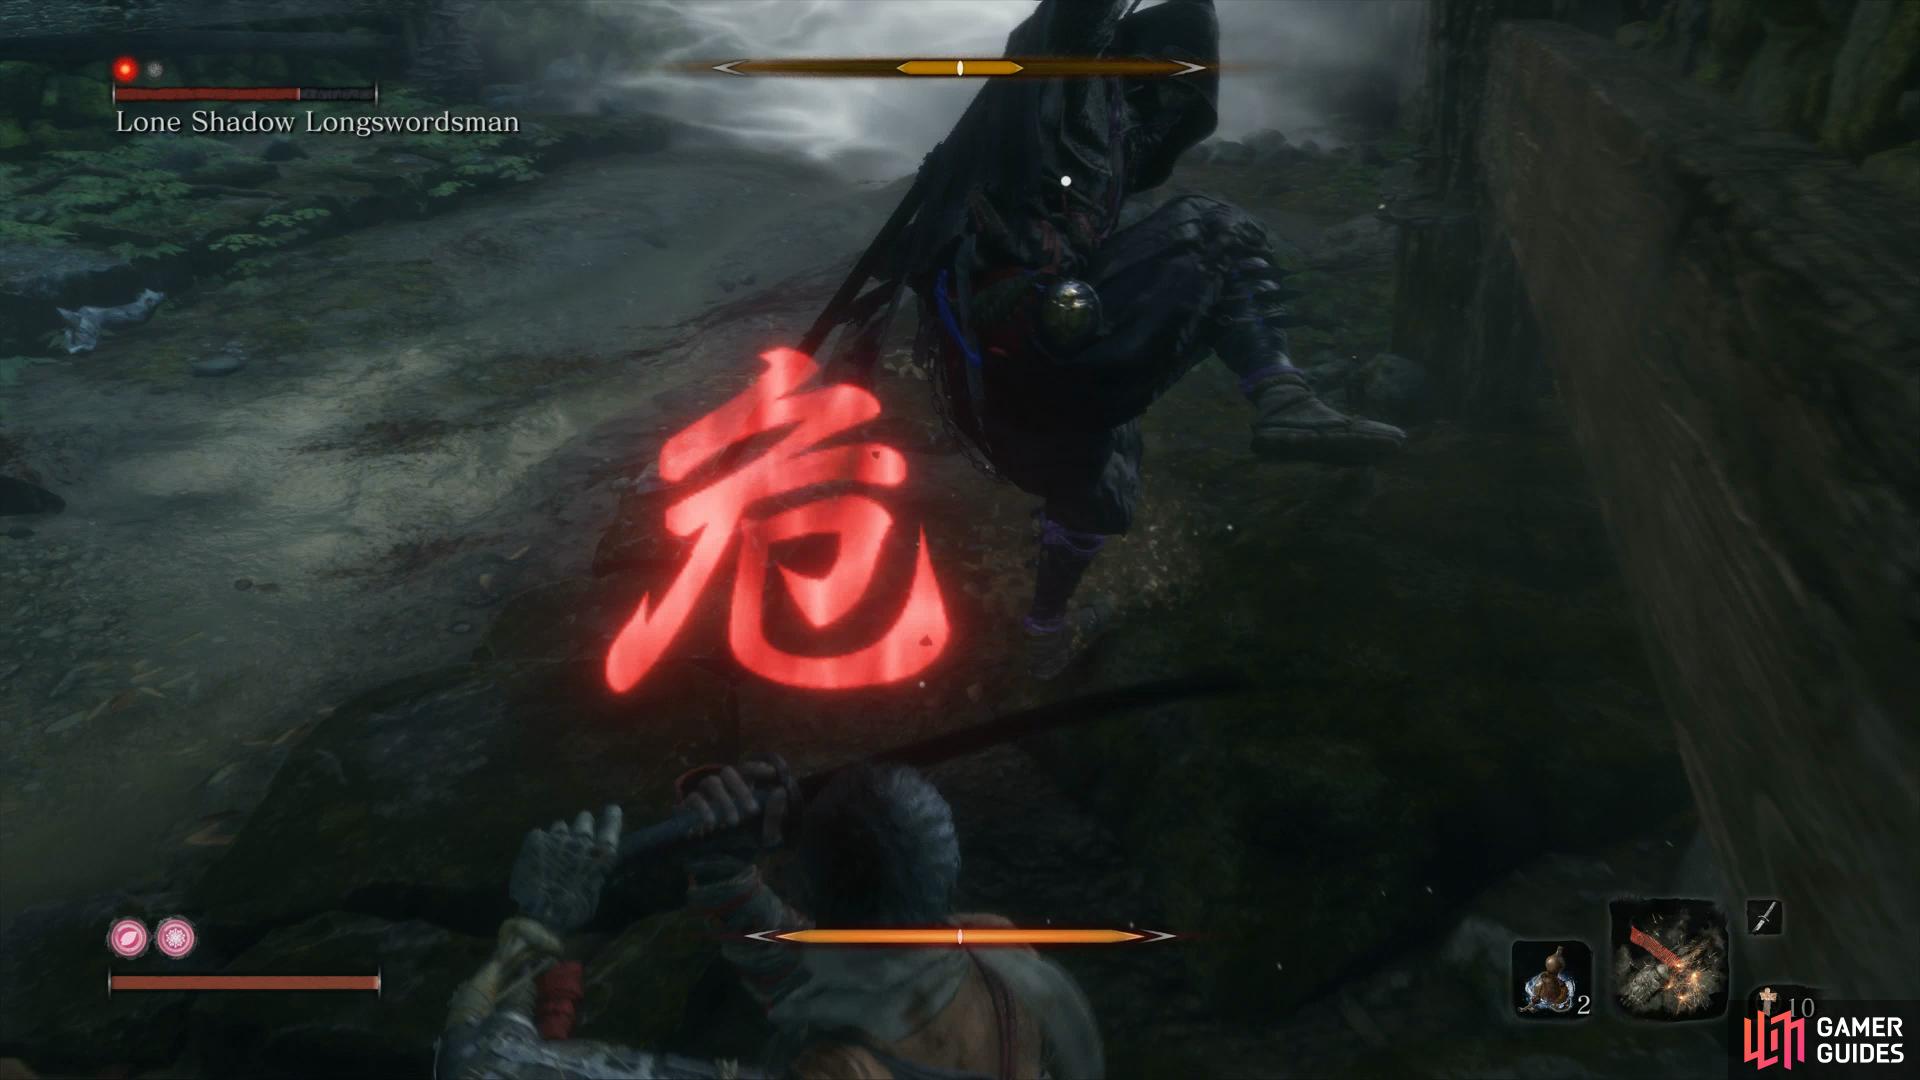
(1 of 2) Aim to deflect Lone Shadow’s blows
Aim to deflect Lone Shadow’s blows (left), the arena can make it difficult to spot his Thrust Kick. (right)
The main issue is his Perilous Attacks, of which he has two with one of them being the regular Sweep you’ll want to leap over and jump kick him. The second however is a Kick Thrust which can be Mikiri Countered but the timing is really strict so you may wish to just jump dodge unless you’ve practiced with Mikiri Counter alot.
Regardless, you’ll want to keep up being aggressive yourself with deflects and making use of Firecrackers when the time presents itself to score some more free hits. Your reward for this battle is another Prayer Bead and Scrap Magnetite. Proceed through the water in front of you and grapple out to find some Scrap Iron before dropping down to the Abandoned Dungeon. This is another area you’ll be tackling later but for now, head forward and take out the Lizards.
If you look over the ledge you’ll see a daunting enemy, avoid him until much later and continue around before you’re forced to drop down. Ignore the battle and dash away over to the other side to grapple up to a new ledge. Follow this path around through a cave and take out the Zombie waiting for you (you’ll need to dispatch these twice to fully kill them) and pocketing the Bite Down behind him. Slash at the Crickets before looting two lots of Oil and grappling up above. Ignore the enemies and dash up the stairs to reach the Abandoned Dungeon Sculptor’s Idol once more.
Ashina Castle
Travel back to the Ashina Castle Idol and make view the Remnant of Lord Kuro nearby to gain some insight into the little Lord’s thinking. Looking ahead up the stairs, you’ll spot a large group of enemies up ahead, being led by another General Mini-boss. Before rushing in, grapple to the rooftop to the left as you make your way up the stairs and wait for the General to finish his speach. Once done, you can head along the rooftops to get behind him and perform an Air Deathblow to get the battle underway.
Mini-boss: General Kuranosuke Matsumoto

As the General is rising from your Air Deathblow, quickly turn and take out the Marksmans nearby and then retreat down the stairs, if any are still alive then consider using Shurikens from range to dispatch them before attempting to tackle Kuranosuke, you’ll want him on his own.
Kuranosuke, like the other General’s you should have already defeated, has much of the same skillset such as the Perilous Thrust and Sweep attacks and a large posture gauges. The most dangerous attack, like always, is when he charges up, this will lead to a deadly rising strike that you’ll want to avoid at all costs.
The main issue with this battle is the terrain in general, there’s not much room for dodging around although do remember that you have the roofs you can grapple to if you need a breather or to use a Health Gourd. Keep up the deflections while avoiding the Sweeps and the General will join his fallen comrades, rewarding you with a Prayer Bead which, if you’ve been following this walkthrough, will be your Third Prayer Necklace. Open the chest behind where the General was standing to obtain some Divine Grass, a consumable that will fully recover you, save this for a special occassion.
Head to the right of the locked door and loot the Mibu Balloon of Wealth before dropping down to where a man is sat on the ground. Upon speaking to him, you’ll discover that he’s in need of some assistance in the form of taking out the nearby Samurai. Head around the corner and climb the small wall here to look down, you’ll spot four guards nearby with another patrol of three in the alley in front. Wait until they’re out of view and jump down to dispatch the first group before hiding and taking out the second.
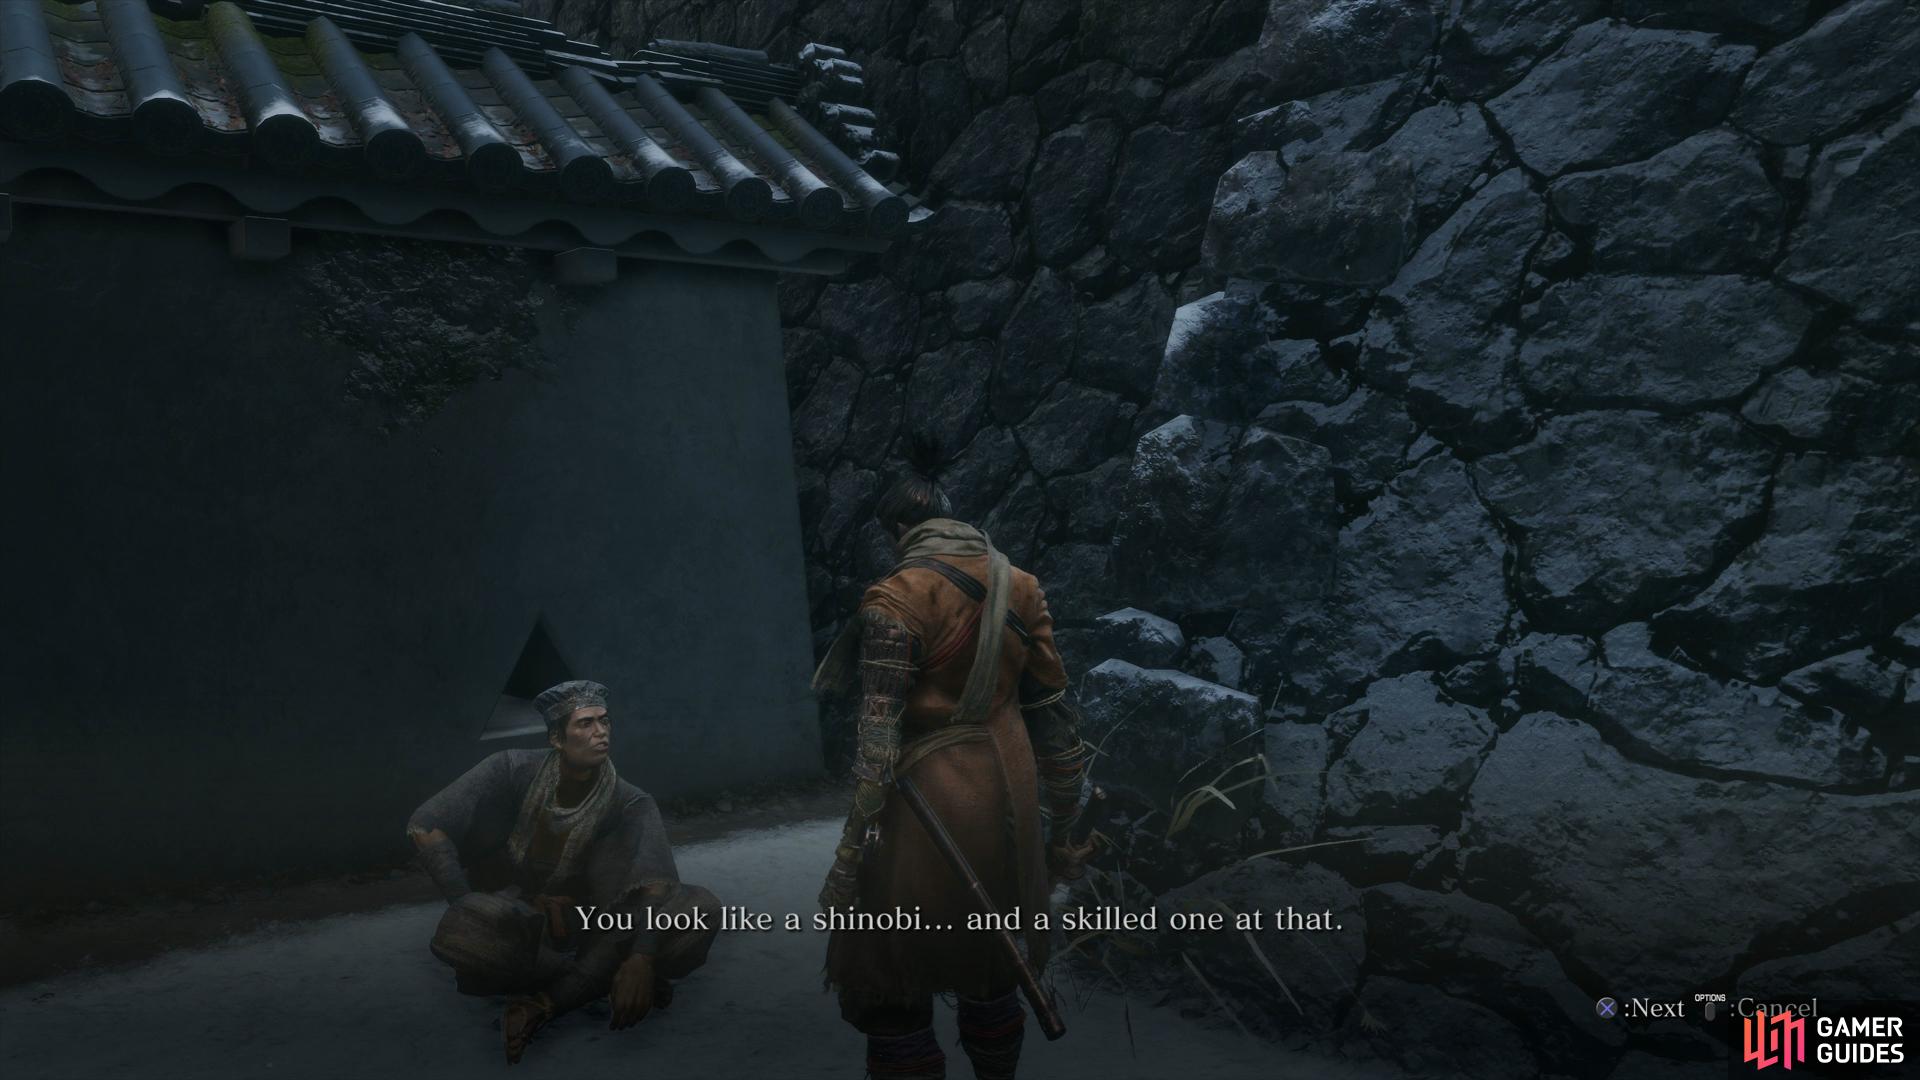
Be sure to aid this man for his assistance is needed later in your journey.
With the guards defeated, pocket the Ceramic Shards and then head back upstairs to inform the man the coast is clear. In return, you’ll obtain the Nightjar Beacon Memo detailing vital information about the Ashina Shinobi, the Grey Nightjars. This is all you can do with this man for now but rest assured, your act of kindness will pay back dividends later in your journey.
Grapple to the nearby rooftop and then go back towards the entrance of the castle to another roof and drop down to the ledge below the one you’re on. Ignore the nearby item and instead head around the other side of this roof to spot a Grey Nightjar you can backstab. It’s in your best interest to try and take these tricky foes with stealth because in a straight up fight, they can be tough to deal with unless you’re deflection skills are up to par due to their quick strikes.
Loot the item you passed on a moment ago to obtain more Ceramic Shards and then look toward the entrance again to spot another Grey Nightjar on the next rooftop waiting to be backstabbed. Pay attention to the Nightjar signals mentioned in the memo from before, you’ll be using these shortly to get around the rooftops. Look below this roof to spot a Rat that you can dispatch with a quick Air Deathblow and then take out the two guards that become alert from the process.
While still in stealth, head up the nearby stairs and take out the Marksman from behind and pocket some more Fistful of Ash in the corner. Heading up the stairs behind the fallen Marksman is some Scrap Iron sitting around. Head back to the main stairs leading up now and take the left path this time and open the first door you come to. You can drop down here (be sure to open the other door first) to find some Pellets and then unbar another door to create a shortcut to the Ashina Reservoir Idol.
Grapple back up and out the other door to find more Scrap Iron and a Mibu Possession Balloon by the nearby tree. Return to the main stairs once more and return to the rooftops to the right, following the Nightjar Signals towards the castle. As you reach the corner, you’ll spot an item on the corner of the roof but ignore it to avoid detection and instead grapple over to the main roof to dispatch two Grey Nighjars.
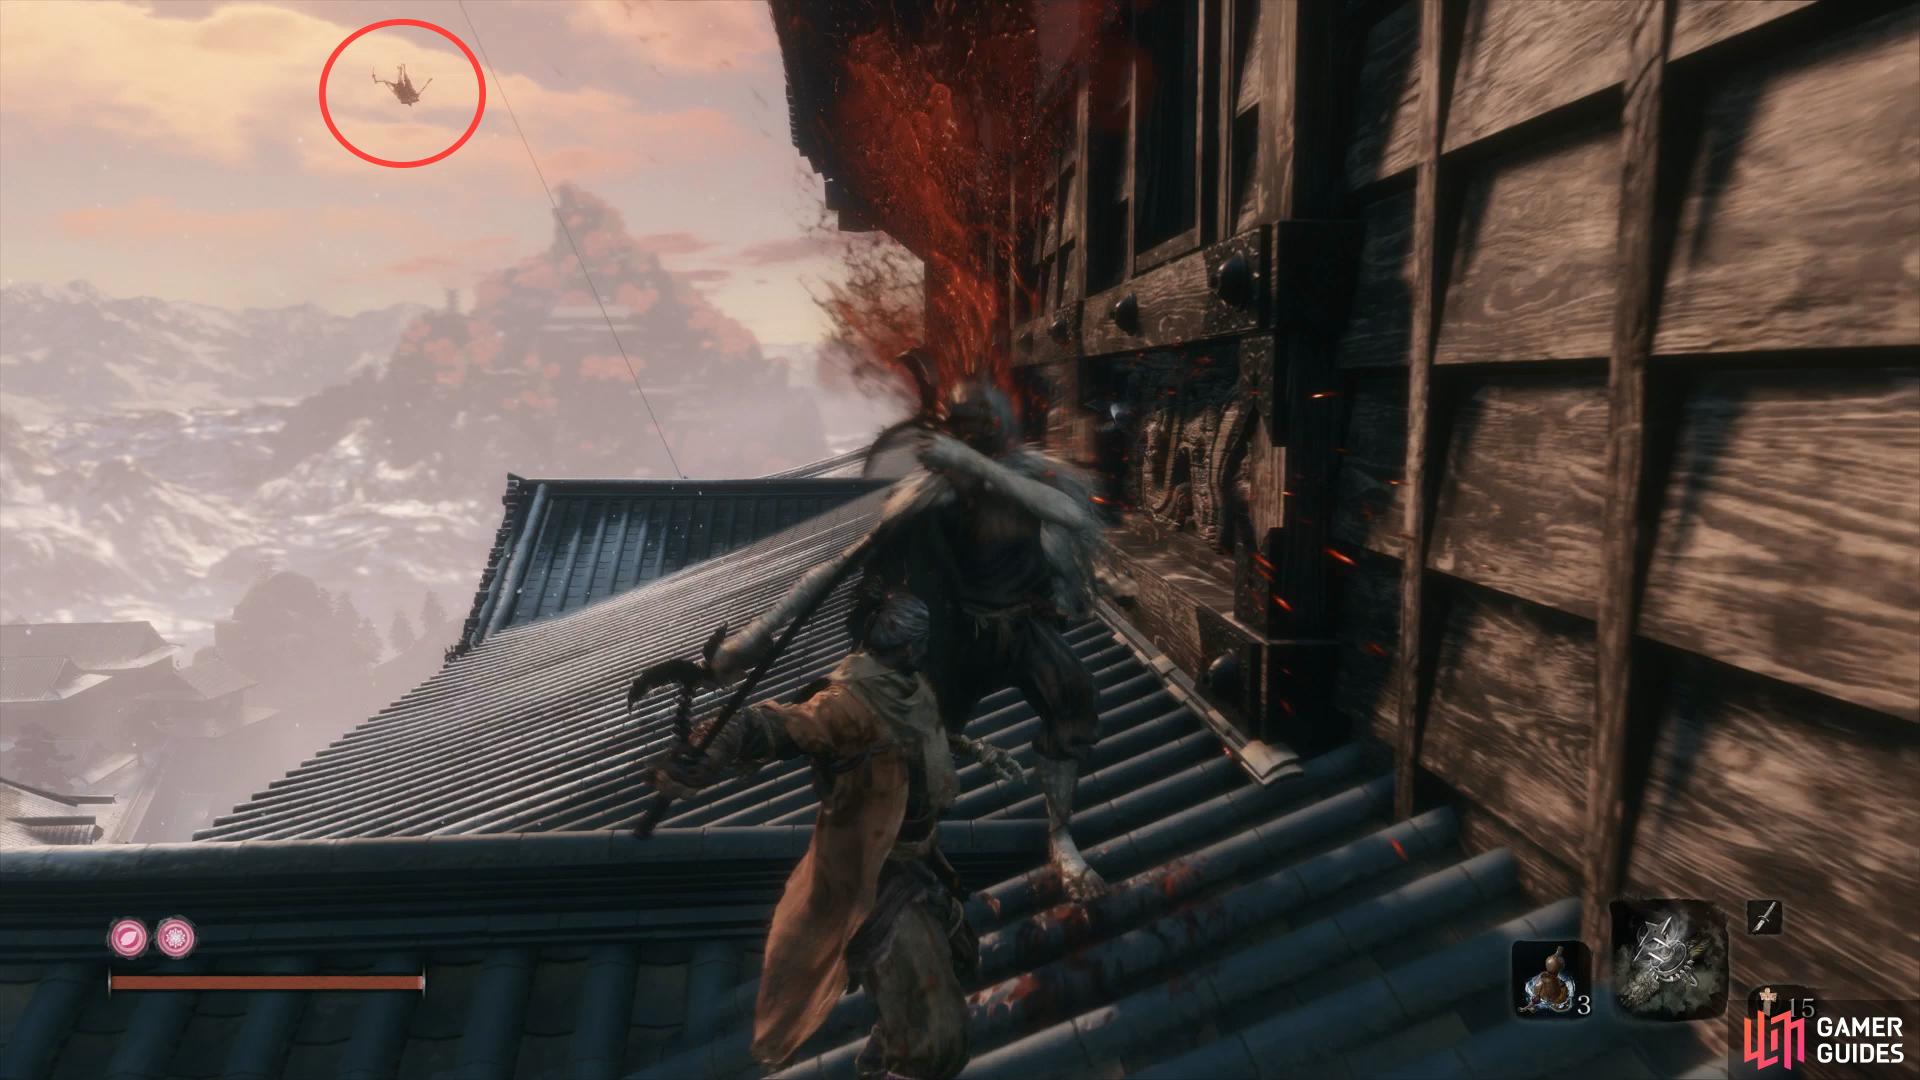
If this Nightjar connects as it’s landing, you’ll be killed outright.
Grapple back over to grab the Pellets from the previous roof and then continue along the main roof, dispatching the Nightjar that barrels in. Grapple up to the roof above before going around the corner to backstab another Nightjar before grappling over to the other side to snag an Ungo’s Sugar. Defeat the Nightjar on this roof before sneaking around the back of the next roof to backstab another two. This leaves you with just one more Nightjar that patrols the roof across from you, get behind him and backstab him.
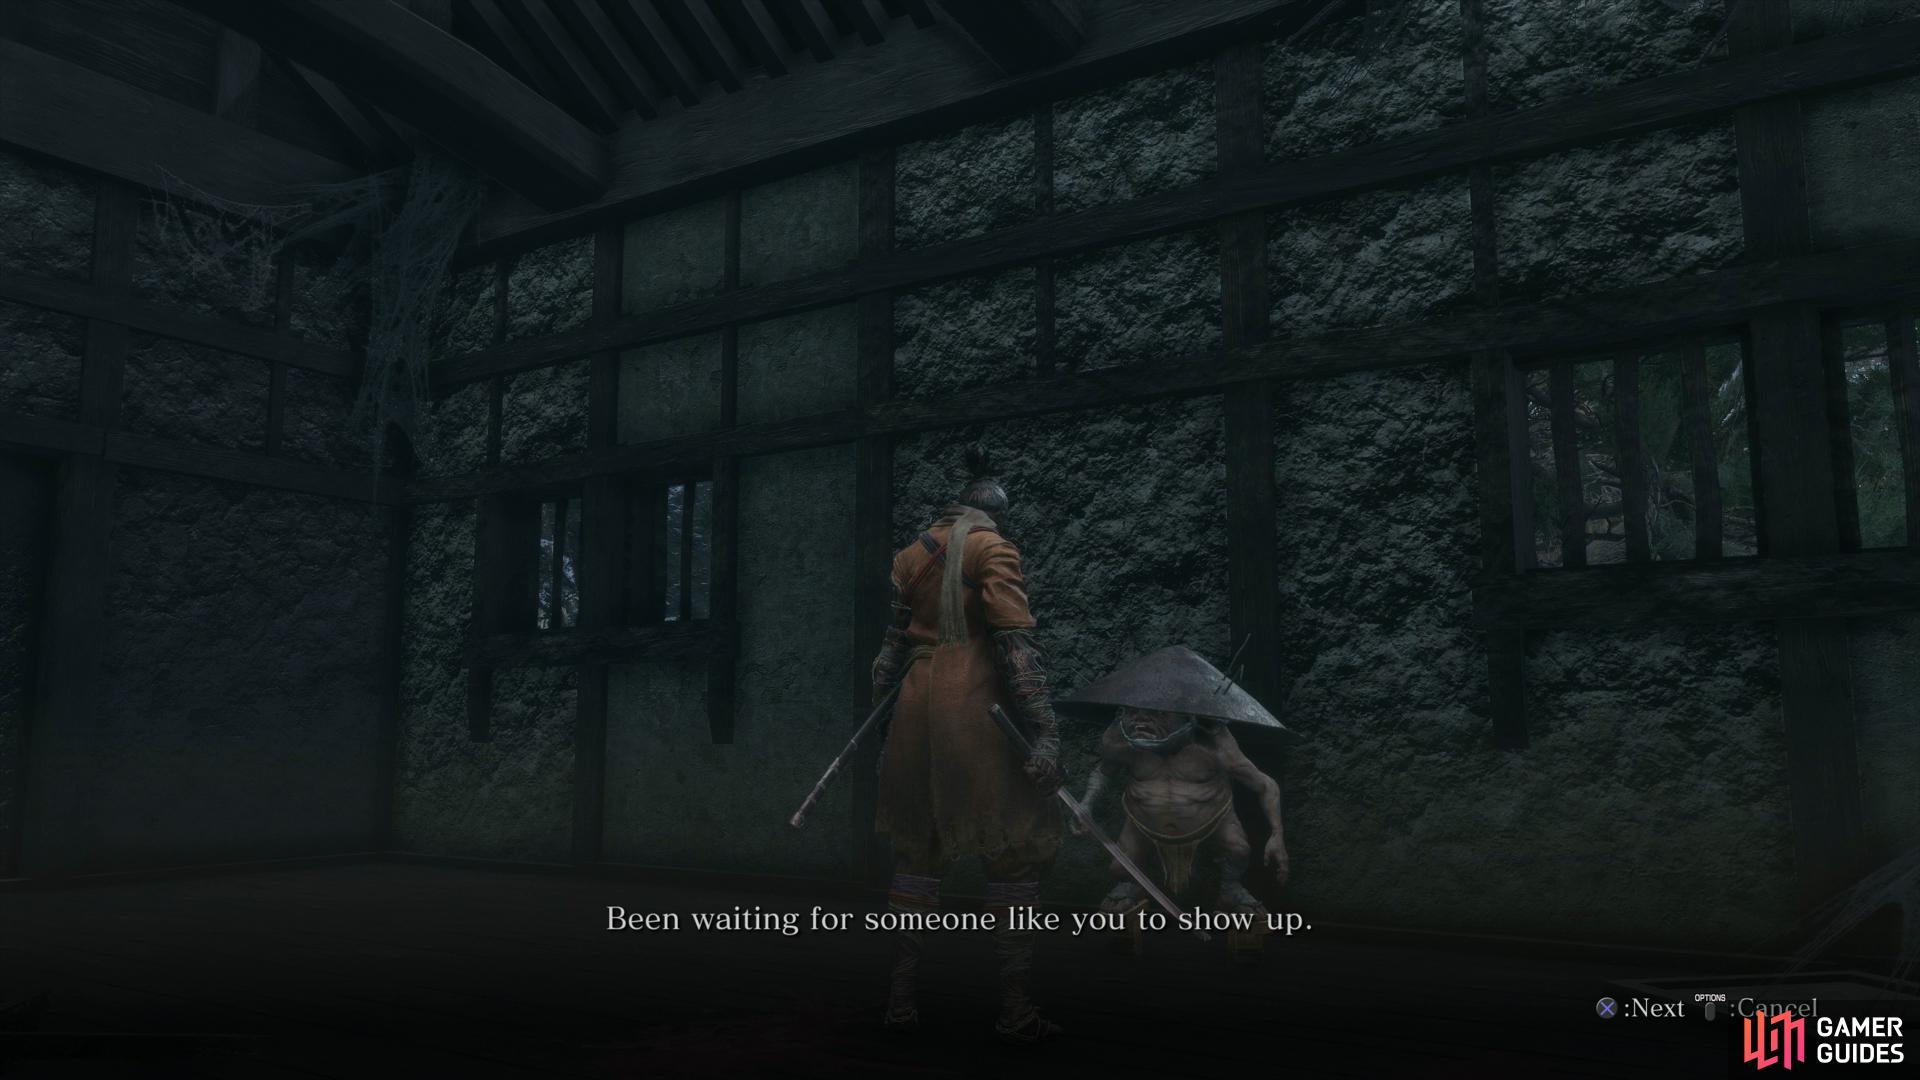
Move to the corner of the wall here and hug it, picking up the Ceramic Shards in the process. You’ll notice a hidden Nightjar here, ignore him and grapple up to the open window to find some Fistful of Ash, a chest containing the next Gourd Seed and a new Sculptor’s Idol. Take this moment to head back to the Dilapidated Temple to improve your Healing Gourd before returning here. You’ll also find Fujioka the Info Broker here if you aided him in Ashina Castle earlier and he has a selection of items for you to purchase.
(1 of 2) The first Gourd Seed can be found in a chest near the Idol
The first Gourd Seed can be found in a chest near the Idol (left), while the man you saved earlier has another. (right)
| Items (Quantity) | Cost (Sen) |
|---|---|
| Pellet (8) | 80 |
| Dragon’s Blood Droplet (2) | 180 |
| Antidote Powder | 100 |
| Dousing Powder | 100 |
| Pacifying Agent | 100 |
| Ungo’s Sugar | 120 |
| Light Coin Purse (3) | 110 |
| Heavy Coin Purse (3) | 550 |
| Sabimaru Memo (1) | 500 |
| Three-story Pagoda Memo (1) | 500 |
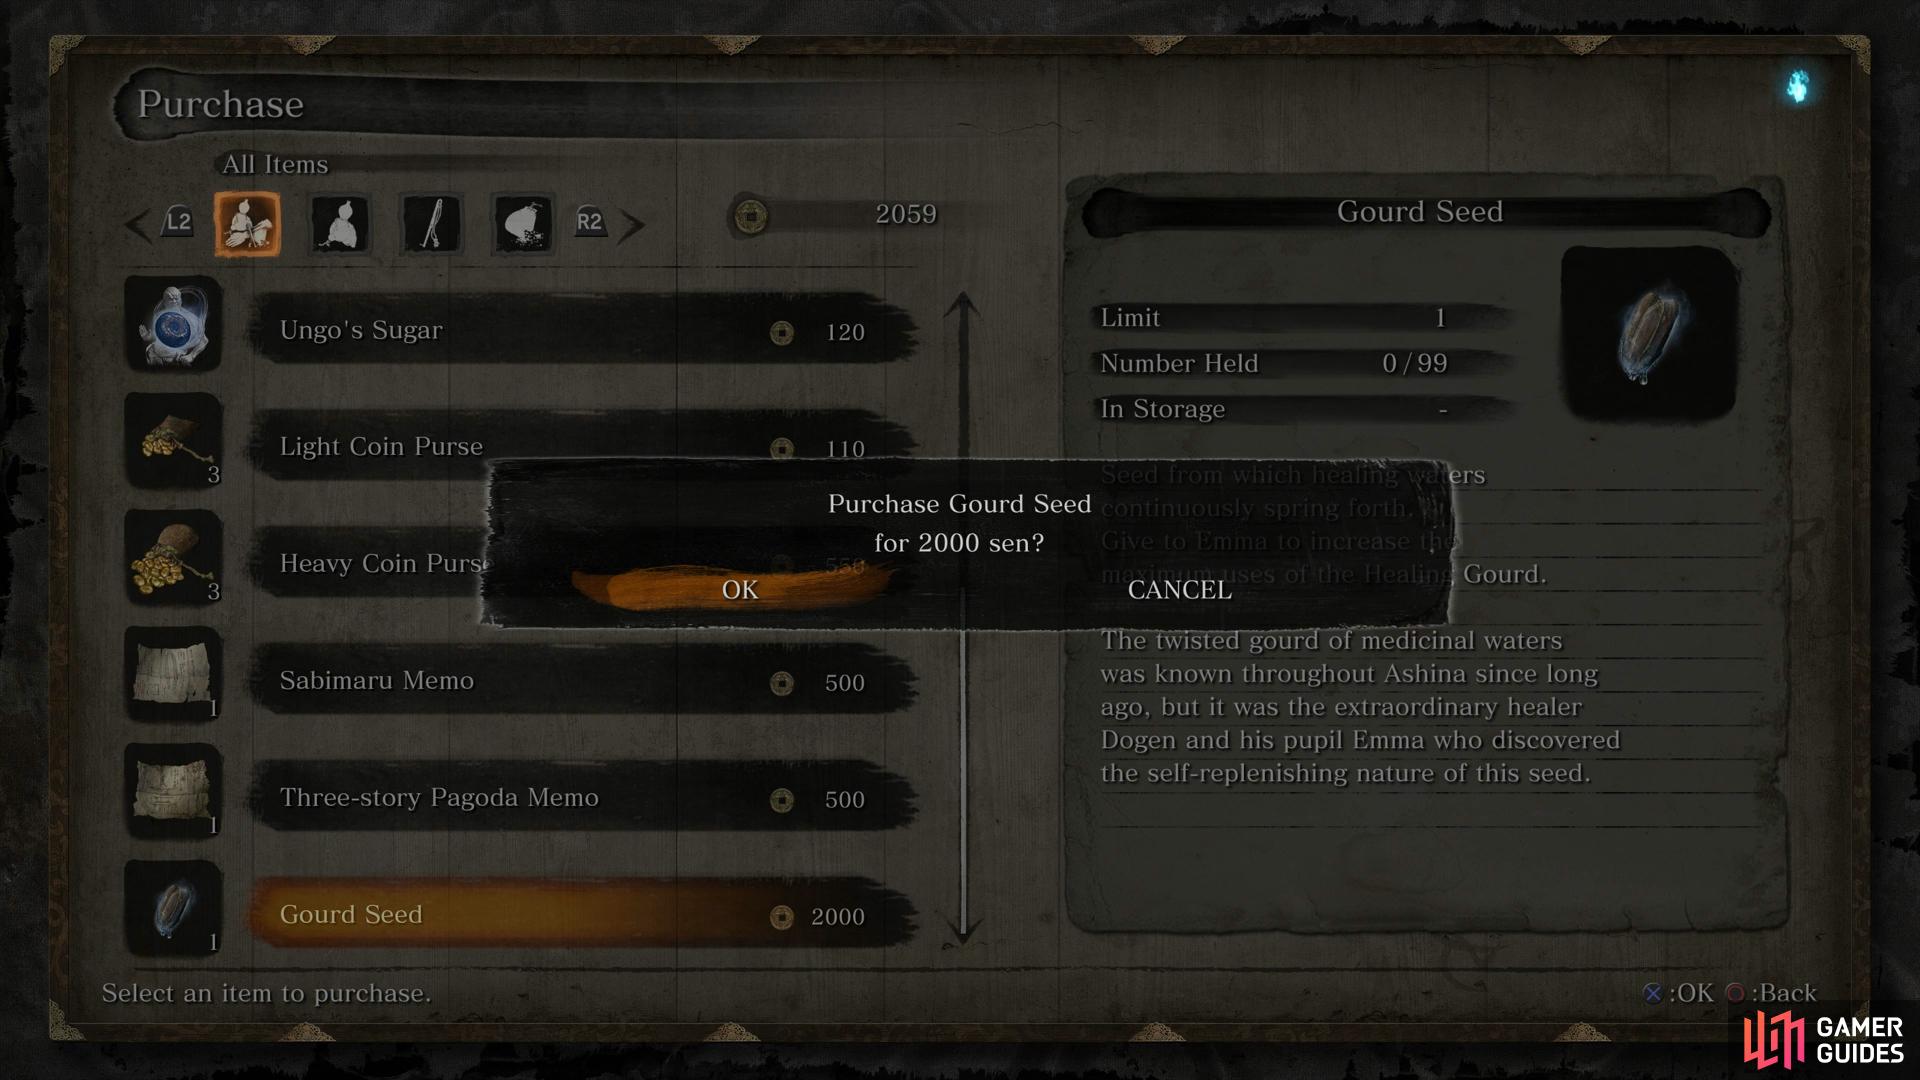
| Gourd Seed (1) | 2000 |
The high ticket item here is of course another Gourd Seed and you’ll want to purchase it right now, making use of any Coin Purses and selling off useless items. The Memo’s provide hints on where the find Shinobi Tools, which are useless if you’re reading this walkthrough. Be sure to hand over the second Gourd Seed to Emma before you leave.
Upper Tower - Antechamber Side Activities
Before you continue on with your ascent of Ashina Castle, there’s some optional tasks well worth taking care of. Head back to the window you entered from and leap into the water to your right, the Carp here are regular enemies so ignore them swim as fast as possible towards and under the bridge to your right. You’ll find a Mibu Possession Balloon here and if you swim around the corner while hugging the wall, you’ll be able to jump up and grab the ledge to your left.
Backstab the Marksman here and then Eavesdrop on the guards on the bridge to learn that the Ashina are lacking Salt, information that is useful to Anayama back in the Outskirts. Turn around and head towards the open gate, pocketing another Mibu Possession Balloon in the process.
Be sure to Eavesdrop to gain the information Anayama was looking for.
As you head down the forest here, you’ll encounter some Monkeys that can be put down with a few simple strikes or a single toss of the Shuriken. At the end of the path, you’ll come across a small gatehouse housing a Mibu Balloon of Spirit and the Great Serpent Shrine Sculptor’s Idol, a handy Idol to unlock now to make travelling later a lot easier.
Return up the forest path and over to the bridge where you Eavesdropped on the two guards. Take them both out and then carefully approach the gateway, a tricky Spearman is patrolling, wait for him to show his back and Deathblow him before taking out the other and activating the Sculptor’s Idol through the gate to the left.
Old Grave
Head to the left through the doorway to find a Dragon’s Blood Droplet by the grave and then loot the Gachiin’s Sugar on the wall in front of the Idol. Grapple on the wall to the left of the stairs leading down and then over to the roof of the house in front. Head around the back to grapple over to the watchtower where you can backstab a Cannoneer before dropping down to dispatch the guards below.
Another Spearman patrols the stairs leading down here, pounce on him to take him out and then head back to where the Idol is but don’t rest. Instead, look over the top and drop down to the roof with a hole in it, ignoring it for now and jumping to the roof of the watchtower. Head around the back of it and drop into it to backstab another Cannoneer before dropping off the back to dispatch a guard facing out to the mountains.

(1 of 2) Use this roof to get behind the Cannon wielder.
Use this roof to get behind the Cannon wielder. (left), make use of the items Blackhat Badger has for sale. (right)
Another guard waits by the tree to the right of the watchtower while you can get behind another that oversees the stairs leading down to the left. Head down these stairs to find a broken bridge and some Black Gunpowder before returning back up the stairs. Continue up the stairs to take out one last guard and loot the Ceramic Shards, Gachiin’s Sugar, Light Coin Purse and Fistful of Ash near the tree.
Climb up to the second story of the house near the last guard you killed and loot an Ungo’s Sugar before heading inside to meet Blackhat Badger who is another merchant with some useful goods to purchase.
| Items (Quantity) | Cost (Sen) |
|---|---|
| Yashariku’s Sugar (3) | 130 |
| Bite Down (2) | 30 |
| Iron Fortress (1) | 1600 |
| Anti-Air Deathblow Text (1) | 1200 |
The two items you’ll want to purchase immediately is the Iron Fortress, which unlocks a new, and very useful, Shinobi Tool along with the Anti-Air Deathblow Text for a useful skill to use against an upcoming boss. In order to achieve this, you’ll need to have 2800 Sen on you which is a lot, be sure to use all your Coin Purses first to see how much you can purchase. For the rest of the Sen needed for these items, consider selling unwanted items to Fujioka at the Dilapidated Temple or running a circuit around this Idol while a Mibu Balloon of Wealth is active.
Alternatively, you can wait until you’re just before the next boss before travelling back here to purchase the Anti-Air Deathblow Text so long as you purchase the Iron Fortress right now. Take this back to the Sculptor to obtain the Loaded Umbrella, this acts as a shield when activated and can be held out to deflect damage. Use this with the same timing as a normal deflect however and you’ll cause massive posture damage.
Upper Tower - Antechamber
Return to this Idol to continue your ascent of Ashina Castle and begin by entering stealth as you head around the doors to your right to backstab a Samurai Elite. These are difficult foes one on one but so long as you’re used to deflecting (or use your new Loaded Umbrella), you should have no problems.
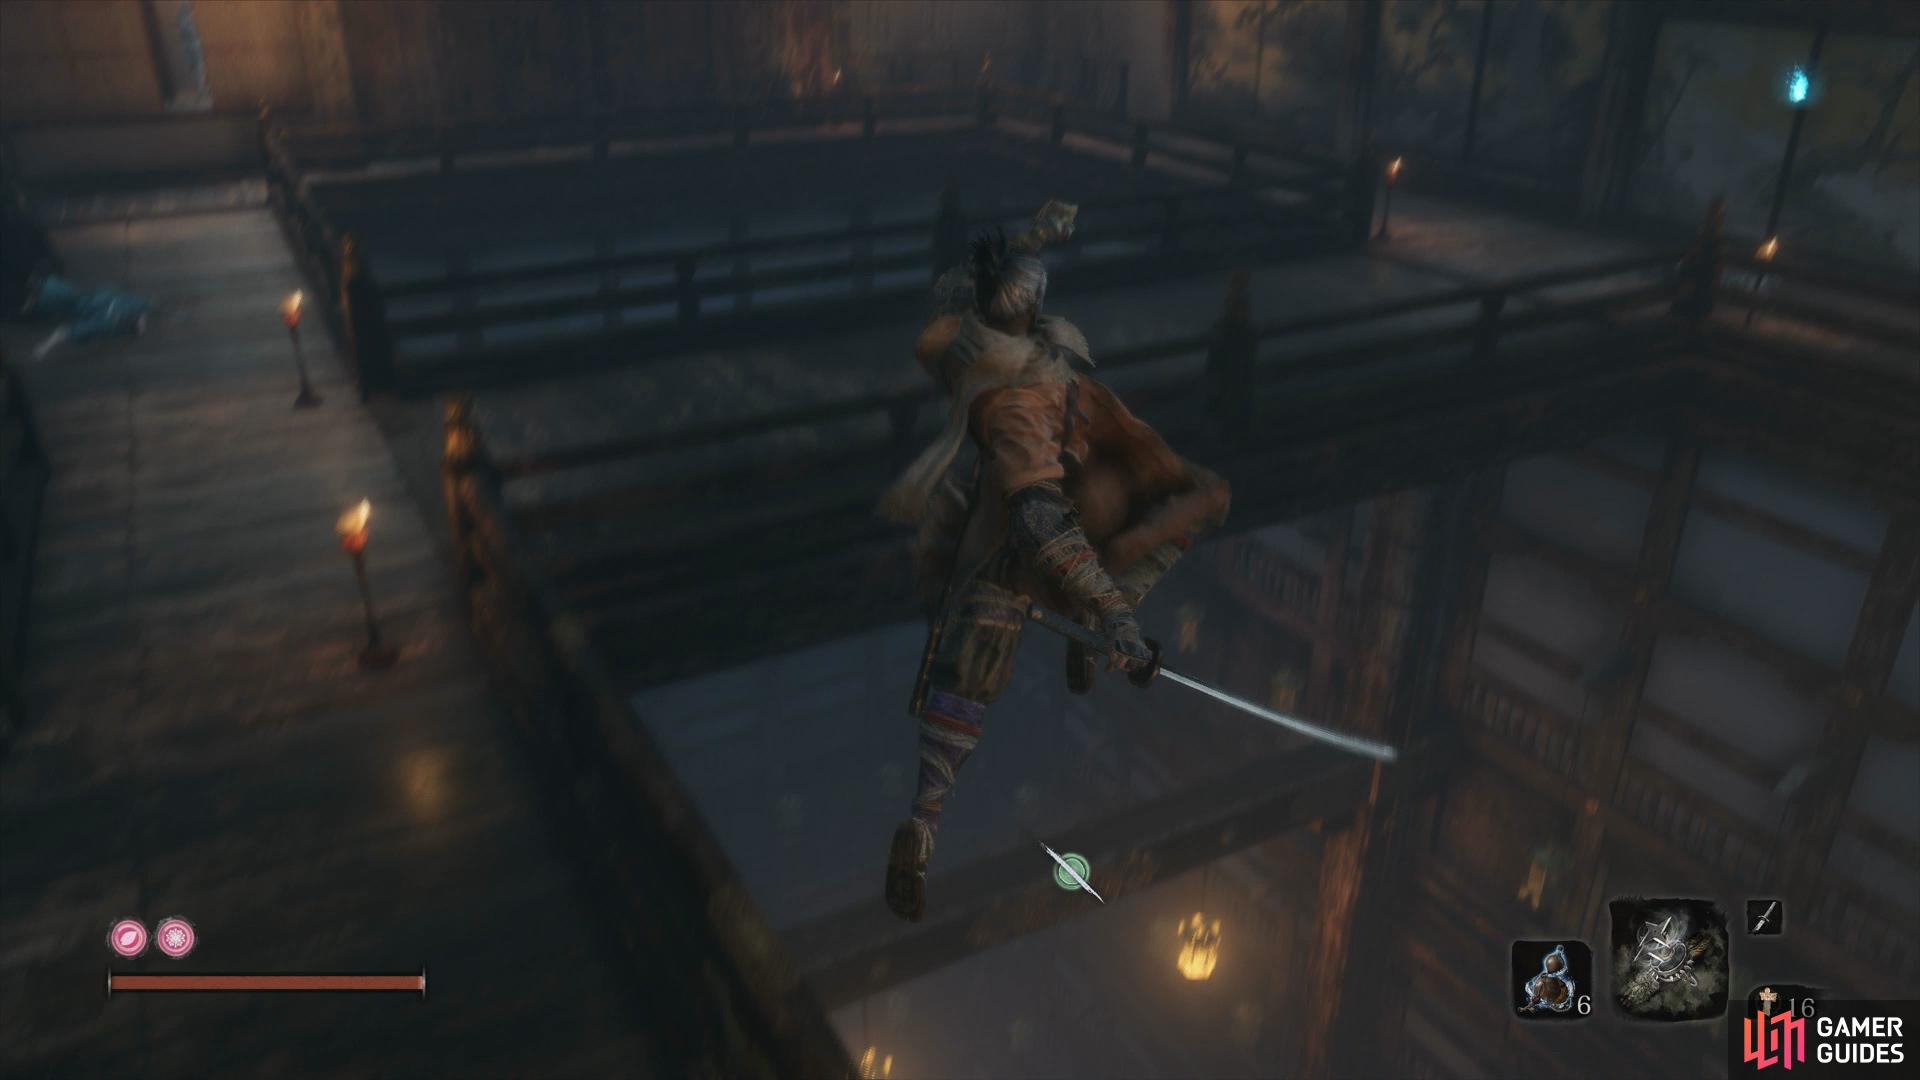
Open the next door and wait for the next Samurai Elite to show his back to you and backstab him before taking out the Priestess in the same manner. Now, before you continue, look over the hole in the center of the room and grapple down to the beam where you can look down to spot a Samurai Elite backed up by three other regular guards. Target the Samurai Elite and perform an Air Deathblow on him before taking out the others.
Head into the room the Samurai Elite was guarding to find some Eel Livers, a Gokan’s Sugar and the Sabimaru in the chest. This can be fitted to your Prosthetic to unlock the Sabimaru Shinobi Tool that is a fast acting dagger that inflicts poison on your foes. The downside to this is that it’s an expensive tool to use, costing one Spirit Energy per swing of the blade.
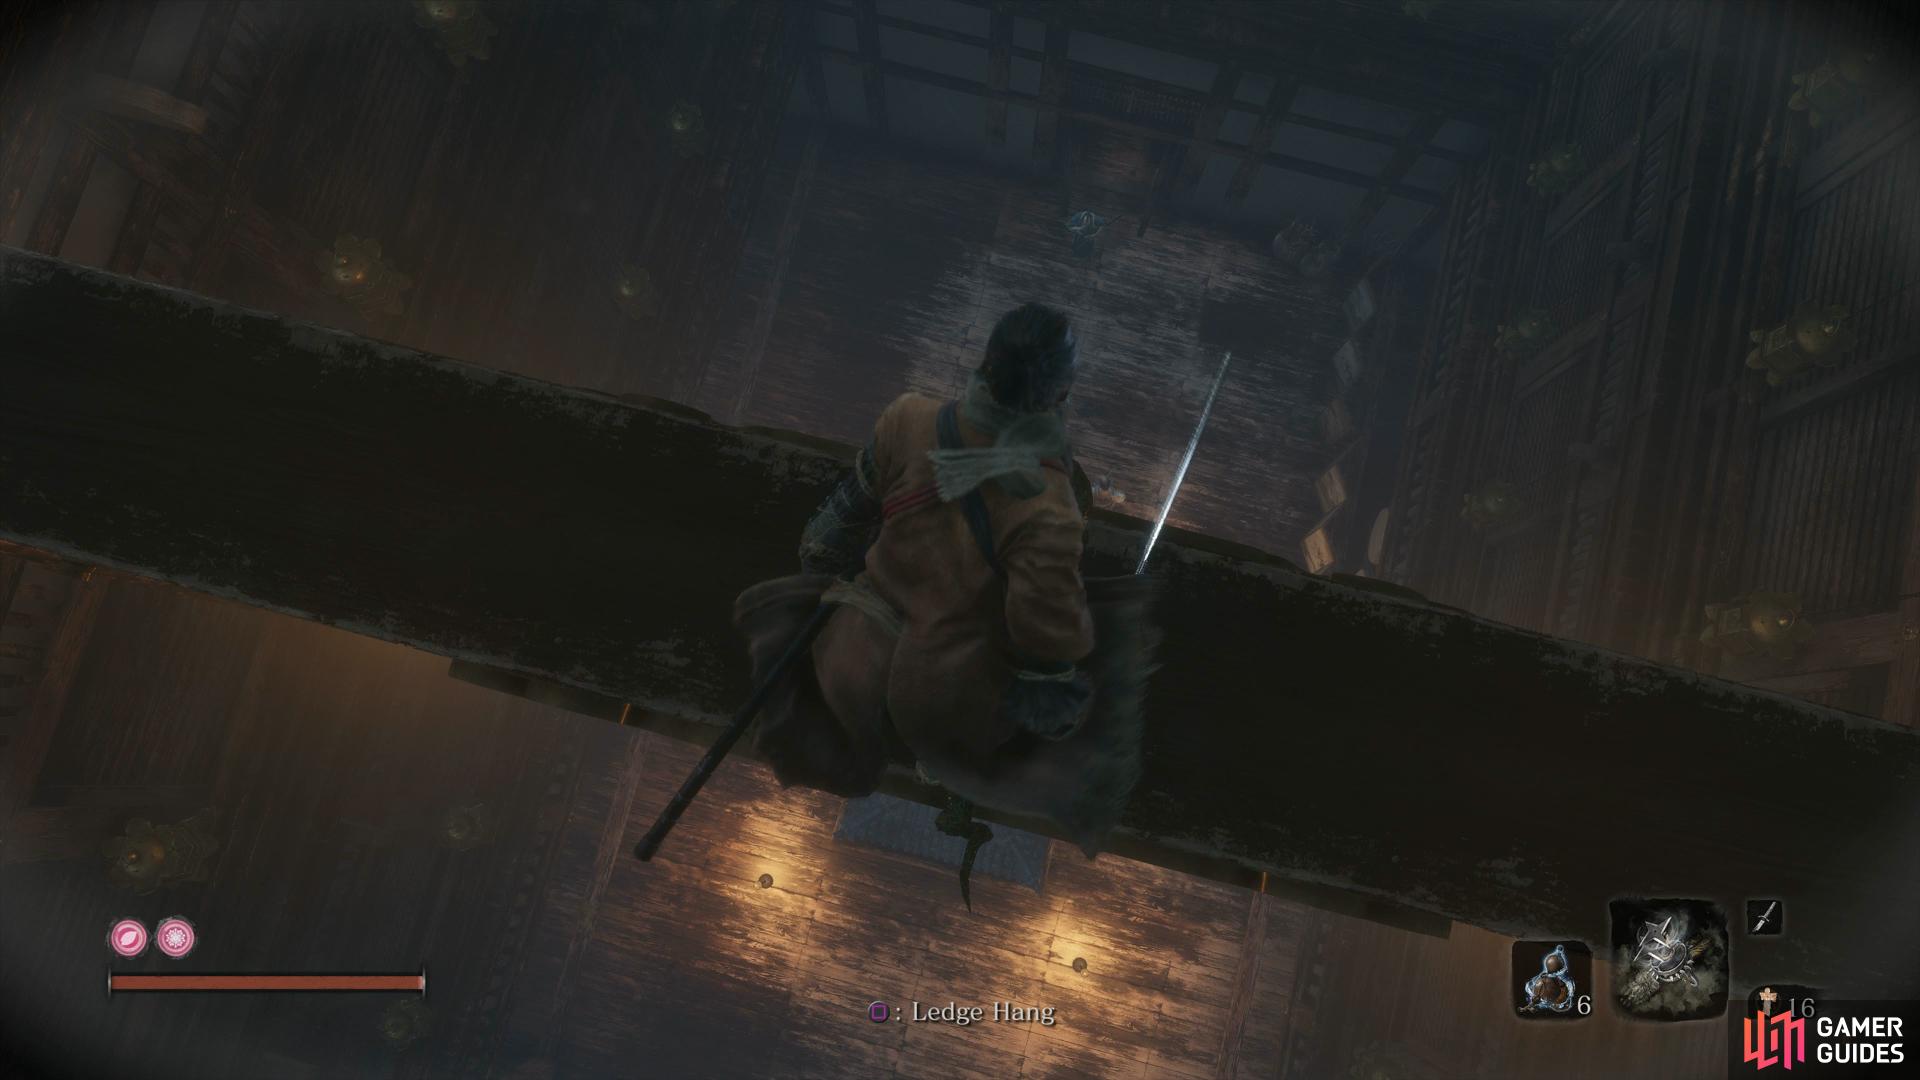

(1 of 3) Jump to the beam from the upper room
Regardless, head out the back to open a shortcut leading to the Old Grave Idol and the door at the front leading to the main stairs heading back to the Ashina Castle Idol. Whichever one you choose to take, head back to an Idol, have the Sculptor fit the Tool at the Dilapidated Temple and return to the Upper Tower - Antechamber Idol.
Take out the two Samurai Elites along with the Priestess again and then head to the corner room to dispatch another Samurai Elite gazing out of the window. Loot the Pellets here and then head forward to where another two Samurai Elites have gathered. You’ll only be able to take one out with a Deathblow and have to take the other head on.
With the room empty, pocket the Scrap Iron and Ako’s Sugar before hugging the wall where the scroll hangs to find another hidden room. Inside, you’ll find a Light Coin Purse, Heavy Coin Purse and a Prayer Bead in the chest. Return the way you came and grapple to the hole in the ceiling to find some Gachiin’s Sugar as you make your way forward to another hole.
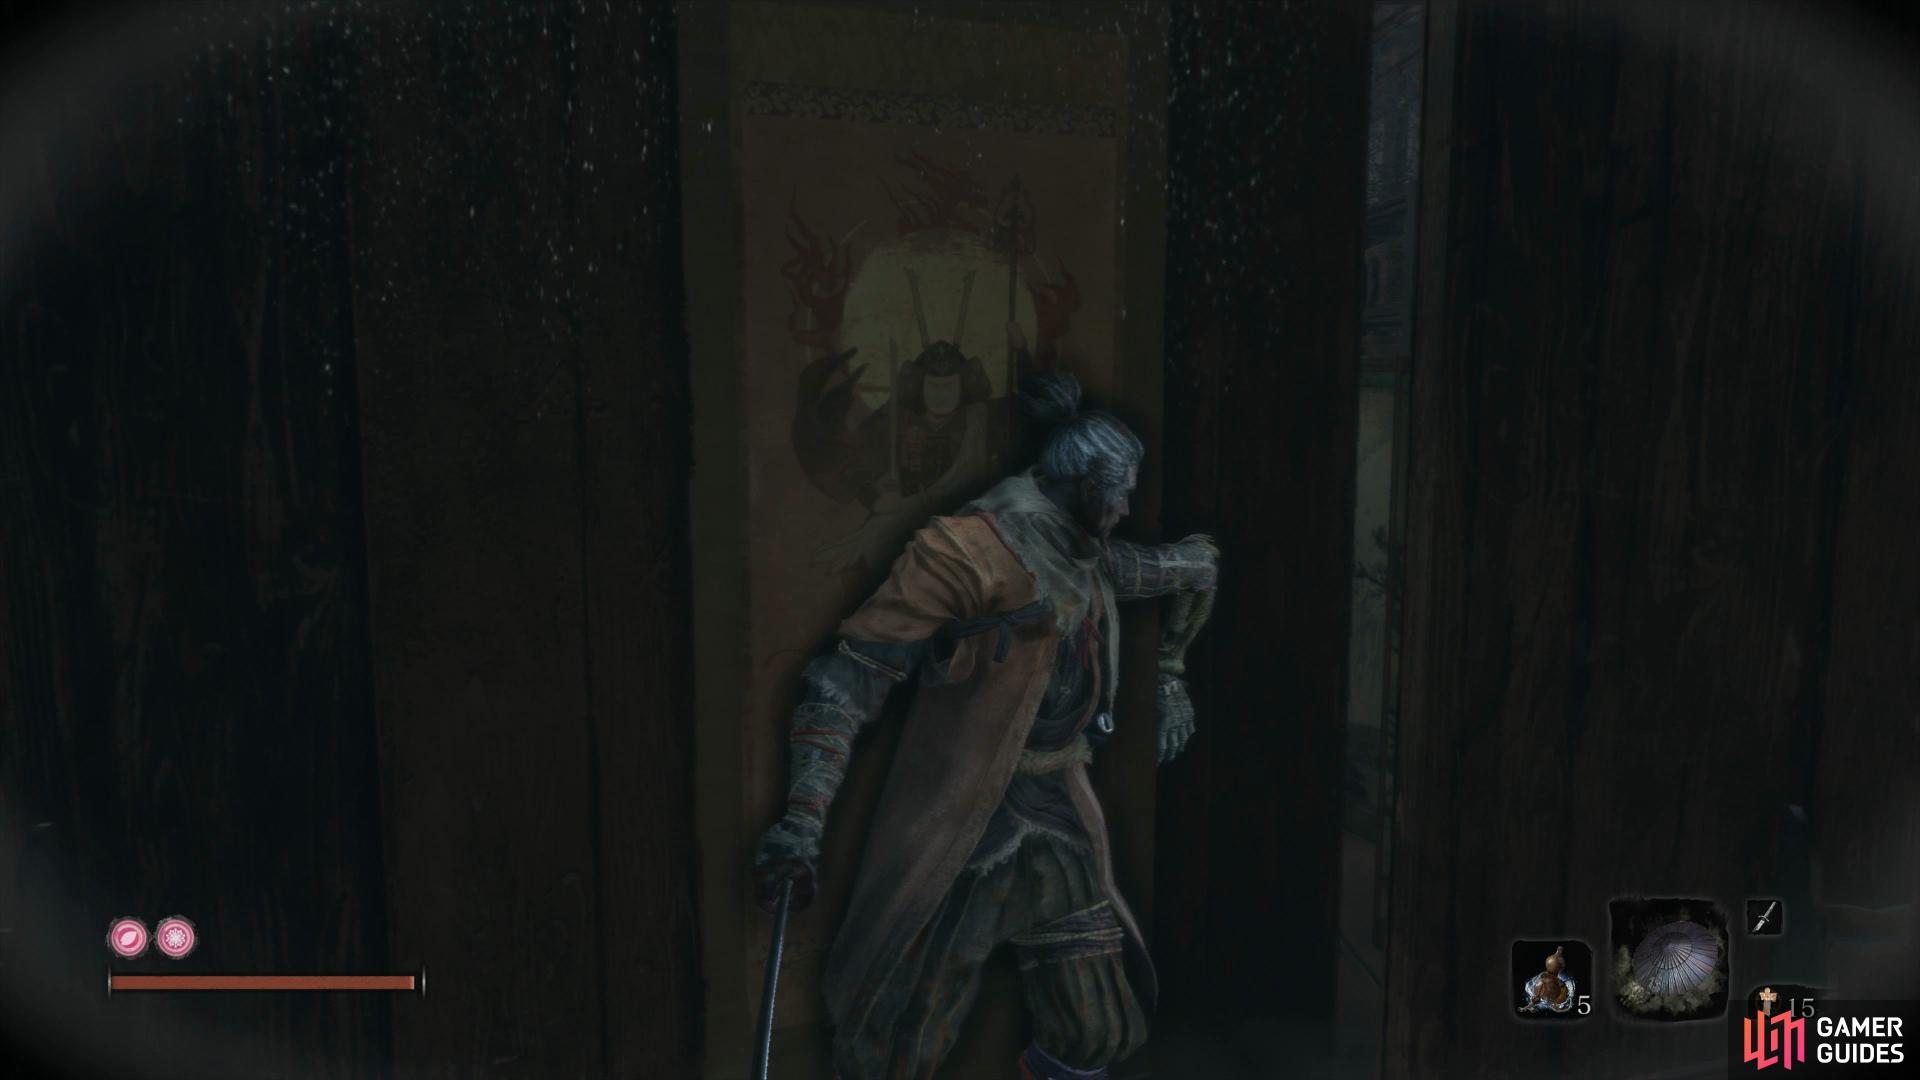

(1 of 2) Hug the wall with the scroll
Hug the wall with the scroll (left), to find a room containing a chest housing another Prayer Bead. (right)
Looking down, you’ll spot two more enemies, Air Deathblow one and take out the other, but beware as two more Samurai Elites and a Priestess will intrude. Use the grapple leading to the hole for a breather should you need it and then pick the rest off one by one. With the room clear, open the doors behind you to create a shortcut back to the Idol and then carefully head around the corner to pocket the Mibu Balloon of Wealth on the stairs.
If you didn’t kill them a moment ago, two more Samurai Elites are here and you’ll only be able to kill one of them with a Deathblow before dealing with the other normally (if you’re quick and have a Gachiin’s Sugar enabled, you can actually backstab both). Loot the Creamic Shards in the corner and then strike the doors in front to reveal a path leading down. Ignore this for now and take the stairs up to find another Remnant along with a Gokan’s Sugar and a new Sculptor’s Idol.
Upper Tower - Ashina Dojo
With the new Idol active and some more Coin Purses, you may have enough to purchse the Anti Air Deathblow Text from Blackhat Badger at the Old Grave, go and do so if you have. With this skill, you’ll be able to jump towards enemies that are in the air and press the attack button to throw them to the ground.
Return to the Dojo and return to the stairs leading down that you passed up earlier. Up ahead are three Nightjars that you’ll want to lure to you by tossing a Shuriken, this allows you to funnel them into you and take them out with greater ease. Once defeated, pick up the Eel Livers near the statue along with the Pellets. Head up the stairs behind the statue to find Isshin’s Letter, a curious letter that suggests that perhaps Emma knows the whereabouts of him. Return to the Dojo once again and rest up, making sure you have the Loaded Shield Tool equipped before heading through the doors.
Mini-boss: Ashina Elite - Jinsuke Saze
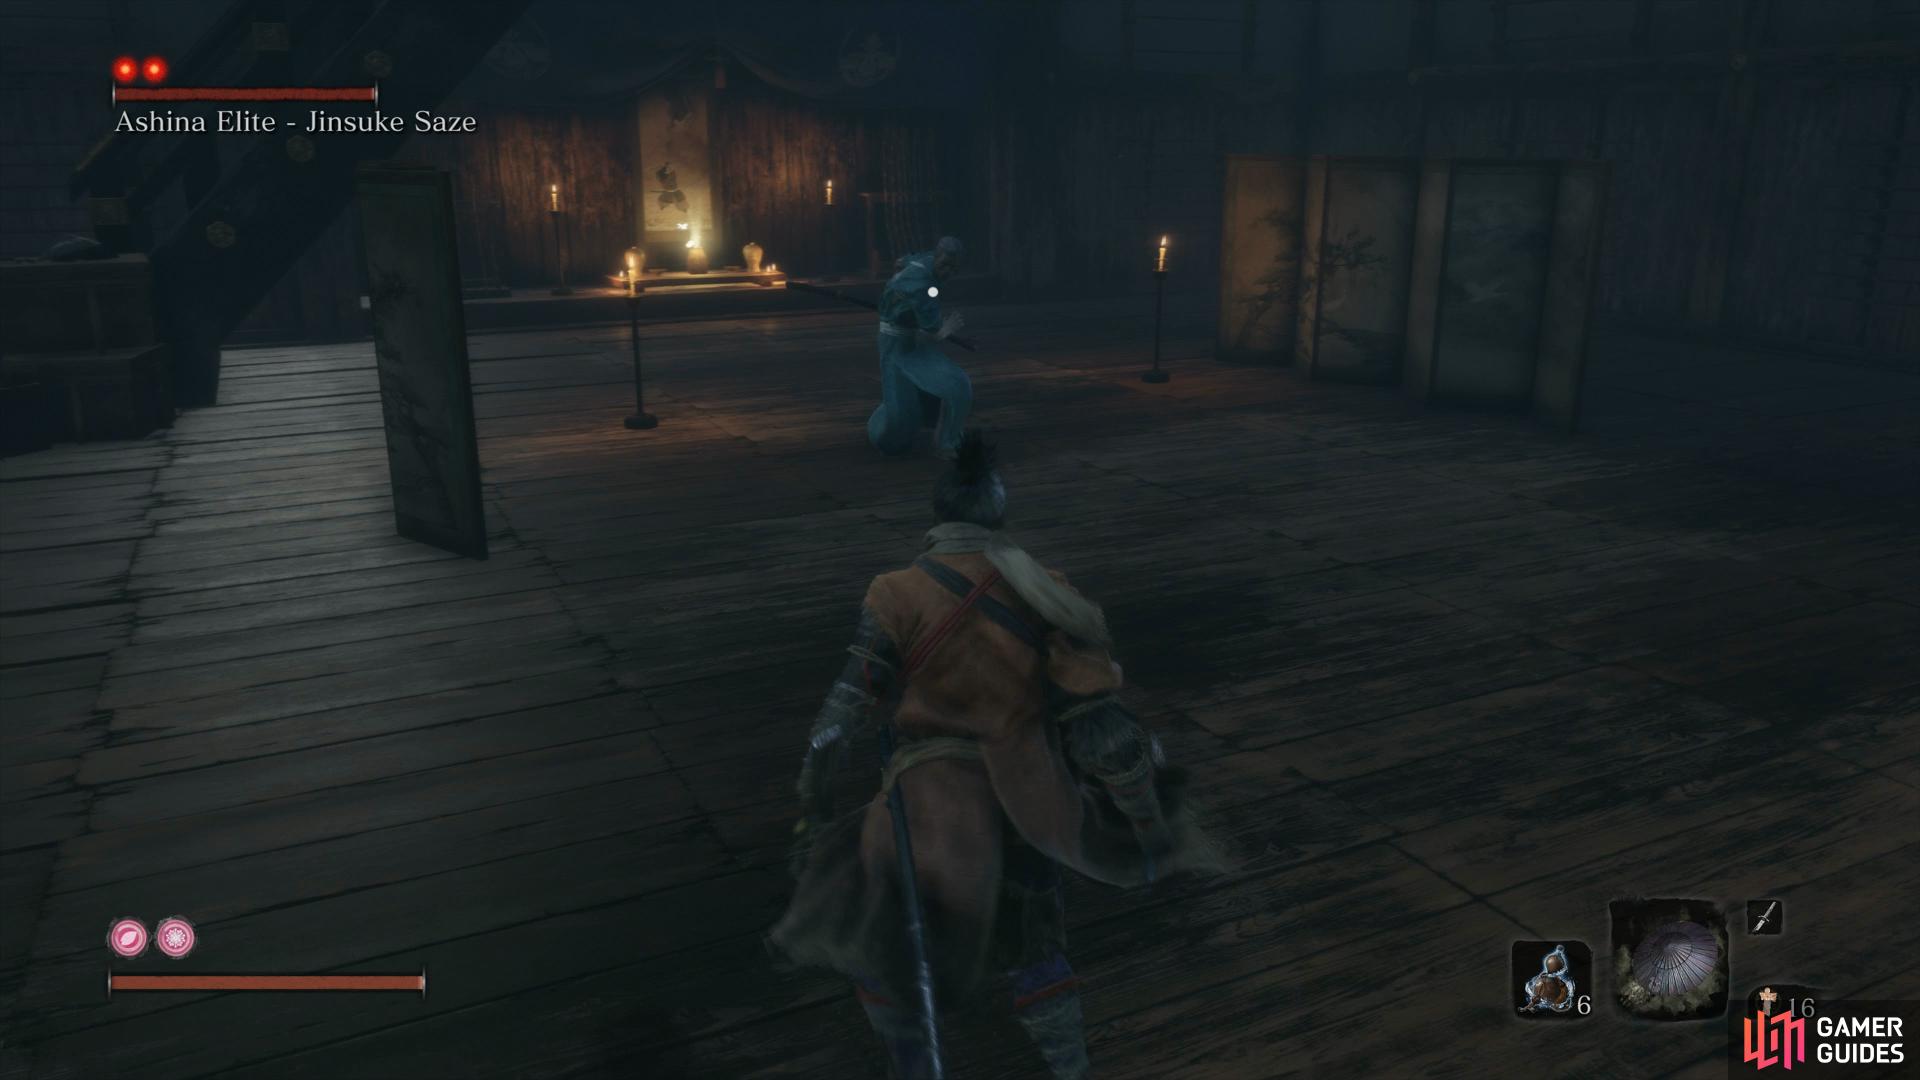
Jinsuke is a quick slashing Samurai who you’ll need to be up to scratch with deflecting if you’re to take him down. Indeed, this is a good time to practice this skill because you’ll have a tougher skill check for this in the battle that follows.
Jinsuke only really has the one attack string, and that’s to approach you with his sword by his side and quickly perform two quick strikes. Deflect both of these, you’ll deal huge posture damage and if you take it one step further and use the Loaded Shield, you can almost break his posture in one fell swoop.
His only other technique of note is his Perilous Sweep that he adds in his second phase, simply jump kick him to inflict more free posture damage here.
There’s not too much more to Jinsuke than this, you’ll have to learn how to deflect if you’re going to take him down and by this stage of the the Wolf’s journey, you’ll want to hope you’re on the way to mastering this technique by now. Your reward for this battle is you next Prayer Bead and by the scroll that he was sat at, some Eel Liver. Be sure to check the scroll itself to learn all about Lightning Reversal, this informs you that if you’re struck with lightning based attacks in the air, you can catch it and fire it back at the sender.
Continue through the Dojo and in the side room you’ll find a Scrap Magnetite along with a Pellet by the window. The window nearby provides a direct route to the roof of the castle and a very tough Boss so be sure you’ve rested at the Idol before you make the short trip to the top.
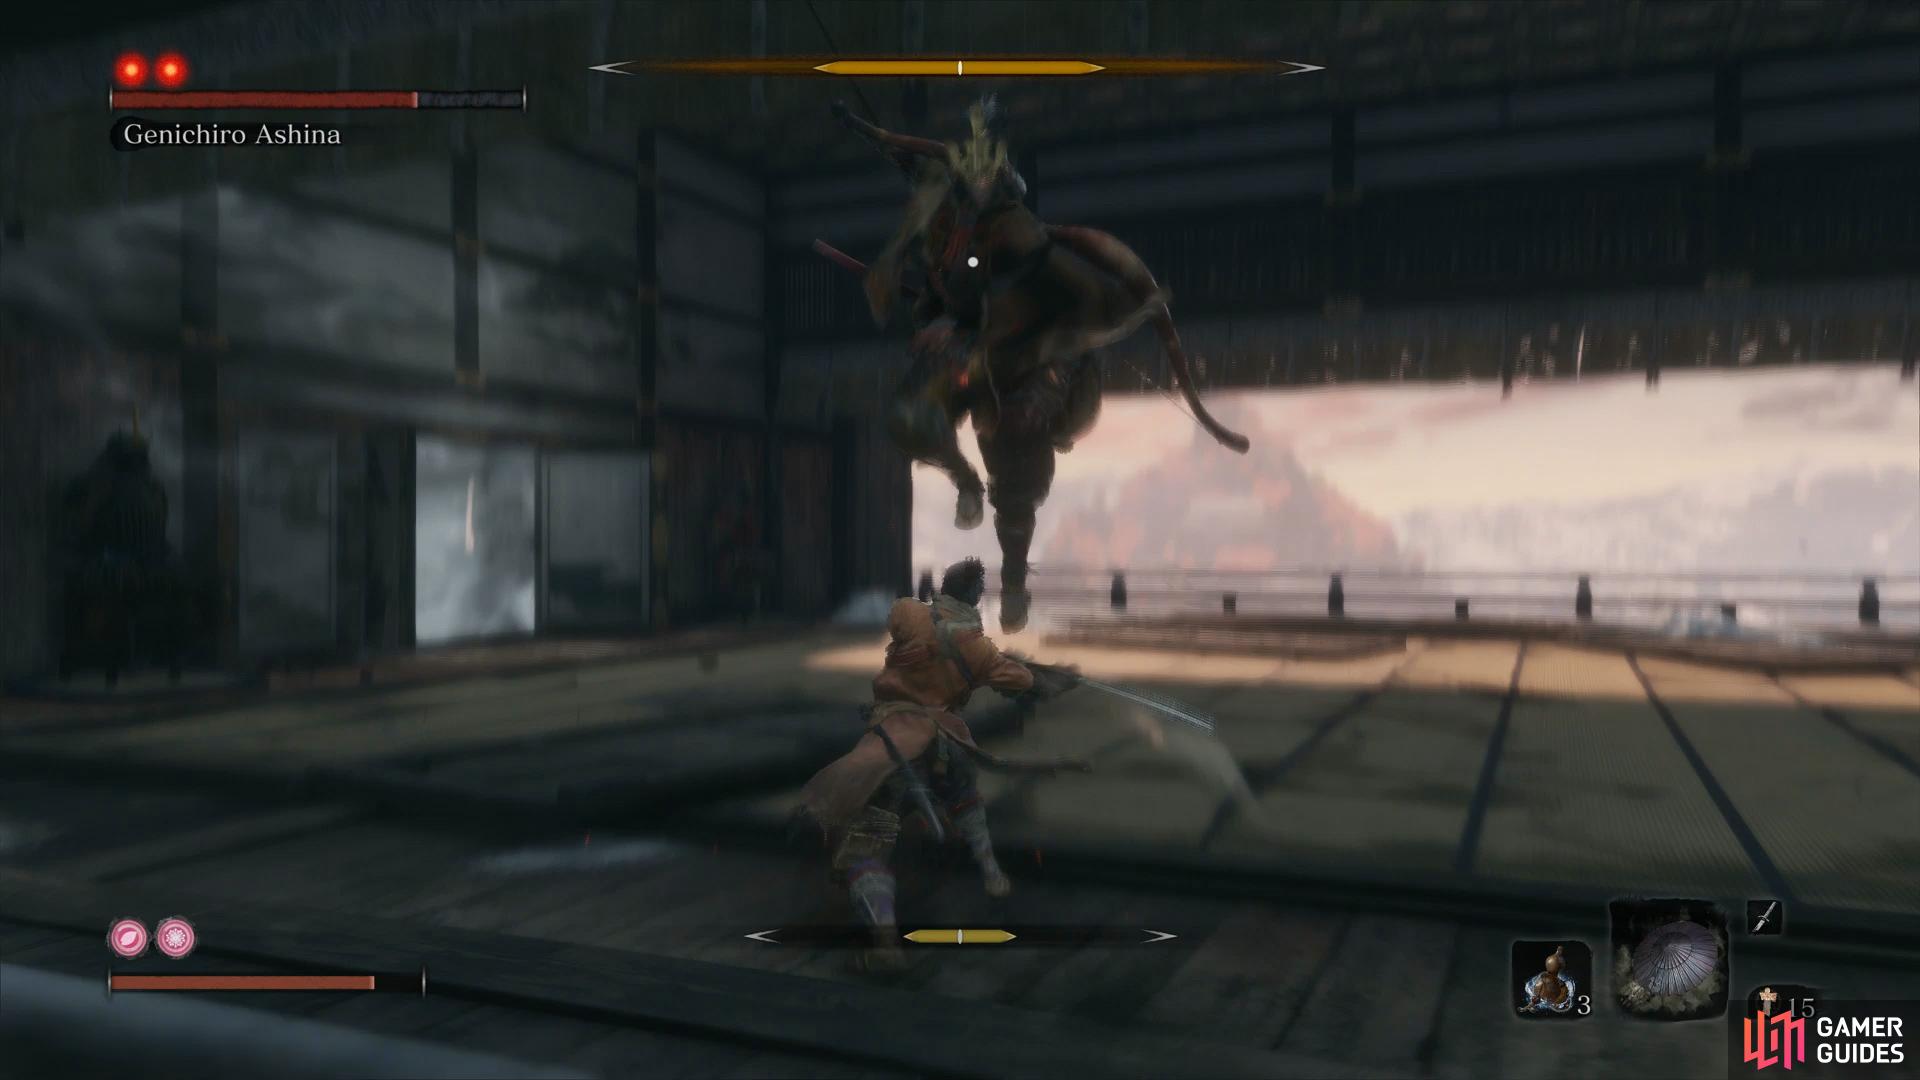
Boss: Genichiro Ashina
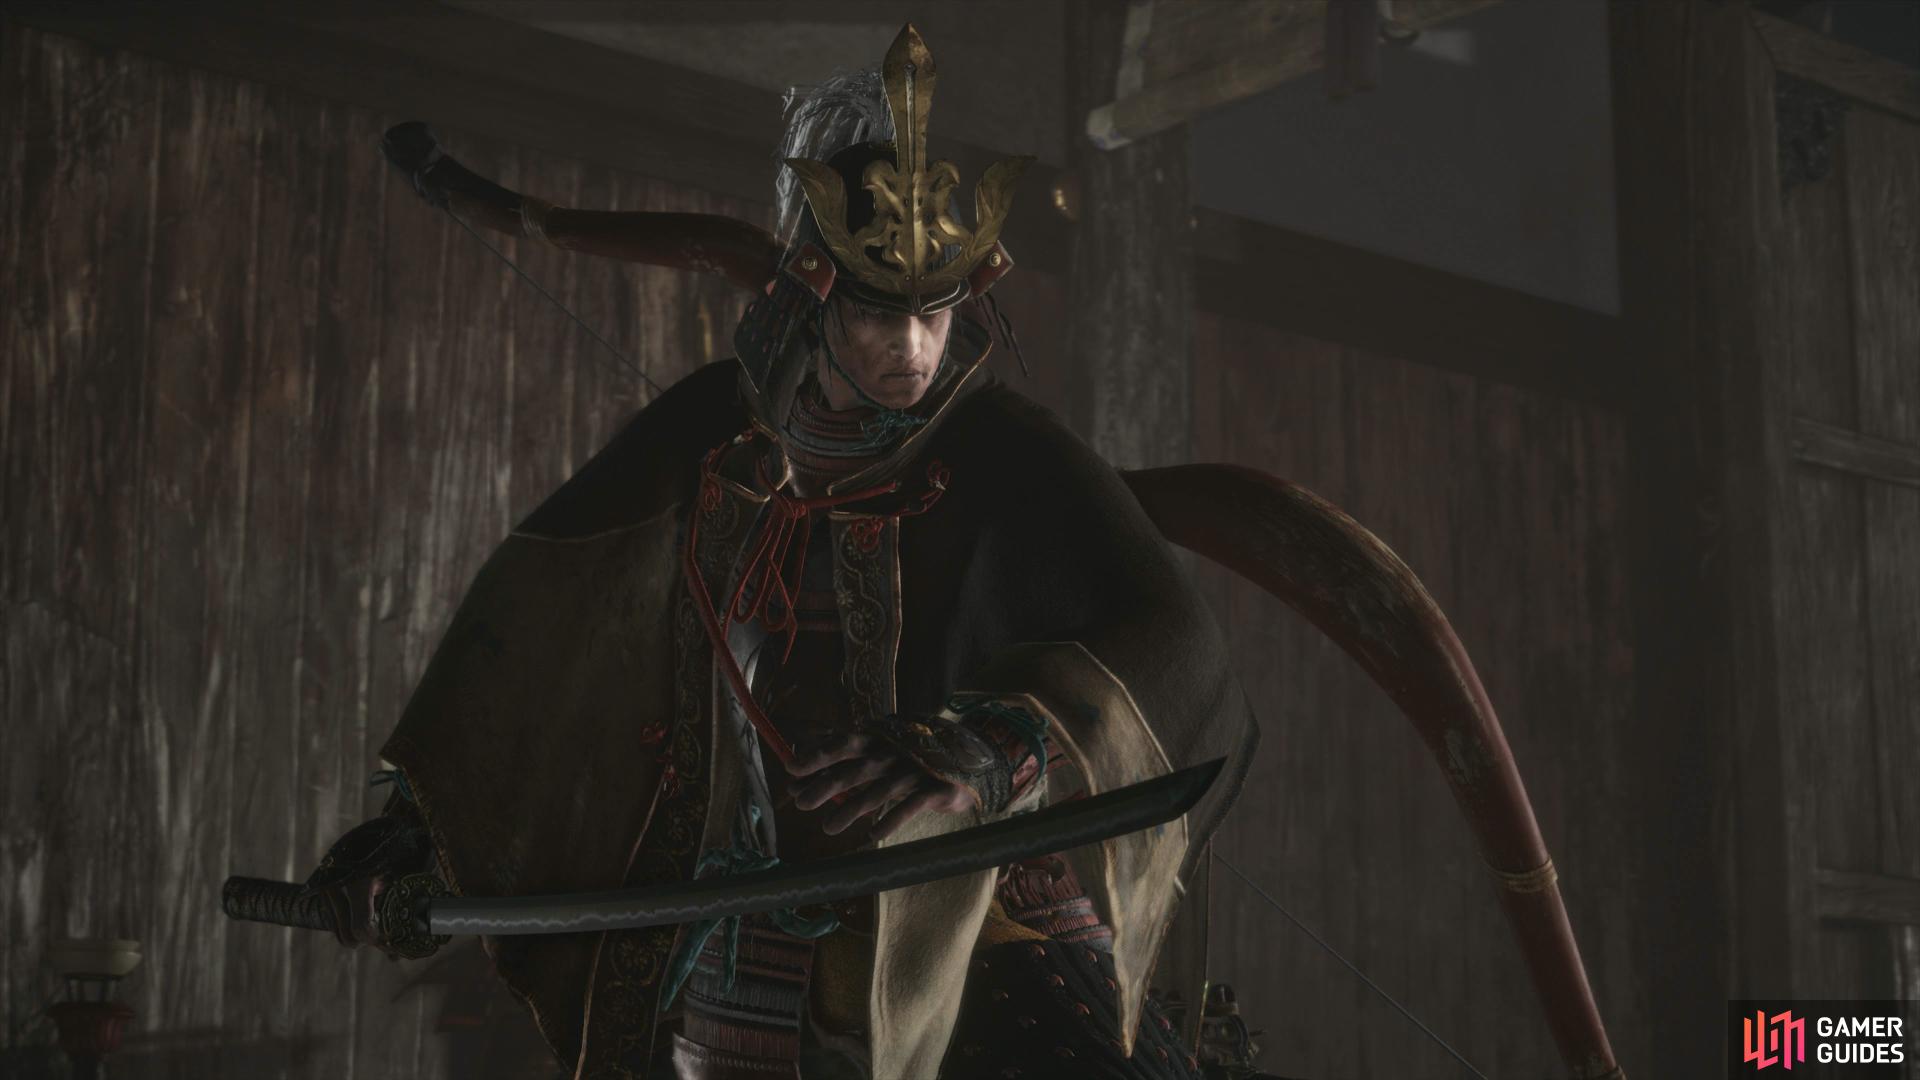
Genichiro is by far the toughest challenge yet and one that forces you to get to grips with the deflect mechanic as your best method of taking him down is by breaking his posture and going for the Deathblow. Note that you’ll need to perform three Deathblows across two phases even though you only see the initial two, for this reason, you’ll want to try to preserve your healing until absolutely necessary.
Phase One consists of both Deathblow Circles and will find you up against Genichiro in a battle of blades. He has many quick strikes that, if deflected properly, will raise his posture gauge rapidly. His regular sword strike is a two hit Horizontal Slash that can be deflected at ease so long as you realise the speed they come at. Keeping at range will cause Genichiro to use his powerful Bow Attack, this can be deflected but will cause large posture damage to you, for this reason you’ll want to face the entirety of the battle up close.
This doesn’t eliminate the bow completely however as when you attack Genichiro, he will jump in the air and shoot multiple arrows down at you, this can be dodge to the side if you’re close enough or blocked through at range. Indeed, Genichiro has all three of the Perilous Attacks, a Thrust, Sweep and Grab and all but the Thrust (Mikiri Counter) should be jumped away from (or into for the Sweep if you’re feeling confident).
On top of this, Genichiro will leap in the air and bring his sword down on you, when you see this, dodge to the side and be prepared for a Perilous follow up. If you’re feeling confident and have purchased the Anti-air Deathblow skill from Blackhat, you can press the attack button as he leaps in the air to throw him to the ground and score some free attacks. His final, and perhaps most deadly, is Genichiro’s Seven Hit Combo which will see him launch at you with a flurry of strikes. Deflecting all of these perfectly can cause massive amounts of posture damage however beware there is a final pause before the final strike.
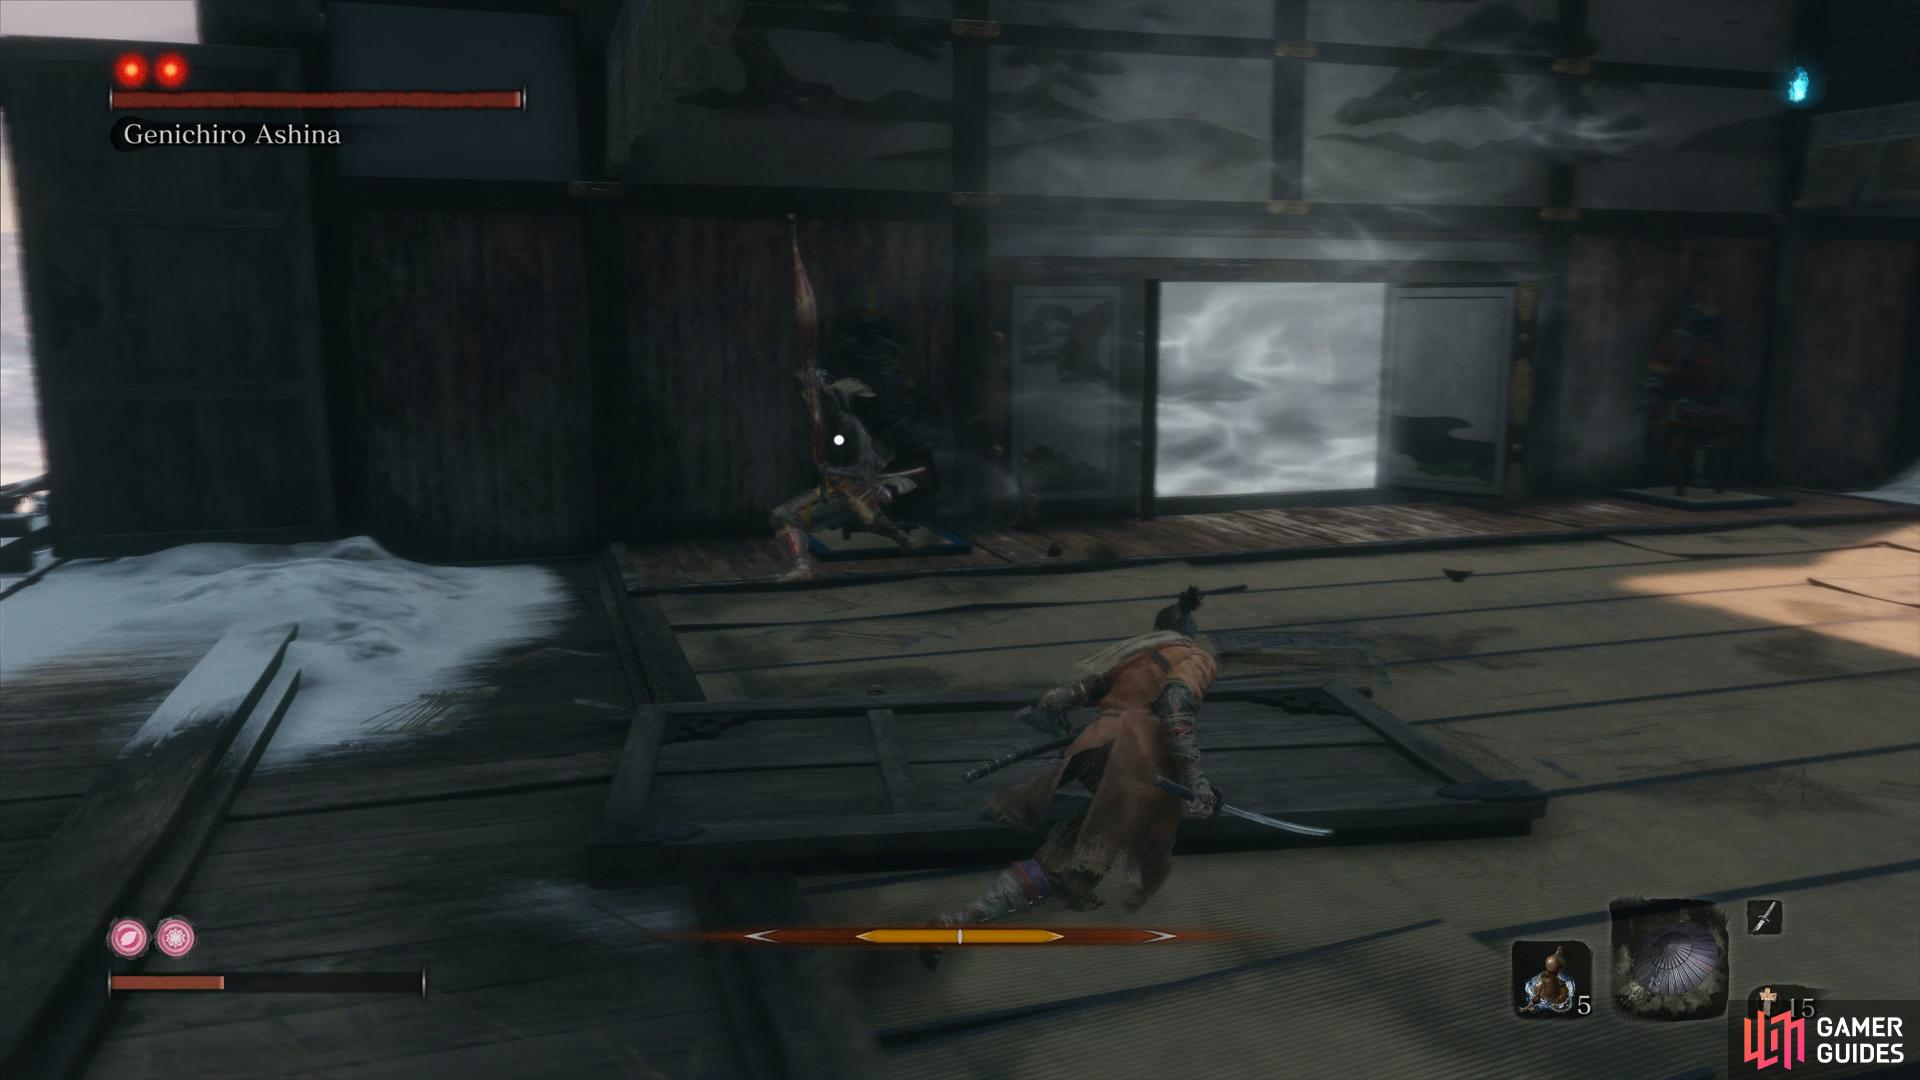
(1 of 4) Genichiro will use his Bow when you’re at range
As you can see, Genichiro has many tools at his disposal and it’ll take many attempts to learn his patterns. Additionally, be sure to create some distance if you attempt to use a Healing Gourd as Genichiro will rush you if you do. The name of the game here is aggression, you want to be in front of his face at all times and switch between striking him and deflecting his blows, limiting the times he can use his powerful bow against you. Try to avoid taking the battle over to the open doors, you can get trapped in the corner here and fall quickly.
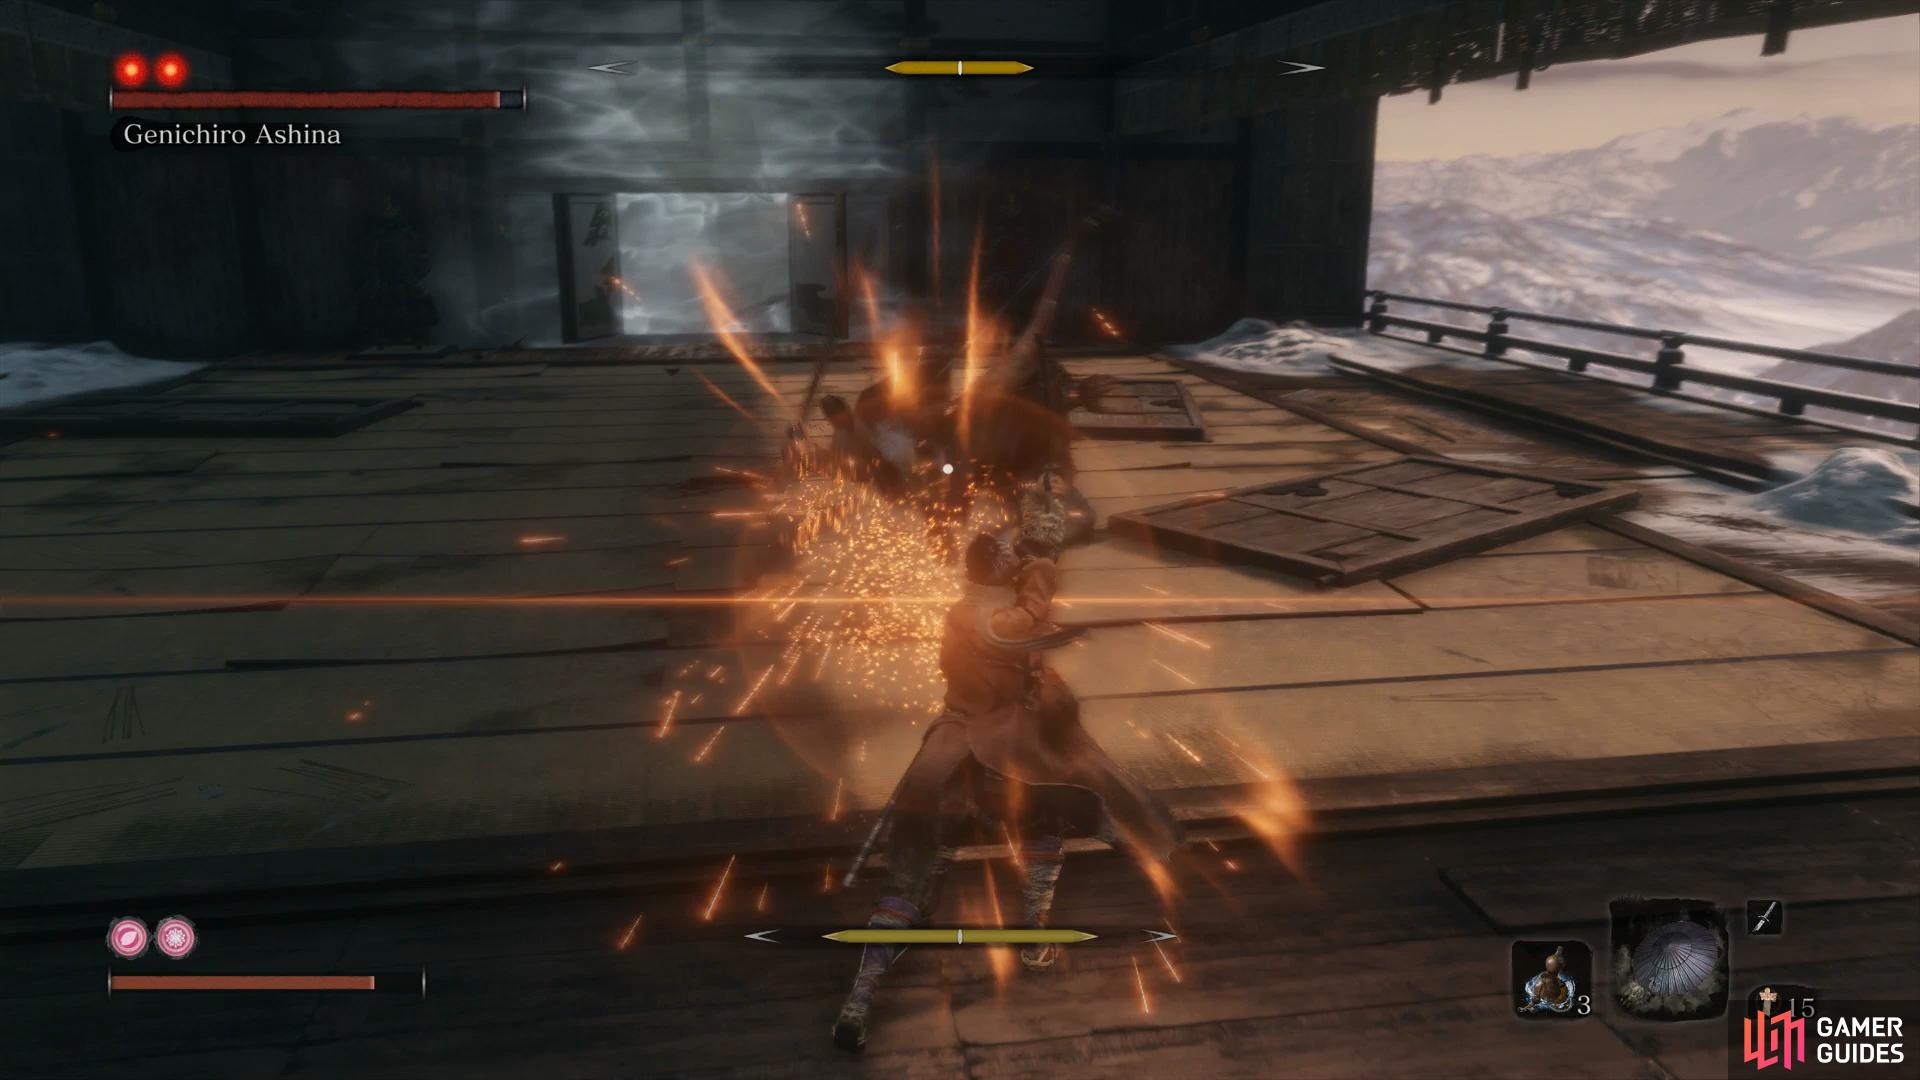
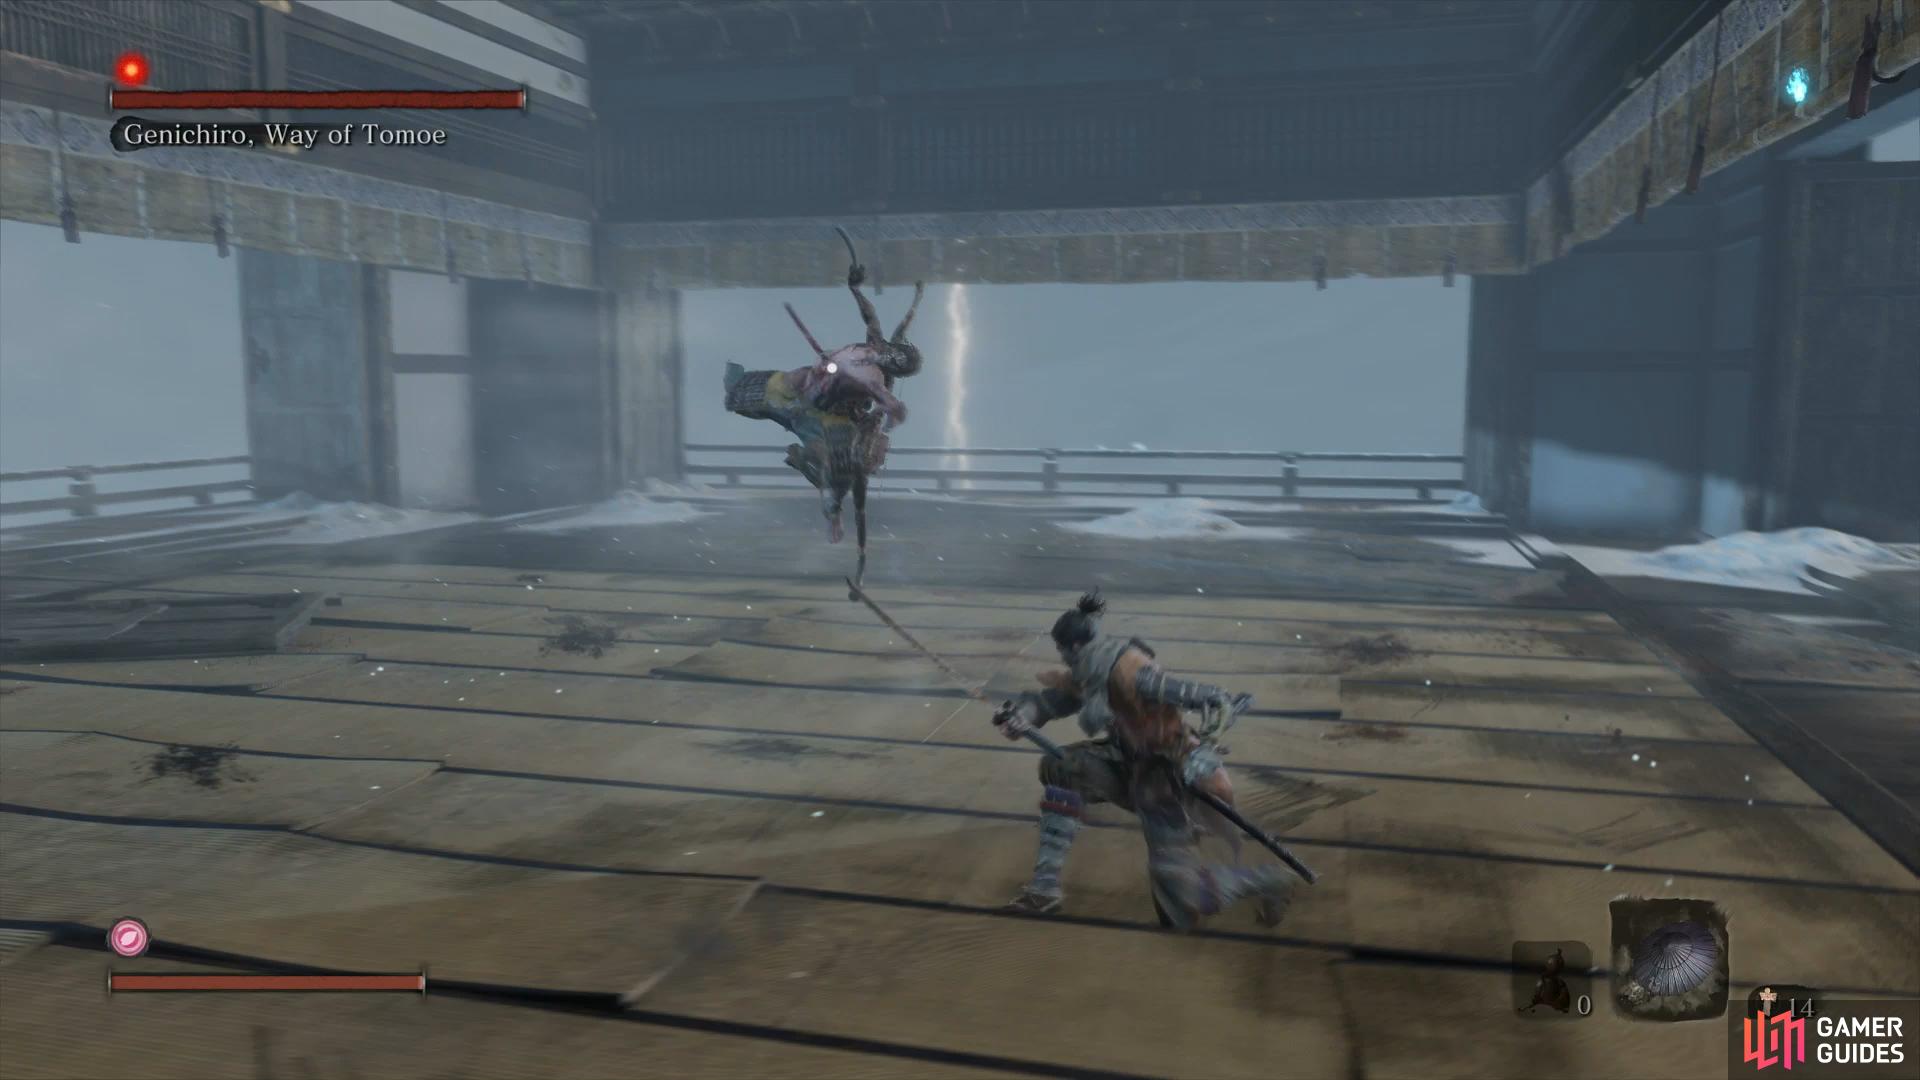
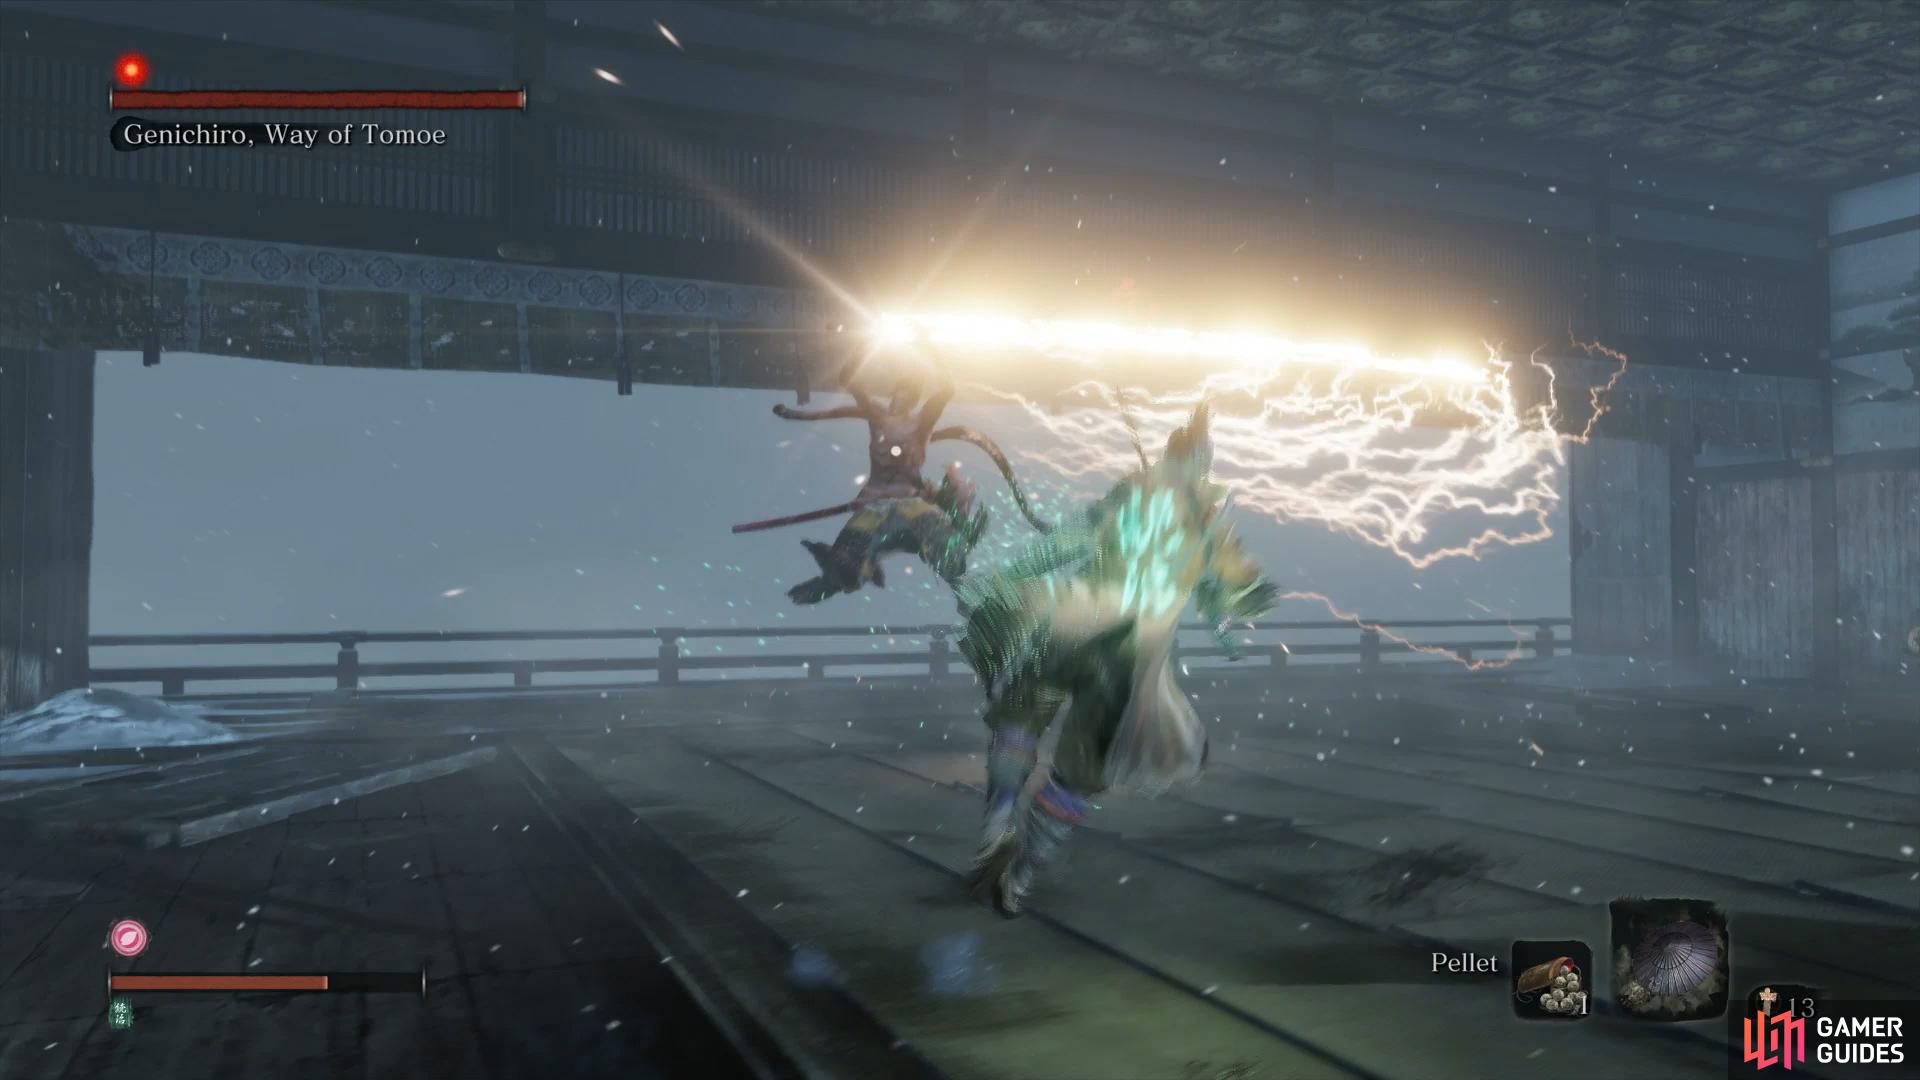
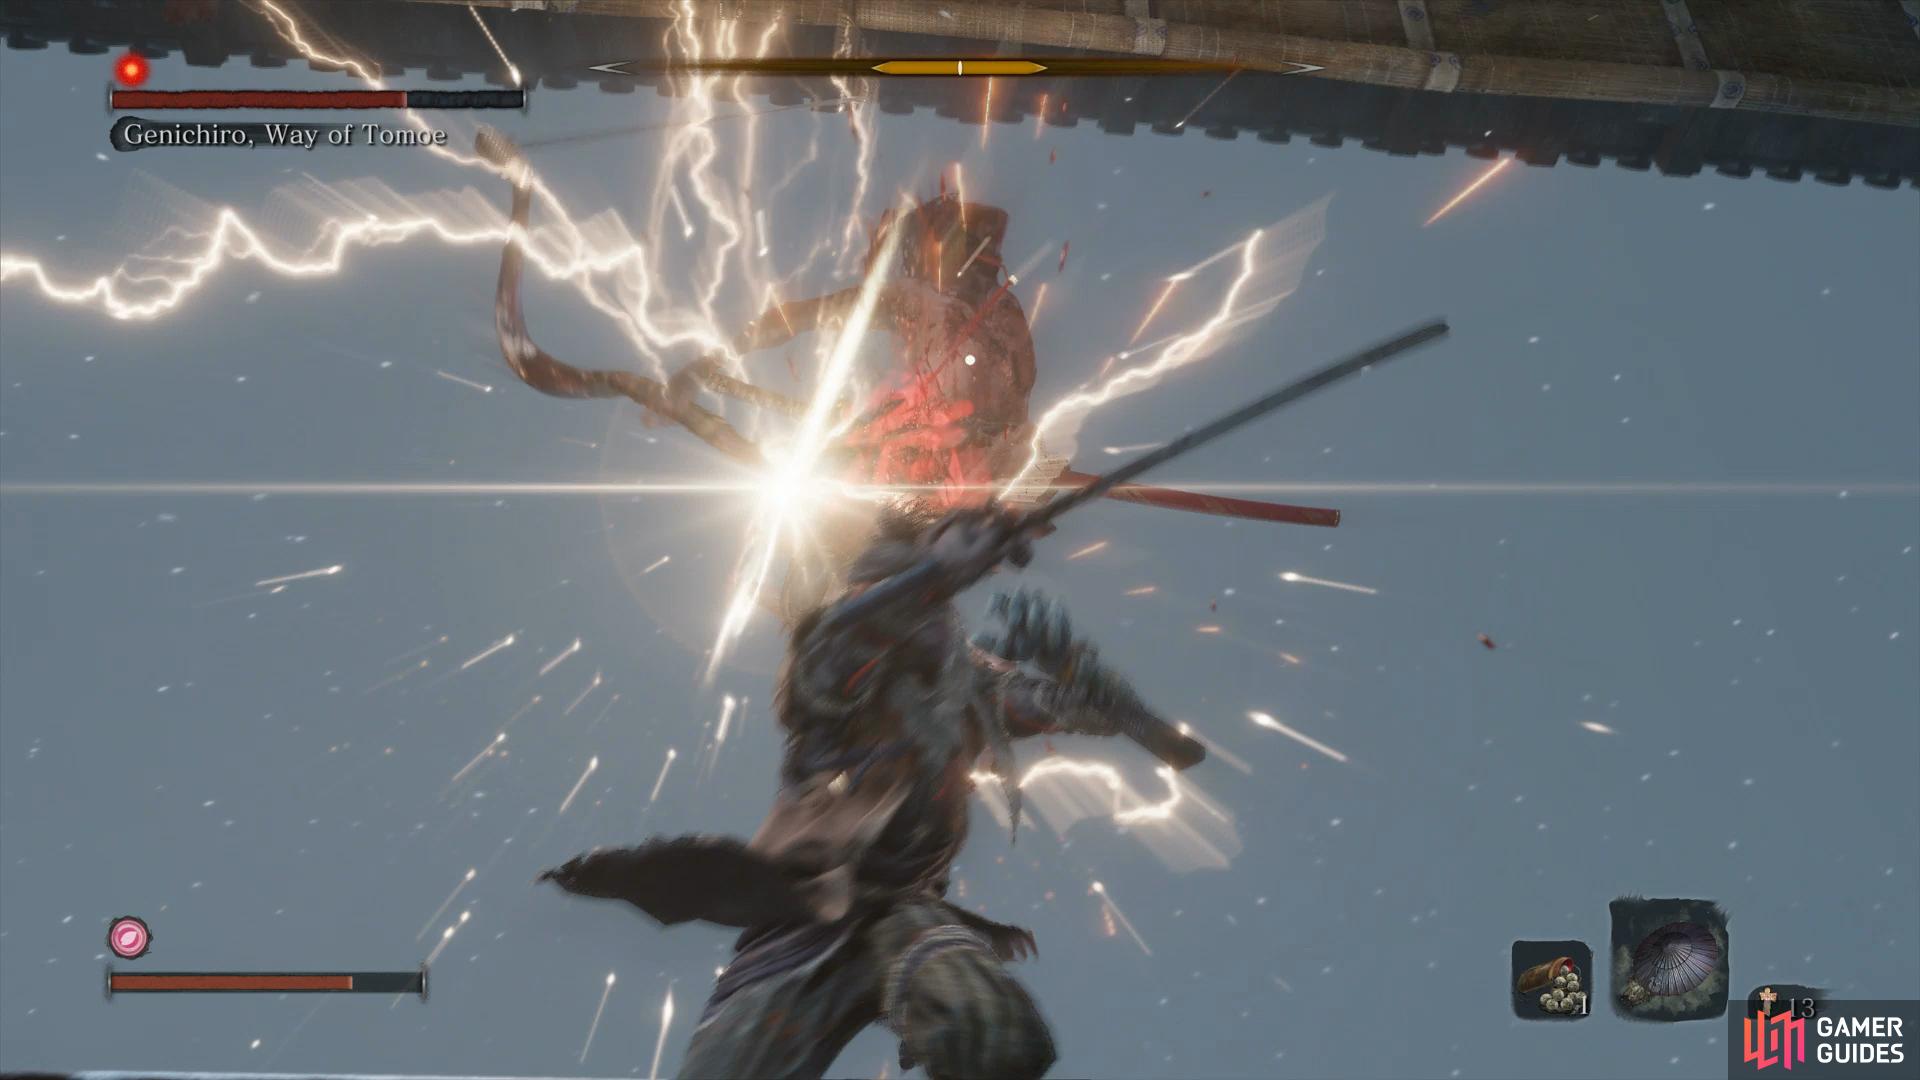
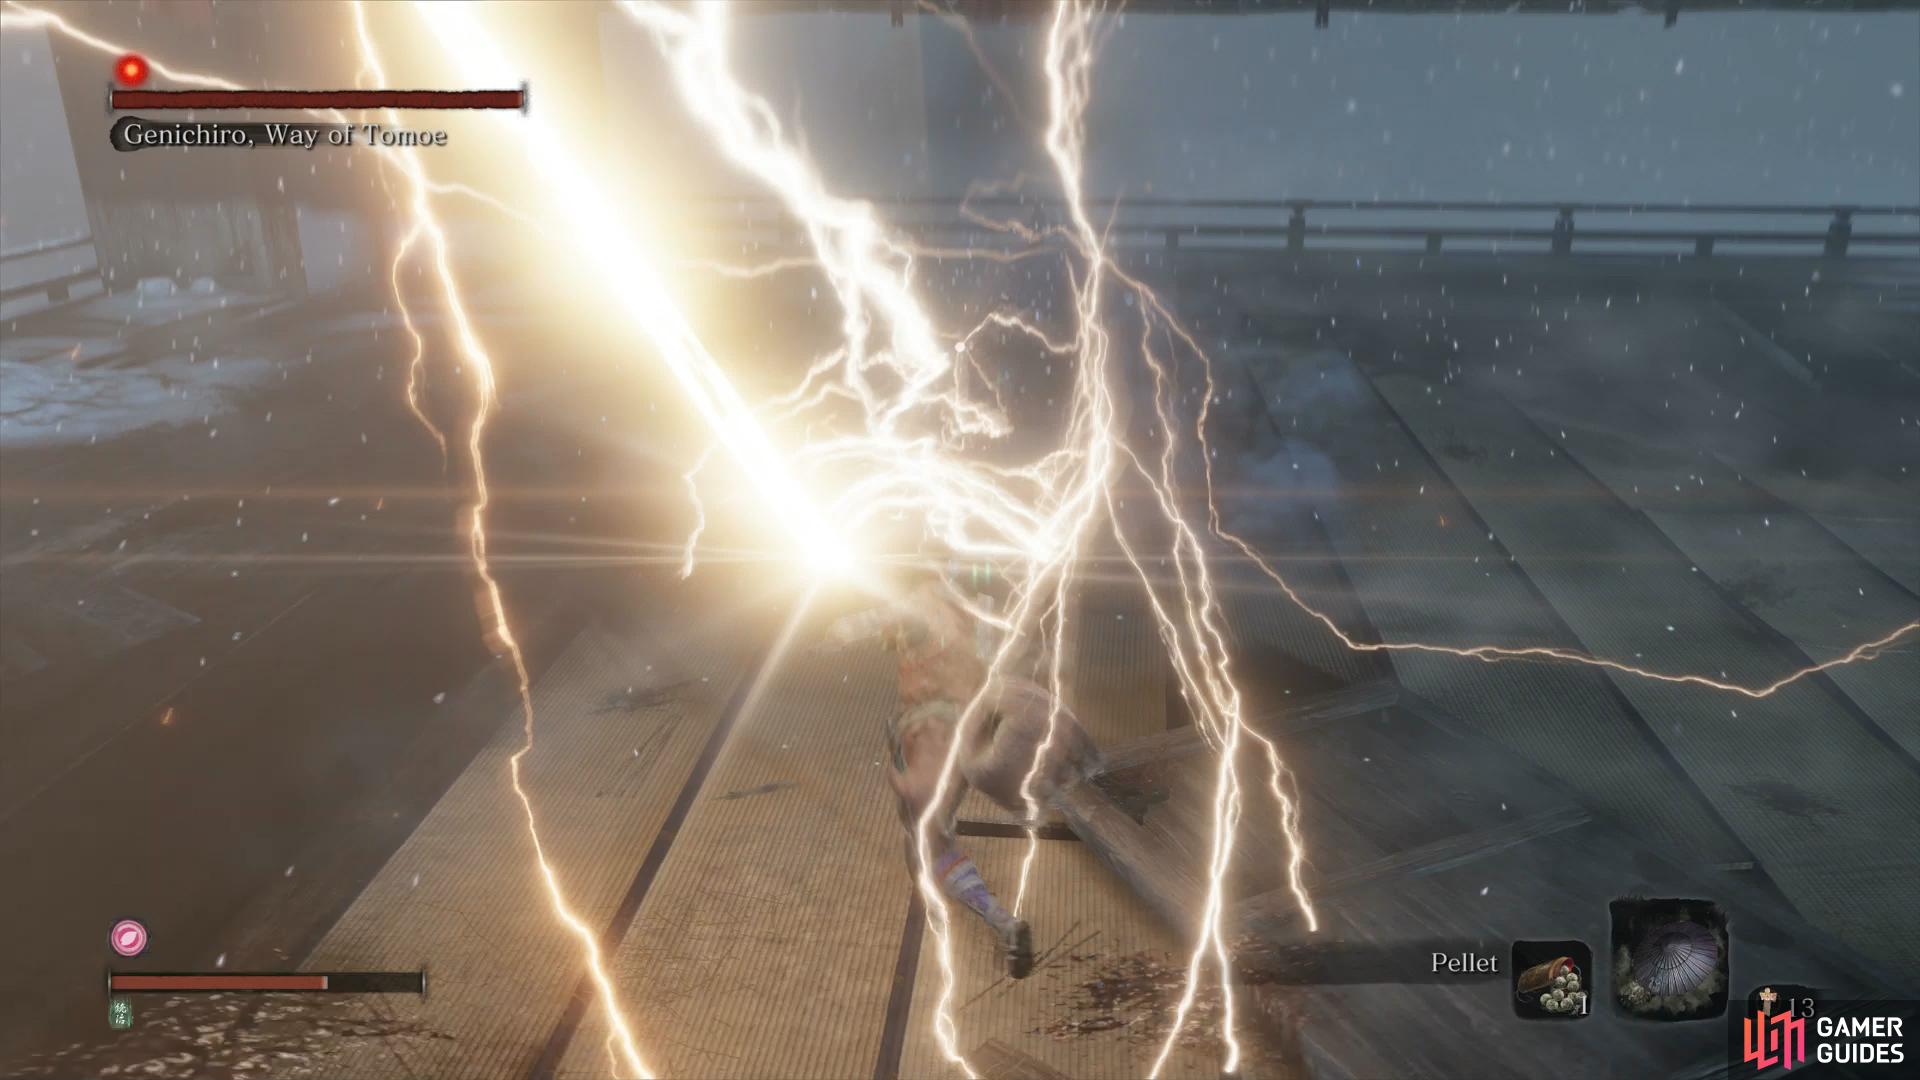
Phase Two consists of just the one Deathblow but Genichiro is a lot more agile and aggressive as he adds Lightning based attacks to his moveset. Pay special attention to the scroll in the Dojo that informed you about the Lightning Reversal, namely, leap into the air and hit the attack button to send it back at the user, stunning him in the process.
His first new attack is the ability to leap into the air and use his bow to shoot a Lightning Arrow at you, be sure to be in the air as it strikes and launch it back at him to stun him. Likewise, if he crouches, he’ll follow this up with a Lightning Slam as he slams his sword, infused with lightning, into the ground. You should aim to Lightning Reversal both of these attacks as the damage it does makes quick work of this phase.
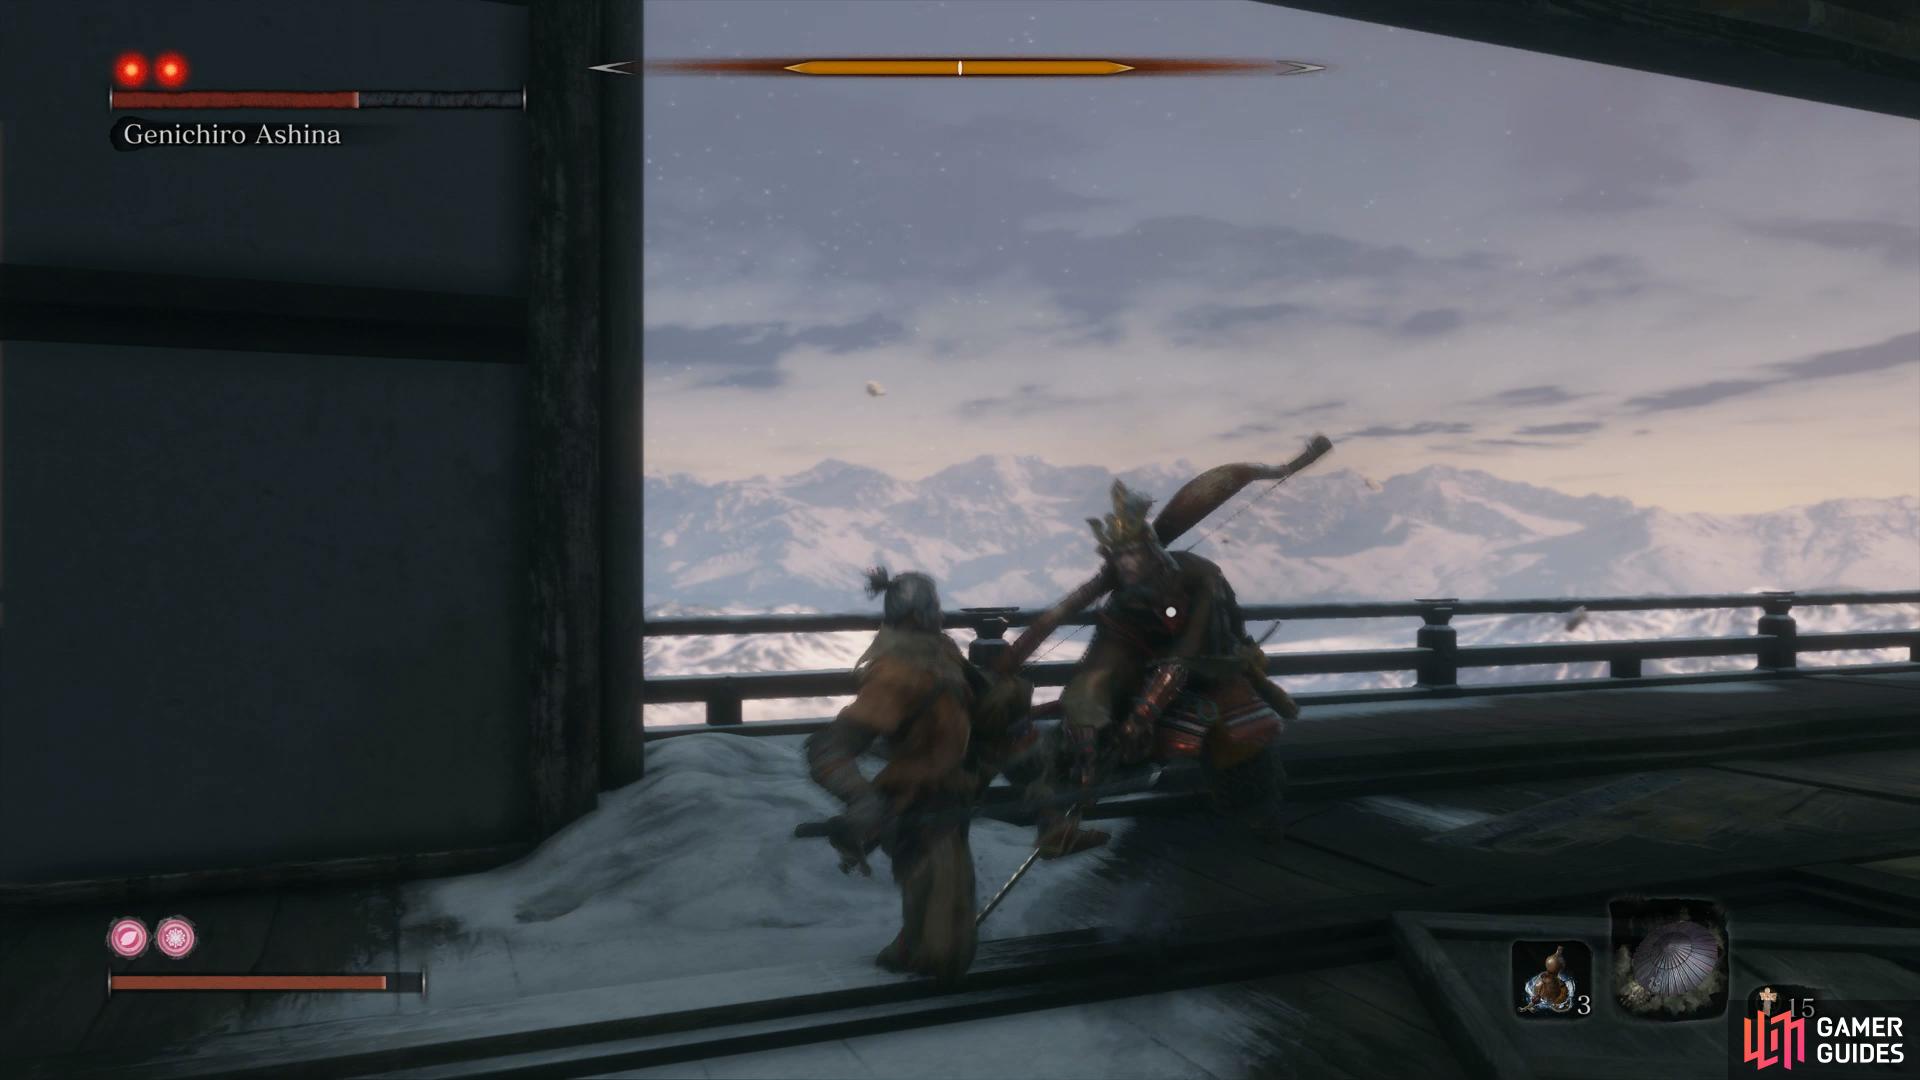
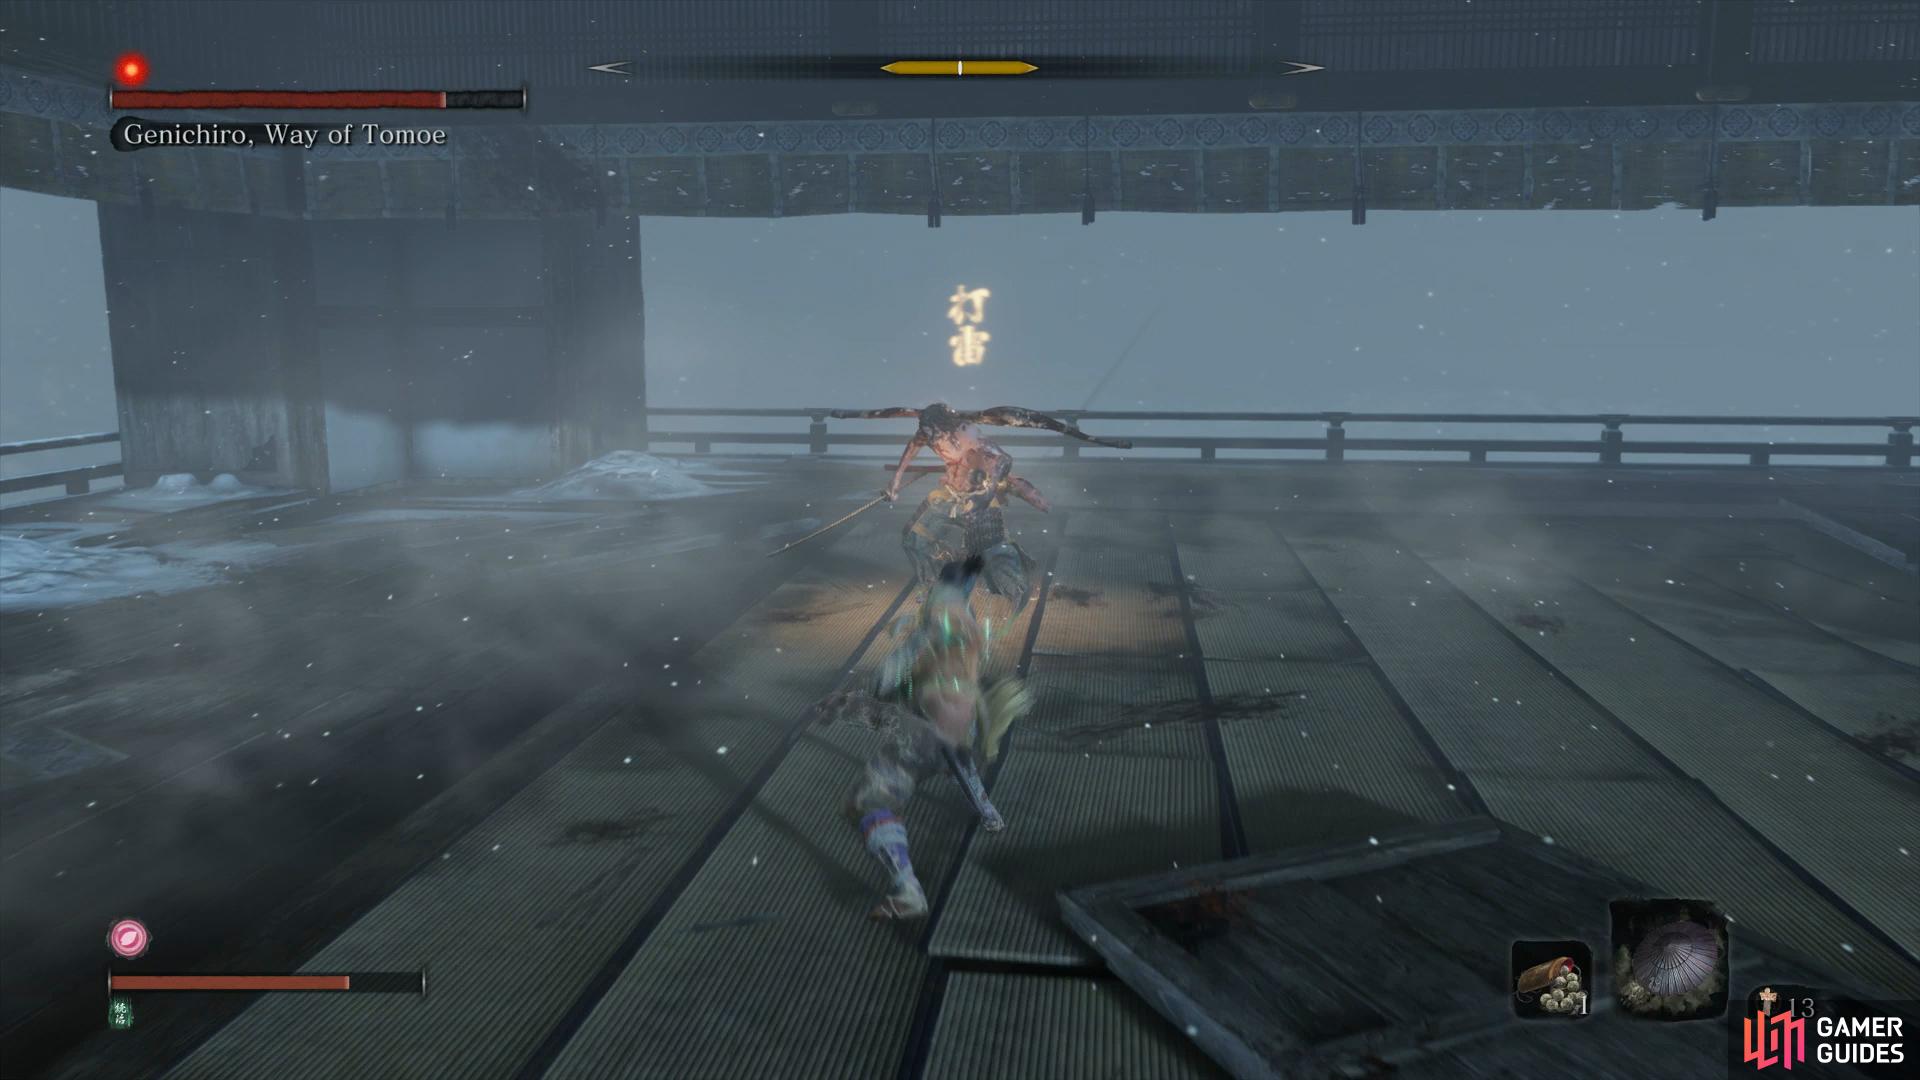
The other deadly attack to watch out for, and Genichiro begins this phase with it, is a Leaping Thrust Attack. This can be Mikari Countered if you’re confident but more of than not (and especially if you’re low on healing items) it’s more useful to dodge to the right side of it and score some free strikes on him. You’ll once again want to stay in Genichiro’s face for this battle, forcing him to use his Seven Hit Combo which can be deflected for large posture damage or his Lightning Slam which you can reverse.
This is a battle that will take many attempts to learn all of his tells and even practice the difficult third face. Remember the rule of being aggresive and eventually Genichiro will fall, rewarding you with the Memory: Genichiro and the Bloodsmoke Ninjutsu.


Following the dramatic events of the battle, you’ll be reunited with the Divine Heir at long last, bringing an end to the first part of the Wolf’s journey. Activate the nearby Sculptor’s Idol and increase your Attack Power with your newly acquired memory. Speak to Emma to learn the identity of the one she works for and then head down to meet with Lord Kuro.
Kuro expresses his desire to stop the stagnation of the Dragon Heritage and asks for Wolf’s aid in doing so, respond however you wish (you’re forced to choose the second option). Speak to him again to obtain the Immortal Severence Text detailing how the task to obtain Immortal Severence may be realised. Examine the incense burner following your conversation to gain more insight before speaking to Lord Kuro once again. Follow him over to the window and speak to Kuro again to discover where you may find Lord Isshin.
Rest at this Sculptor’s Idol and then open the nearby window and drop down to the roof. Turn right and you’ll notice two buildings in front of you, the watchertower is to the right your position so head down there and into the room to speak to the frail Lord Isshin. You’ll obtain some Unrefined Sake and then gain a hint that you may have met this man before (only one other person as referred to him as Sekiro). Ask him about Immortal Severence to learn about the Moral Blade and press him further on the subject to learn it may be at the Senpou Temple. Finally, you can hand the sake back over to Isshin to gain some backstory on him (or Emma and the Sculptor also).
Return the way you came and speak to Emma to learn more about Genichiro and the surrounding mysteries of Ashina. She will remain here at the castle should you have need of increasing your Healing Gourd. Go ahead and enter the side room here to speak with Kuro once more and hand over the Sakura Droplet you obtained from Lady Butterfly, this will increase your Resurrection gauge to three. Ask him about the flower after this to obtain the Fragrant Flower Note and then pick up the Gun Fort Shrine Key behind him. Before you leave this room, open up another window and then return to the Idol to rest up again.
The quest for Immortal Severence begins here and you have a number of ways and areas open to you, the order in which you choose to tackle them are entirely up to you. This walkthrough will begin the quest by heading to the Senpou Temple to seek out the Mortal Blade.

 Sign up
No Comments