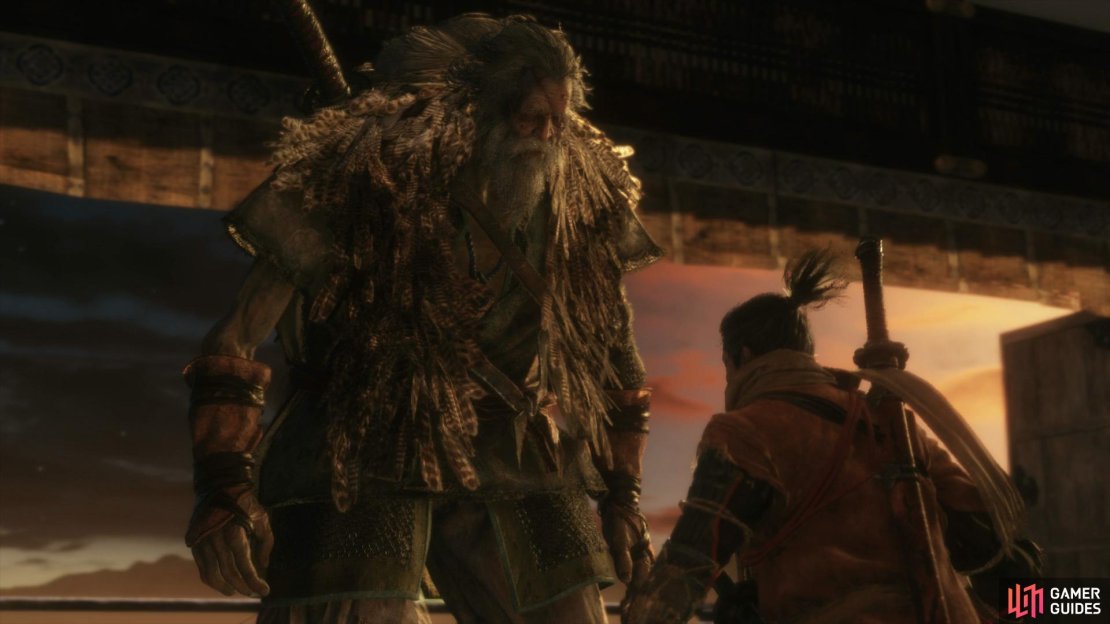
Having chosen to Obey the Iron Code and stand alongside his father, Wolf now finds himself up against the very people he was protecting moments ago. You’ll be taken into a two part boss battle that will serve as the basis of your ending so don’t be afraid to use your most potent healing items if you feel you are close to victory.
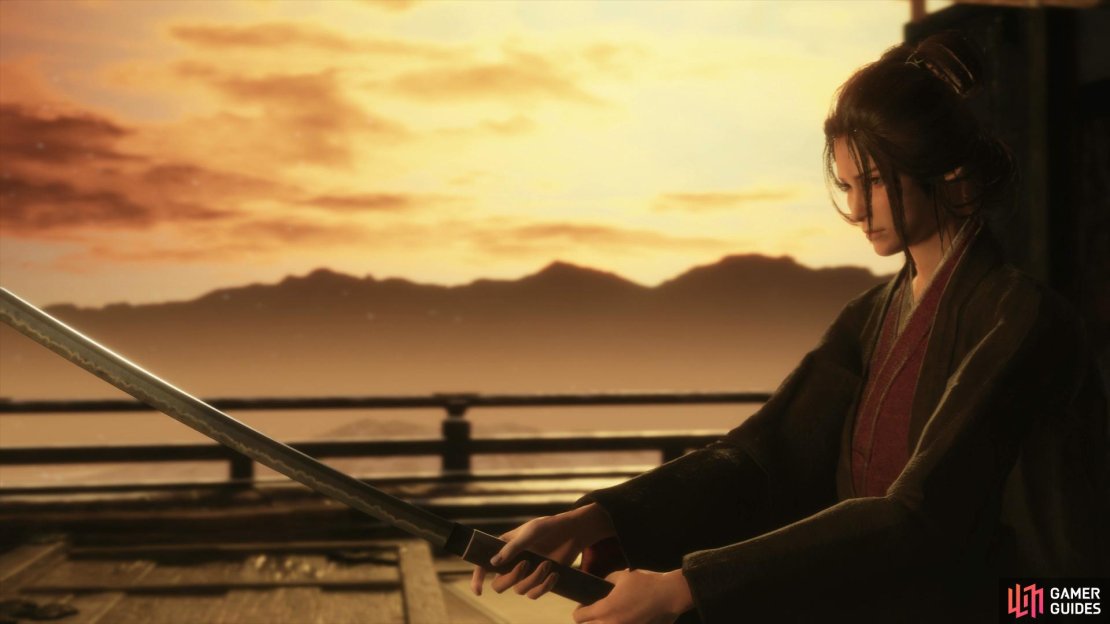
Boss: Emma, the Gentle Blade
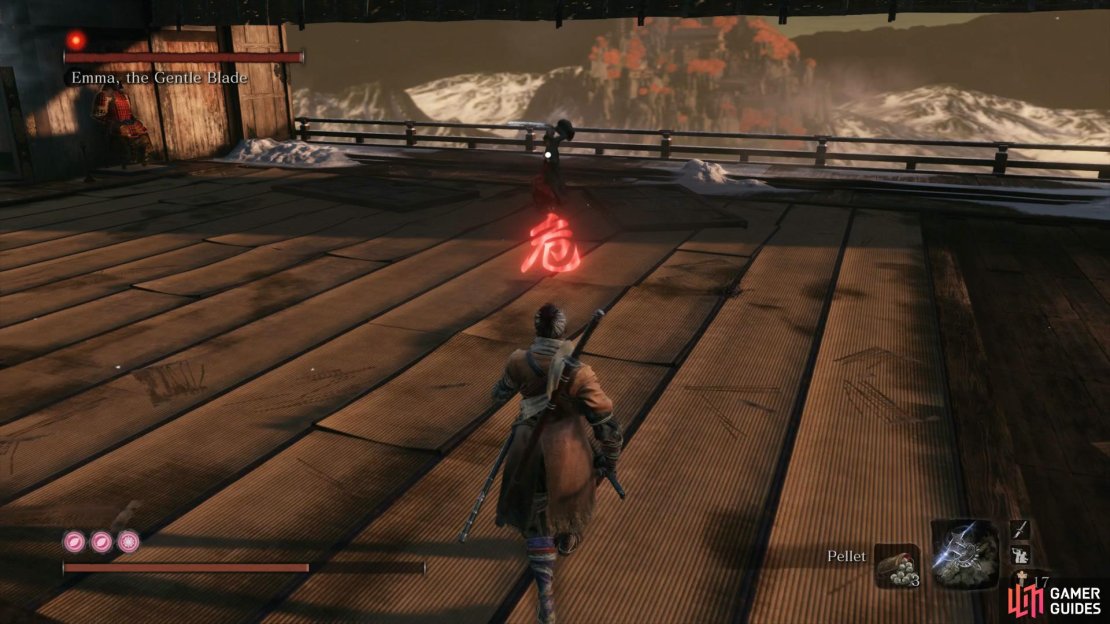
The first thing to know about Emma is that she attacks quickly and can close the gap very quickly, be it with a Perilous Thrust, a Perilous Sweep or even a throw that will deal heavy damage should you be caught in it. Considering you have a two phase boss battle straight after this one, you’ll need to focus on getting to the point where you can take her down without too much damage done to yourself.
If you choose to go the path of deflecting her attacks, note that she attacks quickly so you’ll need to be precise with your deflects. The main attack to look out for is her Sword Combo, she’ll strike you four times, all of which builds your posture up quite highly but if you manage to deflect the final blow, this leaves her open for a few strikes or a skill.
Speaking of skills, Ichimonji: Double is an incredibly useful skill to use that will allow you to take her down a lot easier than you would normally expect. Additionally, if you don’t mind wasting your Spirit Emblems here (although not recommended) then Oil followed by the Flame Vent will deal heavy damage to her. The final attack you need to watch out for is her Ashina Cross ability, if you’re facing this battle on New Game+ then you will have already experienced this attack from another boss. Needless to say, when you see her begin charging, get far away because the resulting attack has a wide range that will deal heavy damage.
Be on the move constantly, punish her with Ichimonji: Double and back far away when you need to heal, eventually you’ll learn to take Emma down with little hassle and proceed on to the real battle.
Boss: Isshin Ashina
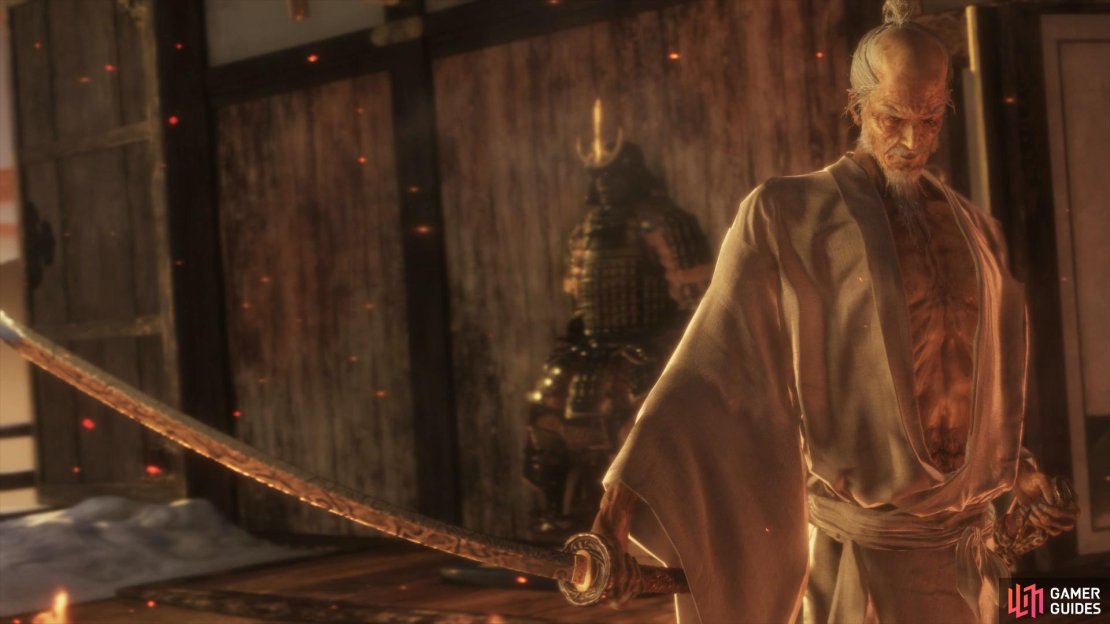
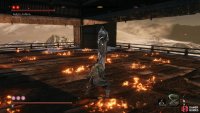
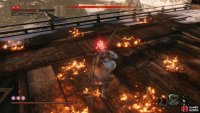
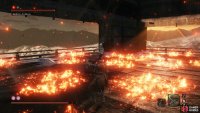
The true encounter begins now and despite his age, Isshin Ashina is a fearful opponent. To begin with, take a look around at the arena to spot all of the circles of fire scattered about. In the first phase, you won’t need to worry about them and can even cross over them without taking damage but on the second phase, it becomes another matter entirely.
For the first phase, Isshin has many similar moves to Emma, albeit more deadly. His Perilous Throw is the same as Emma’s but with less range however he makes up for that with the speed in which he can output it. On top of that, at any time, he can anticipate your attacks and dodge to the side to follow up with a Sweep or the Perilous Throw mentioned a moment ago.
He also retains Emma’s Ashina Cross attack so be sure to retreat and wait for the attack to finish before coming back in and getting a few strikes off. Finally, Isshin now has an Ichimonji of his own so wait until the last moment before he strikes and dodge to this side to inflict more easy hits on him. Working on deflecting his attacks is the best way to go about taking Isshin down.
Another interesting piece of information is that Isshin is very weak to Poison and as such, the Sabimaru. If you have the Pierced or Lazulite variants of the Sabimaru, be sure to equip it but use it sparingly as you’ll want to save some of your Spirit Emblems for the more difficult and chaotic second phase.
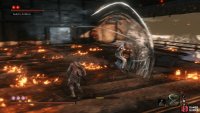
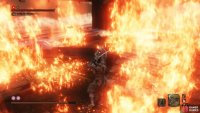
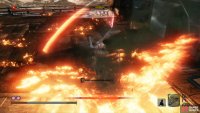
The second phase is the most difficult phase of the entire battle as you may expect. The Flame Circles now come into play and he’ll unleash his Firestorm attack from the start, causing pillars of Fire to rise from each circle before rushing you and using his One Mind attack. This attack will have him strike a downward blow before unleashing slashes all around him, it’s a deadly attack and you’ll want to avoid it at all costs.
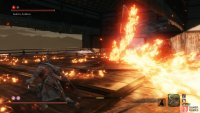
On top of this, a lot of Isshin’s attacks take on a fire based property such as his Ichimonji attack so it’s better to avoid them rather than trying to block through it. He can also follow this up with a Flaming Sweep attack where he will fan out flames after his attack. Finally, he will stomp the ground and then spread out a Burning Wave in front of him, should you find yourself in close proximity then dodge behind him and strike him otherwise run to the side and jump to avoid this attack.
Like the first phase, Isshin is still weak to the Sabimaru and if the opportunity arises, make good use of it to Poison him and get some more strikes on him. He’s also weak to Firecrackers or Fistful of Ash here so be sure to make use of them as well to stun him momentarily and follow up with some strikes of your own. Isshin is a tough battle and you’ll most likely need several attempts to learn how to read his attacks so be sure to use some of your more potent healing items such as Divine Grass should you feel victory is within your grasp.
Upon your victory you’ll obtain the Memory: Isshin Ashina and the One Mind skill. You’ll also obtain the Shura Ending and will be able to carry on to your next playthrough.










No Comments