Abandoned Dungeon Entrance
While attempting to return to Kuro’s room, you’ll have noticed that all of the Idols are unavailable save for the Abandoned Dungeon Entrance so take it to see what’s going on at Ashina Castle. Head up the stairs and Eavesdrop on the Samurai to learn that no one has relieved him of his watch, interesting. Up ahead in the courtyard, you’ll find the Bell Giant along with more Dogs, sneak up behind and take the Bell Giant out before finishing off the Dogs.
Grapple over the gateway and drop down on to the bridge to witness a new enemy, a Dual Wielding Samurai cut down an Ashina Samurai cowering in fear. These new enemies are a lot more deadly and you’ll have to be good at deflecting to take them down. Once defeated, head forward and speak to the Samurai before looting the Pellets behind him.
The bridge leading to the Ashina Castle Idol isn’t available right now so drop down into the moat and grab the Yashariku’s Sugar as you head down the center path. Once you reach a dead end, dive under and take out the Treasure Carp for another Treasure Carp Scale before following the path to the end. Grapple up to the top and head through the room on the left before dropping down to your right to reclaim the Ashina Reservoir Idol.
Return up the hole you dropped down and take the right door to witness another Dual Wielding Samurai attacking an Ashina Samurai, sneak around the arrow screens and backstab him before finishing off the other and reclaiming the Ashina Castle Idol to your right.
Ashina Castle
Head up the main stairs and grab the Oil and you’ll find another Ashina Samurai to learn that there are intruders. As you approach the main door, you’ll come across three Dual Wielding Samurais however if you approach them carefully, you can pull them back to the bottom of the stairs one at a time to dispatch them. With the enemies killed, head inside to loot the Adamantite Scrap and more Oil while the door ahead is locked (with sounds of an Ogre just beyond it).
You can lure these tough enemies one at a time back to the bottom of the stairs.
Head back down to where the Idol is and go left (from heading down the stairs) and grapple over the wall. You’ll witness another battle between two Ashina Samurai and another Dual Wielding Samurai, let the battle play out and take out the survivors. With the enemies killed, head up the stairs to the right and loot some more Oil and Black Gunpowder.
Climb the outer wall and then grapple to the house behind you and then forward to the next two where you’ll find some Pellets on the roof. The other side of this roof has three Rats that will pounce on you, watch for their Poison and dispatch them. Make your way to the rooftops to the right after and then forward to take out another group of three Rats. Once the rooftops here are clear, grapple forward again to reach some Scrap Magnetite on the roof and grapple over to the main roof to the left.
Up ahead here is an Interior Ministry Ninja and due to the difficulty of these, you’ll want to dispatch this first one by using a Gachiin’s Sugar to sneak up on him and backstab him. Hug the corner of the wall here to notice that there are more Interior Ministry Ninjas patrolling the rooftops, two to the upper left and two to your right.
Begin by heading around the rooftop to the left and around the back, you’ll be able to come up behind one and can use Puppeteer Ninjutsu to turn him against his fellow Ninjas. Watch as the carnage unfolds and then take out the survivors before grappling to the window for the next Suclptor’s Idol.
Upper Tower - Antechamber
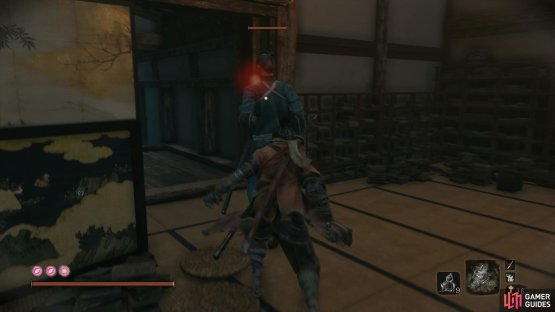
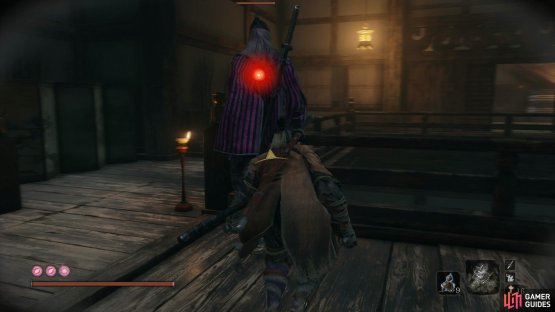
Enter stealth and head up the stairs and go to the right to backstab a Samurai Elite followed by a Interior Ministry Ninja in the next room. This provides over 700 Exp and you can use the nearby Idol to refresh the state and grind some Skill Points out if you wish. Once you’re satisfied, consider returning to the Dilapidated Temple to convert your Sen into Purses as you have some Mini-boss battles approaching.
(1 of 2) Backstab this Ashina Elite
Backstab this Ashina Elite (left), and the Interior Ministry Ninja for a quick exp farm. (right)
While you’re at the Temple, head around the back of it and hug the wall to Eavesdrop on Emma and the Sculptor through the hole here. Be sure that you have the latest Flame Vent upgrade and equip it along with some Oils, once you’re ready return to the Idol, take out the two enemies and then grapple to the beam in the center of the room.
Mini-boss: Chained Ogre
This is a rematch with the first Mini-boss you faced in the game only this time you’re in a smaller room. Lucky for you, you can use the beam to get a free Deathblow and the center of the room to bait him into his attacks and then get free strikes on it when it’s open.
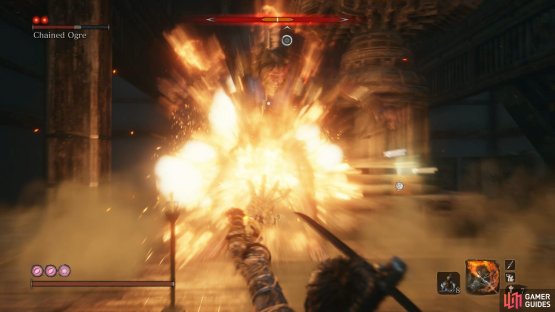
To make this even easier, toss Oil at him and then use your Flame Vent to set him ablaze, this allows you to get some more free strikes while he’s burining. Once the status wears off, reapply and repeat until the Chained Ogre falls for a second time. Your reward for this battle is another Prayer Bead and the Shinobi Medicine Rank 3 skill which will further increase the recovery rate of healing items.
(1 of 2) the Flame Vent makes quick work of him.
the Flame Vent makes quick work of him. (left), Drop on the Chained Ogre for an easy Deathblow (right)
Pocket the Adamantite Scrap and unbar the door behind you before heading out the back way to reach the moat again. Sneak up on the two enemies, take them out and then ignore leaping into the moat. You’ll find another difficult Headless encounter under there and as you still don’t have a reliable way of procuring Divine Confetti, it’s best to leave it for the moment. Instead, head to the right and drop into the moat and swim around the side to grapple up again.
You’ll come across a Samurai and Interior Ministry Ninja in battle, wait for them to exahust themselves and then finish off the victor before looting the Ceramic Shards. Sneak across the bridge the way you came and you’ll be able to get behind the Monk for a backstab before taking out the other enemy. Continue forward now and reclaim the Old Grave Idol and rest should you need to recover your Healing Gourds.
There’s nothing of value here so head back to the bridge and proceed in the other direction (ignoring the Interior Ministry Ninja this time if you wish) and pocket the Yashariku’s Sugar. As you make your way through the woods, you’ll see that the Monkeys are now gone allowing you to approach the shrine at the back.
Mini-boss: Lone Shadow Masanaga the Spear-bearer
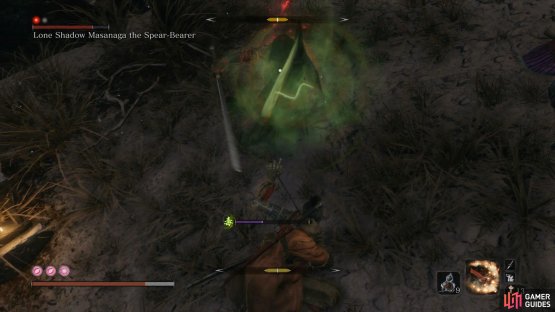
Before you even begin the battle, Eavesdrop for some information and then head around the side corridor to get behind him for a Deathblow. Like all Interior Ministry Ninjas, he will attack fast and cover great distances with his attacks however he’ll also have a few tricks up his sleeve.
The first is that his attacks have a Poison affinity to them which, when deflected or guarded against, will build up the Poison status quickly so be sure to have Antidote Powders assigned to your quick slots. On top of this, the area is enclosed so it’s in your best interest to bring him out of the shrine and into the more open area so you can move around freely.
(1 of 2) The Poison from Masanaga’s Sabimaru will build up quickly
The Poison from Masanaga’s Sabimaru will build up quickly (left), use Firecrackers to give yourself an opening. (right)
Remember that after a combo from these Interior Ministry Ninjas, they’ll sometimes follow up with a Perilous Thrust, either dodge to the side or Mikiri Counter it. These are tough battles so consider using an Ungo’s Sugar should you need it along with making use of Long Spark to create openings to attack. Your reward for this tough battle is some Yellow Gunpowders and the next Prayer Bead. Head back into the shrine and loot the Dragon’s Blood Droplet before reclaiming the Great Serpent Shrine Idol.
Return to the Upper Tower - Antechamber Idol and once again dispatch the first two enemies before heading through the open doors to dispatch another three enemies. Head around the corner and dispatch two more Ashina Elites and then head through the screen and watch another battle play out. Once only the Interior Ministry Ninja remains, backstab him and take the stairs up to Isshin’s room.
Head outside and hug the wall to Eavesdrop on Emma and Isshin’s conversation to learn more of the situation and then pick up the Pellets on the ground. You’ll also find a chest in the corner here and inside, the Black Scroll, which details more about a certain black Mortal Blade.
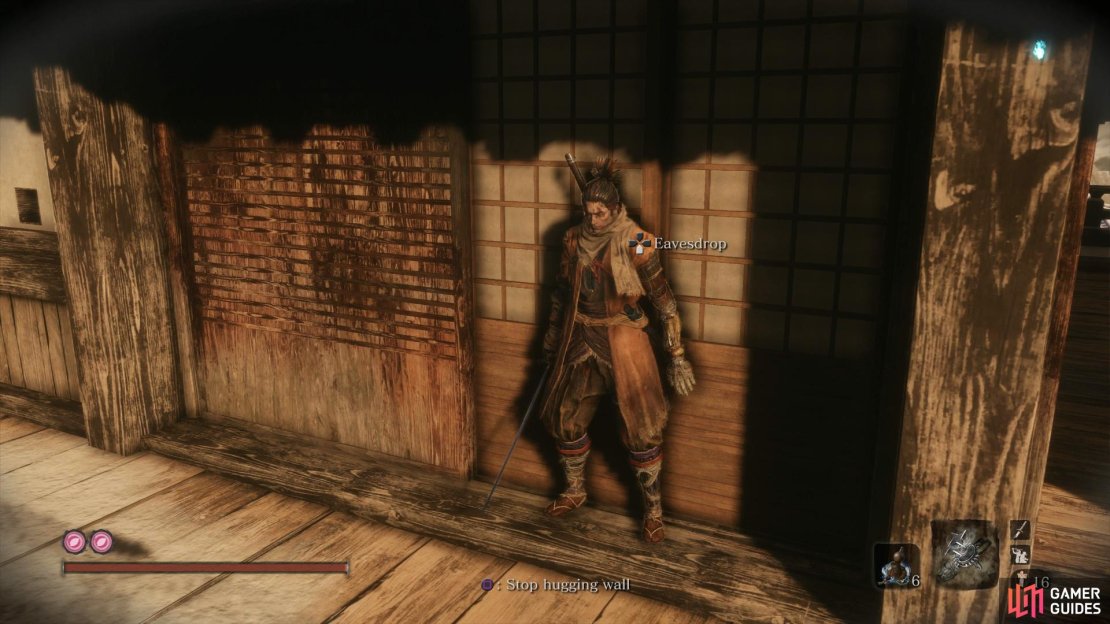
Be sure to Eavesdrop outside Isshin’s room.
Return down the stairs and back to the previous stairs, taking them up to loot some Adamantite Scrap and the next Sculptor’s Idol. Equip the Puppeteer Ninjutsu and make sure you’re fully rested up as the next Mini-boss awaits in the Dojo.
Mini-boss: Lone Shadow Vilehand
Before you get the battle underway, note that there is another Interior Ministry Ninja to the left of the door as you enter, this is actually a good thing however. Enter stealth and sneak behind him to backstab him and apply Puppeteer to make this battle a lot easier.
Vilehand, like you may assume, is very similar to Masanaga that you killed a moment ago. There’s only a few changes and that’s the length of his combos have changed to a possible four hits before being weaved into a Perilous Attack. On top of that, he can leap in the air and bring his foot down before following it up with a Perilous Sweep, dodge to the side of this and punish him during the opening.
With the Interior Ministry Ninja aiding you during this battle, stay behind Vilehand to get some free strikes on him until he falls, leaving just the two of you left. You can now focus on using Long Spark to get some free attacks in while working on deflecting his blows to build up his posture gauge. This is a tough battle but you’ll be rewarded with a Lump of Fat Wax and yet another Prayer Bead so return to the nearby Idol and enhance your Physical Attributes to obtain the Eighth Prayer Necklace.
Head through the Dojo once again, remembering to take out the Interior Ministry Ninja from behind in the process, and you’ll reach a window you can climb out of. From here, you should remember your way back to the rooftop where you fought Genichiro, this time however a different man is awaiting you.
To Shura or not to Shura
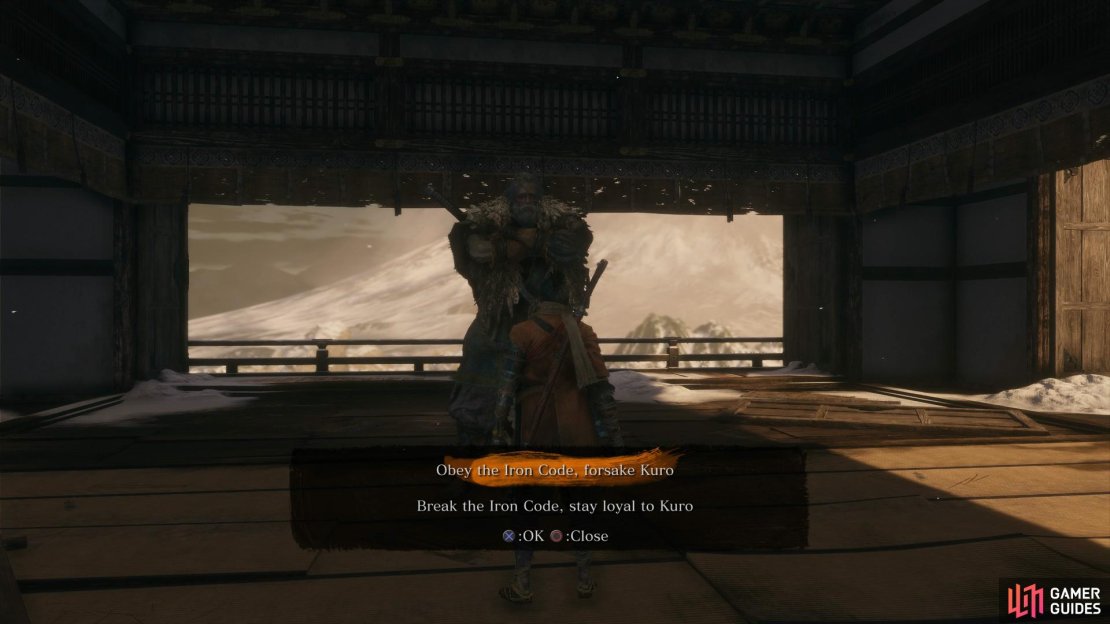
Your choice here affects your ending.
Your choice here, whether to honor the Iron Code or not, will affect the ending you’ll receive. Stay loyal to Owl and you’ll be on the path of Shura which will result in a double boss fight and lead to the Shura ending, this is usually best experienced on a New Game+ as you miss out on a large part of the game, access to the other three endings and many useful items. If you choose to obey the code however, head to the Shura Ending page to find out how to defeat the opponents that follow.
If, like this walkthrough, you decide to stay loyal to Kuro, you’ll be on the path of the other three endings however you’ll have to fight another challenging boss right now instead.
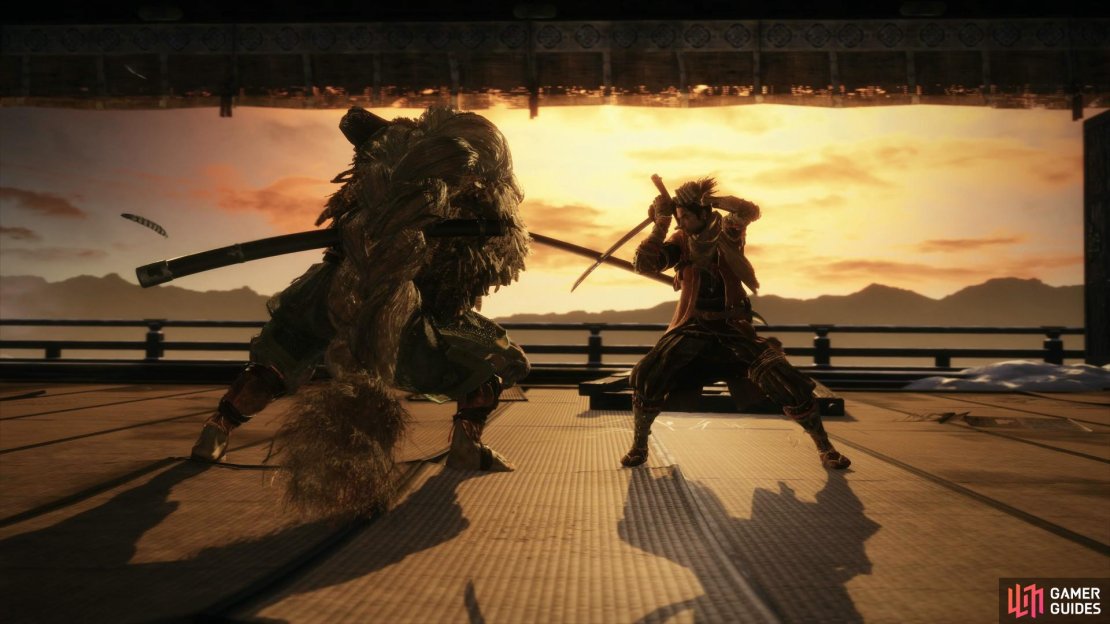
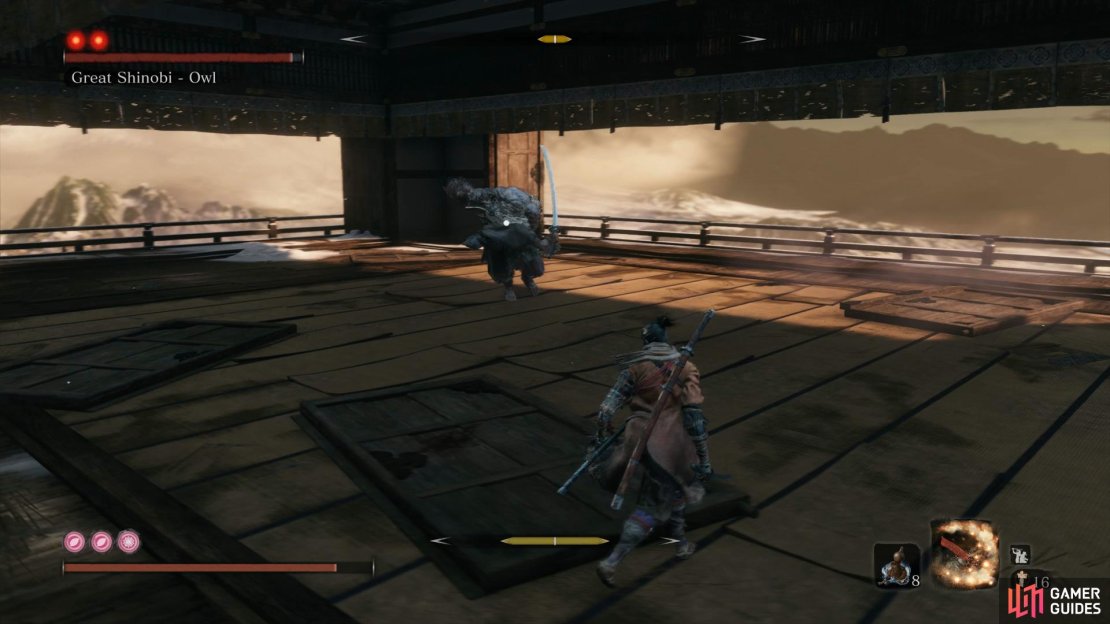
Boss: Great Shinobi Owl
Owl is an incredibly tough adversary and in many ways, similar to Wolf himself. Due to this, you’ll see many attacks that are similar to your own arsenal and as such, have to react accordingly. To begin with, Owl has a four hit sword combo that deals large posture damage if you deflect them all, be sure to get back and hold block to reduce your posture after.
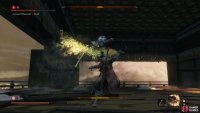
He also has several attacks featuring Shurikens, the first being a simple shuriken toss followed by a Chasing Slice attack, be sure to block both of these attacks or dodge to the side of the Chasing Slice to create an opening. He can also perform a backflip followed by tossing two more Shurikens at you, both of these should be deflected if possible as it’s hard to avoid the Shurikens. Finally for the Shurikens, he will toss one and follow it up with a flip towards you and a Sword Slam, this is good to look out for as you can dodge to the side of this and score a few easy strikes on him.
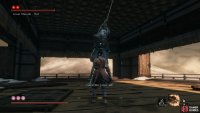
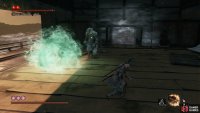
Most interestingly, Owl has the ability to throw a Charm at you that creates an area of effect where it lands, move into this and you’ll be able to use healing items (save for the Divine Child’s Rice) for up to 30 seconds, this can be fatal so avoid it at all costs. This does however, leave a large opening so if you dodge to the back of him, you can use this time to get a few more strikes on him. Finally, Owl will perform a regular Chasing Slice at you by running at great speed and following it up with a large sweeping slice.
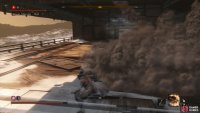
Owl doesn’t change too much during his second phase save for the addition of Poison to his Charm ability and Smoke Bombs. When he throws a Smoke Bomb, you’ll be unable to see so stand in place and begin blocking or preparing for a deflection as he usually follows it up with a Chasing Slice. As you can see, Owl has many deadly attacks and it will take a while to read them. You want to focus on baiting his Sword Slam or Charm ability and then dodge to the side to strike him a few times. Consider using a Gokan’s Sugar to reduce the posture damage you take and don’t get greedy with your attacks.
Your reward for this grueling encounter is Memory: Great Shinobi and the Aromatic Branch along with access to the Castle Tower Lookout Idol again. Enhance your Attack Power with the incense and then head down and reopen the two windows if you wish. Reclaim the other Idol here and then speak to Lord Kuro several times and then place the items into the incense burner to create the Aroma needed to reach the Fountainhead Palace.
Purification Ending Steps
Before you dash off to the Fountainhead Palace, there are some optional tasks to take care of. Begin by resting at the nearby Idol and then hugging one of the walls to Eavesdrop on Kuro and then head upstairs to speak to Emma and obtain Tomoe’s Note. Next, travel to the Old Grave Idol and head left to speak to Emma once more.
Finally, travel to the Dilapidated Temple and head around the back to Eavesdrop on the Sculptor and Emma once more. Head into the Temple itself and speak to Emma and ask about what you overheard, in the process you’ll obtain Father’s Bell Charm. If you offer this to the Buddha here, you’ll return to the Hirata Estate but in another state.
Return Ending Steps
Hold of on that for now however and continue to work on the steps needed for the Return Ending. When you return to the Inner Sanctum, you should notice that the Divine Child is not there so head to the beam of light to return to the Halls of Illusion. Head forward to find the Divine Child speaking to the children of the rejuvenating waters.
Return to the Idol in the Inner Sanctum and travel to the Main Hall in Senpou Temple. Head to the left and follow the path to the cave outside and follow the path all the way to the end (while taking out the enemies) to find the deceased priest, search him to obtain the Holy Chapter: Dragon’s Return.
Pocket this and return to the Inner Sanctum to hand it over to the Divine Child to learn that you need two items needed for the Cradle. If you’ve been following this walkthrough then you should already have these two items from the Great Serpents, to find out more, head to this page. Once in your possession, hand them over to the Divine Child then rest at the nearby Idol. Eavesdrop to gain some information and then rest again to find the doors open again. Speak to the Divine Child one final time to obtain the Frozen Tears, an item needed to obtain the Return Ending. You can also come here regularly to request Fine Snow, a more improved version of the Rice you had beforehand.
At this point, you have two possible destinations, the Hirata Estate using the Father’s Bell Charm which is an optional area with one of the game’s toughest bosses at the end. This is required for several Trophies/Achievements and will allow you to obtain an item needed for the Purification Ending. If however, you’re not interested in that, skip ahead to the Fountainhead Palace page to continue the main plot.











No Comments