
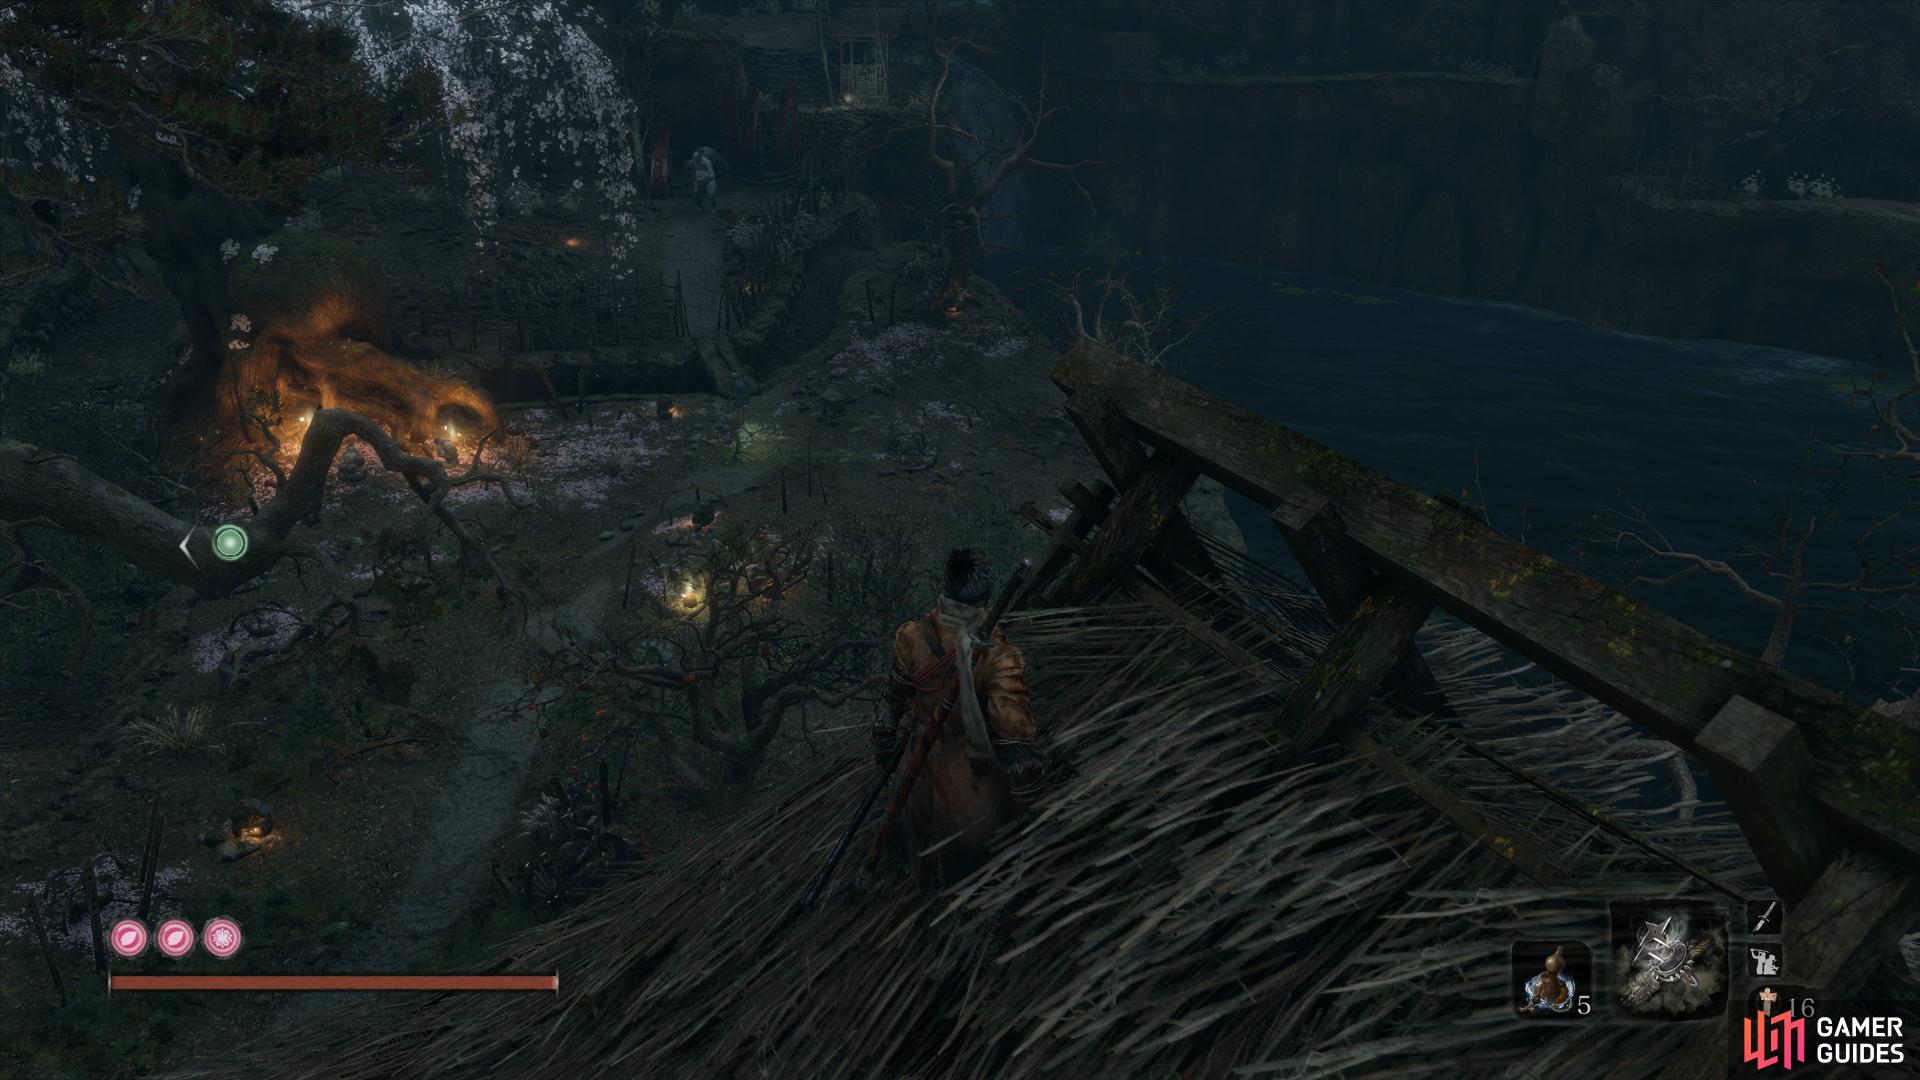
You’ll find yourself in the Poison Pool of the Ashina Depths and before you take the time to loot your surroundings, you’ll need to clear the area of all the deadly hostiles including the Mini-boss. To begin with, grapple up the wall to your right and then climb the next ledge to backtstab a Cannon Gunman while picking up the Oil in the process. From here you’ll spot another Cannon Gunman on the island in front of you with another imposing enemy at the back, your next target.
Mini-boss: Snake Eyes Shirahagi
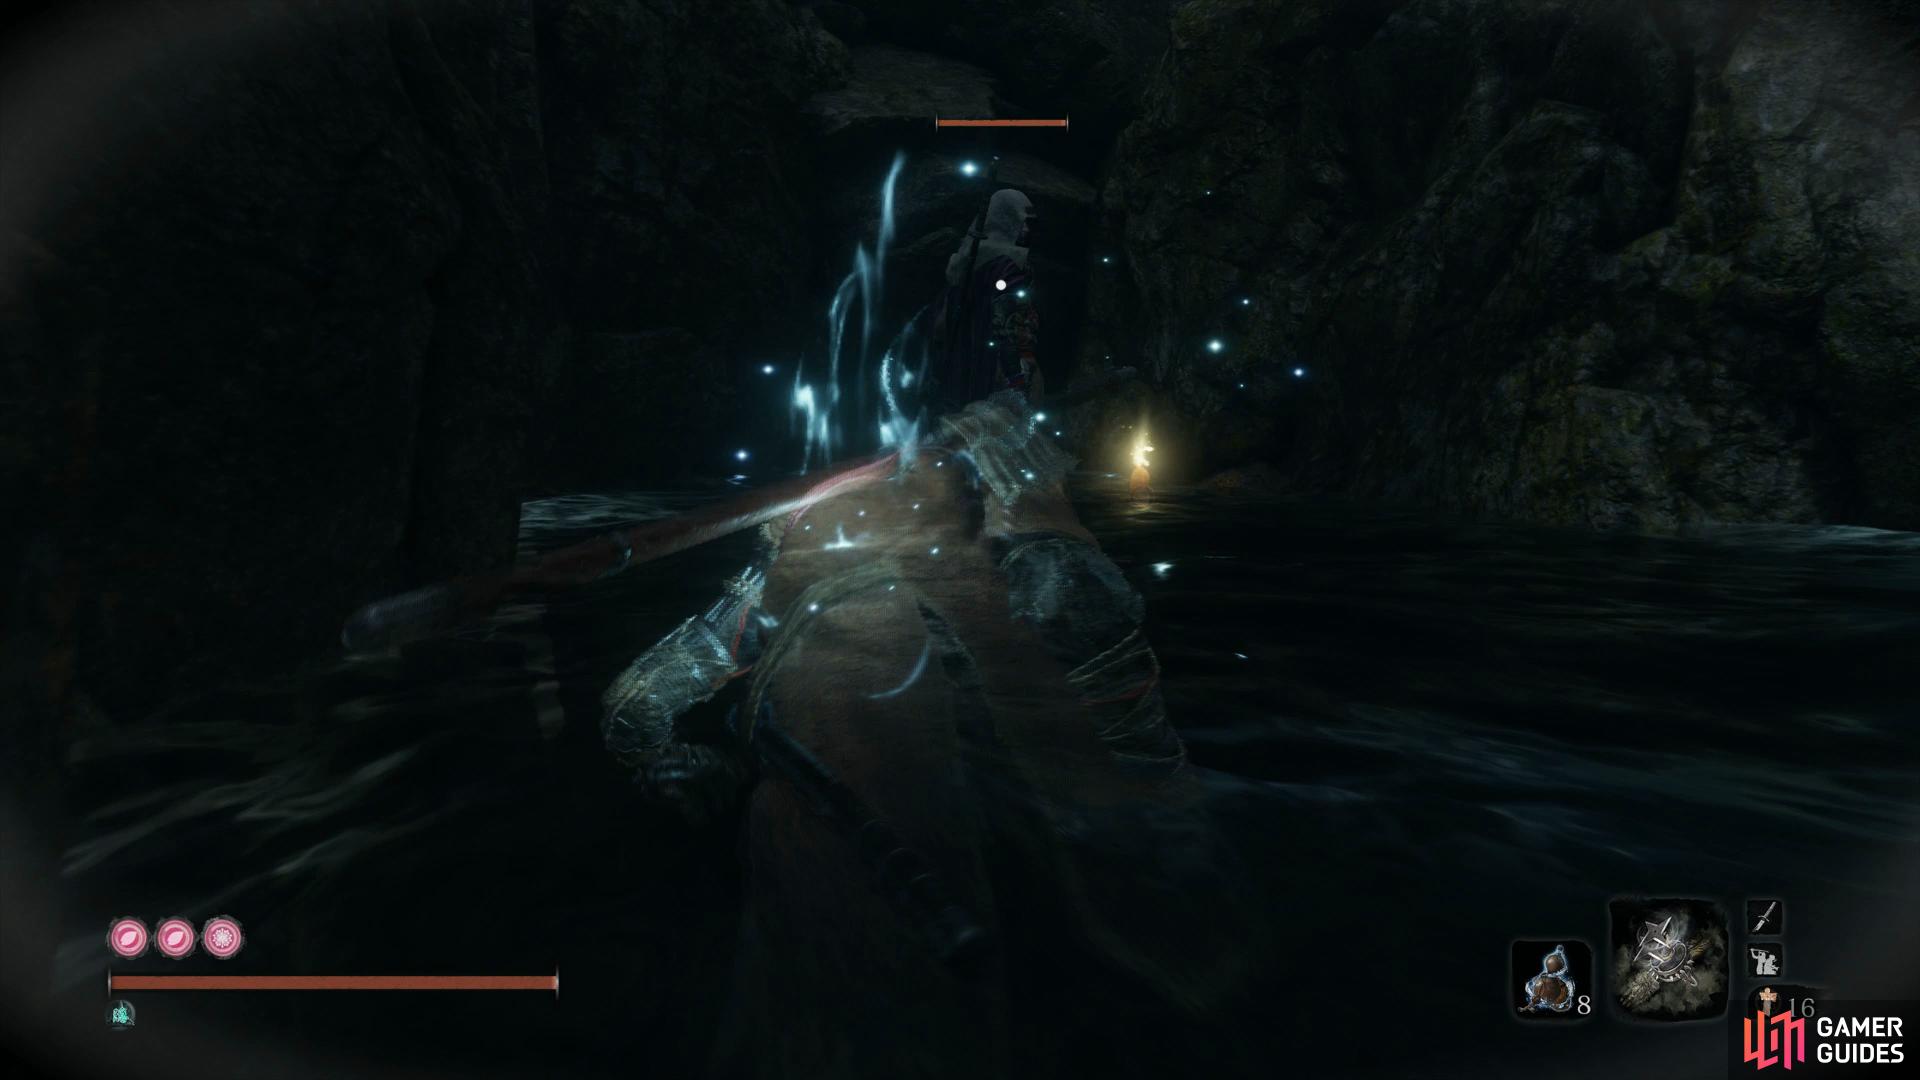
You didn’t read that incorrectly, you’re up against another deadly Snake Eyes that retains the same attacks as the one you defeated during your descent of Sunken Valley. Shirahagi has the exact same moveset so read that section to learn how to deal with her attacks. Do note however, there’s one major diffrence with Shirahagi, you can sneak around to score a Deathblow before you begin the battle.
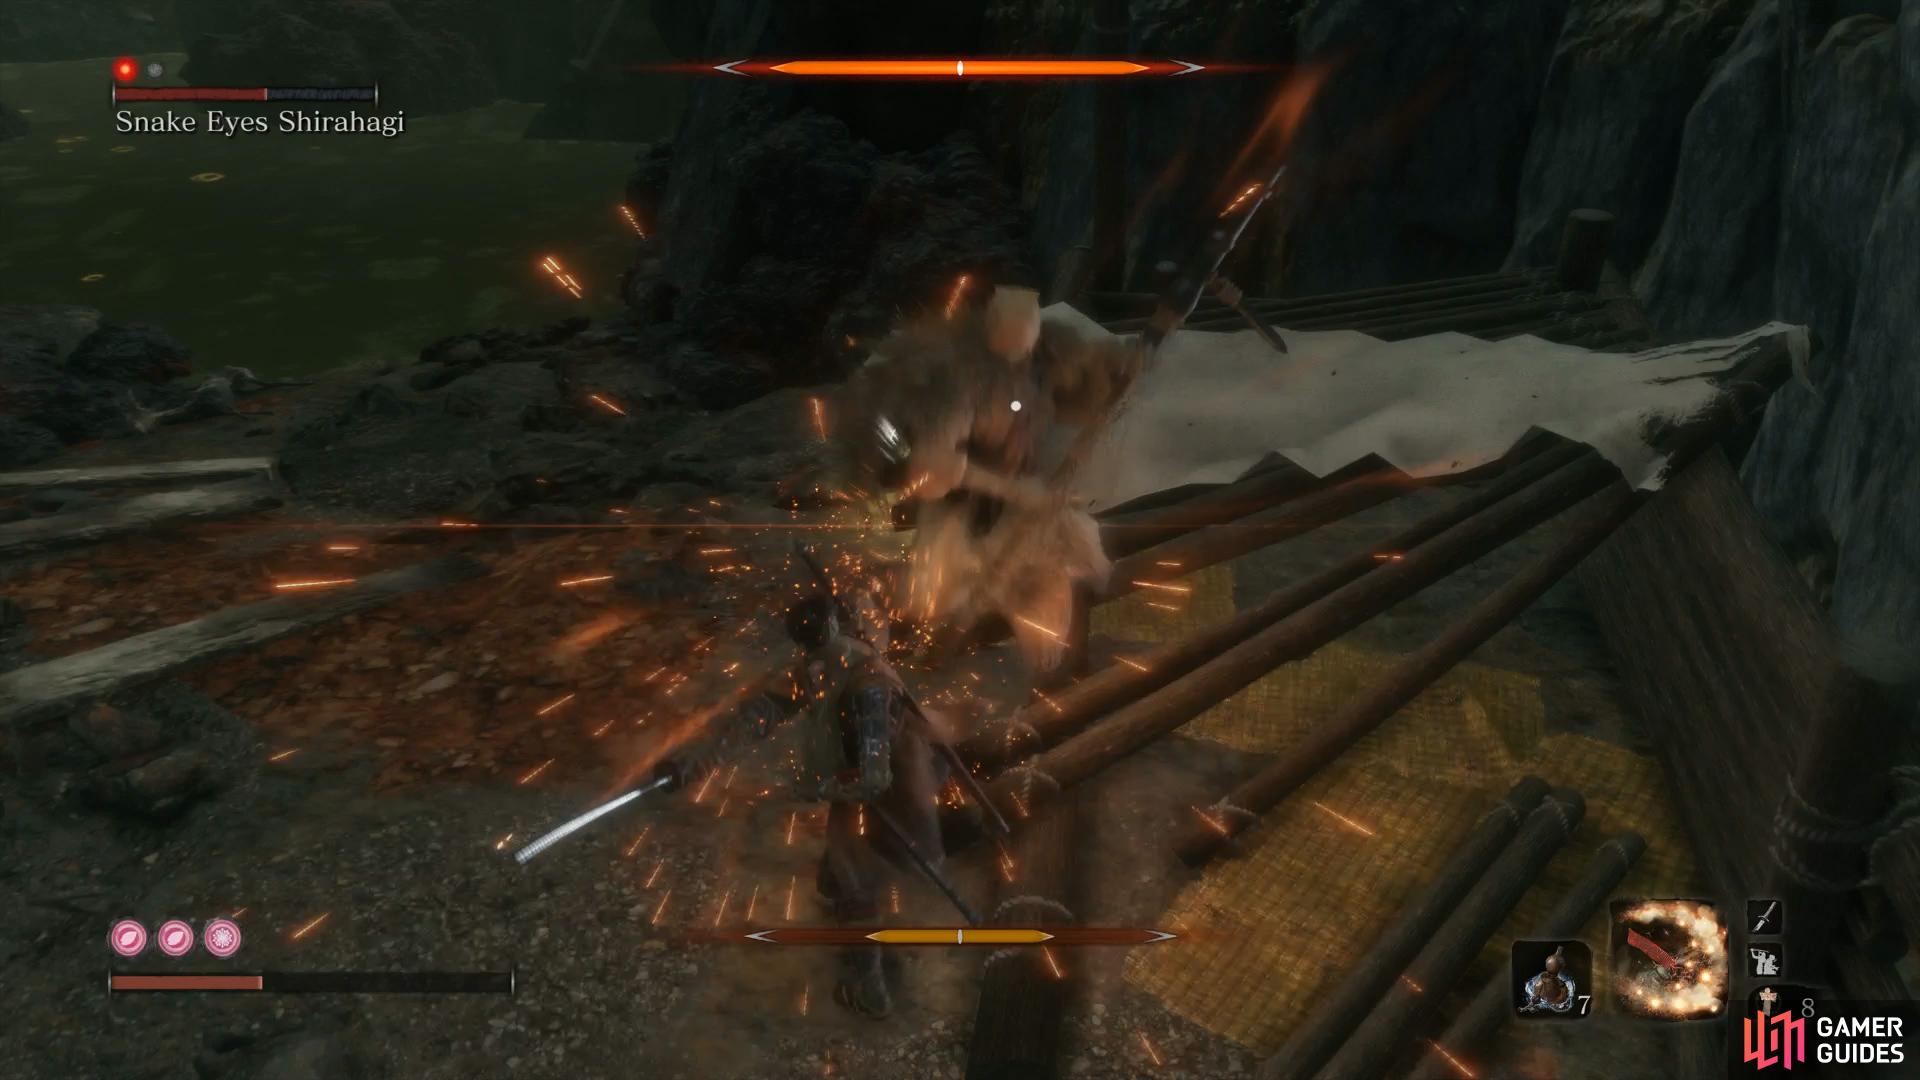
Begin by dropping down to your left and heading over to the far wall while in stealth. Continue along this wall until you’re behind Shirahagi and then backstab her to begin the battle. Now if you want to make the battle easier on yourself, bring her back to the island you traversed to reach here (and away from the other Cannon Gunman). Note that this time, Shirahagi has developed immunity to poison so forego the Sabimaru and use the Long Spark Firecracker as your Shinobi Tool of choice. Remember to keep close to her to avoid her ranged attacks and jump away from her Perilous Grab.
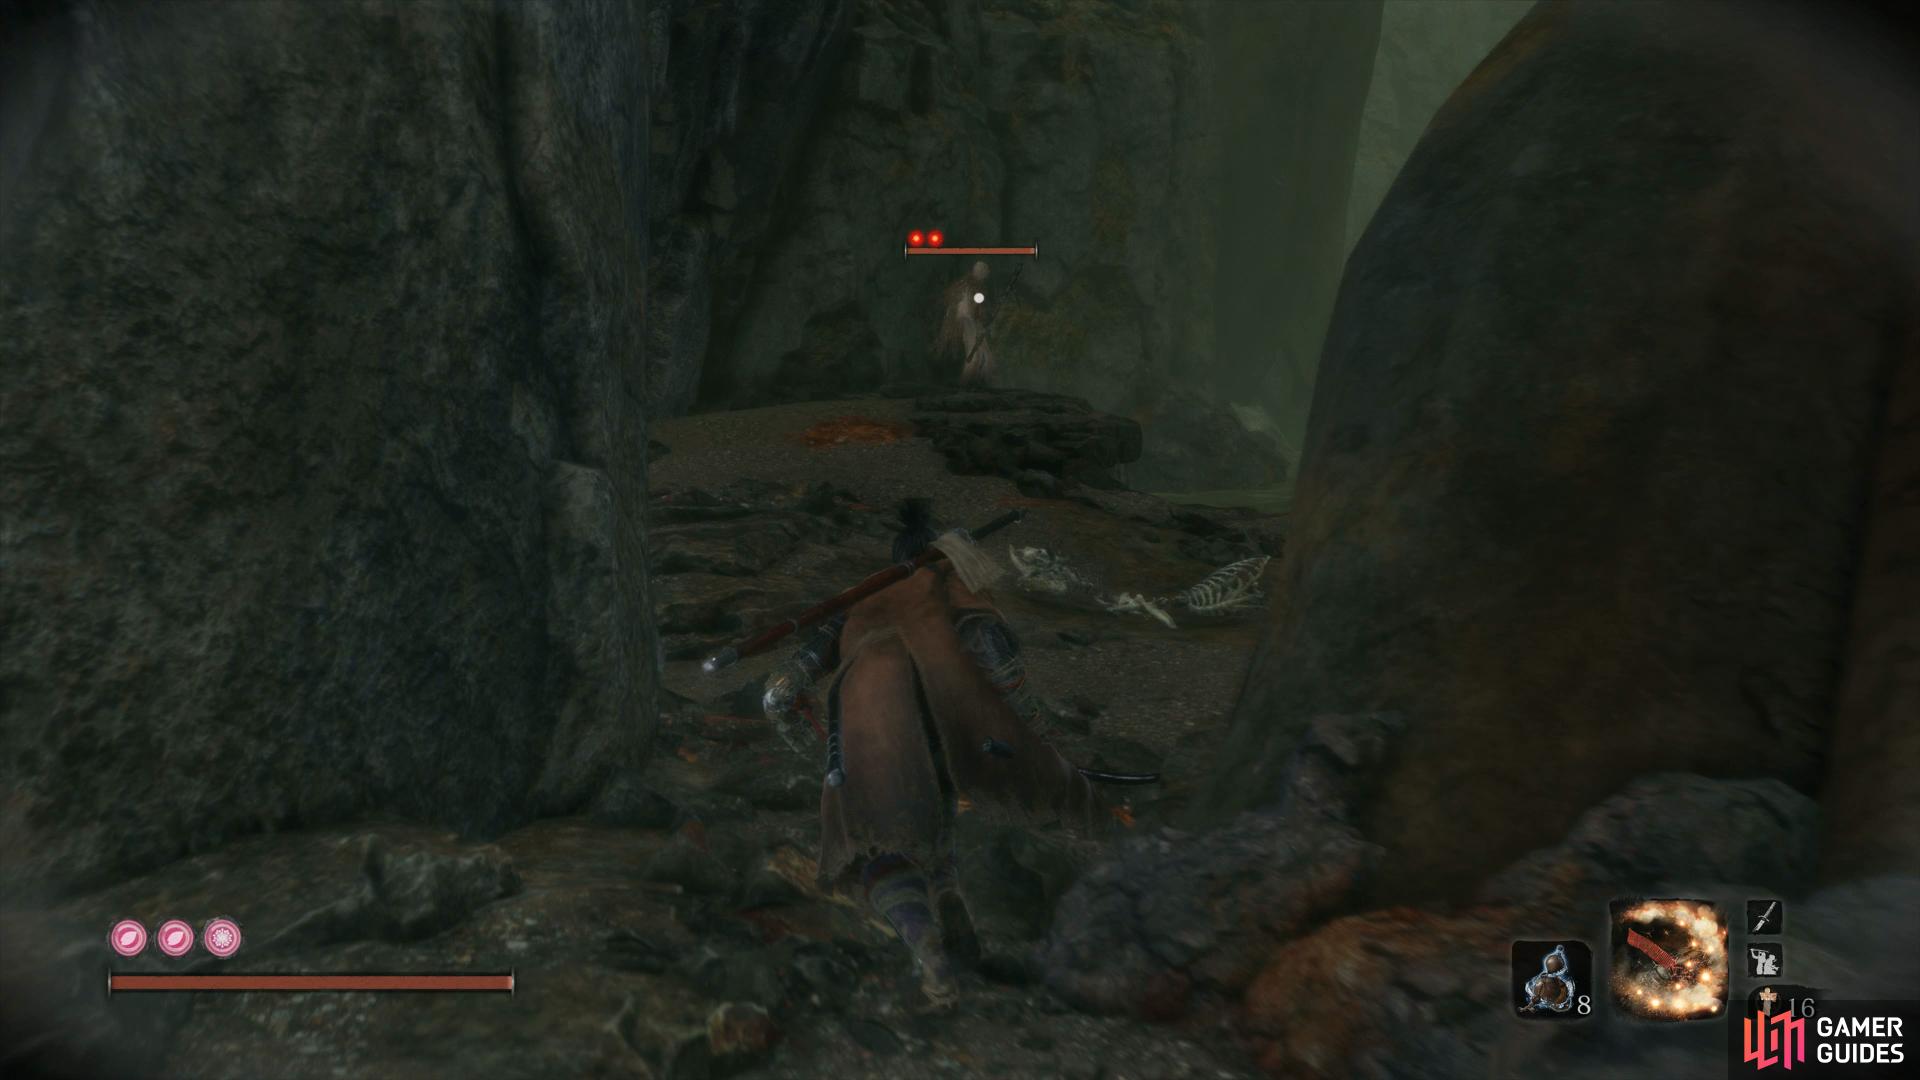
Head along the left wall to perform the first Deathblow
close the distance and work on deflecting her.
Your reward for another tough Mini-boss is a Prayer Bead, pocket it and then return to the nearby Idol to rest up before continuing. Defeat the Cannon Gunman on the ledge to your right again and then loot the Pellets on the small island in front of the Idol. Make your way over to the next island and loot the Black Gunpowder and Scrap Magnetite before heading over to the next island to backstab the other Cannon Gunman. This will leave you just the final Cannon Gunman on the rafters at the back, sneak along the edge and get behind him to clear the area completely.
While you’re here, make a short detour by scaling the wall behind you to reach the Ashina Depths Sculptor’s Idol but don’t rest at it, the last thing you want to do is to kill those Gunman again. You’ll find a Pacifying Agent just behind the Idol and then return to the Poison Pool and drop down to the platform below. From here, grapple to the nearby statue and loot the Scrap Magnetite in it’s hand before dropping down to the island to pocket more Scrap Magnetite and some Mibu Possession Balloons.
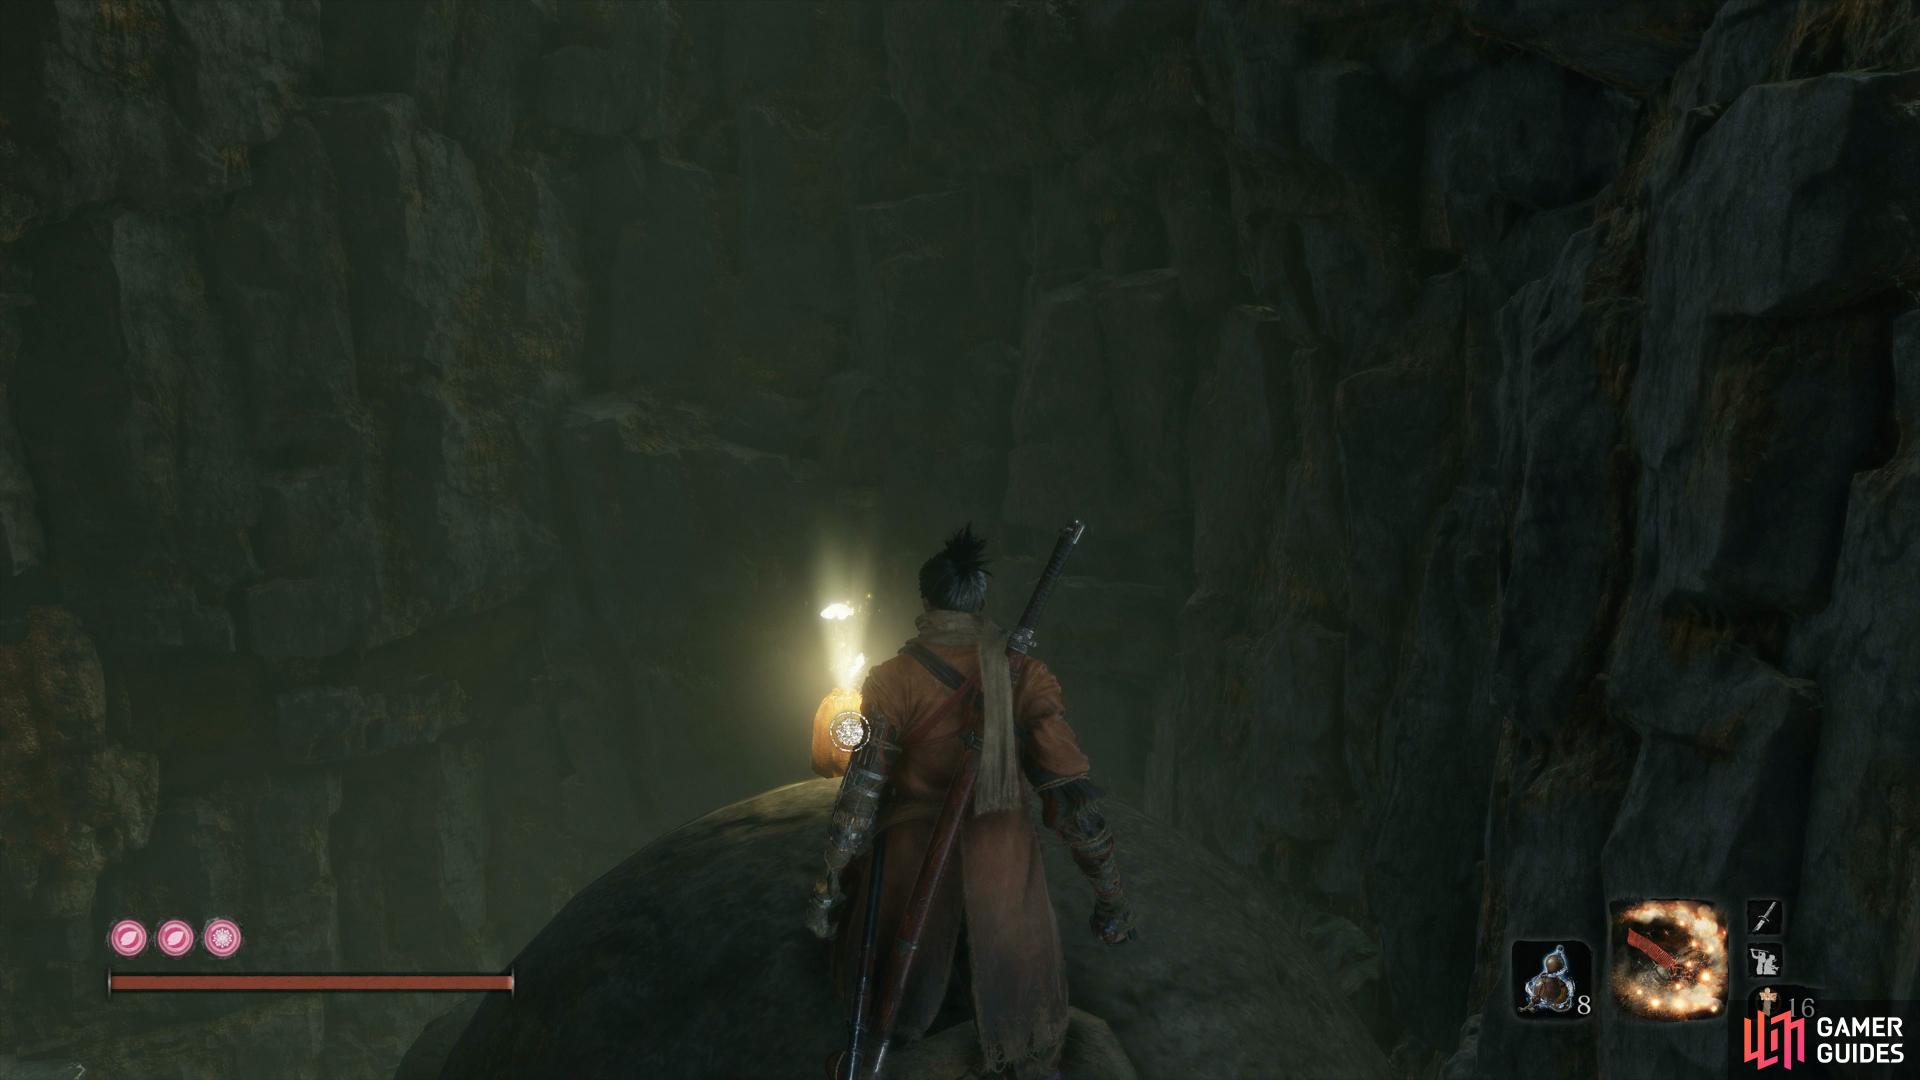
Head over to the item in the Poison Pool to loot a Heavy Coin Purse while more Yellow Gunpowder is hidden to the left of this, loot both and then head down the passage that Shirahagi was guarding to find a man on deaths throes. You learn that a large ape slashed his throat but before you continue down, head back to the wall you dropped down and look up to spot a grapple point. Follow this path and crouch through the first gap and before you head under the second, stand up and look to your left to spot another platform.
This hidden passage leads to the top of the statue and a Prayer Bead.
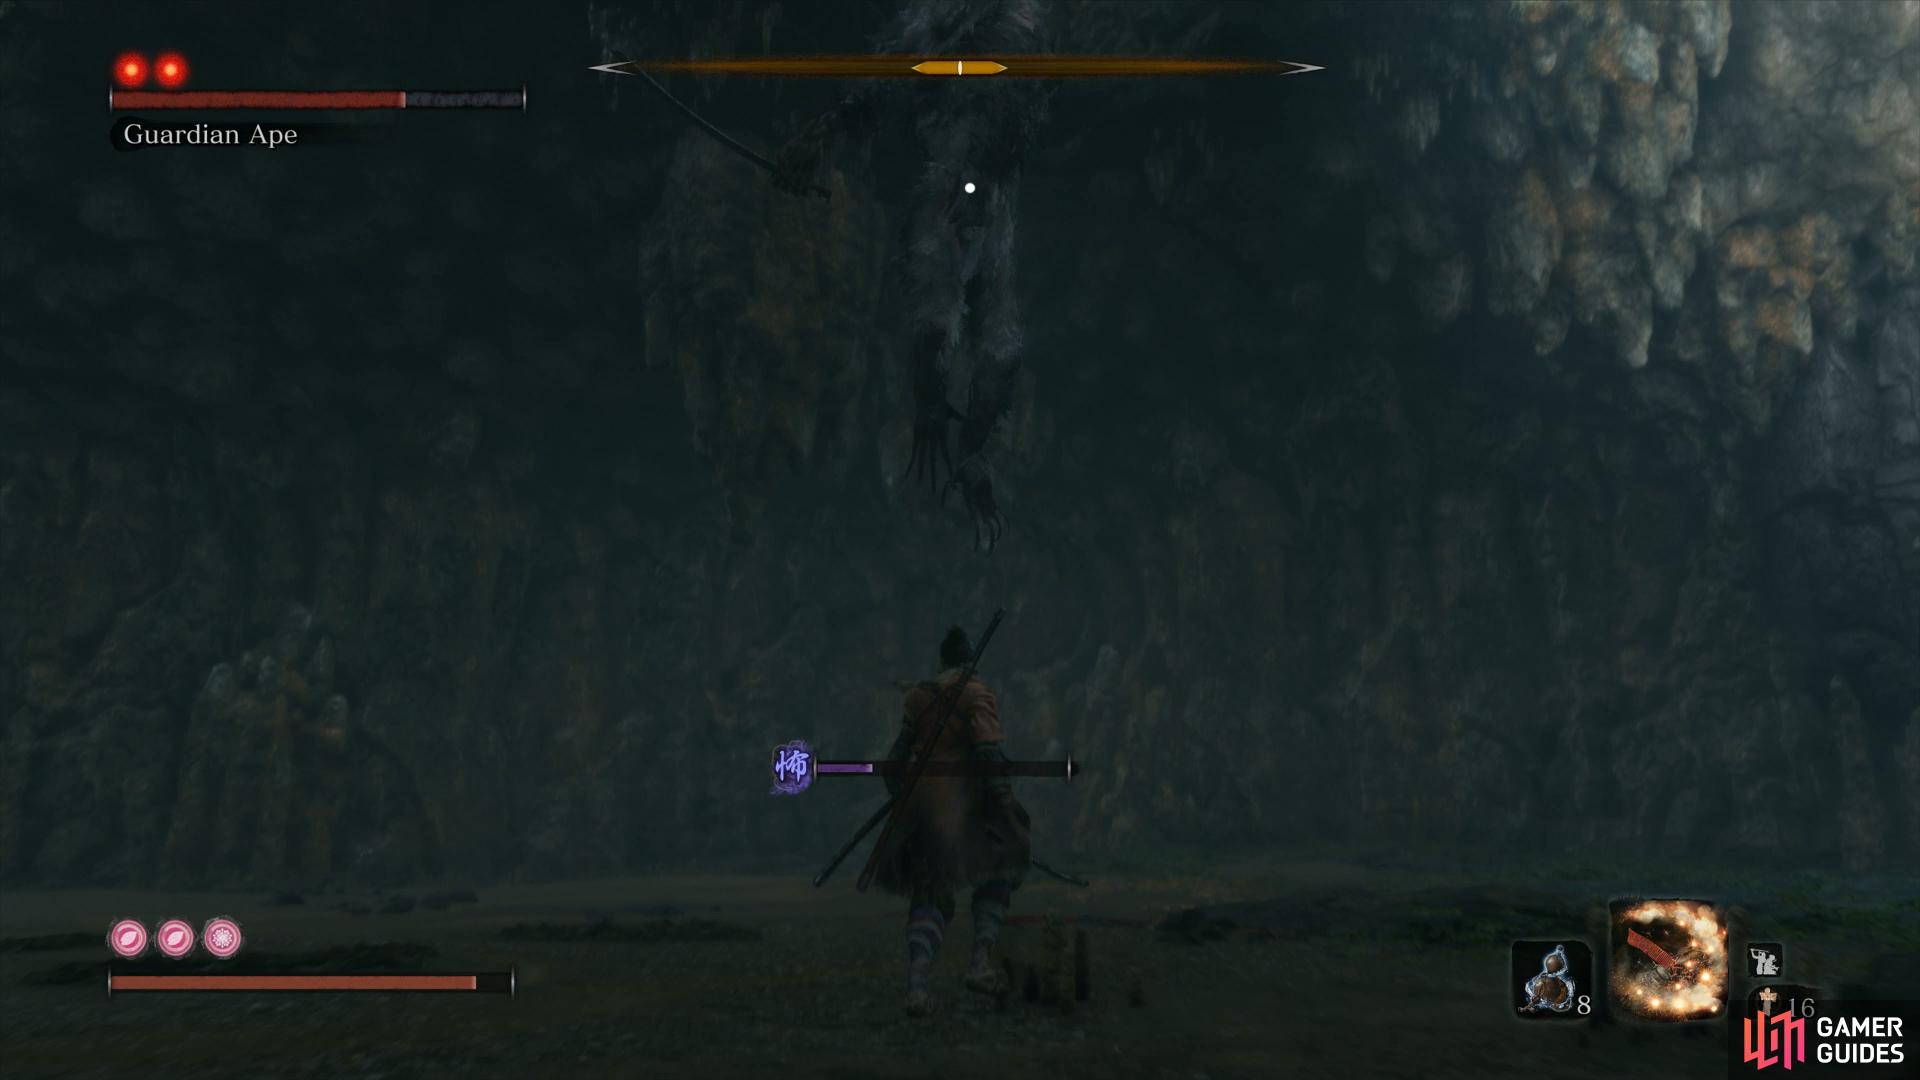
Wall jump to the top of the wall and grab the Yellow Gunpowder on the edge before grappling up to the head of the statue to pocket another Prayer Bead. Drop back down the wall you jumped up and head out the other end of the intersection to backstab a Monkey and loot some Monkey Booze. Looking down to the clearing below, you’ll spot the ape that the Nightjar mentioned a moment ago, the very same Guardian Ape you thought you killed a moment ago. Make sure you’re fully prepared and have the Long Spark Firecracker equipped and jump down to begin round two.
Boss: Headless Ape

This begins very much like the second phase of the battle in Sunken Valley with the main difference being the arena you’re fighting in is a lot less spacious. Follow the same techniques that you used there while trying to limit how much Healing Gourds you use along with your Spirit Emblems. Bait out his Sword Slam and then damage him after to put him down and begin the real battle.
Phase two this time introduces a second Guardian Ape, albeit with it’s head still intact. This Guardian Ape follows the same tactics as Phase One from the Sunken Valley battle however you’ll have to contend with both in a smaller space. The goal here is to divide their attention and focus on the Guardian Ape with it’s head intact, it’s health bar is a lot smaller and you can stun it for large periods with the Long Spark Firecrackers.
The Flame Vent works well here too as does keeping your distance and tossing Shurikens to whittle down it’s health. Once it’s fallen, you can focus on taking out the headless Ape with the same tactics from the first phase. This is a tough battle and by far the biggest issuse is the arena you’re fighting in, keep on the move and whittle on down at a time. One you perform the final Deathblow on the Guardian Ape, head over to where the centipede is to perform one final Deathblow to finish it off once and for all.


You’ll obtain the Memory: Headless Ape and two Prayer Beads along with the Bestowal Ninjutsu, a skill that will extend the range of your blade when attacking. Use the nearby Idol to rest up along with consuming the memory and using the Prayer Beads for your Sixth Prayer Necklace. Before continuing on, use the Idol to travel back to the Dilapidated Temple and have the Sculptor and create the Phoenix’s Lilac Umbrella (if you need more Lumps of Fat Wax, purchase them from Anayama).Be sure you have at least five or more Divine Confetti’s and assign them to your quick slots along with Pacifying Agents and then travel back to the Poison Pool.
Take care of the Cannon Gunman for some easy Exp if you wish and then make your way back to where you fought the Headless Ape to encounter a new Mini-boss.
Mini-boss: Shichimen Warrior
As you may expect, the Shichimen Warrior is an apparition type of enemy and due to that, can only be harmed while your weapon is coated with the Divine Confetti. All of his attacks will deal Terror buildup and should the gauge fill, will almost certainly kill you outright, for this reason, use a Pacifying Agent whenever you suffer Terror damage.
The Shicimen Warrior’s Terror Orbs can be cut through if you’re blade is infused with Divine Confetti so don’t be afraid to use it should you find yourself in a dire situation. He’ll shoot Terror Orbs at you that you can avoid by simply running away from them and will be his main attack. Try to keep on him and attack away until he either vanishes or jumps into the air. If he jumps into the air, you can use the Mid Air Deathblow skill you purchased from Black Badger to jump up and press the attack button to bring him to the ground, dealing massive damage. This is by far the easiest way to take care of him.
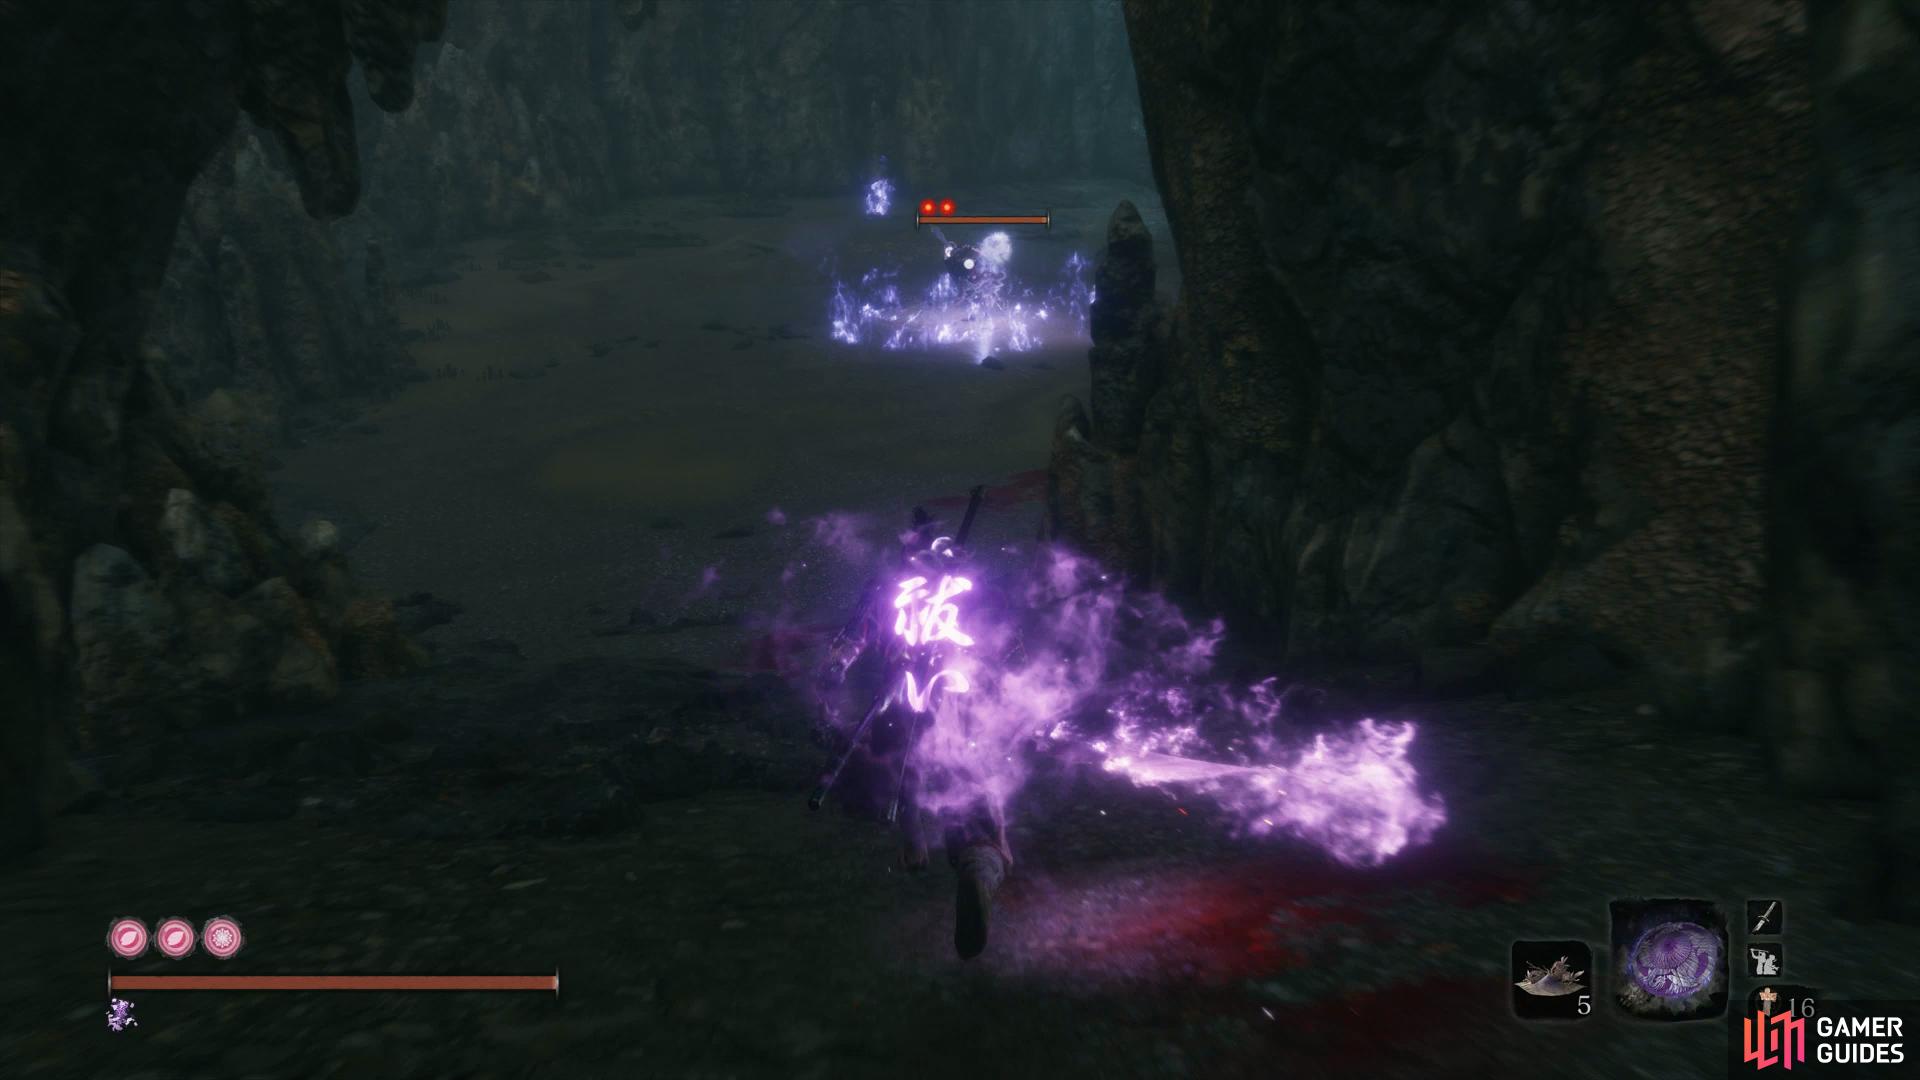
Alternatively, if he vanishes, don’t give chase as when he reappears, he’ll charge and then fire a concentrated beam of Terror energy at you and if it connects, you’ll suffer massive health an Terror damage. This beam can in fact be deflected if your timing is good however if you’re not confident, you’re better off outrunning it. Finally, the Phoenix’s Lilac Umbrella will block all Terror damage when it’s out, keep this on hand to use for an attack you won’t be able to outrun.
Your reward for this encounter is the Malcontent’s Ring, an upgrade item for the Finger Whistle you’ll need a lot later in the game. Light the Idol again and rest if you need to before using the grapple point to leave the den and grapple up more walls. As you enter the forest beyond, you’ll be attacked by two Spirit Nightjars, dispatch them and turn your attention to the man sitting by the wall.
This is [Jinzaemon] and you’ll learn that he located the Shamisen Player along with details about the misty forest ahead. Neglect to inform him about the Abandonded Dungeon and grapple across the cliff to unlock the next Sculptor’s Idol.
Hidden Forest
You’ll immediately notice the entire area is blanketed in fog and visibility is poor. Grapple across to the first branch and then drop down to dispatch the first Rooster before tossing Shurikens at the one on the next branch. Loot the Mibu Balloon of Soul and then on the next branch, drop down to the branch below to snag some Ceramic Shards. Return to the previous branch and head down adn to the right to spot an item in the distance, drop down and dispatch the Spirit Samurai before you pocket the Scrap Magnetite.
Return to the tree once more and follow it up to another platform where you’ll meet an Old Monk, speak to him to learn of the abandoned temple up ahead. Before you head across the branch however, leap up behind the Old Monk and dispatch another Rooster before looting the Pellets behind the statue. Go to where you killed the Rooster and look up to grapple over to another platform containing a Light Coin Purse.
From here, you can choose to explore the bottom to loot the items or wait until it becomes a little easier in a short time. This is the better method so continue across the branch near the Old Monk and take out the next two Roosters as you continue down the path. Grapple on to the branch up ahead and then sneak behind the Spirit Samurai up ahead to backstab him and pocket the Bite Down up ahead.
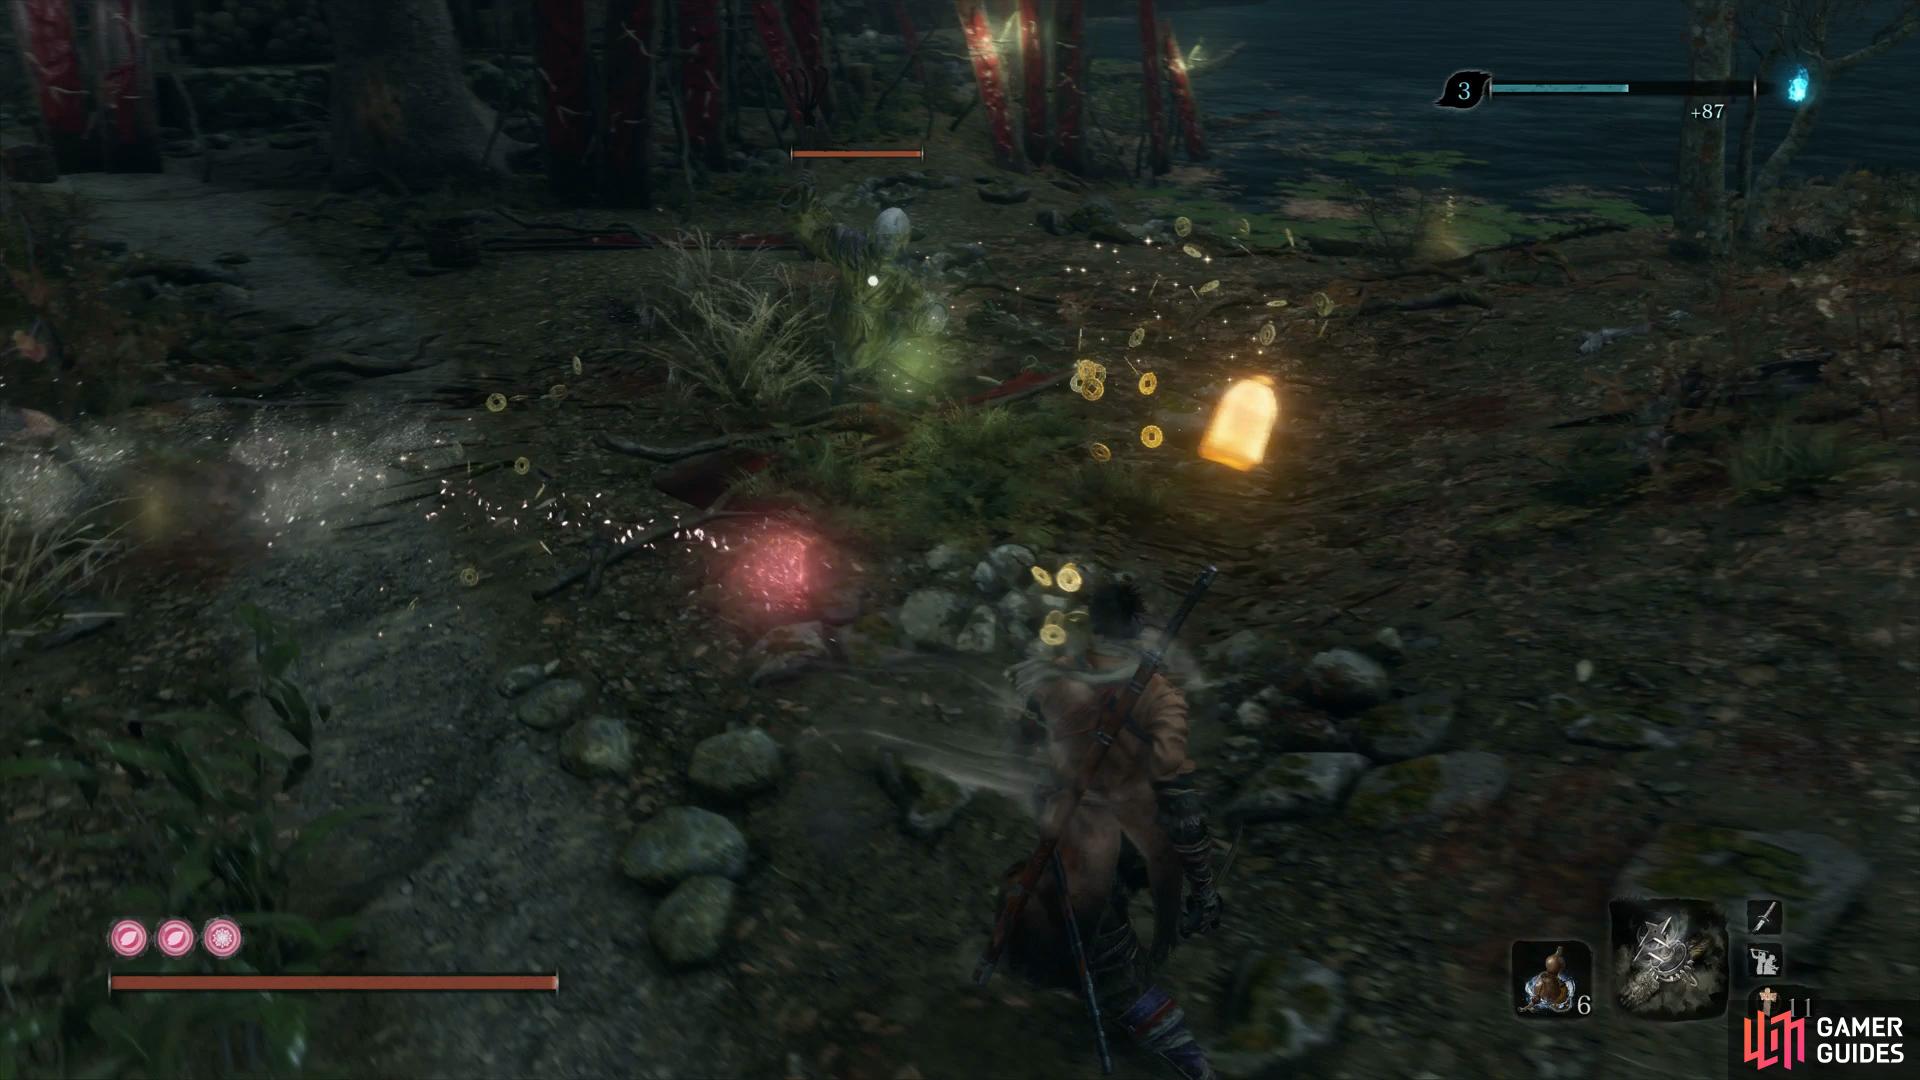
You’ll come across three Spirit Samurais here so begin by backstabbing one before taking the other two out. Once again, ignore the surrounding area for the time being and hug the abandoned temple as you dispatch another Spirit Samurai. Grapple up to the branch at the front left of the temple and then look down to find a Spirit Samurai you can jump down to and dispatch. Loot the nearby Oil and then head down to take care of another Spirit Samurai. Continue ahead and grapple to the branch and shimmy across the blue tinted wall to loot the Snap Seeds. Return across the wall you just used and this time take a left to reach a familiar Mini-boss.
Mini-boss: Tokujiro the Glutton
As he looks, Tokujiro is exactly the same as Juzou the Drunkard that you defeated at the Hirata Estate a long time ago. Take a look at the tactics to defeat him and apply those same tactics to your battle here, noting that you’ll find yourself a lot stronger than you fought Juzou.
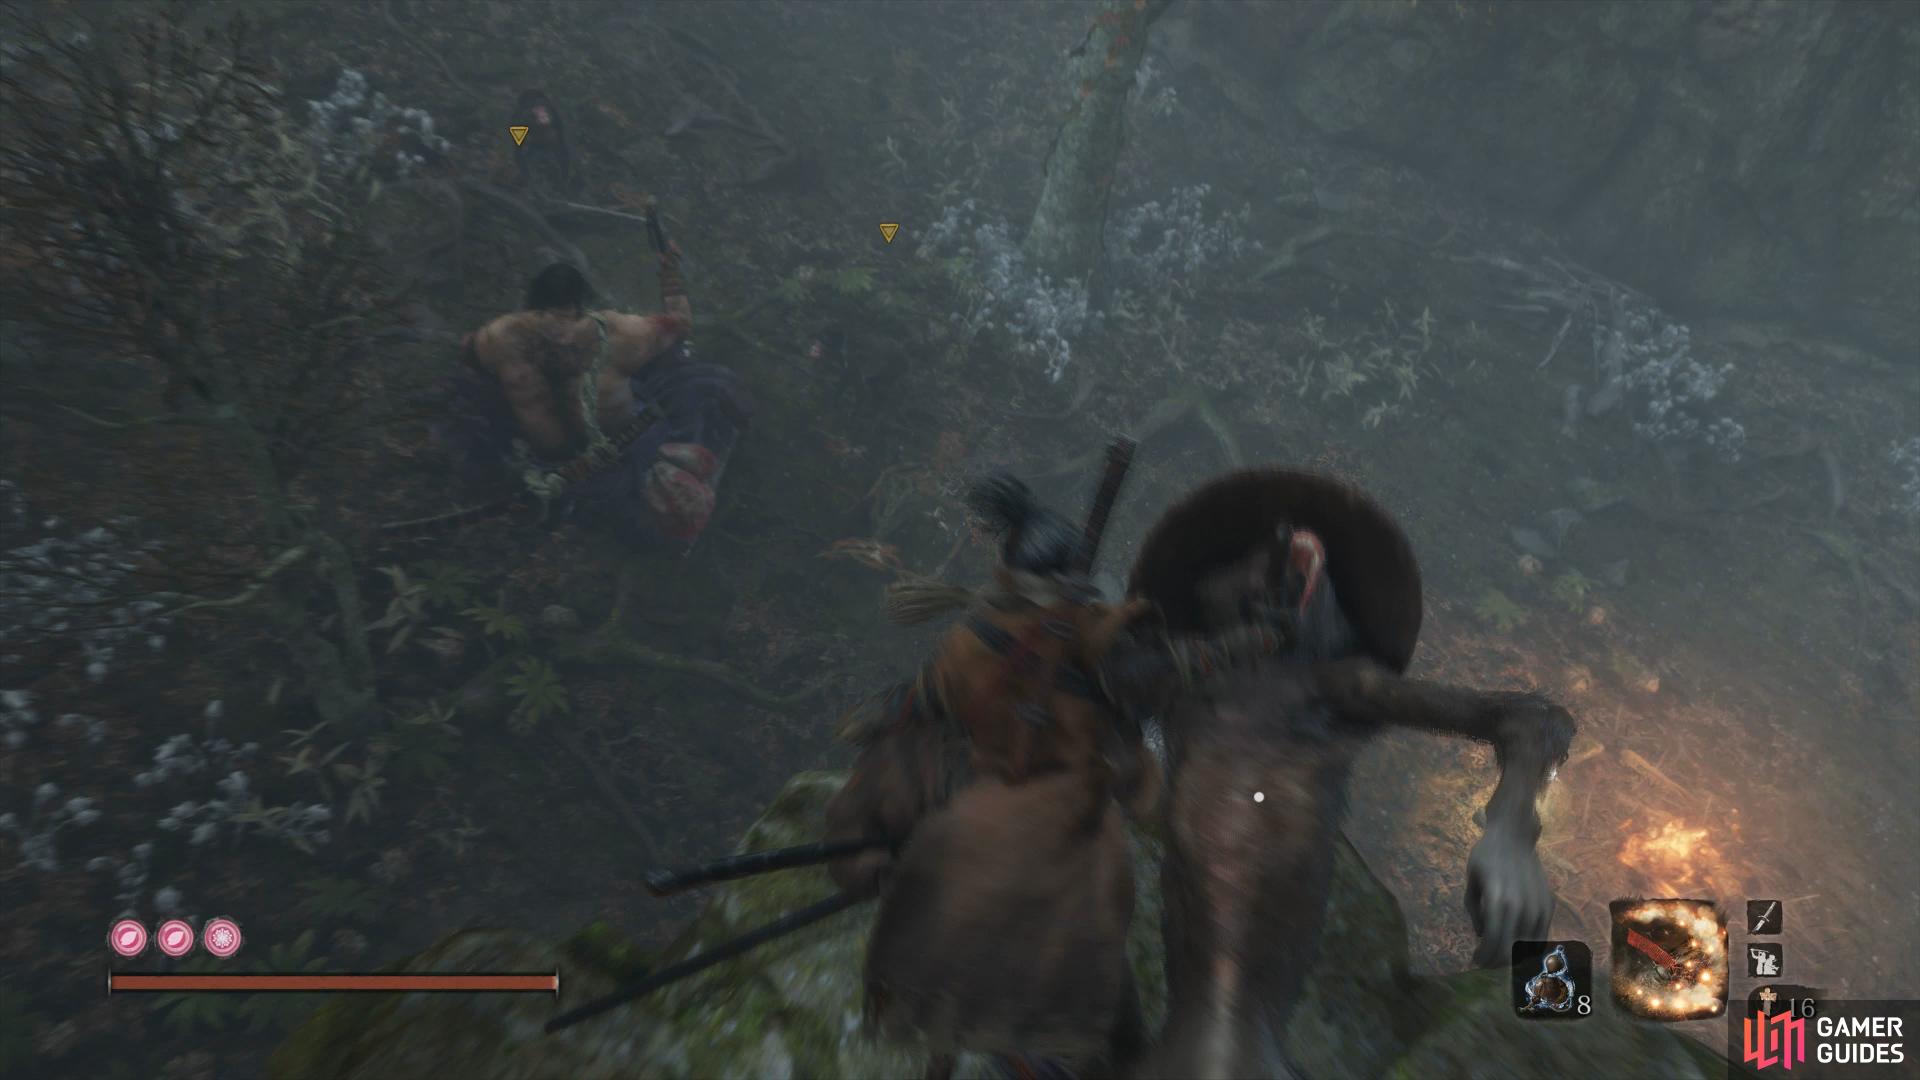
Take out the surrounding Monkeys first

then wait for the openings when he coats his sword in Poison.
Before you begin however, take the time to grapple over to the ledge to your right and dispatch the Monkey wielding a gun, causing the others to become alert. Stay on this platform and wait for the other Monkeys to jump and kill them to leave you with just Tokujiro. Once this is done, return to where you entered this area and lose the alert status on Tokujiro to get behind him and score an easy Deathblow to begin your battle.
Your reward for this battle is an Unrefined Sake along with another Prayer Bead. Head down the slope here to pocket the Fistful of Ash and then make your way behind the broken shed and leap to the wall that you can hang on to. Shimmy to the left, loot the Pellets and then grapple up to a branch to your left. Follow the branches up to a cliffside and loot the Lump of Fat Wax and then grapple over to another branch where you can jump to the second floor of the abandoned temple.
Head around to the front of the temple to find the hole the Old Monk mentioned and head inside to find the Mist Noble that’s been playing the music. This is actually designated a Mini-boss but due to the fact that it put’s up no resistance, there’s no need to mention that here. Instead, peform an initial Deathblow from above and then strike her several times to inflict the second shortly after. You’ll obtain a Lump of Grave Wax and the landscape will alter dramatically as all of the mist evaporates from the forest.
Drop down for the first Deathblow and then follow up with a few strikes for the second.
With the area now free of the Spirit Samurais, you’re now free to plunder the area of all it’s loot. Begin by grabbing the nearby Yashariku’s Sugar and then head left (ignore the path forward for now) to find some Oil. Continue around to the front of the area to find a Heavy Coin Purse just outside the front of the abandoned temple and continue forward to a tree containing a Light Coin Purse, Contact Medicine and a Bite Down while Yellow Gunpowder sits by the nearby wall.
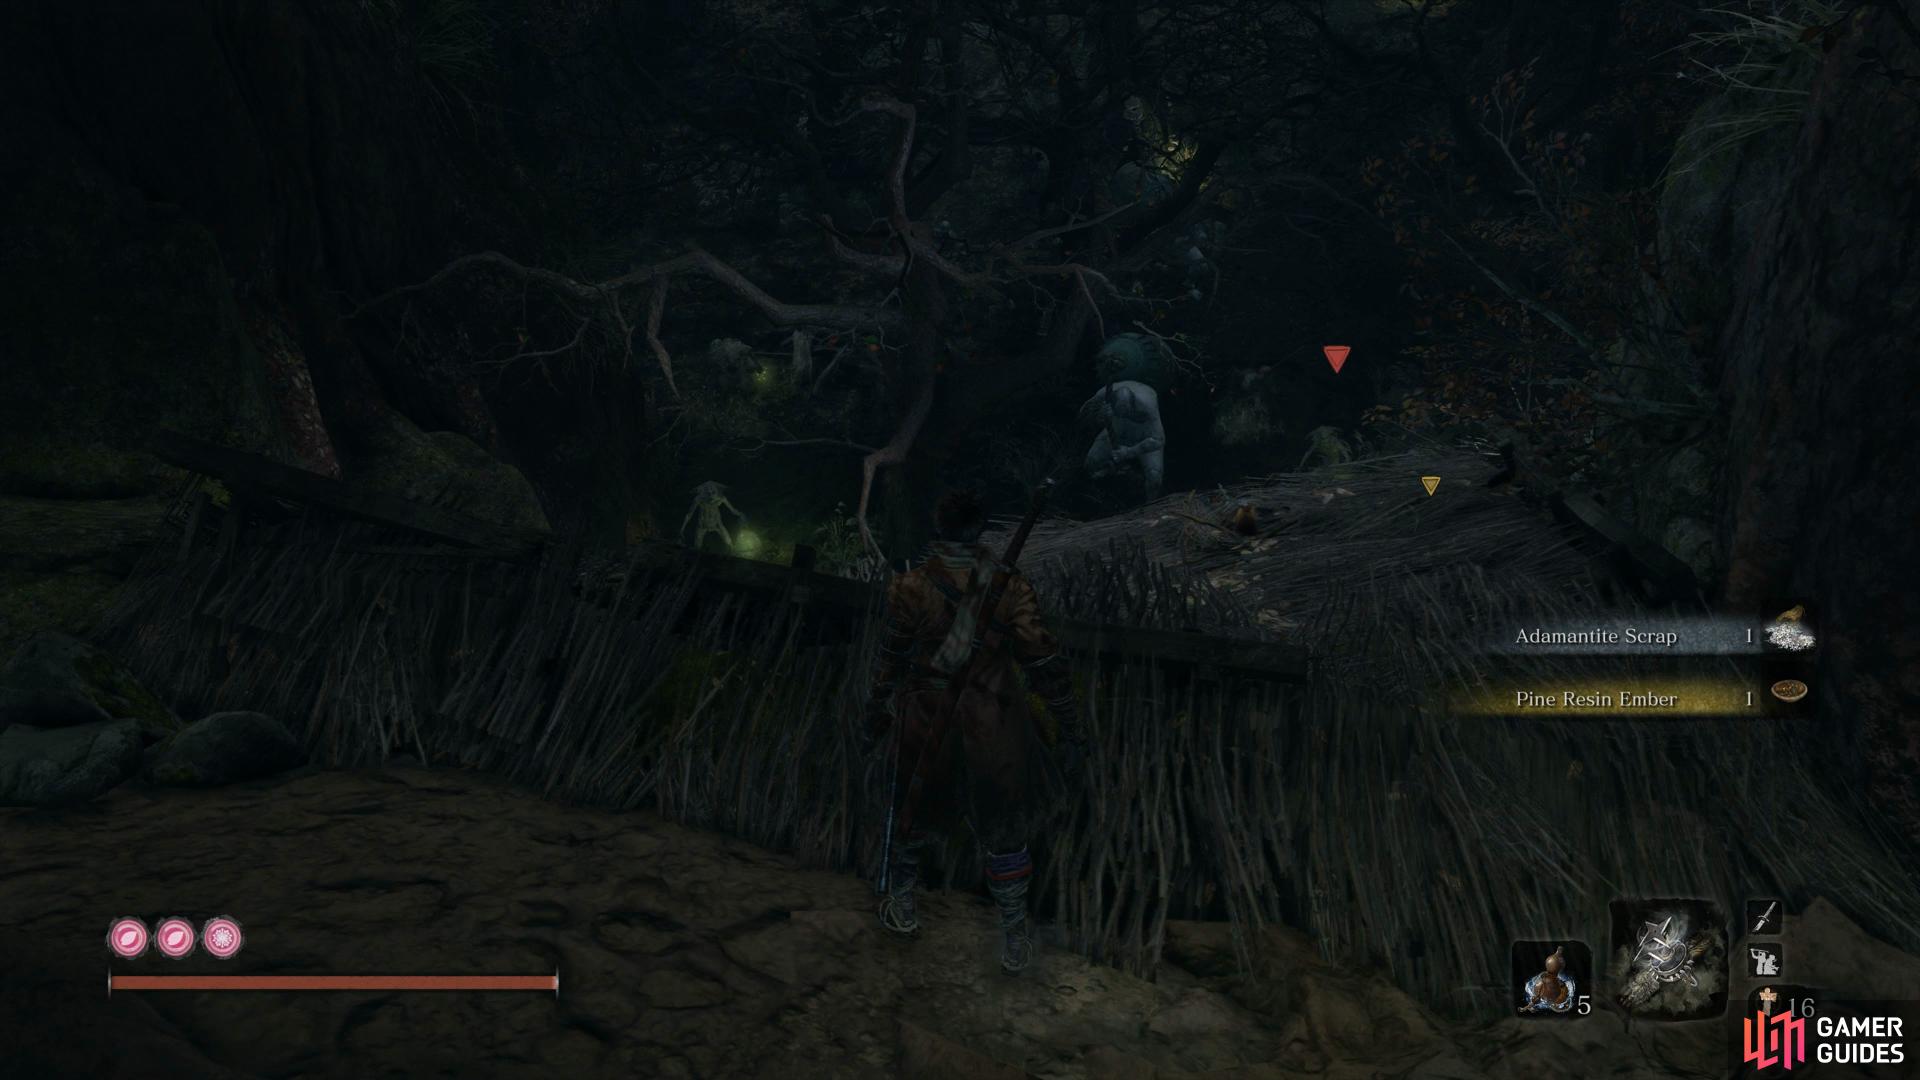
Continue up the slope to the left and climb the ledge to leap across a gap where you’ll find an Adamantite Scrap to your left and then return to the blue tinted wall and shimmy across it to reach the first area of the Hidden Forest again. You’ll spot a Headless Mini-boss under you but hold of on fighting it for now, you’re most likely short on Divine Confetti’s after your battle with the Shichimen Warrior. Instead, grapple on to the tree and jump down to the right to find some Scrap Iron, Pellets and some Mibu Balloons of Wealth.
Return to the abandoned temple and head out to the back, making sure you loot the Ceramic Shards to the right before following the path forward to more Pellets by the edge. Drop down and as you approach the next branch, you’ll be assaulted by some Spirit Nightjars, quickly sprint along and grapple over to them to quickly take them out before they can deal any harm. Look down and grapple to another branch before dropping down to the next Sculptor’s Idol to rest up.
Mibu Village
You’ve finally reached the mysterious village at the bottom of the depths however all is not as it seems. Begin by heading across the stream to find the next Memorial Mob Merchant.
| Items (Quantity) | Cost (Sen) |
|---|---|
| Pellet (5) | 80 |
| Mottled Purple Gourd (1) | 1800 |
| Gachiin’s Sugar (2) | 100 |
| Heavy Coin Purse (3) | 550 |
| Bulging Coin Purse (2) | 1100 |
| Adamantite Scrap (2) | 600 |
| Dragonspring Sake | 1000 |
| Treasure Carp Scale (2) | 500 |
As you can see, he offers many expensive items with the most useful ones being the Mottled Purple Gourd (which acts as the Healing Gourd for removing Terror or building up a resistance to it) along with the Treasure Carp Scales. For now, work on trying to buy the Mottled Purple Gourd and then focus on the scales after if you can.
From here, use a Gachiin’s Sugar and sneak down the stream to backstab an Interior Ministry Ninja and then loot the Treasure Carp Scale he was standing in front of. Climb up to the ledge to the left of this enemy and follow the path up while taking care of the Dogs that attack, eventually you’ll find a Light Coin Purse in the corner.
Use a Gachiin’s Sugar to sneak up on the Interior Ministry Ninja.
Head back down this slope and drop down to the shack to loot the Lump of Fat Wax behind it. Continuing up the stream from here, you’ll encounter the first Villagers of this area, simple enemies that will go down with a few strikes although be prepared as they like to attack in hordes. Regardless, take the time to clear out this initial area of Villagers (noting that more rise from the earth itself) whilst remembering that all undead enemies require two kills before they’re fully dead.
Continue forward and you’ll see a group of Villagers wielding spears, like their fellow villagers, they too only take a few strikes to kill. Begin the battle with a backstab on one of them and then take the time to clear this area out of the many Villagers, you should have no trouble as long as you remember to heal should your health drop too low.
With this first area clear, check behind the first shack you passed to find a Mibu Balloon of Soul then head along the bank to the right to find a Mibu Balloon of Wealth in the rowboat. More Villagers will attack from here, so continue clearing the area and then grapple up to the roof of the nearby shack to find a hole you can drop into. Inside you’ll find Basket Wearer Shosuke who will inform you a bit more about what’s actually going on around Mibu Village.
With your new information, grapple back out of this shack and drop behind it to pocket a Pacifying Agent before grappling up to the next shack to find another hole you can drop in, inside you’ll find some more Fistful of Ash in the corner. Drop down and head forward to take care of the next group of Villagers, this group containing a lot more that rise from the ground.
Take the time to kill the easy Villagers for Exp and loot
don’t forget to grab the Gourd Seed near the large tree in the center.
Once they’re all defeated, loot the Black Gunpowder along with the Mibu Balloon of Soul and Gourd Seed by the tree. Head through the long grass to the left of the tree to find some Pellets and then sneak behind the large Bell Giant to backstab him. Head over to the left wall and dispatch the Villager there before climbing the ledge and grappling up to another.
This will bring you behind a Maul Giant in the fields, backstab him and then climb the ledges to the right to find some Ashina Sake at the back. Head down a little and you’ll find another Villager to backtstab and then move backwards as four Spirit Nightjars appear. You should find yourself behind the nearest one so backstab him and then move behind the other three to do the same (looting the Contact Medicine in the process).
This leaves you with just the Maul Giant and the Villagers to take care of to clear the area of all enemies. Look to the left of where you found the Sake and grapple up to another ledge, following it down to pocket some Adamantite Scrap before dropping down to follow the left wall around to find some Mibu Balloon of Souls.
Proceed up the stairs and take out the next group of Villagers before heading into the house on the left to loot the Divine Confetti and Yellow Gunpowder. If you head around back and jump on the smaller shack, you can reach the roof of this house and follow it around to a wooden beam you can jump to and claim some more Pellets. Drop back down and head across the bridge to find the next Sculptor’s Idol.
Water Mill
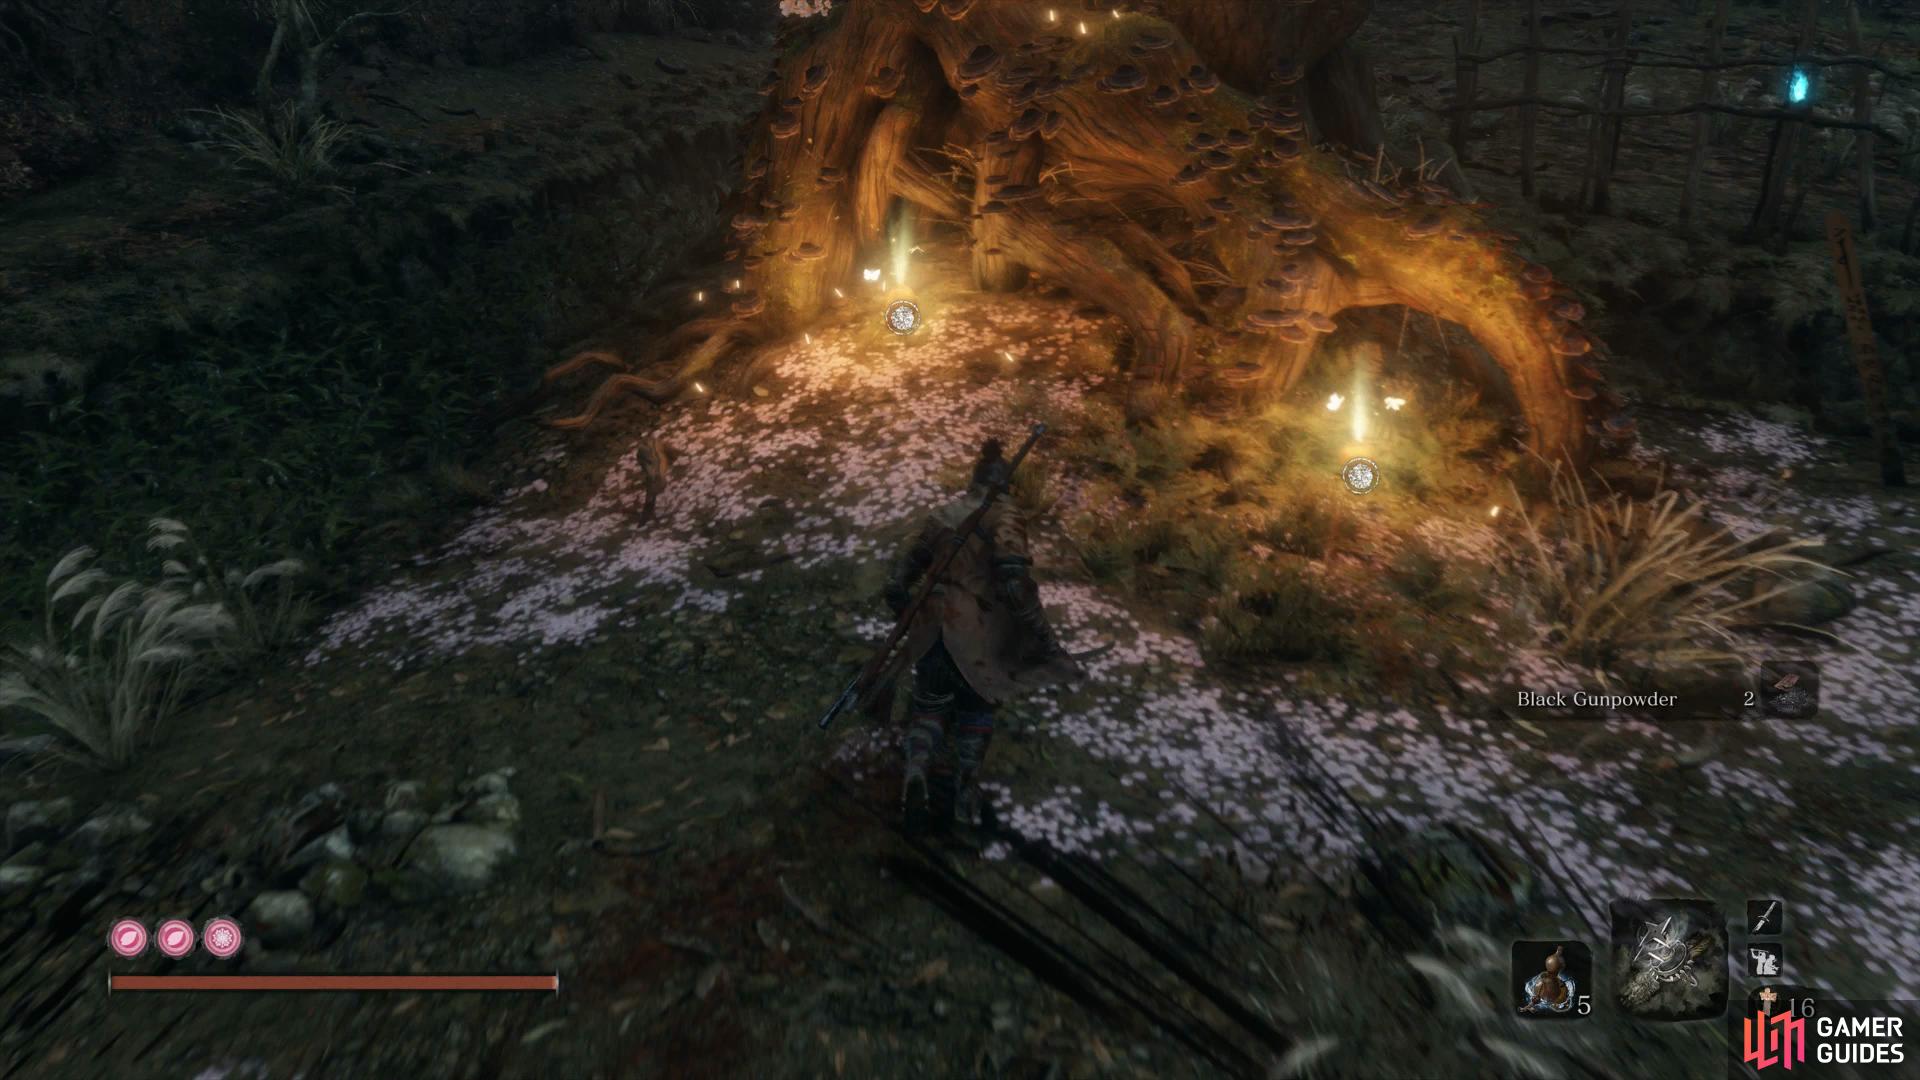
Before you continue up the path toward your destination, take the time to head behind it and over the ledge to take care of two Roosters. Head along the right edge and drop down to the rowboat in the water to snag the Pellets before using the grapple to the left to return to where you just were. Down the slope here are many more Villagers for you to take out, do so and then loot the Contact Medicine by the first shack. Continue down the slope to find some Fistful of Ash and then leap on top of the roof at the end to find some Adamantite Scrap and the Pine Resin Ember.
A large group of enemies will appear after looting the Pine Resin Ember.
This will cause a large group of Villagers and Bell Giants to appear behind you so look up high to the left (when facing the way you came) to find a grapple point to a higher ledge. Follow this path to the end and then kick jump up the next ledge to find some Mibu Balloon of Souls. This should also lose the alert status on the enemy and you can then choose to head back and take care of them or return to where the Idol is.
Before you head up the slope near the Idol, jump into the stream and swim up it to find a chest behind the waterfall containing a Divine Grass. Return now to the Idol and rest up before making a quick detour to Emma to enhance your Healing Gourd with the seed you found in Mibu Village. It may also be a good idea to visit the Sculptor and enhance your Prosthetic Tools some more such as the new Flame Vent with the Pine Resin you just obtained.
Swim up stream and search behind the waterfall for this chest.
Once you’re ready, return to the Water Mill Idol and assign the Sabimaru to one of your slots. Head up the slope and you’ll run into [Jinzaemon] who’s at long last found the Shimasen Player. Enter the clearing beyond and you’ll notice the woman to the left, who when spoken to, will initiate a Mini-boss battle.
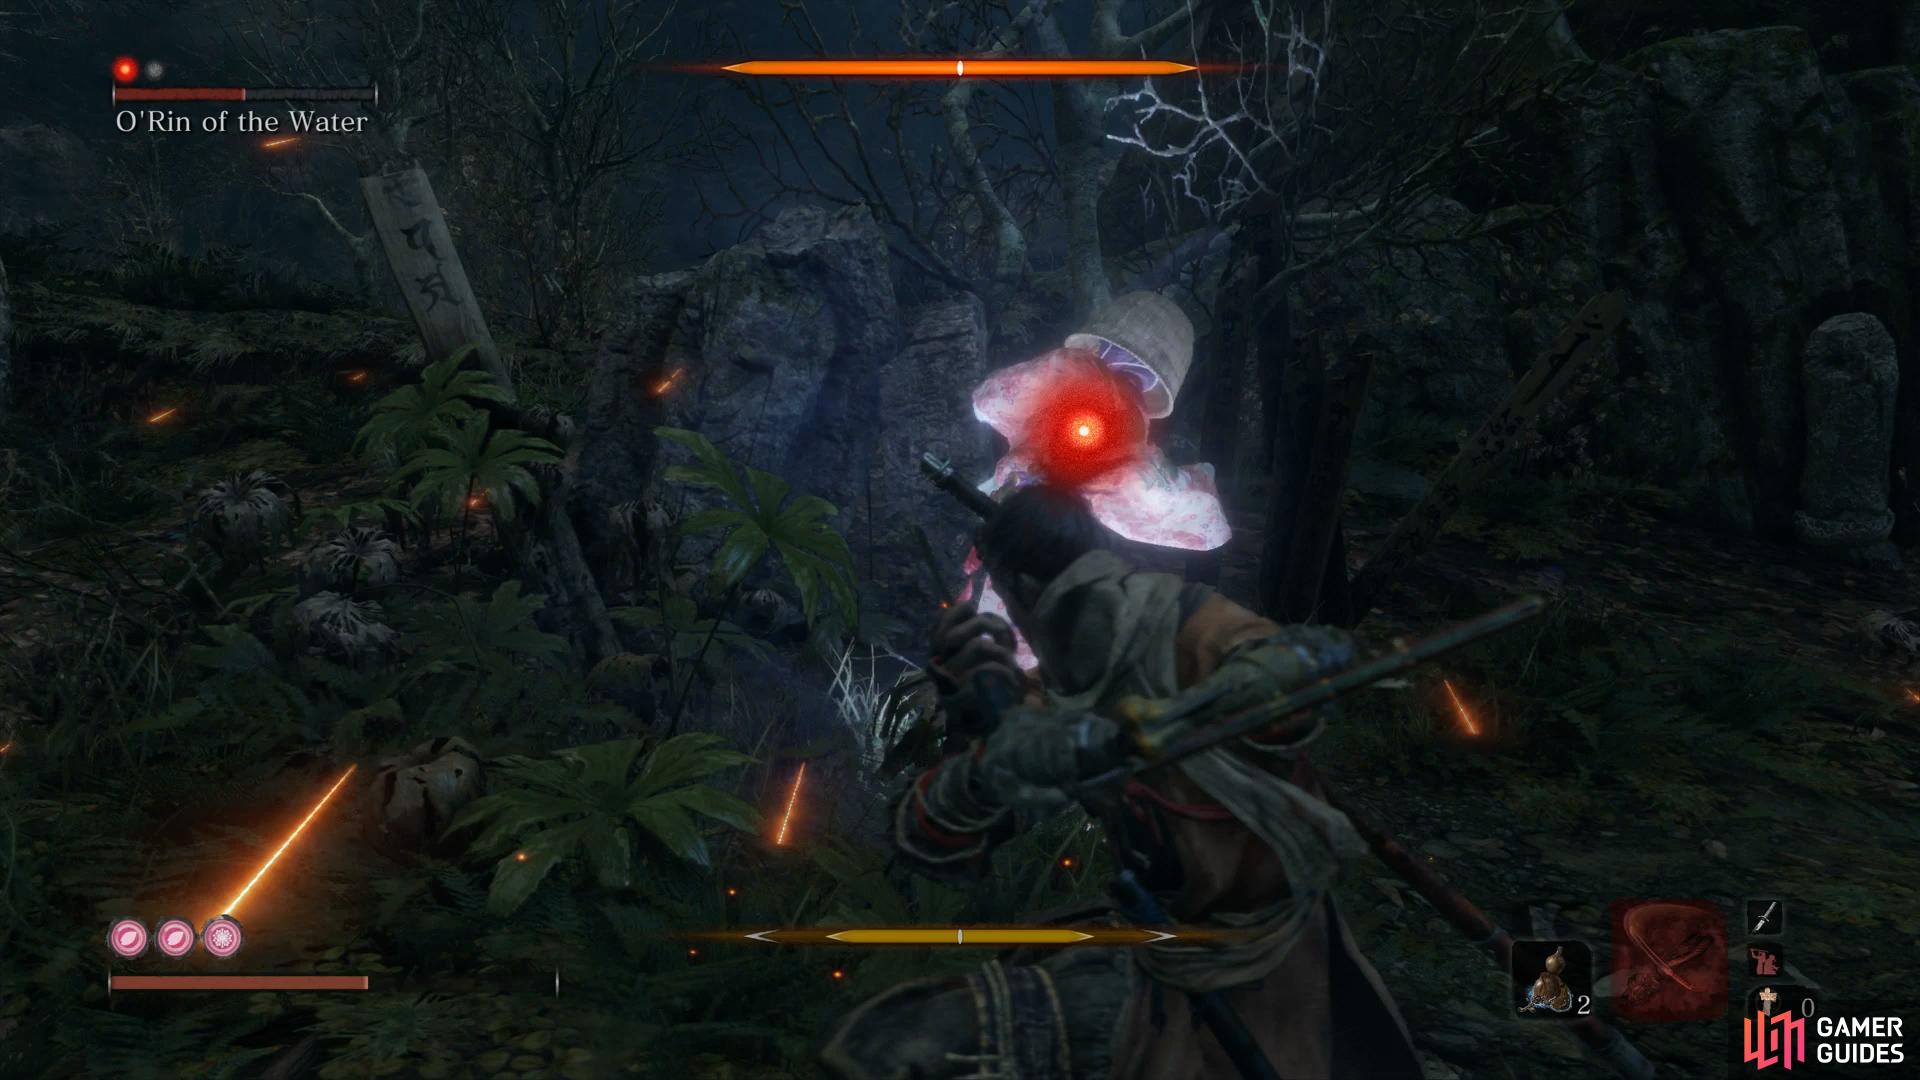
Mini-boss: O’Rin of the Water
To begin with, O’Rin is an Apparition based enemy which means items such as Divine Confetti will increase your damage should you wish to risk using them up right now. Also note that O’Rin is fast and close the gap easy regardless of where she is in the arena so only attempt to heal once she’s vanished and reappears.
She attacks with quick combos that can all be deflected and sometimes she’ll delay a little before delivering the final strike of her combo. She also has a Perilous Sweep which, if you can jump kick through, will deal huge posture damage to her. Finally, she’s also weak to the Sabimaru so consider using that to Poison her and gain some free hits on her.
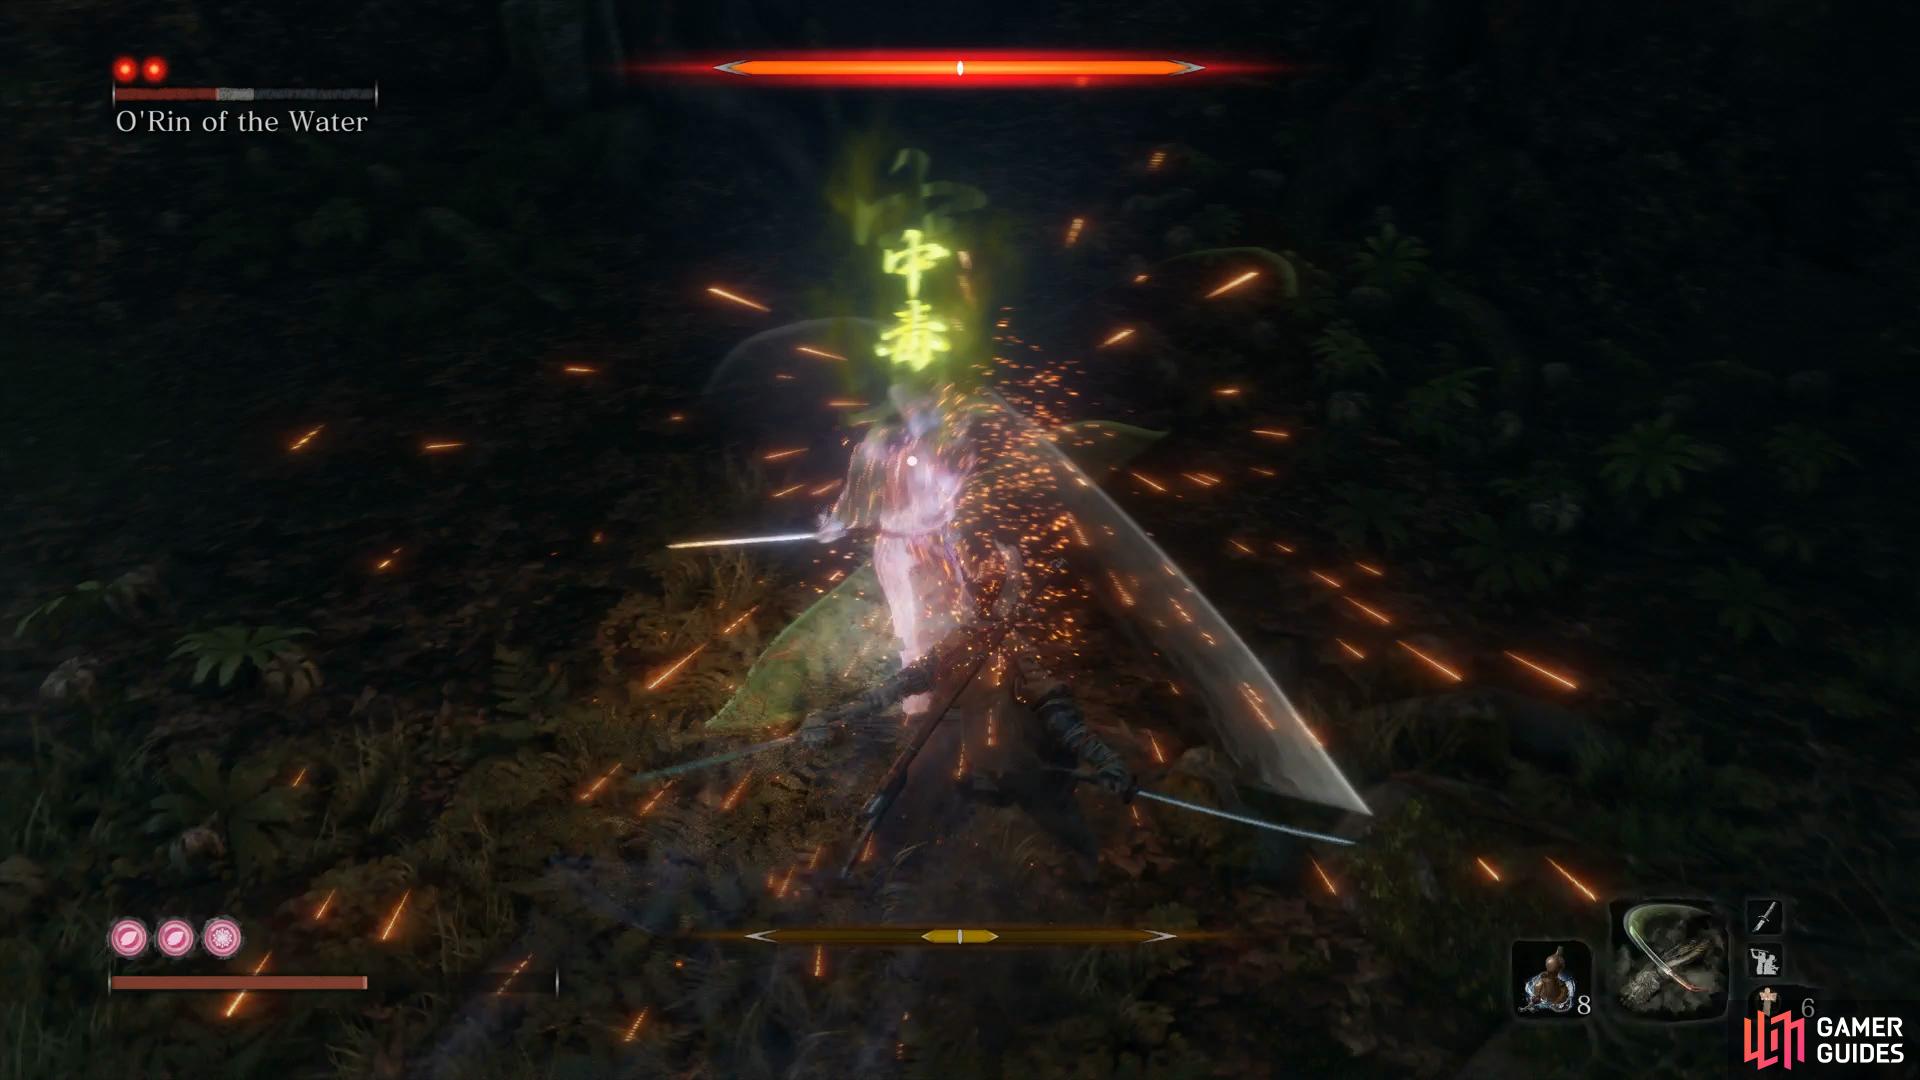
O’Rin is very weak to Poison
focus on deflecting her attacks to raise her posture quickly.
As you may assume from the above, by far the best way of taking on O’Rin is by deflecting her attacks to build up the gauge. Indeed, you can stand in one place and let her come to you, striking back after fully deflecting a combo of hers. Once you get the timing down, O’Rin is a lot easier then she may look and provides a good opportunity to improve your deflecting game.
Your reward for this battle is another Prayer Bead and the Breath of Life: Shadow skill that further increases the health you obtain from Deathblows. Head back to [Jinzaemon] and speak with him to obtain Jinza’s Jizo Statue and bring his quest line to an end. Return to the nearby Idol to rest up and then return up the slope and head to the right of the bridge to find a Lump of Fat Wax in the corner.
As you attempt to cross the bridge, you’ll be ambushed by a Spirit Samurai so retreat to the open area where you fought O’Rin and take care of him. Head up the slope and get backstab the Bell Giant before clearing out the rest of the enemies here. With the area clear, Eavesdrop on the door to hear someone drinking water and then crouch to head into the crawlspace beneath the house. In the far left corner of this house is a rotating door that you can use to enter the house itself.
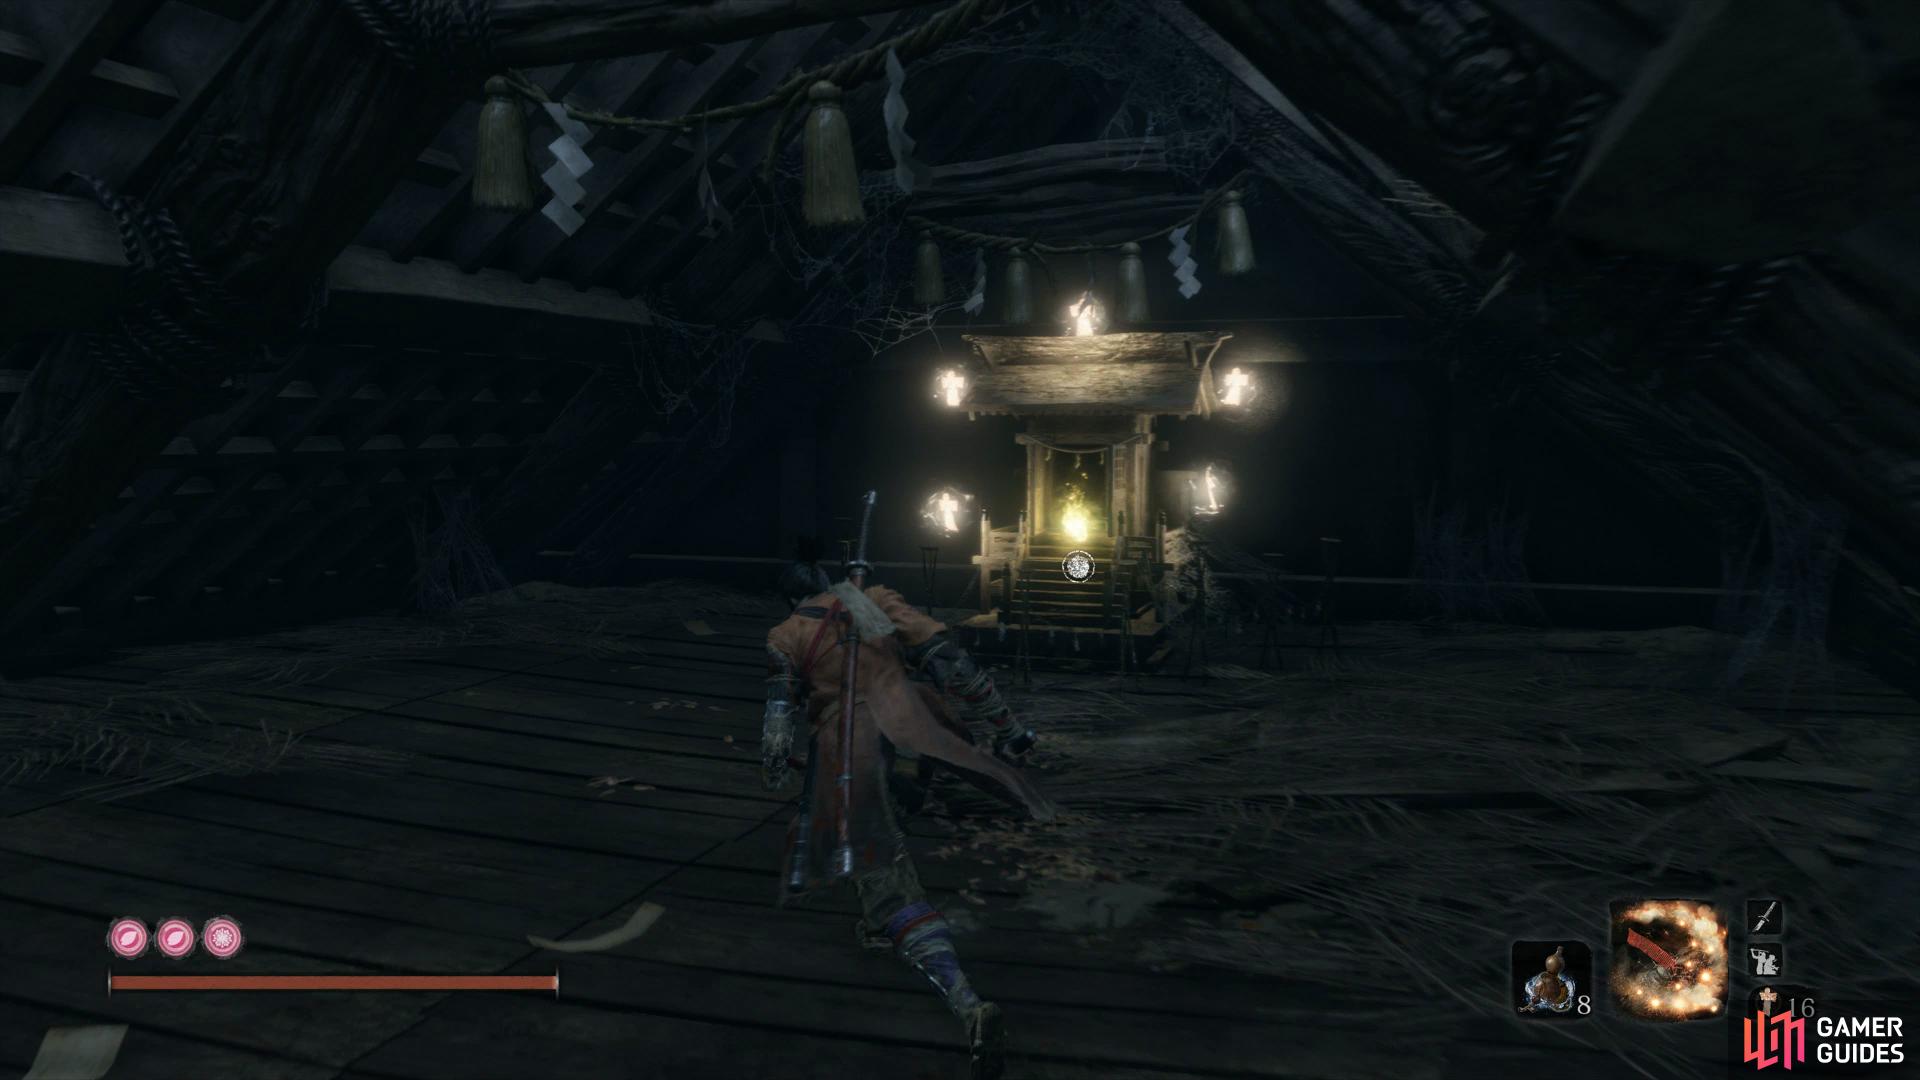
Grapple to the second floor to find this Prayer Bead.
Loot the Red Lump and Divine Confetti before heading over to speak to the Priest twice to learn his cup has run dry, a conundrum you’ll have to ponder a little longer. Head out the nearby door and go over the rock to reach the roof of the nearby shack and pocket the Light Coin Purse. Turn around and face the house again and you’ll find a hole you can grapple to, inside you’ll find some Spirit Emblems and a Prayer Bead on the shrine. Drop back down and head around the back to find an Adamantite Scrap before jumping to the roof of this house to find the final item, a Heavy Coin Purse.
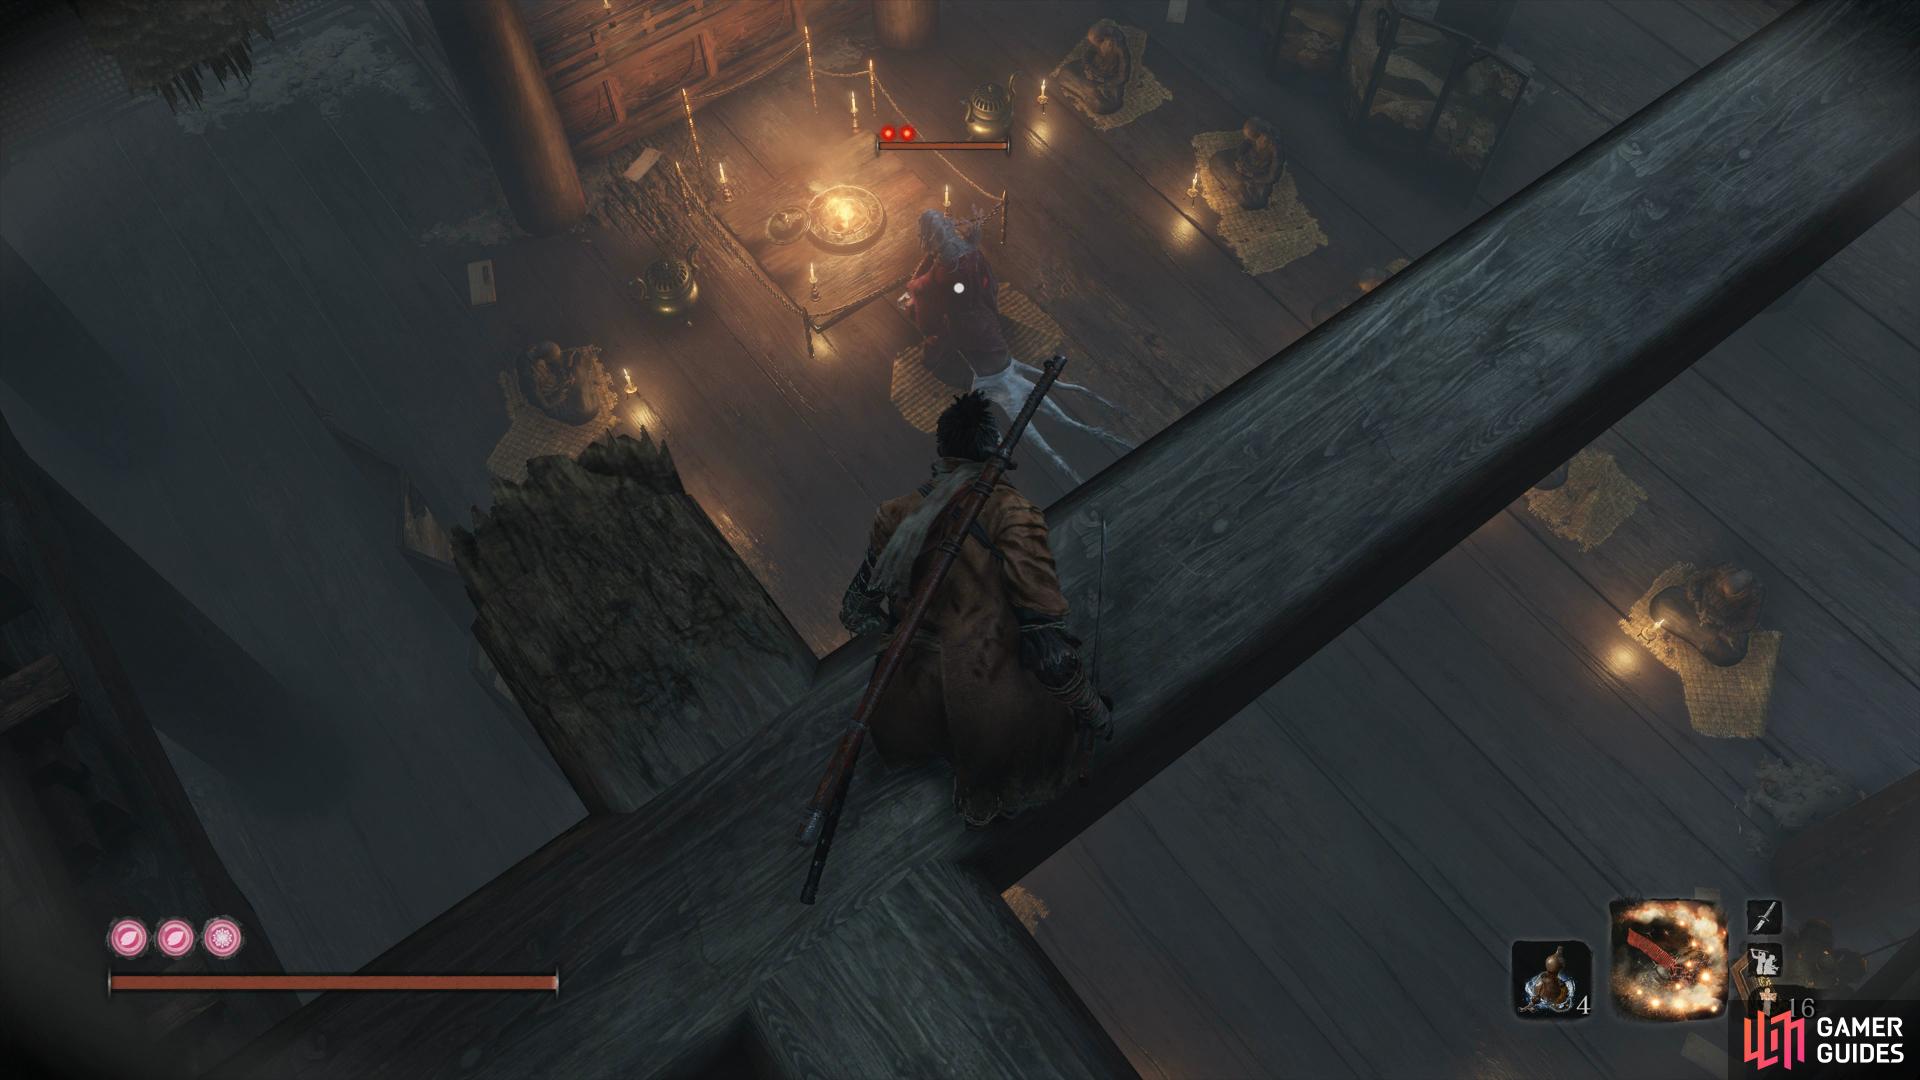
Leave the house and take the path up to the left where you’ll reach a clearing, make sure you’re full healed up and then proceed to encounter the Corrupted Monk.
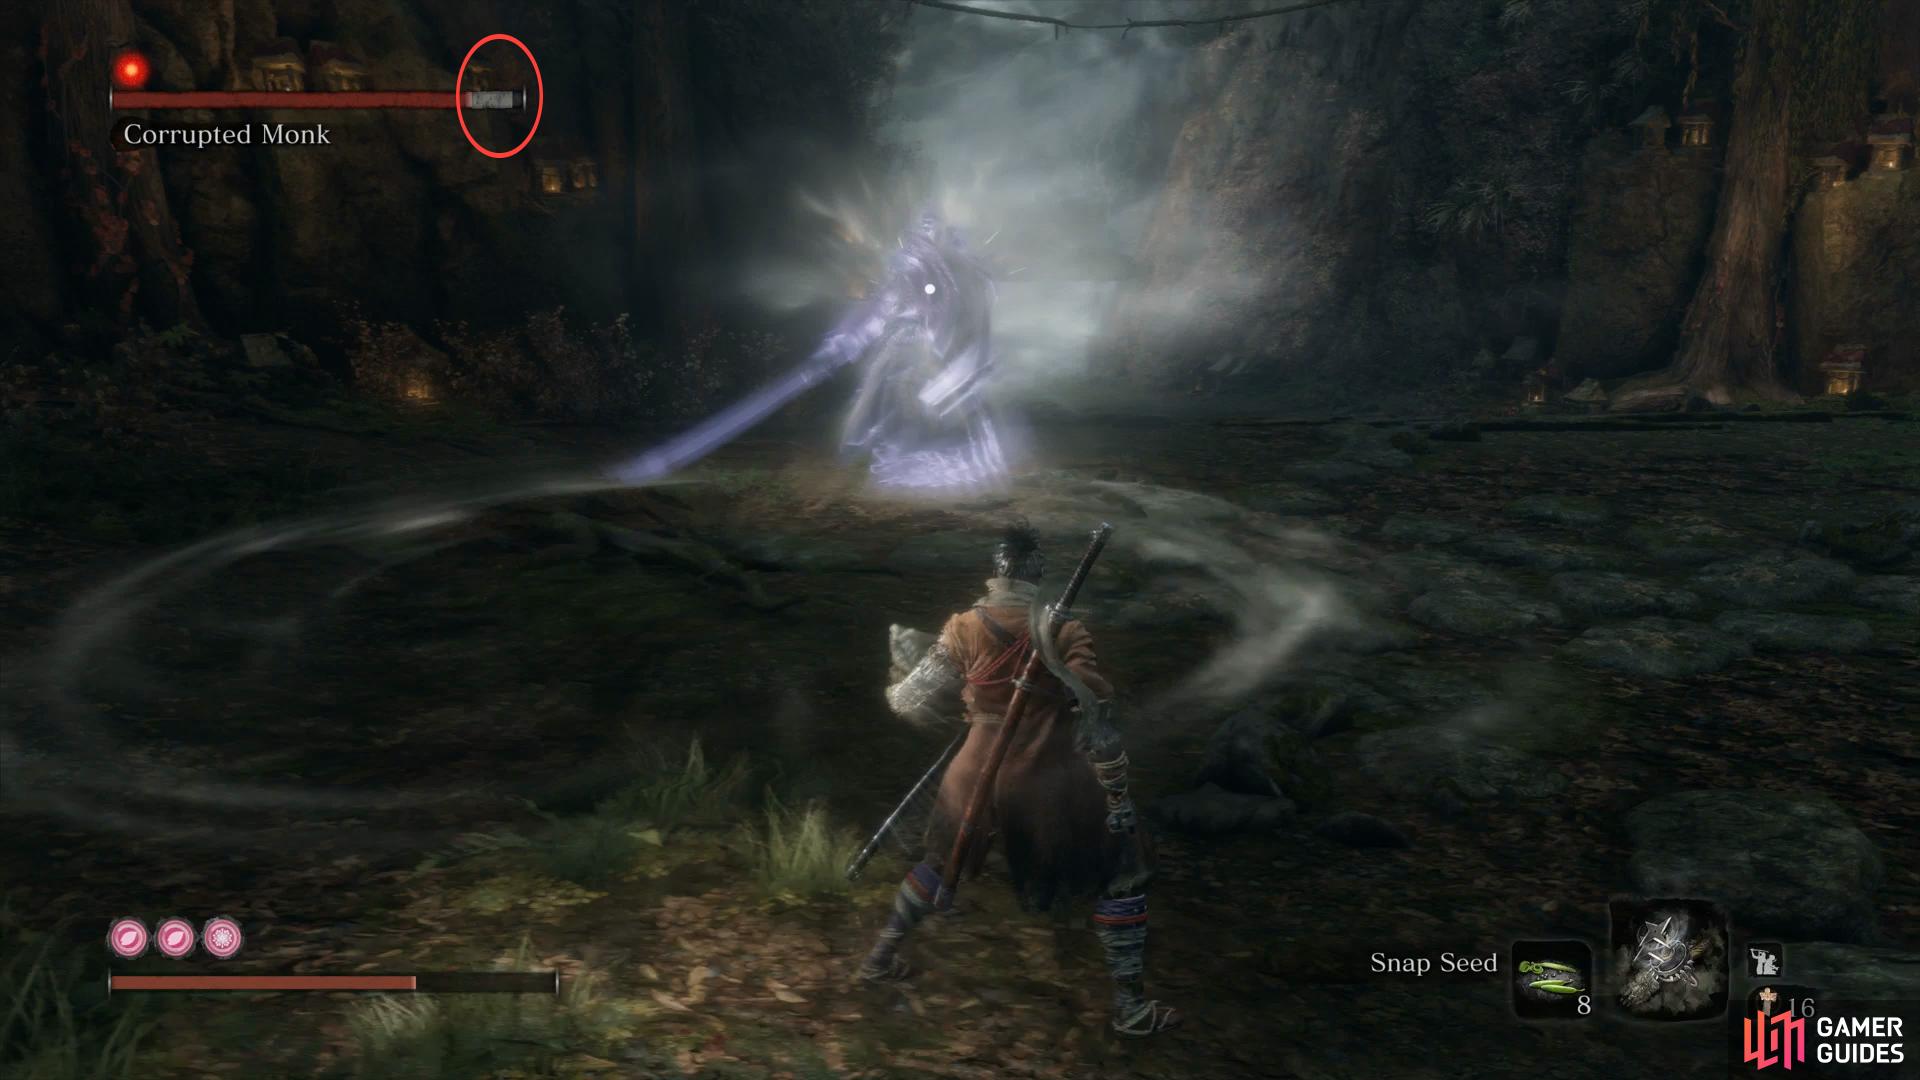
Boss: Corrupted Monk
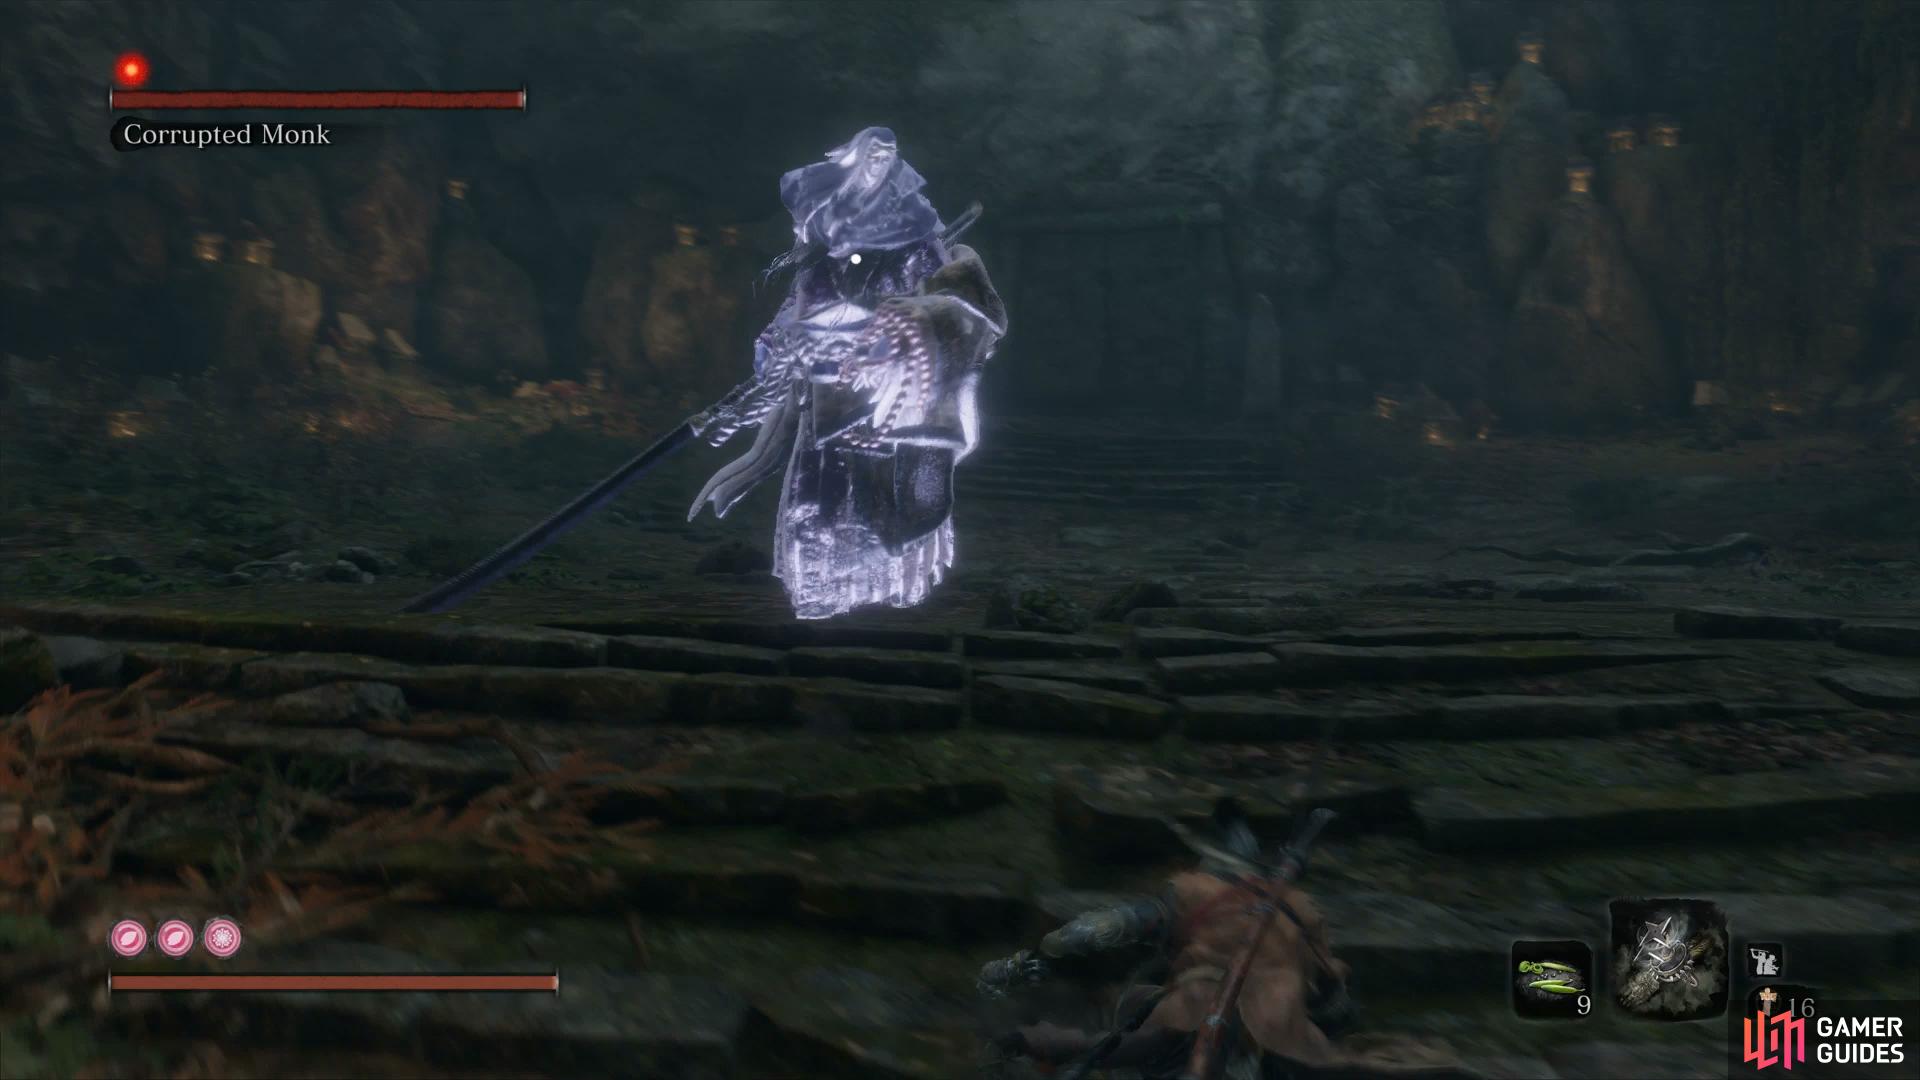
The Corrupted Monk may seem like an Apparition but she is in fact an Illusion based enemy and thus, vulnerable to any Snap Seeds you may possess, briefly stunning her. She attacks with her large naginata with many sweeping attacks and can close the gap with large jumps, on top of this she has a large posture gauge so you’ll want to focus on vitality damage this time around.
When up close, she will use a three hit combo that can and should be deflected should you find yourself too close. She can quickly shift into a Perilous Sweep during these so be sure to jump kick her to avoid it. When you move to range however, her attacks become a lot easier to read with her most common attack being the Spinning Naginata attack. She’ll rotate the naginata five times while approaching you and although you can deflect these, make use of the large arena to stay away to avoid it.
She’ll also jump at you from range and either finish with a sweep or a slam, both of which are easy to avoid and leave her open to a counter attack. She also has a Perilous Thrust that you can Mikari Counter if you wish although it’s easier to just step back to avoid it. Her final attack of note is her Uppercut, she’ll charge towards you and thrust the Naginata in the air which is unblockable, when you see her coming towards you, back away.
As for her attacking her, it’s all about avoiding her easy to read attacks (once you’ve taken the time to study her) and then darting in for a few strikes before backing away again, nearly all of her attacks leave her wide open. Don’t get greedy with your attacks and heal if your health drops too low and you shouldn’t have too many issues with the Corrupted Monk.
Once the Corrupted Monk falls, you’ll obtain the Memory: Corrupted Monk along with the Mibu Breathing Technique. This skill will allow you to dive under all bodies of water that you’ve encountered throughout Ashina, opening up access to a lot of important loot. Before you get started on that however, activate the nearby Sculptor’s Idol and then ignore the cave up ahead for the time being.
Mibu Breathing Technique
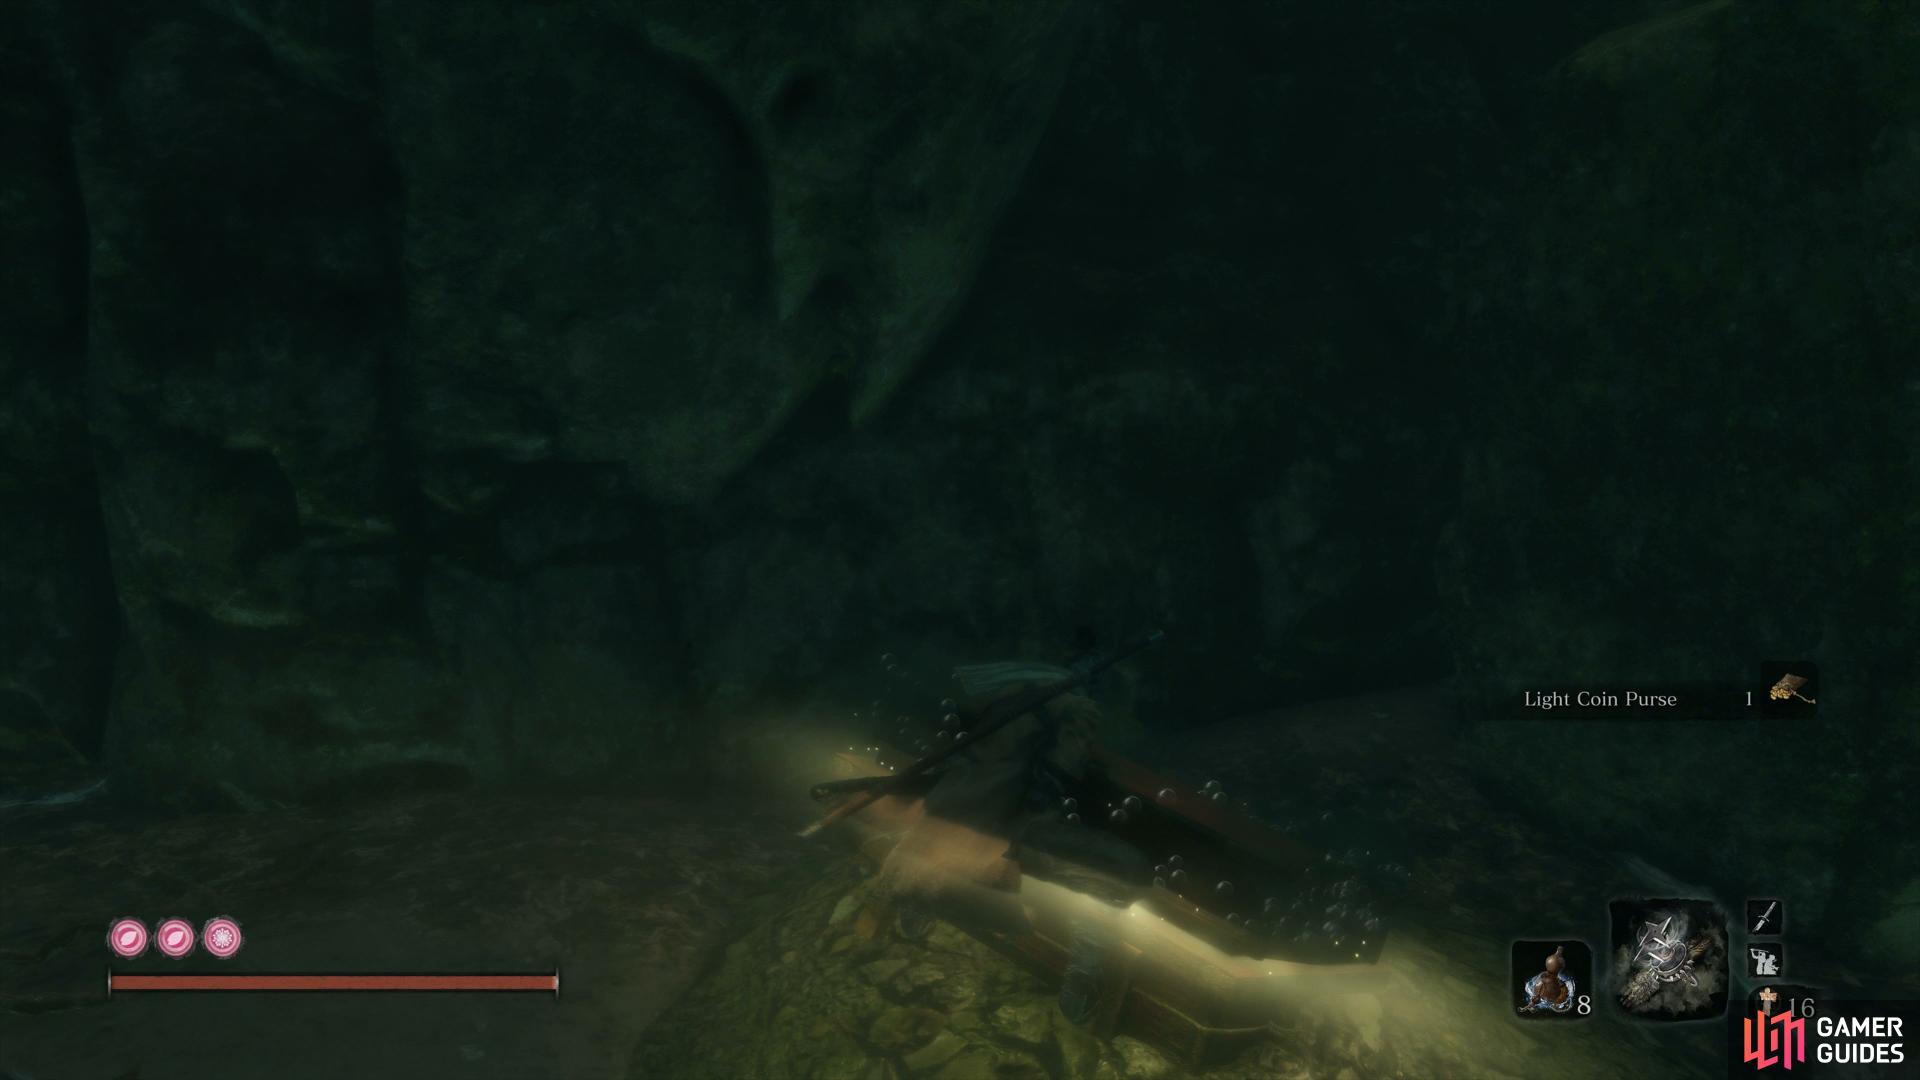
It’s best to begin your underwater search right here in Mibu Village so head back down the slope and jump into the water to the right of the house. By pressing the [R2]/[RT] button, you can dive and search underwater, take care of the three fish upstream and then loot the Precious Bait. Continue down the stream and jump down into the next part of the stream where you’ll find a Treasure Carp you can kill for a Treasure Carp Scale.
Follow the stream down some more until you reach the large lake itself and kill all of the fish in here to obtain some Red Carp Eyes (used in an NPC Quest). With the lake clear of enemies, swim to the bottom to loot the Light Coin Purses and then search in the corner for a chest containing a Prayer Bead. Swim out of the lake and head back down to the Idol to use your Beads and obtain the Seventh Prayer Necklace.
Travel to the Ashina Castle Idol next and drop into the water under the bridge, dive under and you’ll find a Treasure Carp Scale in the left corner. Return to the Idol and travel to the Temple Grounds Idol in Senpou Temple. Drop on to the large temple and then dive into the pool of water, at the bottom you’ll find the Holy Chapter: Infested and then swim through the cave to find another Prayer Bead on the statue of the buddha.
Your next target is the Hirata Estate so travel to the Dragonspring Idol and dive into the large lake there. Head over to the Pot Noble and provided you purchased the two in Mibu Village, you should have enough scales for the Mask Fragment: Right. Head to the nearby Idol and then travel to the Bamboo Thicket Slope Idol, run up the slope and grapple to the left before diving into the water below to find another Treasure Carp to kill for a Treasure Carp Scale.
Return to the Idol and travel to the Guardian Ape’s Watering Hole Idol, make your way over to where the waterfall is and dive under to find some more Precious Bait. While remaining in Sunken Valley, travel to the Riven Cave Idol and return to the large lake behind you. You’ll find a Treasure Carp Scale on the ground as soon as you can dive under and a Yashariku’s Sugar by the rock while the first Treasure Carp can be killed nearby for a Treasure Carp Scale.
Swim further down the lake and take out more fish along with another Treasure Carp for another Treasure Carp Scale. You can then loot the Adamantite Scrap, Bulging Coin Purse and Gachiin’s Sugar on the lakebed. Return to the Idol and this time travel to the Abandoned Dungeon’s Underground Waterway Idol.
Drop into the water and dispatch the fish as you make your way along to loot three Light Coin Purses and some Ceramic Shards and follow the tunnel to a dead end. Swim up and grapple to the ledge to find a Mibu Balloon of Soul and then climb the next ledges to drop down into the cell behind [Dojun] to pocket the Pacifying Agents and Dosaku’s Note.
This covers the main items for now so return to the nearby Idol (by opening the cell here and heading left) and make a quick visit to the Divine Child again at the Inner Sanctum. If you’ve taken Rice from her three times, you’ll find her here sick and she’ll request a Persimmon. Oblige and hand one over and she’ll hand over another Rice along with Rice for Kuro. Speak to her again while here and hand over the Holy Chapter: Infested you obtained a short while ago.
Travel now to Kuro’s Room once more and speak to him to hand over the rice given to you from the Divine Child. Rest at the nearby Idol, speak to him again to obtain a Sweet Rice Ball and then use it from your inventory. Speak to Kuro once more and return to the Divine Child to inform her about it, this is as far as you can progress this questline for now.
Travel back to the Wedding Cave Door in the Ashina Depths and head through the cave to find the Shelter Stone along with a Palanquin that will be useful much later in your journey. With both the Shelter Stone and Lotus of the Palace in hand, it’s time to return to Lord Kuro.
No Comments