
Loose ends before Sunken Valley
Before you set off for the Sunken Valley, take the time to progress the quest line for two of the colorful residents of Ashina. Begin by returning to [Kotaro] by heading to the Senpou Temple, Mt. Kongo Idol and heading around the corner to where he sits. You have a choice of handing him the Red and White Pinwheel or the White Pinwheel, these will offer two different outcomes to [Kotaro’s] journey. For the sake of this walkthrough, hand over the Red and White Pinwheel and then choose to send him to Anayama the Peddler.
Return to the Idol and head back to the Outskirts Wall - Stairway to speak to Anayama where you’ll now spot Kotaro. You’ll notice that his shop once again has new wares and he sells many useful materials for you to purchase. If you’re ever in need of an upgrade for the Shinobi Prosthetic, head back here to see if you can purchase the materials from Anayama.
Great Serpent Shrine
To continue your journey, travel back to the Great Serpent Shrine at Ashina Castle, if you didn’t unlock this earlier, you’ll need to jump into the moat from the top of the Castle and head across the bridge, following the path to the shrine. You’ll notice that the [Tengu of Ashina] is here once again and is curious to learn if you’ve mastered any secret techniques yet. These are the Skills at the end of a skill tree and if you have, he’ll hand over the Mushin Esoteric Text which will unlock another powerful skill tree.
Head outside and look across the gap to notice a grapple point, head over and pocket the Eel Liver at the nearby shrine. Drop down to the ledge below and head down it to spot another branch you can grapple to further down and activate the nearby Idol. Once you activate this, travel back to Kuro’s Room and make your way back to where Lord Isshin is recovering and speak to him before returning to the Idol to rest and refresh the area. Return to Isshin’s room once again but this time, hug the wall and listen in on him, this is one of the steps for one of the game’s many endings.
Under-Shrine Valley
Return to this Idol and head behind yourself to find a ledge you can grapple to, do so and then rush the two Gunmen, a few simple strikes is enough to best them. At the edge here, turn to the left and look up to spot a ledge you can grab on to and follow it, shimmying across the gap and reach a new part of the Ashina Outskirts.
(1 of 2) Head the opposite way of the Idol to find this hidden area
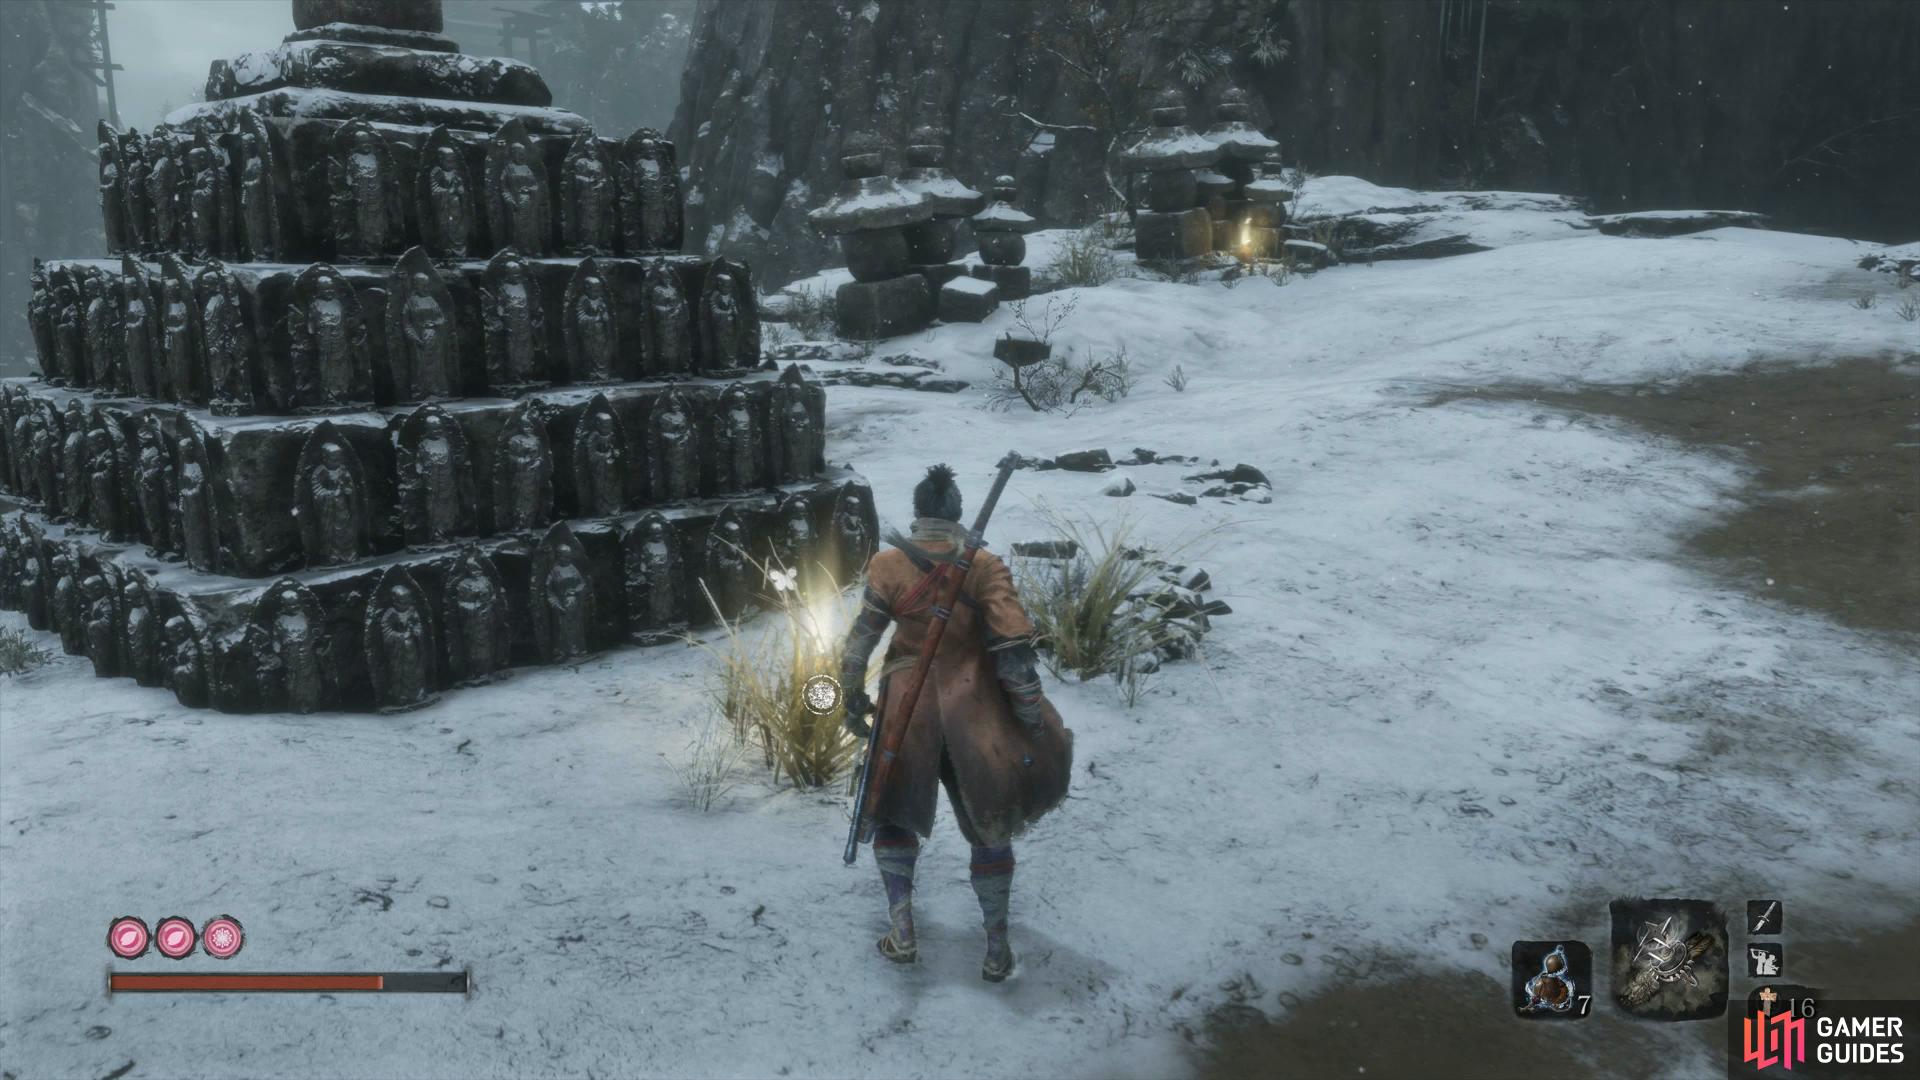
Head the opposite way of the Idol to find this hidden area (left), a Prayer Bead awaits you down here. (right)
Drop down and kill the Gunman before looting the Prayer Bead and Pacifying Agent. There’s a pond here that you can’t do much with for now so head behind the ice to find more Pacifying Agents and then return back to the Under-Shrine Valley Idol. Continue following the path down, past the Idol, and loot the Fistful of Ash before quickly getting across the gap to take out the Gunman.
Head through the cave and grapple to the branch before waiting for the Gunman across the gap to turn his back to you. Grapple over to his platform and dispatch him before looking to your left to find another ledge you can grab on to. Do so and follow the path around to another unsuspecting gunman before grappling up to another to take out. Climb the ledge here to find a temporary shelter containing Yellow Gunpowder and your next Gourd Seed.
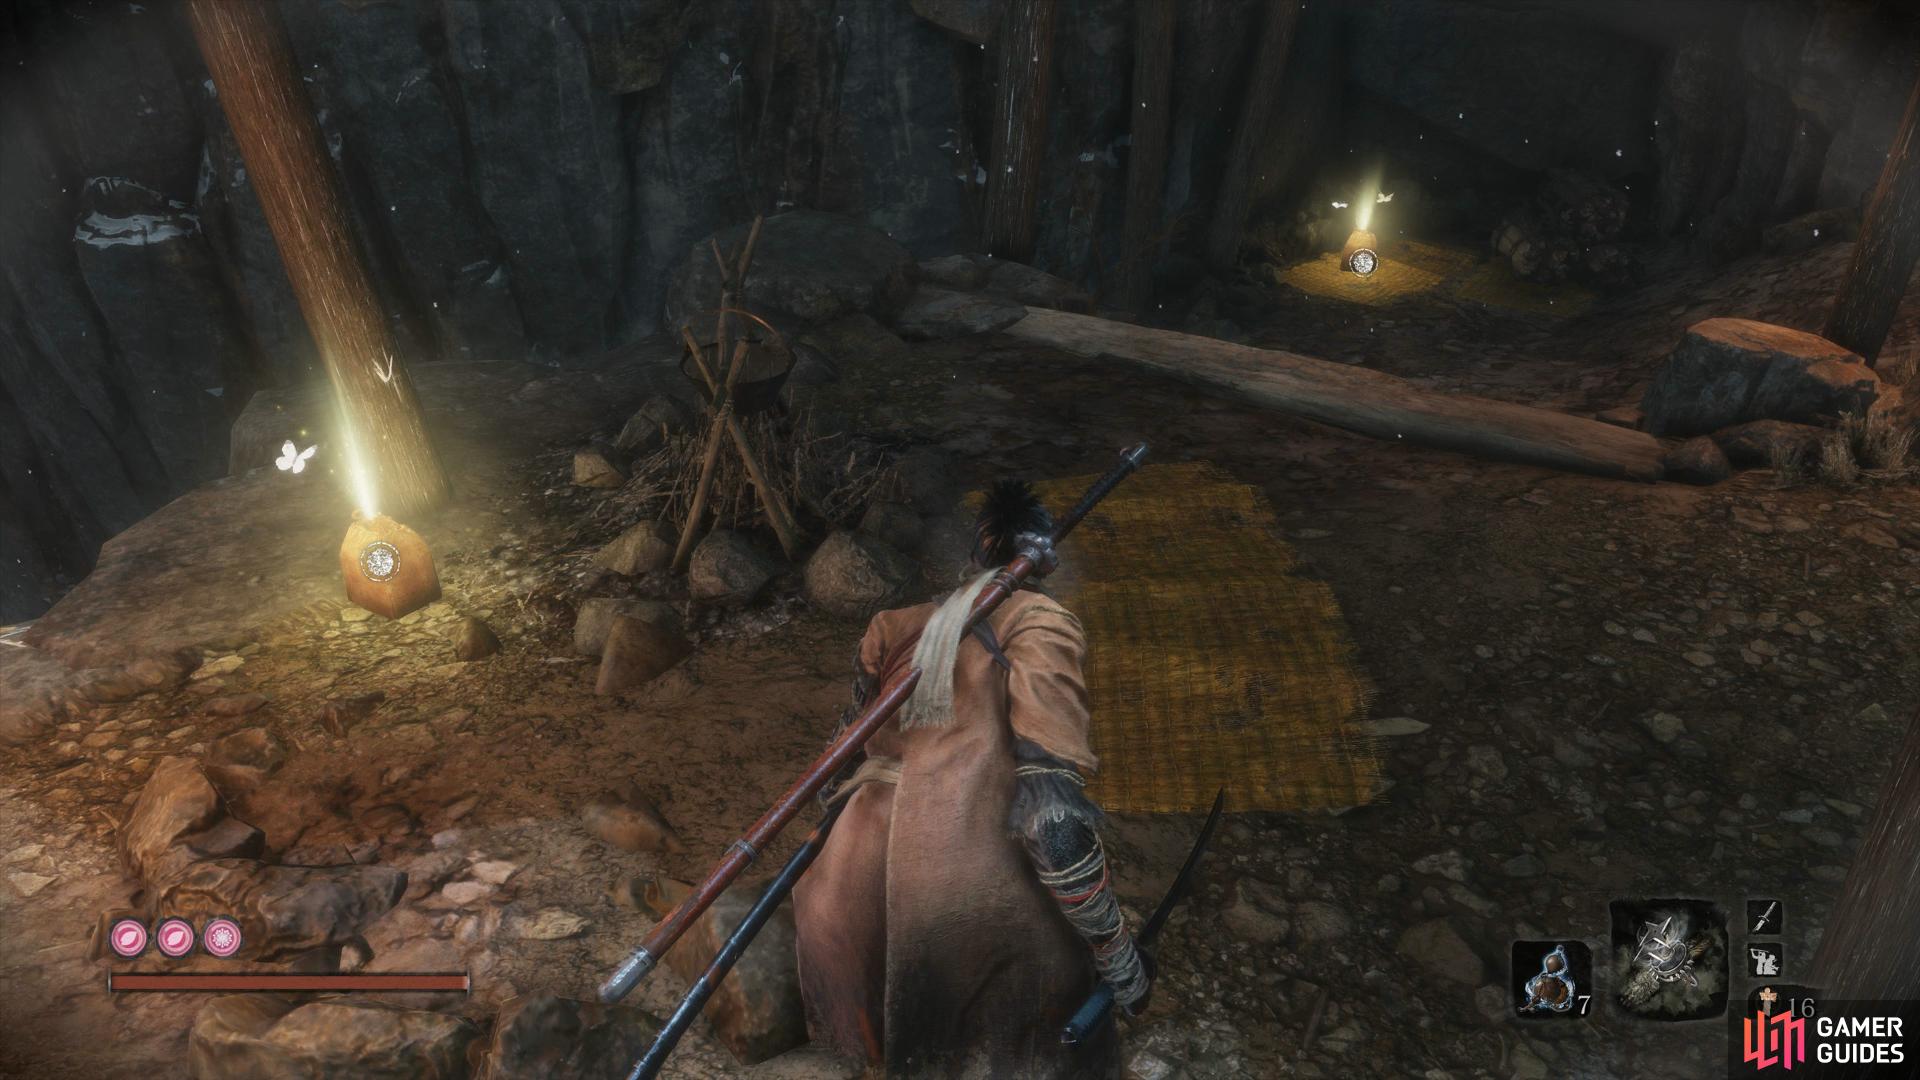
This Gourd Seed is hidden near this shelter.
Return the way you came and this time, drop down to the ledge below and nab the Cermaic Shards before grappling across the gap. Follow the path and then drop down to another ledge containing some Antidote Powder before shimmying across the edge. Up ahead is an area with two Gunman and a difficult Cannon Gunman, grapple to the branch that hangs above the area and wait for one of the Gunman to pass under, dispatching him with a Mid Air Deathblow in the process.
This will alert the other Gunman and Cannon Gunman so return to the previous branch and wait for the alert status to finish before returning to the previous branch. This will leave you with the last two enemies that you can sneak up on and backstab (use Bloodsmoke Ninjustsu if you need to) to clear the area. You’ll find some Scrap Magnetite by the edge and a new Sculptor’s Idol for you to rest at.
Take this time to return to Emma at Lord Kuro’s Inner Chambers and upgrade your Healing Gourd. It’s also a good idea to upgrade the Sabimaru into the Improved Sabimaru for the upcoming battle, remeber that Anayama now sells a lot of the materials needed for this.
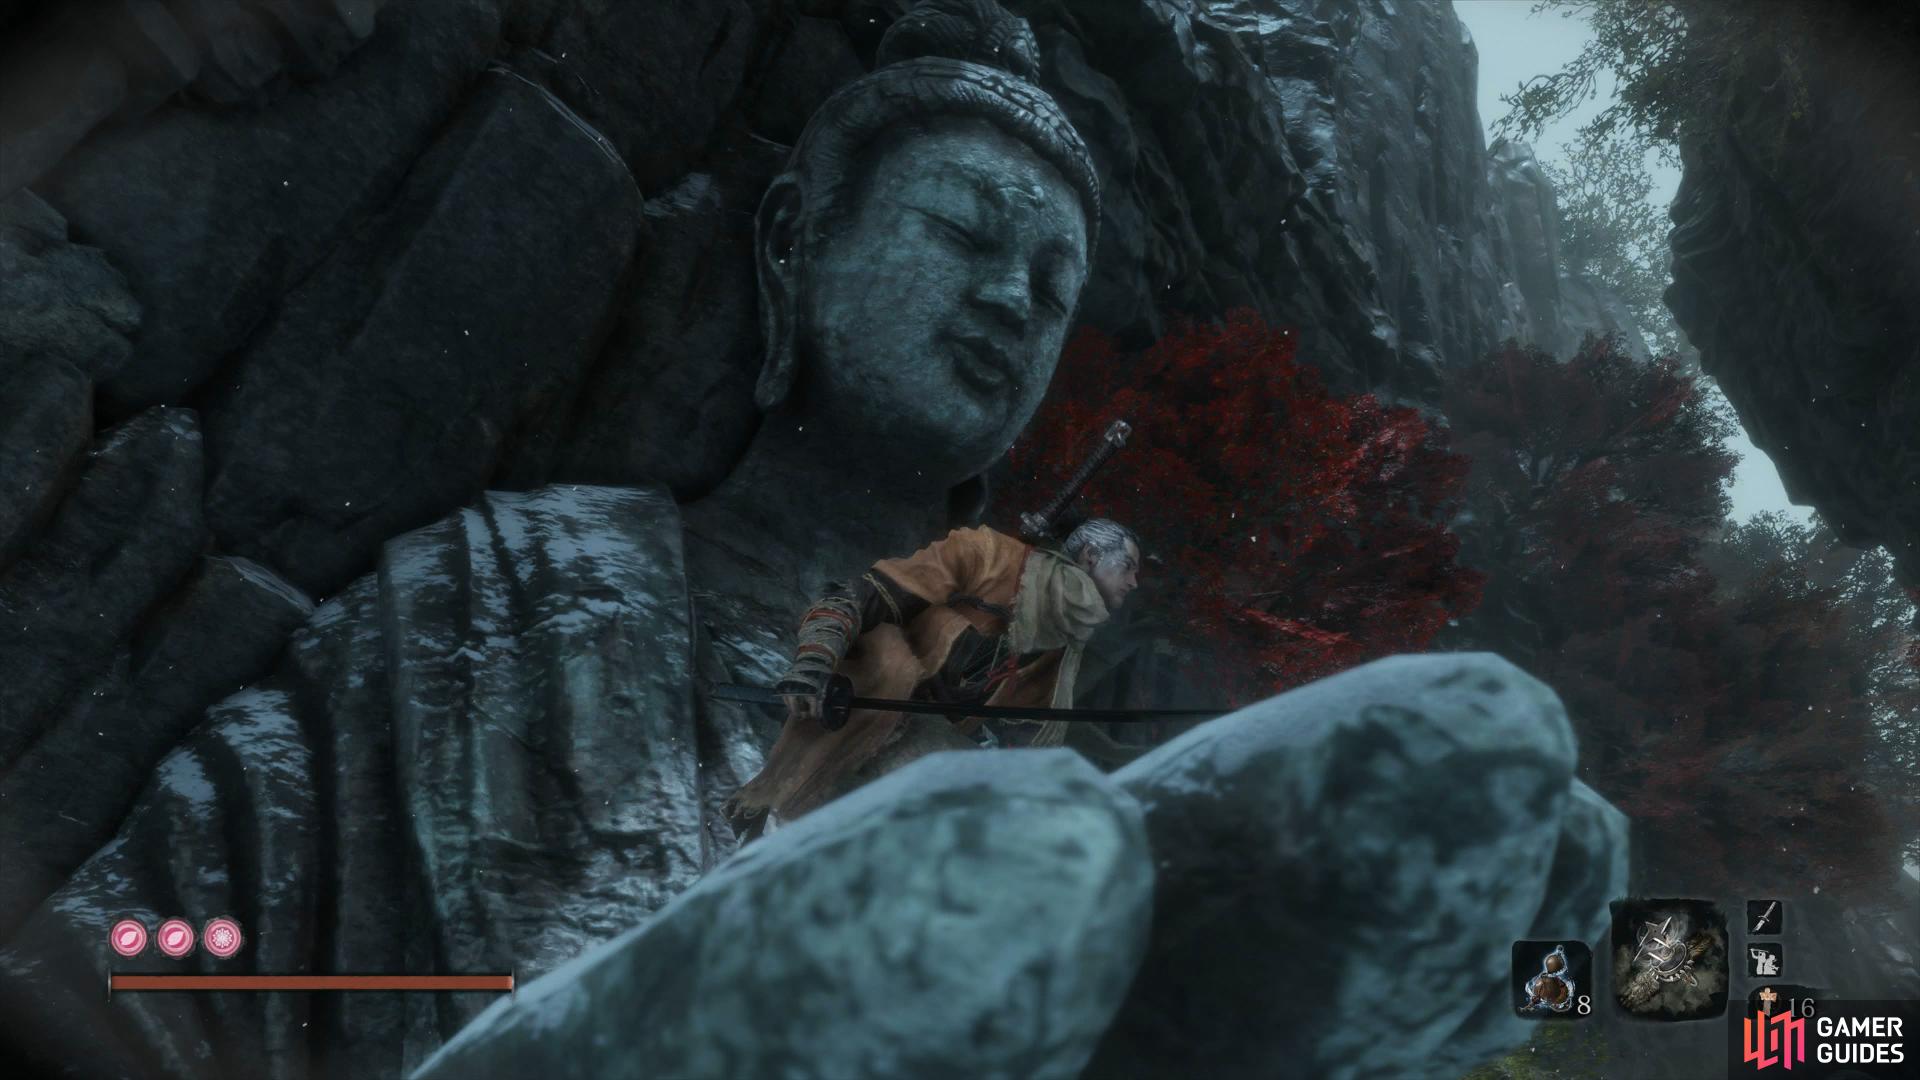
Sunken Valley
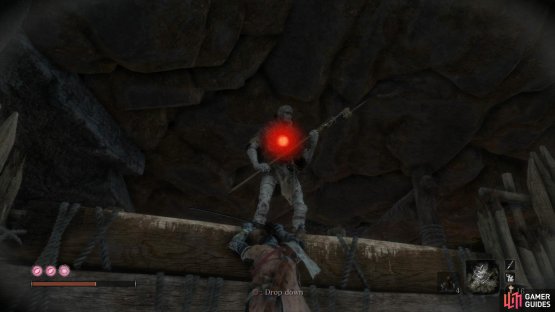
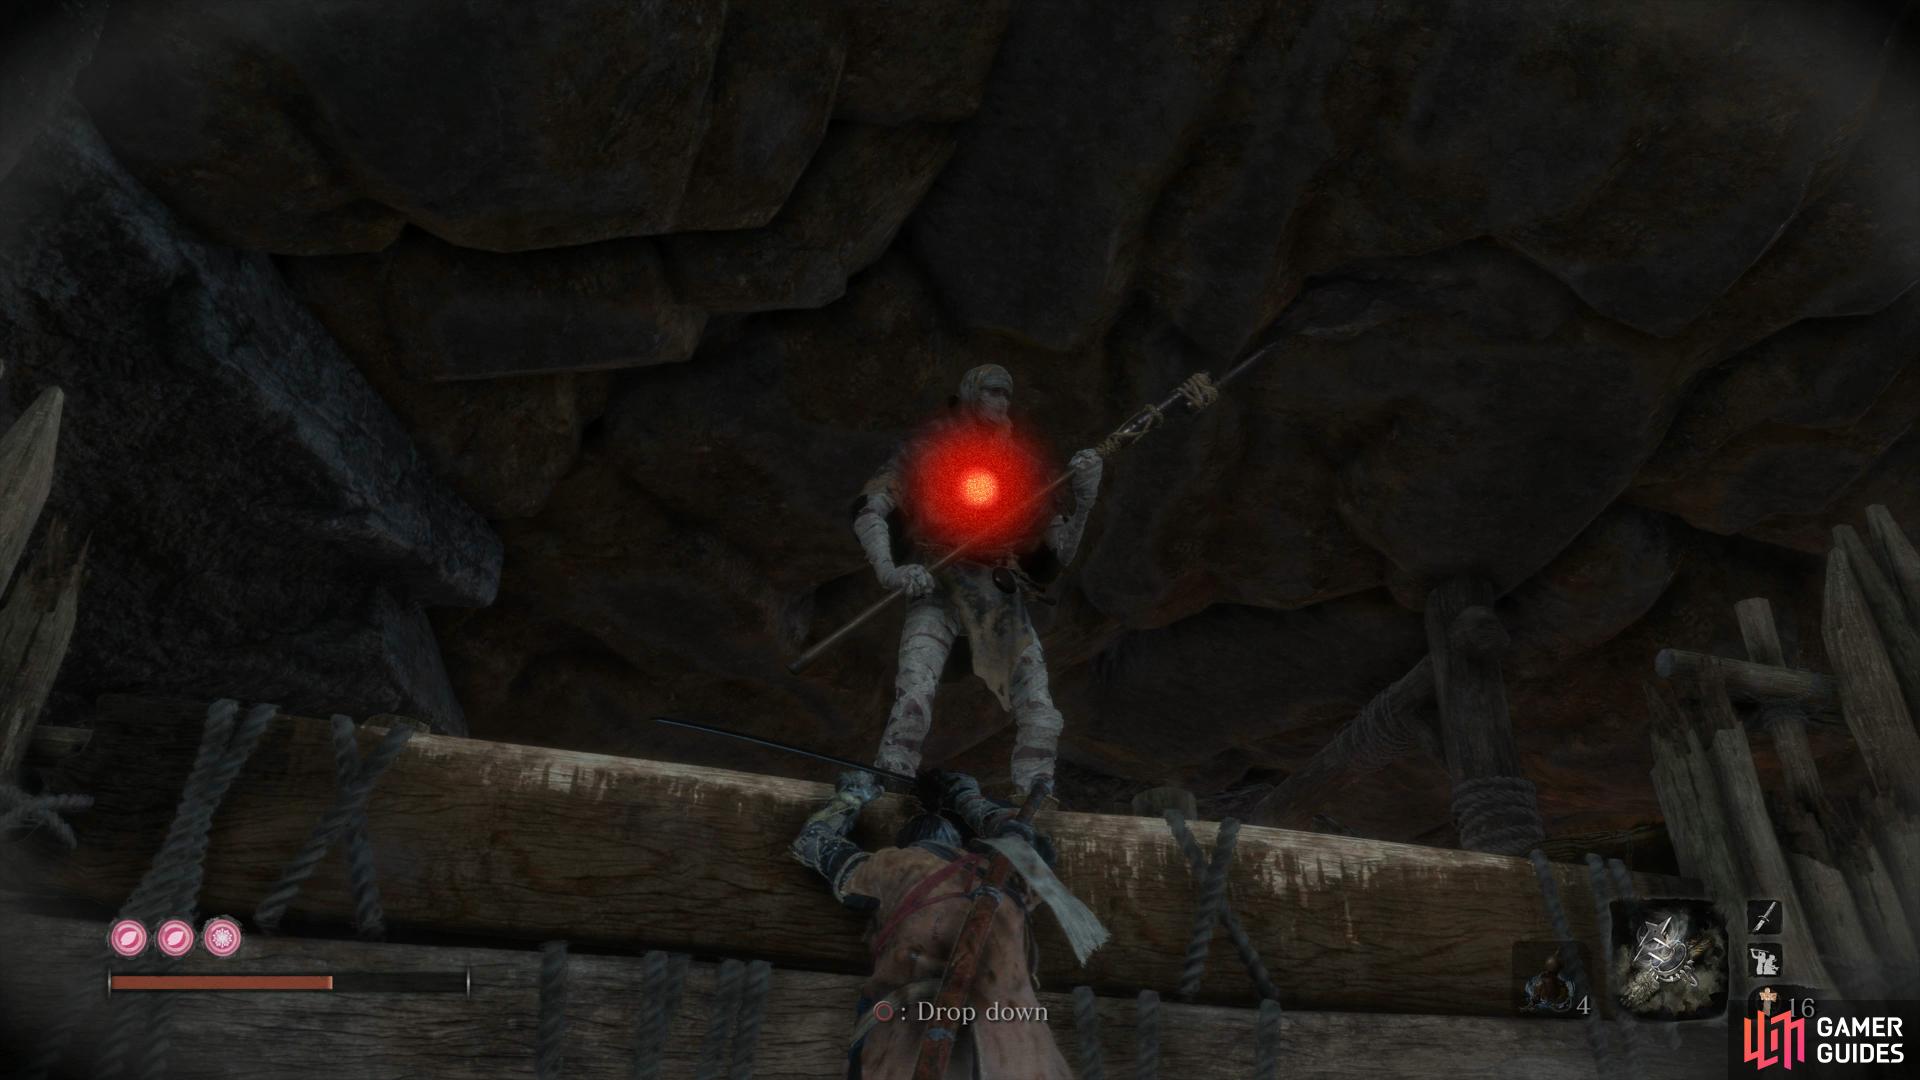
Be sure to equip the Improved Sabimaru and then look over the edge, you may notice the platform in the distance with a stone face carved into it, this is your destination and when you reach it, you’ll begin a very tough Mini-boss immediately. As you make your way there, you’ll be continuously fired upon so you’ll need to keep on the move as you do until you reach this platform. Begin by dropping down and grappling on to the branch before heading left to the next platform and then finally over to the one mentioned a moment ago.
Mini-boss: Snake Eyes Shirafuji
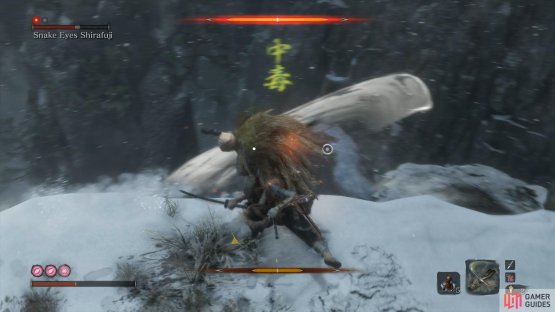
Shirafuji is an incredibly tough Mini-boss, not only due to her abilities but also due to where the battle takes place. You won’t be able to sneak up on her so you’ll have to deal with needing to perform two Deathblows to defeat her and at any time, she has a skill that can almost kill you instantly.
She attacks with her gun regardless of range and you’ll need to dodge the bullets as they’ll deal tremendous posture damage if you try to deflect them. Her most deadly attack however is her Perilous Grab attack which will pull you in close to her followed by a shot from her gun, this will almost assuredly kill you outright unless you’re at full health so avoid it at all costs by jumping back when you see the sign.

(1 of 2) Getting caught in the Perilous Grab spells death
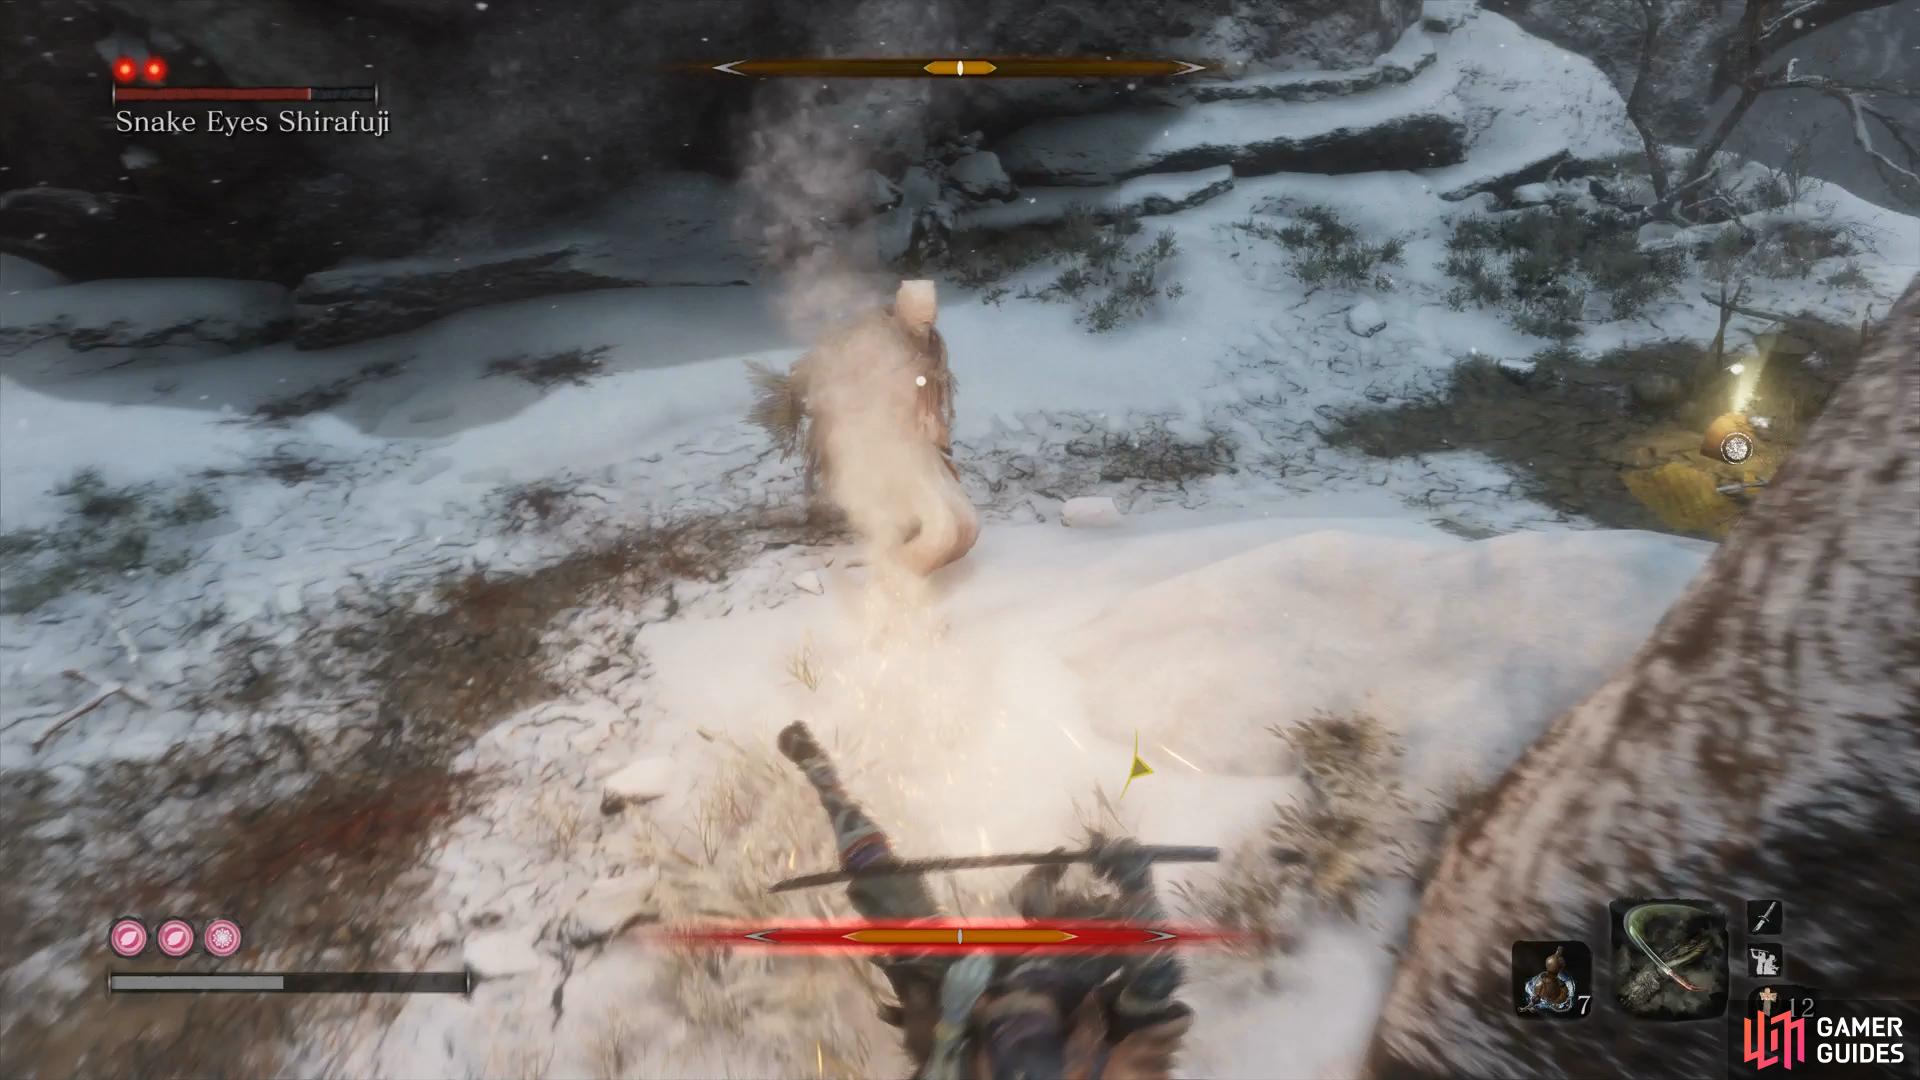

Getting caught in the Perilous Grab spells death (left), use the Improved Sabimaru to poison Shirafuji. (right)
Your method of attack should be aggressive, close the distance and hit her with strike after strike to build the posture gauge up, it doesn’t take too long to fill it up. Alternatively, you can make good use of the Improved Sabimaru here as she’s weak to Poison and it will give you openings for more attacks to build up the gauge once she reels over. Your reward for another difficult encounter is the next Prayer Bead, pocket it and grab the Fistful of Ash to your right before looking down to the platform below to dispatch another Gunman. Quickly grab the Antidote Powder and grapple up to head around to the left of where you fought Shirafuji.
On the ledge below to the left you’ll find some Scrap Magnetite, pocket it and then climb the ledge above and shimmy around the gap. As you step out from the corner here, you’ll be targetted by a number of Gunmen, quickly rush over to the bridge and get ready to grapple as you reach the middle due to the hole. Follow the next grapple prompts to reach the cliffside and take the time to heal up if you need to.
Climb up the walls to your left and then jump behind you after the second to take out a Gunman. Quickly run along this platform and climb the next to take out another Gunman and pocket the Scrap Magnetite in the corner. Ignore the bridge to the left for now, with all the Gunmen around still, it’s a death sentence. Instead, return to the platform you initially climbed and grapple around the corner of the cliff and up the edges to the right.
You’ll come across a Gokan’s Sugar in the process and a Cannon Gunman at the top of the next ledge. Once he’s dispatched, head along the left wall and grab on to the ledge the Gunman is standing on to perform a Ledge Takedown. Drop back down and loot the Black Gunpowder nearby and then pause to look at the strange rock formations, these indicate that an explosive trapped is placed under them so avoid walking where you see these at all costs.

(1 of 2) Kill this Gunman from the ledge
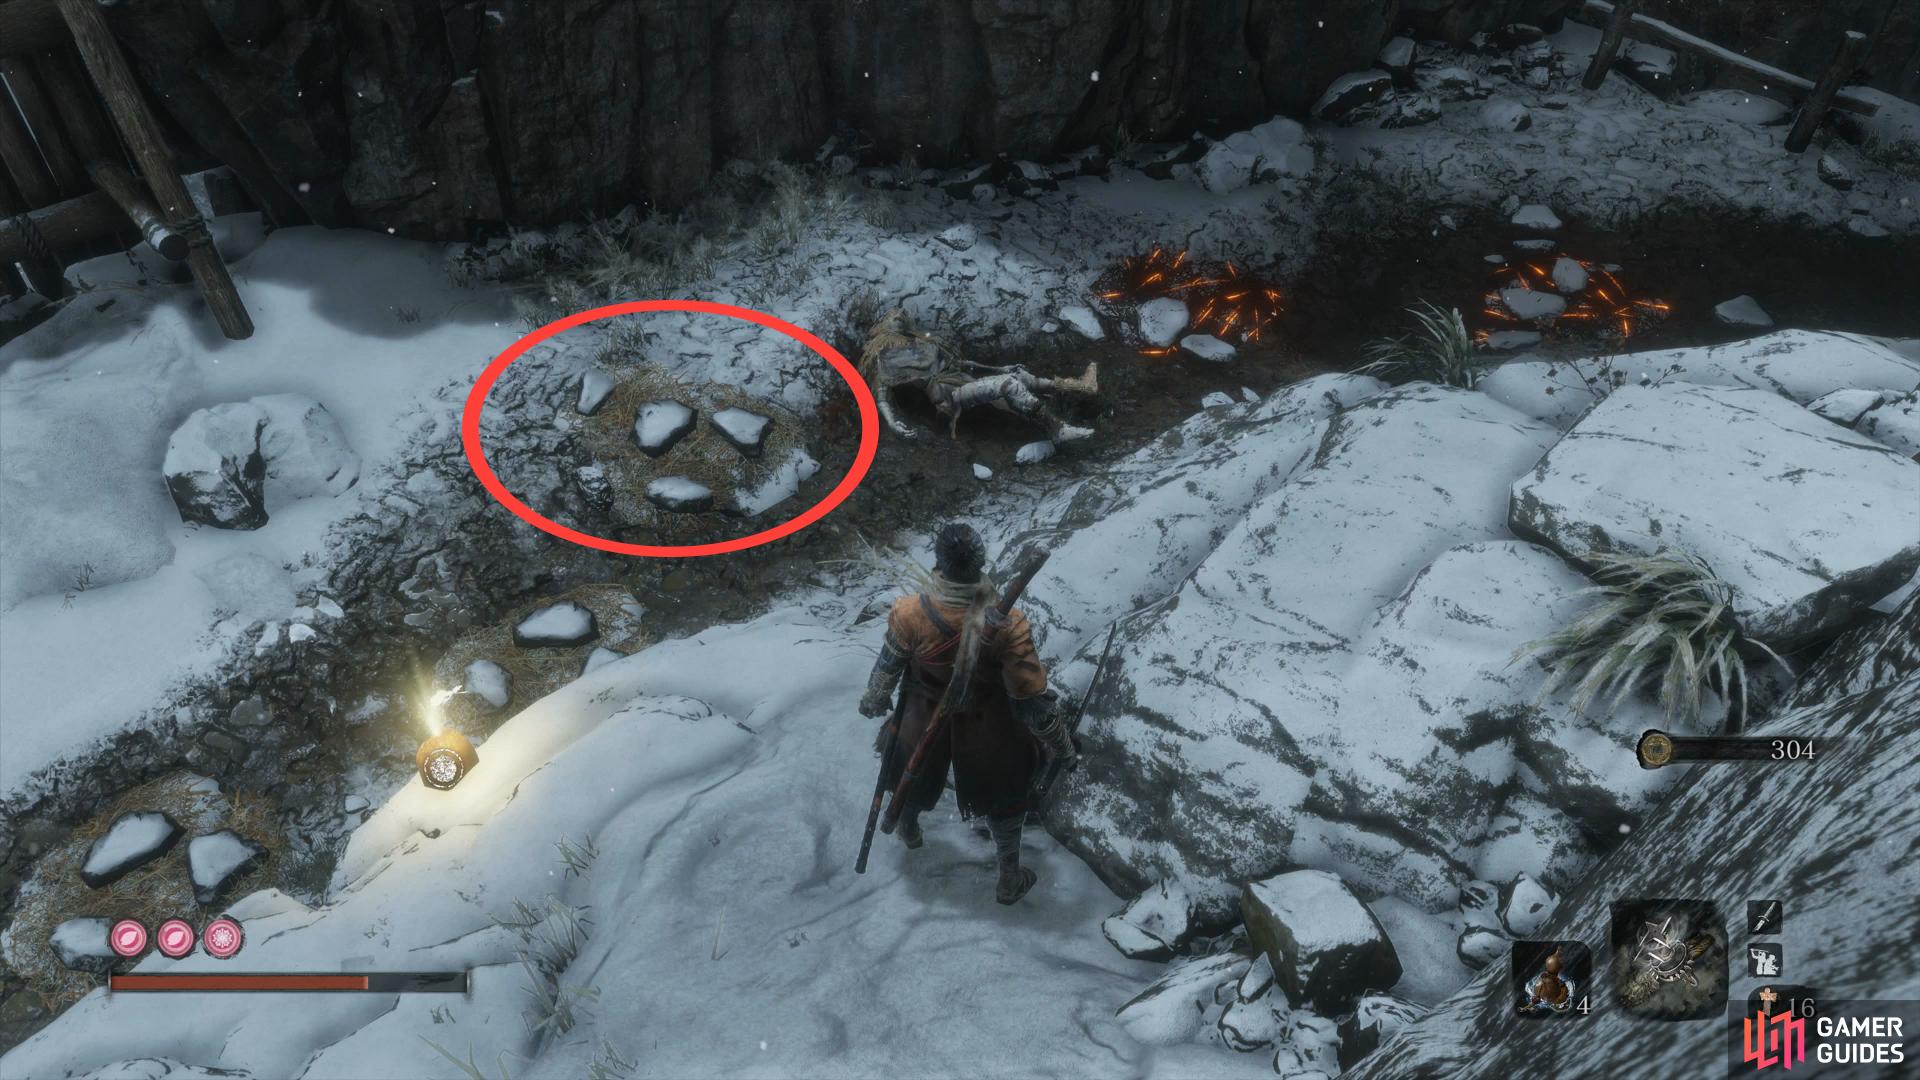
Kill this Gunman from the ledge (left), beware of these rock formations to avoid the traps underneath. (right)
Head along the left wall and look up to spot a grapple point, make use of it to land at the highest ledge to the left and backstab the nearby Gunman before nabbing more Scrap Magnetite in the corner. Look over the edge to the left now and target the next Gunman below you and take him out with a Mid Air Deathblow. You’ll find more Black Gunpowder next to his post and then look to the left and take the last of the Gunman to clear the outside area.
Return to where you accessed the Gun Fort a moment ago (where you picked up the Gokan’s Sugar) to find a passage, head through it and hug the wall as you wait for the patrol to reach you, allowing you to Deathblow him. You’ll now find two Cannon Gunmen in the next room so quickly backstab the one with his back to you in Stealth and then retreat out of the passage and around to the right to reach the top of the area. As the other Cannon Gunman retreats to his position after losing the alert status, drop behind him to take him out. For your trouble, you’ll obtain three batches of Yellow Gunpowder and can safely loot the rest of the items here. You’ll find a Heavy Coin Purse, Yellow Gunpowder and Pellets under the wooden structure while on top, you’ll find some Snap Seeds.
Gun Fort
With that out of the way, head down the passage the Cannon Gunmen were guarding to find the next Sculptor’s Idol. Make your way down the path and prepare for another Mini-boss as you enter the room ahead.
Mini-boss: Long-Arm Centipede Giraffe
With a name like that, you may expect more from Giraffe but it’s actually a lot easier than you may assume. If you’ve been following this walkthrough, you already took out Long-Arm Centipede Sen’un at Senpou Temple and this battle plays out exactly the same way with one difference, the room you find yourself in is incredibly cramped.


(1 of 2) Deflect Giraffe’s lengthy combo to build up it’s posture
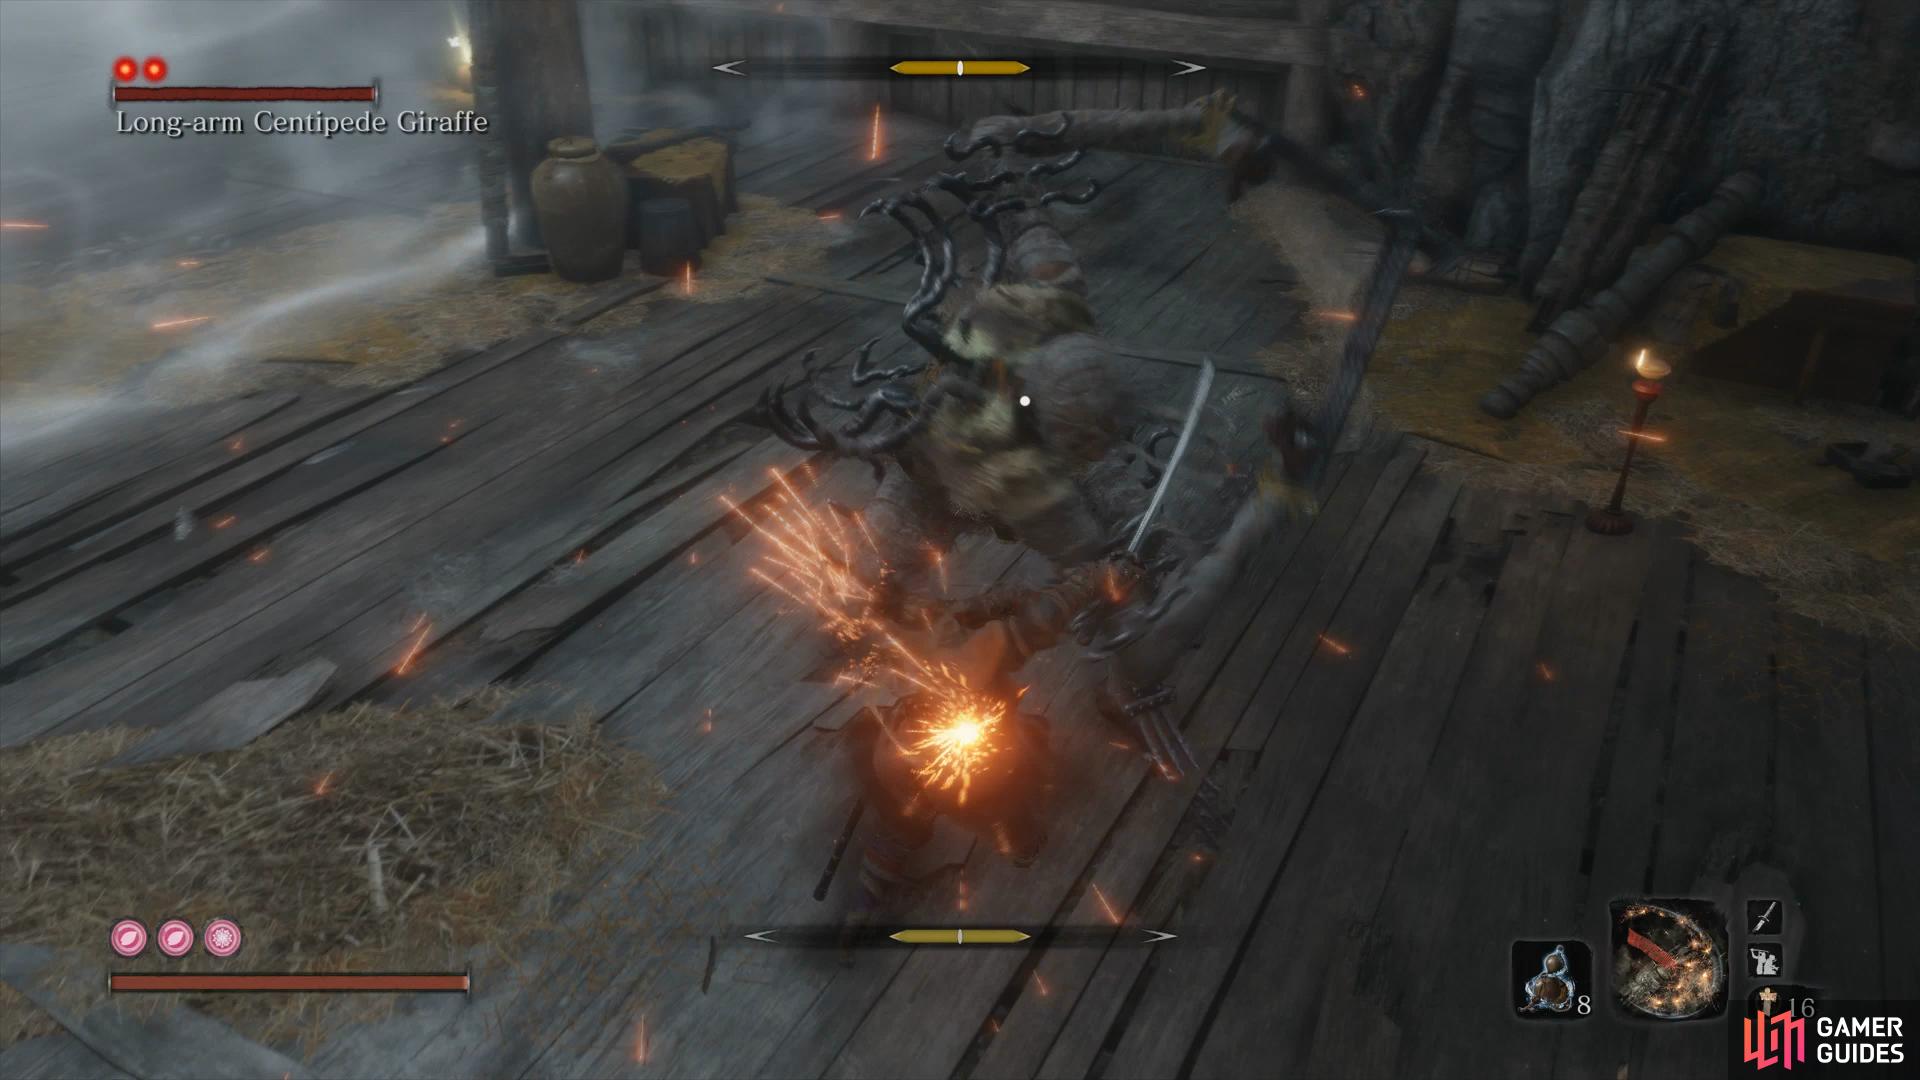
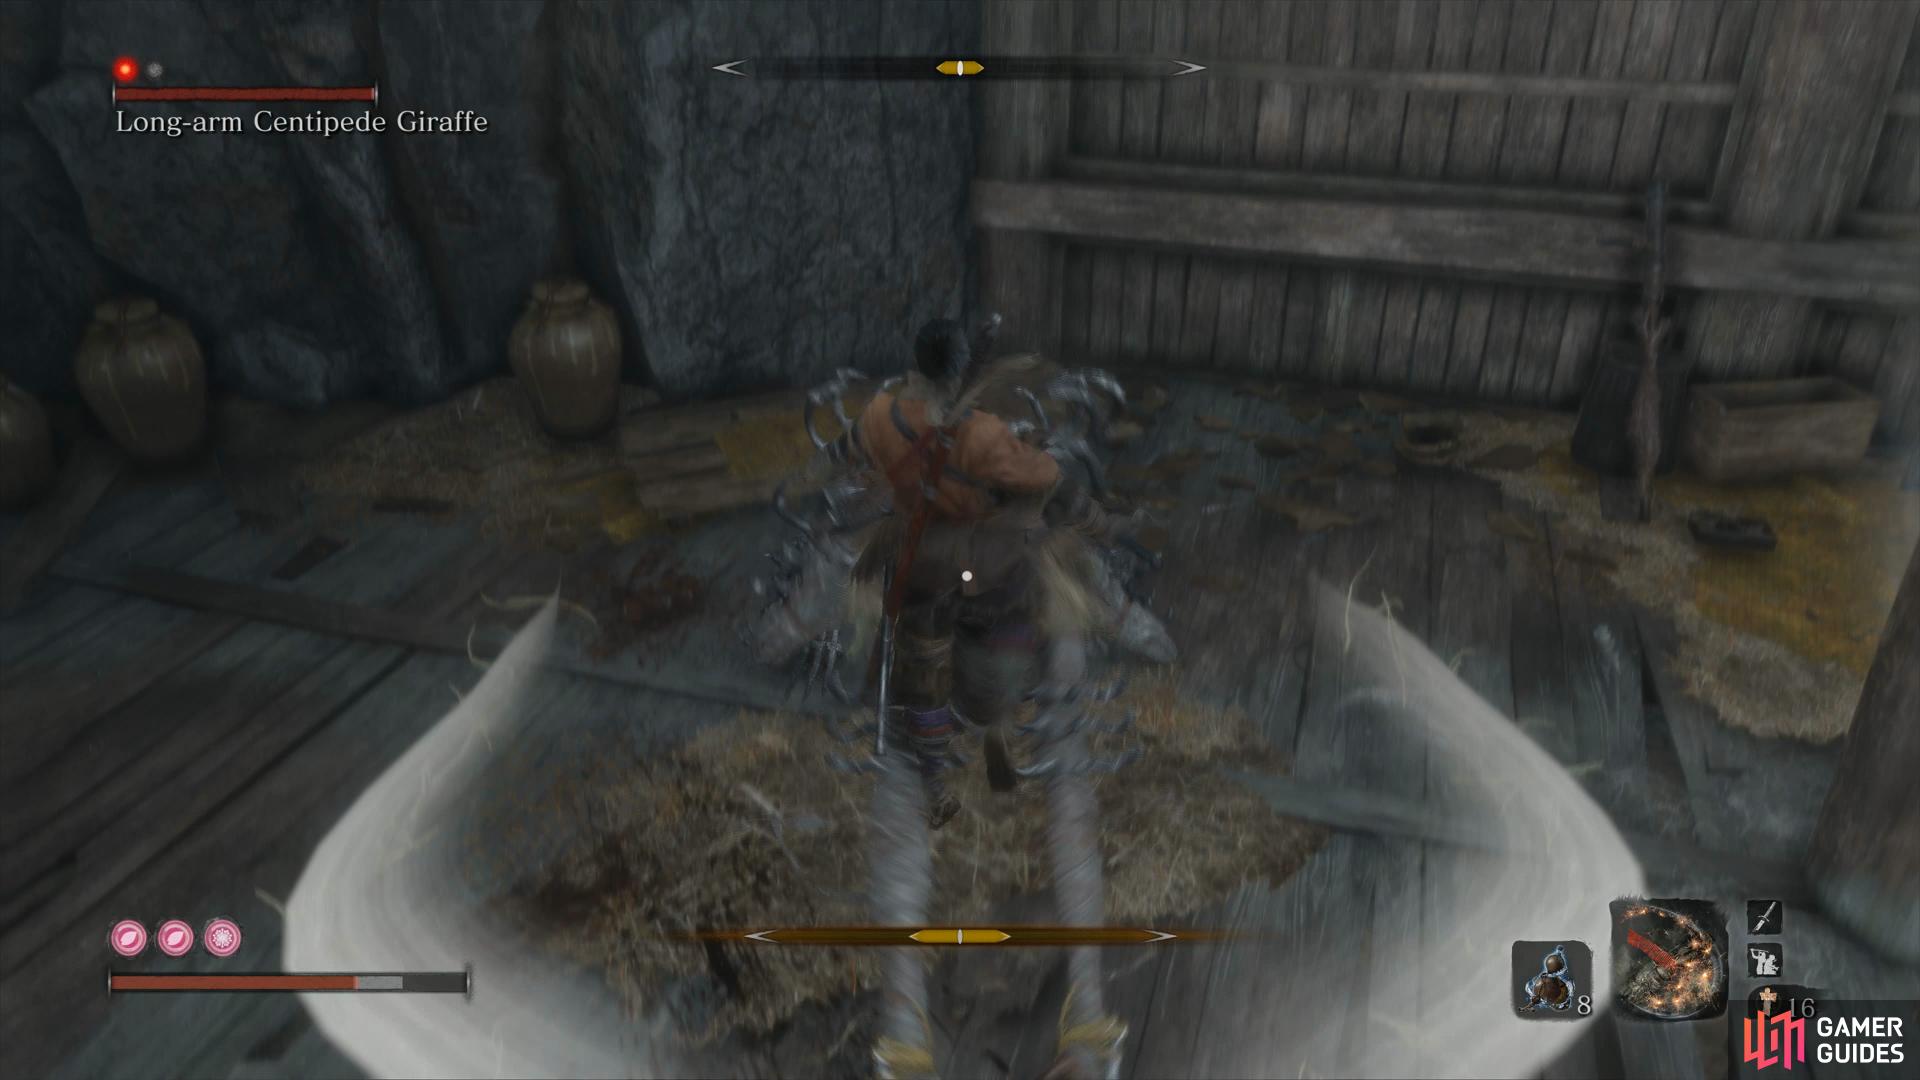
Deflect Giraffe’s lengthy combo to build up it’s posture (left), beware of the Perilous Sweep attack and jump to avoid it. (right)
Stick close to Giraffe and deflect his series of attacks to increase it’s posture gauge at an alarming rate. The only other attack to watch out for is it’s Perilous Sweep which can be avoided by simply leaping into the air. Once Giraffe is defeated, you’ll obtain more Yellow Gunpowder and another Prayer Bead along with removing the fog wall allowing you access to the Large Fan Shinobi Tool and some Scrap Magnetite to the right of the room.
Return to the nearby Idol and travel back to the Dilapidated Temple to have the Sculptor fit your new tool, the Divine Abduction Shinobi Tool which will allow you to spin enemies around and open them up for a Deathblow.
Return to the Gun Fort and head back to the room you defeated Giraffe, you’ll notice a hole in the floor to the left so drop into it and enter Stealth to move around. Head in the direction of the door to find more Yellow Gunpowder before heading left to find a secret passage. Follow it down and you’ll reach an intersection, head left and you’ll reach a ledge with multiple ways to grapple. Grapple to the right to begin with and then up and right to the end to find an enclosed area. Drop down and dispatch the enemies before looting the Prayer Bead and Contact Medicine.
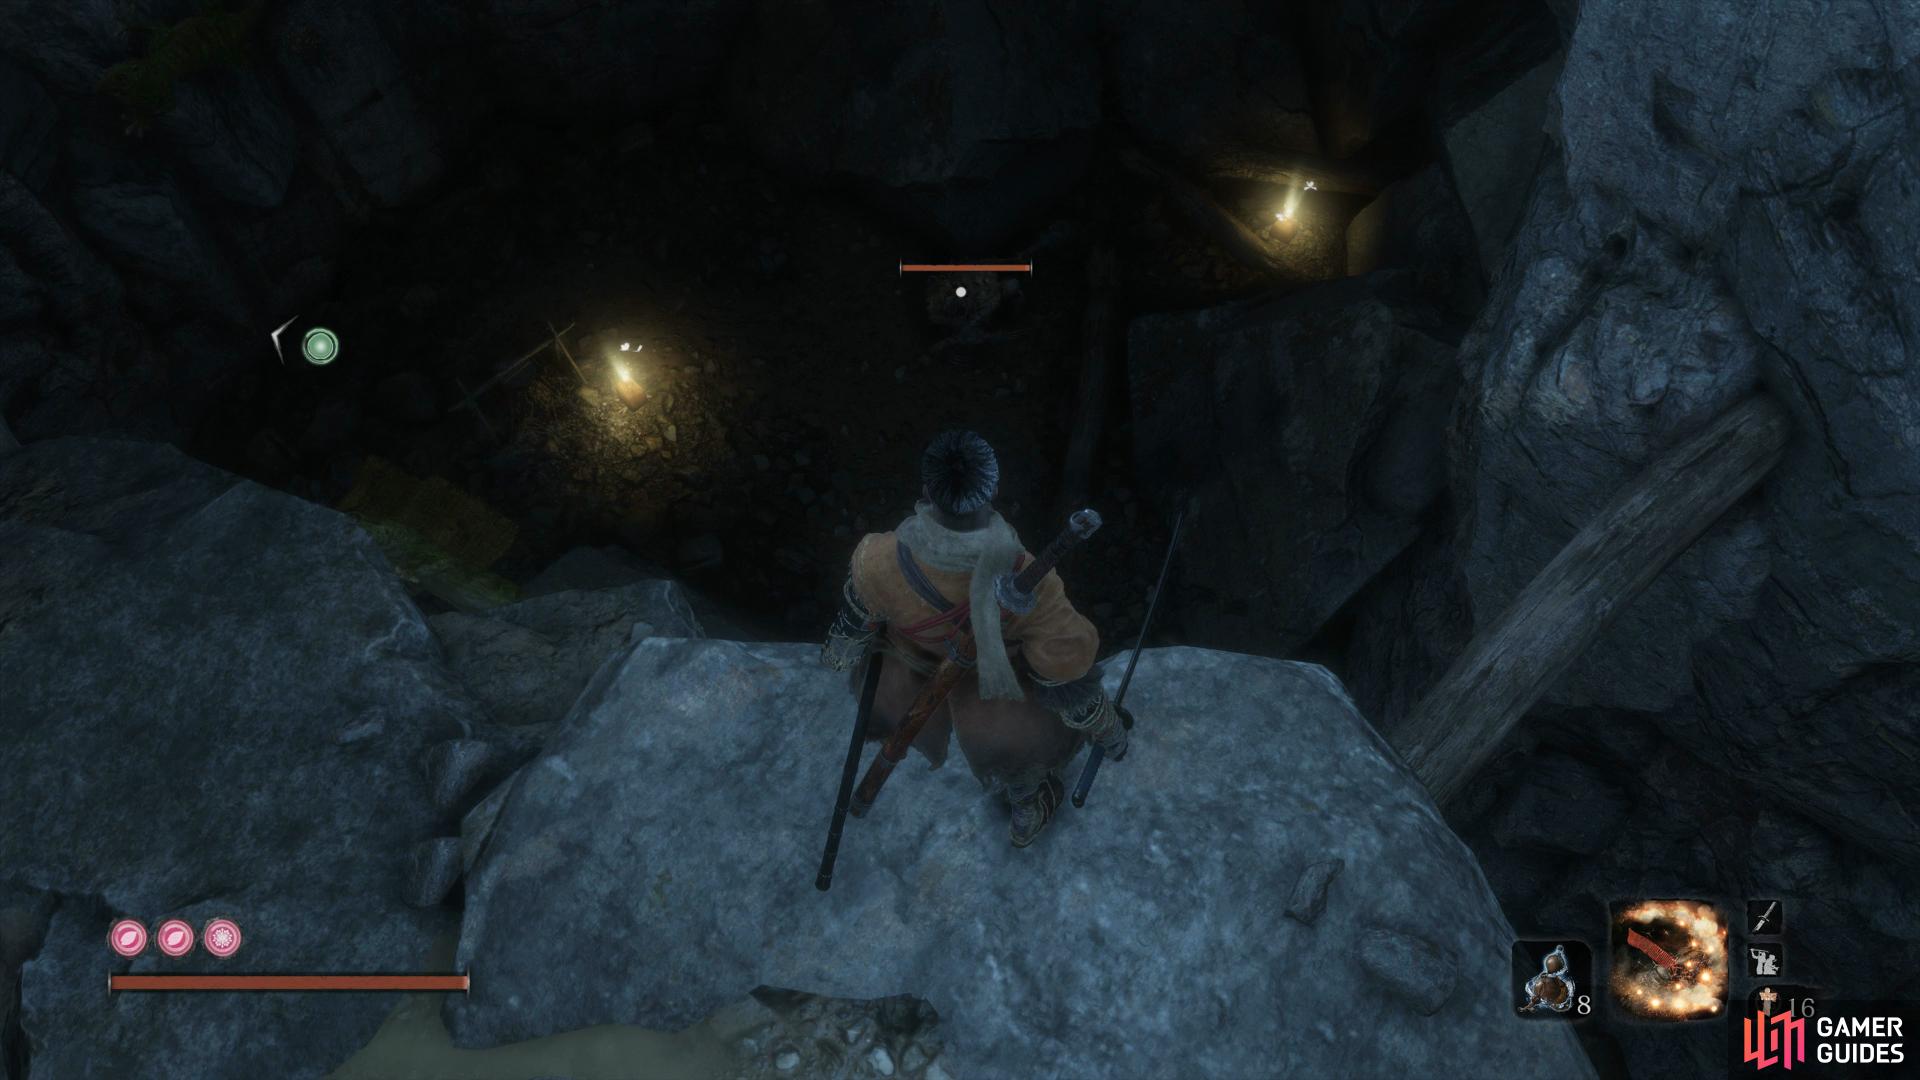
Follow the cave system to a dead end to find another Prayer Bead.
Grapple back up and continue to the right to reach another passage, overhead you’ll find a large number of Lizards, stay at a distance and toss Shurikens at them and then head up the ledge to find some Divine Confetti. Continue back along to the left to reach a platform and follow it, looting the Mibu Balloon of Soul at the end of it and grappling back up to the Idol. Head back to where you fought Giraffe once again but this time, open the door with the Gun Fort Shrine Key to reach the Sunken Valley Passage.
Sunken Valley Passage
Approach the bridge and look down and to your left to spot the body of the Great Serpent writhing around the large rocks. As you dash across the bridge, the Great Serpent will charge at you, dodge it’s attacks and the bridge will fall, plummeting you to the lake below. Quickly dash in a zigzag towards the cave at far end to avoid the Serpent’s lunges and you’ll eventually reach a new Sculptor’s Idol.
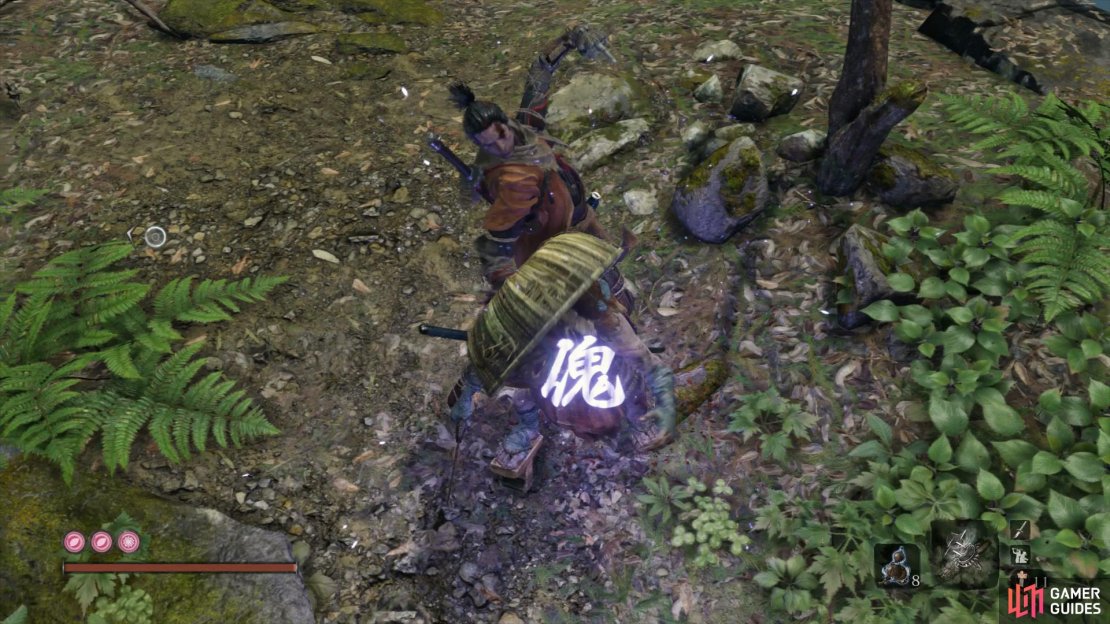
Take this time to Enhance Physical Attributes for your Fifth Prayer Necklace and then make a quick detour by travelling to the Senpou Temple, Mt. Kongo Idol. Head to the right and all the way down the ledges to where the Rat is stationed near a kite. Equip the Puppeteer Ninjutstu and perform it on the Rat from behind, this will cause him to operate the mechanism raising the kite high into the sky.
Head through the temple at the top of the hill now and return to where the Old Woman was and give her the Rice that you obtained from the Divine Child. She will give you information about the kite that you’ve already activated (using the Rice is a requirement for obtaining more), heed this advice and climb the large tree behind her and head towards the end of the branch facing the cliff she was facing.
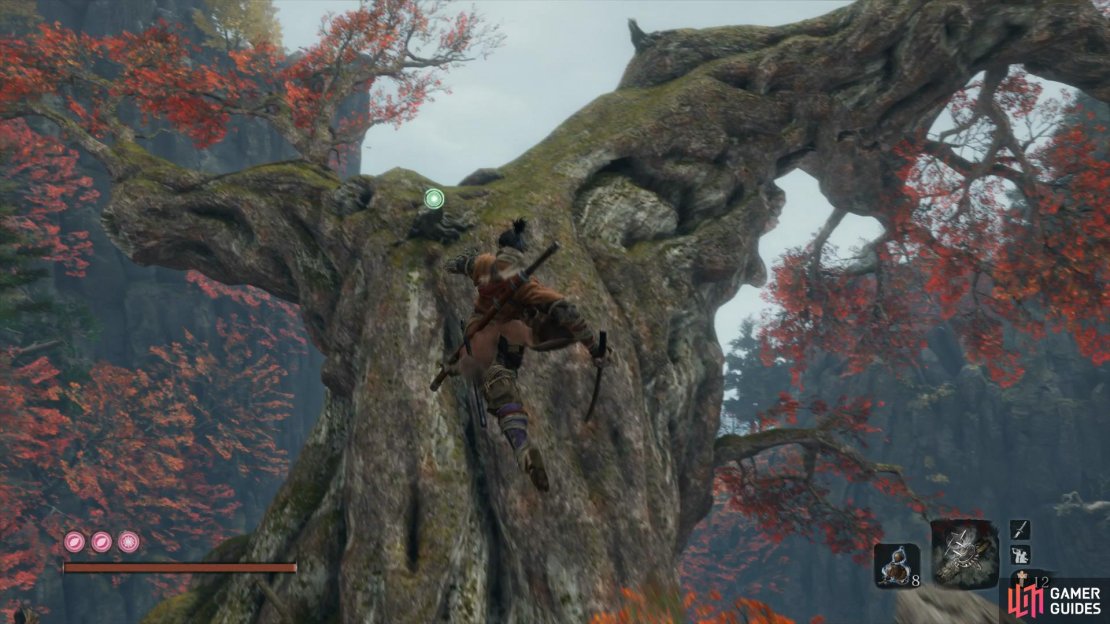
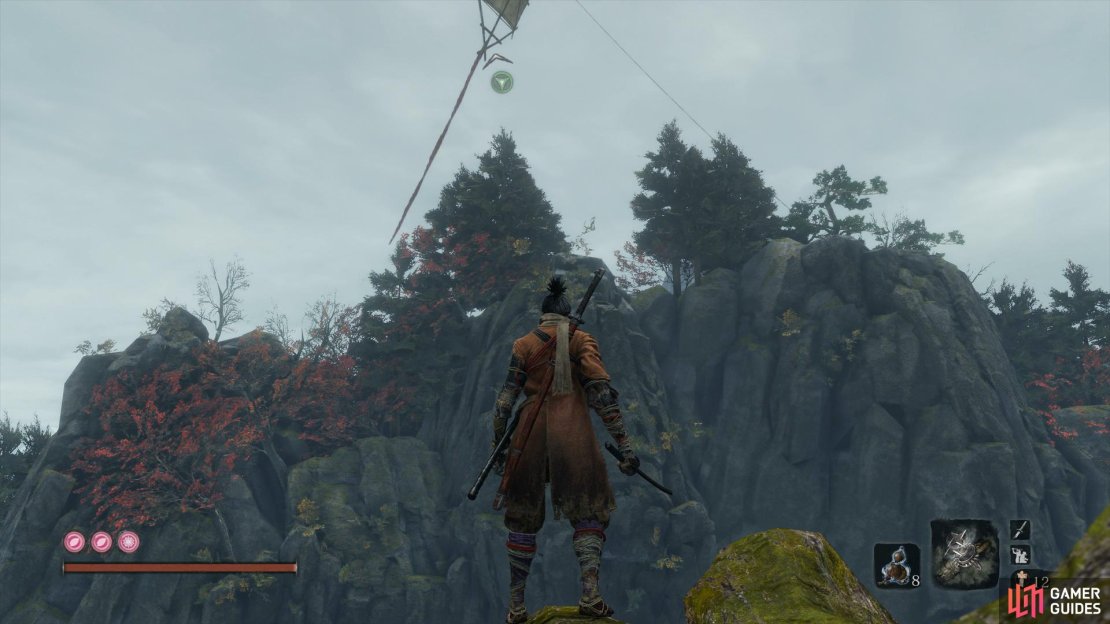


From this position, you can grapple on to the kite and launch yourself over to the ledge in the distance and snag the Snap Seed here. Look down and to the right to spot another ledge you can reach, jump in the direction of it and grapple along the various branches as you make your way to the right and a cave opening. Pocket the Scrap Magnetite here and then head inside to find the Sunken Valley Cavern Sculptor’s Idol.
Head left to find a Mibu Balloon of Spirit and then walk on to the wooden beam that hangs over the cliff’s edge. Turn the camera down to spot the Great Serpent and lock on to it, then leap off and perform a Mid Air Deathblow to kill it and obtain the Fresh Serpent Viscera in a bloody spectacle.
Drenched in blood, head behind the way you land to loot the Mibu Balloon of Soul and then look into the cave to find a Dragon’s Blood Droplet and a Bundled Jizo Statue. Drop into the lake from before and make your way back to the Riven Cave Idol to make one final pitstop for now. Travel back to the Inner Sanctum to pay the Divine Child another visit and request more Rice before returning here once more to continue.
Riven Cave
Grapple up the wall here and pocket your first Adamantite Scrap as you follow the path up and around. A Monkey will drop down as you approach the large statue, a simple strike is enough to put it down. Grapple on to the hand of the left statue and then across to the other before dropping down below. Head across the rocky bridge and loot the Pacifying Agent before using the grapple to your left. Take care of a Monkey on this ledge and then drop down to the left to backstab another and grab the Snap Seeds.
Return across the rocky bridge and hug the right wall to get behind and dispatch another two Monkeys and then grapple across to the other side and drop off the statue to the high ledge. You’ll be set upon by a group of four Monkeys, dispatch them and then grab the Contact Medicine before dropping down another ledge to pocket an Ako’s Sugar. From here you have two directions you can go, grapple over to the left and head around the back of the statue to take out a Nightjar Ninja and loot more Contact Medicine.
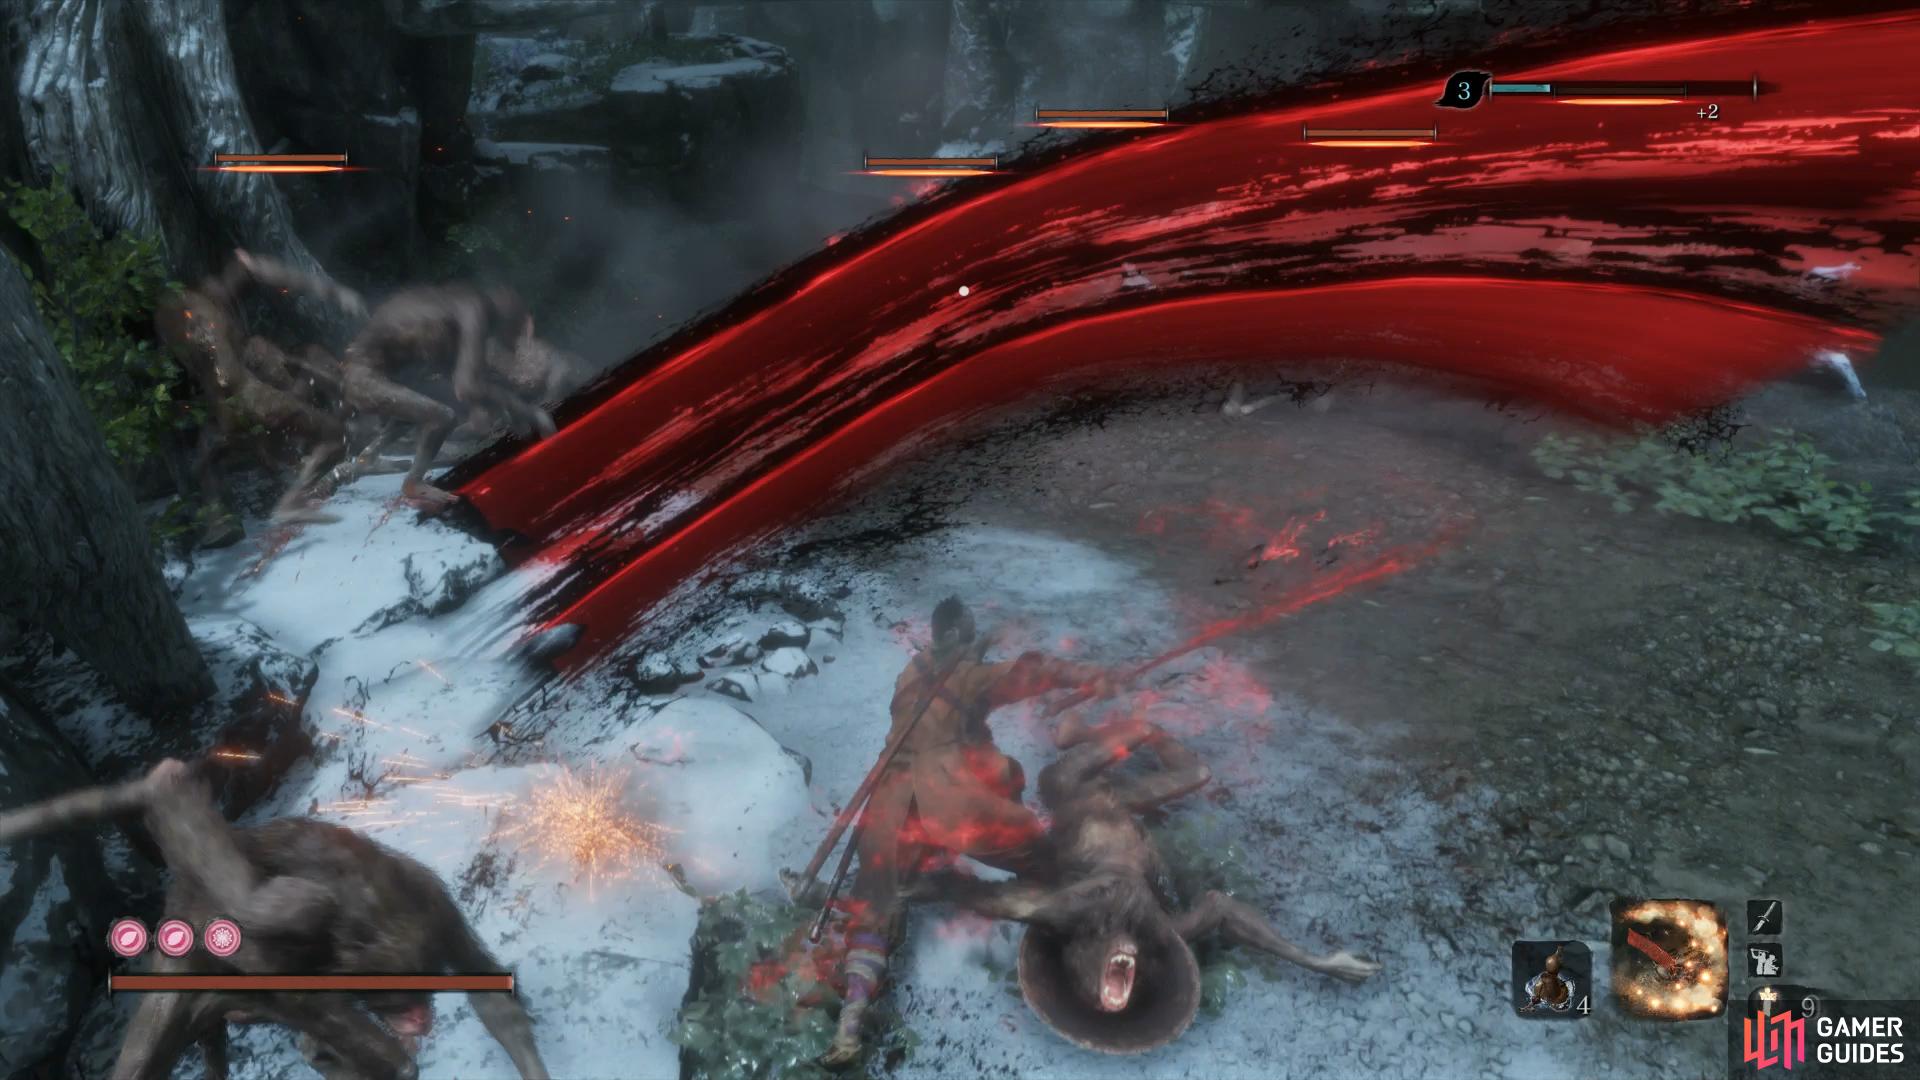
Mortal Draw is useful against large groups of enemies.
Return to the ledge above and follow the left wall around to the right to dispatch another two Nightjar Ninjas before grabbing the Scrap Magnetite behind the fallen statue. You’ll notice on the other side of the ravine is a large group of Monkeys with a larger one, approach them from above the right side and perform a Mid Air Deathblow on the larger Monkey. Quickly turn your attention to the smaller ones and use Combat Arts such as Mortal Draw and Whirlwind Slash or make use of the Long Spark Firecracker to stun them all at once.
With the area clear of Monkeys, grab the Pacifying Agent on the ledge below and then grapple across the gap to reach an Ungo’s Sugar before returning to the Monkey platform and looting the Scrap Iron at the back. Head across the statues to the right to reach the next Sculptor’s Idol and the Old Lady once more. Speak to her and hand over more Rice from the Divine Child to learn about the dried fruit. This information will come in use later but for now, make sure you assign Pacifying Agents and Antidote Powders to your Quick Slots along with Divine Confetti for the later in the battle if you wish. Be sure to equip both the Firecrackers and Loaded Spear as well for your Shinobi Tool choices, once you’re ready, jump into the lake below to face your next boss.
Boss: Guardian Ape
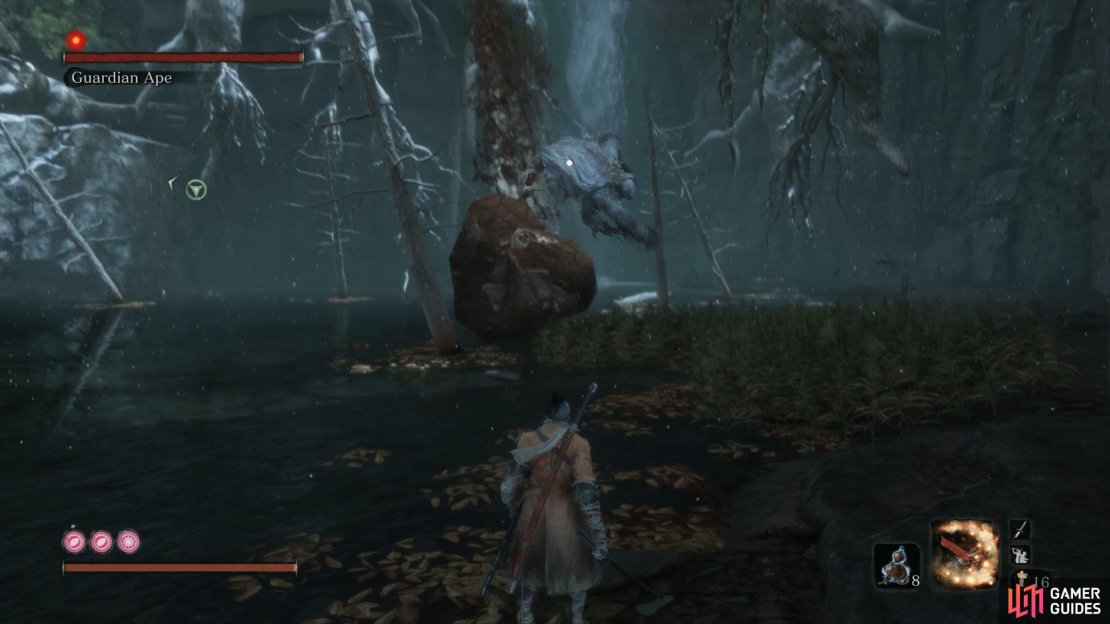
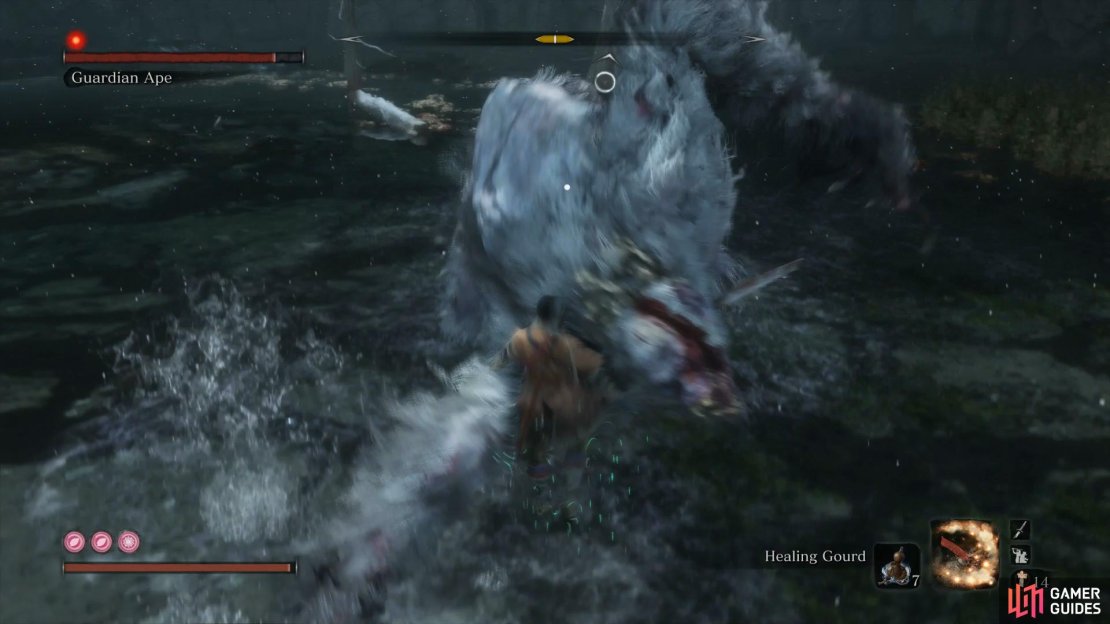
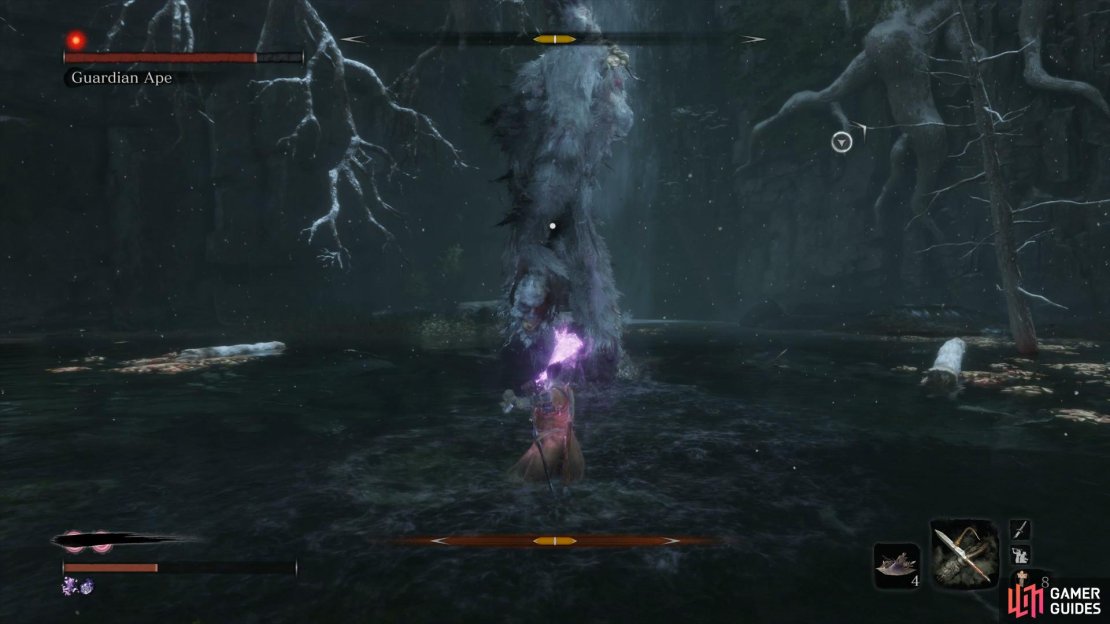
The Guardian Ape is a massive beast that will stop at nothing to defend it’s territory. As you may expect, even though you have a large battle arena, the ape’s attack range is huge. To begin with, in the first phase, you’ll want to stick close to the beast in order to limit the damage it can do with it’s ranged attacks.
If you stay at a distance, the Guardian Ape will either defecate and toss it at you, dealing huge Poison damage if it hits you or will leave clouds of poison and run off, causing more Poison buildup. He may also jump back and roar at you, this will give you the opportunity to grapple on to the large Katana sticking out of it’s neck and get some strikes on him.
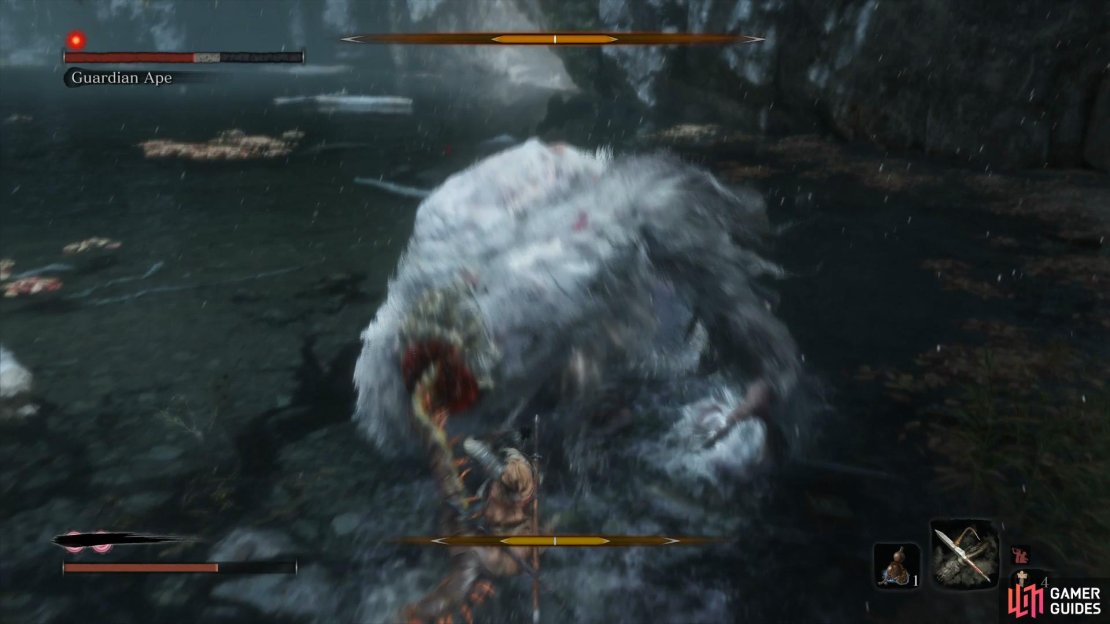
So, like stated, you’ll want to keep close to the Guardian Ape, staying mindful that you can and should deflect all of his basic combos. These include a simple left-right swipe of his arms that is sometimes followed up with an overhead slam, an attack which, if deflected, will create a great opening for some attacks. It should be noted that it’s weak point here is it’s behind and you’ll want to aim at it at all times.
(1 of 4) You can block this at the expense of Poison buildup
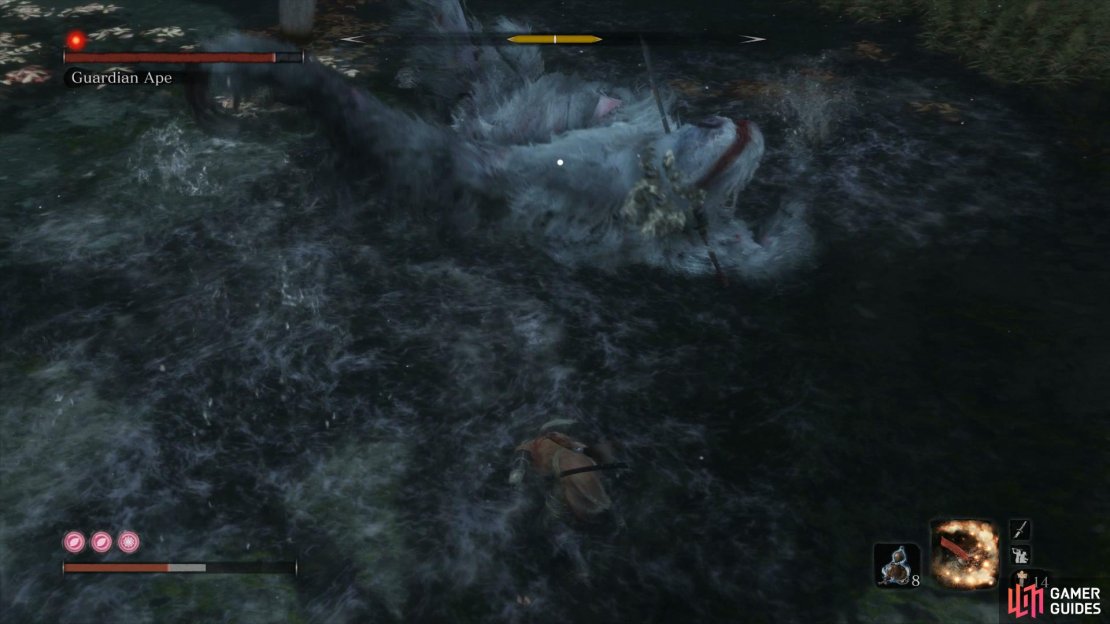
Another attack to be weary off during this phase is his Perilous Grab attack, once you see the sign appear, immediately jump away as if you’re caught in it, you’ll be slammed into the ground suffering massive damage. The final attack to be mindful of, especially when attacking up close, is it’s thrash attack on the floor. The Ape will fall on to his back and begin thrashing about on the floor, you can use this opportunity to get some free strikes on his head otherwise back away until the attack is over. It’s worth mentioning that during this first phase, the Guardian Ape is weak to the Firecrackers and it will create an opening for you to score some easy hits on it, make use of this while attacking from behind to end this phase quicker.
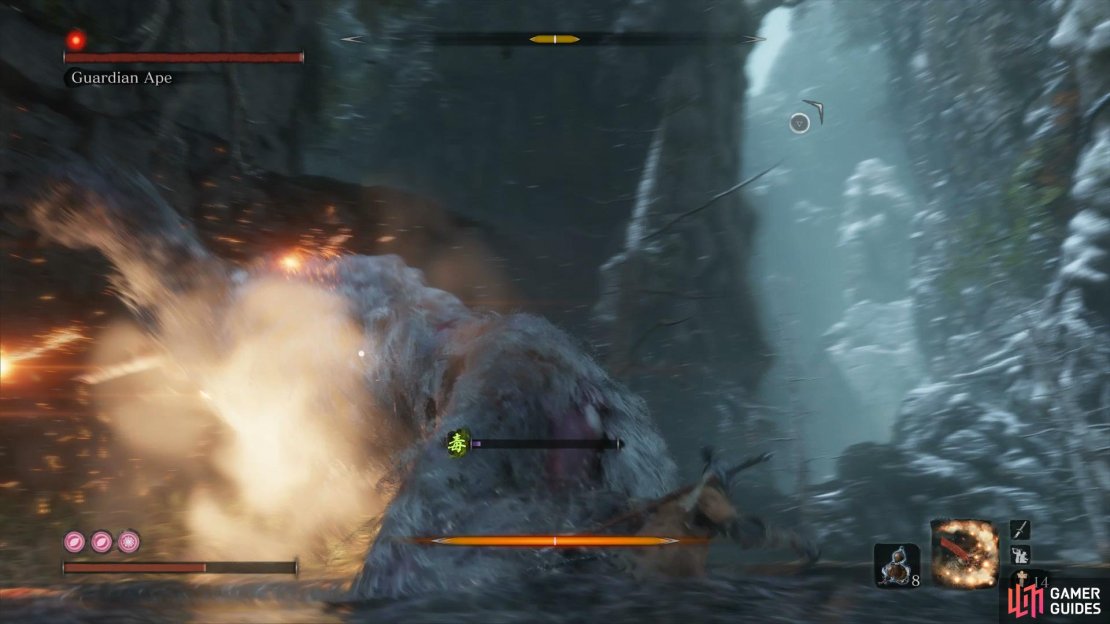
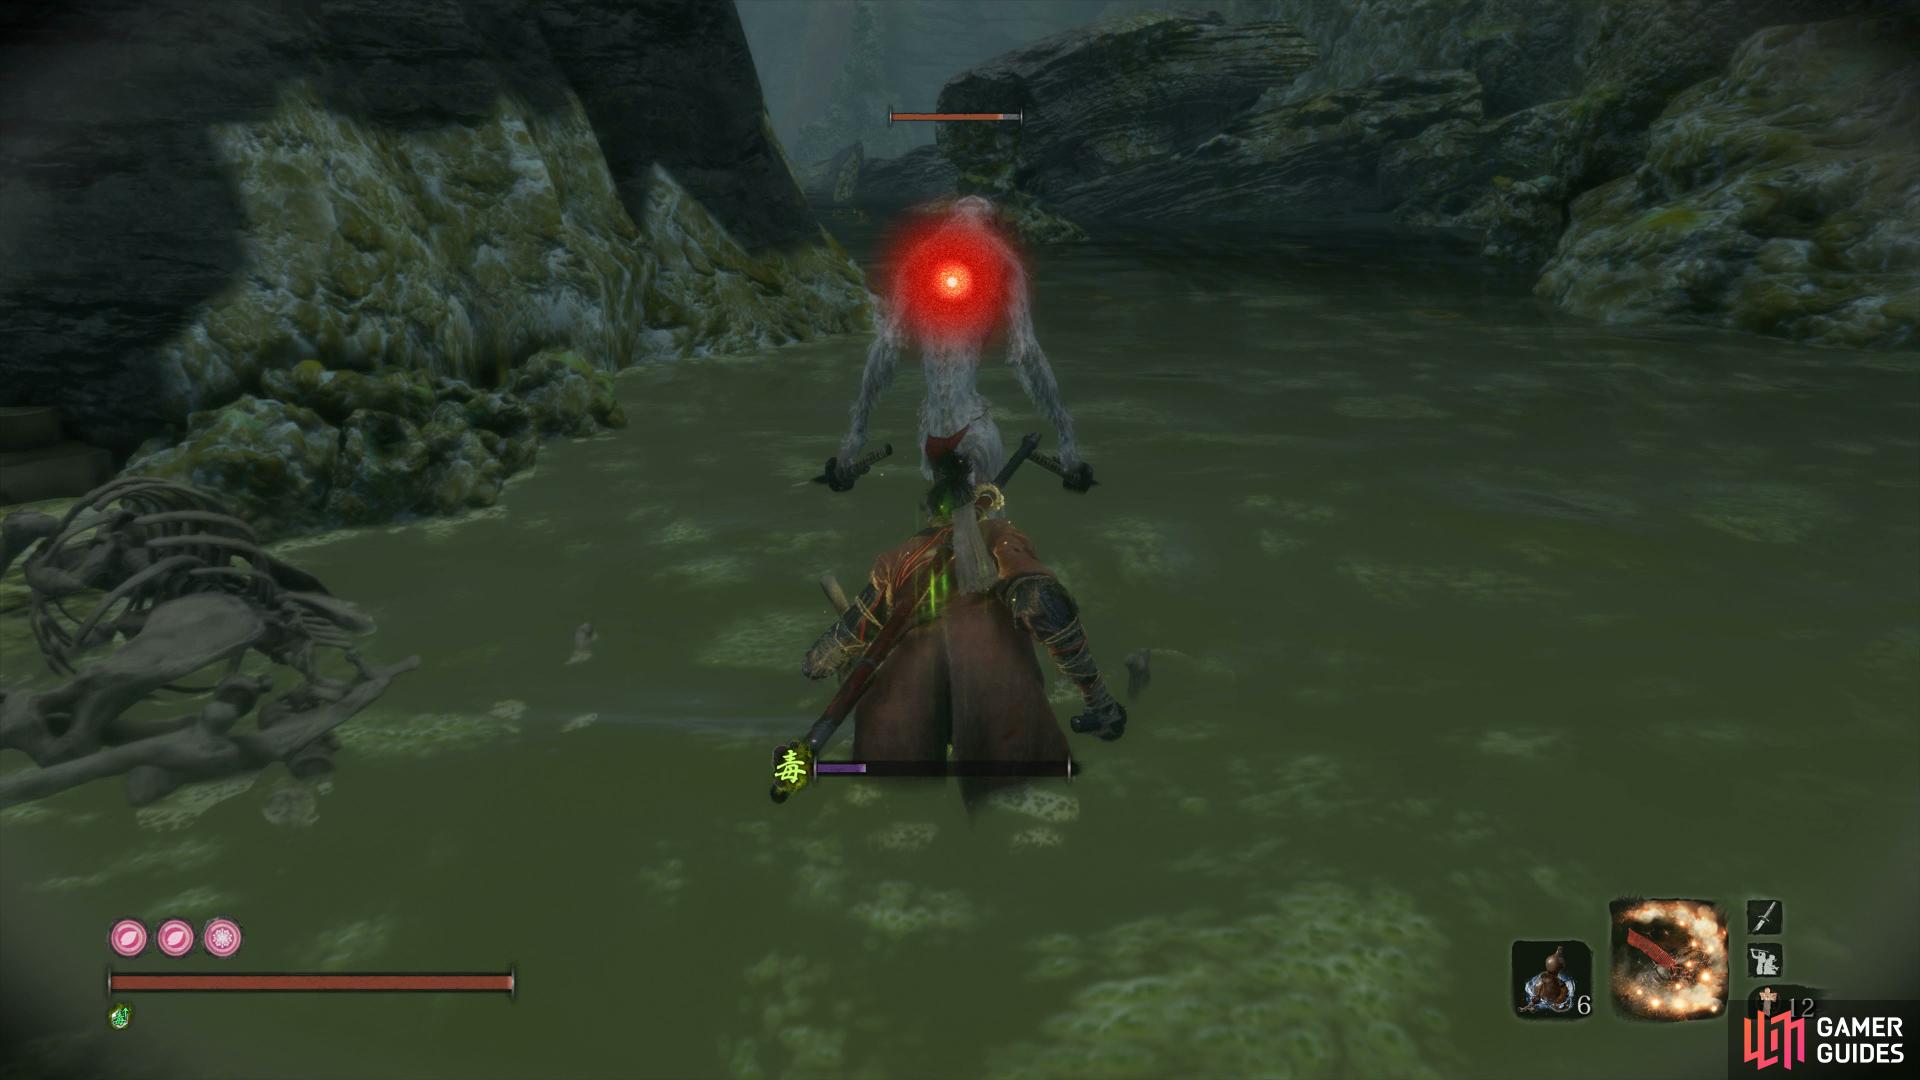
Unfortunately, the Guardian Ape doesn’t know when to give up as it rises from the grave and grabs it’s head in one hand and the giant Katana in the other to begin phase two. The Guardian Ape changes from a Beast to an Apparition durin this phase meaning you won’t be able to make use of Firecrackers anymore so switch over to the Loaded Spear and save it.
The Guardian Ape becomes a bit more predictable in this phase and he will take a lot more posture damage from deflecting his strikes. It’s basic combo is a left-right slash followed by another straighter strike which when deflected, causes it to perform a Slam Attack. This is the key to phase two as when you deflect this, you’ll stun it for a period of time allowing you some free strikes. You can however, if you have the Loaded Spear, use this on the exposed neck at this point to pull out the centipede inside and strike at it to deal massive posture damage.
He adds a Perilous Sweep attack which can be backed away from or jumped over, creating another opening. Alternatively, it will launch towards you from range and perform a single swing of it’s Katana, this can be run around or jumped over to create another opening.

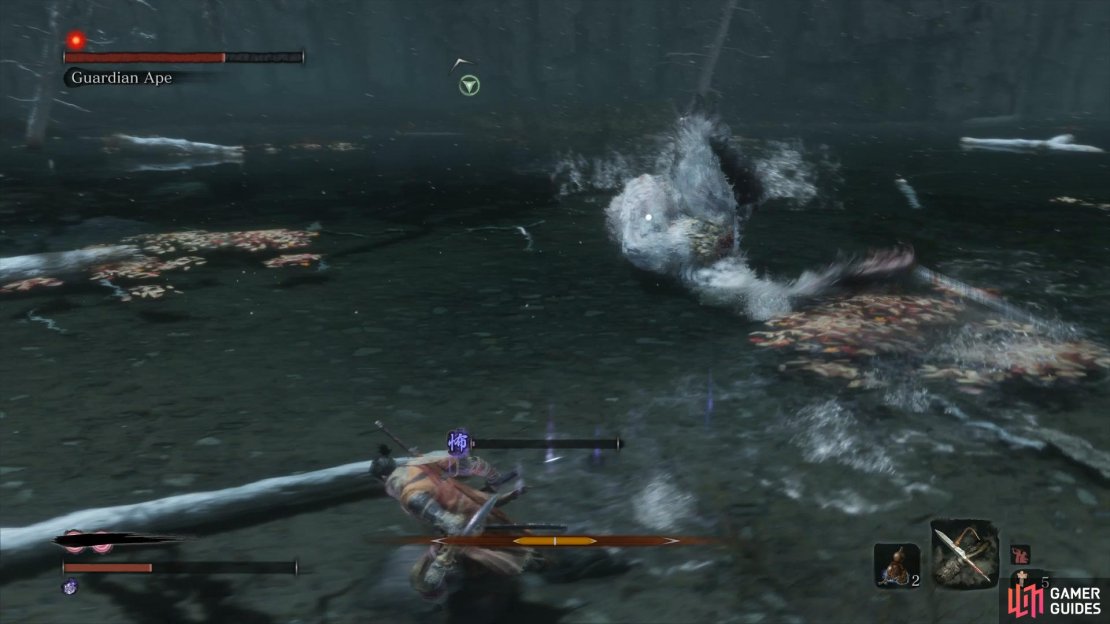
(1 of 4) Stay away from the Road to avoid Terror buildup
The only main concern of this phase is it’s Roar, an attack indicated by the Perilous Sign. Once you see this and he takes a bite out of his head, he’ll create an area of effect around him which will rapidly build up the Terror status while you remain in it. If this fills, it will pretty much kill you outright so to avoid it, run back as far as possible as soon as you see the sign. If you do suffer some Terror buildup, use a Pacifying Agent immediately before you resume you assault.


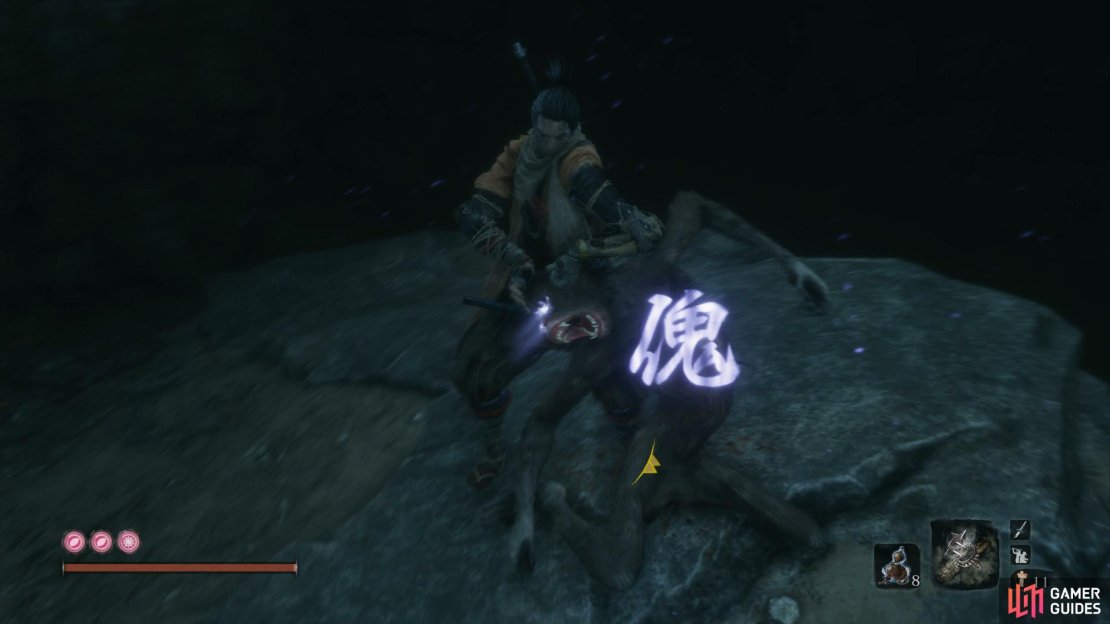
Your reward for this grueling battle is the Memory: Guardian Ape and the Slender Finger Shinobi Tool. Make use of the nearby Sculptor’s Idol and then head into the cave to find the Lotus of the Palace, an item that Lord Kuro was seeking. Consume the Memory at the Idol to increase your Attack Power and then Travel back to the Dilapidated Temple to have the Sculptor install the Finger Whistle, the final Shinobi Tool.


A Visit to Lord Kuro
While you’re here, make a quick detour to the Lord Kuro’s Inner Sanctum and speak to him to several times to obtain the Page’s Diary and Okami’s Ancient Text then hug the outside wall of his room to Eavesdrop on him. Speak to Emma next to obtain the Immortal Severance Scrap before returning to Kuro to speak to him once more along with Eavesdropping again.
Use the Idol here and rest to refresh the world state and you’ll notice that Emma has moved to the top of the stairs and upon speaking with her, will present you with a choice. Go ahead and agree with her and then rest at the nearby Idol once again to reset Emma to her original location to speak with her once more. Finally, return to the Inner Sanctum to procure some more Rice from the Divine Child.
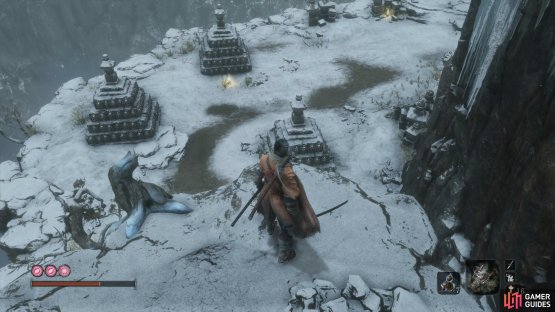
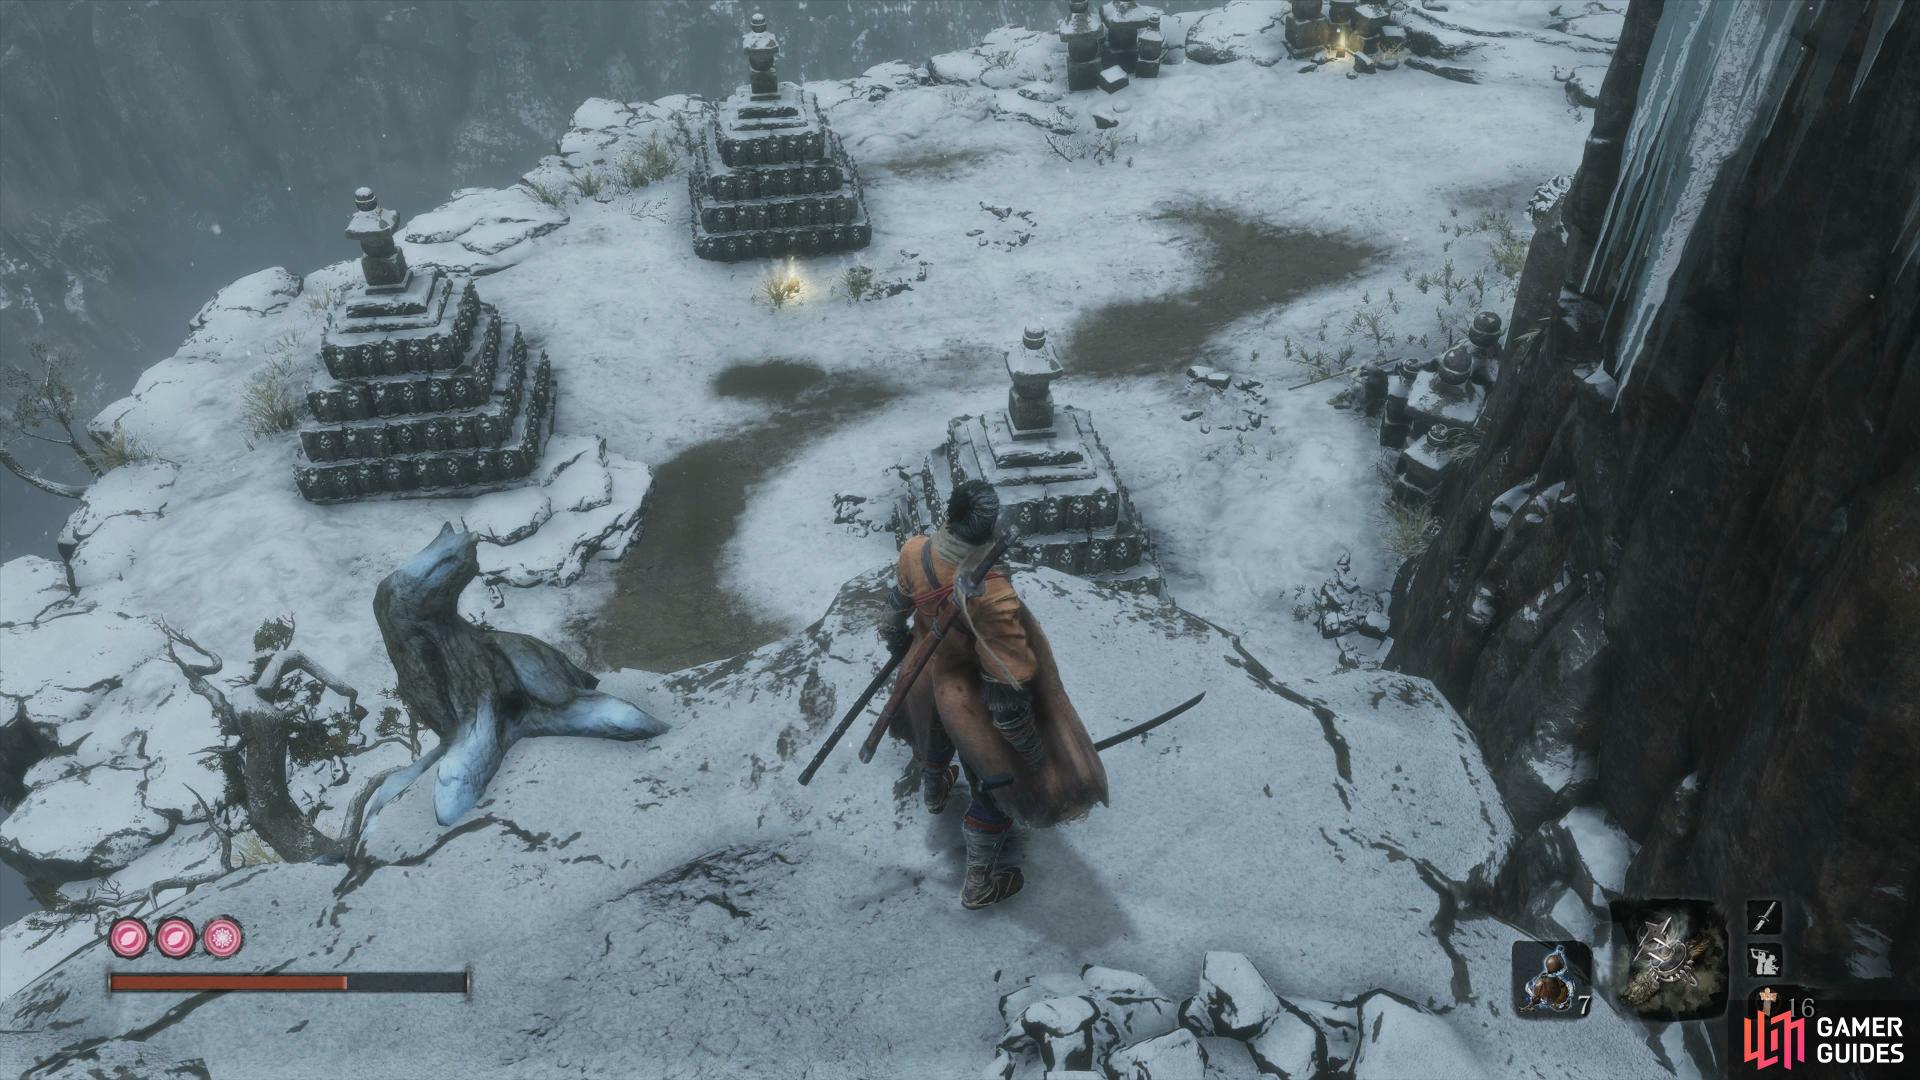
Bodhisattva Valley
Wolf must now make his way down to the bottom of the valley and you can begin your descent by dropping down to the left of the Old Woman. You’ll find a Mibu Balloon of Soul near the cliff’s edge and then grapple to the branch to the left to reach another a little lower. One more awaits lower to the left and then drop into the bog at the bottom, making sure you have your Antidote Powders on a Quick Slot.
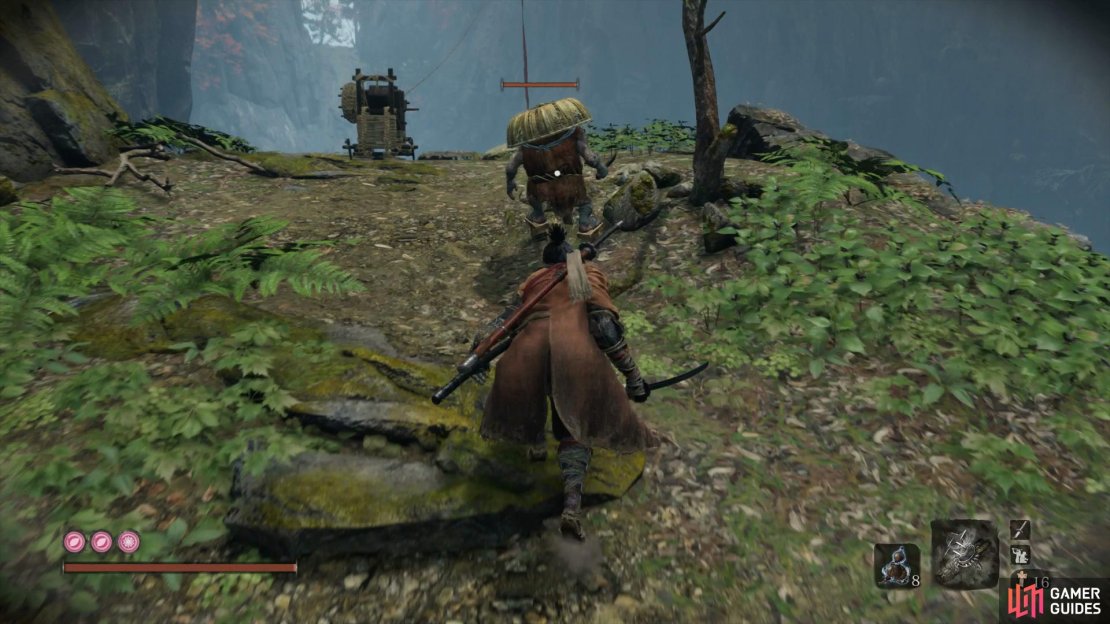
Pocket the Yellow Gunpowder in the middle and then continue to the edge of the cliff near where you dropped down to find a Heavy Coin Purse by the rock. Head along the left wall here to stay on solid ground and avoid the bog and you’ll notice a larger dual wielding Monkey patrolling backwards and forwards. This is a much tougher adversary and you’ll want to face it on solid ground if possible, and work on deflecting their quick flurry of slashes. Be prepared for a Perilous Sweep and make use of Firecrackers to create an opening.
Wait until you lose the alert status and approach from behind if you’re struggling.
Follow the path down and you’ll reach more solid ground on the right along with an Ungo’s Sugar. Ignore the right path for now and head along the left wall to reach more solid ground in the corner, enter stealth and backstab the Monkey on the edge here before looting the Mibu Balloon of Soul behind him. If you take a look at the island in front of you, you’ll spot a large group of Monkeys including another deadly White Monkey.
Work on clearing out the regular Monkeys around the island first before returning to deal with the White Monkey. With the island clear of enemies, loot the Scrap Magnetite along with the Light Coin Purse and Fulminated Mercury behind the rocks in the corner. Return to the previous split and take the right path (now on your left) to find the next Memorial Mob merchant.
| Items (Quantity) | Cost (Sen) |
|---|---|
| Pellet (5) | 80 |
| Dragon’s Blood Droplet (2) | 180 |
| Green Mossy Gourd | 1800 |
| Antidote Powder | 120 |
| Heavy Coin Purse (5) | 550 |
| Yellow Gunpowder (2) | 270 |
The special item this time is the Green Mossy Gourd, an item that you can use and refill like the Healing Gourd that will cleanse poison. It’s by no means a must however as Antidote Powders provide the same effect however consider purchasing his stock of Yellow Gunpowder and possibly the Dragon’s Blood Droplets.
Be sure to pocket the Snap Seeds as you reach the cave entrance and then drop down inside. Be sure to hold on to your Spirit Emblems as you navigate this dark passage, you’ll need them at the end. Begin following the path and loot the nearby Antidote Powder and then dodge away from the wall to avoid the Wall Warrior that attempts to strike at you. These can be killed and will drop Scrap Magnetite upon their death but odds are you’ll suffer more damage than needed so it’s best to avoid these enemies.
Drop down and take care of the Lizards as you move forward and encounter another Great Serpent. This one won’t attack so avoid attacking it and heading around the back of the rock to the right and take care of the Lizards by the item, once they’re defeated loot it to obtain some Fistful of Ash. As you head forward, grapple up to the right and you’ll see a group of items waiting to be looted, this is an ambush of Wall Warriors so be sure to dash through them as you loot the Pellets, Scrap Magentite and more Fistful of Ash.
Climb the platform to your left and follow the path to the end where you’ll spot a shrine in the back and the head of the Great Serpent will make an appearance. Do not move anywhere near the center, instead, equip the Puppeteer Ninjutsu and drop down to a platform to your left. It will be hard to see in the darkness but it is there and once on it, follow it around to the Spirit Emblems while in stealth. You’ll spot a Monkey here and if you remember the Old Lady’s ramblings about making a Monkey dance, now is the time to do it. Once you use Puppeteer, wait for the Great Serpent to attack and then grapple up and into the shrine at the back.

(1 of 3) Drop down to the left of the pillar
Head through and out the back to find a Mibu Balloon of Soul in the corner and the Dried Serpent Viscera on the shrine, this is another item needed for the game’s secret ending. You’ll need to find an alternative route out of this cave so look up to the left of the entrance of the shrine to find a grapple point, follow it around to pocket some more Divine Confetti and then turn around to grapple higher. Follow this path around to reach the back route of the Ashina Depths and the next Sculptor’s Idol.

No Comments