Unless you’ve been exploring prior to doing some main missions in Chapter 2, this will likely be your first encounter with a Stranger. After completing Polite Society, Valentine Style, you should be able to see a large white circle in the town of Valentine. Head towards it and it will narrow down to a saloon on the eastern side of town, so go inside to find a man named Theodore Levin trying to get some information out of Jim “Boy” Calloway, a famous gunslinger. He is trying to write a book about Calloway, except he’s passed out drunk, which is where you come in.
(1 of 2) Levin gives you photographs of each gunslinger
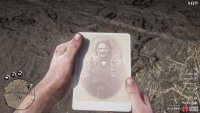
Levin gives you photographs of each gunslinger (left), Look on the backs of them to find out their locations (right)
Levin has pictures of other famous gunslingers and wants you to go and interview them, hoping they can contribute to his book. Of course, if they “get rowdy,” you have permission to shoot them. There are four gunslingers you need to confront, spread across the map, but you don’t know where they’re located. Thankfully, those posters Levin gave you will have their locations written on the backs, so you’ll want to look at them before doing anything. Open your satchel (hold right on the directional pad), then navigate to the last tab and you will find the posters there. Inspect each one, flipping them over, to put a location for each one on your map.
Emmet Granger
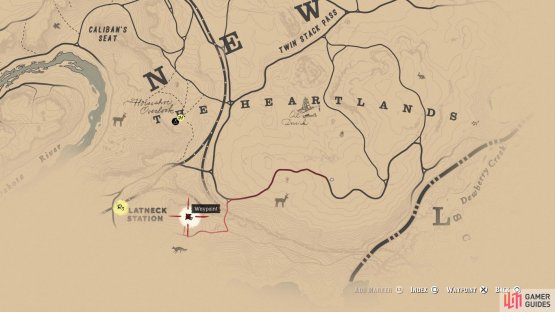
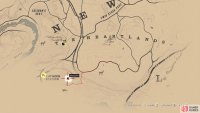
The first one on the list, at least according to this, is Emmet Granger, who can be found a little east of Flatneck Station. This location is to the south of Horseshoe Overlook, your camp in Chapter 2, and if you have his marker on the map, then you can simply place your own marker on it to guide you to his location. When you finally arrive at Emmet’s location, you see him leaning against the fence of his pig pen. Approach him to strike up a conversation with Emmet, who will tell you some old stories, but only if you help him out first.
When you regain control, walk over to the pitchfork leaning against the fence and pick it up, then head through the gate and into the pig’s pen. There will be four piles of poop in the pen, all of which are marked on your map. Go up to each one, pick it up, then place it in the cart. Once you’ve done that for all four piles, you find out that Emmet is not going to talk about Calloway. Of course, this ticks you off a tiny bit, so you decide to make use of some dynamite to liven things up a little bit.
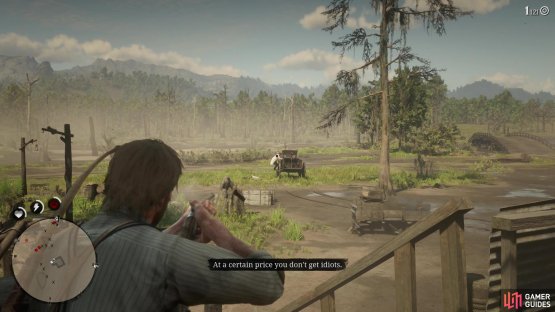
With the dynamite in hand, walk over to the manure store and press the button to place it. After a few seconds, things go boom and Granger is a little bit messy, as well as smelly. This leads to a duel with Emmet, which works a little differently than normal shootouts. You will want to slowly press R2/RT to fill up a meter, which appears in the bottom right. When ready, let go to aim and press R2 to fire your gun. Luckily, Emmet is great for practice, as he doesn’t have a gun and will toss a knife at you instead, so you get ample amounts of time.
(1 of 2) The location of Emmet Granger on the map
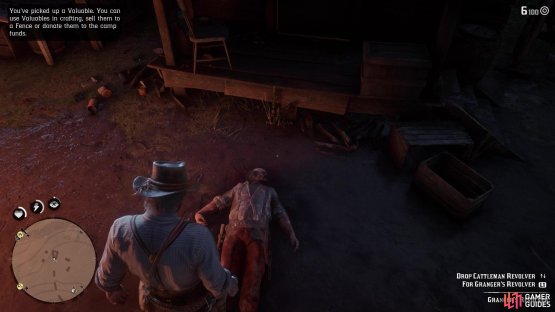
The location of Emmet Granger on the map (left), Don’t forget to loot Granger’s Revolver from his dead body (right)
Should you happen to fail, you can restart at the checkpoint, putting you right back at the duel. Once you’ve killed Emmet, you require a picture of him. Get close to his body, then bring up the weapon wheel and press R1/RB to move over to your items. The camera will be on the eastern side of the wheel, although you may need to change over from the binoculars. With the camera equipped, hold L2/LT to go into handheld mode, then press R2/RT to take a photo when you have a clear shot of Emmet’s face. That’s one down and three more to go.
Billy Midnight
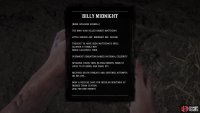
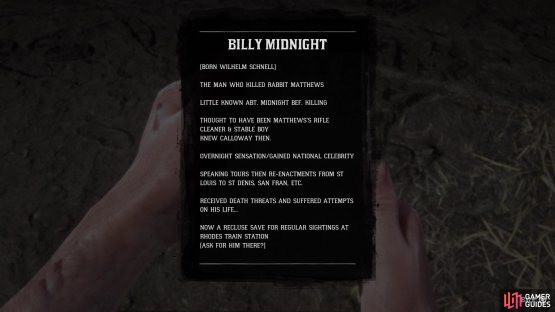
The next gunslinger on the list is Billy Midnight, who’s to the southwest, in the town of Rhodes. Once again, if you looked at his poster, the marker will be on your map, so all you have to do is place a custom waypoint on the marker to get a guided line to the place. When you finally arrive, enter the station/postal office and head to the clerk behind the desk. In addition to the usual options available from the clerk, you will find an extra one called “Billy Midnight?”, so choose it to learn that Billy spends his days riding the trains and will likely be on the next one, or the one after that.
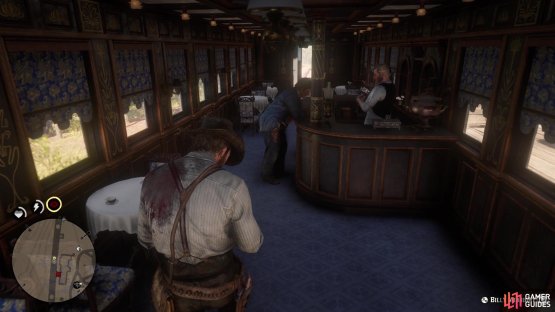
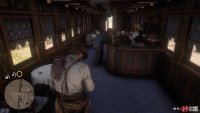
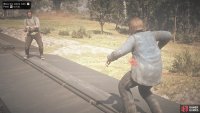
Luckily for you, waiting shouldn’t be something you need to do, as a train will magically pull right in. Step outside, onto the platform, and enter the train. As mentioned by the clerk, check the bar car, which should be the car located furthest in the back of the three highlighted. You will find Billy standing at the bar, so greet him and after a little conversation, he will run off. Give chase, through the cars, and you will end up having to climb on top of one of the cars, where a confrontation will take place. This ultimately leads to another duel, but unlike Granger, Billy has a gun on him, so you want to be quick about shooting him before he does you. Like before, if you happen to fail, the checkpoint will put you straight back at the duel. When Billy is dead, snap a picture of him and it’s time to track down the other two people.
(1 of 2) Billy Midnight can be found in the bar car
Billy Midnight can be found in the bar car (left), Quickly shoot Billy before he can shoot you (right)
Black Belle
The next person on the list is Black Belle, who will be located northeast of Rhodes on the map. This will be the swampy area of the map, so make sure you’re dressed appropriately (it will be warm). As you approach the marker on your map, it will turn into a big white area, but you’re looking for a lone shack. Before approaching the place, make sure you have a rifle on Arthur, as you will be using it soon. As you get close to the door, Black Belle will peek out and question whether you’re a bounty hunter or not.
This will lead to some real bounty hunters showing up, with Belle laying a trap for them. Your goal is to detonate the explosive on Belle’s word, so wait for her to say “set it off” before pressing the designated button. Of course, this leads to a shootout with the bounty hunters, with a few being in front of the house. Not far in, more will appear behind the house, so take cover back there and continue knocking them down. One more wave will come from the front, but there’s a twist.
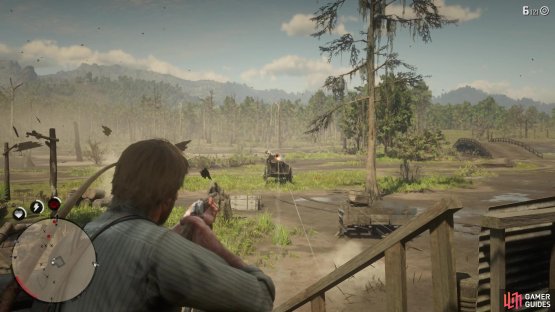
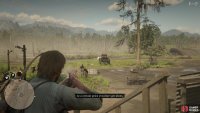
A carriage will come by, equipped with a gatling gun, so make sure you kill the guy manning it before anything else. The other men will likely be drawn to the cart, so you can use it as bait to have one less bounty hunter firing at you, at least for a little bit. When you’ve killed the last one, Belle will leave, but you’ll be able to take a picture of her before she does. That leaves one more person left on the list. Note that Belle doesn’t have a unique weapon on her and you can’t shoot her anyway, so just let her ride off into the sunset.
(1 of 2) When the gatling gun arrives, kill the hunter manning it
When the gatling gun arrives, kill the hunter manning it (left), Keep an eye for other guys going to get on the gatling gun (right)
Flaco Hernandez
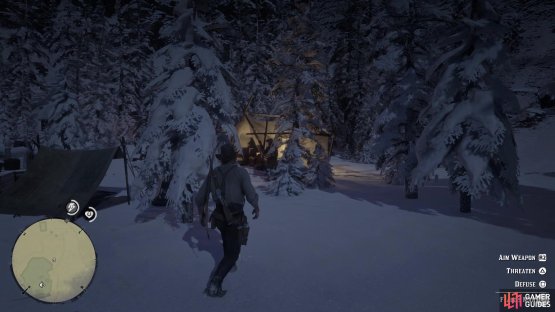
The last gunslinger is located to the north, so head back to camp and make sure you dress appropriately for the cold weather, as your health core will dip if you don’t put on some warmer clothes. Cairn Lake will be your destination and once you finally make it all the way there, you will find Flaco’s men roaming around outside of the cabin. You have a multitude of ways to go about this, as you can sneak around and take them out silently or get into a shootout with them all. By far the easiest way to do this is approach one of the men and threaten them.
By doing this, the men will let you go to the cabin without having to do anything else on your end. Thus, you can walk straight to the cabin, call Flaco to come out, who will immediately duel you. Flaco’s a little trickier than the others with his duel, as he will dive to the right before shooting you, so you’ll need to move your aiming reticle to the right to get Flaco before he gets you. It may take a few tries, but Flaco will eventually die and his men will run off. Loot his unique weapon, Flaco’s Revolver, then take a picture to finish up the first portion of this Strangers Mission.
(1 of 2) Threaten Flaco’s men to not start trouble with them
Threaten Flaco’s men to not start trouble with them (left), Flaco will dive to your right in the duel, so adjust accordingly (right)




No Comments