This oceanic route sits north of Mossdeep City.
Pokémon Encounters
Route 125
Same Pokémon as Route 124 .
Shoal Cave
| Name | Type | Location | Encounter Rate |
|---|---|---|---|
 Golbat Golbat |
Poison/Flying | Cave/Surf | 40%, 35% (Surf), 20% (Ice Room) |
 Sealeo Sealeo |
Water/Ice | Cave | 40% (High Tide), 35% (Low Tide), 30% (Ice Room) |
 Snorunt Snorunt |
Ice | Cave | 40% (Ice Room) |
 Spheal Spheal |
Water/Ice | Cave/Horde | 20%, 60% (Horde High Tide), 40% (Horde Low Tide), 10% (Ice Room) |
 Zubat Zubat |
Poison/Flying | Horde | 40% (High Tide), 60% (Low Tide and Ice Room) |
 Tentacool Tentacool |
Water/Poison | Surf | 50% |
 Tentacruel Tentacruel |
Water/Poison | Surf | 15% |
Shoal Cave - Fishing
Same Pokémon as Route 124 .
Local Trainers Pokémon
| Name | Money | Party |
|---|---|---|
| Teammates Kim & Iris | 1,872 |  Camerupt Lv. 39, Camerupt Lv. 39,  Altaria Lv. 38 Altaria Lv. 38 |
| Sailor Ernest | 1,440 |  Wailmer Lv. 36, Wailmer Lv. 36,  Machoke Lv. 36, Machoke Lv. 36,  Tentacruel Lv. 36 Tentacruel Lv. 36 |
| Swimmer Stan | 624 |  Seadra Lv. 39 Seadra Lv. 39 |
| Swimmer Tanya | 627 |  Luvdisc Lv. 39 Luvdisc Lv. 39 |
| Swimmer Cody | 592 |  Staryu Lv. 37, Staryu Lv. 37,  Staryu Lv. 37 Staryu Lv. 37 |
| Swimmer Sharon | 576 |  Clamperl Lv. 38, Clamperl Lv. 38,  Seaking Lv. 36 Seaking Lv. 36 |
Mossdeep City
As you Surf east from Route 124, given the narrow area of convergence, you’ll actually end up in the area surrounding Mossdeep, which is contained mostly on Route 125.
If you want to simply continue to get things over with, feel free to continue on in Mossdeep City, but otherwise circle around to its north side.
Route 125
As you arrive heading north, you’ll see a small island with a Secret Spot on it. North of there is the entrance to Shoal Cave. Ignore it for the moment, but do battle the couple of Trainers out front and the Fisherman to the northwest.
Then get the Swimmer in the water to the west. Then go east of the cavern to find a Swimmer to battle, a Big Pearl on the nearby island, then get the Swimmers to the north and east of there. Now enter the cavern!
Shoal Cave
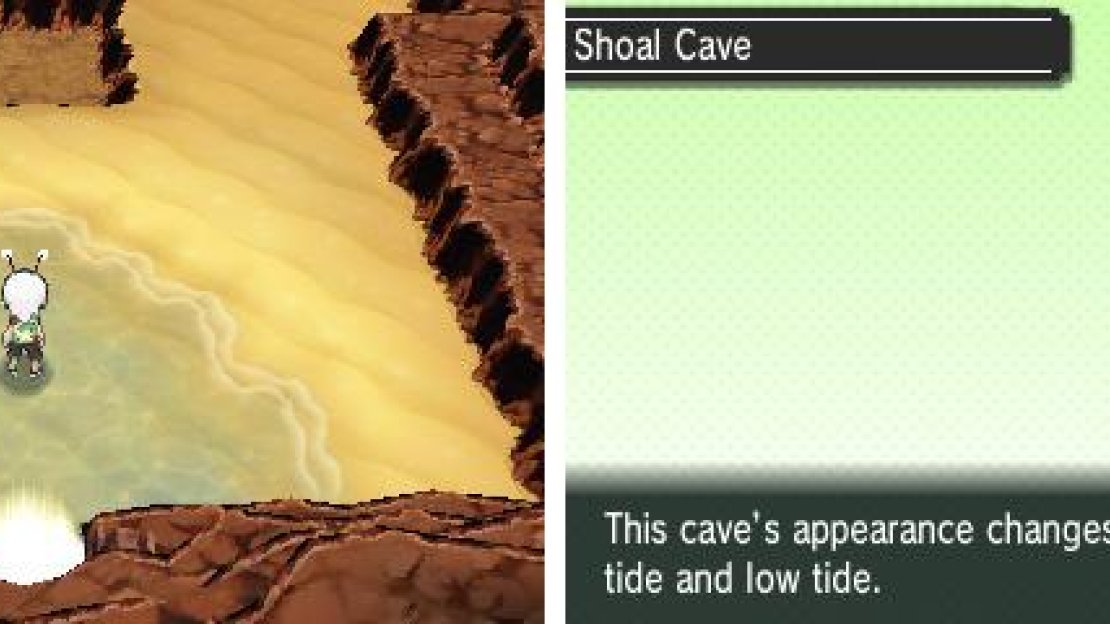
A seaside cave that’s different to explore depending on the tide.
Much like the original Pokémon Ruby/Sapphire (and, of course, Emerald) Shoal Cave’s water level will change in accordance with the tides, and thus the time of day. There are two versions of the cave as such: “high tide” and “low tide”. The times each appear are listed below.
If you enter the cave in one variation, it will remain as such until you leave, which makes nighttime gamers have an advantage in entering around midnight as they can enter, finish, then re-enter and finish again in a period of only an hour or two
Of course, these times are based off of your 3DS’s internal clock. Note that alterations to such will completely screw up the timer for this, too.
- 03:00 to 09:00 (3:00 AM to 9:00 AM): Low tide
- 09:00 to 15:00 (9:00 AM to 3:00 PM): High tide
- 15:00 to 21:00 (3:00 PM to 9:00 PM): Low tide
- 21:00 to 03:00 (9:00 PM to 3:00 AM): High tide
There will be two versions of the walkthrough below to accomodate this change.
Shoal Cave: Low Tide
When you arrive, if you go north you can speak with an old man. If you bring him four Shoal Salts and four Shoal Shells, he’ll give you a Shell Bell and the Slowbroite Mega Stone which is for  Slowbro; you’ll find Shoal Salts at low tide and the Shells at high tide.
Go downstairs from him and west, using the Dowsing Machine to find a Pearl near the west side of the area. Go north of the old man to the next area.
Here, go through the doorway in front of you and along the path to find some sandy slopes. Ascend them with the Mach Bike to find TM79 (Frost Breath). Go down the opposite side, then go south down the ladder.
Brr… it sure got chilly all of a sudden. This area has a few of the series’s infamous sliding ice puzzles. Once you step onto a shiny, reflective ice floor, you’ll continue moving in one direction until you hit an obstruction, such as a wall.
The first few ice floors can hardly be called “puzzles” though; just slide your way south across the first two slippery floors. As you turn the corner, slide to your left at the earliest opportunity (closest to the northward wall). Then slide down, left and up to the other side.
Just ahead are some stairs leading up to higher ground. This next bit is either easy or very easy. You can simply slide diagonally up-right to the stairs. Or if you want to do it the old-fashioned way, slide north to the single non-slippery tile nearby, then left, down, right and finally up.
You can find Eevee right before the Pokémon League.
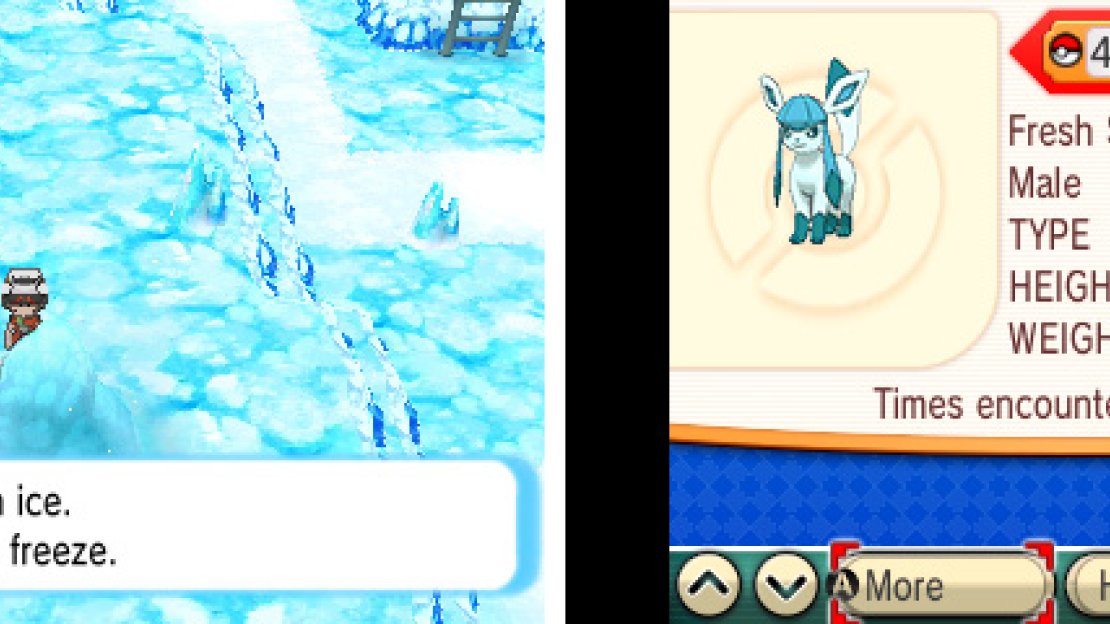
It’s a bit hard to see, but there’s an Icy Rock near the south of this raised land- touching this will allow  Eevee to involve into the Ice-type
  Glaceon when it Levels Up. Right now the rock is a bit useless though. Next, return down the stairs, then slide down, left, up and diagonally down-right.
Use your Dowsing Machine to find the hidden Ice Heal to the south, then return up and slide right. On the other side is TM07 (Hail), which triggers the Hail weather condition in battle. It’s useful for Ice-types, boosting the accuracy of Blizzard and inflicting constant damage to non-Ice Pokémon.
Next, hop down over the ledge to your south and return up the ladder back to the warmer area of the cave. From here, head north past the slopes and west to the Strength boulder.
Push the boulder west some and then get around it, then head to the west to find some Shoal Salt and a Black Belt handing out a Focus Band (which is honestly quite pointless). Go west of him to find some ladders; use the southwestern of the two.
At the top, you’ll find a Shoal Salt , and there will be another if you go far to the north and east. Return to the ladder and go on down, then use the ladder to the northeast. Go along the path before you and across a few bridges to another ladder.
Go down and along the path and eventually you’ll hit the southern portion of the area. Go east to find a Shoal Salt and an Ice Heal , then west to find a ladder. The path will wind back to the start of the area (if you go through the southbound archway in the next area).
You’re done, now get out of there before you drown!
Shoal Cave: High Tide
When you enter, if you go north you’ll find a man requesting some Shoal Salts and Shoal Shells; if you give him four of each, he’ll give you a Shell Bell and some Slowbroite, which Mega Evolves Slowbro, which is unusually threatening as a staller.
In any case, go west of the entrance and Surf onto the water. Climb onto the ledge and go along its path using the Dowsing Machine to locate a Star Piece . Return to the water and get on the northwest ledge and go to the next area.
Here, go west and along to the water, then begin Surfing. Go northeast and land there for a Shoal Shell and another Shoal Shell will be on the ledge to the west. Go east from there on the water and land in the shallows further ahead.
There, you can go southwest and ascend to a ledge yielding a Rare Candy , northeast to a ledge with a Shoal Shell , and southeast to another Shoal Shell . Go south through the archway to the previous area, grab the Big Pearl there, and consider yourself done with this version.


No Comments