
Outriders Worldslayer which released on June 30th, 2022 brings severeal new bosses for players to take down as they explore the new locations around Enoch. This page pertains to the second main boss that you’ll face during your run of the Trial of Tarya Gratar which is the new end-game introduced with Worldslayer..
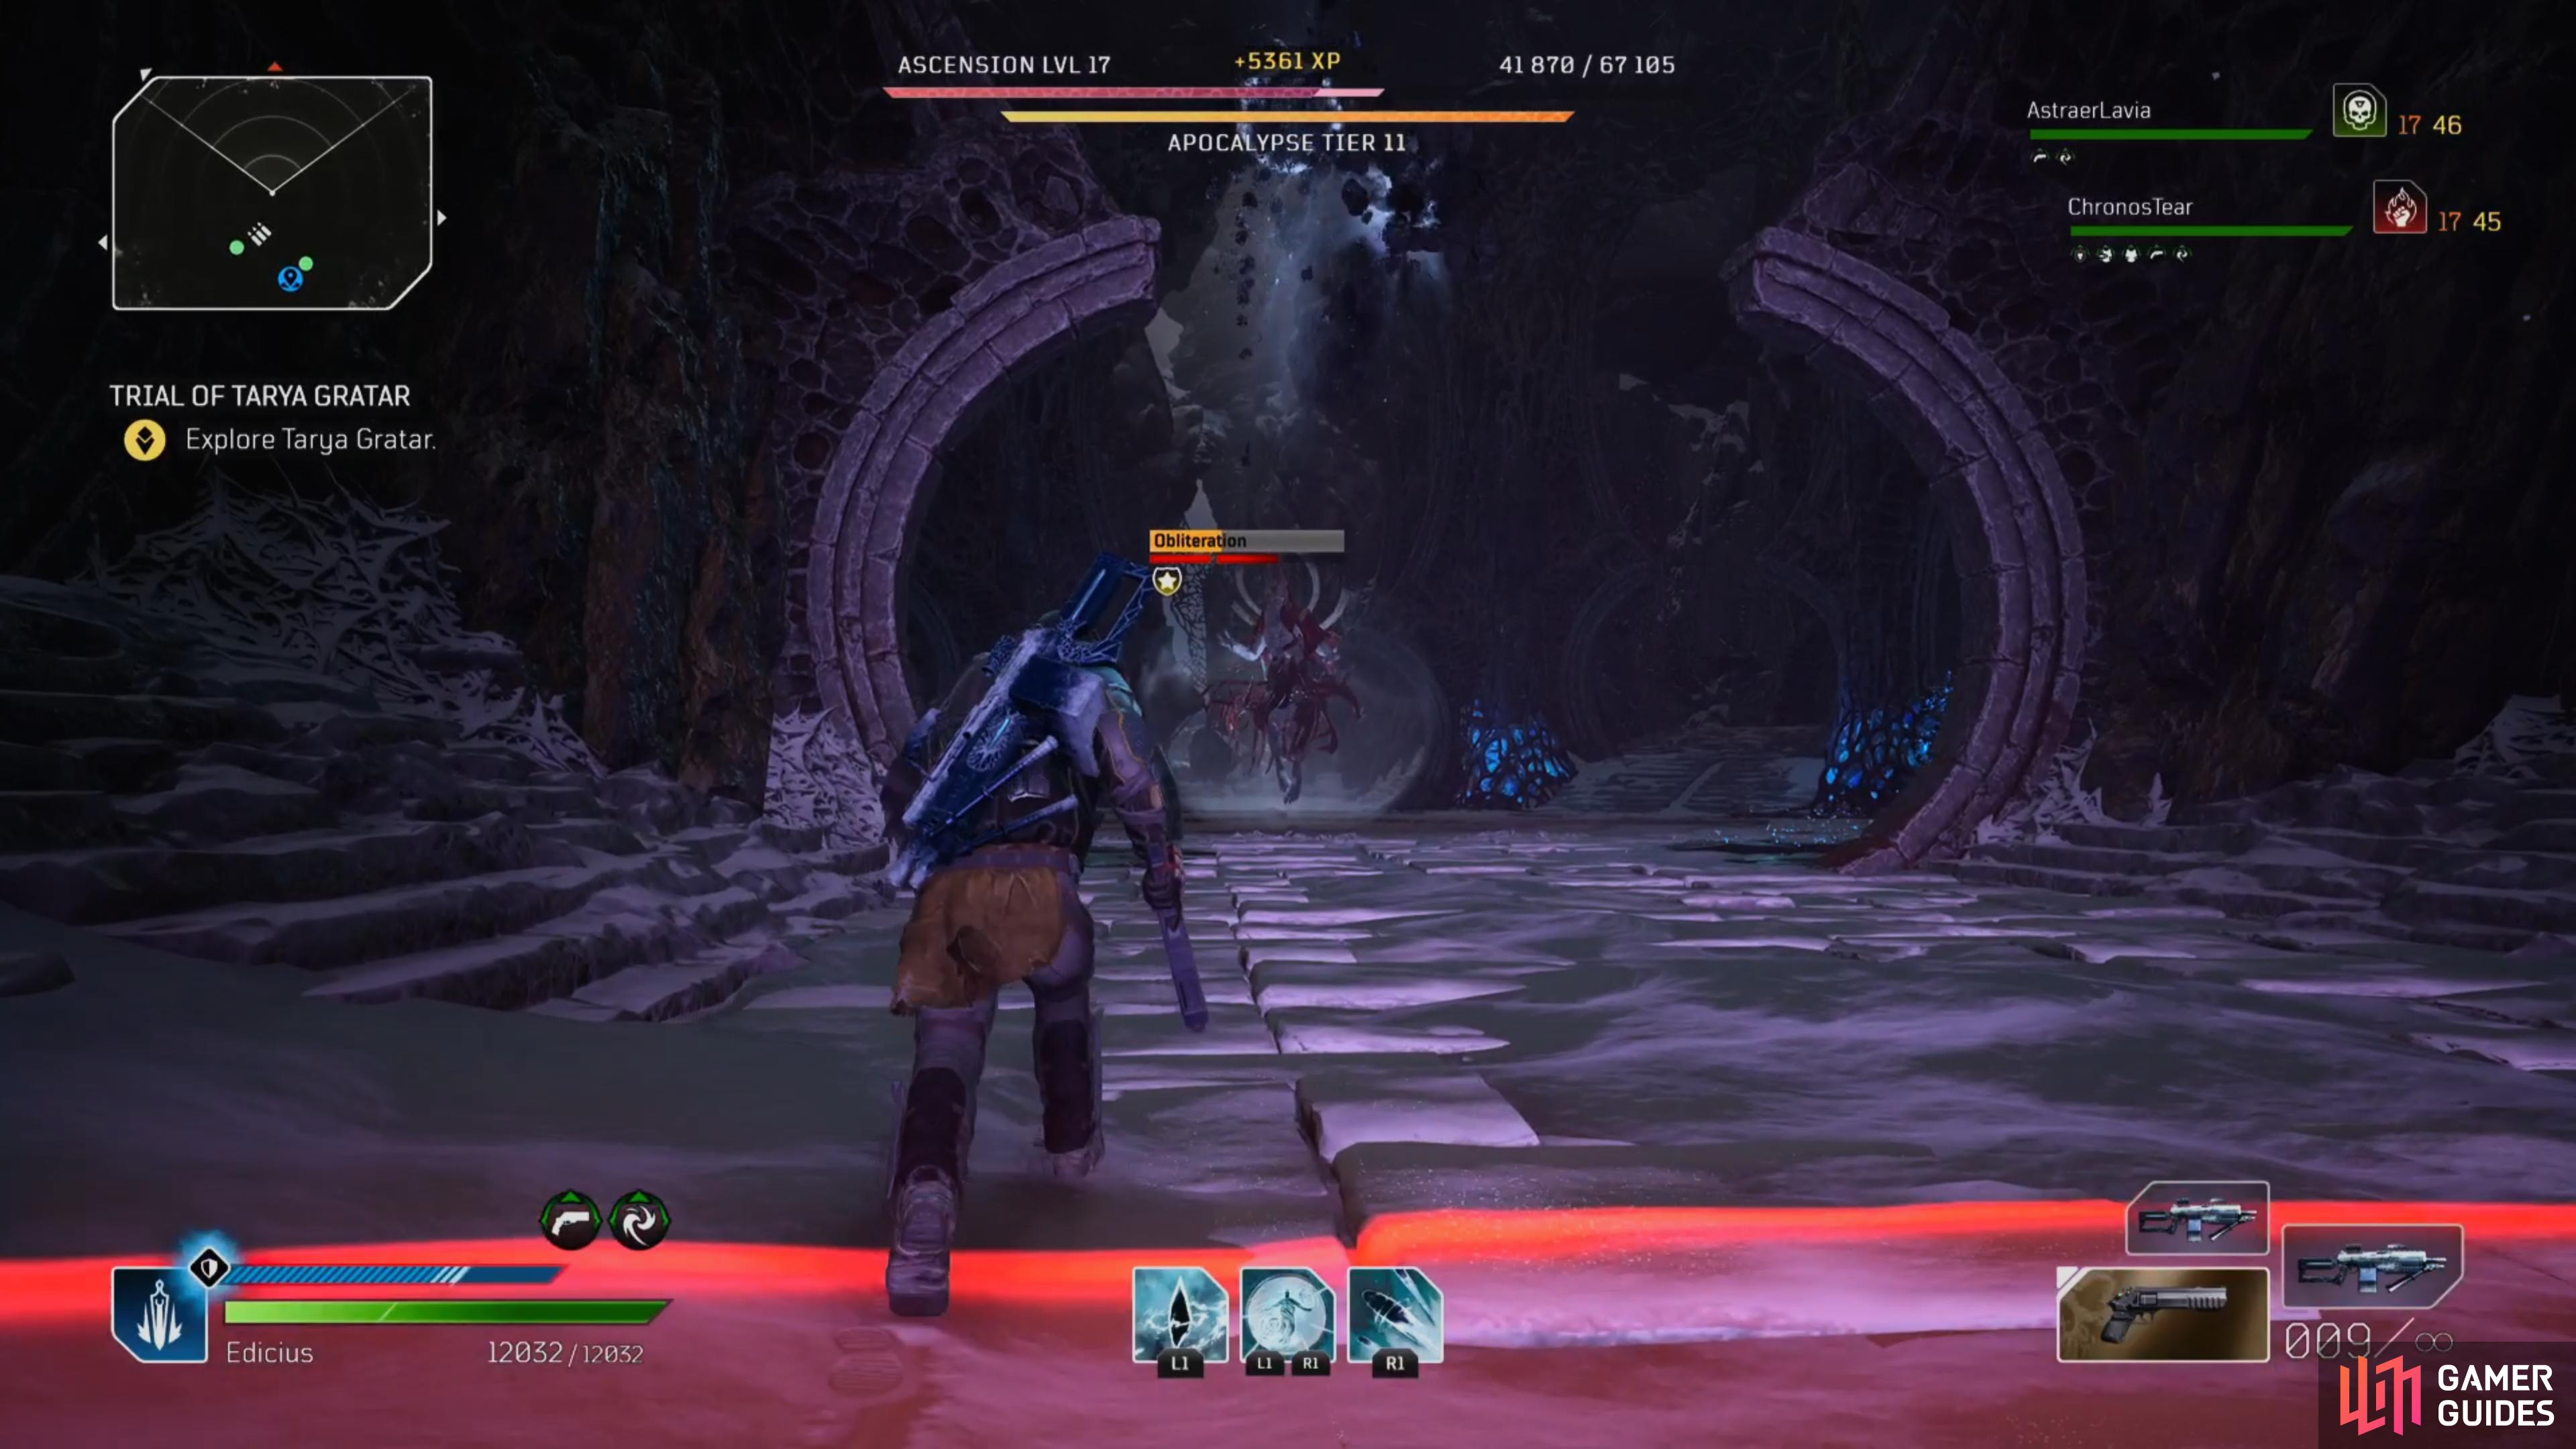
Okriel doesn’t move from the center of the arena.
Mechanics
Unlike a lot of the other bosses in the Trial of Tarya Gratar, Okriel doesn’t really have a lot of health and she doesn’t have many attacks to worry about. However, this fight focuses more on you completing certain mechanics around the arena in order to remove her shield and allow you to continue dealing damage again.
Phase 1
How To Remove Okriel The Traitor’s Shield in Outriders Worldslayer
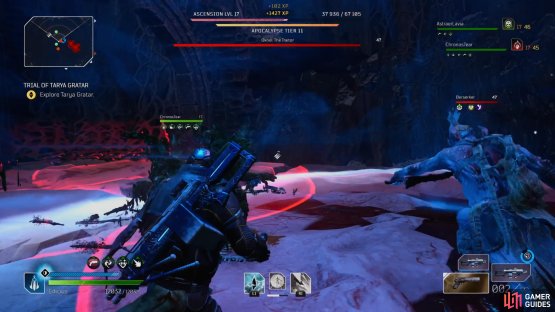
Once you’ve entered the arena you and your team will want to deal as much damage as possible before she activates her shield which will make her invulnerable, so this means using your strongest weapons and combining it with Trickster’s Twisted Rounds or Technomancer’s Blighted Rounds. Additionally, if you have a Technomancer in your party using an Ordnance Skill, such as Tool of Destruction with the Cannonade Perk, then you’ll want to make sure they have this activated to give the party a Weapon Damage increase.


(1 of 2) Deal as much damage as you can before Okriel puts up a shield
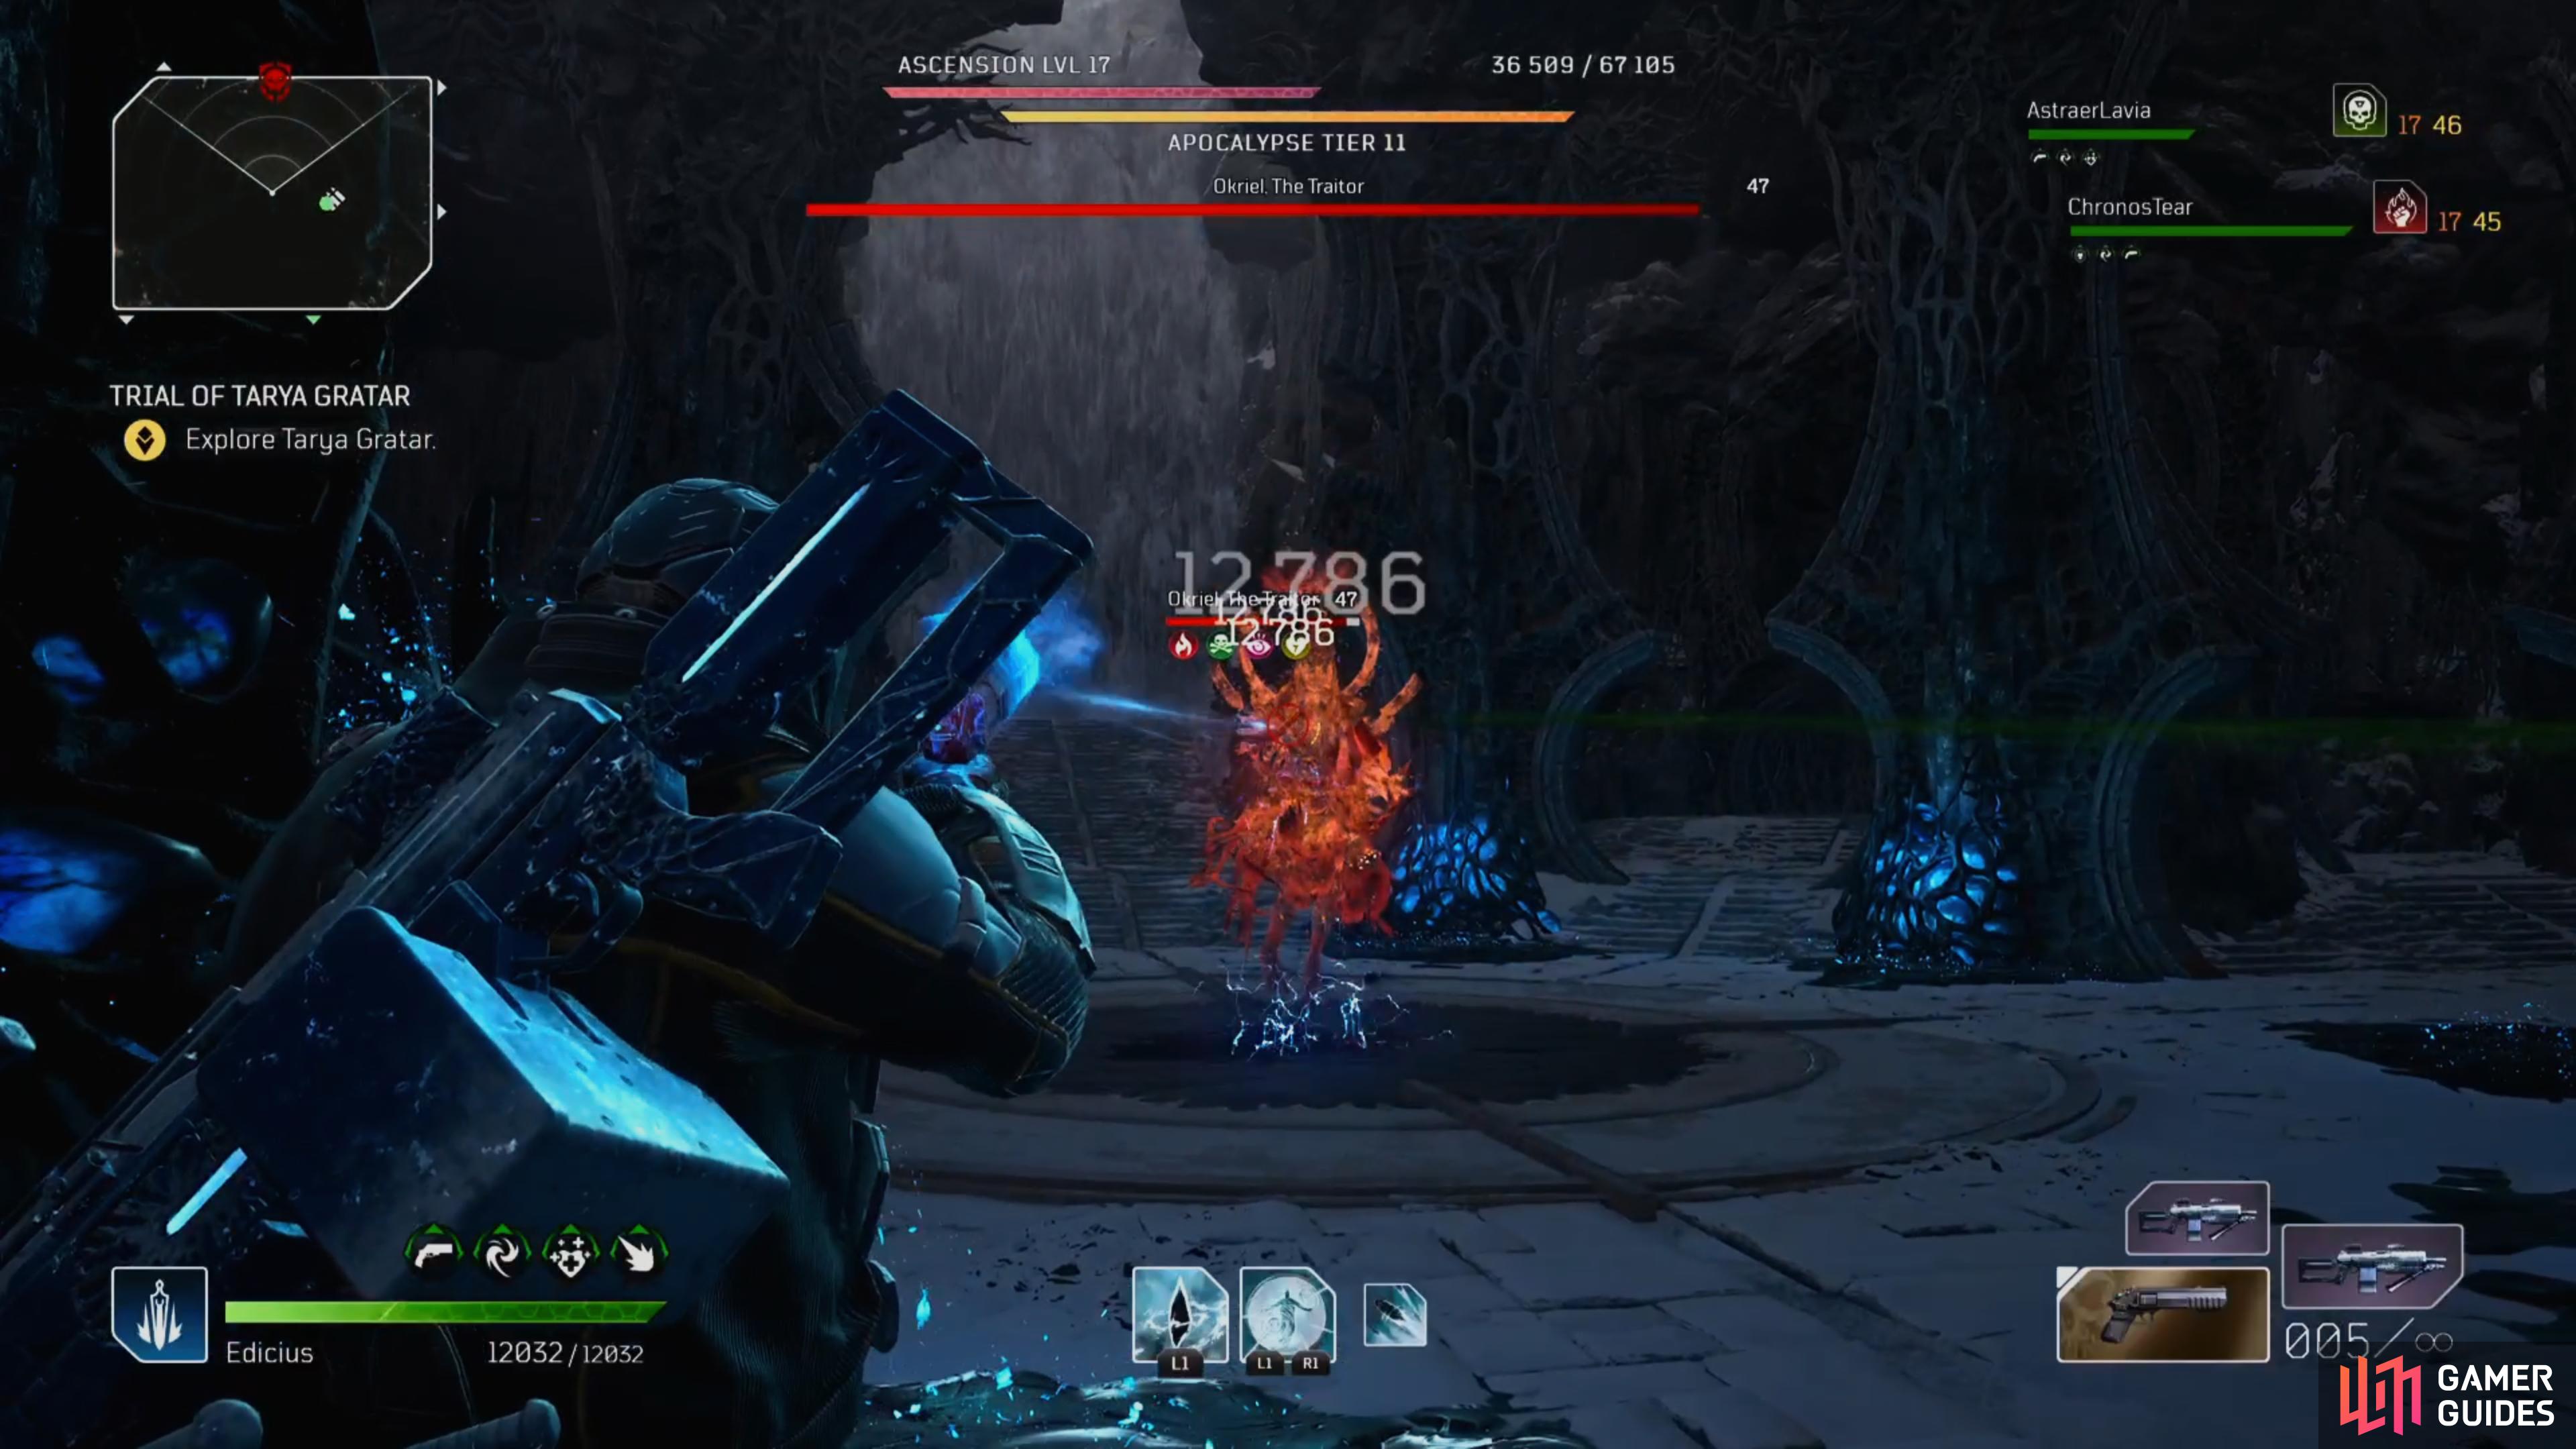
Deal as much damage as you can before Okriel puts up a shield (left), then watch out for the large AoEs on the ground. (right)
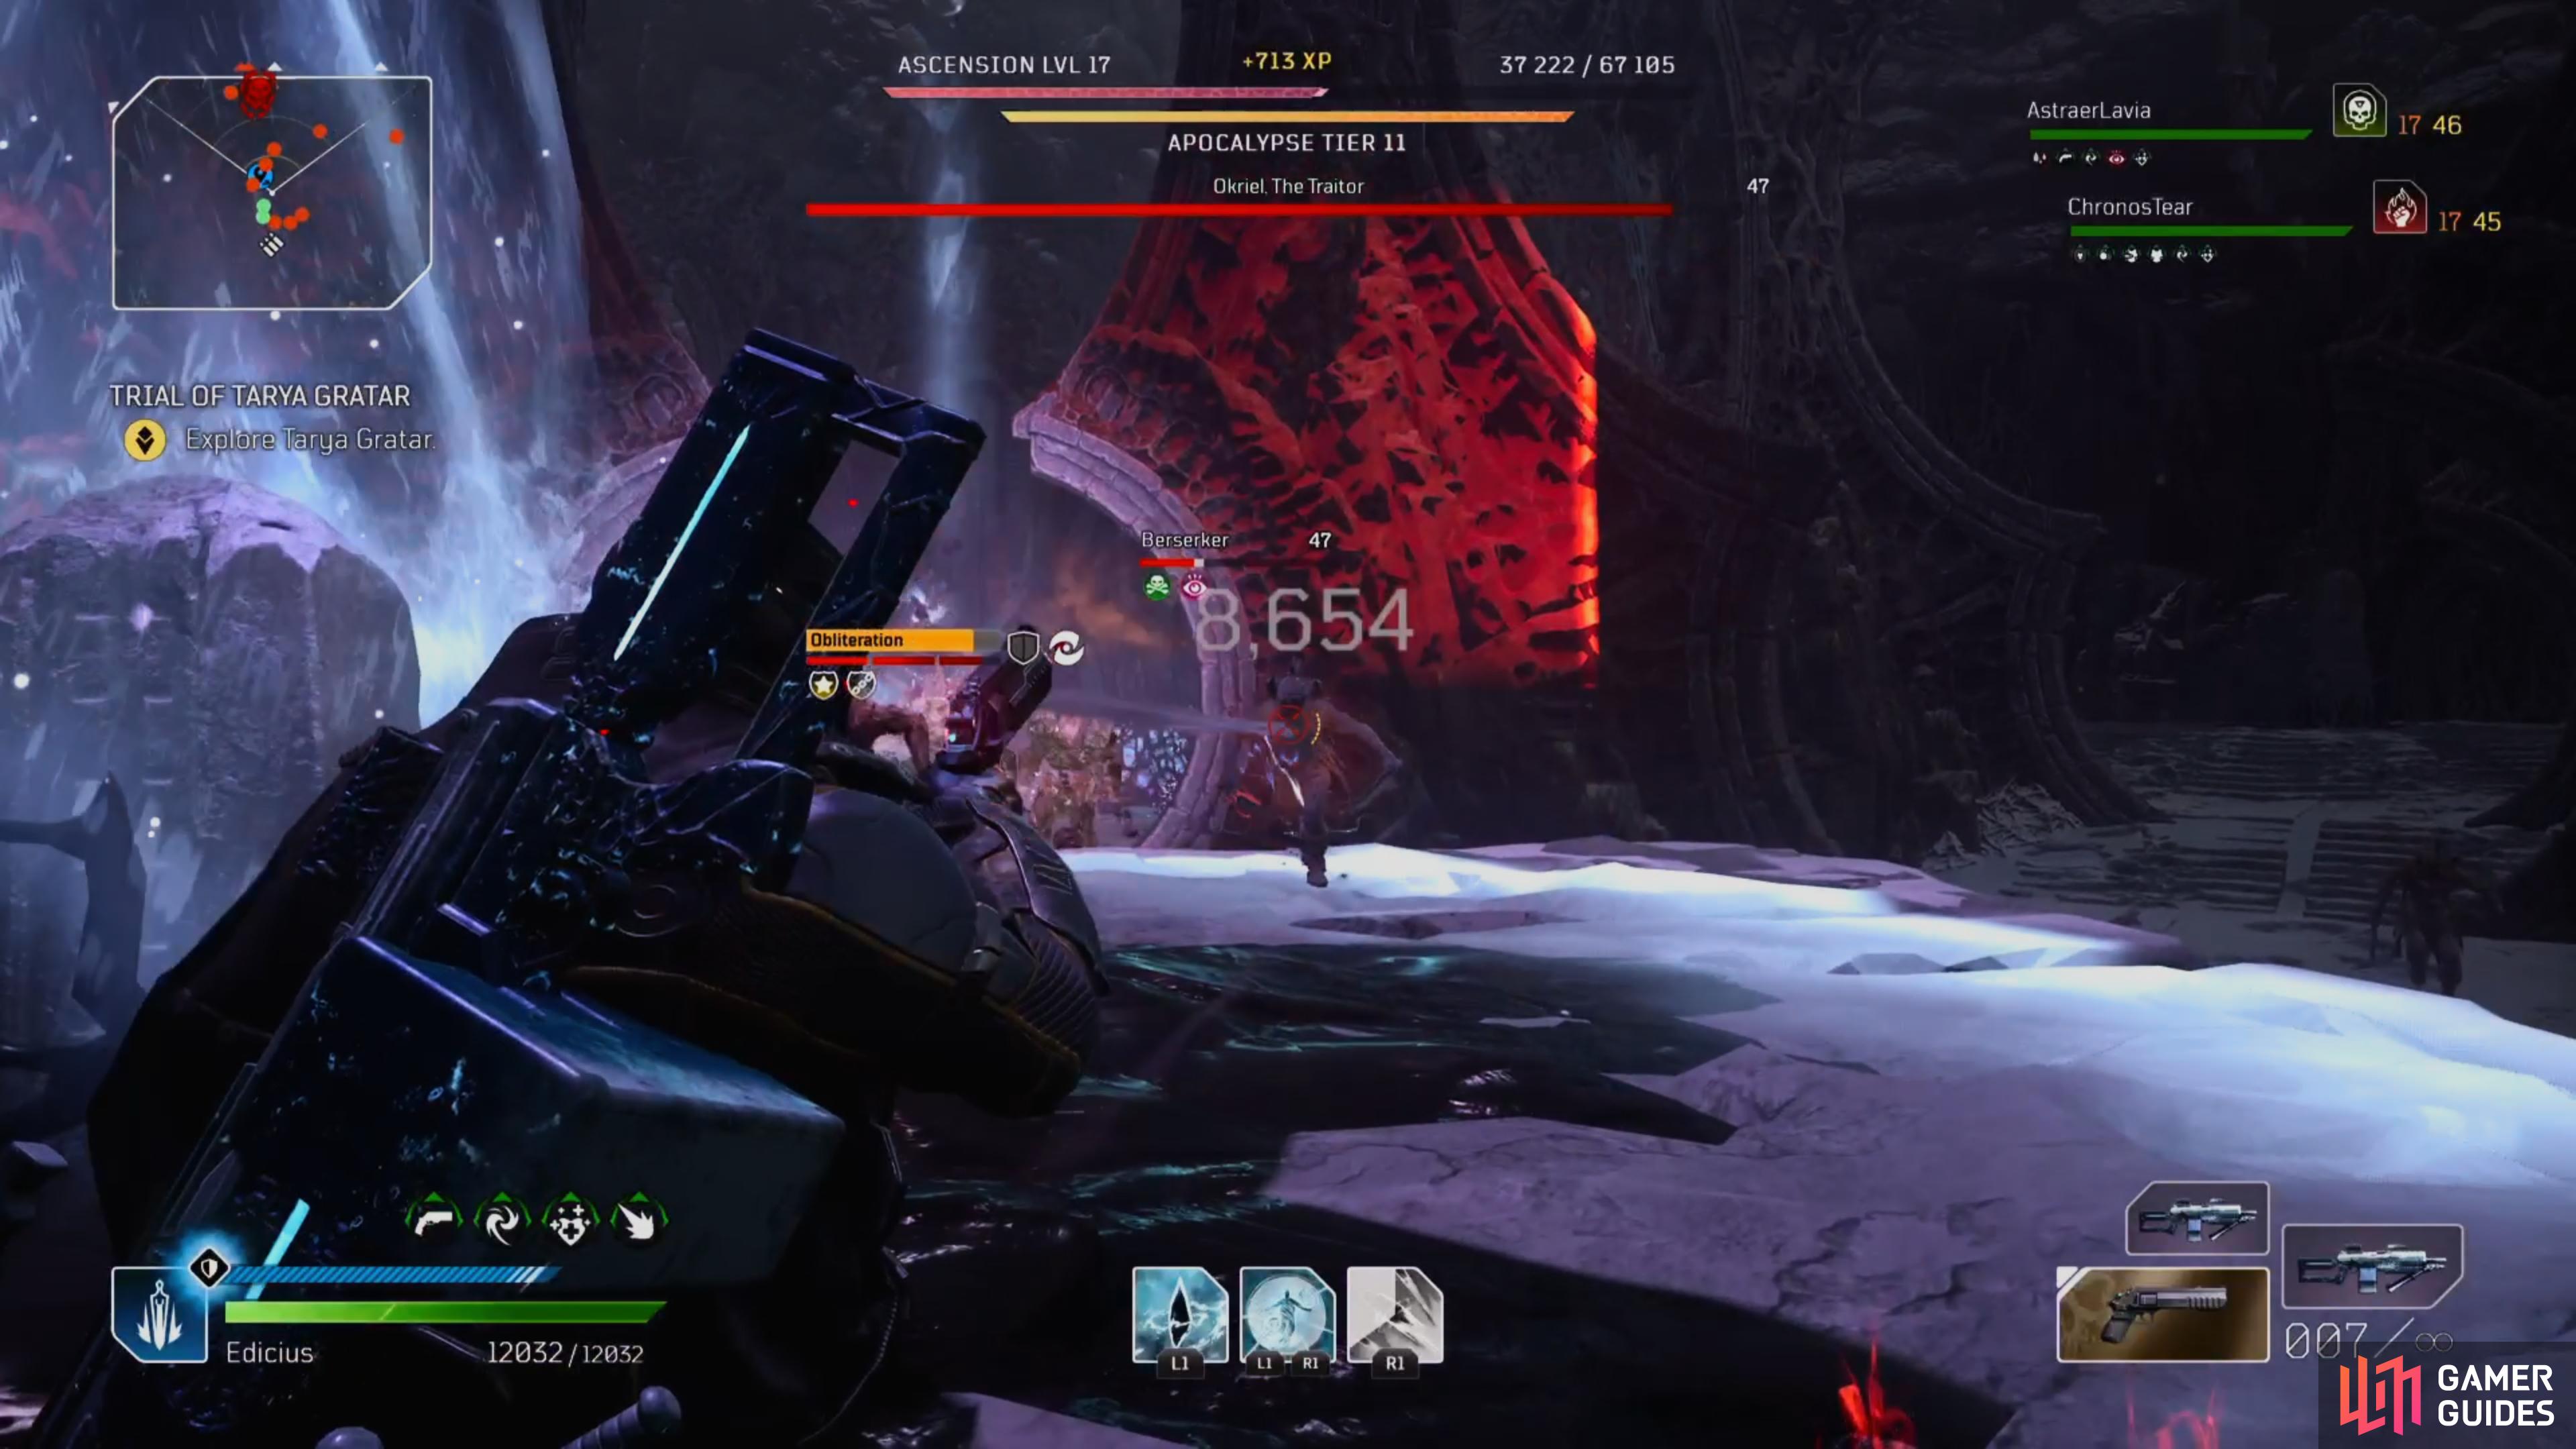
After you’ve dealt enough damage, she’ll shield herself up and start launching AoE (Area of Effect) Attacks in a circle around her, so pick a direction and continue rolling until she stops. Getting caught by will cause you to lose a very large chunk of your health and temporarily stun you, meaning avoiding the second AoE will be tricky and most likely result in you going down if you can’t quickly recover your health.
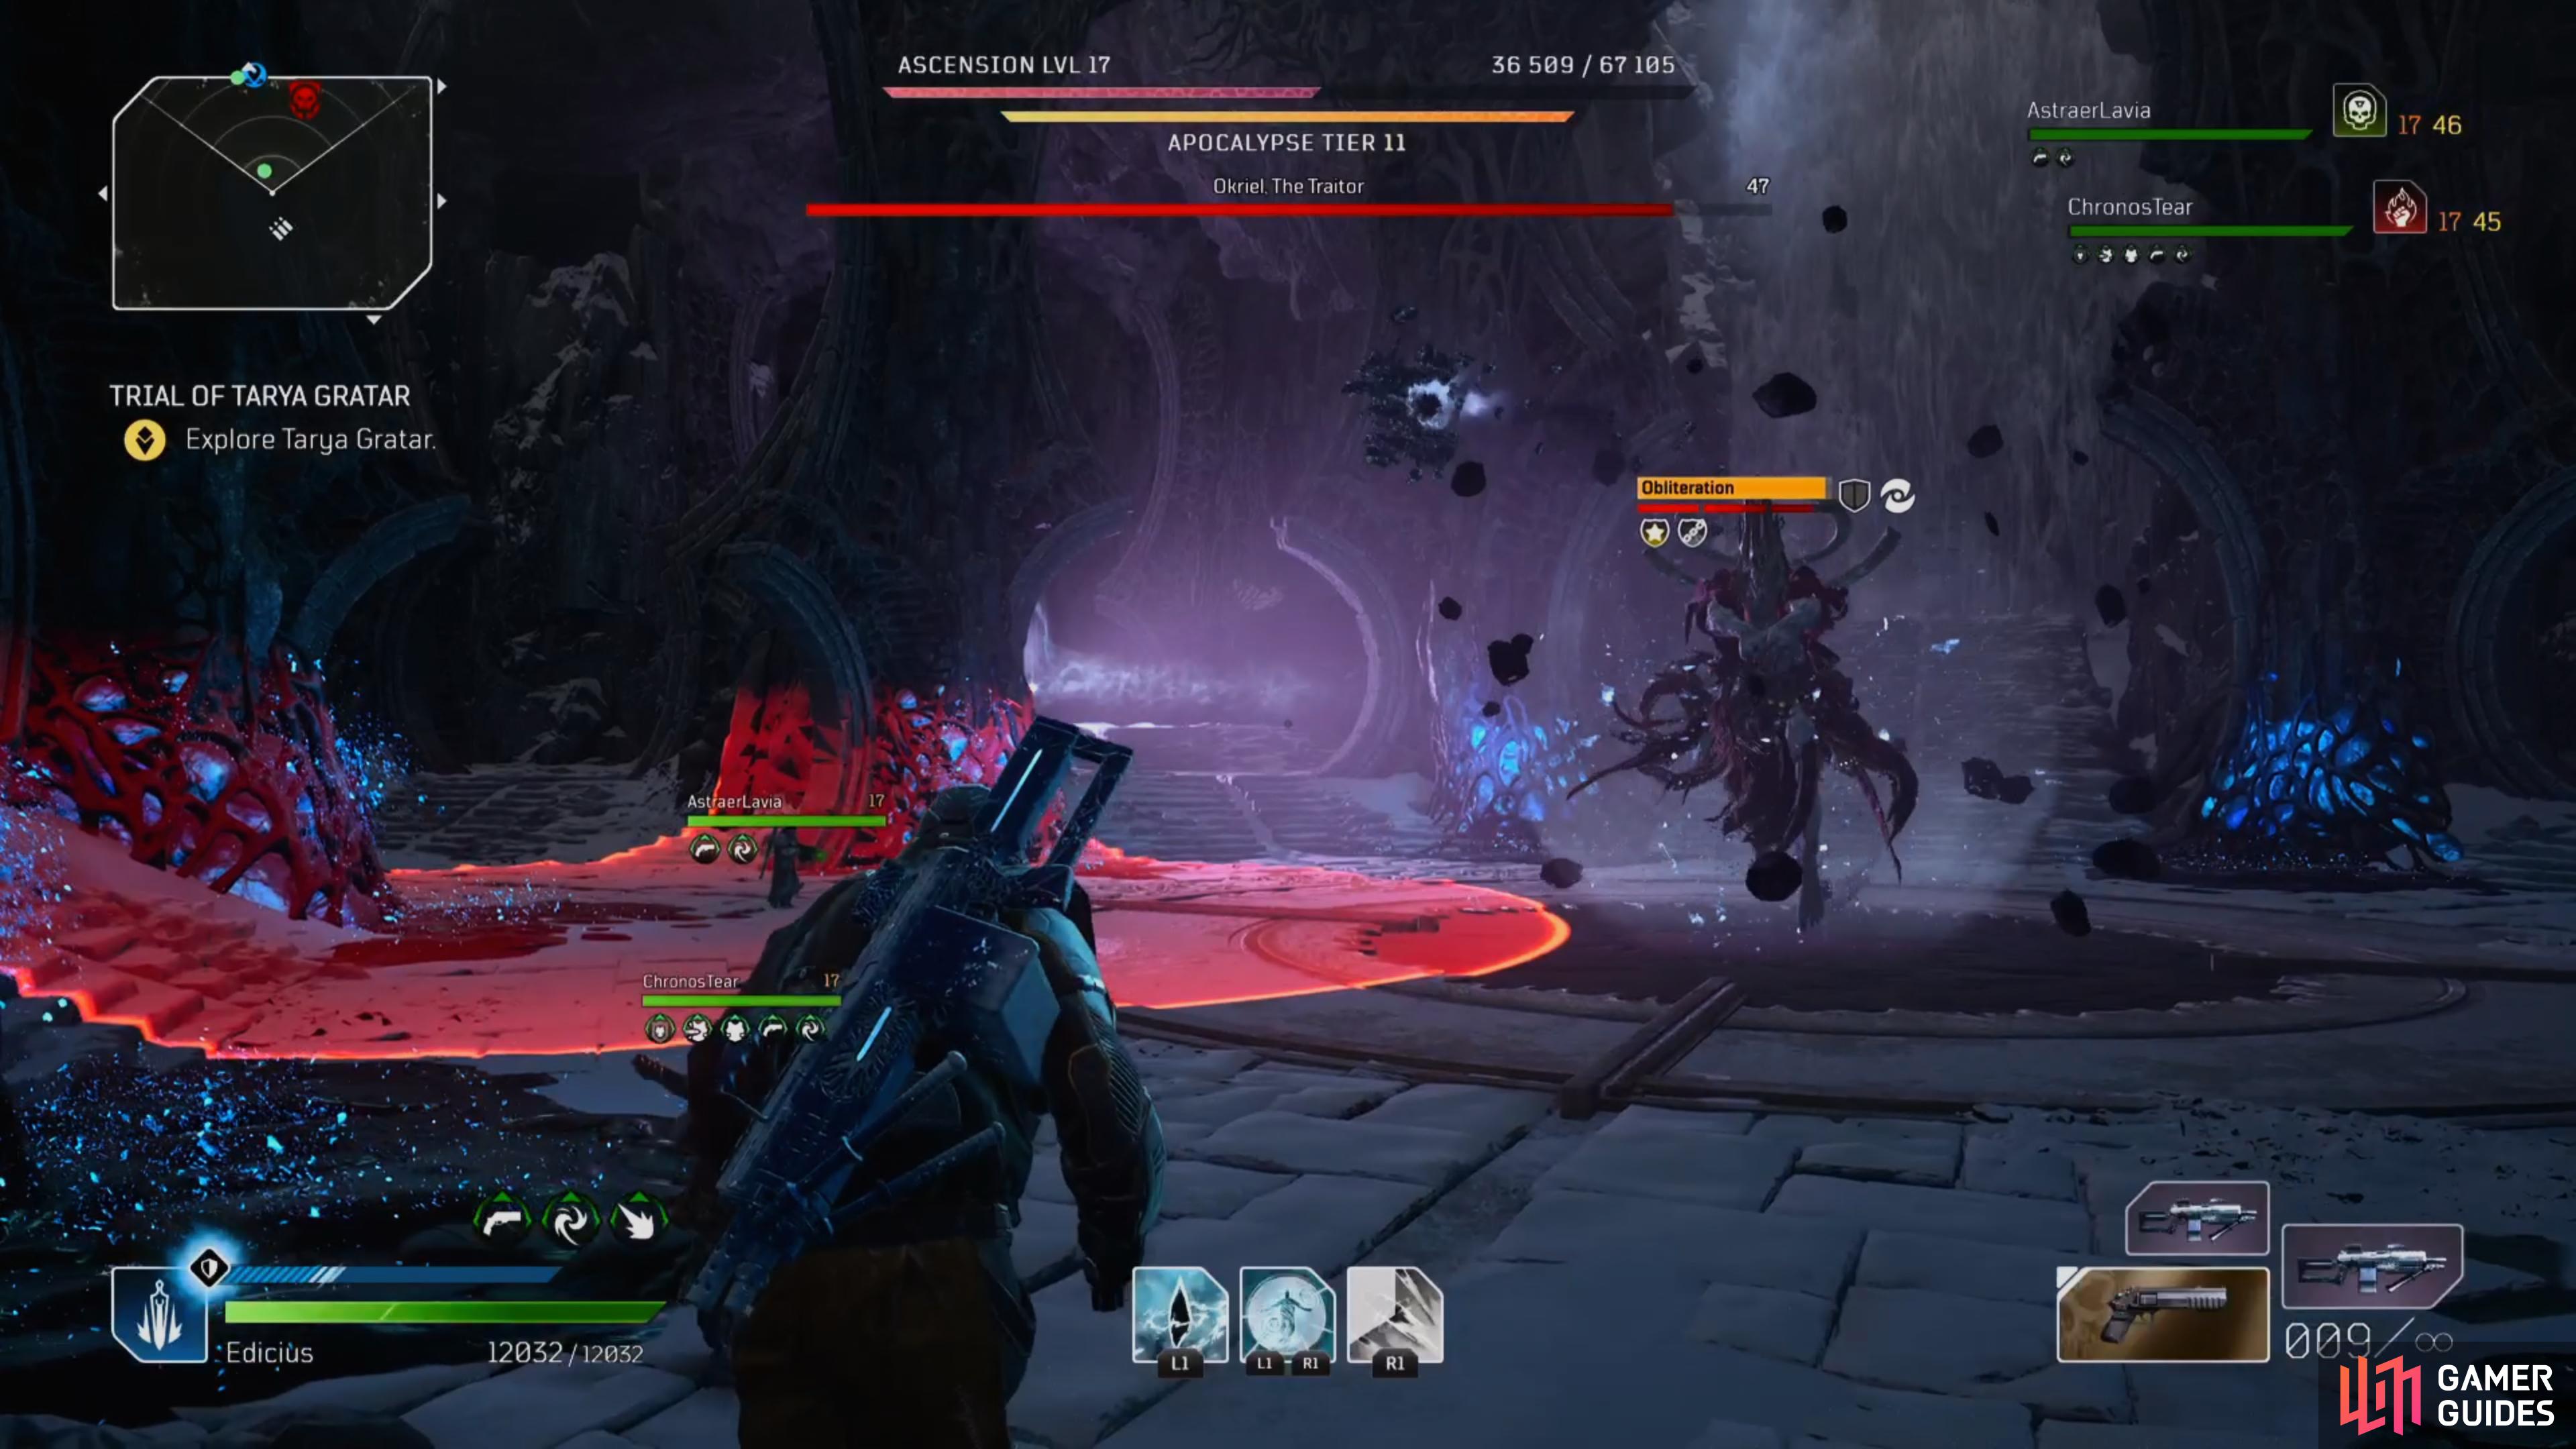
You’ll now want to take a glance at the mini-map and look for a small blue circle, then head over to it to find a pillar surrounded by a white circle. Here you’ll need to stand in the circle and defeat waves of enemies which vary from small, easy to deal with enemies, such as Berserkers or extremely spongy and heavy hitting Corsairs. Whilst dealing with these enemies, Okriel will continue fire large AoEs towards you location, so you’ll want to continue moving about to prevent being struck by it. Also, you won’t fail the task by leaving the circle, so if you need to run out to avoid an attack feel free to do so.
(1 of 2) Stand in the circle and take out the waves of Berserkers and Corsairs
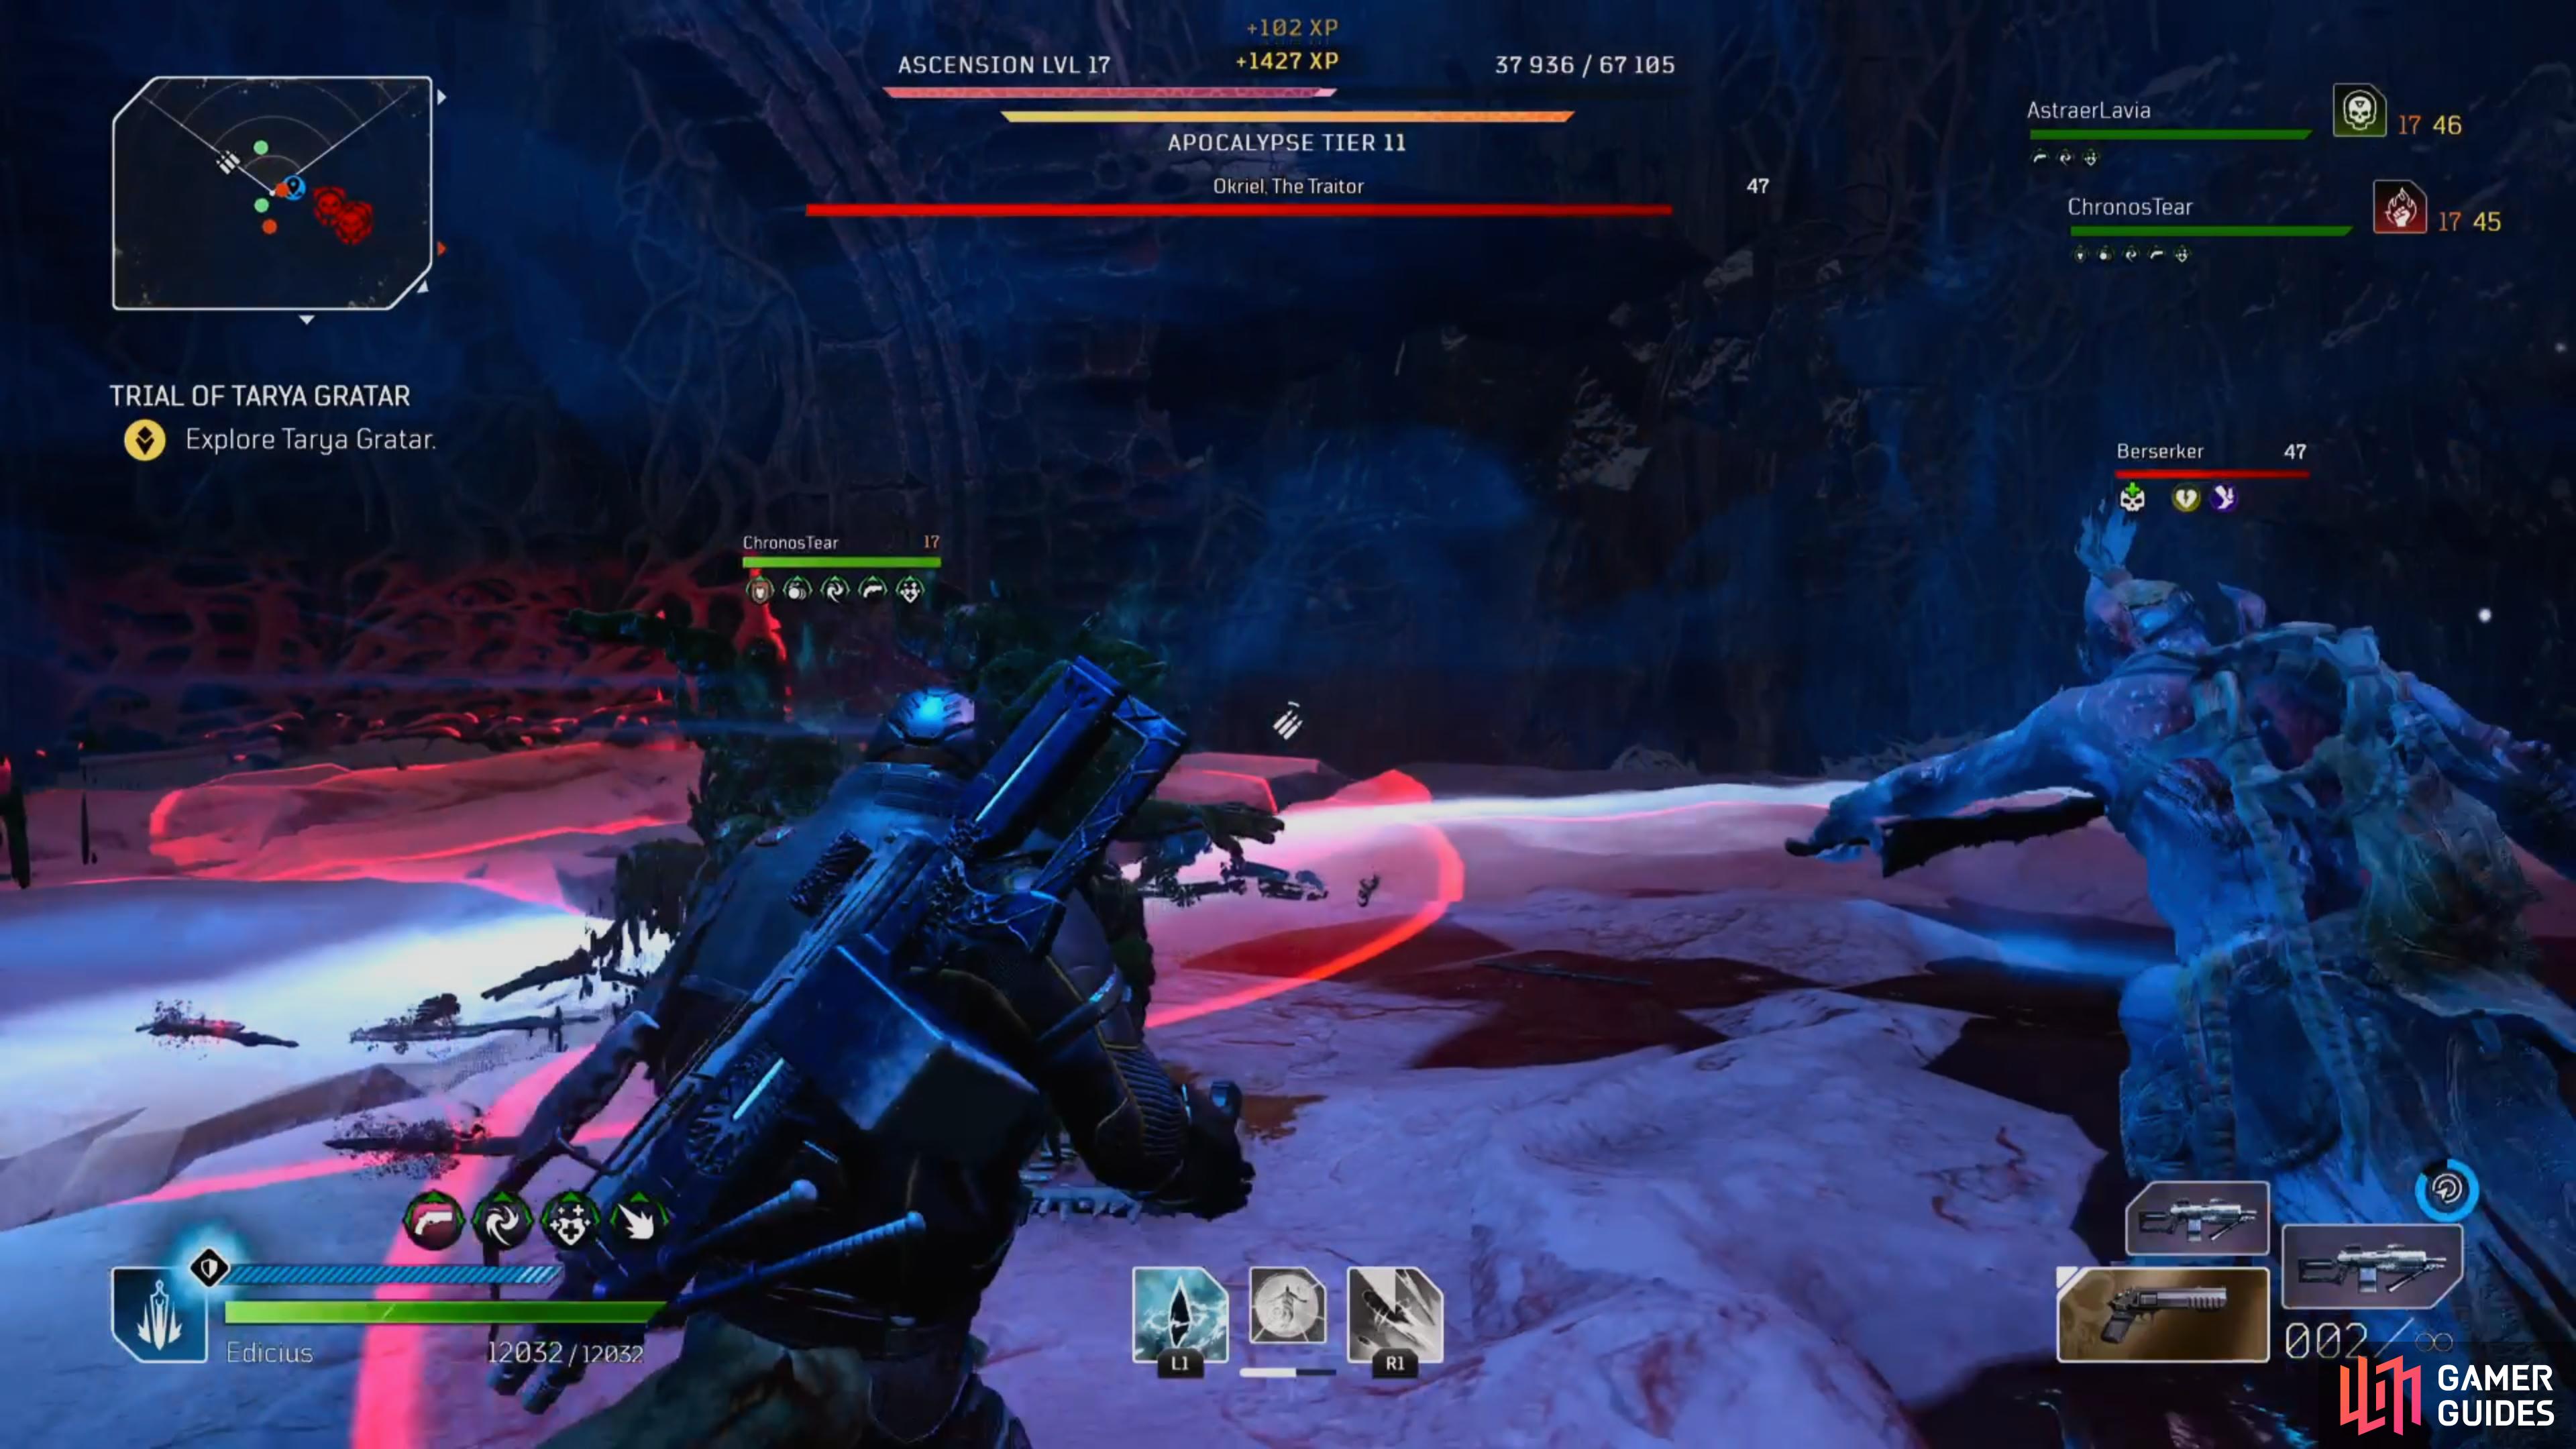
Stand in the circle and take out the waves of Berserkers and Corsairs (left), then watch out for the AoE Okriel is firing from the center of the arena. (right)
The best way to deal with this situation is to take out the smaller enemies first, as they are much quicker and could constantly hit you which will make you vulnerable to being one shot at by Corsairs or the boss. If you have a Trickster in your party, then using the Slow Trap is a great way to deal with these enemies, as it’ll allow you to create distance between you and the enemies. Once the pillar has been lowered into the ground, Okriels Shield will be removed and she’ll be stunned, so you’ll want to ignore the enemies and focus on dealing as much damage to the boss as possible by using the same strategy from the start of the battle.
Phase 2
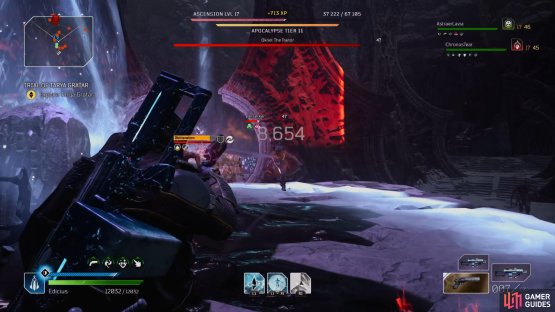
Not much changes in this battle, but after you’ve dealt enough damage, Okriel will shield up again and you’ll have to work on lowering two pillars instead of one. You aren’t timed, so take your time to avoid unnecessary death. However, you’ll notice a lot more Corsairs being thrown at you this time around, so if you’re in a group focus fire on one of them to take them down quicker, but if you’re playing solo, then you’ll want to use anything to strengthen yourself, so use skills that buff your damage, such as the Tricksters Venator’s Knife.
Once you’ve lowered the first pillar, clear out a few enemies before you head to the second, as it’ll prevent you from being overwhelmed when more enemies begin to spawn in. After you’ve dealt with both pillars, work on dealing more damage to the boss, then you’ll have to repeat this cycle one last time before the boss will be defeated and you’ll be able to get your hands on some good loot.
No Comments