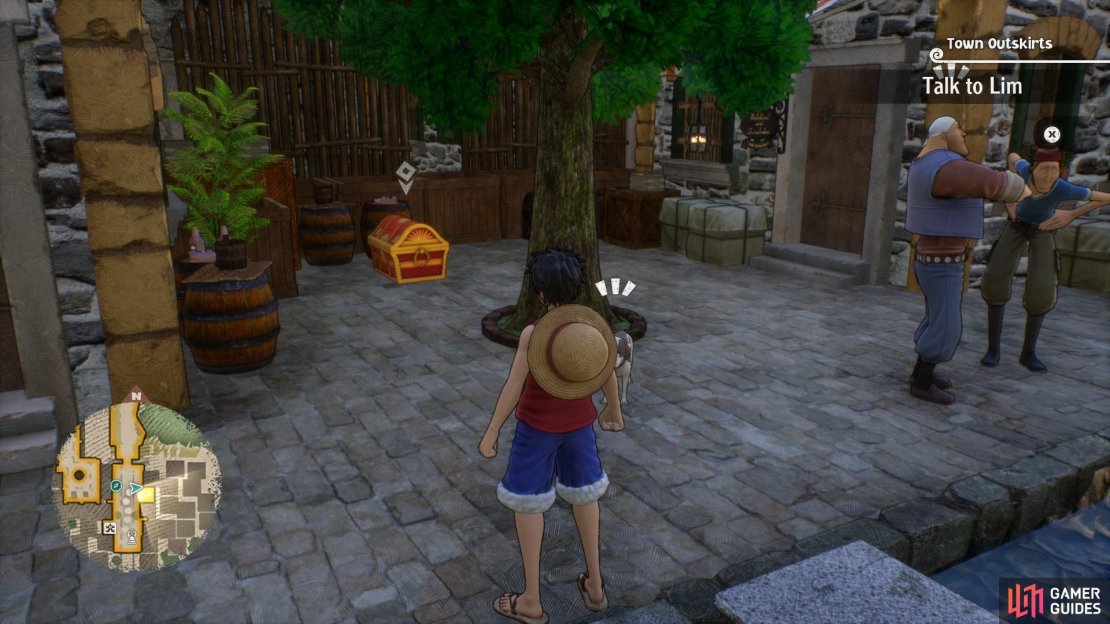
As you stumble around the various memories and areas of Waford and beyond, you’ll encounter some red chests with ornate golden decorations of them. But you won’t be able to open them, at least not until you’ve finished chapter 8. Once you’ve completed the chapter, you can complete the quest line that awards a key and unlock all the chests scattered around the game. To help you find them and complete the Treasure Hunter Trophy, we will show you where all the locked chests are in One Piece Odyssey, and how to open them.
How to Open Locked Chests in One Piece Odyssey
To open locked chests in One Piece Odyssey, you must complete all the trivia quiz quests. There are four chapters of the trivia quest, which are in the
- Great Sandy Desert during Chapter 2
- Water 7 City in Chapter 4
- Visit Marineford after you complete Chapter 6
- Dressrosa near the coliseum once you have completed all other chapters in Chapter 8.
Note, you need to complete each one in the above order to unlock the following quest. Once you have completed the Dressrosa trivia quiz, then you are awarded a locked chest key. This single key will open all the locked chests in One Piece Odyssey.
If you’re going to go ahead with solving the trivia quest line, then we have a trivia quest chain guide with all the answers available.
All Locked Chest locations in One Piece Odyssey
Now you know how to open all the locked chests in One Piece Odyssey. We will show where their locations are split around each location. When you open each chest in each map area, you will get a complete objective pop-up, letting you know you’ve opened them all.
- Waford - 8
- Alabasta - 4
- Water City 7 - 5
- Marineford - 1
- Dressrosa - 4
In total, that’s 22 chests for you to find and collect.
Waford Locked Chest Locations in One Piece Odyssey
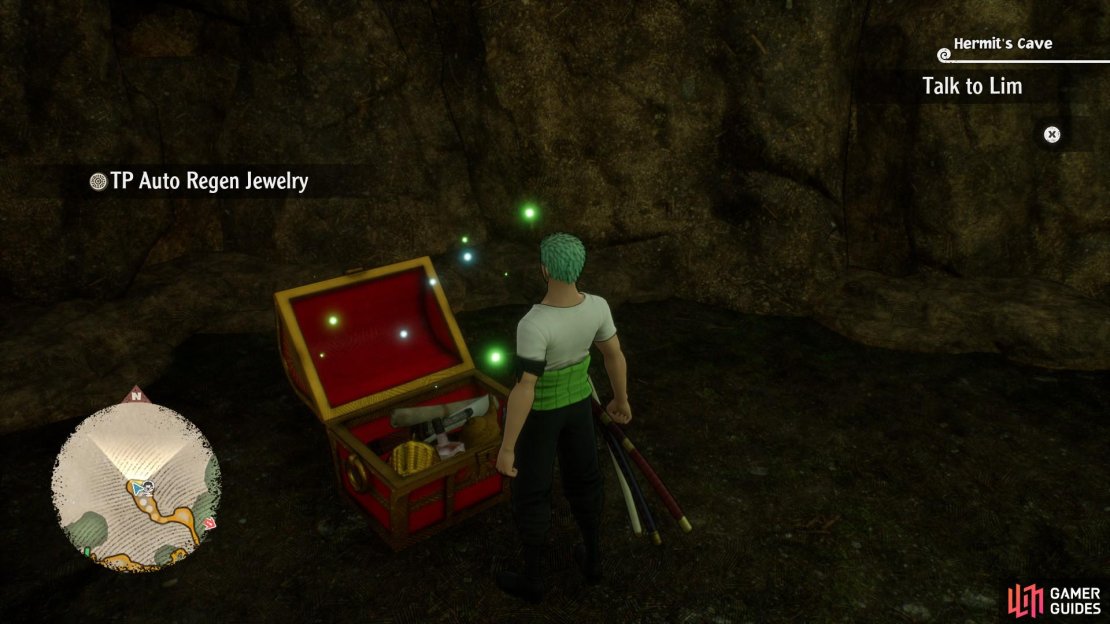
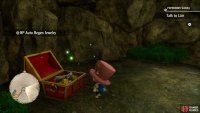
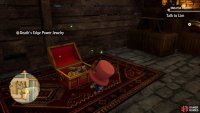
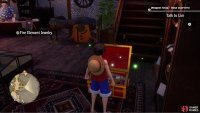
(1 of 8) Inside the Hermit cave with the NPC and the fast travel point north of the western ruin.
Waford by far has the most chests, scattered across all corners of the islands, along with being inside Waford Central and its Sky Tower, which you visit in Chapter 9.
- Hermit Cave: To get to the Hermit cave, head west from Adio’s House, then use Chopper to crawl through the hole space. From there, you can use Zoro to cut down the wall and access the locked chest. Note, there’s an NPC called Hermit here, which has side quests related to Robin’s Fuse accessory strengths and a fast travel point.
- Eastern Ruin: Another Locked Chest is to the east of Adio’s House, which you need Franky to build. This is the tutorial bridge, so you will get the parts from Adio. Build it and cross over, then turn left towards another crawl spot and metal gate for Chopper and Zoro to bypass.
- Inland Sea: Head North from Adio’s House, and make your way through the cave tunnel. Follow the road until you see stone stone column that you can grapple to with Luffy towards the small sandy island to the northeast of the tunnel cave. Cross over, and then head north to crossover to another smaller island with the chest on it.
- Forbidden Valley: There are two in the Forbidden Valley. Follow the pathway to the southwest most path in Waford South. Follow it till you get to a stone cliff. Drop down slightly, and you can find a chest tucked away on one of the stone platforms. The other requires you to drop all the way down. Now follow the minimap to a hopper hole you can charge through and get this chest.
- Waford Central: Before entering the Sky Tower, you can navigate an alternative route southwest using Chopper and Zoro. Use
 Chopper through the crawl space, and then slash the metal gate with the upgraded Zoro cut ability to get into this statue shrine with the locked chest inside.
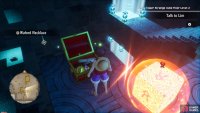
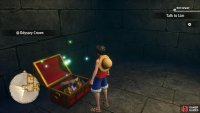
 - Sky Tower: There are two in the sky tower that you enter via the doorway near Waford Central’s fast travel sign. Enter and work your way through via the sky tower floors. There is one on the second and third floor. And easily spotable thanks to the lack of walls or cover.
Alabasta Locked Chest Locations in One Piece Odyssey
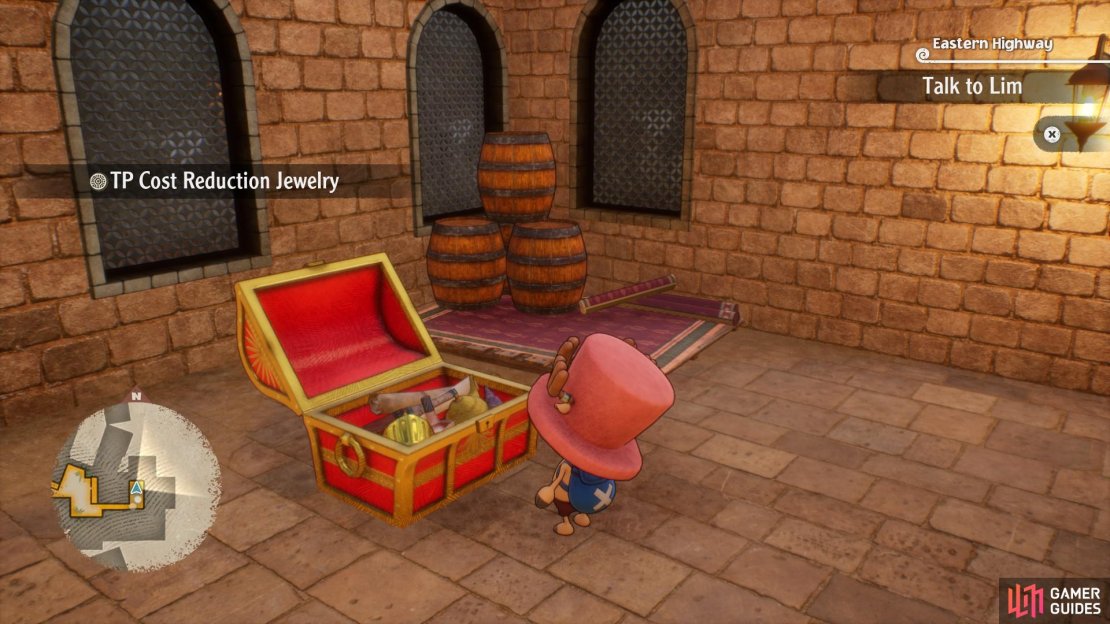
(1 of 4) Go through the Chopper gap on the Eastern Highway of Nanohana Harbor.
In this section, there are four locked chests.
- Nanohana: Head to the main street of Nanohana with the Spicy Bean Tavern. From there, head east towards some steps with debris blocking the way in the Eastern Highway. Use Chopper to crawl through and get this locked chest.
- Desert Near Nanohana: The !Desert Near Nanohana has one locked chest, which you need Franky to cross. Head over to the Chopper gap to the Desolate Valley close to the Ravine of No Return entrance, and follow it round until you get to the end. You will need 15
 Junk and 3
  Carbon Bolt to cross. You can get these by destroyables scattered around Dressrosa and Marineford, amongst other locations.
 - Great Sandy Desert: The first one in the !Great Sandy Desert requires you to build another bridge in the northwest portion of the southern desert region. It’s near the bandit camp’s area in the main storyline, Bone Bridge Canyon. You will need 2 Carbon Bolts, and 10 Junk to make the bridge. The other chest is near the bone piles in the Desert Ruin at the center of the Great Sandy Desert map.
Water Seven City
There are another five locked chests in the areas around the Water Seven City.
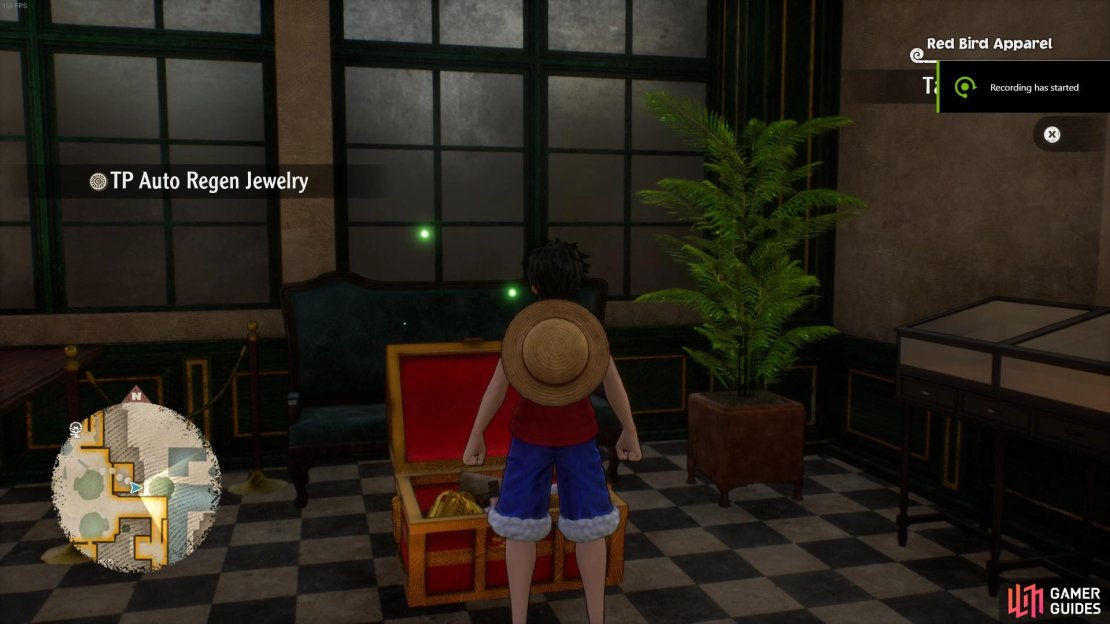
- City: Head to Fountain Square using the signpost fast travel. When you load in, head slightly south to where you can enter the green building’s stores. There is a building on the east side of Fountain Square with the locked chests inside. The second chest in the city area is in the Cafe Park (you can also fast travel here). Head to the westernmost point of the Cafe Park, which is the fenced path area beside the canal. The locked chest is hiding under the white stairs of the building above.
- Dock: There is one locked chest in the material depot in the southwest corner of the Dock map. Head towards the crane platform, flick it and then grapple to the decking using Luffy. Follow it down into the rear of the warehouse, then go through the hole in the shed using Chopper.
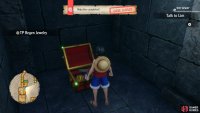
- Sewers: There are two more chests in the Sewers, both of which are in the 2BF Sewer area. The first is in the very southwest corner of the old sewer, guarded by a golden bat. The other one is in the second room north of that chest, hidden in the corner behind a large stone platform’s ground-level wall. It is directly below the final grapple point that takes you to the arch pathway exit.
Dressrosa Locked Chest Locations in One Piece Odyssey
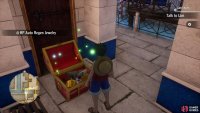
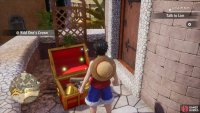
(1 of 4) Visit the weapon store on the east side of Coliseum Path for this locked chest.
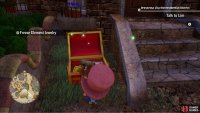
- City Area: There are three locked chests in the City Area.The first you come across is along the Dressrosa City East street, which is the middle level of the city, which heads east. You will come across a Chopper gap heading north part way up that street leading to the Old Residential District. You will find a chest to the eastern part of that section hiding behind some steps to a building. The next two chests are in the coliseum path to the city’s northwest section. One is inside the weapon store on Blacksmith Road, while the other is on the northeast part of the dead-end path near the fountain on Coliseum Path.
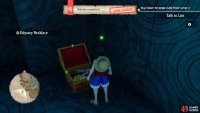
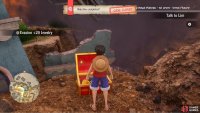
- New Royal Plateau: Bottom: The other is towards the northern part of the New Royal Plateau: Bottom map name.. Proceed through the level, building bridges along the way. Eventually, you’ll come across an area called 1st Level - Great Fissure. The chest is near a destroyed blue building at the very northeast of the map.
Marineford Lock Chest Locations
Here is the only locked chest in Marineford.
There is only one Locked Chest in the first street you spawn in when you explore the city.
This concludes where to find all the locked chests in One Piece Odyssey. Goodluck with your pursuit, and climbing your Treasure Hunt trophy and new fancy items.







No Comments