Start Location: Alya in Tri-Stone
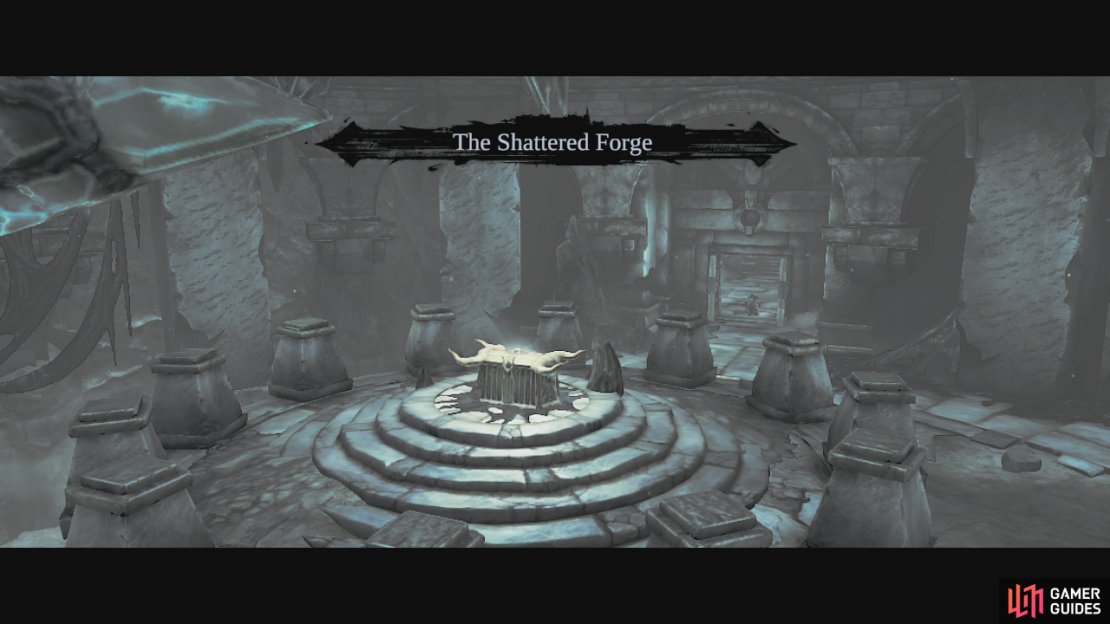
Alya wants you to retrieve a weapon from the Shattered Forge. Fast travel to this location if you have already found it. If not you will find a path leading north to it from Shadow Gorge. Cross the water hazard here and enter the door.
The Shattered Forge
Upon entering the Shattered Forge descend the stairs, and then find the nearby passage leading back under the stairs to find a chest. Return to the foot of the stairs and head through the door in front. Upon entering you will be treated to a scene.
Drop down into the water and check the northern part of the pool to find a Boatman’s Coin . Return to the southern side and climb out onto the platform with the door we just came in from. Follow this platform around and into the next unlocked door.
Immediately to the right you should see a pool. Drop down here and find the underwater tunnel. Follow it to the end for another short scene. Jump out onto the shore nearby and grab the chest here for the dungeon map. Climb the scalable wall nearby and kill the prowlers here. Go through the open door. Wall run back and forward down the hallway above the pool of water and around the corner until you are back on solid ground. At the dead end in front, wall jump all the way up to the platform above.
Wallrun along the right hand wall here and enter the door at the end of the next platform. Here you will see a bomb plant on a platform to the left. Kill the prowlers that come to attack. Next grab the bomb plant with death grip and ignore the yellow crystals nearby for now. Backtrack into the previous
hallway and drop down. At the end here you will find a sole yellow crystal.
Destroy this and head inside to collect the legendary weapon – Omega Blades . Climb up and return to the bomb growth room. Grab the bomb and destroy the crystals here. Enter the now unobstructed pathway. Follow it around to the right and use the door at the end. Throw the switch here. Now we can wallrun around to the bomb growth on the opposite side of the room! So go ahead and do that. Grab the bomb and pitch it down at the crystallised door on the right.
Drop down to the middle of the room and the door will locked, forcing you to fight off a stalker and a group of prowlers. Once they are dead mosey on up and through the doorway. Grab the two chests here and continue through the next door. As you go around the corner, again gates will pop up fencing you in. Kill off a pair of corrupt construct champions and the group of tainted constructs to lower the gates and continue. Wallrun across the gap here and enter the door at the far end.
At the opposite side of this room you will see a locked skull door and if you look around at the rest of the room you will see a whole lot of yellow crystal action going down. We can’t really go anywhere at the moment, so drop down into the pool of water and find the underwater tunnel. Exit on the other side and climb to the top to find yourself on a ledge overlooking the skull door room next to a bomb plant.
Grab a bomb and throw it at the crystals on the other side of the room. Before jumping down, grab a second bomb and then jump down to the room below, make your way to the east of the room and look up on the balcony to see more crystals. Heave the bomb up here and then follow it up to find a chest. Grab the handhold on the north of this platform and platform your way around the corner using the handholds provided and a healthy dose of wallrunning all the way to the other side of the room to where we destroyed that first set of crystals. Climb up here and enter the door.
Wallrun across the gap, grab the chest and then scale the wall behind it. Shimmy to the left and drop down for a short scene. Kill the sentinel construct, the tainted constructs and the corrupt construct champion to have the doors open again. Before exiting, destroy the pots in the northwest corner of this room for a Book of the Dead page .
Go through the nearby door and loot the chest for the skeleton key. Hit the switch nearby to lower the fence and drop down to the room below. Head over to open the skeleton door. Cruise up the stairs here and open the chest for the quest item – Splinter Bone. Congratulations, you’ve completed the shattered Forge! Now, fast travel back to Tri-Stone and speak to Alya to complete the quest.
$$$item 1471

No Comments