The Eternal Throne
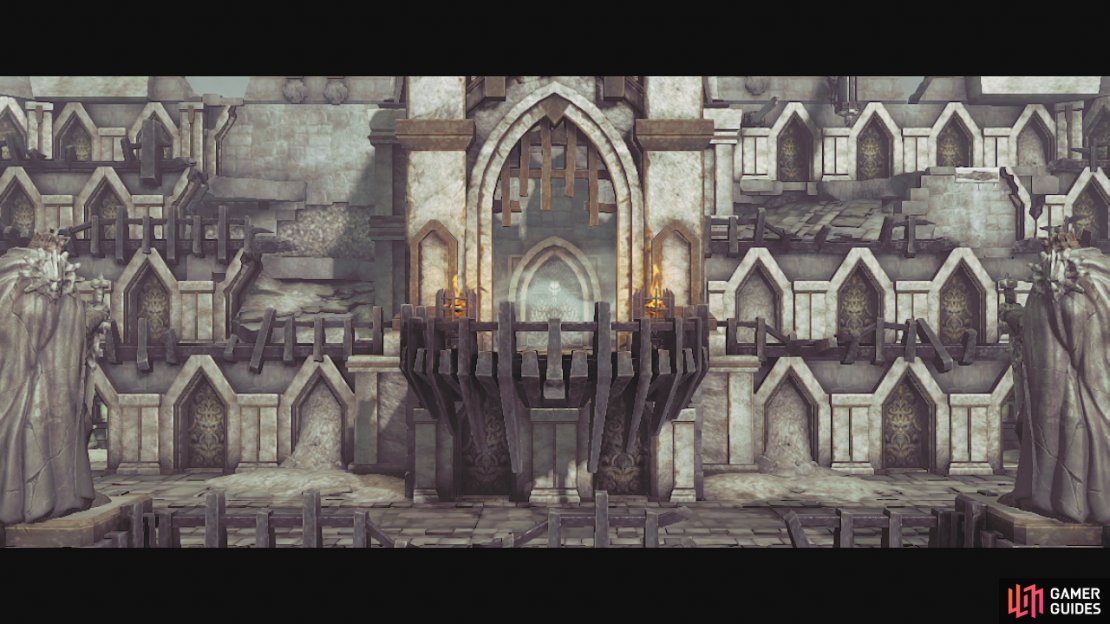
Return back through the doorway you entered from and continue along the hallway. Follow the objective marker until you reach the Gilded Arena.
Outside the arena you can trade with Ostegoth if you desire. Destroy the destructibles to the left to find a Book of the Dead page tucked away in a corner here. When you are ready, head on inside.
$$$item 1479
The Gilded Arena
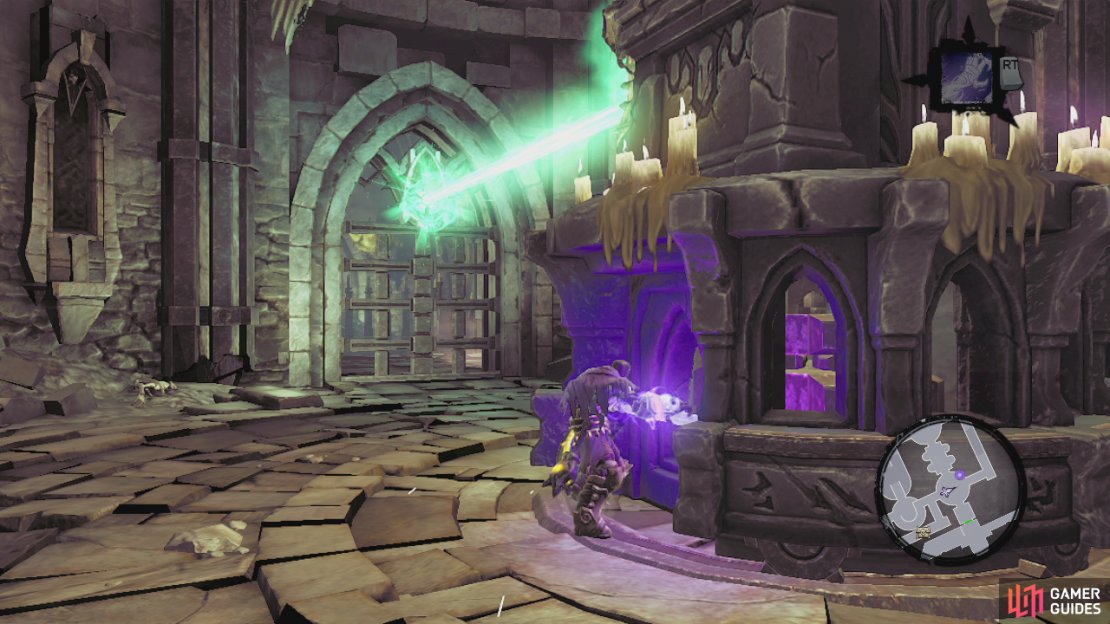
As soon as you enter, look in an alcove to the right for a statue holding a crystal. Shoot this for a Stone of Mystics. Follow the spiral staircase down until you reach a door. Inside you will see a statue with a green lantern firing a laser beam at the skull above the door here. Run over to the statue and use the handles to spin it around to face the opposite door. This will unlock it.
Move through the unlocked door into the hallway and drop down into the pit in front, do a quick 180 to find a chest here. Run to the opposite side of the area and jump over the debris here to find another chest. Use the nearby wall vine to climb back up to the entrance. Get Death to wallrun on the opposite wall from the vine and use the death grip ring to make it to the far side of the room. Enter the door here for a scene.
$$$item 1514
…Great, another dungeon where we have to find three things! Oh well, let’s get started. Note the debris to the left, access is blocked so let’s head right. Just to the right of the first door here you will see a handhold you can climb up to. On the upper terrace, immediately turn to the right and follow the railing until you find a wall leading up. Climb up and follow the platform back to the left until you stumble upon another scalable wall. Climb to the top of this and use the death grip ring here to swing across the gap for a Relic of Renegoth. Drop down to the level with the unlocked door on it nearby and follow the platform all the way north until you reach a dead end. Climb up the hand hold here for a chest. Finally, with all of that looting out of the way, let’s go back south and through that unlocked door!
$$$item 1583
Go down the spiral stairs until you come to the break. Wallrun on the left hand wall here to safely land on a platform below. Check out the alcove here for a chest. Drop down to the bottom of the stairs. Work your way through the room here and enter the door at the back. As you do, the doors will lock. You will be attacked by a large group of around 20-30 skeleton warriors. This is a
good point to use your reaper form if you have it ready! Once you have cleared the room the doors will open. Before continuing, look at the ceiling and shoot the crystal here for a Stone of Mystics.
Go through the door and enter the room at the far end of the hallway. As you enter look in front and to the right. You will see a Boatman’s coin. Grab that and continue up the stairs to the platform to the north. Step on the pressure plate here and look to the right. You will see bomb plant. Use death grip to grab it whilst standing on the pressure plate and throw it down at the crystals to the south for a chest. Grab one last bomb and run down and toss it at the crystals around the corner that the green beam is coming over the top of. The subsequent destruction will knock down the lantern.
Use the death grip to grab the lantern from across the gap. Return to the pressure plate and place the lantern on it. Run down through the gate that opens and past the bomb plant. Wall run around the room until you reach safe ground. Continue straight ahead and up the stairs to the left to find a lever. Hit that to open the gate here. Use the death grip from the ledge here to grab the lantern and cruise back down the stairs and into the room on the left.
Use the lantern on the statue here to have the statue use it to create a laser beam. Rotate the statue 180 degrees to open the gate and follow the passage until you reach a green statue you can interact with. Hit the action button to grab the first animus stone (Assassin’s Creed anyone?).
$$$item 1515
As you exit the room you will be ambushed by a swarm of scarabs. Destroy them all and the gate will be unsealed and you can backtrack to the main area. When you reach the laser statue again, check out the hallway to its right. Open the door at the end and look on the roof in the alcove you your left here for a crystal we can shoot for a Stone of Power, also in the alcove on the left hand wall is a Soul Arbiter’s Scroll we can look at. Once you have those, continue to the end of the hallway for a chest containing the dungeon map. Continue up the wall in the main room and use the lever at the top of the area for a quick scene. You’ll be back on the arena floor! Walk over to the statue head on the North side of the arena and use death grip on the ring here for a scene.
$$$item 1538
$$$item 1597
As soon as you regain control after the scene, kill the skeletons that have appeared and once they are gone, make your way through the door they entered the arena from. Climb the stairs here to the main floor and follow the balcony all the way to the right until you reach the debris. From here you can access the level above. Just near where you climb up you will see another set of handholds on the left hand wall nearby. Climb here and grab the chest. Drop back down and continue. Follow the platform here past the now unlocked door here and all the way to the end for a chest. Return to the door and head inside.
As you enter this room, head through the door the lantern statue is laser beaming and climb the circular staircase here. Look into the western room to see an inert bomb plant below. Use death grip to grab one and toss it at the yellow crystals here. Shoot it. Enter the now open hallway and follow it to the end for a chest. Return and grab another bomb growth and head back to the laser beam statue. Blow up the yellow crystal here. There is another bomb growth behind it. Rotate the laser beam statue once to the right to open the other door, grab one of the bombs and destroy the crystals across the gap in the newly opened room.
Return to the bomb growth and look to the right to see a Boatman’s Coin. Wallrun on the right hand wall here to reach the other side of the pit and then do the same back to grab the coin. Head back across the gap so you are opposite the bomb plant and in the room with another green lantern statue. Rotate this once to the left and cross the bridge that forms for a Book of the Dead Page. Return to the statue and rotate it to the left once more to open a door.
$$$item 1480
As you enter turn immediately right to find a chest. Continue to the small circular rooms at the end of the hallway. Just before you reach them, look in the alcove to the right for a Soul Arbiter’s Scroll. Head into the small circular rooms and grab the lantern in here. fight off the skeletal warriors that attack. Once the door opens again, return to the nearest lantern statue room and enter the door to the right. Place the lantern on the pressure plate and then return to the first lantern statue room via the same way you came (wall running). Use death grip to grab the lantern and return to the original lantern statue room. Drop the lantern and rotate the statue once to the left. Pick the lantern up again and carry it through the door and up the circular stairs. Interact with the statue at the top to give it the lantern. This will raise the bridge and give you access to another room at the far end of the area.
$$$item 1598
Drop down as soon as you see the first gap in the stairs and look behind you to find a Relic of Etu-Goth. Continue down the stairs, work your way through the room at the bottom and exit into the cave beyond. Here you will see the second animus stone and a scene will play showing scarabs coming to attack. They will be backed up by some skeletal archers as well. Try to focus on the archers first before focusing on the scarabs. Once the enemies have been eliminated, a second wave comprising of essentially the same make up will appear, so take them down too. When the dust settles, head over and grab the animus stone.
After you grab it, a scene will show the unlocking of another gate nearby. Head on over and cruise through here. In the room go through the door on the right and as soon as you enter, look to the left for a chest. From here head into the side room directly opposite and climb up here. Wallrun to the other platform and destroy the crates and things here. Amongst it all is a Boatman’s Coin. Return to the entrance and look straight ahead, run up the wall here and use death grip to reach the top. At the top, turn around and use death grip to jump across the gap to the other side for another chest.
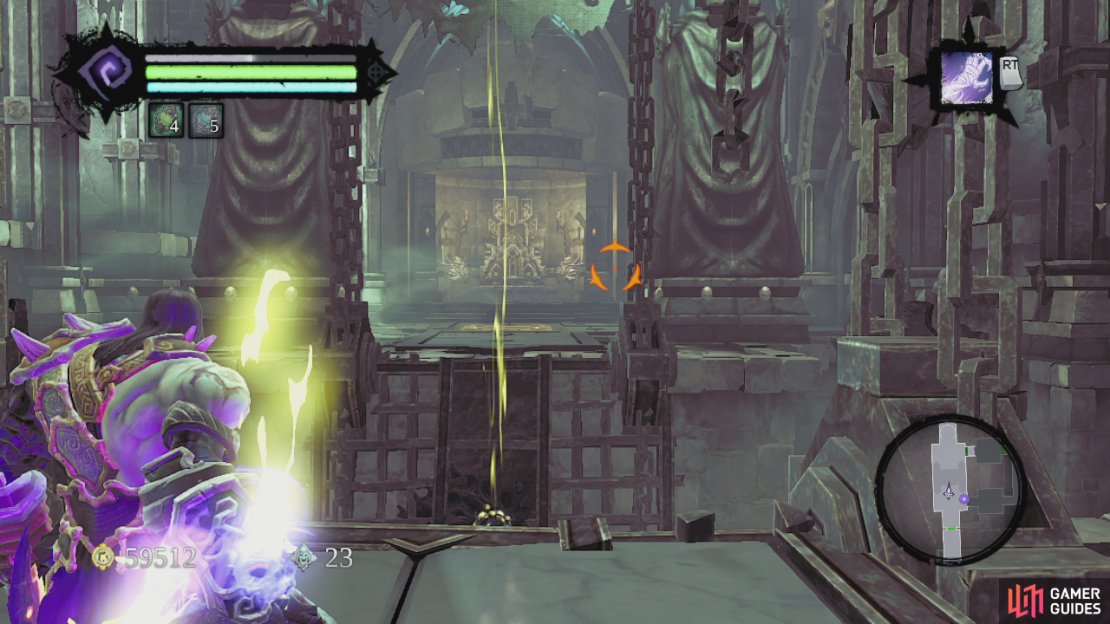
Return across the room and pull the lever to re-enter the arena. Head to the left and use the death grip on the statue here for a scene. This will unlock the door directly above the skull. Cruise into one of the side passages, climb the stairs and exit onto the balcony. Work your way over to the now unlocked door.
Enter the passage here and a skeleton champion will summon a bunch of skeletal warriors. Fight them all off and enter the door at the end when everything is dead. As you enter, mosey on into the door to the right, follow the corridor around into the room at the far end. Again defeat all of the skeletal champions and warriors in here. Once you do around 20 skeletons will emerge from the walls and attack. Kill them all to unlock the doors.
$$$item 1568
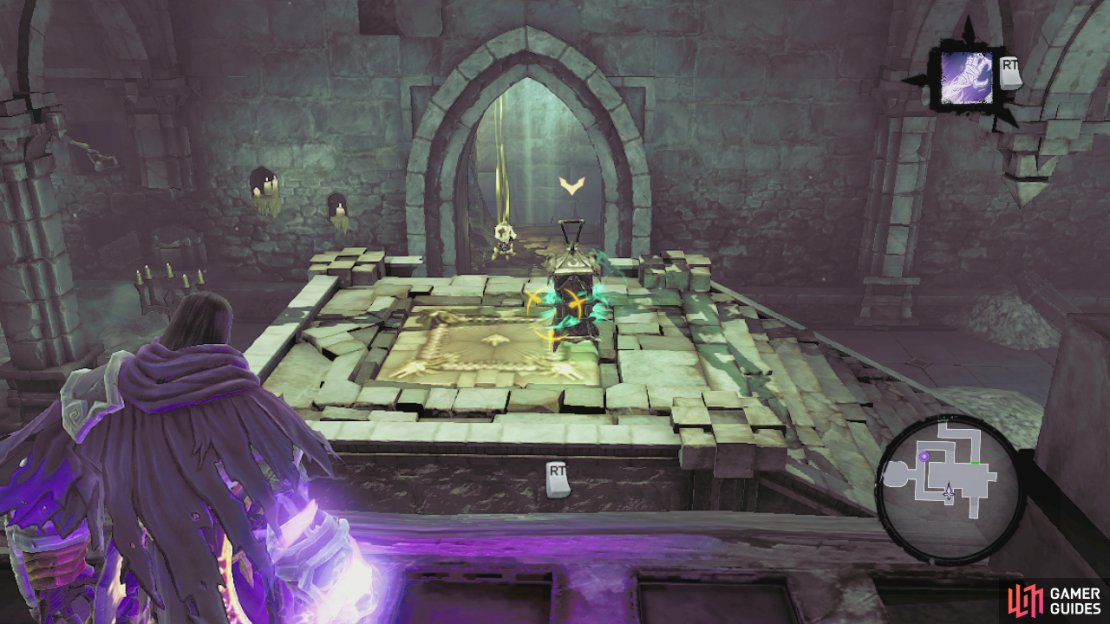
Enter back into the main room here and look to your right to see a throne. In front and to the left is a switch and there is a pressure plate on the floor. Stand on the pressure plate to bring the bridge in front of you up. Grab the bomb plant that appears with the death grip and throw it onto the switch. Now run and dash into the throne area. When the bomb goes off, the room will spin around and give you access to the next area.
Straight ahead you will be able to see the final animus stone. Continue forward for a scene. Now you get to meet the scarab hulk. These guys are big, bad and mean. They can use their shell as a shield and, can fly and do a number of attacks that can put you on your ass extremely quickly. It is a matter of learning its move set and using appropriately timed dodges and hits to take him down. When he is dead, go grab that animus stone!
Retrace your steps back to the arena floor and use the death grip to place the third animus stone. Now get ready for a bit of boss action!
When he has taken enough damage a scene will show to show your victory. Killing him rewards you with the golden skull and a treasure chest filled with loot and gold to pillage.
Fast travel back to the Eternal Throne and talk to the Chancellor. After a short scene the King will give you some new objectives, now look behind the king’s throne for a Relic of Etu-Goth. Fast travel to the Maw.
$$$item 1569

No Comments